Home>Garden Essentials>How To Plant A Banana Seed
Garden Essentials
How To Plant A Banana Seed
Modified: March 16, 2024
Learn how to plant a banana seed in your garden and enjoy fresh homegrown bananas. Follow our step-by-step guide for successful cultivation.
(Many of the links in this article redirect to a specific reviewed product. Your purchase of these products through affiliate links helps to generate commission for Storables.com, at no extra cost. Learn more)
Introduction
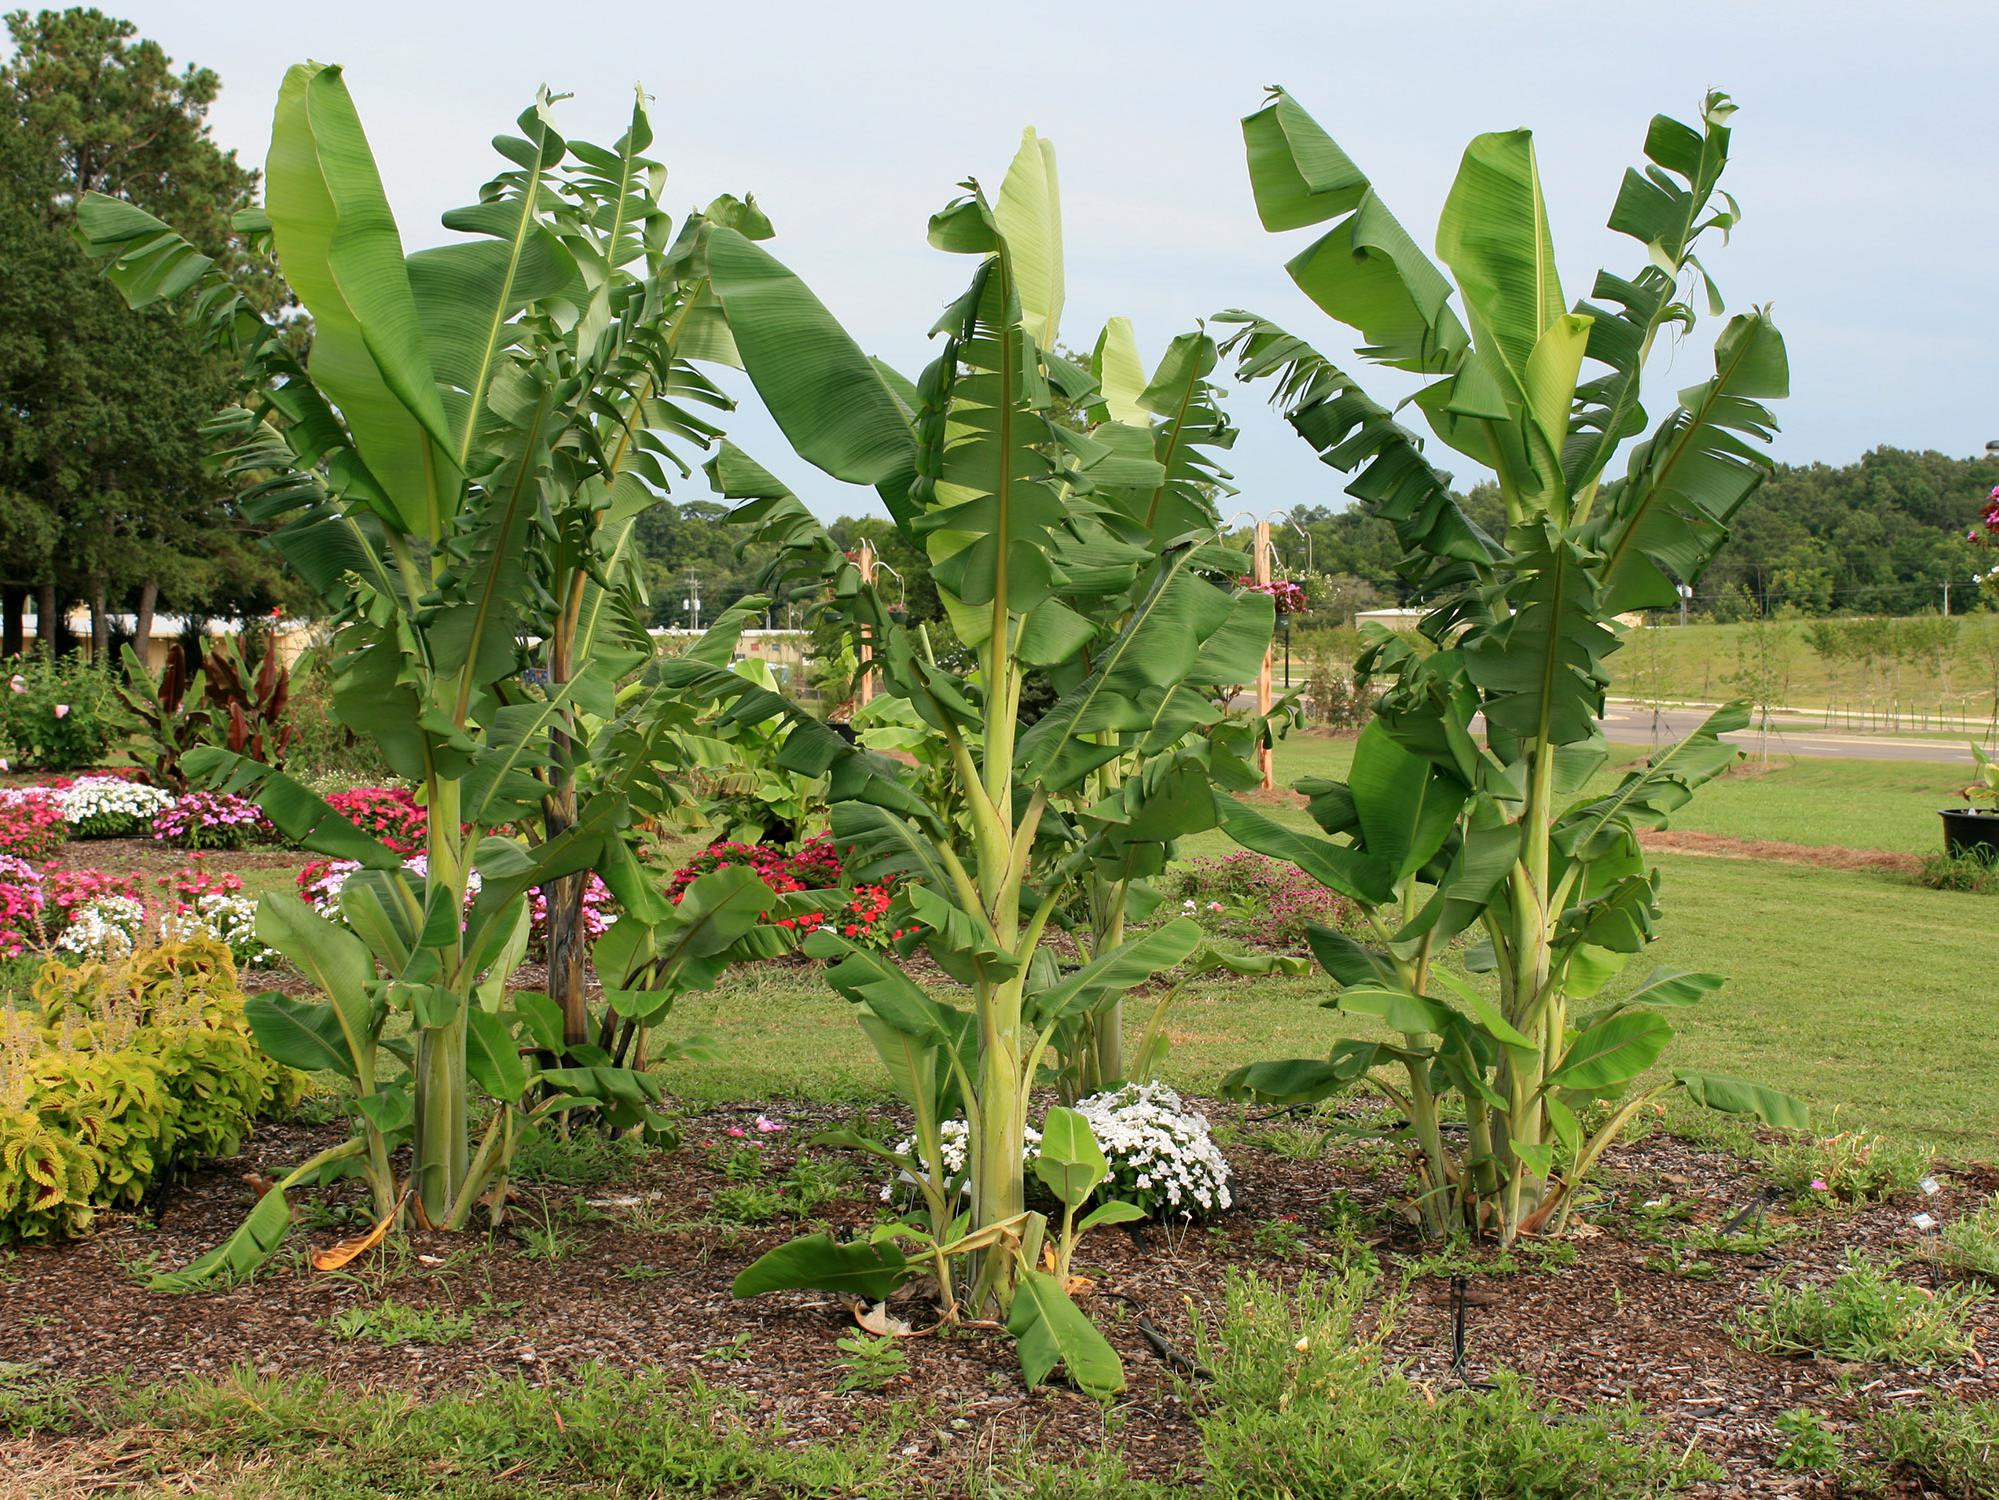
Welcome to our comprehensive guide on how to plant a banana seed! Growing your own bananas can be a rewarding and enjoyable experience, whether you have a spacious backyard garden or a small balcony. Not only are bananas delicious and nutritious fruits, but they also add a tropical touch to any landscape.
While most people are familiar with buying bananas from the grocery store, you may be surprised to learn that you can actually grow your own banana plant from a seed. Although banana plants are typically propagated through suckers or tissue culture, planting a banana seed can be a fun and unique way to cultivate your own banana plant.
Before we dive into the steps of planting a banana seed, it’s important to note that bananas are tropical plants and require specific conditions to thrive. They prefer warm temperatures, ample sunlight, and well-draining soil. If you live in a colder climate, you may need to create a microclimate or grow bananas in containers that can be brought indoors during the winter months.
In this guide, we will walk you through the process of selecting a healthy banana seed, preparing the soil, planting the seed, providing proper care, and eventually harvesting your own homegrown bananas. So let’s get started and learn how to plant a banana seed!
Key Takeaways:
- Growing bananas from seeds is a unique and rewarding experience that requires selecting a healthy seed, providing proper care, and enjoying the joy of harvesting your own homegrown bananas.
- To successfully grow bananas, ensure the soil is well-draining, provide adequate water and sunlight, and practice regular pruning and maintenance to nurture a healthy and productive banana plant.
Read more: How To Plant Banana Seeds
Step 1: Selecting a Healthy Banana Seed
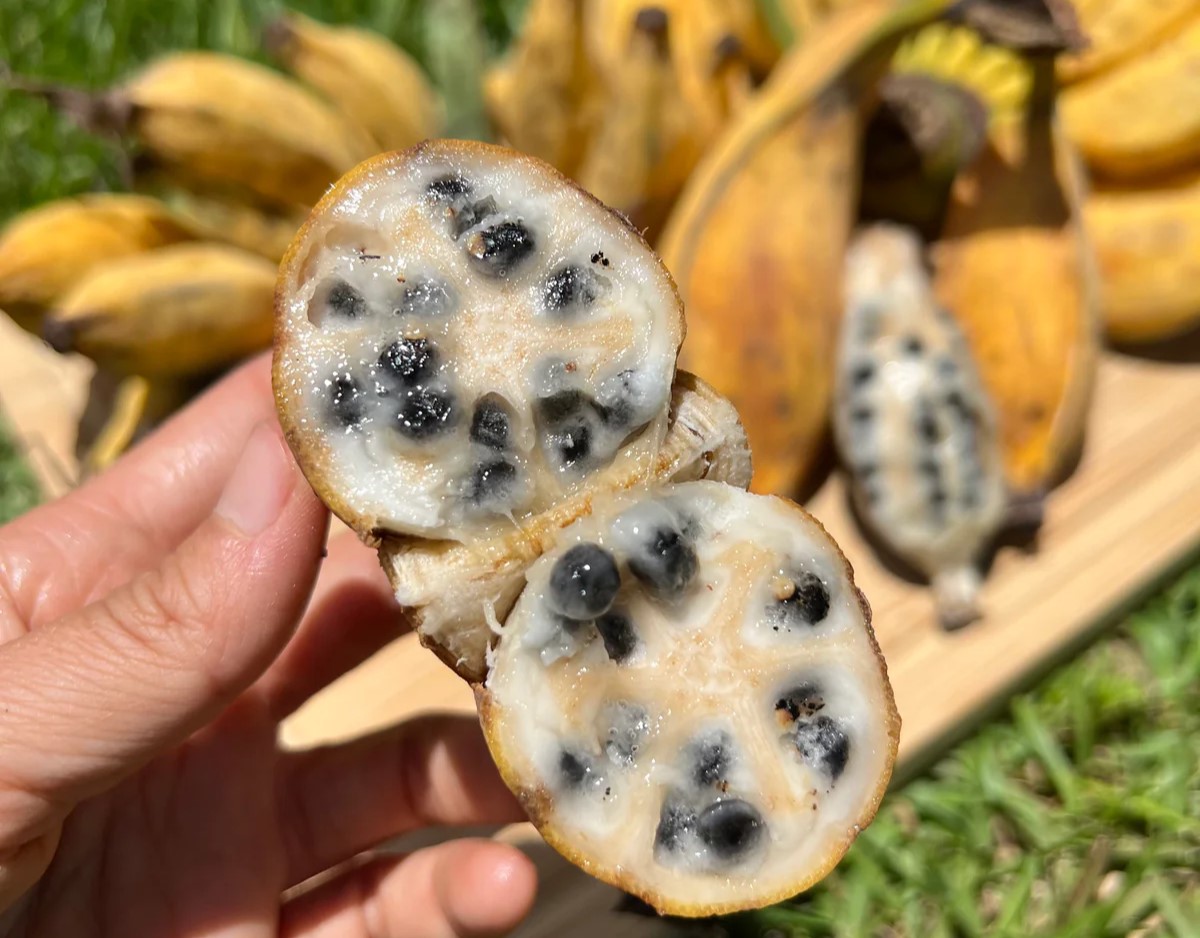
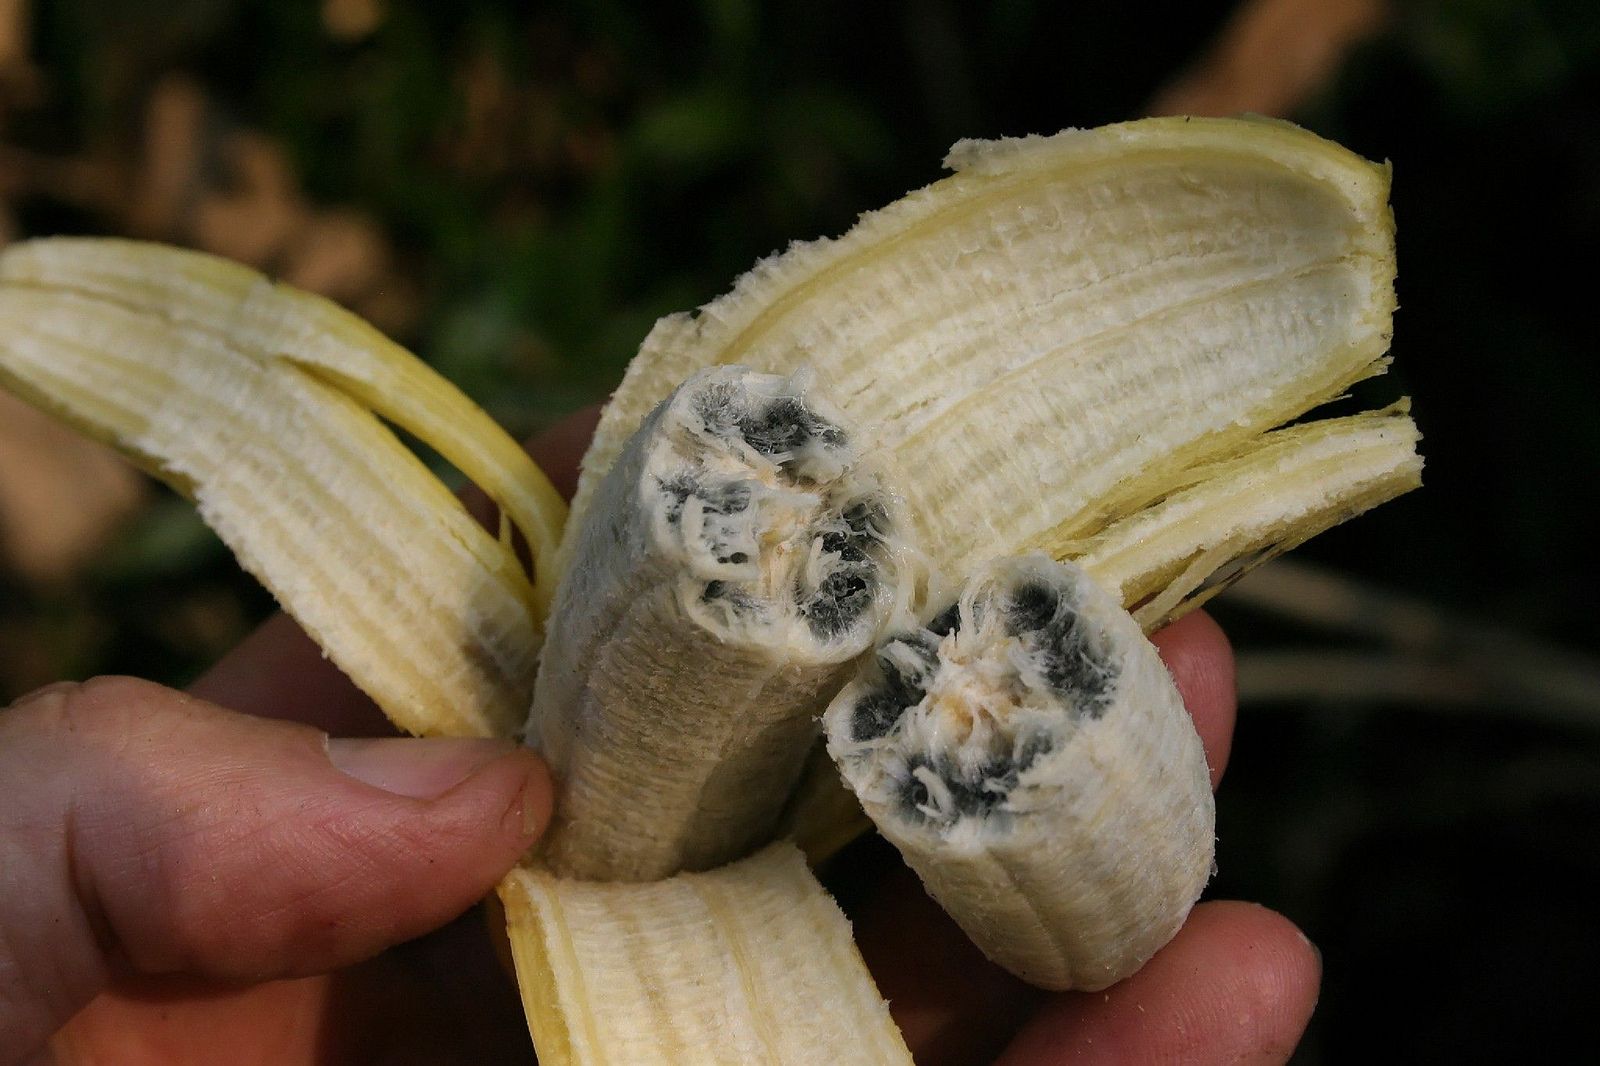
The first step in planting a banana seed is selecting a healthy seed. While you can purchase banana seeds online or at specialized gardening stores, keep in mind that not all banana seeds are created equal. Look for seeds that are fresh, plump, and free from any signs of damage or disease.
It’s important to note that the seeds you find in commercial bananas are typically not viable for planting. These seeds are often sterile and won’t produce plants. Instead, look for seeds specifically sold for planting purposes.
There are several different banana varieties to choose from. Depending on your climate, you may opt for cold-hardy varieties or tropical varieties. Some popular banana varieties include Cavendish, Dwarf Cavendish, Grand Nain, and Lady Finger. Research the varieties that are suitable for your region and select the one that appeals to you.
When selecting a banana seed, look for seeds that have a brown or black color and are firm to the touch. Avoid seeds that are mushy or have a strong odor, as these may be indications of rot or disease. It’s also a good idea to choose a seed that is slightly larger in size, as larger seeds tend to have a higher success rate in germination.
Once you have obtained your banana seed, it’s important to handle it with care. Banana seeds are delicate and can be easily damaged. Avoid squeezing or crushing the seed, as this can hinder germination. Instead, gently hold the seed by its edges and avoid placing any pressure on the middle portion.
Now that you have selected a healthy banana seed, it’s time to move on to the next step: preparing the soil.
Step 2: Preparing the Soil
Preparing the right soil is crucial for the successful growth of your banana seed. Bananas thrive in well-draining soil that is rich in organic matter. Before planting, it’s essential to ensure that the soil is loose, fertile, and capable of retaining moisture without becoming waterlogged.
Start by choosing a location that receives full sun for at least six to eight hours a day. Bananas require plenty of sunlight to thrive and produce healthy fruit. If you live in a region with hot summers, it’s a good idea to provide some shade for the plant during the hottest part of the day to prevent sunburn.
Next, check the pH level of the soil. Bananas prefer slightly acidic to neutral soil with a pH range of 5.5 to 7.0. You can use a soil testing kit to determine the pH of your soil. If the pH is too high or too low, you can amend it with the appropriate materials. Adding organic matter like compost or well-rotted manure can help improve the soil structure and fertility.
Before planting, clear the area of weeds, rocks, and debris. You want to provide a clean and fertile environment for your banana plant to thrive. If the soil in your area is heavy or clay-like, consider incorporating some sand or perlite to improve drainage.
Once the area is cleared, dig a hole that is about twice as wide and deep as the size of the banana seed. This will give the seedling plenty of room to establish its roots. Loosen the soil at the bottom of the hole to promote easy root growth.
Now that the soil is prepared, it’s time to move on to the next step: planting the banana seed.
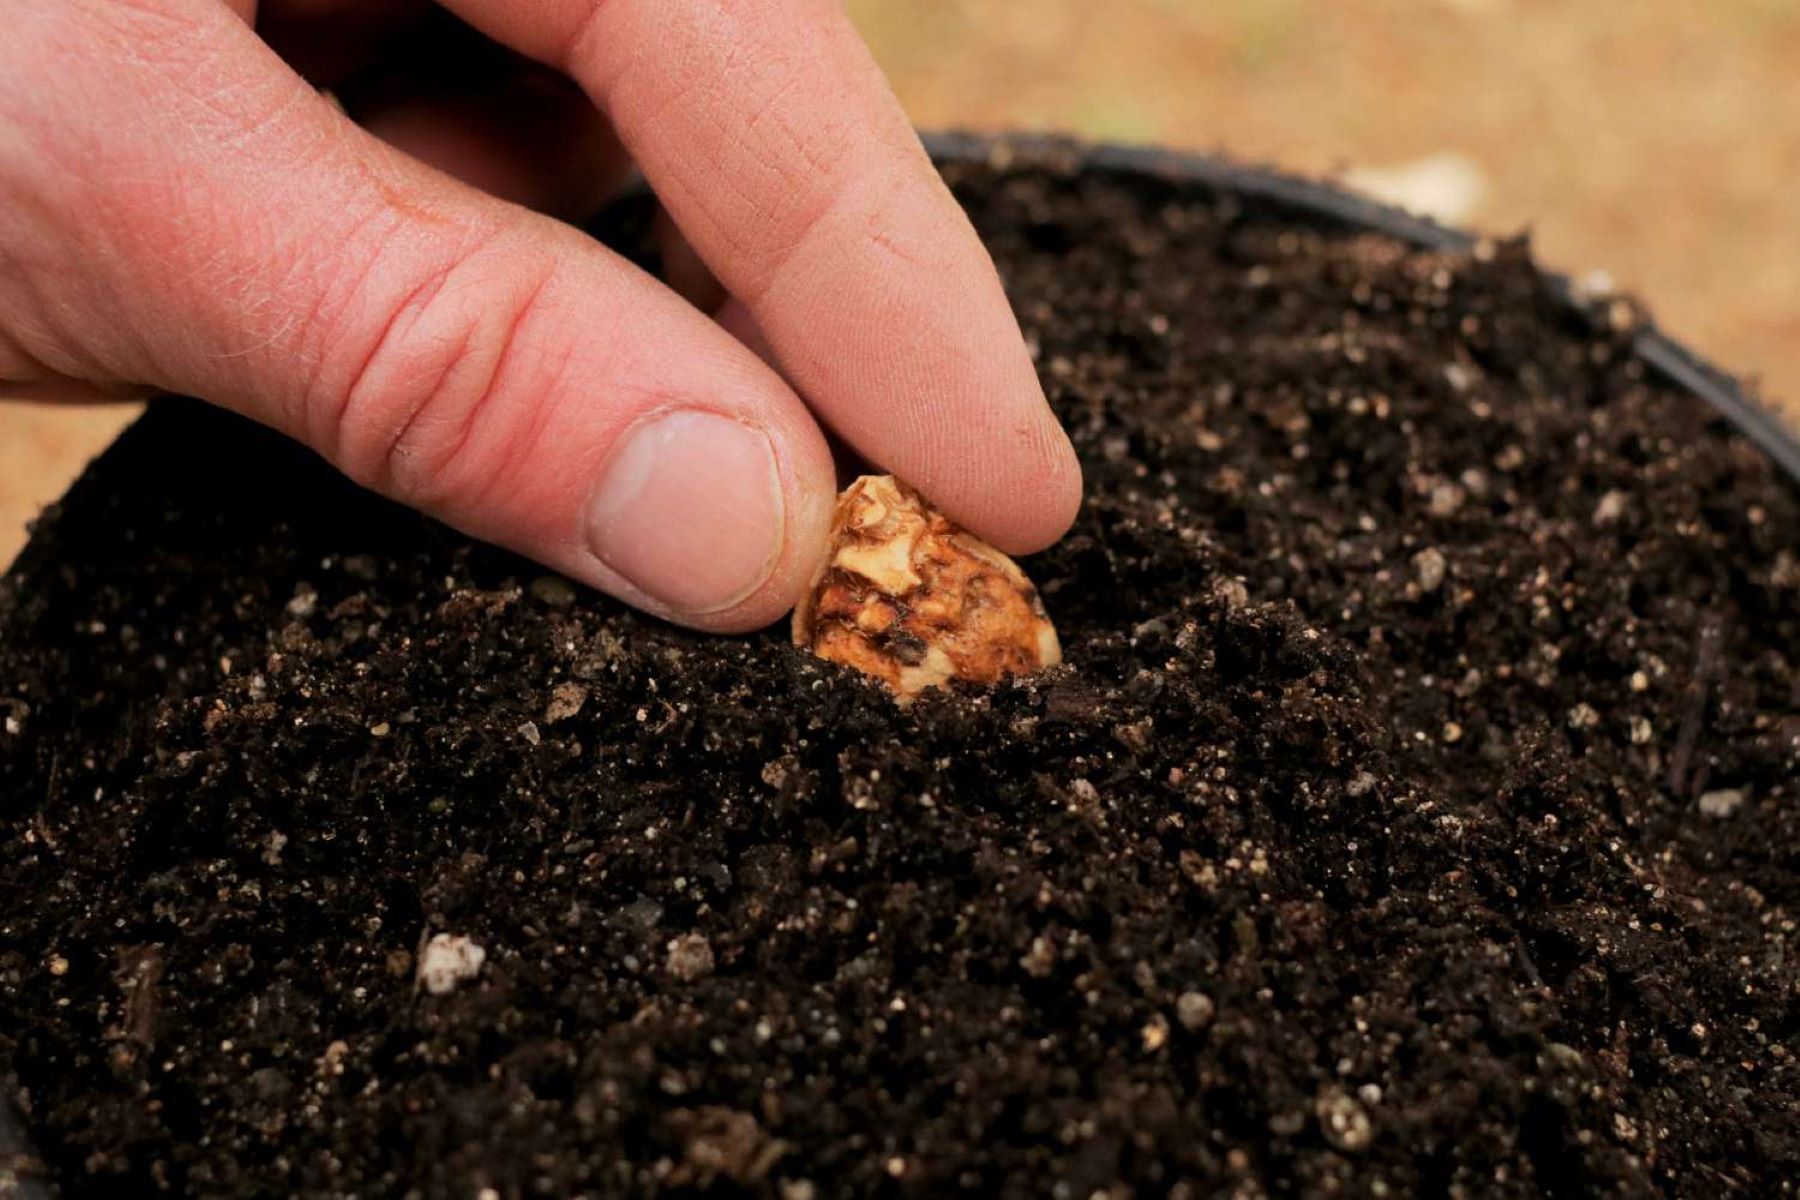
Step 3: Planting the Banana Seed
Now that you have prepared the soil, it’s time to plant the banana seed. Follow these steps to ensure successful planting:
- Place the banana seed in the prepared hole, ensuring that the pointed end is facing upwards. Gently cover the seed with soil, leaving the top portion of the seed exposed. Avoid burying the seed too deep, as it may struggle to emerge from the soil.
- Lightly press the soil around the seed to secure it in place and eliminate any air pockets. Be careful not to compact the soil too tightly, as this can hinder root growth.
- Water the newly planted seed thoroughly. Moisture is vital for germination, so make sure the soil is moist but not soggy. Avoid overwatering, as this can lead to root rot.
- Consider covering the area around the seed with a layer of organic mulch, such as straw or wood chips. Mulching helps retain moisture, suppress weed growth, and regulate soil temperature.
It’s important to note that banana seeds can take several weeks to germinate, so be patient during this process. Providing consistent moisture and warmth will help speed up germination. Keep the soil moist by watering regularly, but be cautious not to let the soil become waterlogged.
Once the seed germinates and the seedling emerges from the soil, it’s important to move on to the next step: providing adequate water and sunlight for the growing plant.
Step 4: Providing Adequate Water and Sunlight
Water and sunlight are essential for the healthy growth of your banana plant. Follow these guidelines to provide the right amount of water and sunlight:
Water:
Bananas thrive in moist soil, but they don’t tolerate waterlogged conditions. It’s important to find the right balance when it comes to watering:
- Water your banana plant regularly, especially during periods of dry weather. Aim to keep the soil consistently moist, but not overly saturated. Check the moisture level of the soil by inserting your finger about an inch deep into the soil. If it feels dry, it’s time to water.
- Avoid overwatering, as it can lead to root rot and other diseases. Ensure proper drainage by choosing well-draining soil and removing any excess water from saucers or drainage trays.
- During the growing season, provide more frequent watering to support the plant’s development. As the plant matures, adjust the watering schedule to allow the soil to dry out slightly between waterings.
- Consider using mulch around the base of the plant to help retain soil moisture and reduce water evaporation. Apply a layer of mulch, such as wood chips or straw, while keeping it a few inches away from the stem to prevent rot.
Sunlight:
Proper sunlight is crucial for the growth and fruiting of your banana plant. Follow these tips to ensure your plant receives adequate sunlight:
- Choose a planting location that receives full sun exposure. Banana plants require at least six to eight hours of direct sunlight daily for optimal growth and fruit production.
- If you live in an area with hot summers, provide some shade during the hottest part of the day to prevent sunburn. You can use shade cloth or plant your banana near taller plants or a structure that provides partial shade.
- Regularly monitor the sunlight in your garden and adjust the positioning of your banana plant if necessary. Keep in mind that nearby trees or buildings can cast shadows and affect the amount of sunlight your plant receives.
By providing your banana plant with adequate water and sunlight, you will encourage healthy growth and increase the chances of a bountiful harvest. Now, let’s move on to the next step: taking care of the seedling.
Plant banana seeds in well-draining soil, about 1 inch deep. Keep the soil consistently moist and place the plant in a warm, sunny spot. It may take 2-3 years for the plant to produce fruit.
Read more: How To Germinate Banana
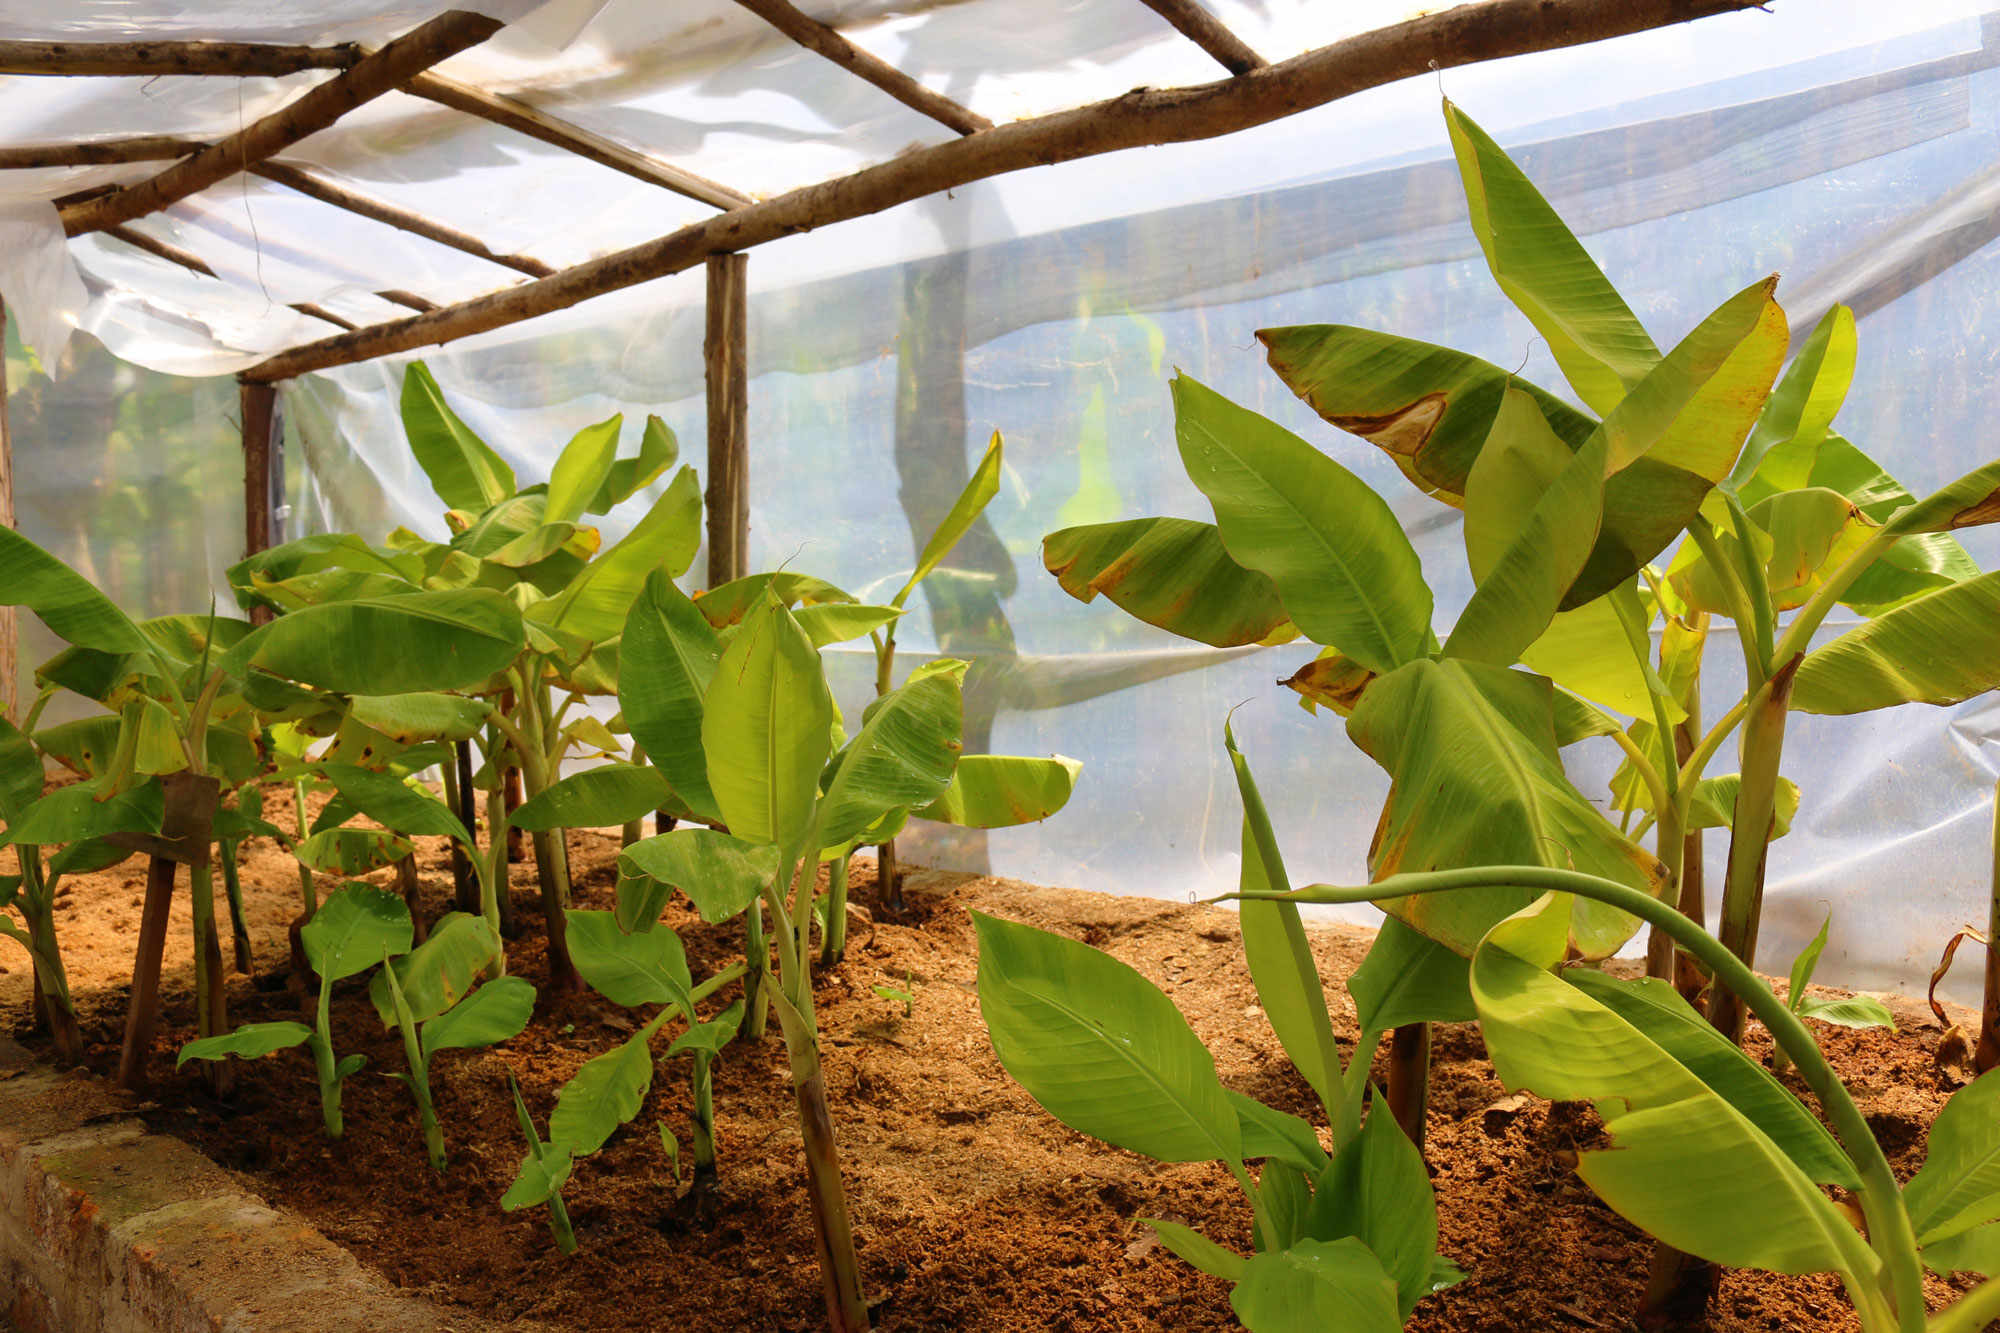
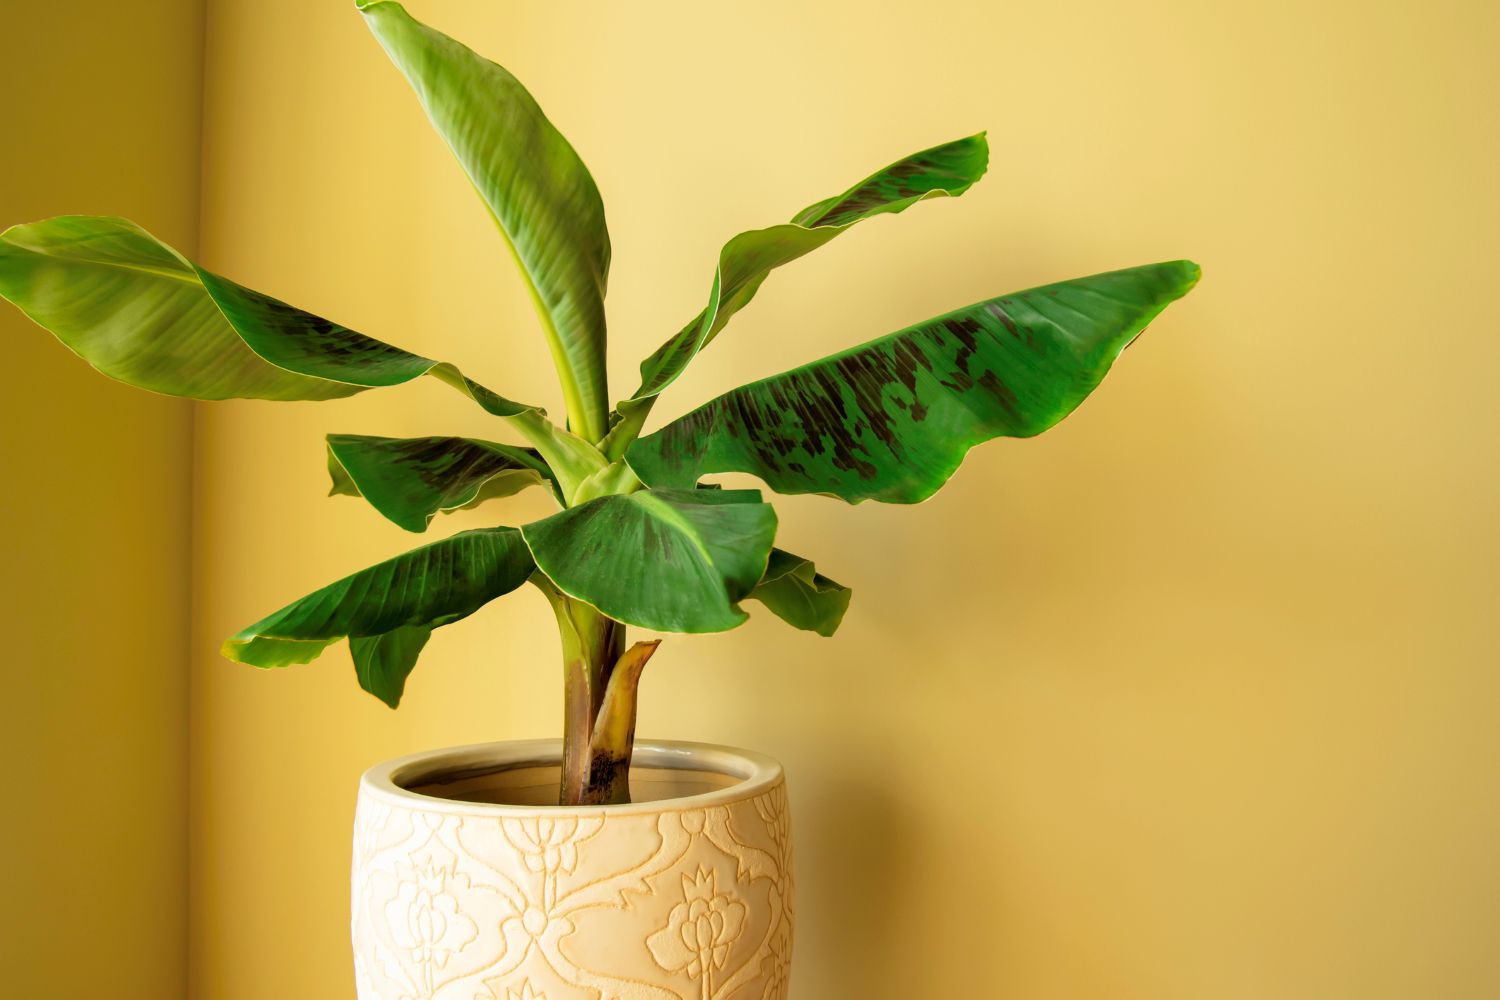
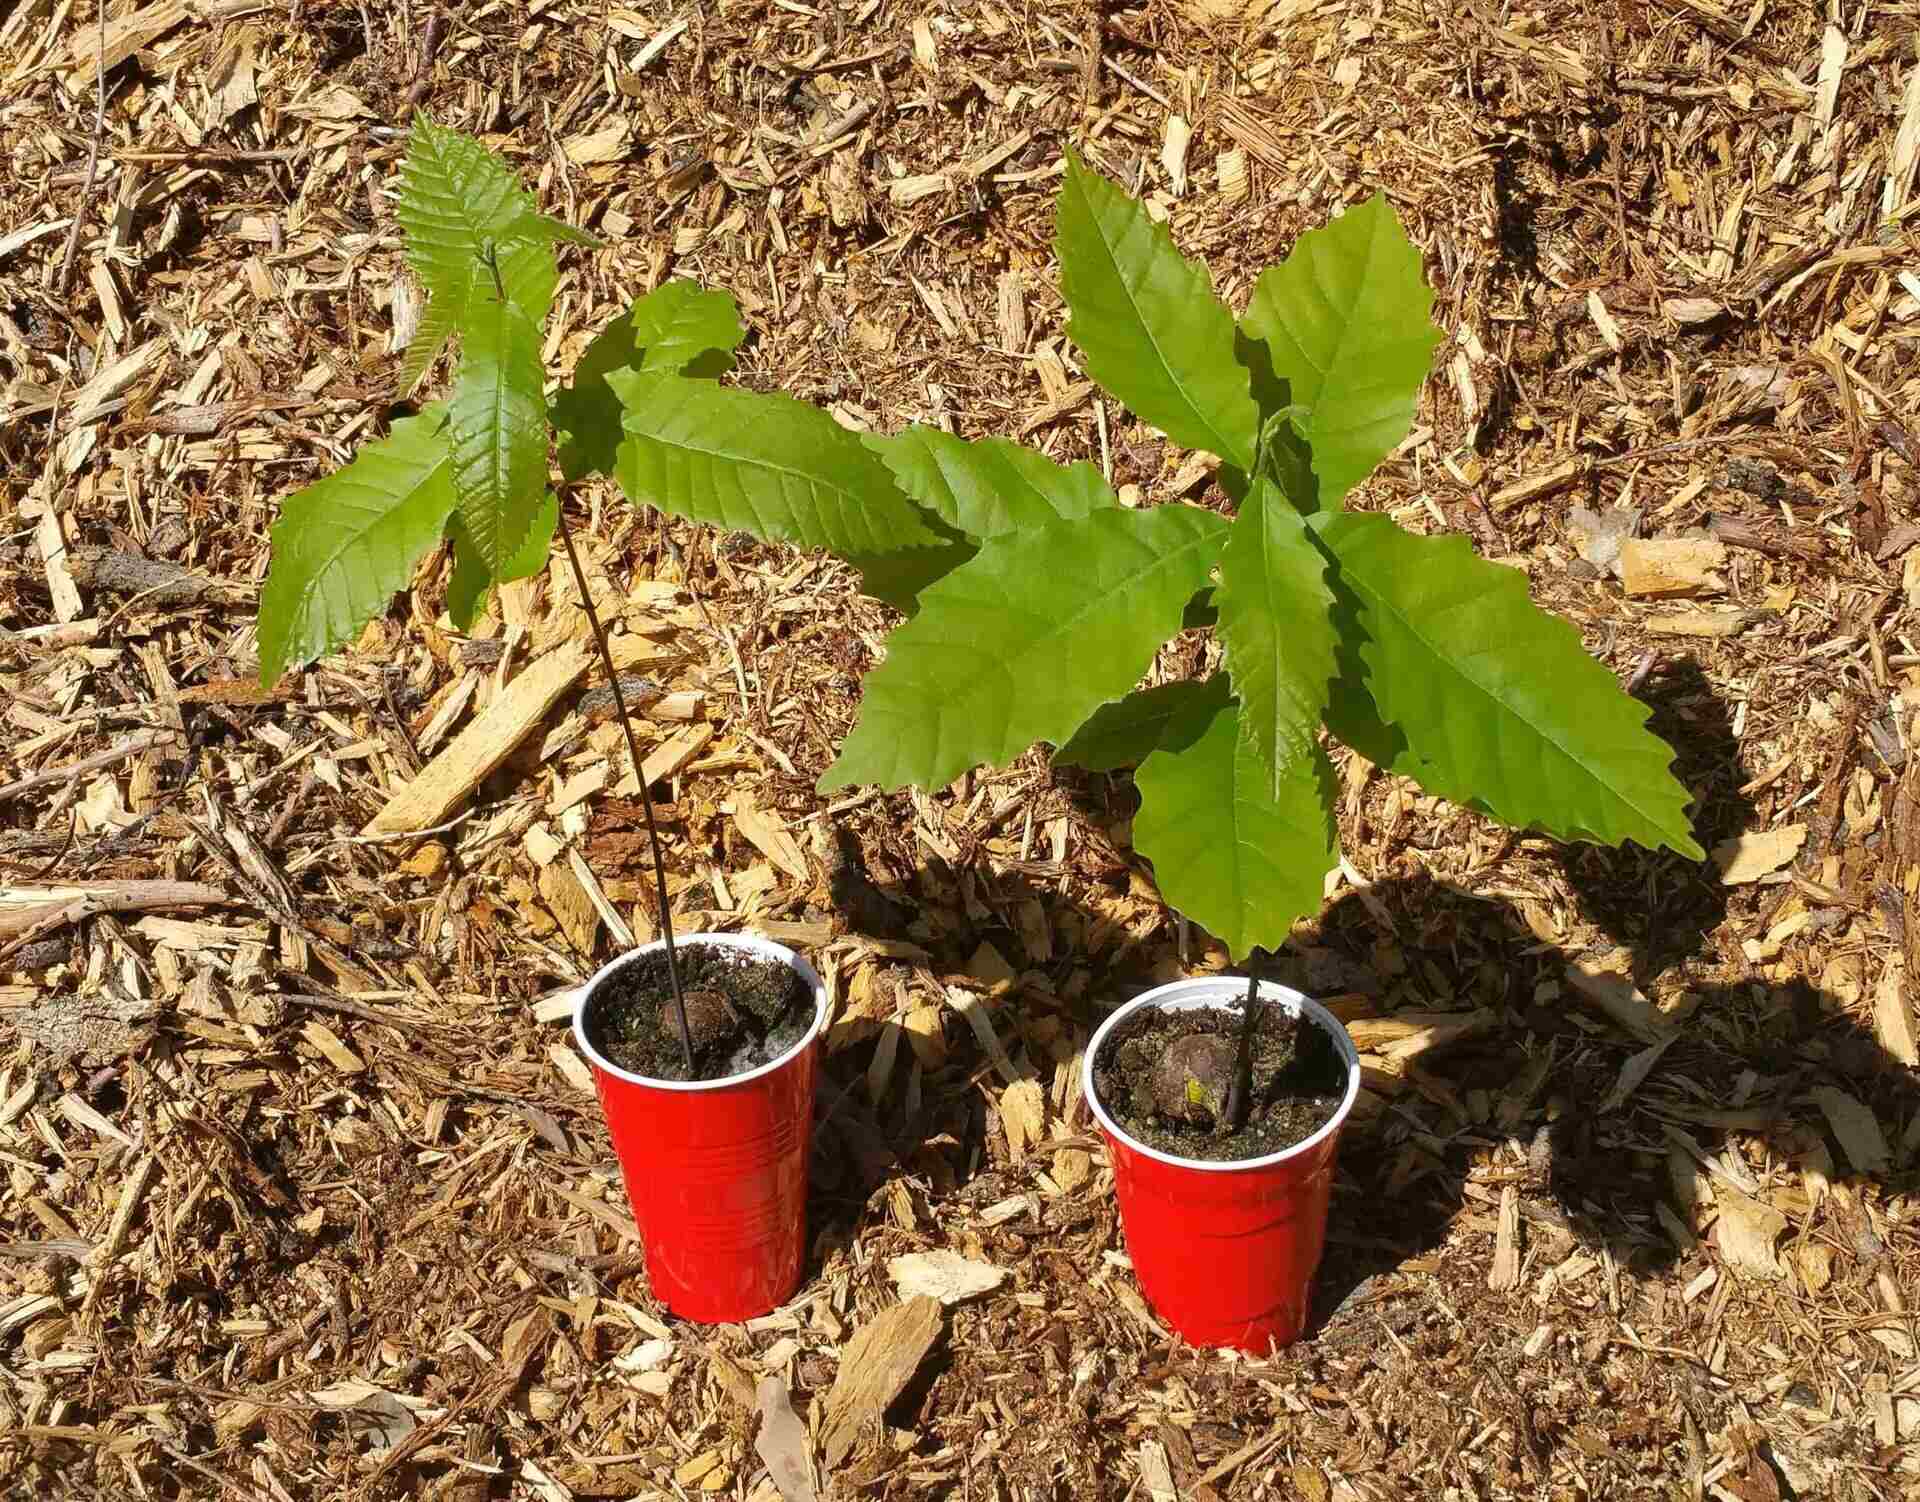
Step 5: Taking Care of the Seedling
Once your banana seedling has emerged, it’s crucial to provide proper care to ensure its health and vitality. Follow these steps to take care of your banana seedling:
- Thinning: If multiple seedlings have sprouted in close proximity, it’s important to thin them out. Choose the healthiest and strongest seedling to keep and remove the others. This will allow the chosen seedling to receive adequate space, nutrients, and sunlight for optimal growth.
- Fertilization: Banana plants are heavy feeders and require regular fertilization to thrive. Apply a balanced organic fertilizer every two to three months during the growing season. You can also use compost or organic matter to enrich the soil and provide essential nutrients.
- Mulching: Maintain a layer of organic mulch around the base of the plant to conserve moisture and suppress weed growth. Keep the mulch a few inches away from the stem to prevent rot and pests from taking shelter.
- Weed Control: Regularly inspect the area around your banana plant and remove any weeds that may compete for nutrients and water. Weeds can hinder the growth of your plant, so it’s important to keep the area clean and weed-free.
- Support: As your banana plant grows taller, it may need support to prevent it from toppling over in strong winds. Install stakes or a trellis near the plant and tie the main stem gently for support. Avoid tying too tightly, as it can restrict growth and cause damage.
- Pest and Disease Control: Monitor your banana plant for any signs of pests or diseases. Common pests that can affect banana plants include aphids, mealybugs, and banana weevils. Treat any infestations promptly using organic methods or consult with a local gardening expert for appropriate solutions.
- Regular Inspection: Regularly inspect your banana plant for any signs of stress, yellowing leaves, or other issues. Catching problems early on will allow you to address them and prevent further damage to the plant.
By providing proper care and attention to your banana seedling, you will help it grow into a strong and healthy plant. Next, we’ll discuss the process of transplanting the banana seedling, if necessary.
Step 6: Transplanting the Seedling (If Necessary)
Transplanting a banana seedling may be necessary if it outgrows its current container or if you initially planted it in a temporary location. Transplanting allows the plant to have more space for root growth and access to additional nutrients. Here’s how to transplant your banana seedling:
- Timing: The best time to transplant a banana seedling is during the warm months of spring or early summer when the plant is actively growing. Avoid transplanting during extreme temperatures or when the plant is undergoing stress.
- Prepare the new planting location: Select a new planting location that provides full sun and has well-draining soil. Dig a hole that is wide and deep enough to accommodate the root ball of the seedling. Make sure to space multiple banana plants at least 10 to 12 feet apart.
- Transplanting process: Gently remove the seedling from its current container or dig around the root ball if it was planted directly in the ground. Be careful not to damage the roots. Place the seedling in the new hole, making sure the soil level matches the level of the previous planting spot.
- Backfill and water: Fill the hole with soil, gently pressing it around the seedling to ensure firm contact. Water the transplanted seedling immediately after planting to settle the soil and provide adequate moisture.
- Care after transplanting: After transplanting, continue to provide proper care for the seedling, including regular watering, fertilization, mulching, and pest control. Monitor the plant closely for any signs of stress and make adjustments as needed.
Transplanting a banana seedling can be a delicate process, so ensure you handle the seedling with care to avoid damage to the roots. With the right conditions and ongoing care, your banana plant will continue to flourish. In the next step, we’ll discuss pruning and maintenance tips to keep your banana plant in optimal condition.
Step 7: Pruning and Maintenance Tips
Pruning and maintenance are important aspects of caring for your banana plant. Regular pruning helps to maintain the plant’s shape, promote healthy growth, and improve fruit production. Here are some pruning and maintenance tips to keep in mind:
- Remove dead or damaged leaves: Regularly inspect your banana plant and remove any dead or damaged leaves. This helps to prevent the spread of diseases and improves the overall appearance of the plant.
- Prune suckers: Banana plants tend to produce additional shoots, called suckers, from the base of the plant. These suckers can divert energy and nutrients away from the main plant. To promote a healthy and productive plant, prune the suckers regularly, leaving only one or two that you want to grow into replacement plants for the future.
- Trim excess foliage: If your banana plant has too many leaves crowding the center, selectively remove some of the older, larger leaves to improve air circulation and reduce the risk of pest or disease issues.
- Control the height of the plant: If your banana plant is growing too tall for your space or if you live in a region with colder winters, you may want to trim the top of the plant to control its height. This can be done by cutting the main stem at the desired height, but keep in mind that this will prevent the plant from producing fruit. Only consider this method if you’re not concerned about fruit production.
- Maintenance during the winter: In colder climates, it’s essential to protect your banana plant during the winter months. Before the first frost, cut off the leaves and wrap the stem with burlap or insulating material. You can also dig up the entire plant, including the roots, and store it in a cool, dry place until the following spring.
- Water and fertilize regularly: Throughout the plant’s growing season, maintain regular watering to keep the soil consistently moist. Additionally, continue to provide balanced organic fertilizer every two to three months to ensure adequate nutrients for healthy growth.
- Monitor for pests and diseases: Regularly inspect your banana plant for any signs of pests, such as aphids or banana weevils, and take appropriate measures to control them. Also, keep an eye out for common diseases like Fusarium wilt or black sigatoka. Early detection and treatment can help prevent the spread of these issues.
By practicing proper pruning and maintenance techniques, you can ensure the continued health and vitality of your banana plant. Now, let’s move on to the final step: harvesting bananas from your plant!
Step 8: Harvesting Bananas from the Plant
After months of care and patience, the time has finally come to harvest your homegrown bananas! Here are some steps to follow for a successful harvest:
- Monitor fruit maturity: Watch the bananas closely as they develop from small green fruits to their mature size and color. The time it takes for bananas to ripen will vary depending on the variety and growing conditions.
- Observe color changes: Bananas typically change color from green to yellow as they ripen. However, keep in mind that some banana varieties may remain green even when fully ripe. Refer to the specific variety’s characteristics to determine when the fruit is ready for harvest.
- Inspect fruit firmness: Gently squeeze the banana to assess its firmness. Ripe bananas should yield slightly to pressure but not be overly soft or mushy. Texture can be a good indicator of ripeness.
- Use a sharp tool: When it’s time to harvest, use a clean and sharp knife or pruning shears to cut the bunch of bananas from the plant. Cut the entire bunch close to the top stem, leaving a portion of the stem intact. Avoid pulling or twisting the bunch, as this can damage the plant.
- Handle with care: Handle the harvested bananas with care to avoid bruising or damage. Place them gently in a basket or container, taking care not to stack or squish them together. This will help preserve the quality of the fruit.
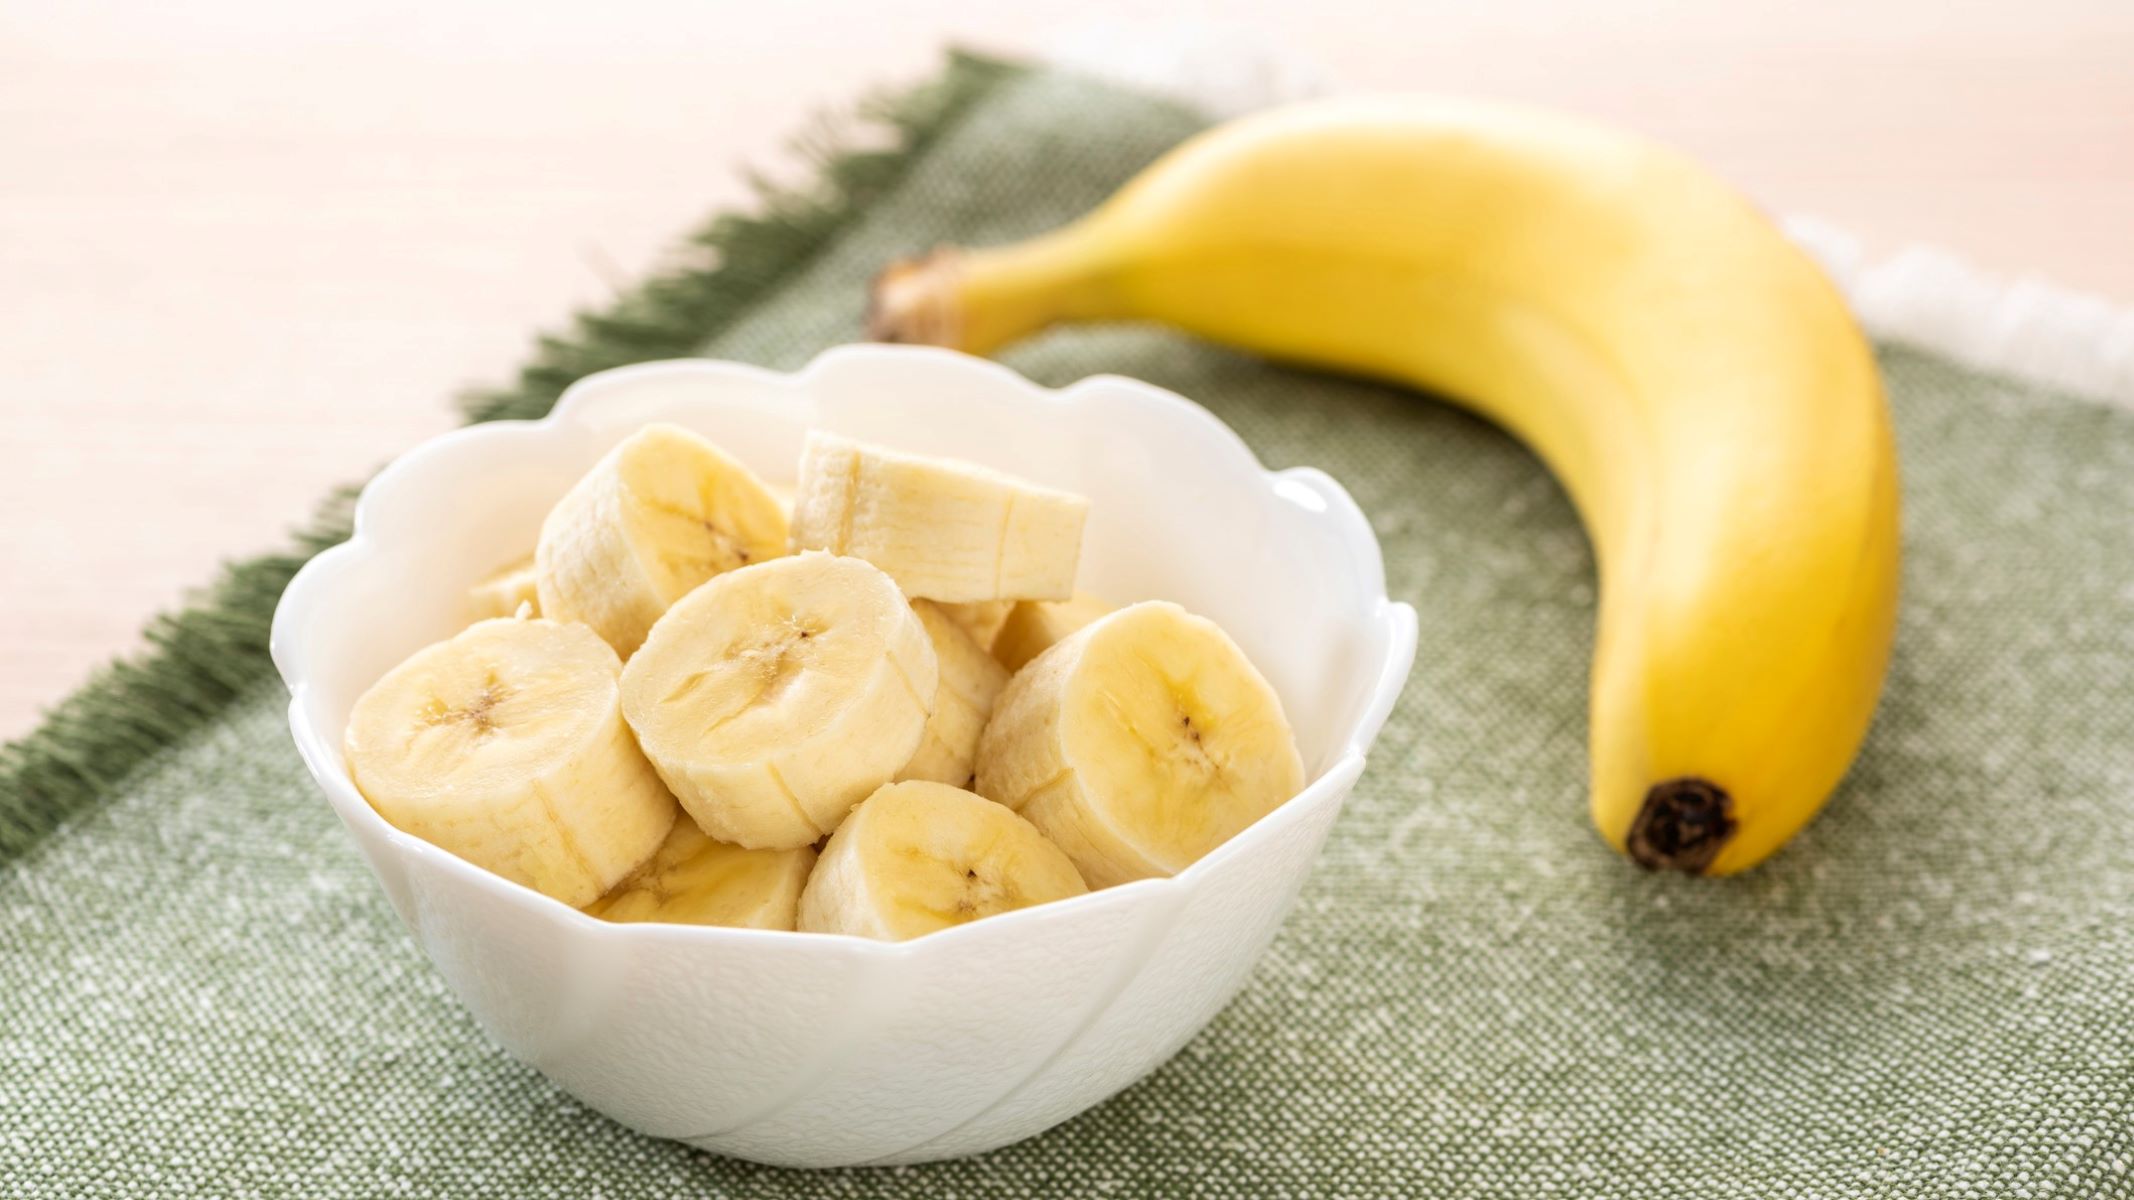
- Allow for ripening: Once harvested, bananas will continue to ripen off the plant. To speed up the ripening process, place the bananas in a paper bag with an ethylene-producing fruit, such as an apple or a ripe tomato. This will help them ripen more quickly.
- Enjoy the harvest: Once your bananas have ripened to your desired level, it’s time to enjoy the fruits of your labor! From baking delicious banana bread to adding slices to your morning cereal or smoothies, there are numerous ways to savor your homegrown bananas.
Remember to continue caring for your banana plant even after harvesting. Maintaining proper care and following the pruning and maintenance tips will help ensure a healthy and productive plant for future harvests.
Congratulations on successfully growing and harvesting your own bananas! Embrace the joy of homegrown produce and share the fruits of your labor with family and friends. Happy banana gardening!
Read more: Where Are The Seeds On A Banana
Conclusion
Growing your own bananas from a seed can be a rewarding and fulfilling experience. From selecting a healthy seed to harvesting delicious fruits, each step in the process allows you to connect with nature and nurture a plant to maturity. While bananas are typically propagated through suckers or tissue culture, planting a banana seed offers a unique and memorable journey.
Throughout this comprehensive guide, we’ve walked you through the steps of planting a banana seed, including selecting a healthy seed, preparing the soil, planting the seed, providing adequate water and sunlight, taking care of the seedling, transplanting if necessary, pruning and maintenance tips, and finally, the joy of harvesting your own homegrown bananas.
Remember that successful banana cultivation requires attention to detail, proper care, and suitable growing conditions. Maintaining a consistent moisture level, providing ample sunlight, and ensuring regular fertilization are all crucial factors in fostering healthy growth.
Furthermore, it’s important to be mindful of your specific climate and adjust your gardening practices accordingly. If you live in a colder region, you may need to take additional measures to protect your banana plant during winter months.
By following the steps outlined in this guide, you have laid the foundation for a thriving and fruitful banana plant. Embrace the process, enjoy the journey, and savor the satisfaction of nurturing a plant from seed to harvest.
Now it’s time to put your newfound knowledge into action. Gather the necessary materials, select a suitable location, and embark on your own banana-growing adventure. With dedication, patience, and a touch of green thumb, you’ll be well on your way to enjoying sweet and delicious homegrown bananas.
Happy gardening!
Frequently Asked Questions about How To Plant A Banana Seed
Was this page helpful?
At Storables.com, we guarantee accurate and reliable information. Our content, validated by Expert Board Contributors, is crafted following stringent Editorial Policies. We're committed to providing you with well-researched, expert-backed insights for all your informational needs.


0 thoughts on “How To Plant A Banana Seed”