Home>Garden Essentials>How To Plant A Chestnut Seed
Garden Essentials
How To Plant A Chestnut Seed
Modified: August 16, 2024
# Learn how to plant a chestnut seed in your garden with step-by-step instructions and expert tips. Start growing your own chestnut tree today!
(Many of the links in this article redirect to a specific reviewed product. Your purchase of these products through affiliate links helps to generate commission for Storables.com, at no extra cost. Learn more)
Introduction
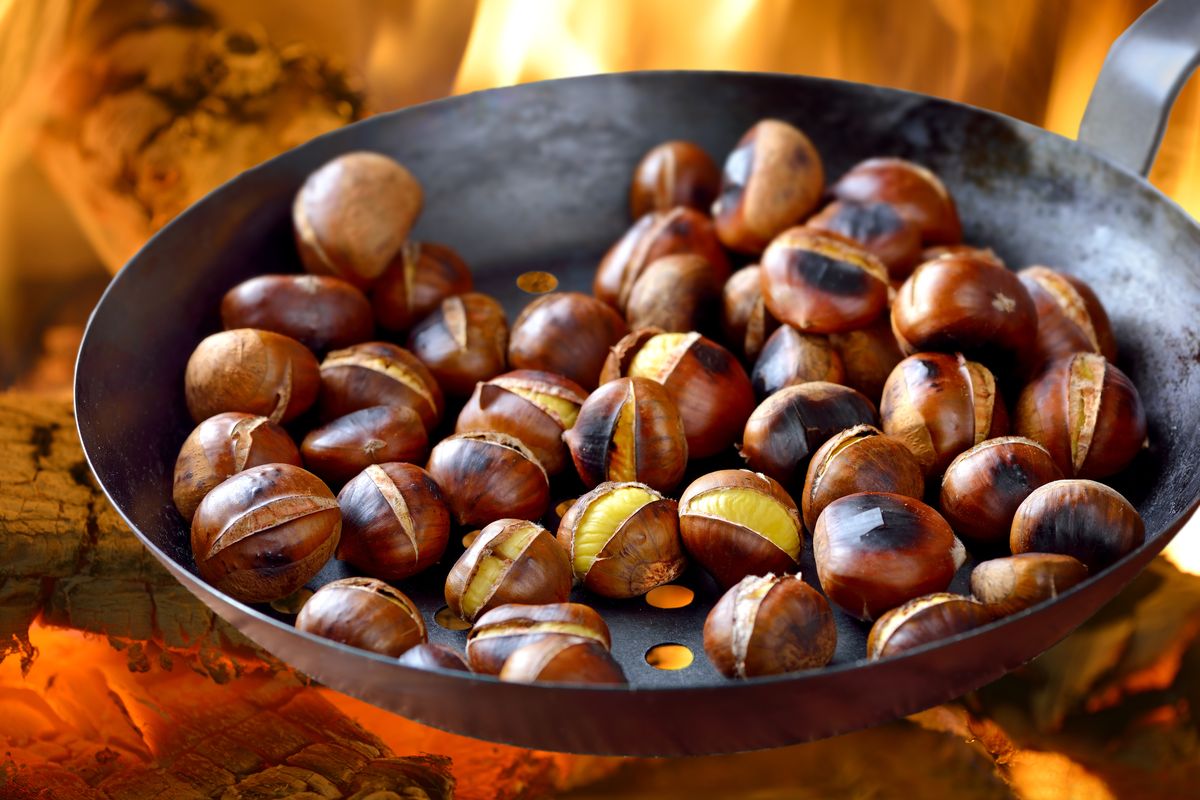
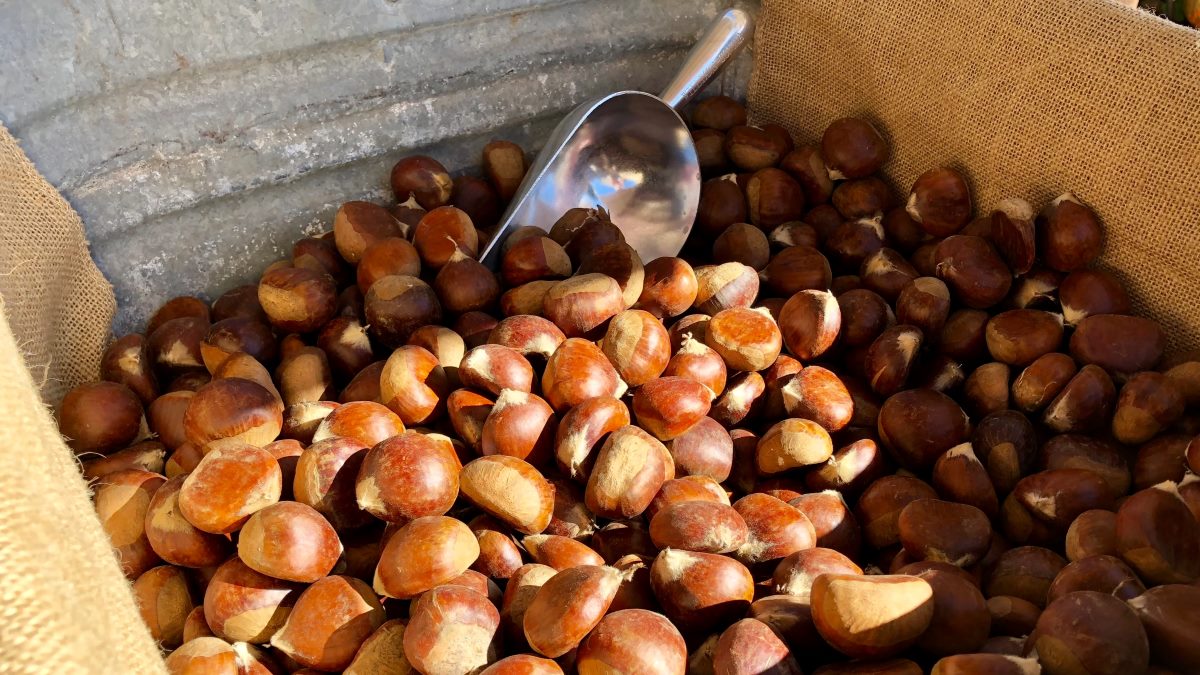
Gardening is a fulfilling and rewarding activity that allows individuals to connect with nature and nurture beautiful plants. If you’re looking to add a unique and delicious tree to your garden, planting a chestnut seed is an excellent choice. Chestnut trees are not only aesthetically pleasing, but they also produce delectable nuts that can be enjoyed roasted, boiled, or even ground into a fine flour for baking.
In this article, we will guide you through the process of planting a chestnut seed and caring for the seedling as it grows into a magnificent tree. Whether you’re an experienced gardener or a novice enthusiast, this step-by-step guide will provide you with the knowledge and confidence to successfully grow a chestnut tree in your garden.
Key Takeaways:
- Planting a chestnut seed requires choosing the right seed, preparing the soil, germinating the seed, and providing proper care. Enjoy the journey and look forward to a bountiful harvest in the future!
- To successfully grow a chestnut tree, select a high-quality seed, prepare the soil with the right pH and nutrients, germinate the seed, and provide consistent care. With patience and attention, you’ll soon enjoy the delicious nuts from your thriving chestnut tree!
Read more: How To Get Chestnuts To Germinate
Choosing the Right Chestnut Seed
Before you begin the process of planting a chestnut seed, it’s important to choose the right seed. Opting for a high-quality seed will greatly increase your chances of growing a healthy and robust chestnut tree.
When selecting a chestnut seed, consider the following factors:
- Variety: Chestnut trees come in different varieties, each with its own characteristics and requirements. Choose a variety that is suitable for your climate and growing conditions.
- Freshness: Look for chestnut seeds that are fresh and recently harvested. Fresh seeds are more likely to germinate successfully.
- Size: Select seeds that are full-sized and plump. Avoid seeds that are too small or wrinkled as they may have a lower germination rate.
- Healthy Appearance: Examine the seed for any signs of damage or disease. Choose seeds that are free from cracks, blemishes, or mold.
It’s worth noting that chestnut seeds can be obtained from nurseries or harvested directly from mature chestnut trees. If you choose to harvest your own seeds, ensure they are collected from healthy and disease-free trees.
Now that you’ve selected the perfect chestnut seed, let’s move on to the next step: preparing the soil.
Preparing the Soil
The success of your chestnut seedling largely depends on the quality of the soil it is planted in. Before planting, it’s essential to prepare the soil to create an optimal environment for the seedling to thrive.
Follow these steps to prepare the soil:
- Choose a Suitable Location: Chestnut trees prefer well-drained soil with a pH level between 6.0 and 7.5. Select a sunny spot in your garden that meets these criteria.
- Clear the Area: Remove any weeds, grass, rocks, or debris from the planting site. This will prevent competition for nutrients and ensure the seedling has ample space to grow.
- Loosen the Soil: Use a garden fork or tiller to loosen the soil to a depth of 12-18 inches. This will promote root growth and allow for easy penetration of water and nutrients.
- Improve Drainage: If your soil is heavy and prone to waterlogging, add organic matter such as compost or well-rotted manure. This will help improve drainage and prevent root rot.
- Test and Adjust Soil pH: Use a soil testing kit to determine the pH level of the soil. If the pH is too acidic (below 6.0), add lime to raise the pH. If it is too alkaline (above 7.5), add sulfur to lower the pH.
- Amend Nutrient Deficiencies: Assess the nutrient levels in your soil and amend any deficiencies by adding organic fertilizers or specific nutrients recommended for chestnut trees.
By taking the time to properly prepare the soil, you are creating an ideal foundation for your chestnut seedling to establish itself and flourish.
Now that the soil is ready, let’s move on to germinating the chestnut seed.
Germinating the Chestnut Seed
Germinating the chestnut seed is a crucial step in the process of growing a chestnut tree. This stage allows the seed to sprout and develop an initial root system before it is planted in the soil.
Here’s a step-by-step guide to germinate your chestnut seed:
- Soaking: Fill a container with room temperature water and place the chestnut seed inside. Allow it to soak for 24 hours. This helps soften the seed coat and promotes germination.
- Stratification: After soaking, transfer the seed to a sealable plastic bag along with some moist peat moss or vermiculite. Seal the bag and place it in the refrigerator for 2-3 months. This cold stratification mimics winter conditions and breaks the seed’s dormancy.
- Monitoring: Check the seed regularly to ensure the peat moss or vermiculite is still moist. If it starts to dry out, mist it with water to maintain a consistently moist environment.
- Rooting: Once the 2-3 months have passed, remove the seed from the refrigerator. You should see signs of root growth. If the roots are at least 1 inch long, the seed is ready to be planted.
It’s important to note that not all chestnut seeds will germinate successfully. Some seeds may rot or fail to sprout. That’s why it’s recommended to stratify multiple seeds to increase your chances of success.
Now that your chestnut seed has successfully germinated, it’s time to move on to the next step: planting the seed in the soil.
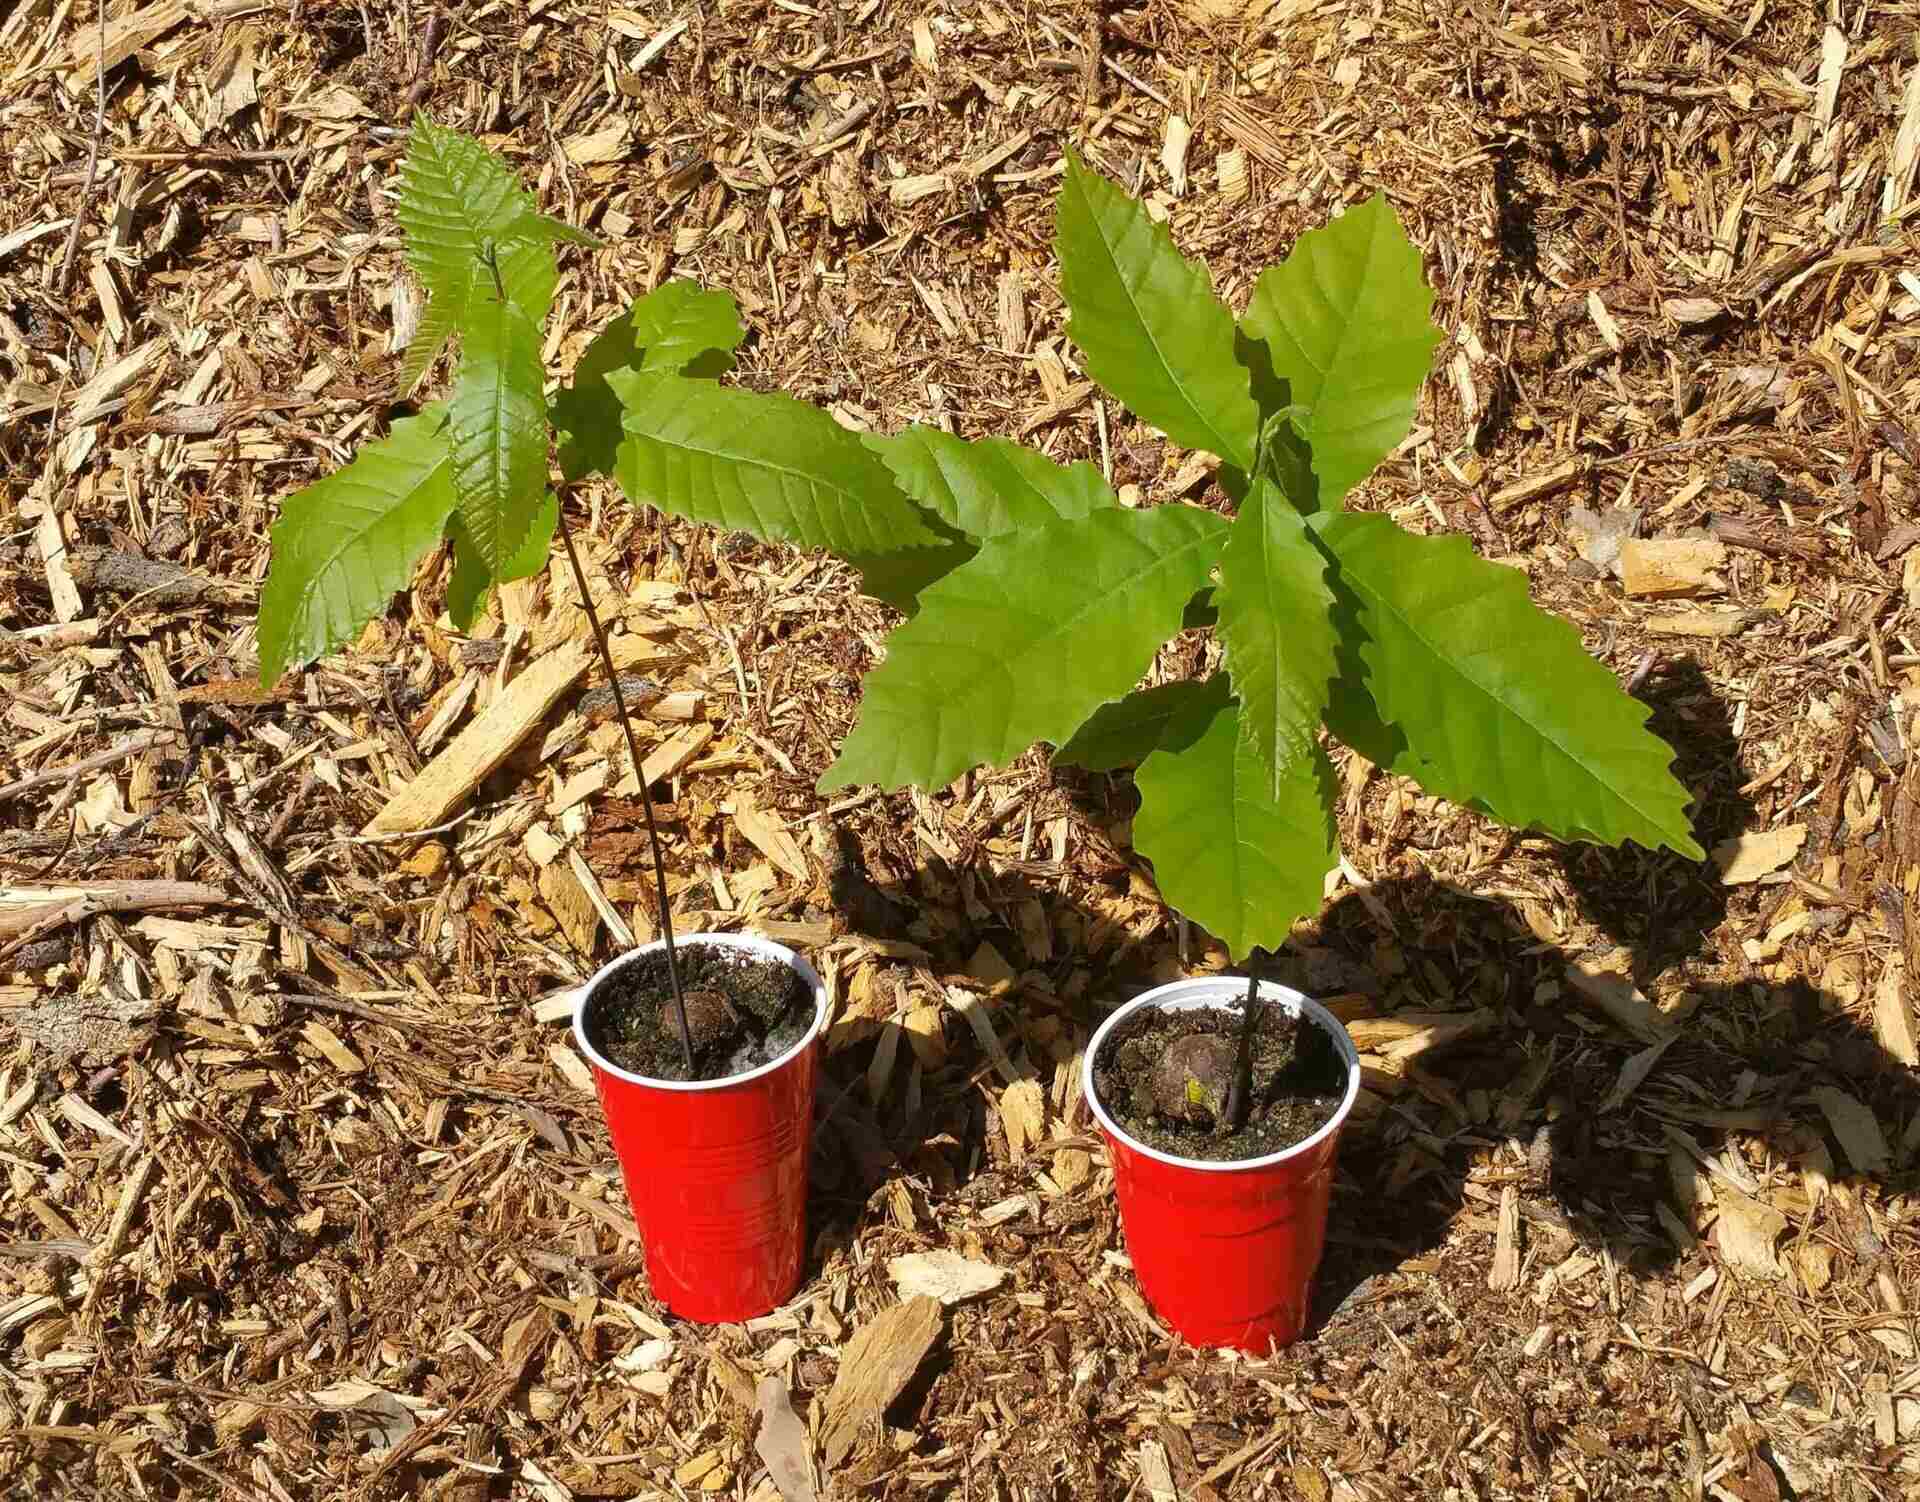
Make sure to plant your chestnut seed in well-draining soil and in a spot with plenty of sunlight. Keep the soil consistently moist, but not waterlogged, and protect the young seedling from harsh winds.Planting the Chestnut Seed
Now that your chestnut seed has germinated, it’s time to plant it in the soil and give it the opportunity to grow into a thriving chestnut tree. Follow these steps to properly plant your chestnut seed:
- Prepare the Planting Hole: Dig a hole in the prepared soil that is roughly twice the size of the root system of the germinated chestnut seedling. Make sure the hole is deep enough to accommodate the roots without bending or crowding.
- Place the Seedling: Carefully remove the chestnut seedling from the germination container, handling it by the leaves or root system. Gently place the root system into the planting hole, ensuring that the root collar (where the stem meets the roots) is level with or slightly above the soil surface.
- Backfill the Hole: Fill the hole with the previously loosened soil, gently firming it around the roots. Avoid compacting the soil too tightly, as this can hinder root development.
- Water Thoroughly: After planting, thoroughly water the seedling to settle the soil and provide moisture for root growth. Keep the soil consistently moist but not waterlogged throughout the growing season.
- Provide Support: If your chestnut seedling is tall and slender, consider staking it to provide support until it becomes more established. Use soft ties to secure the seedling to the stake, being careful not to damage the fragile stem.
It’s important to note that chestnut trees are self-pollinating, meaning they do not require a separate tree for pollination. However, if you want to ensure a good yield of chestnuts, consider planting multiple chestnut trees to enhance cross-pollination and improve fruit set.
Now that your chestnut seedling is planted, it’s time to move on to the next step: caring for the chestnut seedling as it grows into a mature tree.
Read more: How To Grow Chestnut Trees From Seed
Caring for the Chestnut Seedling
Proper care is essential to ensure the healthy growth and development of your chestnut seedling into a mature and productive tree. Follow these care guidelines to give your seedling the best chance of success:
- Watering: Provide regular and consistent moisture to the seedling, especially during the first year. Aim to keep the soil evenly moist but not waterlogged. Deep, thorough watering is preferable to frequent shallow watering.
- Mulching: Apply a layer of organic mulch around the base of the seedling to help conserve moisture, suppress weeds, and regulate soil temperature. Keep the mulch a few inches away from the stem to avoid rot.
- Fertilization: While chestnut trees typically grow well without additional fertilization, you can apply a balanced fertilizer in early spring to provide a nutrient boost. Follow the manufacturer’s instructions for proper application rates.
- Pruning: Prune the seedling during the dormant season to promote a strong and well-shaped structure. Remove any dead, damaged, or crossing branches, as well as any suckers that emerge from the base of the tree.
- Protection from Pests and Diseases: Monitor the seedling for any signs of pests or diseases, such as chestnut weevils or chestnut blight. If any issues arise, consult with a local horticulturist or extension service for appropriate treatments.
- Winter Protection: Provide winter protection for your chestnut seedling by wrapping the trunk with a tree wrap or using a portable shelter if you live in an area with harsh winters. This will help prevent frost and cold damage.
As your chestnut seedling grows, it will begin to develop a strong root system and establish itself in the garden. Be patient and provide consistent care, and in a few years, you will be rewarded with a majestic chestnut tree.
Chestnut trees typically start bearing fruit after 3-5 years, with a full harvest expected in 7-10 years. Enjoy the process and look forward to the delicious harvest that awaits you!
Conclusion
Planting a chestnut seed and watching it grow into a magnificent tree is a rewarding journey that brings both beauty and bountiful harvests to your garden. By following the steps outlined in this guide, you can successfully plant and care for a chestnut seedling, ultimately enjoying the delicious and nutritious nuts it produces.
Remember that choosing the right chestnut seed, preparing the soil, germinating the seed, and planting it properly are crucial steps in ensuring the seedling’s success. Additionally, providing adequate care, including watering, mulching, fertilizing, pruning, and protecting against pests and diseases, will help your chestnut seedling develop into a strong and productive tree.
Be patient and attentive as you nurture your chestnut seedling. With time, it will establish its roots and grow into a beautiful and fruitful tree that will bring joy and satisfaction for years to come.
So, roll up your sleeves, put on your gardening gloves, and embark on this exciting journey of planting a chestnut seed. Enjoy the process, connect with nature, and savor the delightful rewards of your efforts.
Frequently Asked Questions about How To Plant A Chestnut Seed
Was this page helpful?
At Storables.com, we guarantee accurate and reliable information. Our content, validated by Expert Board Contributors, is crafted following stringent Editorial Policies. We're committed to providing you with well-researched, expert-backed insights for all your informational needs.


0 thoughts on “How To Plant A Chestnut Seed”