Home>Garden Essentials>How To Grow Cherry Blossom Tree From Seed

Garden Essentials
How To Grow Cherry Blossom Tree From Seed
Modified: August 28, 2024
Learn how to grow a beautiful cherry blossom tree in your garden from seed with our step-by-step guide. Achieve stunning results and enjoy the beauty of these iconic flowers.
(Many of the links in this article redirect to a specific reviewed product. Your purchase of these products through affiliate links helps to generate commission for Storables.com, at no extra cost. Learn more)
Introduction
Growing a cherry blossom tree from seed can be a rewarding and fulfilling experience. The delicate and breathtaking beauty of cherry blossoms have captivated people around the world for centuries, making them a popular choice for garden enthusiasts. While it may take some time and patience, the process of growing a cherry blossom tree from seed allows you to witness the complete life cycle of this iconic tree, from a tiny seed to a magnificent blooming spectacle.
Before diving into the step-by-step process of growing a cherry blossom tree from seed, it’s important to understand a few key aspects. Cherry blossoms, also known as Sakura, are native to Japan and are revered for their elegant pink or white flowers that bloom in the spring. These stunning flowers symbolize renewal and the transient nature of life according to Japanese culture. Cherry blossom trees can grow up to 25 feet tall, and their blossoms typically last for a short period, usually a week or two.
Growing a cherry blossom tree from seed offers a sense of accomplishment and allows you to create a lasting connection with this beautiful symbol of nature. It also provides you with the opportunity to cultivate your gardening skills and gain a deeper understanding of the lifecycle of trees. So, if you’re up for the challenge, let’s dive into the step-by-step process of growing your very own cherry blossom tree from seed.
Key Takeaways:
- Growing a cherry blossom tree from seed requires patience and care, from collecting and preparing the seeds to nurturing the seedlings. The process culminates in the joy of witnessing the tree’s magnificent blossoms.
- Cherishing the blossoming cherry tree is a magical experience that reminds us to appreciate the beauty of nature and the fleeting moments of life. It’s a journey filled with wonder and satisfaction.
Read more: How To Plant A Cherry Tree From Seed
Step 1: Collecting cherry blossom seeds
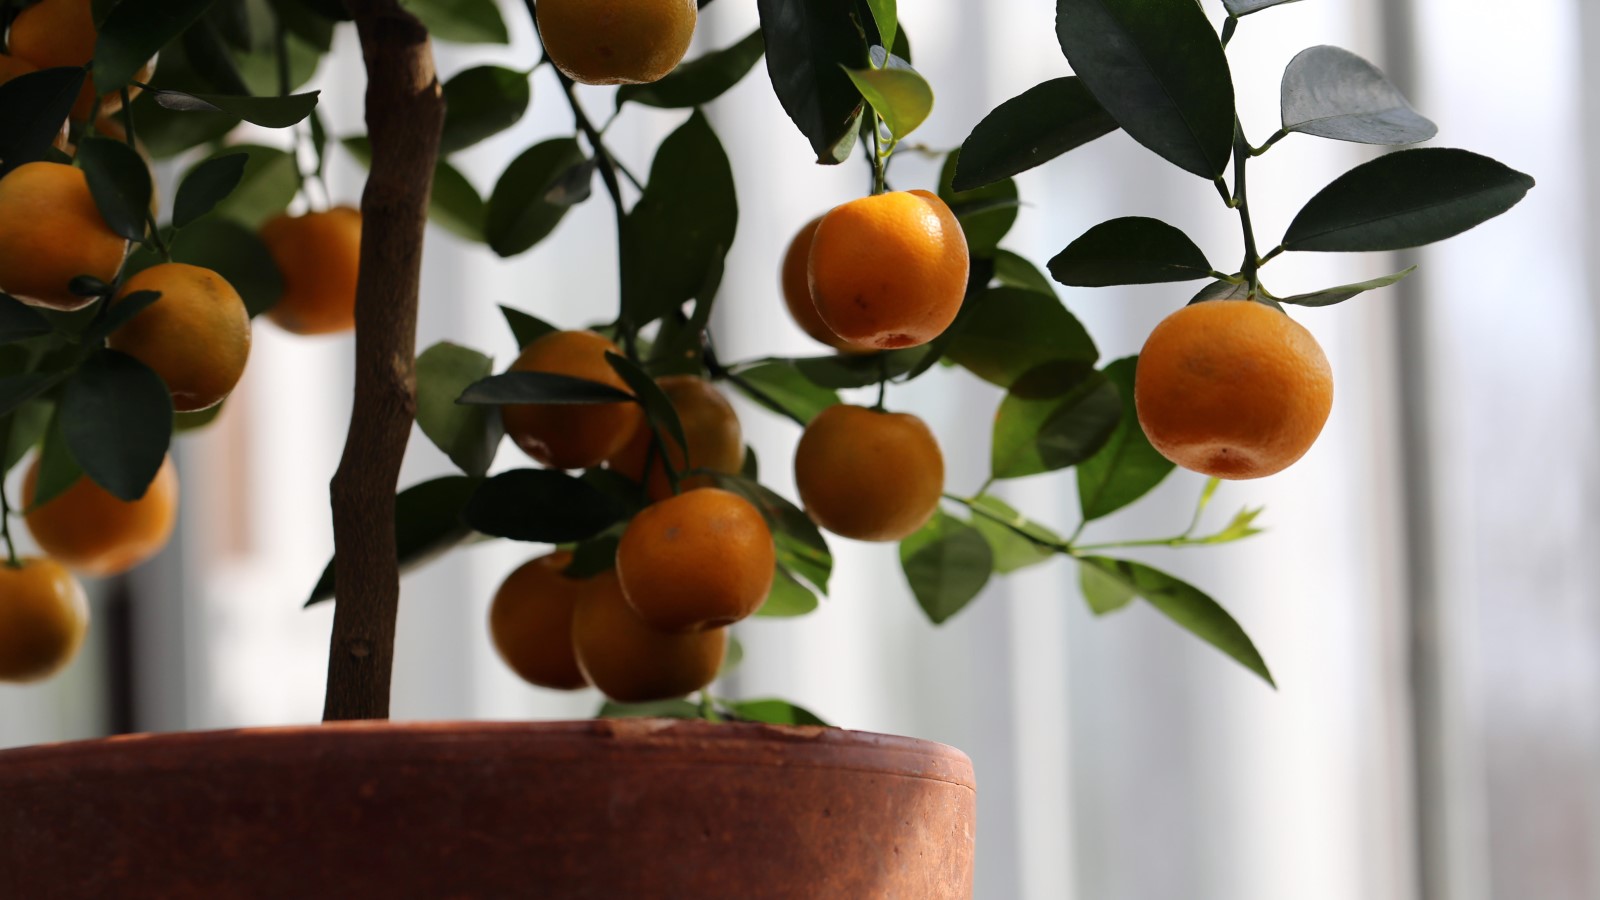
The first step in growing a cherry blossom tree from seed is to collect the seeds. Cherry blossom seeds can be obtained from mature cherry trees or purchased from a reputable seed supplier. If you have access to a fully grown cherry tree, you can collect the seeds by gently shaking the branches when the fruits are ripe. The ripe fruits will fall to the ground, and you can carefully collect the seeds from them. Alternatively, you can purchase cherry blossom seeds from a garden center or online.
When collecting seeds from a cherry tree, it’s important to ensure that the tree you choose is indeed a cherry blossom tree and not another variety of cherry tree. Cherry blossom trees produce small, round fruits that can range in color from green to dark red. The fruits should have a sweet aroma and be soft to the touch when they are ready to be harvested. It’s best to collect the seeds in the fall when the fruits have ripened and are starting to fall from the tree naturally.
Once you have collected the cherry blossom seeds, you should separate them from the fruit pulp. Gently wash the seeds with water to remove any remaining fruit residue. Be careful not to damage the seeds during this process. After washing, spread the seeds out on a paper towel or a mesh screen to dry. Allow them to dry completely for a few days before proceeding to the next step. It’s essential to ensure that the seeds are thoroughly dried to prevent mold or rotting during the germination process.
Now that you have successfully collected and prepared the cherry blossom seeds, you are ready to move on to the next step: preparing the seeds for planting.
Step 2: Preparing the seeds for planting
Preparing the cherry blossom seeds for planting is a crucial step in ensuring successful germination and healthy growth of your future cherry blossom tree. Follow these steps to properly prepare the seeds:
- Stratification: Cherry blossom seeds require a period of cold stratification to mimic the natural conditions they would experience during winter. This process helps to break the seed’s dormancy and promote germination. To stratify the seeds, place them in a moist paper towel or a ziplock bag with some damp peat moss. Seal the bag and refrigerate it for 6 to 8 weeks. This cold treatment will help break the seeds’ dormancy and initiate the germination process.
- Scarification: After the stratification period, some cherry blossom seeds may have a hard outer shell that can inhibit germination. To improve their chances of sprouting, you can scarify the seeds. This involves gently scratching the outer surface of the seed with sandpaper or a small knife. Be careful not to damage the inner tissue of the seed. Scarification helps to create small openings in the seed coat, allowing water to penetrate and trigger germination more easily.
- Water soaking: Once the seeds have been scarified, they can benefit from a water soaking process. Fill a bowl with room temperature water and place the scarified seeds in it. Allow them to soak for 24 to 48 hours. This step helps to hydrate the seeds, further promoting germination.
- Seed viability: Before proceeding with planting, it’s a good idea to test the viability of your cherry blossom seeds. Take a few seeds and place them on a damp paper towel or in a small container with moist soil. Keep them in a warm and well-lit area. After a week or two, check if any of the seeds have started to sprout. This will give you an indication of the seed’s viability and help you determine which seeds are most likely to produce healthy seedlings.
By properly preparing the cherry blossom seeds, you are setting the foundation for successful germination and growth. With the seeds now ready, it’s time to move on to creating the ideal planting environment for your cherry blossom tree.
Step 3: Creating the ideal planting environment
Creating the ideal planting environment for your cherry blossom seeds is crucial for their successful germination and growth. Here are the key factors to consider:
- Light: Cherry blossom trees thrive in full sunlight. Choose a location in your garden or outdoor space that receives at least 6 to 8 hours of direct sunlight each day.
- Soil: Cherry blossom trees prefer well-drained soil with a slightly acidic pH level between 6.0 and 6.5. Conduct a soil test to determine the pH level and make any necessary amendments to achieve the ideal soil conditions.
- Moisture: While cherry blossom trees prefer well-drained soil, they also require consistent moisture during their early growth stages. Ensure that the planting area has access to regular watering, either through manual watering or irrigation systems.
- Temperature: Cherry blossom trees are typically hardy in USDA hardiness zones 5 to 8. Consider the local climate and ensure that the planting area provides the appropriate temperature range for the cherry blossom tree to thrive.
- Protection: To protect the cherry blossom seedlings from strong winds or harsh weather conditions, consider creating a windbreak or using natural barriers such as shrubs or fences.
Once you have identified a suitable planting location, you can proceed to prepare the soil. Remove any existing weeds or debris, and loosen the soil by tilling or digging. Incorporate organic matter such as compost or well-aged manure to improve soil fertility and drainage. This will provide a nutrient-rich environment for the cherry blossom seeds to establish their roots.
With the ideal planting environment in place, you are now ready to move on to the exciting part – planting the cherry blossom seeds!
Step 4: Planting the cherry blossom seeds
Planting the cherry blossom seeds is an exciting step in the process of growing your own cherry blossom tree. Follow these steps to ensure successful planting:
- Planting container: Choose a planting container that is at least 6 inches deep and has drainage holes to prevent waterlogging. You can also use biodegradable pots made of peat or coconut fibers, which can be directly planted in the ground when the seedlings are ready for transplanting.
- Seed placement: Fill the planting container with a well-draining potting mix, leaving about 1 inch of space below the rim. Make small holes in the soil, about 1 inch apart, and place a cherry blossom seed in each hole. Cover the seeds with a thin layer of soil, approximately 1/4 inch deep. Lightly press down on the soil to ensure good seed-to-soil contact.
- Watering: After planting, thoroughly water the container until the soil is evenly moist. Ensure that excess water can drain out of the container. Place the container in a warm and well-lit area, away from direct sunlight.
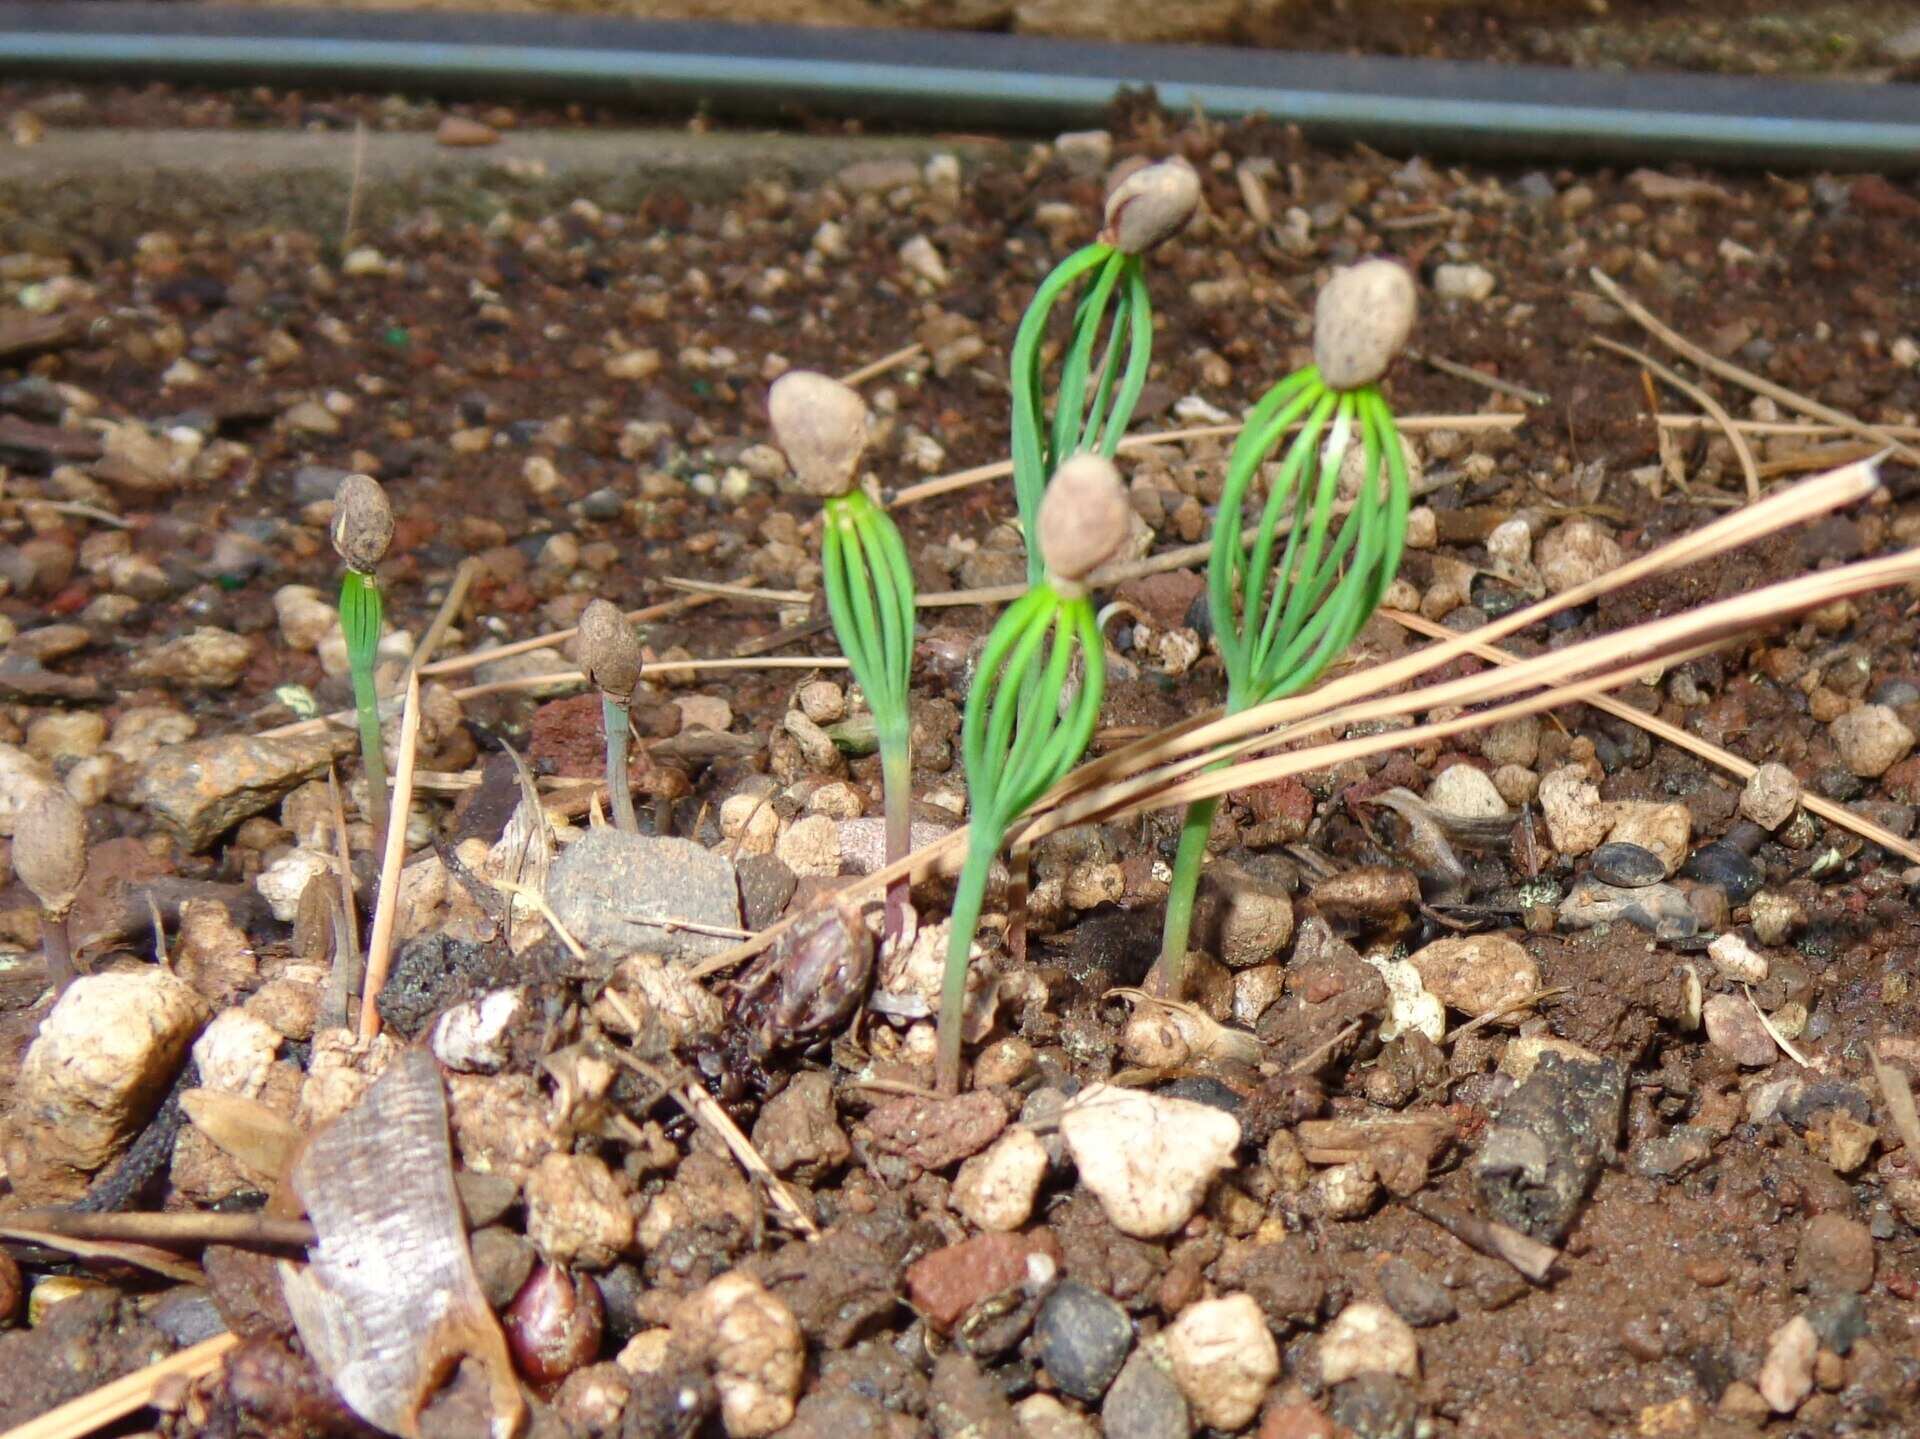
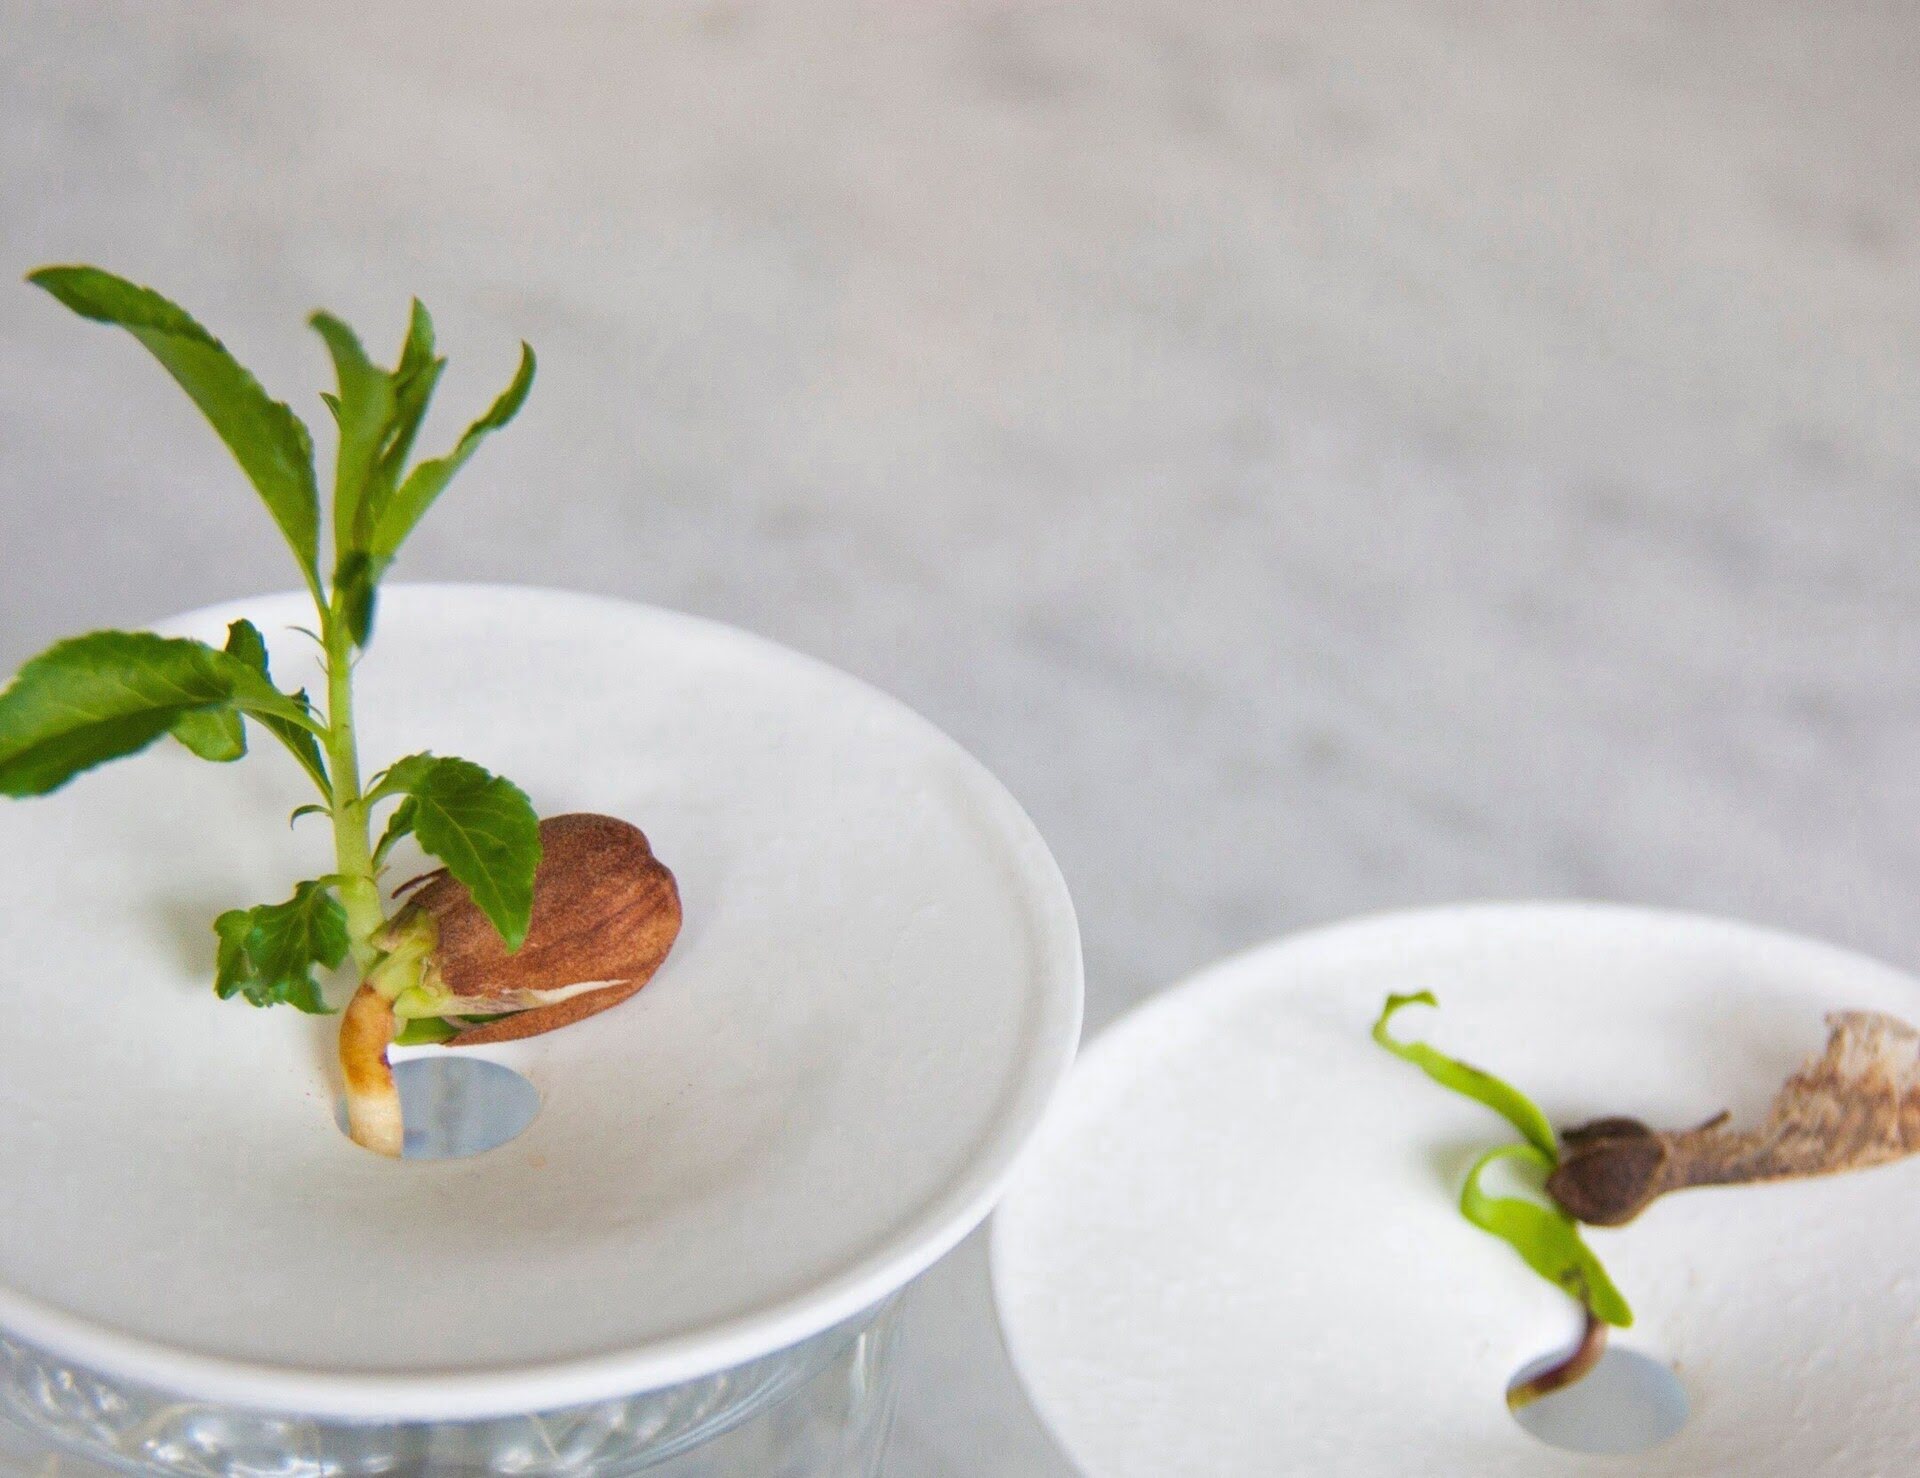
- Germination: It may take several weeks for the cherry blossom seeds to germinate. During this time, maintain consistent moisture in the soil by watering when the top inch of soil feels dry. Be patient, as germination can vary depending on seed quality, temperature, and other factors.
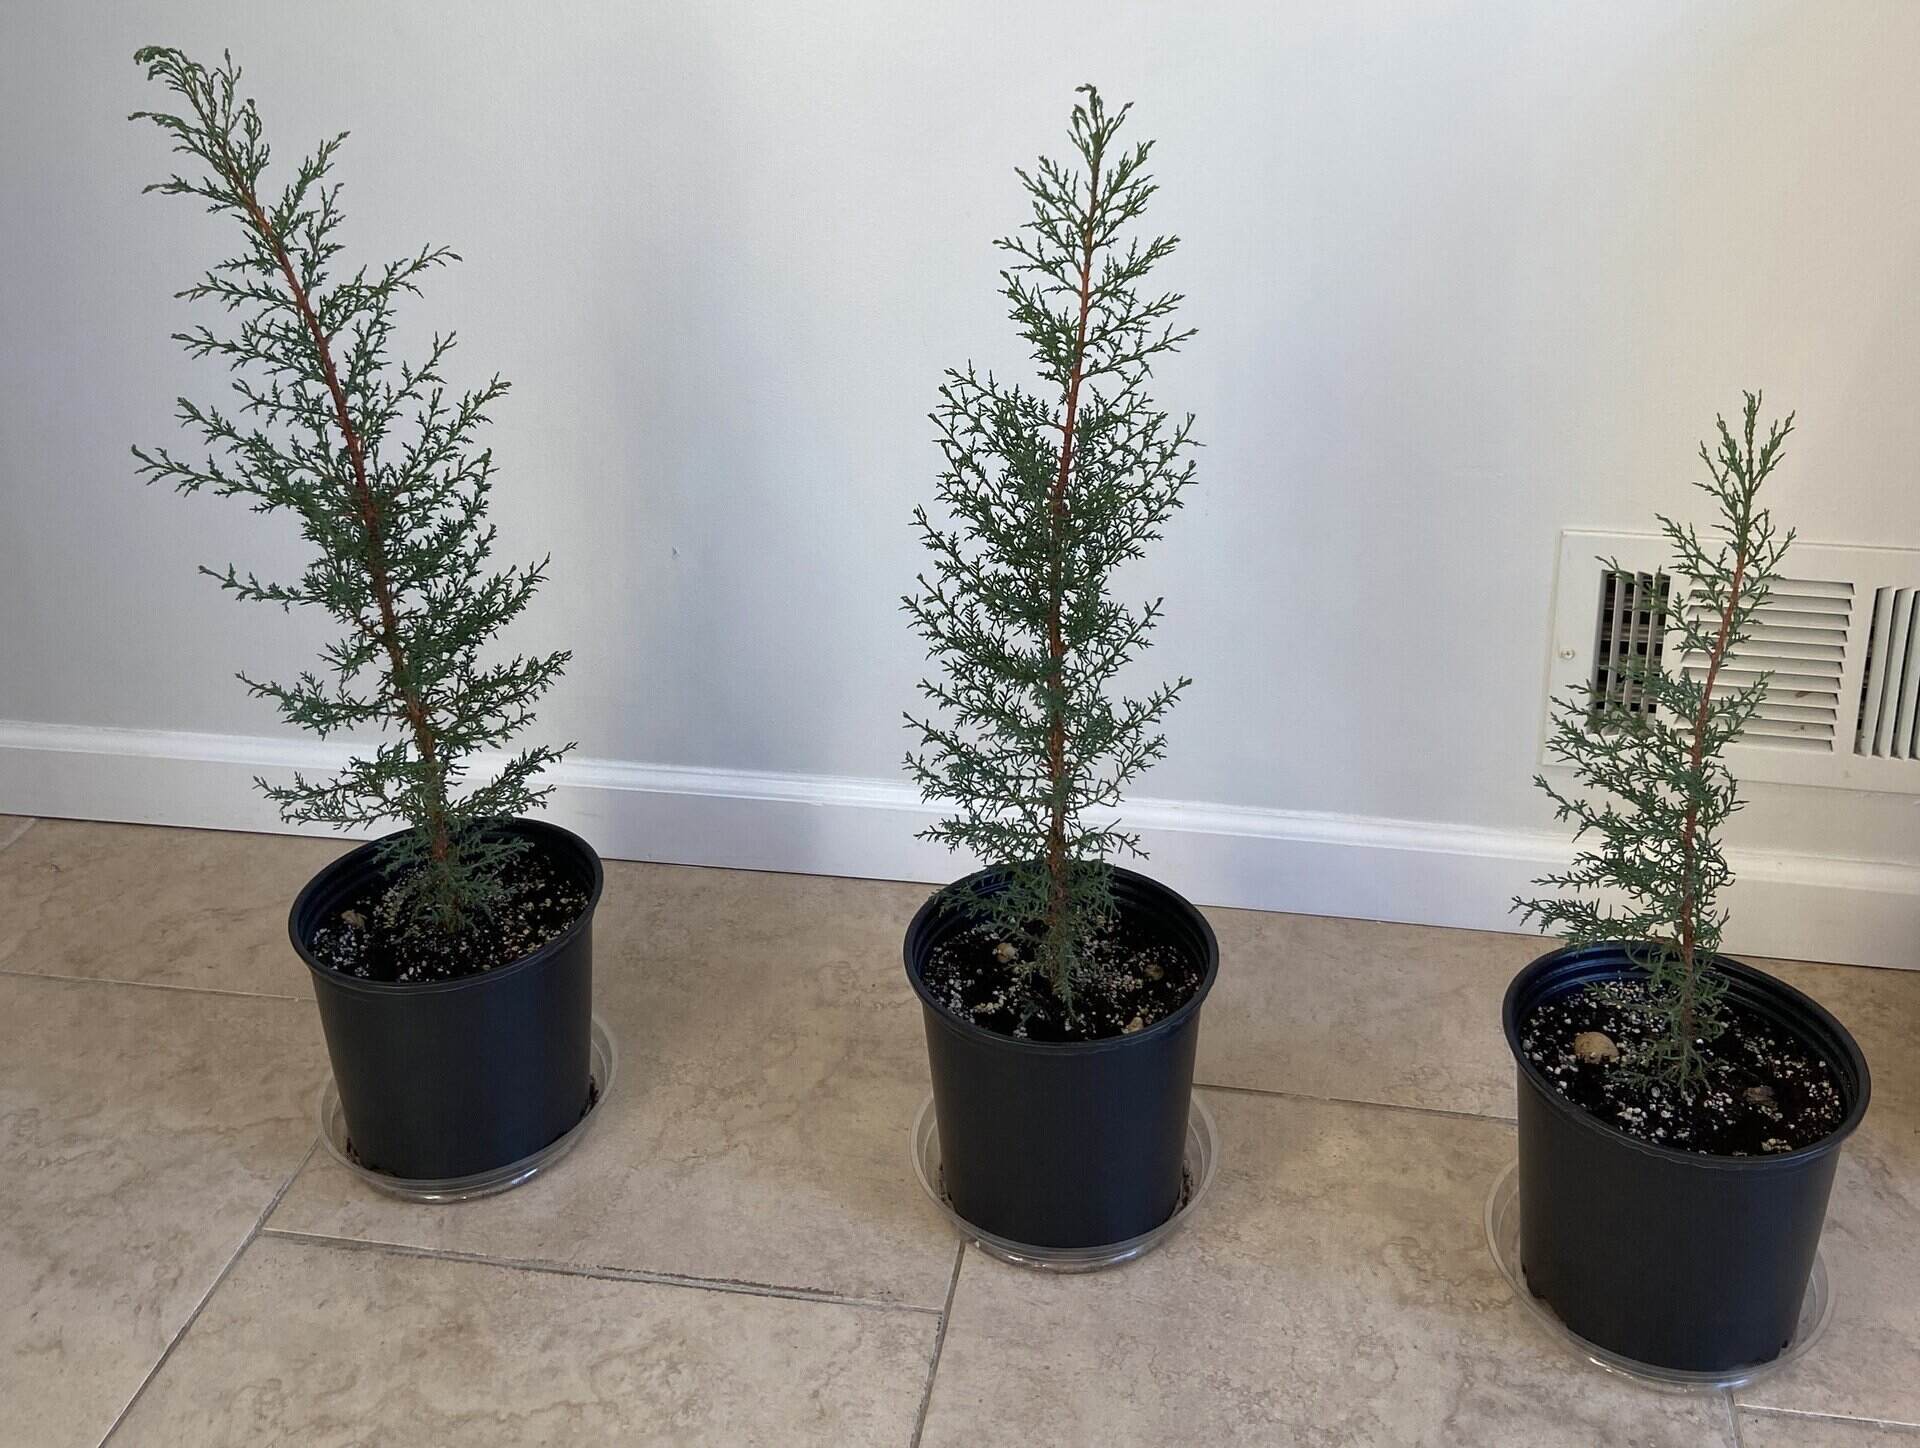
- Thinning seedlings: Once the cherry blossom seedlings have emerged, thin them out if there are multiple seedlings in one container. Keep the healthiest and strongest-looking seedlings and gently remove the rest to provide enough space for their growth.
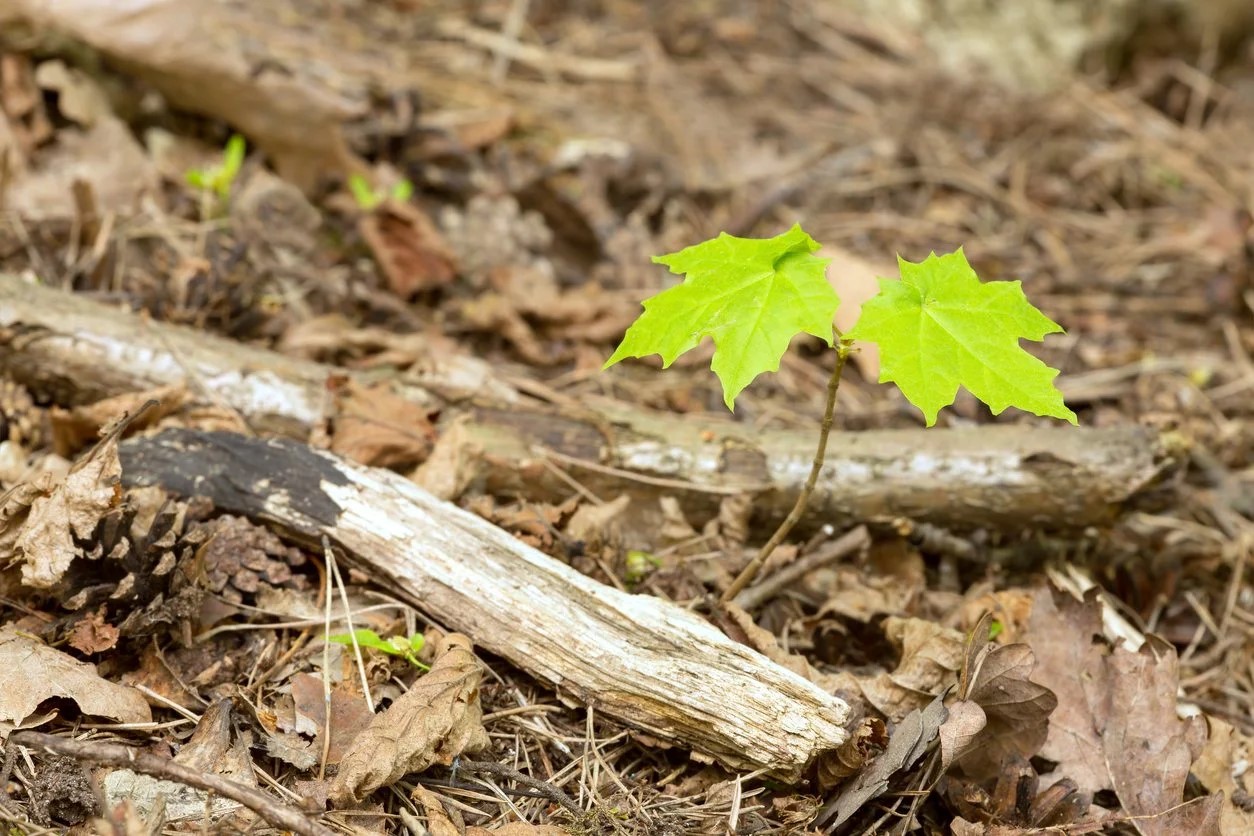
Continue to care for the seedlings and monitor their growth. As they develop, you can gradually introduce them to more sunlight by placing them outdoors for a few hours each day. This process, known as hardening off, prepares the seedlings for their eventual transplanting into the garden or larger pots.
The cherry blossom seedlings are now on their way to becoming beautiful trees. In the next step, we’ll discuss how to properly care for the seedlings as they continue to grow.
Read more: How To Grow A Tree From A Seed
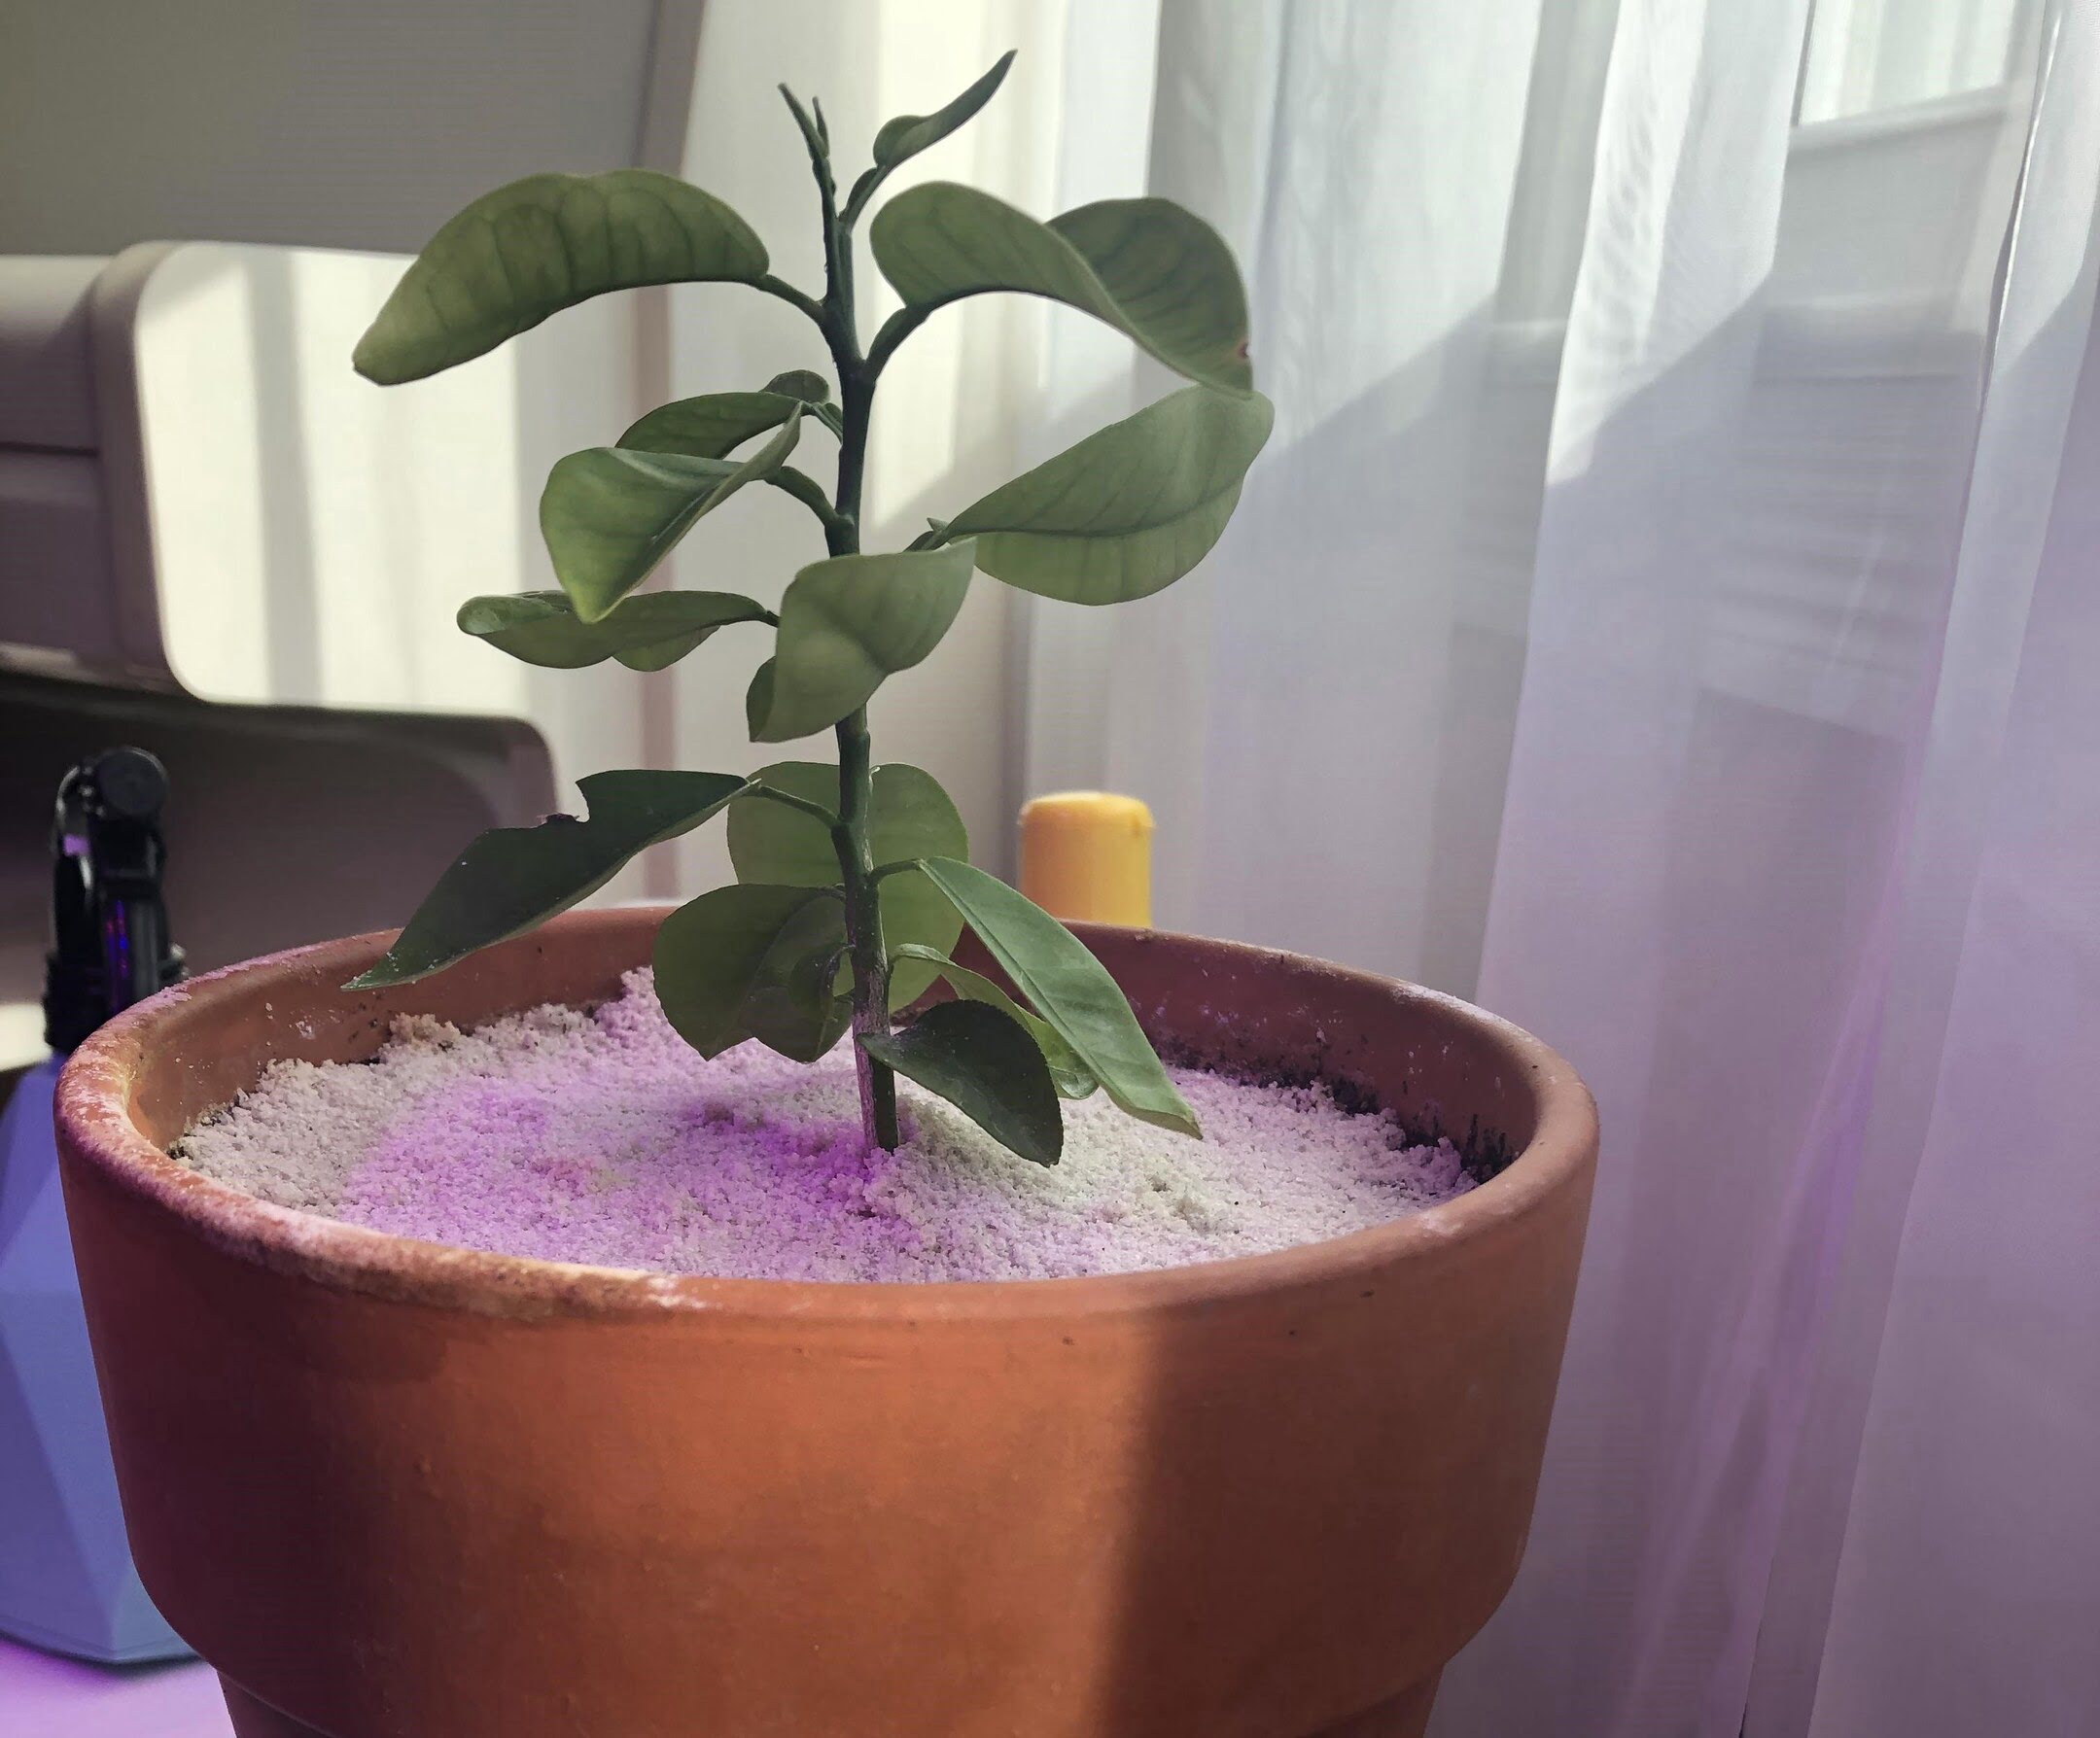
Step 5: Caring for the seedlings
Proper care is essential for the healthy development of the cherry blossom seedlings. Follow these guidelines to ensure their well-being:
- Watering: Water the seedlings regularly to keep the soil evenly moist but not waterlogged. Avoid overwatering, as that can lead to root rot. Check the moisture level by inserting your finger about an inch into the soil. If it feels dry, it’s time to water the seedlings.
- Fertilization: After the seedlings have established their first set of true leaves, you can begin to fertilize them. Choose a balanced, water-soluble fertilizer and dilute it according to the instructions on the packaging. Apply the fertilizer every two to three weeks during the growing season to provide the necessary nutrients for healthy growth.
- Light: Gradually increase the amount of sunlight exposure for the seedlings. Introduce them to direct sunlight for a few hours each day, gradually increasing the duration over a period of a few weeks. This process will help the seedlings acclimate to the outdoor conditions and prevent the shock of sudden exposure to full sunlight.
- Pruning: As the seedlings continue to grow, you may notice the development of multiple branches. To encourage a strong and well-shaped cherry blossom tree, you can selectively prune the excess branches. Start by removing any weak or damaged branches, as well as those growing too closely together. This will allow the remaining branches to receive ample sunlight and air circulation, promoting healthy growth.
- Pest and disease control: Monitor the seedlings for any signs of pests or diseases. Common pests that can affect cherry blossom trees include aphids, caterpillars, and spider mites. If you notice any infestations, treat them with appropriate organic pest control methods or consult a professional gardener for guidance. Regularly inspect the leaves for any signs of disease, such as discoloration or spots. If necessary, apply recommended fungicides to prevent the spread of diseases.
With proper care, the cherry blossom seedlings will continue to grow and strengthen. As they reach a size that requires more space for their roots, it will be time to transplant them into larger pots or even the outdoor garden. We’ll discuss the transplanting process in the next step.
To grow a cherry blossom tree from seed, collect seeds in the fall, store them in a cool, dry place, then plant them in well-draining soil in the spring. Keep the soil consistently moist and provide plenty of sunlight for optimal growth.
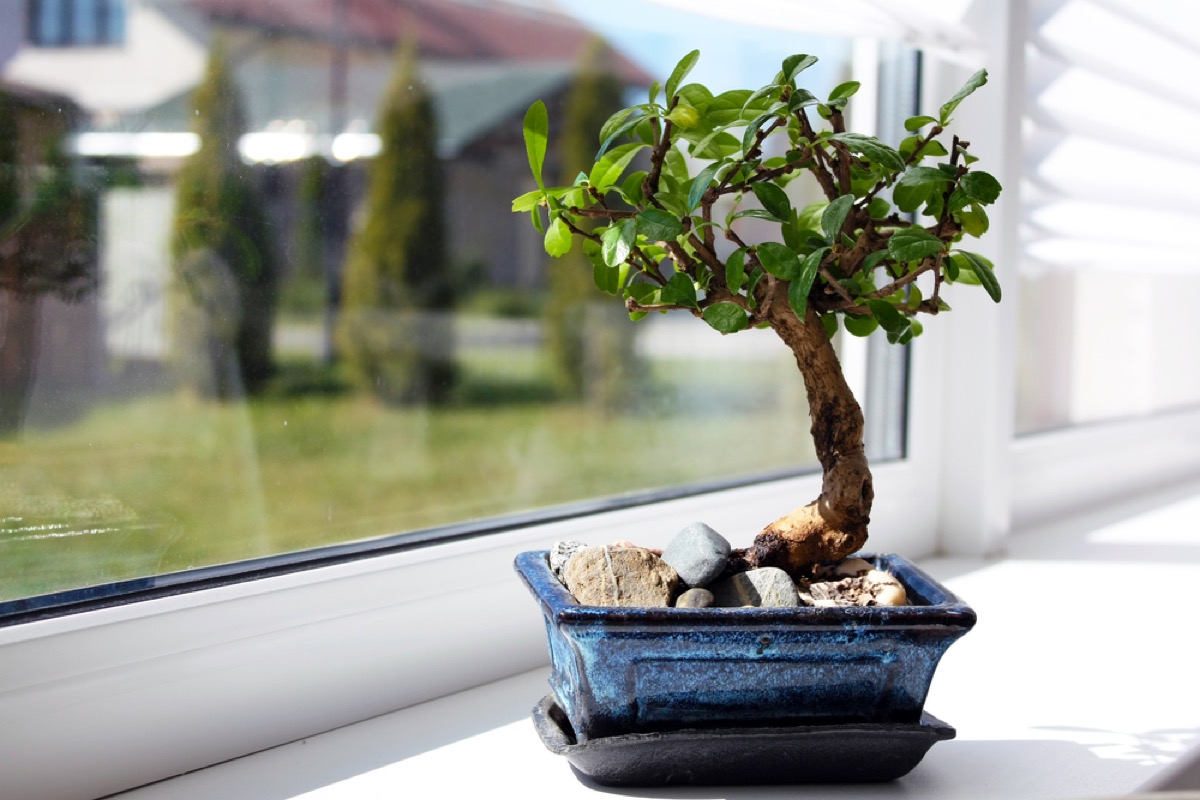
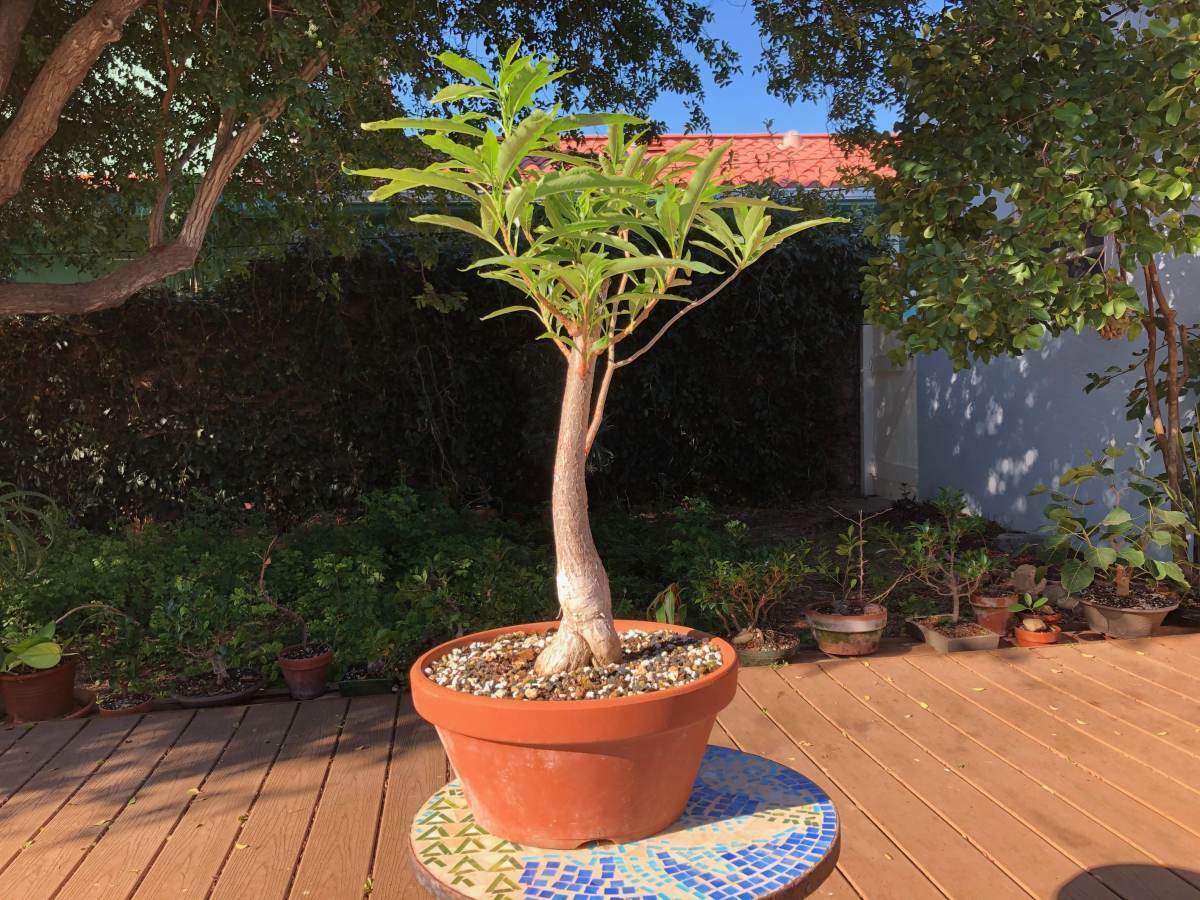
Step 6: Transplanting the seedlings to bigger pots or outdoors
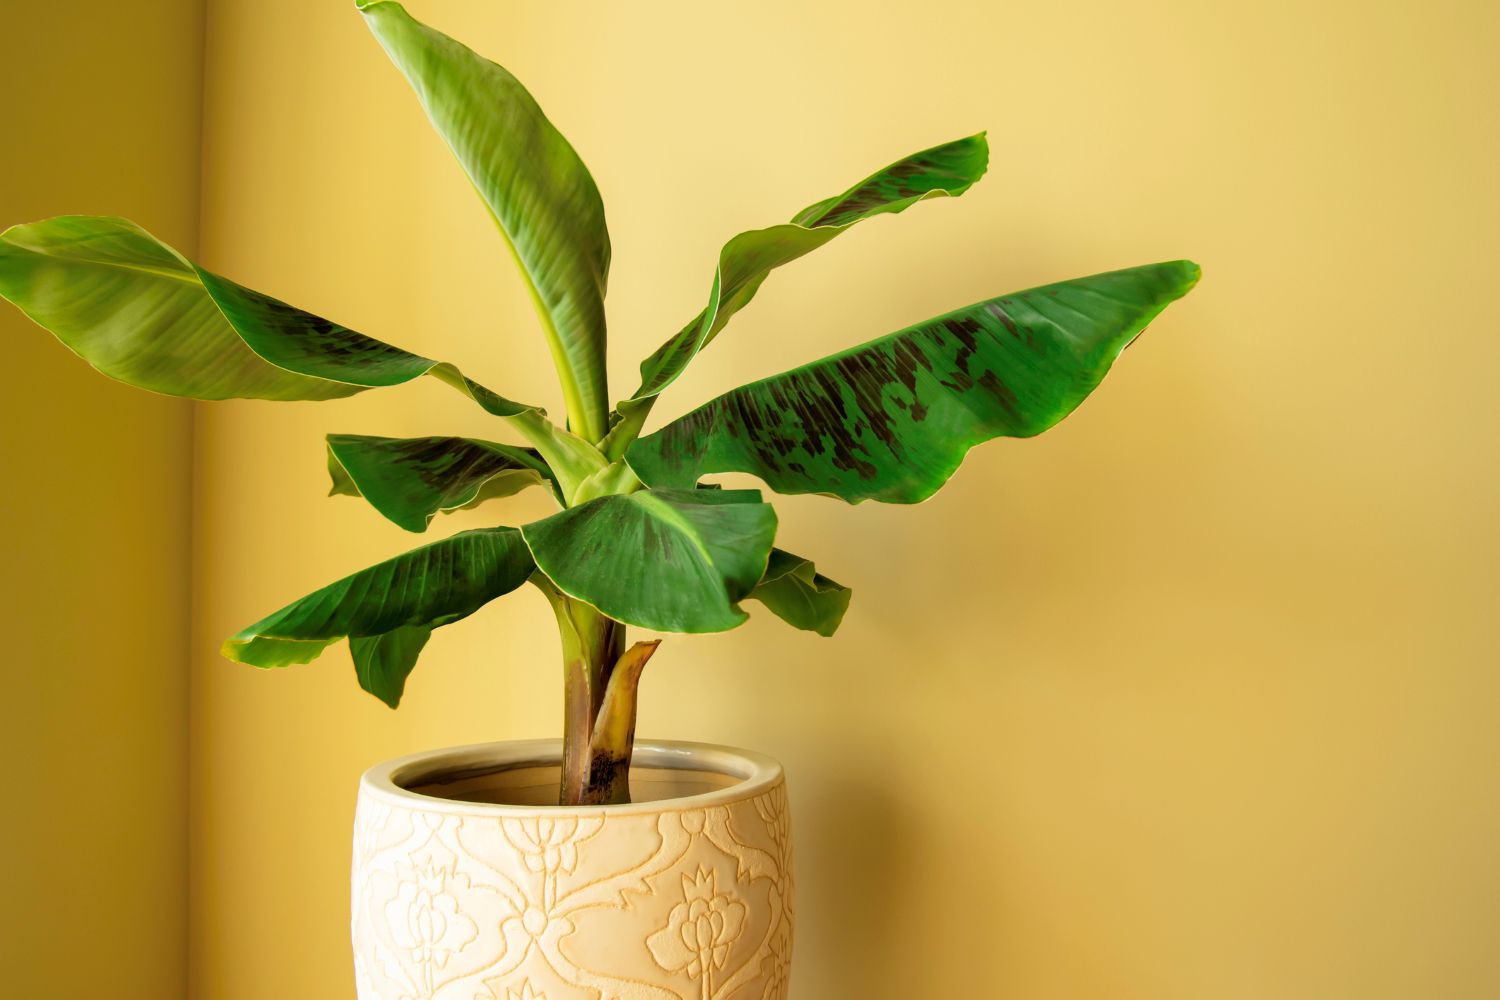
As the cherry blossom seedlings grow, they will eventually outgrow their initial planting containers and require more space for their roots to expand. Transplanting them into larger pots or even into the outdoor garden is an important step in their development. Here’s what you need to do:
- Selecting the new container: Choose a pot that is at least 12 to 16 inches in diameter and has drainage holes to allow excess water to escape. Alternatively, if you plan to transplant the seedlings directly into the garden, select a suitable area with well-drained soil and enough space for the tree to grow.
- Preparing the new container or garden bed: Fill the new container or prepare the garden bed by adding a mixture of well-draining soil and compost. Ensure that the soil is loose and fertile to provide an optimal growing environment for the seedlings.
- Transplanting process: Gently remove the seedlings from their current containers, taking care not to damage the delicate roots. Make a hole in the new container or garden bed that is large enough to accommodate the seedling’s root system. Place the seedling in the hole, making sure that the top of the root ball is level with or slightly above the soil surface. Backfill the hole with soil and lightly press it to secure the seedling in place.
- Watering and aftercare: After transplanting, water the seedlings thoroughly to help settle the soil around the roots and provide them with moisture. Monitor the moisture level in the soil and water as needed to keep it consistently moist. Provide some shade or protection for the first few days after transplanting to help the seedlings adjust to their new environment.
- Maintaining care: Continue to care for the transplanted seedlings by watering them regularly, monitoring for pests and diseases, and providing support if necessary. Stake the seedlings if they require additional stability while establishing their roots.
Transplanting the cherry blossom seedlings into larger pots or the outdoor garden allows them to further establish their root system and continue growing. With proper care and maintenance, the seedlings will develop into beautiful cherry blossom trees in due time. In the next step, we’ll discuss how to prune and shape the trees to enhance their aesthetics.
Step 7: Pruning and shaping the cherry blossom tree
Pruning and shaping the cherry blossom tree is an important step in maintaining the tree’s health, promoting proper growth, and enhancing its overall aesthetics. Follow these guidelines to prune and shape your cherry blossom tree:
- Timing: Prune the cherry blossom tree during its dormant season, which is typically in late winter or early spring before new growth starts. Avoid pruning during the blooming season, as it may delay or reduce the number of blossoms.
- Remove dead or damaged branches: Begin by identifying and removing any dead, diseased, or damaged branches. These branches can create entry points for pests, diseases, and hinder the tree’s overall health and appearance.
- Thin out crowded branches: To improve air circulation and sunlight penetration, selectively thin out crowded branches. Focus on removing small, weak branches that are crossing or rubbing against each other. This will allow the tree to channel its energy into more robust and productive branches.
- Shape the canopy: Determine the desired shape for your cherry blossom tree, such as an umbrella, vase, or natural form. Gently prune and shape the branches to achieve the desired shape while maintaining the tree’s natural beauty. Be mindful not to remove too much foliage, as it can affect the tree’s ability to produce flowers.
- Prune sucker growth: Keep an eye out for sucker growth, which are fast-growing vertical shoots that emerge from the base of the tree or along the trunk. These shoots typically grow vigorously but may not contribute to the tree’s overall form. Remove these suckers to maintain the tree’s desired shape.
- Regular maintenance pruning: As the cherry blossom tree continues to grow, it will require regular maintenance pruning to remove any crossed, weak, or overcrowded branches. Conduct yearly inspections and pruning to ensure the tree’s health and keep its shape intact.
When pruning the cherry blossom tree, always use clean and sharp pruning tools to make clean cuts. Avoid leaving stubs or cutting too close to the trunk. It’s also beneficial to sterilize your pruning tools between cuts to prevent the spread of diseases.
Remember that less is often more when it comes to pruning a cherry blossom tree. Preserving its natural form and allowing it to grow in its unique shape will contribute to its overall beauty. With proper pruning and shaping, your cherry blossom tree will flourish and provide a stunning display of blossoms.
Step 8: Protecting the tree from pests and diseases
Protecting your cherry blossom tree from pests and diseases is crucial to ensure its health and longevity. Here are some steps you can take to keep your tree thriving:
- Regular inspections: Regularly inspect your cherry blossom tree for any signs of pests or diseases. Look for yellowing leaves, wilting, spots, unusual growths, or holes in the leaves. Catching and identifying problems early on will allow for prompt and effective treatment.
- Maintain tree health: A healthy tree is less susceptible to pests and diseases. Ensure your cherry blossom tree receives adequate sunlight, water, and nutrients. Keep the area around the tree clean by removing fallen leaves, debris, and any fruit that may have fallen. This will minimize potential breeding grounds for pests.
- Integrated pest management: Implement an integrated pest management approach to control pests effectively and minimize the use of chemicals. This approach includes using biological control methods, such as introducing beneficial insects, using organic pest control products, and practicing good cultural practices.
- Pest control practices: Monitor and control common pests that can affect cherry blossom trees, such as aphids, caterpillars, and spider mites. Regularly inspect the leaves, aphids can be removed by spraying them off with a strong stream of water. Use organic pest control methods or consult a professional if necessary.
- Disease prevention: To prevent diseases, avoid overwatering the tree, as excessive moisture can lead to root rot and fungal infections. Properly space the tree and ensure good air circulation to minimize disease spread. Prune any affected branches and dispose of them properly to avoid spreading infections.
- Monitor for signs of disease: Watch for common cherry blossom tree diseases like leaf spot, blossom blight, and canker. If you notice any signs, such as discolored or spotted leaves, blossoms turning brown or wilting, or sunken and discolored areas on the branches, take appropriate action promptly. Consult a local extension office or a professional arborist for advice and treatment options.
Remember that preventive measures and early intervention are key to addressing pest and disease issues. Regular monitoring and diligent care will help protect your cherry blossom tree and ensure its continued health and vibrancy.
Read more: How To Grow Tree From Seed
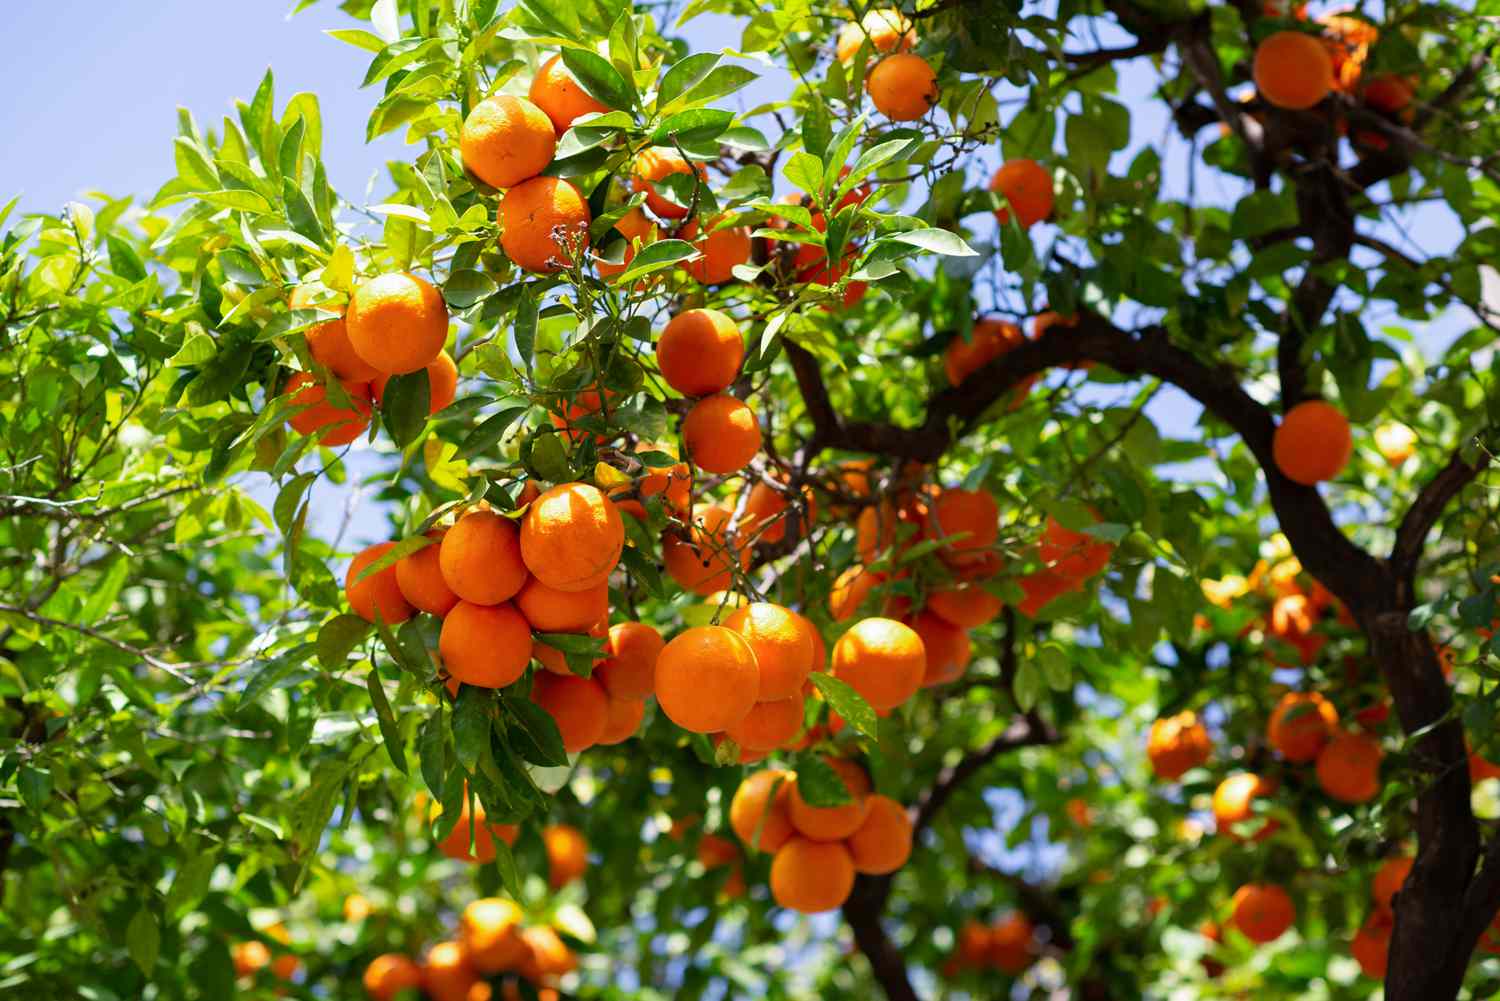
Step 9: Enjoying the blossoming cherry tree
After putting in the effort and care to grow your own cherry blossom tree, the most rewarding step is finally here – enjoying the beautiful blossoms. Here are some tips to fully embrace the blossoming cherry tree:
- Timing: Keep an eye on the buds as they develop and prepare for the much-anticipated blooming period. Cherry blossoms typically bloom for a short period, usually a week or two, so it’s important to plan accordingly and make sure you don’t miss the peak of the bloom.
- Appreciating the beauty: Take the time to sit back and admire the stunning display of delicate pink or white blossoms. Watch as the tree comes alive with vibrant colors, spreading joy and creating a serene atmosphere in your garden or outdoor space.
- Documenting the moment: Capture the beauty of the cherry blossoms by taking photographs or even creating artwork inspired by the blossoms. These memories and visual representations will serve as a reminder of the hard work and dedication that went into growing your cherry blossom tree.
- Sharing the experience: Invite friends, family, and neighbors to marvel at the blossoms and share in the joy of your gorgeous cherry tree. Host a gathering or picnic under the tree, creating a memorable experience for everyone.
- Appreciating Japanese culture: Dive deeper into the cultural significance of cherry blossoms, particularly in Japanese culture. Learn about Hanami, the traditional Japanese custom of enjoying the transient beauty of cherry blossoms, and explore the deeper meanings associated with this revered flower.
- Preserving and caring for the tree: After the blossoming period, continue to care for the cherry tree to ensure its continued health and well-being. Water and fertilize the tree as needed, prune any dead or diseased branches, and protect it from extreme weather conditions.
Embrace the enchanting beauty of the cherry blossoms, and savor every moment of your cherry tree’s blooming season. It’s a truly magical experience that reminds us of the ephemeral nature of life and the beauty that nature bestows upon us.
Congratulations on successfully growing your own cherry blossom tree and creating a picturesque and serene haven in your garden. Enjoy the blossoms, create lasting memories, and continue to nurture and cherish your beautiful cherry tree for years to come.
Conclusion
Growing a cherry blossom tree from seed is a journey that requires patience, care, and a deep appreciation for the beauty of nature. From collecting the seeds to nurturing the seedlings and witnessing them blossom into magnificent trees, every step along the way is filled with wonder and satisfaction.
Throughout this process, you’ve learned how to collect cherry blossom seeds, prepare them for planting, create the ideal planting environment, and care for the seedlings as they grow. You’ve also discovered the importance of pruning and shaping the tree, protecting it from pests and diseases, and, finally, cherishing the blossoming moments.
As you watch your cherry blossom tree thrive and fill your garden or outdoor space with its breathtaking blooms, remember the deeper meanings behind these delicate flowers. They symbolize the transient nature of life and remind us to appreciate the beauty that surrounds us.
Whether you choose to admire the blossoms in solitude, share the experience with loved ones, or immerse yourself in the cultural significance of cherry blossoms, your journey in growing a cherry blossom tree has reached a fulfilling conclusion. The tree you have nurtured will continue to bring joy and wonder for years to come.
Through your dedication and efforts, you have not only created a stunning piece of natural art but have also connected with the cycles of nature and gained a deeper sense of appreciation for the beauty and wonder that the world has to offer.
Congratulations on your successful journey in growing a cherry blossom tree from seed, and may your blossoming tree continue to bring you joy, inspiration, and a renewed sense of life’s fleeting yet awe-inspiring moments.
Curious about what comes next after planting your cherry blossom seeds? Don't miss out on understanding how long seeds take to sprout. This guide will clear up any confusion on seed germination times and methods, paving the way for successful gardening projects. Additionally, for those looking to spruce up their garden's look, check out creative and effective garden fence ideas. Whether you're aiming for aesthetics or functionality, these designs cater to all gardening enthusiasts eager to enhance their outdoor space.
Frequently Asked Questions about How To Grow Cherry Blossom Tree From Seed
Was this page helpful?
At Storables.com, we guarantee accurate and reliable information. Our content, validated by Expert Board Contributors, is crafted following stringent Editorial Policies. We're committed to providing you with well-researched, expert-backed insights for all your informational needs.


0 thoughts on “How To Grow Cherry Blossom Tree From Seed”