Home>Garden Essentials>How To Germinate Angelica Plant – Gigas Red

Garden Essentials
How To Germinate Angelica Plant – Gigas Red
Modified: March 16, 2024
Learn how to successfully germinate the Gigas Red variety of angelica plant in your garden. Get expert tips and advice for a flourishing garden.
(Many of the links in this article redirect to a specific reviewed product. Your purchase of these products through affiliate links helps to generate commission for Storables.com, at no extra cost. Learn more)
Introduction
Welcome to this comprehensive guide on how to germinate the Angelica plant, specifically the beautiful variety known as Gigas Red. Germinating plants from seeds is a rewarding and fulfilling process that allows you to witness the miracle of life unfold right in front of your eyes. And what better way to start than with the stunning Angelica Gigas Red?
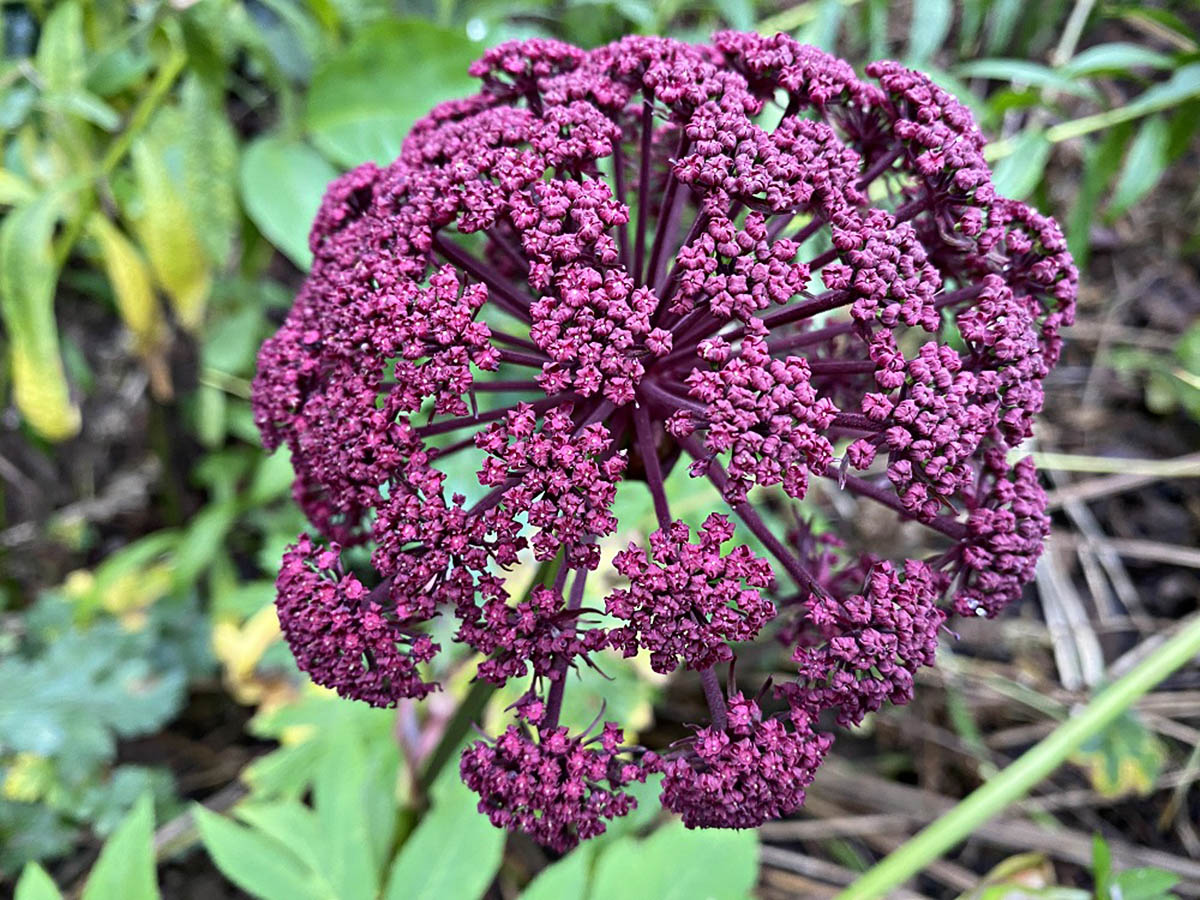
Angelica Gigas Red is a perennial herbaceous plant that belongs to the Apiaceae family. It is renowned for its striking deep purple-red umbels, which stand tall on sturdy stems and make a breathtaking statement in any garden or landscape. The plant attracts bees and butterflies, making it a great addition to pollinator-friendly gardens.
By following the steps in this guide, you will be able to successfully germinate Angelica Gigas Red seeds and grow these magnificent plants in your own garden.
Before we dive into the germination process, let’s take a moment to understand the key characteristics of Angelica Gigas Red and why it is a fantastic plant to have in your garden.
Key Takeaways:
- Grow stunning Angelica Gigas Red plants by selecting high-quality seeds and creating the perfect germination environment with proper moisture, temperature, and light.
- Ensure successful growth by monitoring germination progress, transplanting seedlings, and troubleshooting potential issues such as poor germination, damping-off, and pest infestation.
Read more: How To Germinate A Plant
Understanding Angelica Plant – Gigas Red
Angelica Gigas Red, also known as Korean Angelica, is a stunning perennial plant that originates from the mountains of Korea. It is characterized by its tall stature, reaching up to 6 feet in height, and its large, lush, dark green foliage. However, the most striking feature of this plant is undoubtedly its vibrant red-purple flower clusters, called umbels, which bloom in the summer months.
One of the reasons why Angelica Gigas Red is highly sought after by gardeners is its ability to attract pollinators. The large flower heads, rich in nectar, are irresistible to bees and butterflies, making it a valuable addition to any pollinator-friendly garden. Additionally, the plant is deer resistant, making it a great choice for areas with wildlife.
Angelica Gigas Red is a hardy plant that can thrive in a variety of growing conditions. It prefers well-draining soil and thrives in full sun or partial shade. With proper care and maintenance, it can live for several years, providing stunning beauty and attracting beneficial insects to your garden.
In addition to its aesthetic appeal, Angelica Gigas Red has been used for centuries in traditional Korean medicine for its medicinal properties. The root of the plant contains various compounds that are believed to have anti-inflammatory, antipyretic, and analgesic effects. It has been used to treat conditions such as digestive disorders, arthritis, and menstrual cramps.
Now that we have a better understanding of Angelica Gigas Red, let’s move on to the first step in the germination process: selecting the right seeds.
Selecting the Right Seeds
Choosing high-quality seeds is crucial for successful germination and healthy plant growth. When selecting Angelica Gigas Red seeds, it’s important to obtain them from a reputable seed supplier or a trusted source. Here are a few factors to consider when selecting the right seeds:
- Seed Freshness: Opt for fresh seeds as they have a higher germination rate. Check the packaging for the seed’s harvest date or inquire about it from the supplier. Fresher seeds are more likely to germinate successfully.
- Seed Viability: Look for seeds with a high viability rate. This information is often provided on the seed packet or can be obtained from the supplier. Higher viability means a greater chance of successful germination.
- Seeds from a Reliable Source: Choose seeds from a trusted supplier or a reputable company. This ensures that the seeds have been properly handled, stored, and tested for quality.
- Organic or Non-GMO Seeds: If you prefer to grow organic plants or avoid genetically modified organisms (GMOs), look for organic or non-GMO Angelica Gigas Red seeds.
Once you have obtained the seeds, it’s time to prepare the germination environment, which plays a crucial role in the success of the germination process. Let’s explore the steps involved in creating the optimal germination conditions.
Preparing the Germination Environment
Creating the right germination environment is essential for the successful growth of Angelica Gigas Red seeds. With a few simple steps, you can ensure that the seeds have the best conditions to sprout and develop into healthy seedlings.
- Choosing the Right Container: Select a container that is suitable for seed starting, such as seed trays, pots, or seedling cells. Ensure that the container has drainage holes to prevent waterlogging.
- Seed Starting Mix: Use a well-draining seed starting mix to provide a suitable medium for the seeds to germinate. Avoid using regular garden soil, as it may be too heavy and prone to compaction.
- Moisture: Moisten the seed starting mix before sowing the seeds. It should be evenly moist but not overly wet. Excess moisture can lead to rot and fungal diseases.
- Temperature: Angelica Gigas Red seeds prefer a slightly cooler environment for germination. Aim for a temperature of around 65 to 70 degrees Fahrenheit (18 to 21 degrees Celsius). You can use a seedling heat mat or place the container in a warm area, such as on top of a refrigerator or near a heat source.
- Light: While Angelica Gigas Red seeds can germinate in both light and darkness, providing them with some light can help promote more robust growth. Place the container in a well-lit area, but avoid direct sunlight, as it can cause excessive drying of the soil.
Once you have prepared the germination environment, it’s time to sow the Angelica Gigas Red seeds. The next section will guide you through the process step by step.
Sowing the Angelica Seeds
Now that you have the ideal germination environment prepared, it’s time to sow the Angelica Gigas Red seeds. Proper sowing techniques will ensure that the seeds have the best chance of germination and growth. Here’s a step-by-step guide to sowing the seeds:
- Fill the Container: Fill the chosen container with the pre-moistened seed starting mix, leaving about half an inch of space at the top.
- Sow the Seeds: Sprinkle the Angelica Gigas Red seeds evenly on the surface of the seed starting mix. Aim to space them about half an inch apart to give each seedling enough room to grow.
- Cover the Seeds: Lightly sprinkle a thin layer of the seed starting mix or vermiculite over the seeds to cover them. This helps to retain moisture and provides a protected environment for germination.
- Mist the Surface: Using a spray bottle, gently mist the surface of the soil to add moisture without disturbing the seeds.
- Label the Container: Don’t forget to label the container with the plant name and date of sowing. This will help you keep track of the germination progress.
Once you have sown the seeds, it’s time to provide optimal care for their germination. The following section will guide you on how to provide the right conditions for the seeds to sprout and develop into healthy seedlings.
To germinate Angelica gigas Red seeds, sow them in moist, well-draining soil in a shady area. Keep the soil consistently moist and at a temperature of 60-70°F. Germination can take 2-4 weeks.
Read more: How To Plant Germinated Seeds
Providing Optimal Care for Germination
After sowing the Angelica Gigas Red seeds, it’s important to provide them with optimal care to ensure successful germination. By following these steps, you can increase the chances of healthy seedlings:
- Moisture: It’s essential to keep the seed starting mix consistently moist during the germination process. Avoid overwatering, as it can lead to seed rot. Check the moisture level regularly and mist the surface with water when needed.
- Temperature: Maintain a consistent temperature for the seeds. Ideally, the environment should be around 65 to 70 degrees Fahrenheit (18 to 21 degrees Celsius). Avoid temperature fluctuations, as they can inhibit germination.
- Light: Once the seeds have germinated and sprouted, provide them with ample light. Place the container in a well-lit area or provide artificial light using fluorescent or LED grow lights. Aim for around 14 to 16 hours of light per day.
- Ventilation: Adequate airflow is essential for preventing fungal diseases and promoting healthy growth. If using a covered container, ensure there are small ventilation holes to allow for air exchange.
- Thin out Seedlings: Once the seedlings have grown a few inches tall, it may be necessary to thin them out to provide enough space for individual plants to thrive. Carefully remove the weaker seedlings, leaving the strongest ones.
As the seedlings continue to grow, it’s important to monitor their progress and make any necessary adjustments to their care. The next section will guide you on how to monitor germination progress and when to transplant the seedlings to their final growing location.
Monitoring Germination Progress
As you provide optimal care for the germinating Angelica Gigas Red seeds, it’s important to monitor their progress to ensure healthy growth. Here are a few key steps to keep in mind:
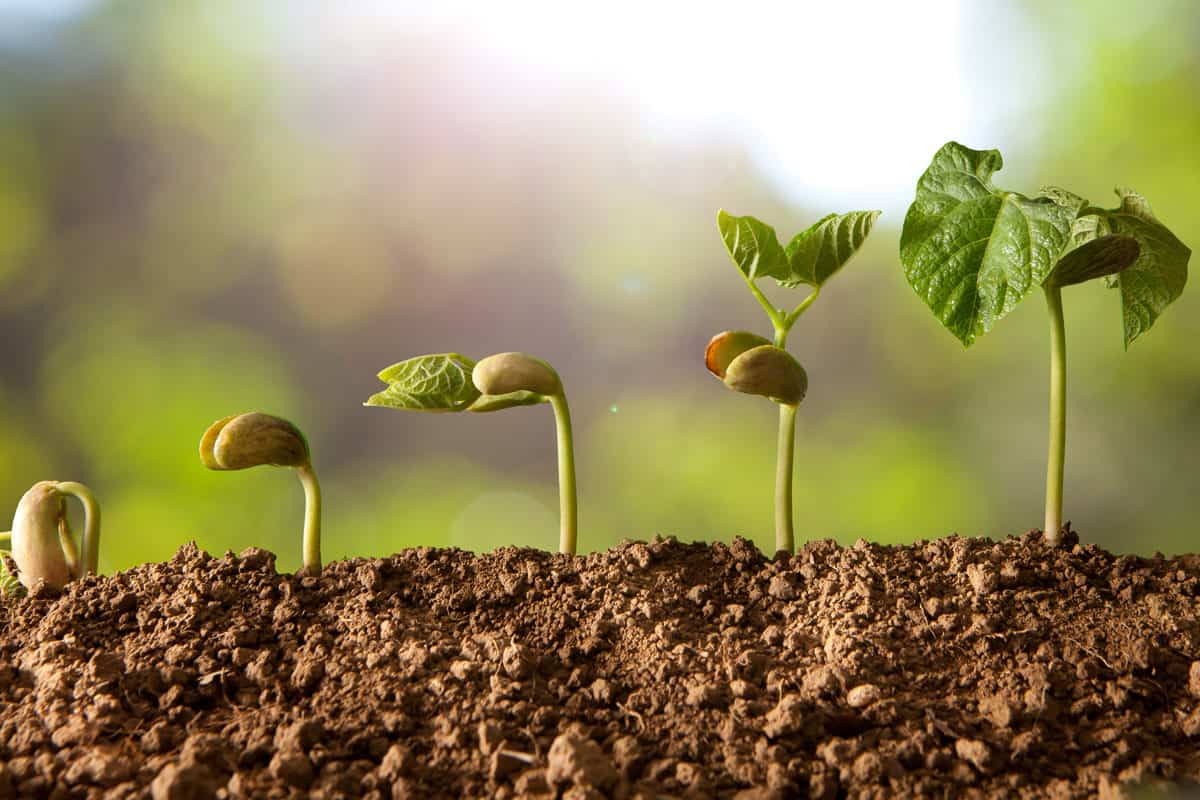
- Germination Time: Angelica Gigas Red seeds typically take about 2 to 3 weeks to germinate, although it can vary. Keep track of the sowing date and monitor the progress of the seedlings.
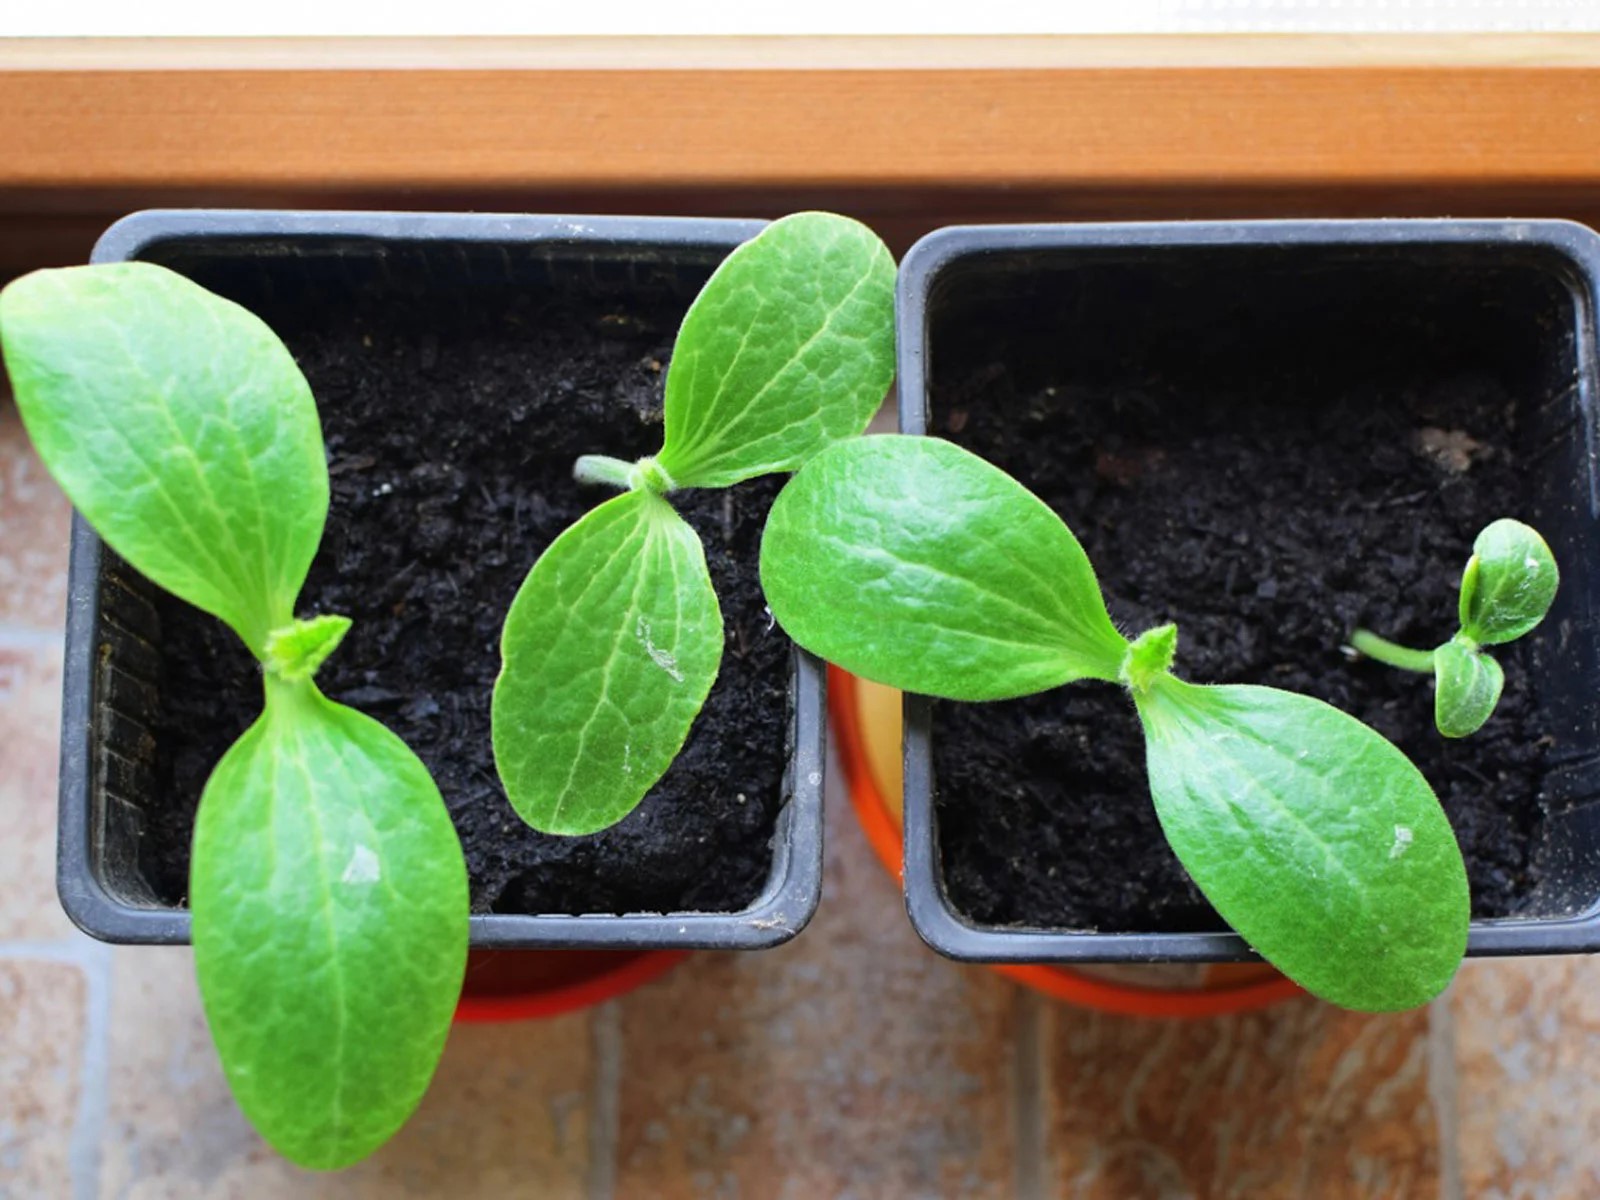
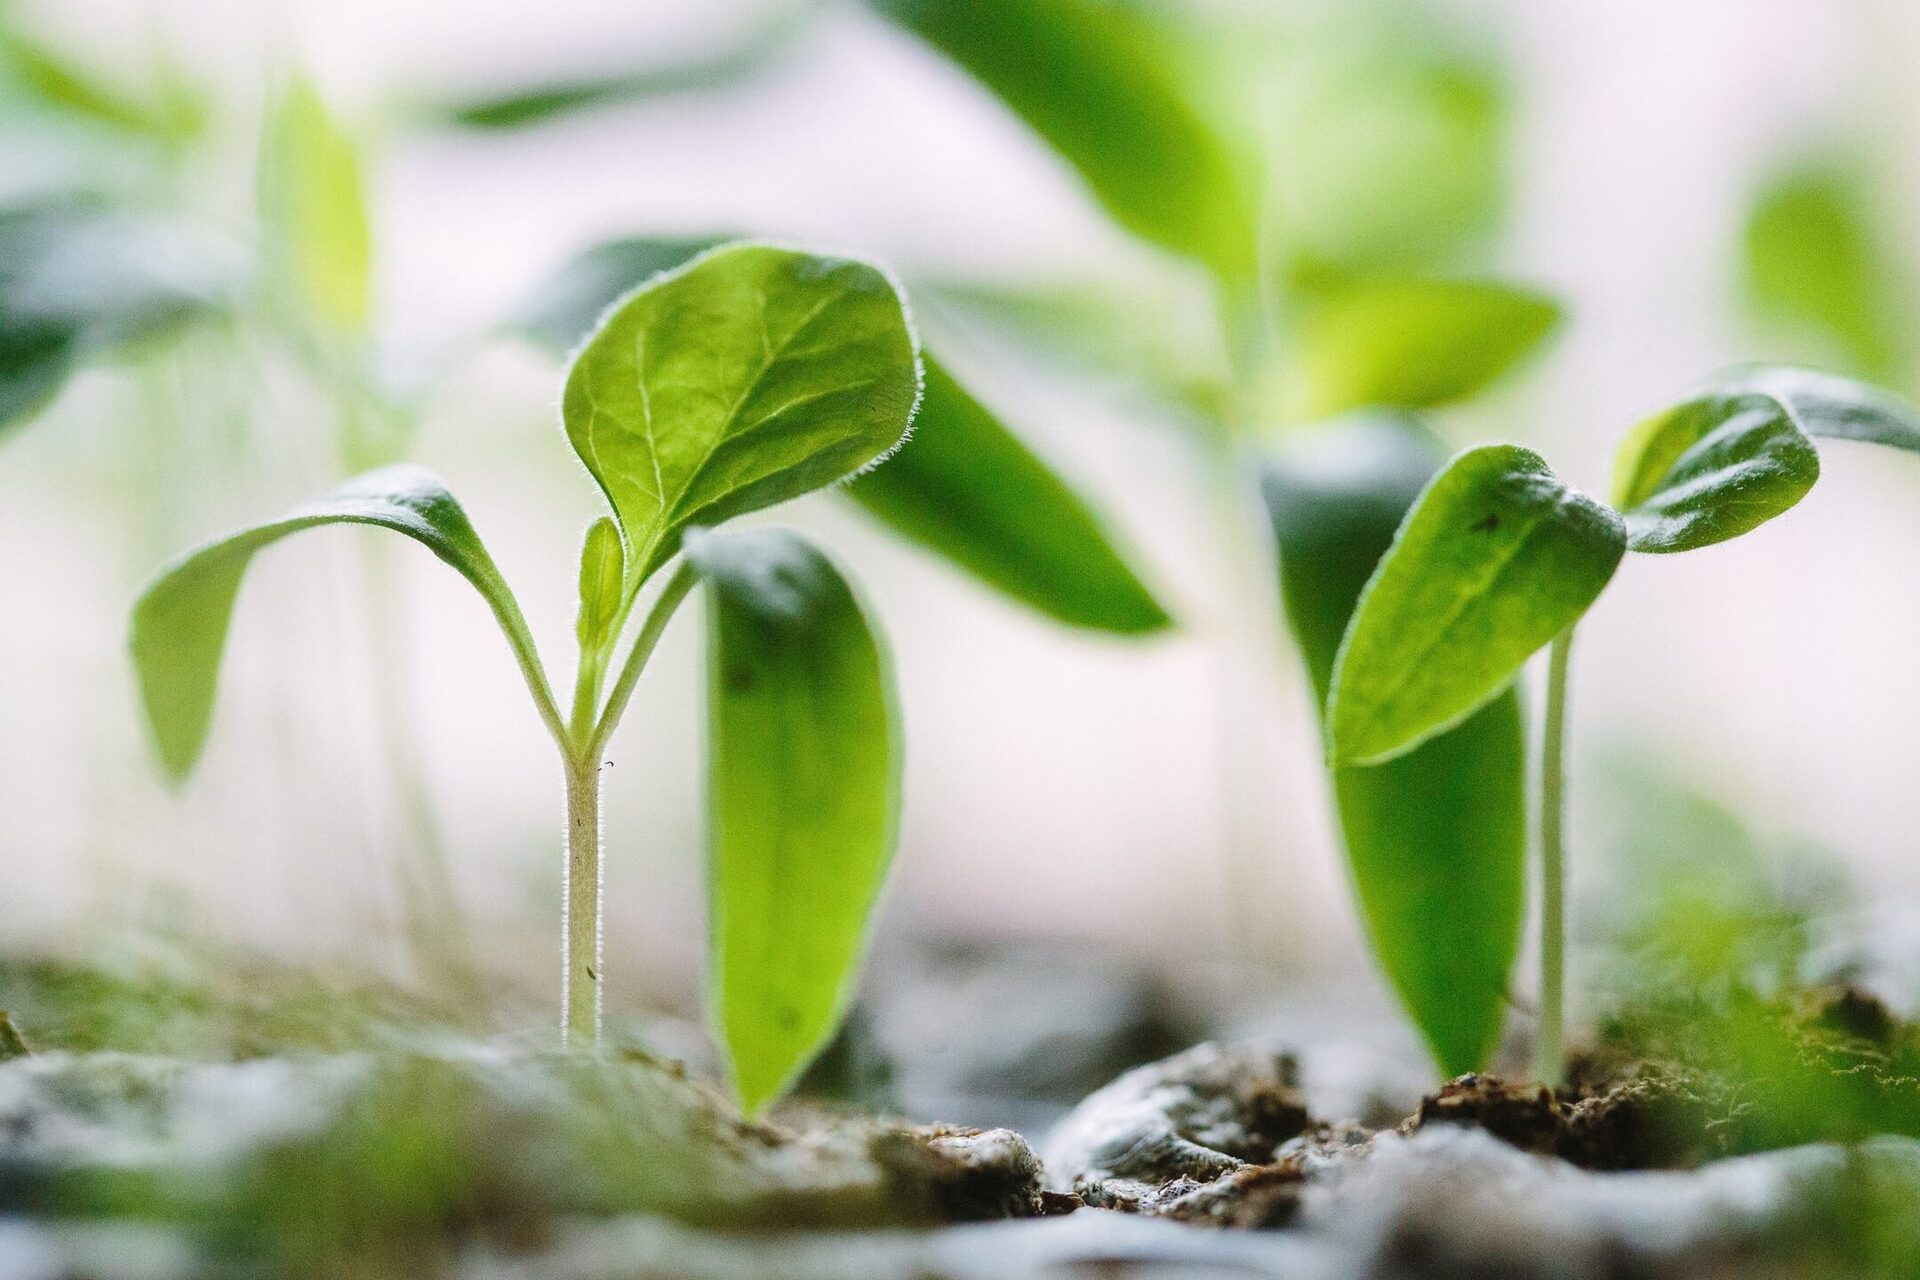
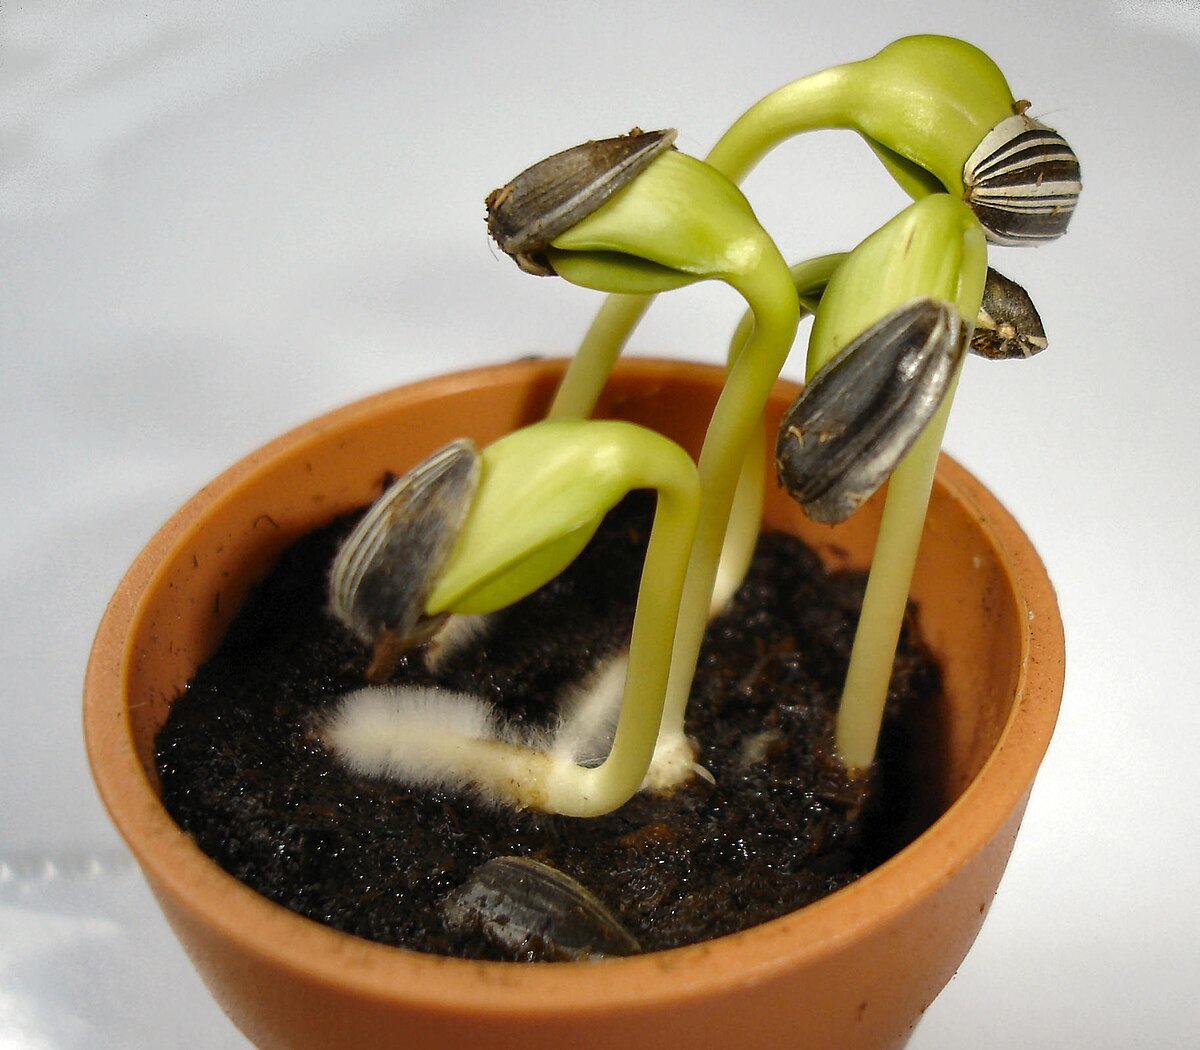
- Seedling Growth: As the seedlings emerge, they will develop their first set of true leaves. This is an indication of successful germination. Monitor their growth and ensure they are receiving adequate light, water, and nutrients.
- Watering: Adjust the watering schedule as the seedlings grow. Water them when the top inch of the soil feels dry, but be cautious not to overwater, as this can lead to root rot.
- Thinning: If the seedlings are overcrowded, thin them out by gently removing the weaker ones, allowing the stronger seedlings to have more space and resources to grow.
- Transplanting: Once the seedlings have developed several sets of true leaves and the danger of frost has passed, it’s time to transplant them to their final growing location. This will provide them with more space to grow and develop.
By diligently monitoring the germination progress and providing appropriate care, you are on your way to growing healthy Angelica Gigas Red plants. However, there are a few potential issues that you may encounter along the way. The next section will guide you on troubleshooting these issues and ensuring the success of your plants.
Transplanting Germinated Seedlings
Once your Angelica Gigas Red seedlings have grown strong and have developed several sets of true leaves, it’s time to transplant them to their final growing location. Transplanting is an essential step in the growth process, as it provides the seedlings with more space and resources to thrive. Follow these steps to ensure a successful transplant:
- Choose the Right Location: Select a location in your garden that offers full sun to partial shade. Angelica Gigas Red prefers well-draining soil, so ensure the site has good drainage.
- Prepare the Soil: Before transplanting, prepare the planting bed by loosening the soil, removing any weeds or debris, and incorporating organic matter. This will help provide a fertile and well-draining environment.
- Transplanting Technique: Dig a hole in the prepared soil that is slightly larger than the root ball of the seedlings. Carefully remove the seedlings from their containers, gently loosen the roots, and place them in the hole. Backfill the hole with soil and gently firm it around the seedling, ensuring that it is planted at the same depth as in the container.
- Watering: After transplanting, water the seedlings thoroughly. This will help settle the soil and remove any air pockets around the roots. Keep the soil consistently moist in the first few weeks to aid in the establishment of the transplants.
- Mulching: Apply a layer of organic mulch around the base of the seedlings to help retain moisture, suppress weeds, and regulate soil temperature. Avoid piling the mulch directly against the stems to prevent rot.
- Provide Support: Angelica Gigas Red plants can grow quite tall and may require support as they mature. Install stakes or a trellis near the seedlings to provide support and prevent them from toppling over.
Once the Angelica Gigas Red seedlings have been successfully transplanted, continue to monitor their growth and provide appropriate care. With proper nurturing, you’ll soon be rewarded with beautiful, mature plants.
However, despite your best efforts, there may be some potential issues that can arise. The next section will guide you on troubleshooting and overcoming these challenges.
Troubleshooting Potential Issues
While growing Angelica Gigas Red can be a rewarding experience, you may encounter some potential issues along the way. Here are a few common problems and their solutions:
- Poor Germination: If the seeds fail to germinate or have a low germination rate, it could be due to improper seed handling, old seeds, or unfavorable environmental conditions. Ensure you are using fresh, high-quality seeds, and follow the recommended germination instructions.
- Damping-off: Damping-off is a fungal disease that can affect young seedlings, causing them to wilt and die. To prevent damping-off, ensure good airflow, use sterile seed starting mix, avoid overwatering, and provide adequate light.
- Pest Infestation: Keep an eye out for common garden pests such as aphids, slugs, or caterpillars that may attack your Angelica Gigas Red plants. Use organic pest control methods or insecticidal soap to manage the infestation.
- Overwatering: Excessive watering can lead to root rot and other fungal diseases. Allow the soil to dry out slightly between waterings and ensure proper drainage to prevent waterlogged soil.
- Underwatering: Insufficient watering can cause the plants to become stressed and wilt. Monitor the moisture level of the soil and water when the top inch of the soil feels dry.
- Stunted Growth: If the seedlings appear to be growing slowly or are stunted, it could be due to lack of adequate sunlight, poor soil fertility, or overcrowding. Ensure the seedlings have access to sufficient light, amend the soil with organic matter, and thin out overcrowded seedlings.
- Transplant Shock: Transplanting can cause temporary stress to the seedlings. To minimize transplant shock, handle the seedlings gently, water them thoroughly after transplanting, and avoid transplanting during periods of extreme heat or cold.
By proactively troubleshooting these potential issues and implementing the necessary solutions, you can overcome challenges and ensure the health and vitality of your Angelica Gigas Red plants.
Congratulations! You are now equipped with the knowledge and techniques to successfully germinate Angelica Gigas Red seeds and grow these stunning plants in your garden. Enjoy the beauty and charm they bring, and marvel at the growth you have nurtured from seed to maturity.
Remember to continue providing care and attention to your Angelica Gigas Red plants, and you’ll be rewarded with their vibrant blooms and a flourishing garden.
Read more: How Do Plants Germinate
Conclusion
Congratulations on completing this comprehensive guide on how to germinate Angelica Gigas Red seeds and grow these magnificent plants in your garden! By following the steps outlined in this article, you have gained the knowledge and skills to successfully start your journey with this stunning perennial herbaceous plant.
Throughout the process, you have learned about the unique characteristics of Angelica Gigas Red, including its vibrant red-purple umbels and its ability to attract pollinators. You have also gained insights into selecting high-quality seeds, preparing the optimal germination environment, sowing the seeds, and providing optimal care for germination.
Monitoring the germination progress, transplanting the seedlings, and troubleshooting potential issues have also been covered, ensuring that you are prepared to address any challenges that may arise along the way.
Remember, gardening is a continuous learning experience, and each step is an opportunity to fine-tune your skills and understanding. Be patient and enjoy the journey as you watch your Angelica Gigas Red plants grow and flourish.
As you continue your gardening endeavors, don’t hesitate to explore further resources, connect with fellow gardeners, and experiment with different techniques. Gardening is a wonderful way to connect with nature, reduce stress, and create a beautiful and vibrant outdoor space for yourself and others to enjoy.
So go ahead, start germinating those Angelica Gigas Red seeds, and witness the beauty and elegance of these plants in your own garden. Happy gardening!
Frequently Asked Questions about How To Germinate Angelica Plant - Gigas Red
Was this page helpful?
At Storables.com, we guarantee accurate and reliable information. Our content, validated by Expert Board Contributors, is crafted following stringent Editorial Policies. We're committed to providing you with well-researched, expert-backed insights for all your informational needs.


0 thoughts on “How To Germinate Angelica Plant – Gigas Red”