Home>Garden Essentials>How To Plant Strawberries From Seed
Garden Essentials
How To Plant Strawberries From Seed
Modified: September 1, 2024
Learn how to plant strawberries from seed in your garden. This comprehensive guide will help you grow delicious strawberries right from your backyard.
(Many of the links in this article redirect to a specific reviewed product. Your purchase of these products through affiliate links helps to generate commission for Storables.com, at no extra cost. Learn more)
Introduction
Welcome to the world of strawberry gardening! Growing strawberries from seeds can be a rewarding and fulfilling experience, allowing you to nurture your own delicious fruits from start to finish. While it might seem easier to simply buy strawberry plants from a nursery, starting from seeds provides a unique opportunity to select specific varieties and enjoy the satisfaction of seeing your plants thrive from the very beginning.
In this comprehensive guide, we will walk you through the process of planting strawberries from seed. Whether you are a seasoned gardener looking to try something new or a beginner eager to embark on a fruity adventure, this step-by-step tutorial will equip you with all the knowledge you need to get started.
From choosing the right strawberry seeds to caring for seedlings and eventually transplanting them into your garden, we will cover every aspect of the journey. So, grab your gardening gloves, put on your sun hat, and let’s dive into the wonderful world of growing strawberries from seed!
Key Takeaways:
- Choose the right strawberry seeds by considering variety, seed source, and organic vs. non-organic options. Prepare the soil, germinate the seeds, and provide proper care for healthy, fruitful plants.
- Transplant and continue caring for your strawberry plants by watering, fertilizing, managing pests, and harvesting. With patience and dedication, your plants will reward you with delicious, homegrown berries.
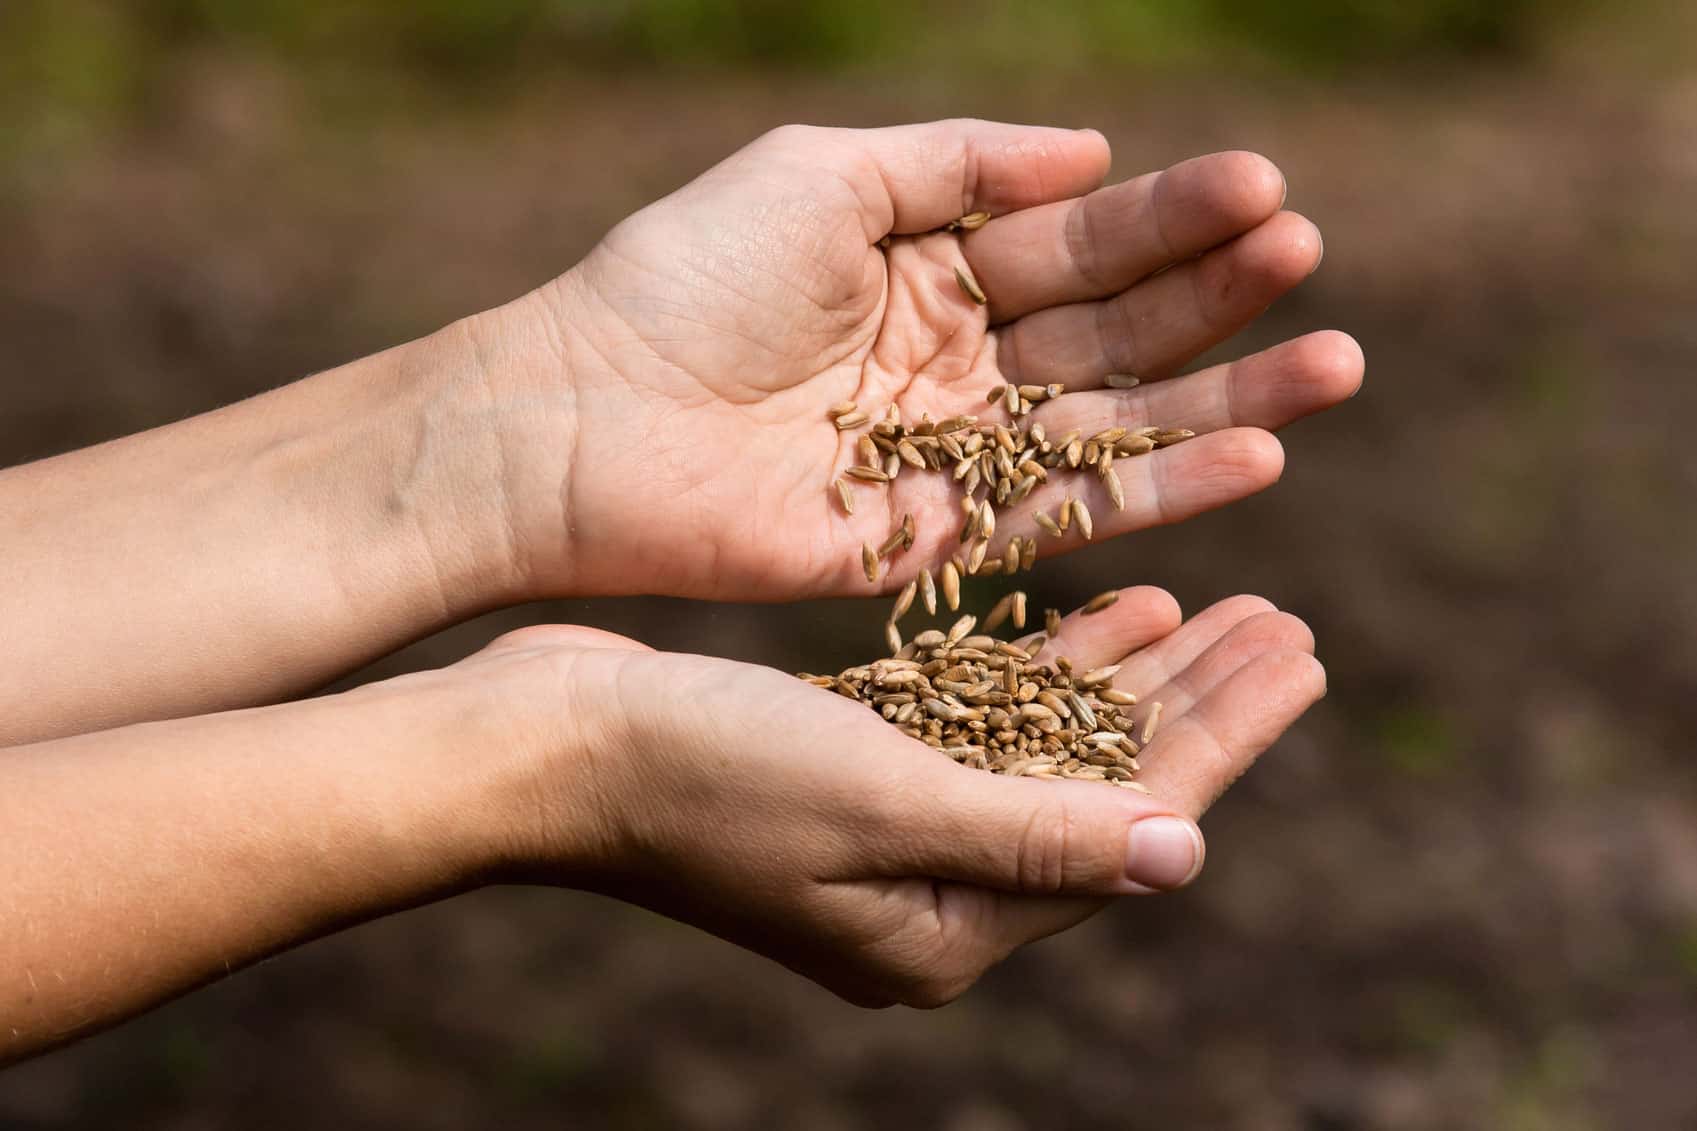
Step 1: Choosing the Right Strawberry Seeds
The first and crucial step in planting strawberries from seed is selecting the right seeds to ensure a successful harvest. When choosing strawberry seeds, there are a few factors to consider:
- Variety: There are several strawberry varieties available, each with its own unique characteristics and flavor profiles. Decide whether you prefer large or small berries, sweet or tart flavors, and whether you want everbearing or June-bearing plants. Take time to research different varieties and choose the ones that best suit your preferences and growing conditions.
- Seed Source: Purchase your strawberry seeds from a reputable source or obtain them from a trusted fellow gardener. Look for seeds that are properly stored, fresh, and free from any signs of damage or disease.
- Organic vs. Non-Organic: Consider whether you want to grow organic strawberries. If organic gardening is important to you, make sure to choose organic strawberry seeds to ensure that no synthetic chemicals were used in their production.
It’s worth mentioning that starting strawberries from seed can be more challenging than using nursery-bought plants, as it requires more time and patience. If you’re a beginner gardener or short on time, you may want to consider purchasing seedlings instead.
Once you’ve decided on the strawberry varieties and obtained your seeds, it’s time to move on to the next step: preparing the soil.
Step 2: Preparing the Soil
Having well-prepared soil is essential for the successful growth and development of your strawberry plants. Follow these steps to ensure that your soil provides the right conditions for your seeds:
- Choose the Right Location: Strawberries thrive in full sun, so select a spot in your garden that receives at least 6-8 hours of direct sunlight each day. Ensure the area has good drainage to avoid waterlogged soil, as strawberries prefer slightly moist but well-drained soil.
- Clear the Area: Remove any existing vegetation, weeds, rocks, or debris from the selected area. This will prevent competition for nutrients and ensure that your strawberry plants have the best opportunity to grow.
- Test the Soil: Conduct a soil test to determine the pH level and nutrient composition of your soil. Strawberries prefer slightly acidic soil with a pH range of 5.5 to 6.5. If your soil is too alkaline, you can lower the pH by adding organic matter such as compost or peat moss.
- Amend the Soil: Based on the results of your soil test, amend the soil accordingly. Add organic matter such as compost, well-rotted manure, or aged leaf mold to improve soil structure, drainage, and fertility. Mix the amendments into the soil thoroughly to ensure they are evenly distributed.
- Loosen the Soil: Use a garden fork or tiller to loosen the soil to a depth of 6-8 inches (15-20 cm). This will provide a loose, airy texture that allows roots to penetrate easily and helps with water drainage.
- Remove any weeds that may have sprouted after loosening the soil. This will reduce competition for nutrients and prevent weeds from overtaking your strawberry plants as they grow.
Once the soil preparation is complete, you are ready to move on to the exciting step of germinating the strawberry seeds.
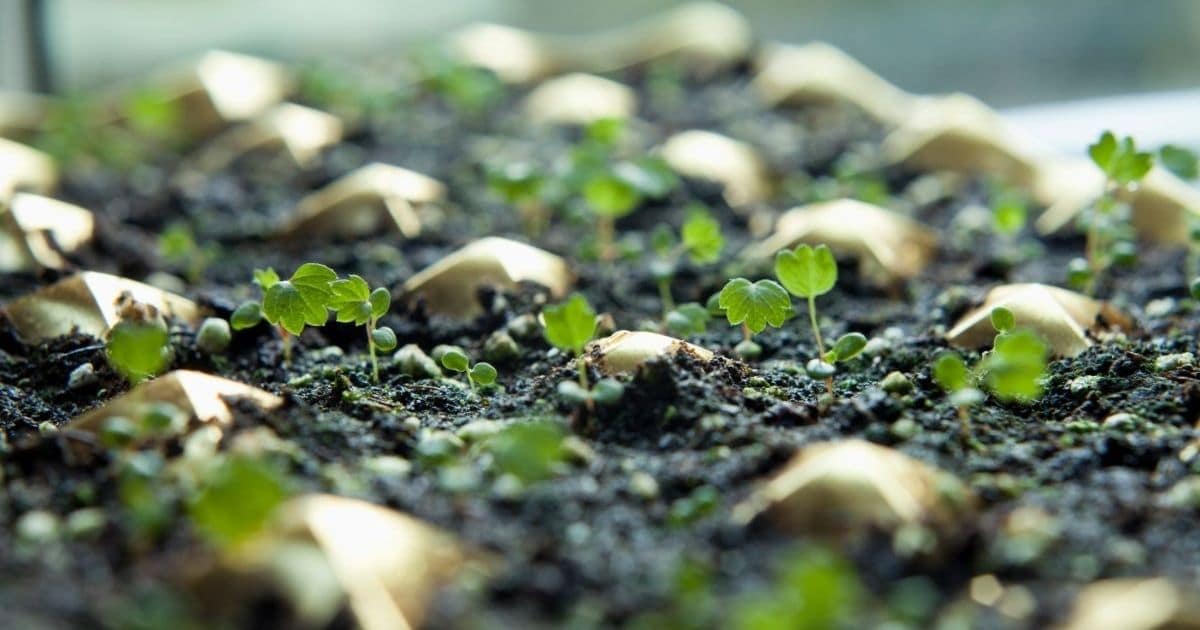
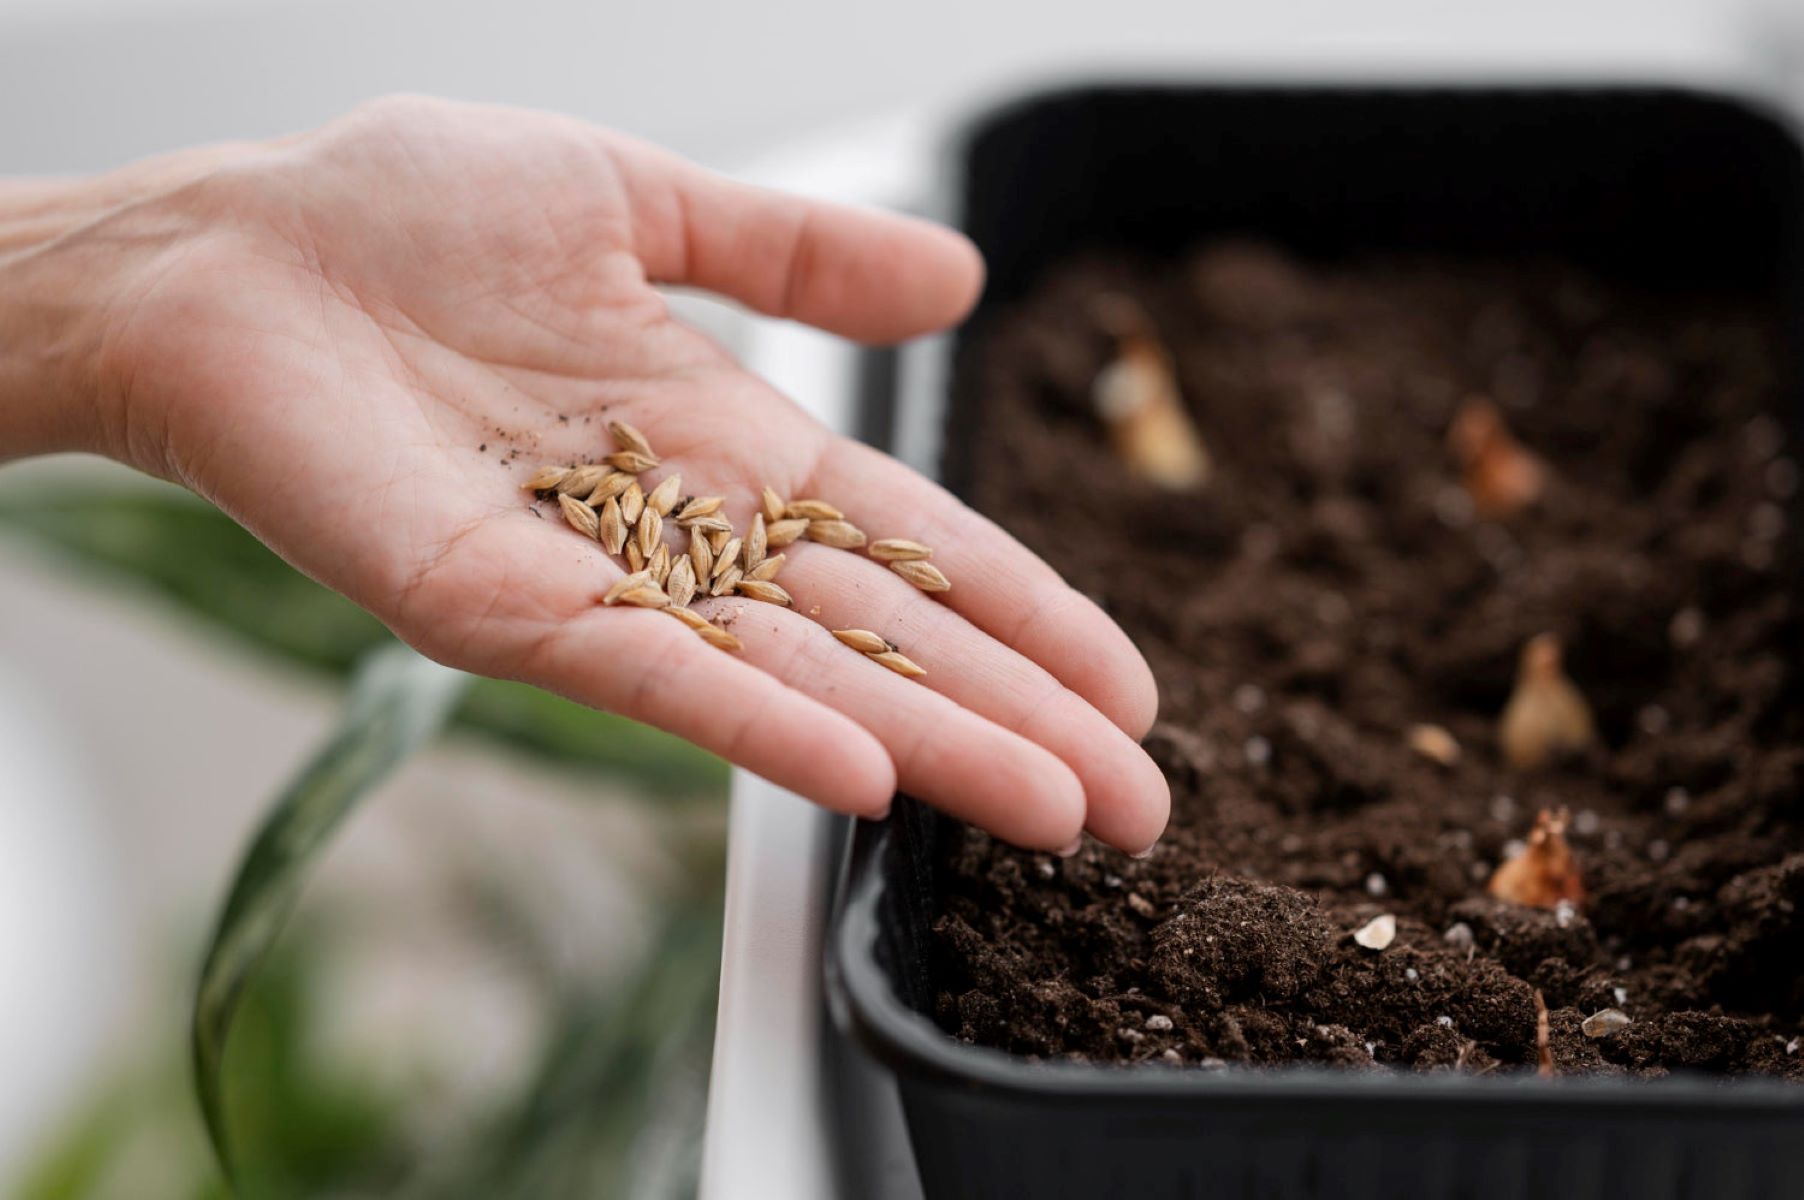
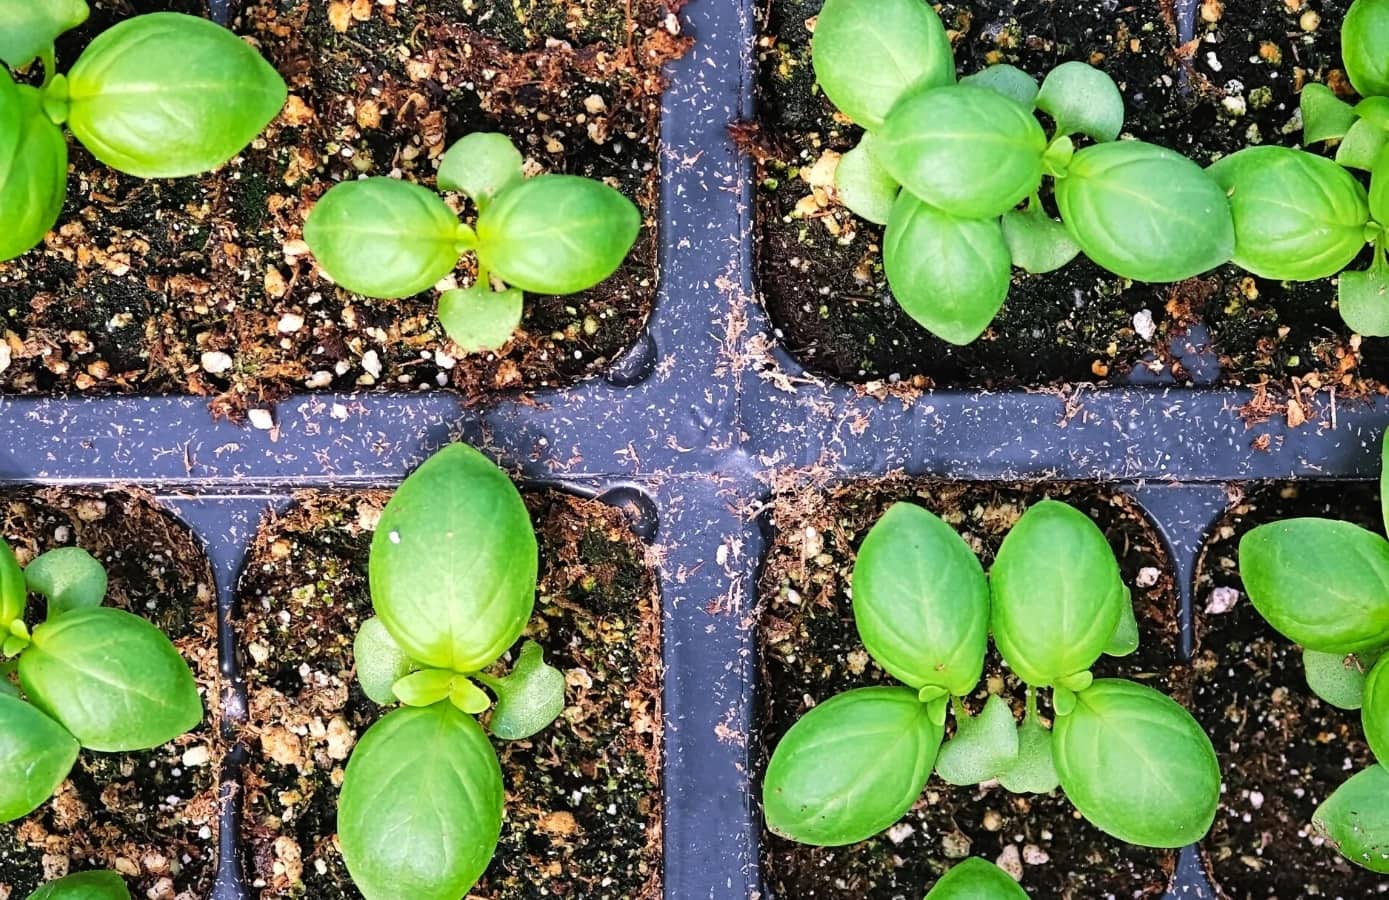
Step 3: Germinating the Strawberry Seeds
Germinating strawberry seeds is an important step in the process of growing strawberries from seed. Follow these steps to ensure successful germination:
- Start in Early Spring: Strawberry seeds germinate best when exposed to consistent temperature and moisture. Therefore, start the germination process in early spring, approximately 8-10 weeks before the last frost date in your area.
- Moisten the Seed Starting Mix: Fill a clean seed tray or small containers with a quality seed starting mix. Moisten the mix with water until it becomes evenly moist, but not waterlogged or dripping wet.
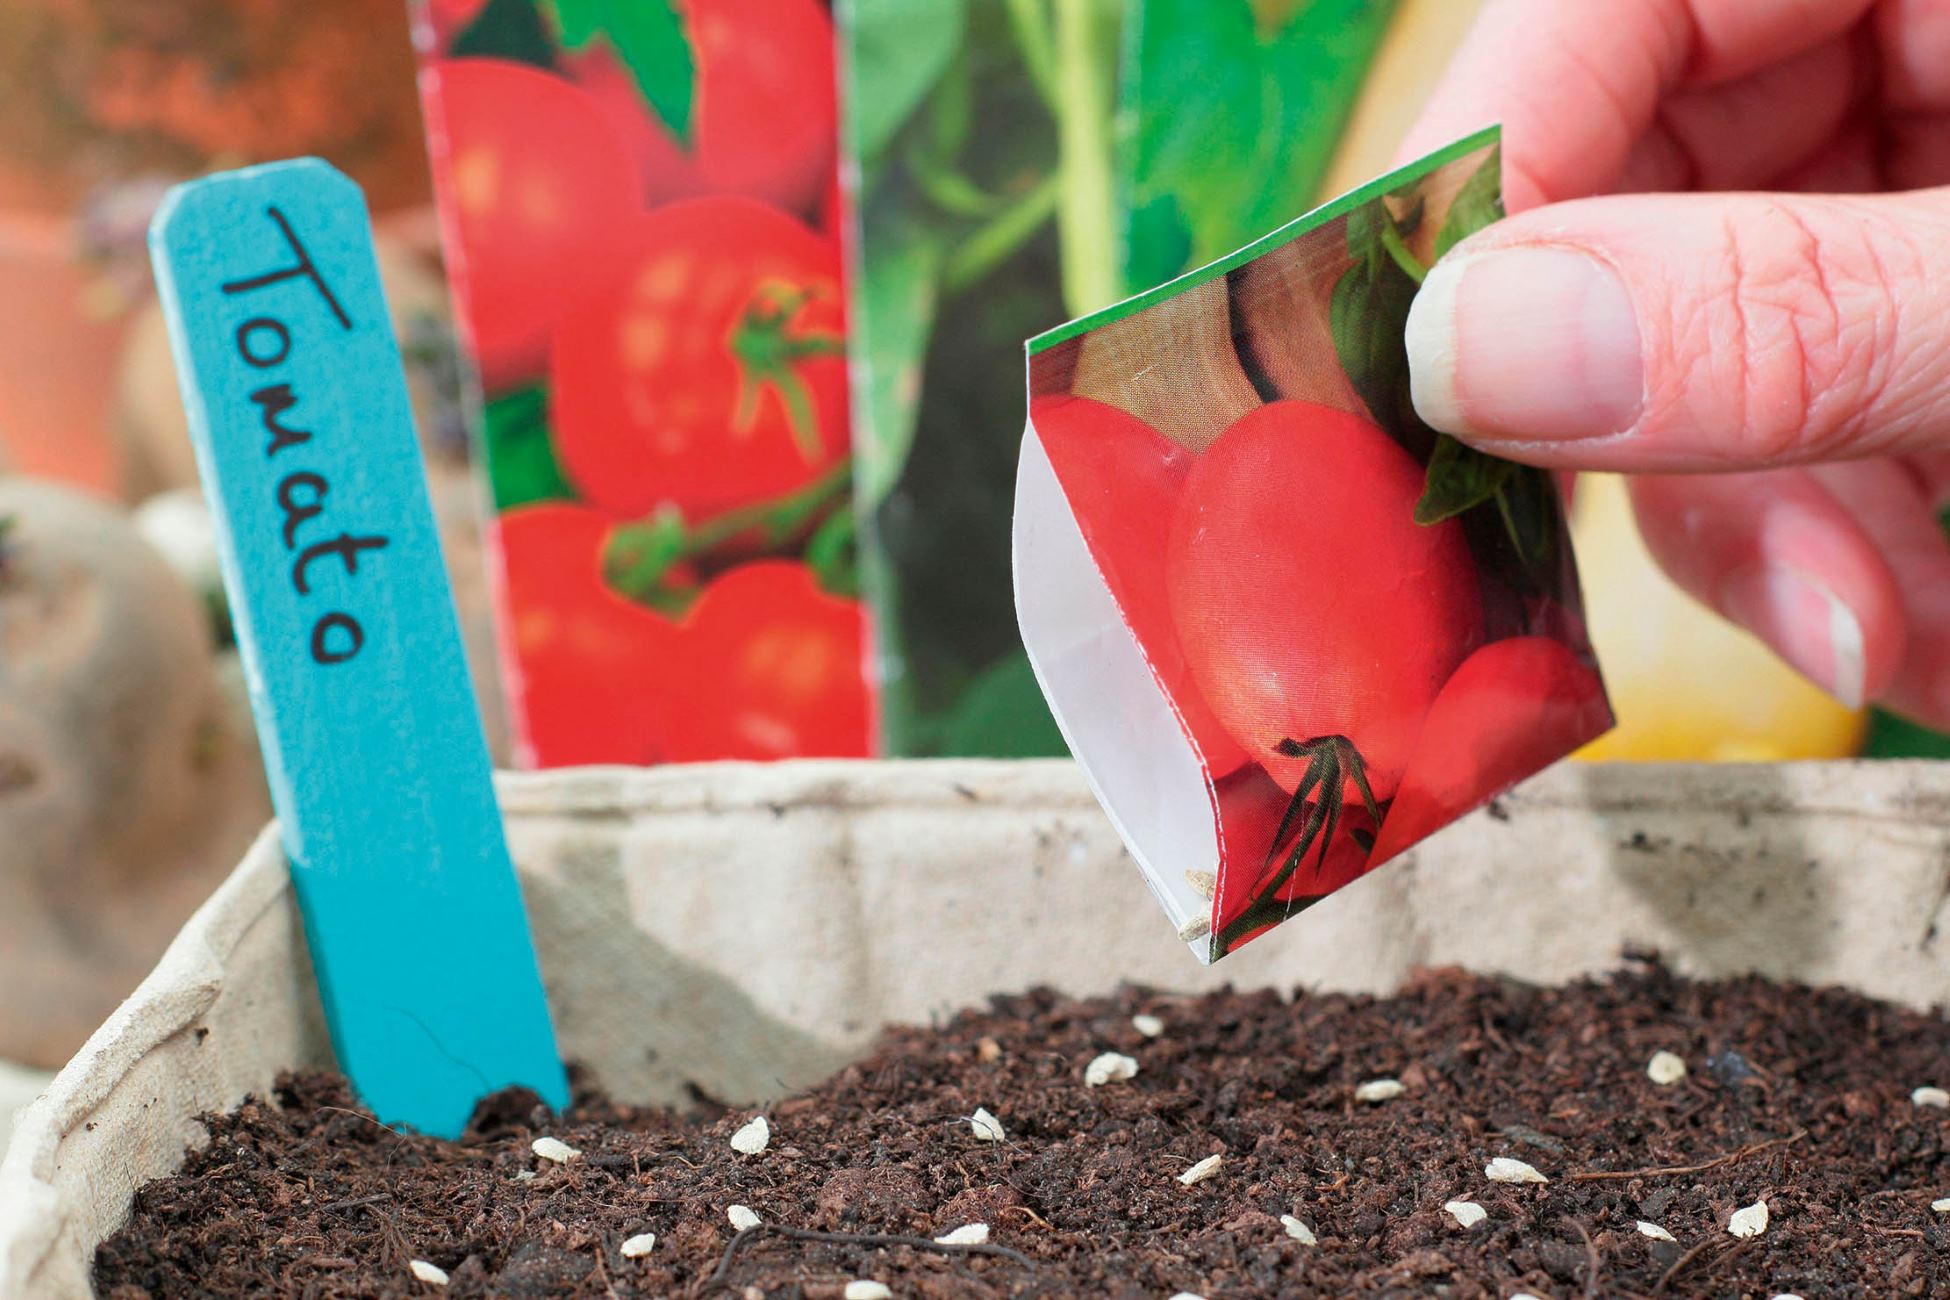
- Sow the Strawberry Seeds: Sprinkle the strawberry seeds evenly on top of the moistened seed starting mix. Press them lightly into the mix, but do not cover them with soil, as strawberry seeds need light to germinate.
- Cover the Seeds: Place a clear plastic dome or plastic wrap over the seed tray or containers to create a mini greenhouse effect. This helps to retain moisture and create a consistent temperature for germination.
- Provide Adequate Lighting: Place the seed tray or containers in a well-lit area, such as near a south-facing window or under grow lights. Strawberries require at least 12-14 hours of light per day for optimal growth.
- Maintain Proper Moisture: Regularly check the moisture level of the seed starting mix. It should be moist but not saturated. Use a spray bottle or mist the top of the soil with water to keep it adequately moist during the germination process.
- Be Patient: Germination can take anywhere from 1-3 weeks. Be patient and resist the urge to interfere with the process. Keep the seeds warm, maintain consistent moisture, and provide adequate lighting to encourage germination.
Once the strawberry seeds have germinated and sprouted into seedlings, it’s time to move on to the next step: planting the germinated seeds.
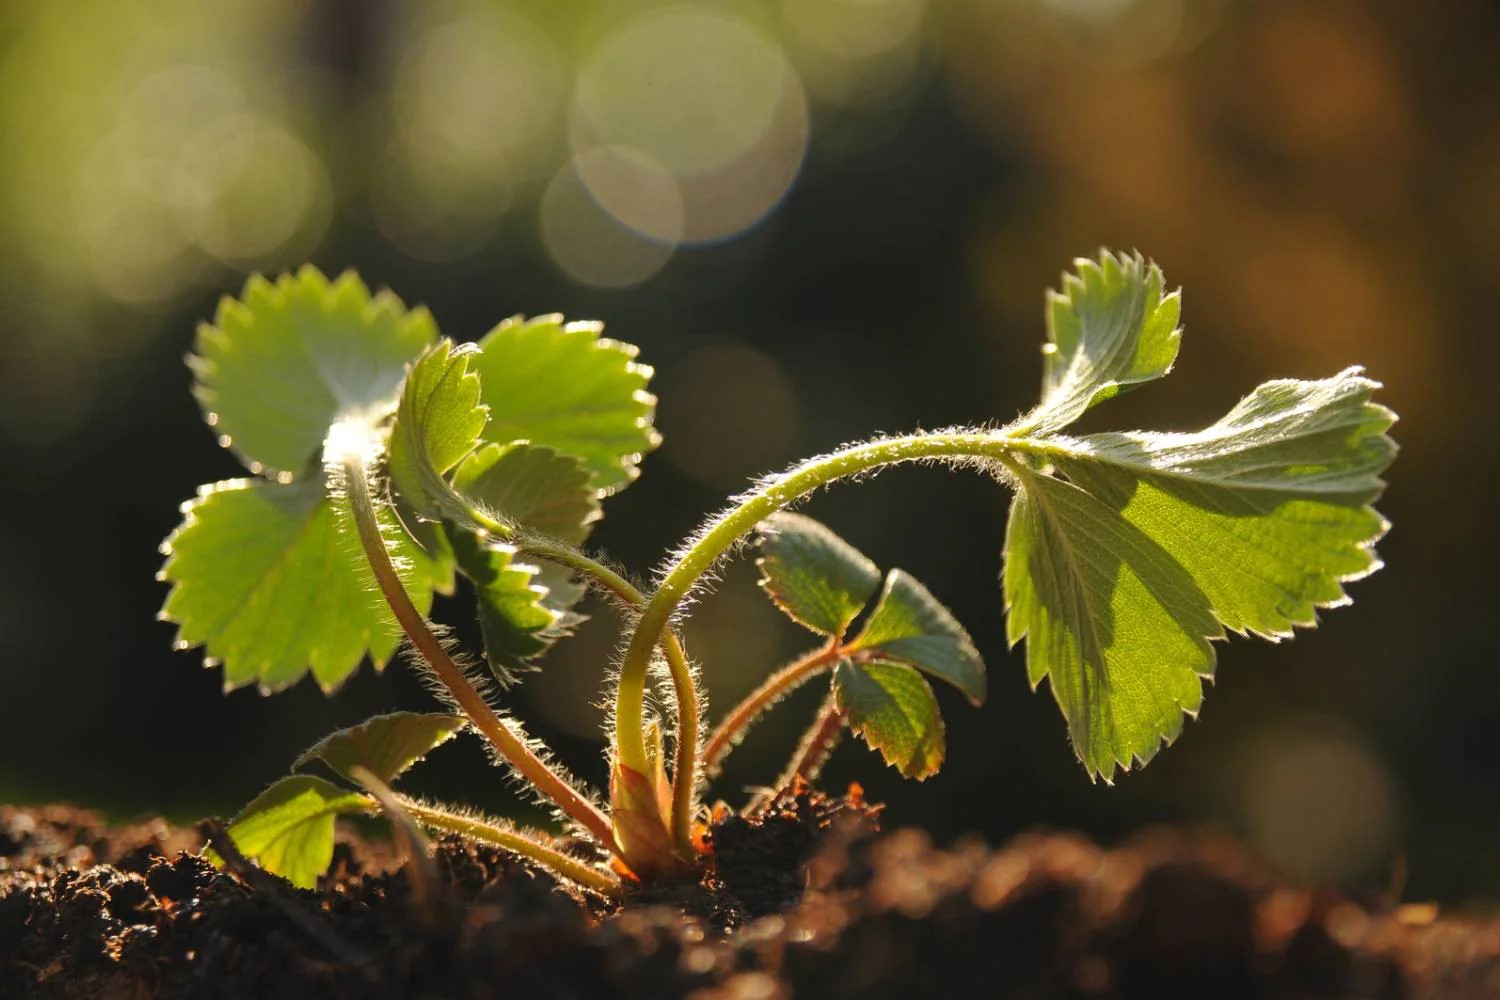
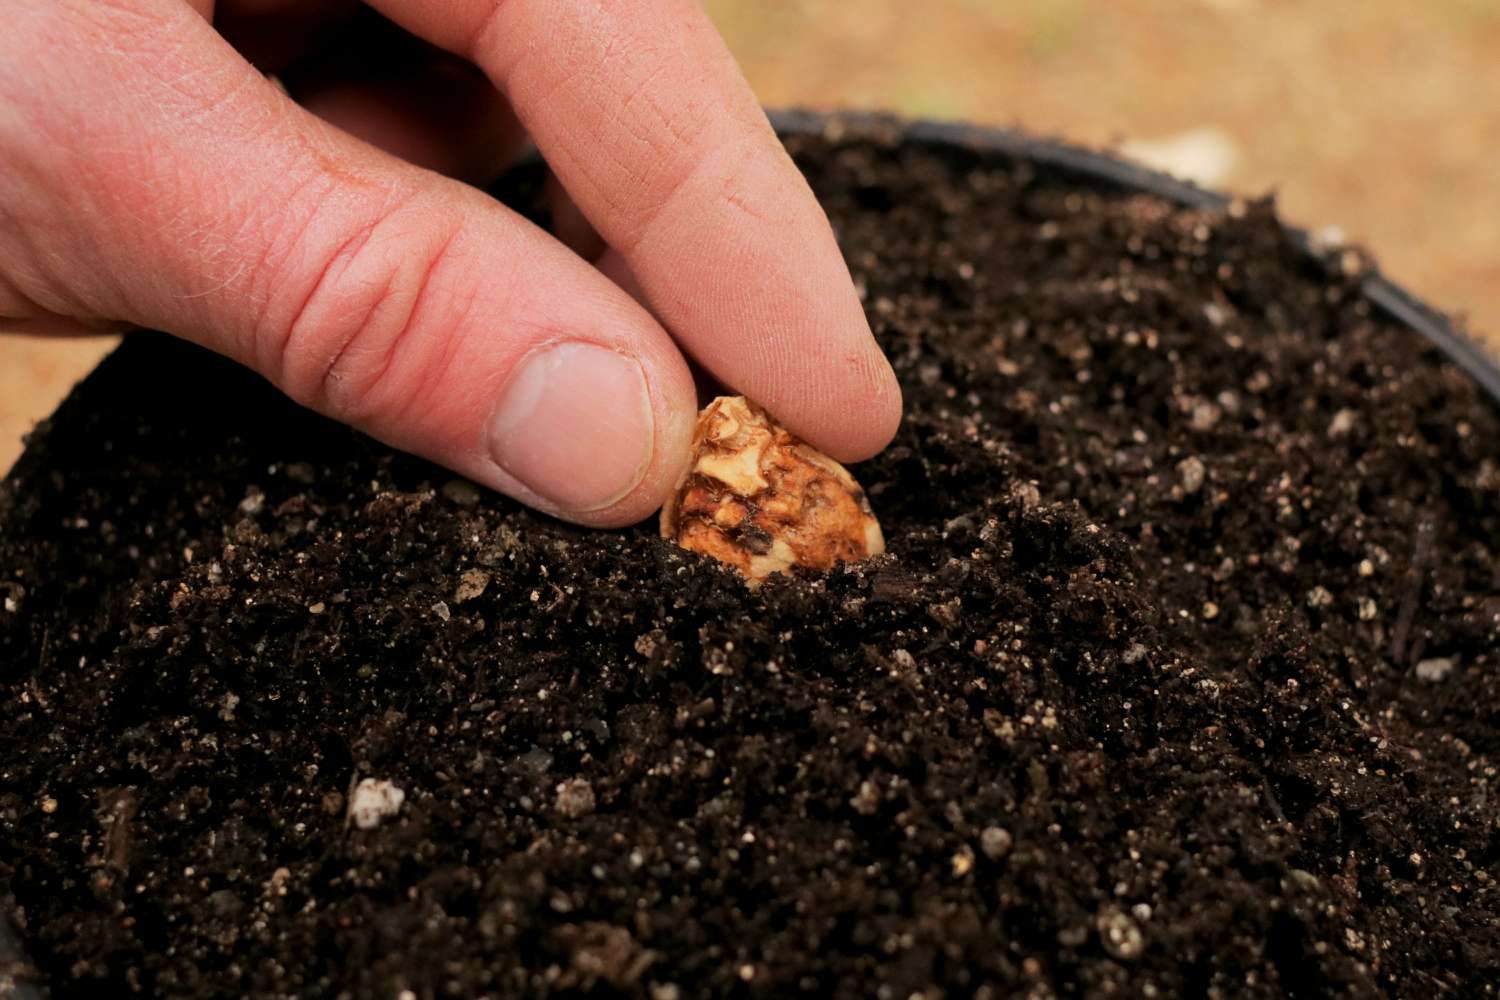
Step 4: Planting the Germinated Seeds
After successfully germinating your strawberry seeds and seeing the tiny seedlings emerge, it’s time to plant them in their permanent growing location. Follow these steps to ensure a smooth transition for your germinated strawberry seeds:
- Select the Planting Site: Choose a location in your garden that meets the sunlight and soil requirements for strawberries. Ensure that the soil has been prepared with organic matter and is well-drained.
- Prepare the Planting Holes: Dig planting holes that are wide and deep enough to accommodate the root system of the germinated seedlings. Space the planting holes approximately 12-18 inches apart to allow enough room for the strawberry plants to spread.
- Transplant with Care: Gently remove the germinated seedlings from their containers or seed tray, taking care not to damage the fragile roots. Place each seedling in a planting hole, making sure the roots are well-spread and not bent or crowded.
- Backfill the Soil: Fill in the planting hole with soil, gently firming it around the seedling to ensure good soil-to-root contact. Avoid covering the crown of the plant, as this can lead to rotting or disease.
- Water Thoroughly: After planting, water the seedlings thoroughly to settle the soil and hydrate the roots. Ensure that the soil is evenly moist, but not overly saturated.
- Apply Mulch: Spread a layer of organic mulch, such as straw or wood chips, around the base of the plants. This helps to suppress weeds, retain soil moisture, and regulate soil temperature.
- Provide Support, If Needed: If you are growing larger strawberry varieties or if your garden is prone to strong winds, it may be beneficial to provide support for the plants. Install stakes or trellises near the seedlings to support their growth and prevent damage.
Once the germinated strawberry seeds have been planted, it’s time to move on to the next step: providing proper care for the seedlings.
To plant strawberries from seed, start by soaking the seeds in water for 2-3 days. Then, plant them in a seed starting mix and keep them moist. Once they sprout, transplant them into larger containers or a garden bed with well-draining soil.
Read more: How To Plant Strawberry In A Vertical Garden
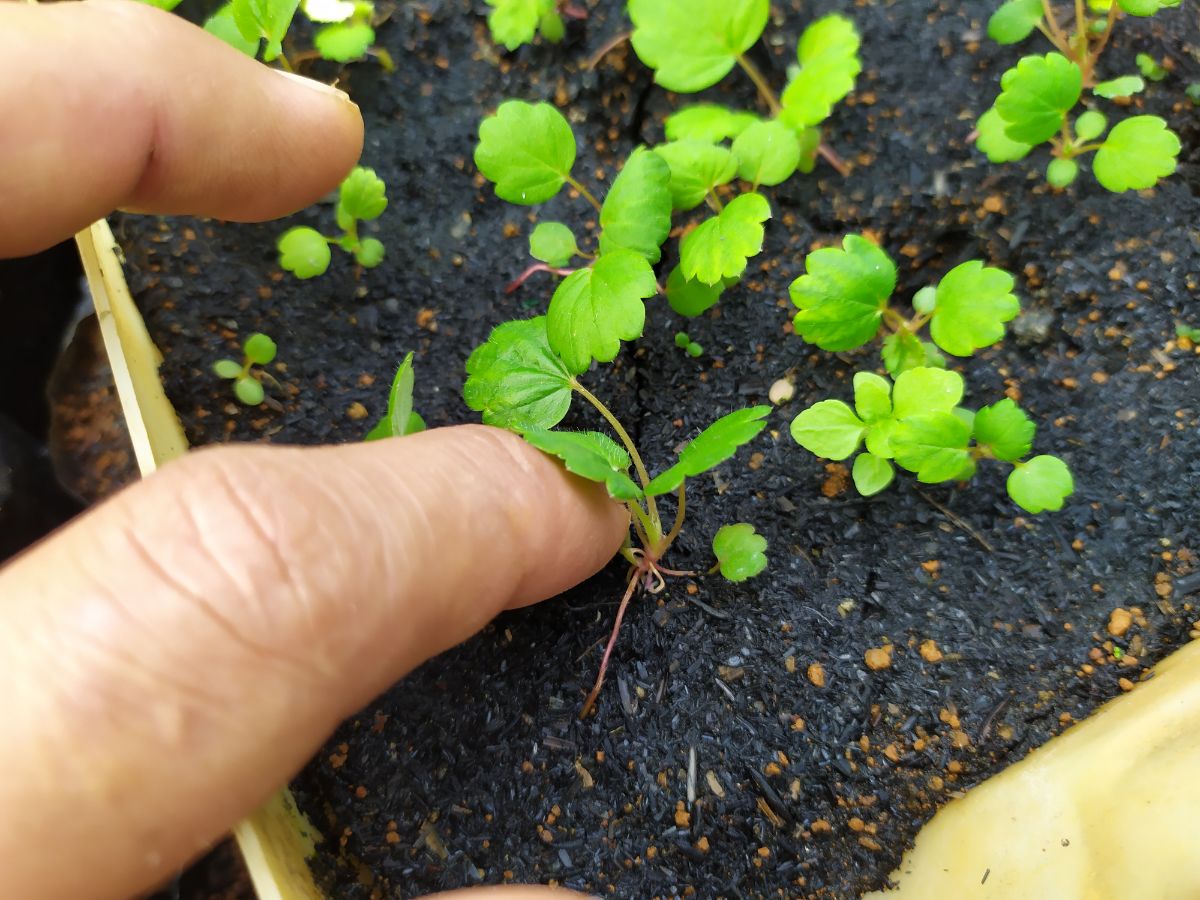
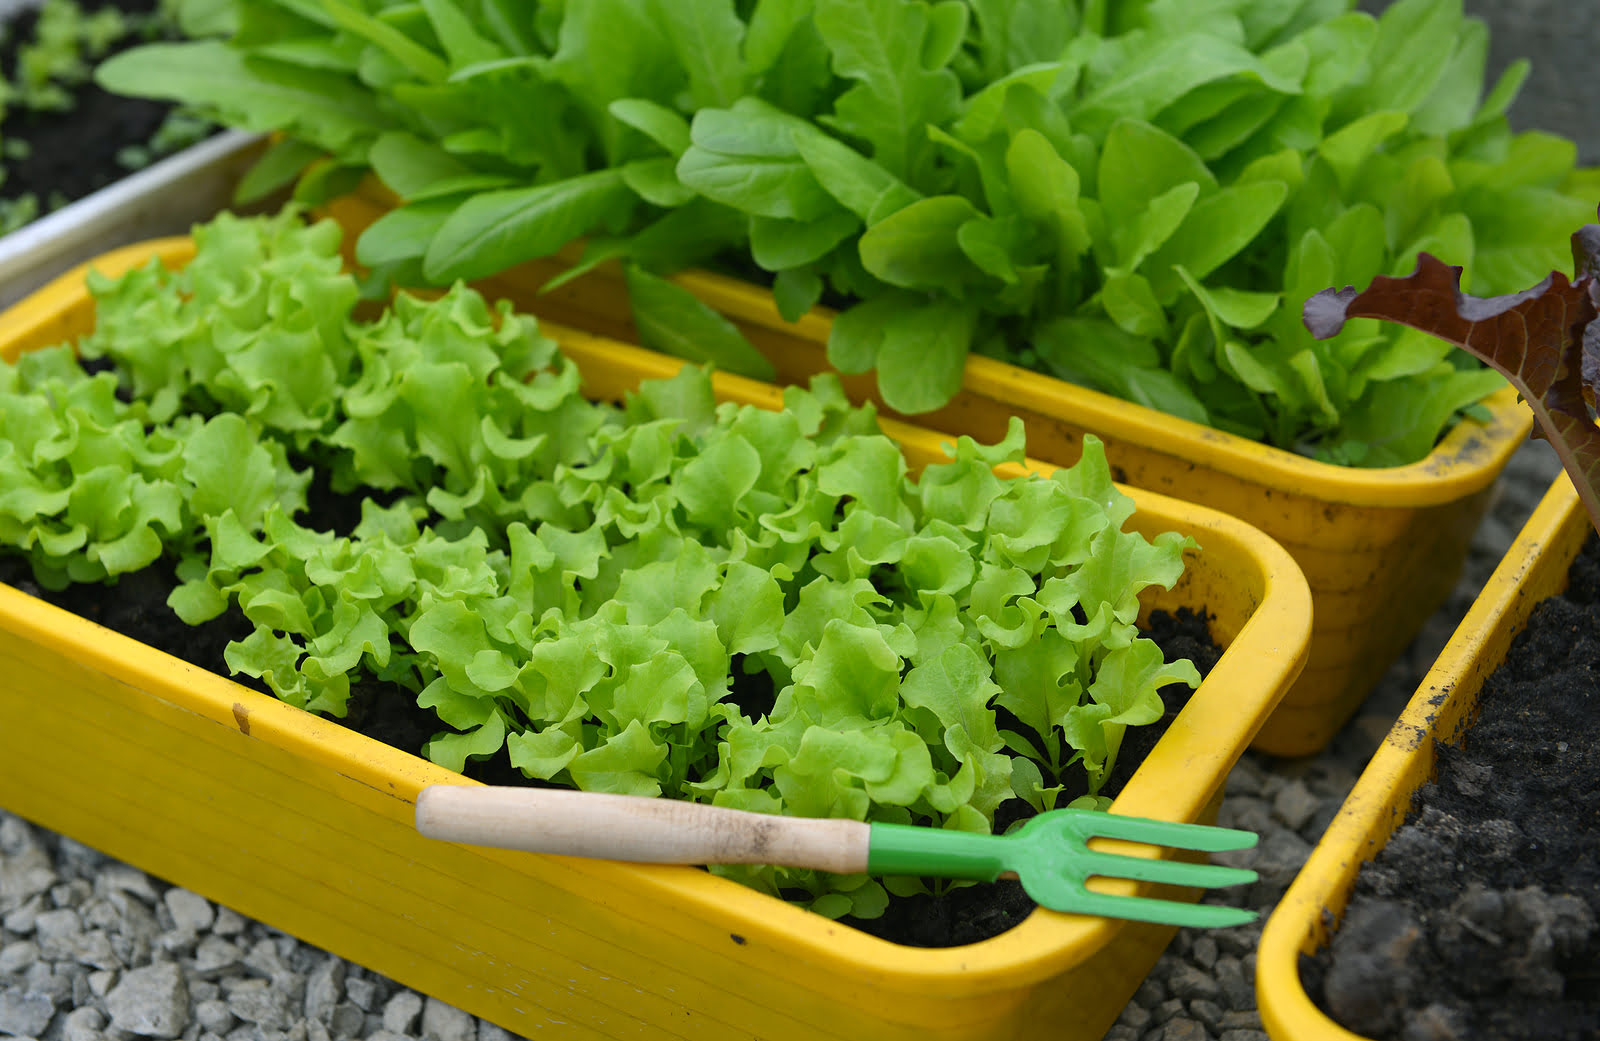
Step 5: Providing Proper Care for Seedlings
To ensure the healthy growth and establishment of your strawberry seedlings, it’s important to provide them with proper care and attention. Follow these steps to give your seedlings the best start:
- Watering: Water the seedlings regularly, aiming for consistent moisture in the soil. Strawberries prefer slightly moist but not waterlogged conditions. Monitor the soil moisture and adjust your watering accordingly, ensuring that the plants receive around 1 inch of water per week.
- Fertilizing: Feed your strawberry seedlings with a balanced organic fertilizer approximately 4-5 weeks after planting. Apply the fertilizer according to the package instructions, taking care not to over-fertilize, as this can lead to excessive foliage growth and reduced fruit production.
- Weeding: Keep the area around your strawberry seedlings free from weeds. Weeds can compete with the seedlings for nutrients and water, inhibiting their growth. Regularly inspect the planting area and remove any weeds by hand or with a small garden tool.
- Temperature and Sunlight: Monitor the temperature and sunlight conditions in your garden. Strawberries thrive in cooler temperatures, ideally between 60-80°F (15-27°C). If you experience extreme heat or prolonged periods of direct sunlight, provide some shade for the seedlings using garden fabric or shade cloth.
- Pest and Disease Control: Regularly inspect your strawberry seedlings for any signs of pests or diseases, such as aphids, slugs, or fungal infections. Take prompt action to control these issues using organic pest controls or natural remedies. Remove any affected leaves or plants to prevent the spread of disease.
- Monitor and Support Growth: Keep an eye on the growth of your strawberry seedlings. As they grow, gently train the runners to encourage proper spacing and prevent overcrowding. Adjust the stakes or trellises if needed to support the plants as they develop.
- Harvesting: While it may be tempting, avoid harvesting any strawberries in the first year to allow the plants to establish themselves. This will ensure stronger growth and more bountiful harvests in the following years.
Following these care guidelines will help your strawberry seedlings establish strong roots and prepare them for the next phase: transplanting.
Step 6: Transplanting the Seedlings
After nurturing your strawberry seedlings and allowing them to grow stronger, it’s time to transplant them into their permanent growing location. Follow these steps to ensure a successful transplant:
- Timing: Transplant your strawberry seedlings in early spring, after the threat of frost has passed and the soil has warmed up. This is usually around 3-4 weeks after the last frost date in your area.
- Preparing the Soil: Ensure that the soil in the transplant location is well-prepared and amended with organic matter. Remove any weeds, rocks, or debris from the area and ensure good drainage.
- Digging the Holes: Dig planting holes that are wide and deep enough to accommodate the root system of the strawberry seedlings. Space the holes approximately 12-18 inches apart to allow for proper air circulation and growth.
- Transplanting Process: Gently lift the strawberry seedlings from their current location, being careful not to damage the roots. Place each seedling in a planting hole, making sure the roots are well-spread and not bent or crowded. Backfill the hole with soil, firming it gently around the plant.
- Watering: Immediately after transplanting, water the seedlings thoroughly to help settle the soil and eliminate any air pockets. Maintain consistent moisture in the soil with regular watering, especially during dry periods.
- Provide Mulch: Apply a layer of organic mulch around the base of the seedlings to help retain moisture, suppress weed growth, and regulate soil temperature. Leave a small space around the crown of the plants to prevent rotting.
- Continued Care: Monitor the transplanted seedlings closely during the first few weeks. Provide shade or protection from extreme heat or strong winds if necessary. Keep an eye out for pests, diseases, or nutrient deficiencies and take appropriate actions to address them.
- Adjustments: As your strawberry plants continue to grow, adjust any support systems, such as stakes or trellises, to accommodate their height and spreading habit. Train the runners to maintain proper spacing and prevent overcrowding.
By carefully transplanting your strawberry seedlings, you are now one step closer to enjoying a bountiful harvest of delicious berries!
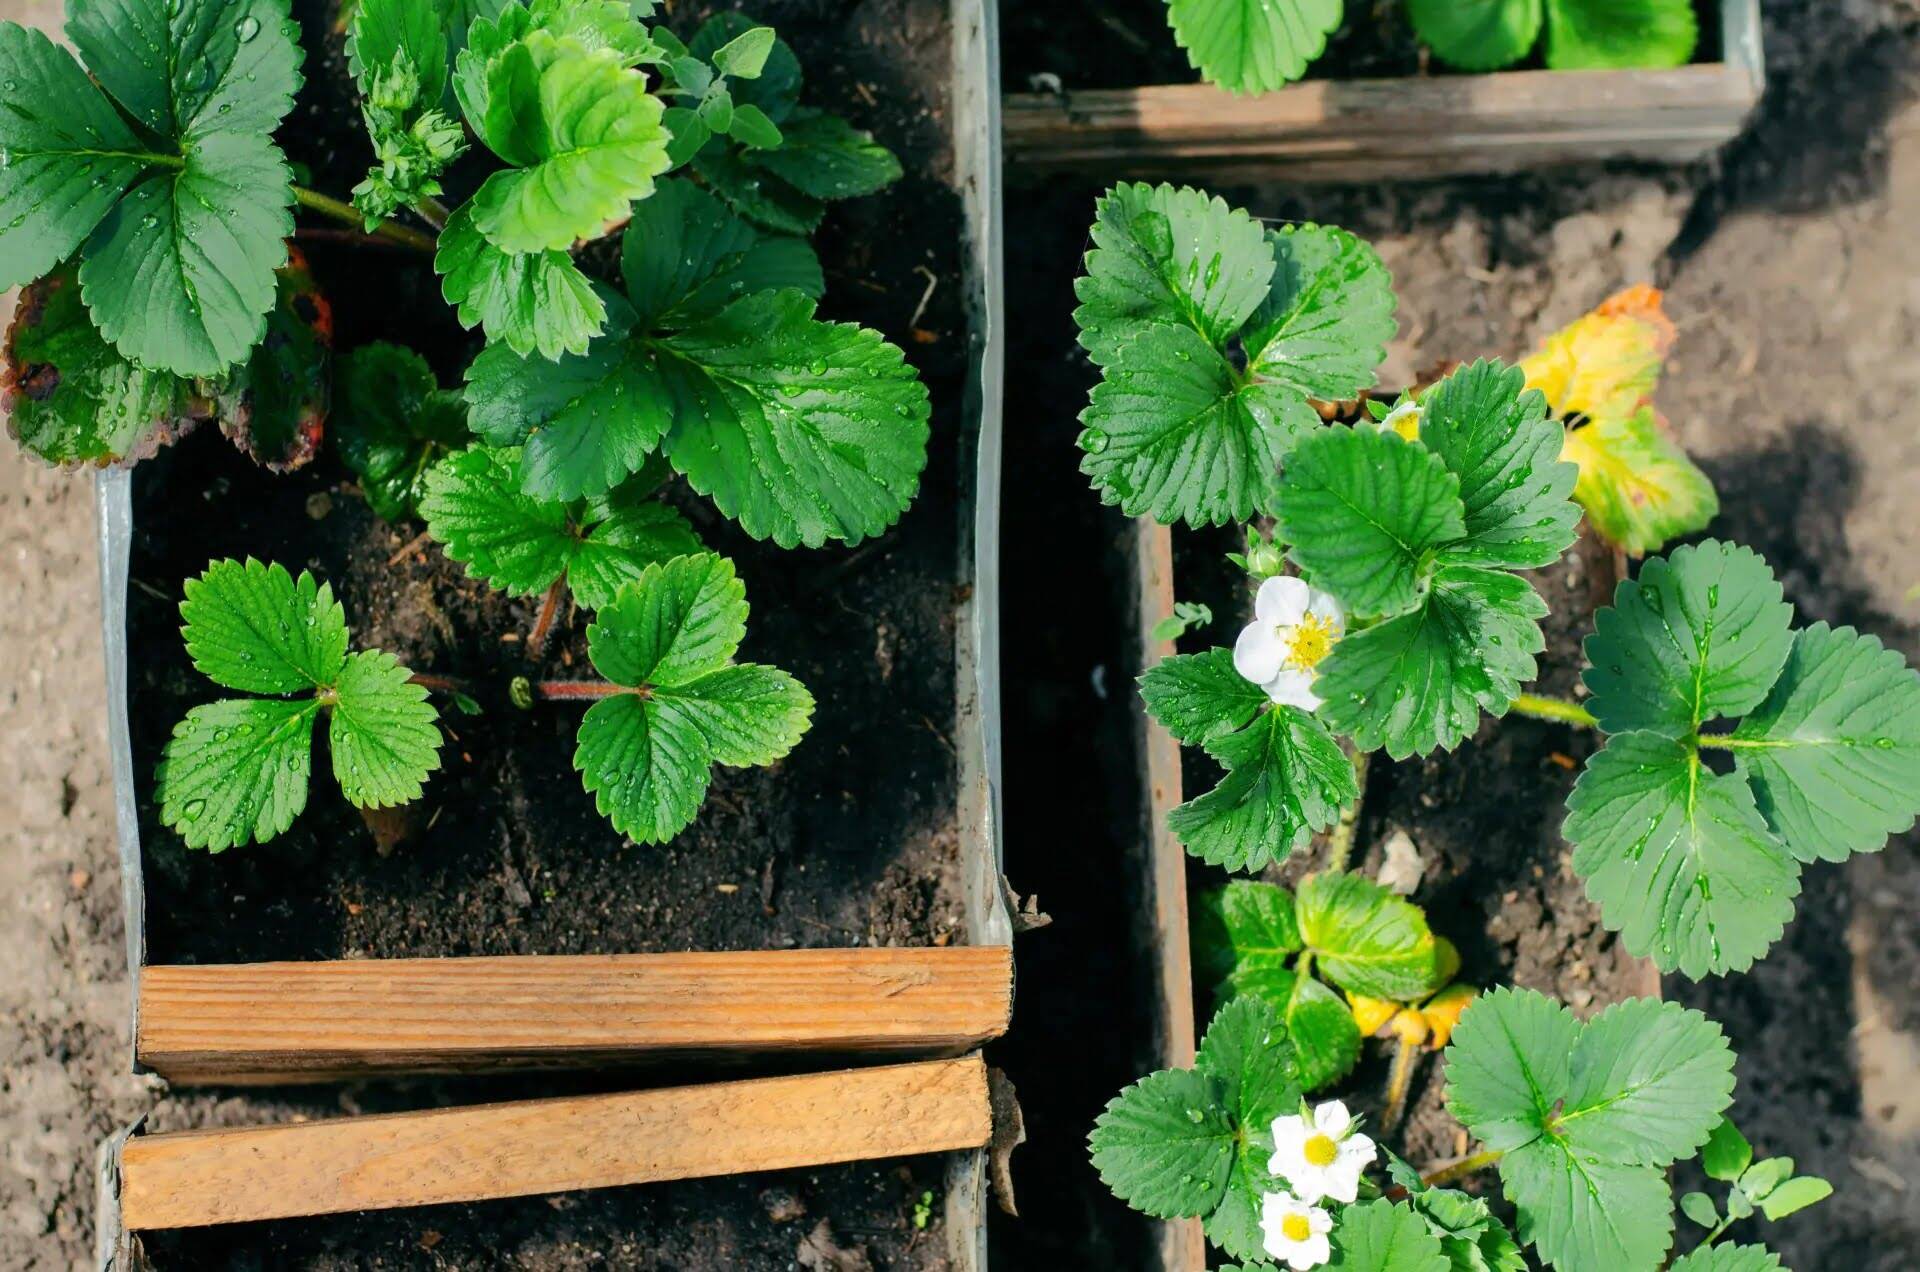
Step 7: Continued Care for Strawberry Plants
Now that your strawberry plants have been successfully transplanted and are growing strong, it’s important to continue providing the necessary care to ensure their health and productivity. Follow these steps for continued care:
- Watering: Consistent and adequate watering is crucial for strawberry plants. Water deeply to ensure the root zone is properly hydrated, especially during dry spells or periods of intense heat. Avoid over-watering, as this can lead to root rot.
- Fertilizing: Feed your strawberry plants every four to six weeks with a balanced organic fertilizer. Apply the fertilizer according to the package instructions, taking care not to over-fertilize as this can result in excessive foliage growth and fewer fruits.
- Weeding: Regularly check for weed growth around your strawberry plants and remove them promptly. Weeds compete with the plants for nutrients and can cause reduced growth and yield. Hand-pull weeds or use mulch to suppress weed growth.
- Protecting from Pests: Monitor your strawberry plants for common pests, such as slugs, snails, and aphids. Take action immediately if you notice any infestations. Use organic pest control methods or natural remedies to protect your plants without harmful chemicals.
- Managing Runners: Strawberry plants produce runners, which are long shoots that grow from the mother plant and develop into new plants. Manage the runners by either allowing them to fill in the gaps in your garden or cutting them off to prevent overcrowding.
- Renovation and Pruning: After the fruiting season, it’s important to renovate your strawberry plants. Remove old, diseased, or damaged leaves, and trim back any runners that have grown excessively. This helps promote new growth and improves next year’s harvest.
- Winter Protection: In colder regions, protect your strawberry plants during the winter. Apply a layer of mulch around the plants to insulate the roots and prevent damage from freezing temperatures. Remove the mulch in early spring before new growth begins.
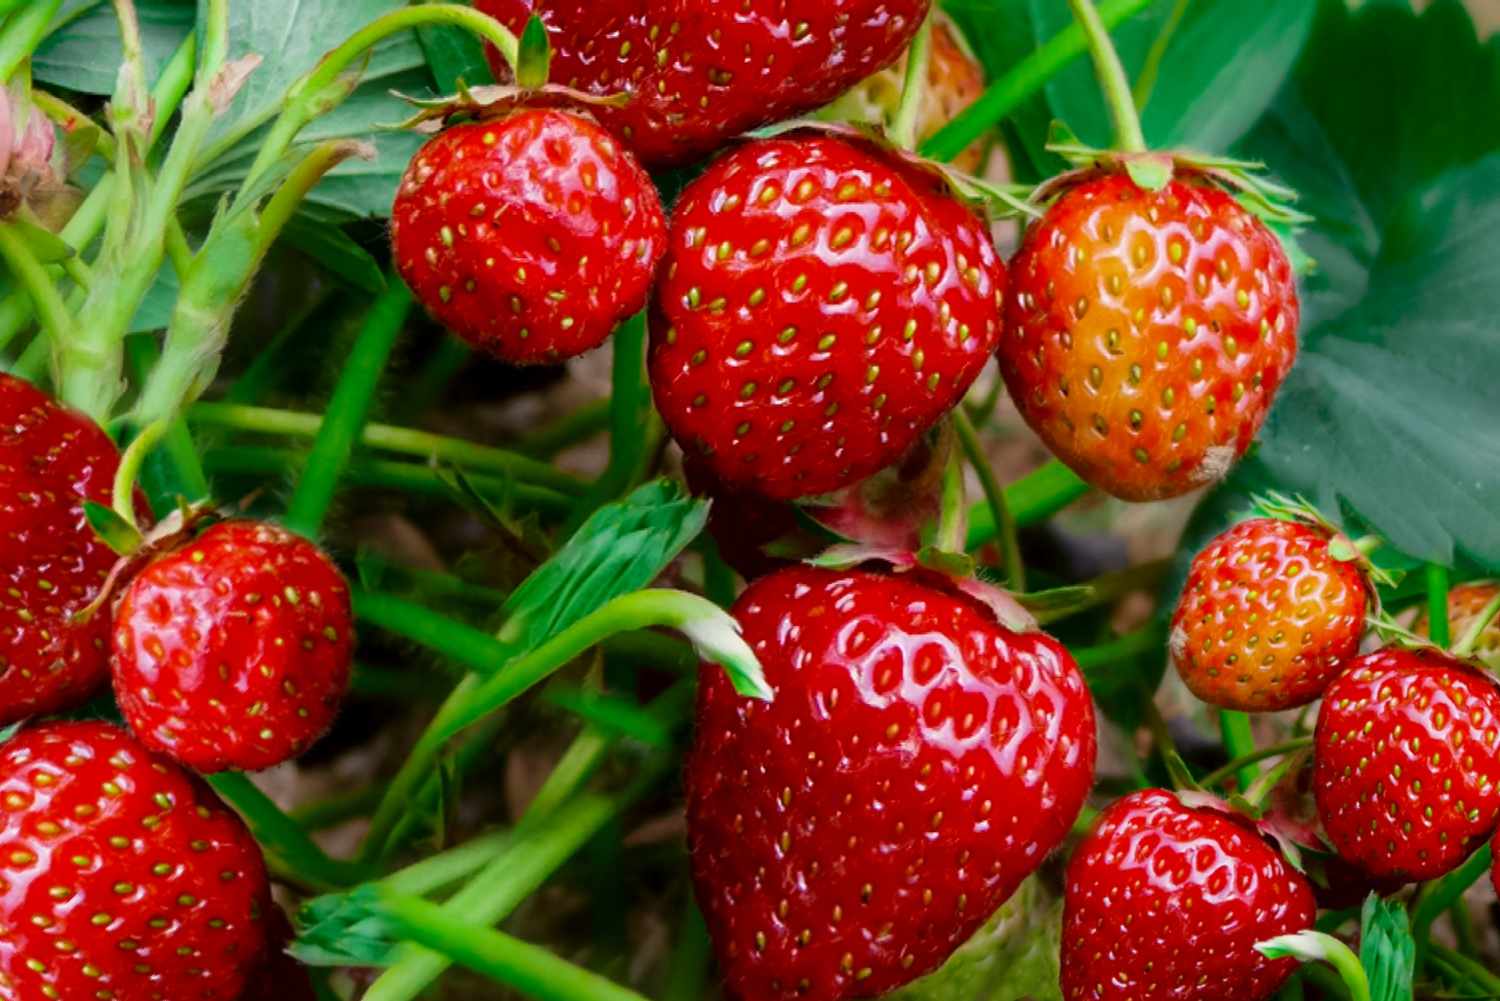
- Harvesting: As your strawberry plants begin to bear fruit, harvest the ripe berries regularly to maintain plant health and encourage continuous production. Pick the strawberries when they are fully red and ripe, as this is when they will have the best flavor.
By providing consistent care throughout the growing season, your strawberry plants will thrive and reward you with a delicious harvest year after year.
Conclusion
Congratulations on successfully planting strawberries from seed! By following the steps outlined in this guide, you have equipped yourself with the knowledge and skills needed to grow healthy and fruitful strawberry plants right in your own backyard.
From choosing the right strawberry seeds to germinating them, transplanting the seedlings, and providing the necessary care, each step in the process is crucial to ensure the plants’ success. Remember to choose varieties that suit your preferences, prepare the soil properly, and provide adequate water, sunlight, and nutrients for your plants to thrive.
As your strawberry plants grow and mature, it’s important to continue caring for them by watering regularly, fertilizing appropriately, and managing weeds and pests. Don’t forget to monitor the plants for any signs of disease or nutrient deficiencies and take prompt action to address them.
With patience and dedication, your strawberry plants will reward you with an abundance of delicious and juicy berries. Whether you enjoy them fresh, make them into jams and preserves, or use them in desserts and smoothies, the satisfaction of growing your own strawberries from seed will be a delightful experience.
Remember to continue learning and experimenting with different varieties and growing methods. Gardening is a constant journey of discovery and improvement, and each season will bring new opportunities for growth and success.
So, get out in the garden, put your hands in the soil, and watch as your strawberry plants thrive and delight you with their vibrant colors and delectable flavors. Happy strawberry growing!
Frequently Asked Questions about How To Plant Strawberries From Seed
Was this page helpful?
At Storables.com, we guarantee accurate and reliable information. Our content, validated by Expert Board Contributors, is crafted following stringent Editorial Policies. We're committed to providing you with well-researched, expert-backed insights for all your informational needs.


0 thoughts on “How To Plant Strawberries From Seed”