Home>Garden Essentials>How To Plant Bok Choy Seeds
Garden Essentials
How To Plant Bok Choy Seeds
Modified: March 16, 2024
Learn how to plant bok choy seeds in your garden and enjoy fresh, homegrown greens. Follow our step-by-step guide for a successful harvest.
(Many of the links in this article redirect to a specific reviewed product. Your purchase of these products through affiliate links helps to generate commission for Storables.com, at no extra cost. Learn more)
Introduction
Are you ready to embark on a journey to grow your own bok choy? Look no further, as we dive into the step-by-step process of planting bok choy seeds. Bok choy, also known as Chinese cabbage, is a popular leafy green vegetable that is not only nutritious but also easy to grow in your own garden. Its delicate yet crisp texture and mild flavor make it a versatile addition to stir-fries, soups, and salads.
By following these simple steps, you will be able to cultivate your very own bok choy and enjoy the satisfaction of harvesting and cooking with fresh, homegrown produce. Before we start, it’s important to note that bok choy thrives best in cooler temperatures, so it is ideal to plant it in early spring or late fall.
So, let’s get our hands dirty and dive into the process of planting bok choy seeds!
Key Takeaways:
- Get ready to grow your own bok choy by preparing the soil, soaking the seeds, and providing the right conditions for healthy growth. With care and patience, you can enjoy the satisfaction of harvesting your homegrown bok choy.
- Harvesting bok choy at the right time ensures the best flavor and texture. Enjoy multiple harvests by cutting outer leaves while allowing the inner leaves to continue growing. Store in the refrigerator for up to a week and explore different recipes to fully enjoy the flavor and nutritional benefits.
Read more: How Long For Bok Choy To Germinate
Step 1: Prepare the soil
Before you begin sowing your bok choy seeds, it’s crucial to prepare the soil to provide the best growing conditions for your plants. Bok choy prefers well-draining soil that is rich in organic matter.
Start by clearing the area where you plan to plant your bok choy. Remove any weeds, rocks, or debris that may hinder the growth of your plants. Loosen the soil with a garden fork or a tiller to ensure aeration and good root penetration.
Next, amend the soil with compost or well-rotted manure. These organic materials will enrich the soil, improving its structure and fertility. Spread a layer of compost or manure evenly over the planting area and work it into the soil using a garden rake.
It’s also a good idea to conduct a soil pH test. Bok choy prefers slightly acidic to neutral soil with a pH range of 6.0 to 7.5. If the pH is outside this range, you can adjust it by adding amendments such as garden lime to raise the pH or elemental sulfur to lower the pH.
Once the soil is prepared, give it a final rake to level the surface and break up any remaining clumps. Your soil is now ready for planting bok choy seeds!
Step 2: Soaking the seeds
Soaking the bok choy seeds before sowing can increase their germination rate and help speed up the overall growth process. By hydrating the seeds, you are providing them with the moisture they need to awaken from dormancy.
To begin, fill a small container with room temperature water. Place the bok choy seeds into the water and let them soak for about 1-2 hours. This allows the seeds to absorb the water fully.
After soaking, remove the seeds from the water and place them on a paper towel or a clean cloth to drain any excess moisture. It’s essential to handle the seeds gently to prevent any damage. Avoid rubbing or drying them vigorously.
Soaking the seeds can help soften their hard outer coating and promote germination. It also gives you a better chance of achieving uniform and successful seedling growth.
Remember, while soaking bok choy seeds can be beneficial, it is not mandatory. If you’re short on time or prefer not to soak them, you can still achieve successful germination by directly sowing the seeds into the soil.
Now that your bok choy seeds are hydrated and ready to go, it’s time to move on to the next step: sowing the seeds!
Step 3: Sowing the seeds
Now that your soil is prepared and your bok choy seeds are soaked, it’s time to sow them into the ground. Proper spacing and depth are essential for healthy seedling development and sufficient airflow between the plants.
Start by creating shallow furrows in the prepared soil. The furrows should be about 1/4 to 1/2 inch deep and spaced approximately 12 inches apart. This spacing allows enough room for the bok choy leaves to grow without overcrowding.
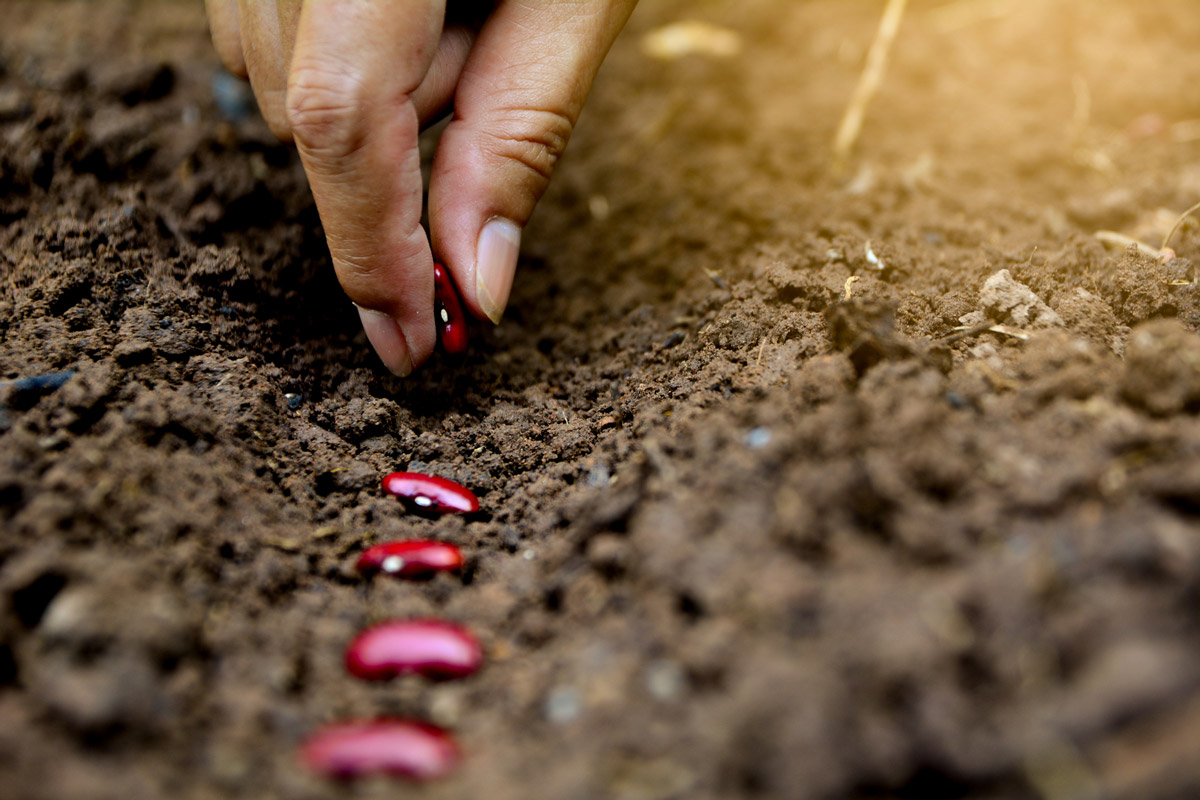
Take the soaked bok choy seeds and sprinkle them along the furrows, maintaining a distance of about 2-3 inches between each seed. Try to distribute the seeds evenly to ensure consistent plant growth.
Once the seeds are evenly spread, cover them with a thin layer of soil, about 1/4 inch deep. Gently pat down the soil to ensure good contact between the seeds and the soil, which helps with moisture retention and germination.
It’s important to water the area immediately after sowing the seeds, as this will provide the initial moisture needed for germination. Use a gentle spray or watering can to prevent displacing the seeds or causing damage.
Now that the seeds are sown, mark the area with labels or stakes to remember where you planted the bok choy. This will help you keep track of the growth and progress of your plants.
With the seeds sown and properly watered, it’s time to move on to the next step: providing the right conditions for germination and growth.
Step 4: Providing the right conditions
Creating the ideal growing conditions for your bok choy plants is essential to ensure healthy growth and a bountiful harvest. Maintaining the right temperature, sunlight, and moisture levels will contribute to the success of your bok choy garden.
Bok choy thrives in cooler temperatures, ideally between 50°F and 75°F (10°C – 24°C). Avoid extreme heat or frost, as it can negatively impact the growth and development of the plants. If you are planting in the summer, consider providing some shade to protect the delicate leaves from scorching sunlight.
Place your bok choy in a location that receives at least 4-6 hours of sunlight per day. Adequate sunlight will promote healthy leaf growth and vibrant green color. If you are growing bok choy indoors, place it near a sunny window or use grow lights to mimic natural sunlight.
Keep the soil consistently moist but not overly saturated. Aim to water your bok choy plants regularly, ensuring that the top inch of soil feels damp. Avoid letting the soil dry out completely, as this can lead to stunted growth and bitterness in the leaves.
Be mindful of pests, such as aphids and cabbage worms, which can damage your bok choy plants. Consider using natural pest control methods or organic insecticides to protect your crop. Regularly inspect your plants for any signs of pest infestation and take appropriate action if necessary.
As your bok choy plants grow, it may be necessary to thin them out to create more space for each plant to thrive. Thin the seedlings when they are about 2-3 inches tall, leaving the strongest ones spaced about 6 inches apart.
Now that you are providing the right conditions for your bok choy plants, it’s time to move on to the optional step of transplanting the seedlings, which can promote healthier growth and spacing.
When planting bok choy seeds, make sure to sow them in well-draining soil and keep the soil consistently moist. Bok choy prefers cooler temperatures, so plant in early spring or late summer for best results.
Read more: How To Store Bok Choy
Step 5: Transplanting the seedlings (optional)
Transplanting bok choy seedlings is an optional step that you can take to provide your plants with more space and nutrients for optimal growth. This step is particularly beneficial if your bok choy seedlings are crowded or if you want to ensure proper spacing between plants.
The best time to transplant your bok choy seedlings is when they have grown to be about 4-6 weeks old and have developed their first set of true leaves. By this stage, the seedlings are sturdy enough to handle the transplanting process.
Before transplanting, prepare the new location by clearing any weeds or debris and ensuring that the soil is well-draining and has been properly amended with organic matter. Dig holes that are slightly larger than the root ball of each seedling, spacing them about 6-8 inches apart.
Gently lift the bok choy seedlings from their original planting site, being careful not to damage the delicate roots. Place each seedling into the prepared hole, making sure that the top of the root ball is level with the soil surface.
Fill in the hole with soil, gently firming it around the seedling to provide stability. Water the newly transplanted seedlings thoroughly, ensuring that the soil is evenly moist. This will help the plants recover from the transplant shock and establish themselves in their new location.
Provide the transplanted seedlings with the same favorable growing conditions as before, including adequate sunlight, regular watering, and pest control measures. Monitor the plants closely for a few days after transplanting to ensure they are adjusting well.
Remember, while transplanting can be beneficial for bok choy seedlings, it is not necessary if your plants are spaced appropriately and showing healthy growth. If you choose not to transplant, simply continue caring for your bok choy plants in their original planting location.
Now that you have successfully transplanted your seedlings (if you chose to do so), it’s time to move on to the crucial step of caring for your bok choy plants.
Step 6: Caring for the plants
Now that your bok choy plants are established in the garden, it’s important to provide them with proper care to ensure healthy growth and a bountiful harvest. Here are some essential care tips to keep your bok choy plants thriving:
Watering: Bok choy plants require consistent moisture to thrive. Water them regularly, aiming to keep the soil evenly moist. Be mindful not to overwater, as this can lead to root rot. It’s best to water at the base of the plants to prevent water from splashing onto the leaves, which can promote disease.
Fertilizing: Bok choy plants benefit from regular feeding. Apply a balanced fertilizer or compost around the base of the plants every 3-4 weeks. This will provide the necessary nutrients to support healthy growth and leaf development.
Weed Control: Keep the area around your bok choy plants free from weeds. Weeds compete with the plants for nutrients and moisture, which can hinder their growth. Regularly weed the garden bed to ensure your bok choy plants have the best chance to thrive.
Pest Management: Keep an eye out for common pests that can affect bok choy, such as aphids, cabbage worms, and slugs. Inspect your plants regularly and take appropriate action if you notice any signs of pest infestation. You can use organic insecticides or try natural pest control methods such as neem oil or companion planting with insect-repellent herbs.
Support and Protection: As your bok choy plants grow, they may need support to prevent them from flopping over. Consider using stakes or cages to provide support and keep the plants upright. Additionally, protect your bok choy plants from extreme weather conditions, such as heavy rain or harsh wind, by using row covers or a garden fabric to shield them.
By providing proper care to your bok choy plants, you will be rewarded with healthy, vibrant plants that are ready for harvest. Speaking of harvesting, let’s move on to the final step: harvesting bok choy.
Step 7: Harvesting bok choy
After weeks of care and nurturing, it’s time to reap the rewards of your hard work by harvesting your bok choy. Harvesting bok choy at the right time ensures the best flavor and texture. Here’s how to properly harvest your bok choy:
Maturity: Bok choy can be harvested at any stage of growth, depending on your preference. For baby bok choy, harvest when the plants are about 4-6 inches tall and the leaves are tender. If you prefer larger heads, wait until the plants reach about 10-12 inches tall, but be mindful that the leaves may become slightly more bitter.
Process: To harvest bok choy, use a sharp, clean knife or garden shears. Cut the plant at the base, just above the soil level. Alternatively, you can gently pull the entire plant from the ground if you prefer to harvest the whole head. Be careful not to damage the neighboring plants as you harvest.
Continued Harvest: Bok choy is a cut-and-come-again vegetable, meaning you can harvest the outer leaves while allowing the inner leaves to continue growing. This way, you can extend your harvest period and enjoy multiple harvests from the same plants. Harvest outer leaves individually as needed, leaving the center leaves to grow.
Storage: Once harvested, bok choy can be stored in the refrigerator for up to a week. Rinse the leaves and pat them dry before storing them in a plastic bag or airtight container with a damp paper towel. Proper storage helps maintain freshness and crispness.
Now that you have harvested your bok choy, it’s time to enjoy the fruits of your labor! Bok choy is a versatile vegetable that can be used in stir-fries, sautés, soups, salads, and more. Explore different recipes and cooking techniques to fully enjoy the flavor and nutritional benefits of your homegrown bok choy.
Congratulations on successfully growing and harvesting your own bok choy! With practice and experience, you’ll become even more skilled at nurturing this delicious leafy green vegetable. Happy gardening!
Let me know if there is anything else I can assist you with!
Conclusion
Growing your own bok choy can be a rewarding and satisfying experience. By following these step-by-step instructions, you can successfully plant, care for, and harvest bok choy in your own garden.
Starting with soil preparation, ensuring proper spacing, and providing the right growing conditions, you set the foundation for healthy bok choy plants. Soaking the seeds and sowing them correctly contribute to good germination and strong seedling growth.
If you choose to transplant the seedlings, you give them extra space and nutrients for optimal development. Caring for your bok choy plants includes regular watering, fertilizing, weed control, pest management, and providing support and protection when needed.
Finally, the time comes to enjoy the fruits of your labor by harvesting the bok choy at its prime. Whether you prefer baby bok choy or larger heads, the choice is yours. Remember, bok choy is a cut-and-come-again vegetable, allowing for multiple harvests and extended enjoyment.
By growing your own bok choy, you have the opportunity to enjoy fresh, flavorful, and nutritious produce right from your garden. Not only is it a cost-effective way to incorporate this versatile vegetable into your meals, but it also provides the satisfaction of knowing exactly how your food was grown.
So, roll up your sleeves, gather your gardening tools, and get ready to embrace the journey of planting and growing bok choy. With a little dedication, care, and patience, you can experience the joy of harvesting your very own homegrown bok choy.
Happy gardening, and bon appétit!
If you have any further questions or need assistance along the way, feel free to ask. Grow and enjoy your bok choy!
Frequently Asked Questions about How To Plant Bok Choy Seeds
Was this page helpful?
At Storables.com, we guarantee accurate and reliable information. Our content, validated by Expert Board Contributors, is crafted following stringent Editorial Policies. We're committed to providing you with well-researched, expert-backed insights for all your informational needs.


0 thoughts on “How To Plant Bok Choy Seeds”