Home>Garden Essentials>When To Sow Tomato Seeds Indoors
Garden Essentials
When To Sow Tomato Seeds Indoors
Modified: October 20, 2024
Discover the best time to sow tomato seeds indoors for a thriving garden. Get expert tips and step-by-step instructions to ensure successful cultivation.
(Many of the links in this article redirect to a specific reviewed product. Your purchase of these products through affiliate links helps to generate commission for Storables.com, at no extra cost. Learn more)
Introduction
Welcome to the world of gardening! Growing your own vegetables is not only rewarding but also a great way to ensure the quality and freshness of the produce you consume. Tomatoes, in particular, are a popular choice for home gardeners due to their versatility and delicious taste. While you can directly sow tomato seeds outdoors, starting them indoors offers several benefits and increases your chances of having a successful harvest.
In this article, we will explore the advantages of sowing tomato seeds indoors, guide you through the process step-by-step, and provide valuable tips on caring for your indoor seedlings. Whether you are a seasoned gardener or just starting out, this information will help you achieve optimal results and enjoy the satisfaction of growing your own tomatoes.
Key Takeaways:
- Start your tomato plants indoors to extend the growing season, protect them from harsh weather, and have a wider variety selection. It’s a fun and rewarding way to nurture your own tomato plants!
- Choose the right tomato seeds, prepare the soil mix, and provide optimal care for healthy indoor tomato seedlings. Hardening off before transplanting outdoors ensures a successful transition to the garden.
Read more: When To Plant Tomato Seeds Indoors
Benefits of Sowing Tomato Seeds Indoors
Sowing tomato seeds indoors offers several advantages that can significantly improve your gardening experience and boost the success of your tomato plants. Let’s take a closer look at some of these benefits:
- Extended Growing Season: By starting tomato seeds indoors, you can kickstart the growing process much earlier than if you were to sow them directly outdoors. This allows you to extend the growing season and enjoy fresh tomatoes earlier in the year.
- Protection from External Factors: Indoor sowing provides a controlled environment that shields the young tomato seedlings from adverse weather conditions such as frost, heavy rain, or extreme temperatures. This protection ensures better germination rates and reduces the risk of damage or loss.
- Greater Variety Selection: When sowing tomato seeds indoors, you have a wider range of tomato varieties to choose from. This opens up opportunities to experiment with different flavors, colors, shapes, and sizes that may not be readily available at local nurseries or garden centers.
- Better Disease and Pest Prevention: Starting tomatoes indoors allows you to closely monitor the health of your seedlings, making it easier to detect and treat any signs of disease or pest infestation. This proactive approach minimizes the risk of spreading diseases to other plants in your garden and gives your tomatoes a healthier head start.
- Controlled Growing Conditions: Indoor sowing gives you control over various growing conditions such as temperature, humidity, and lighting. You can create an ideal environment for your tomato seedlings, optimizing their growth and development. This control translates into stronger, more vigorous plants that are better equipped to handle outdoor conditions once transplanted.
- Observe and Learn: When you start tomato seeds indoors, you have the opportunity to closely observe the germination process and the early stages of growth. This hands-on experience allows you to learn more about the life cycle of a plant and gain valuable insights into the specific needs and behaviors of tomatoes.
Overall, sowing tomato seeds indoors not only provides practical advantages but also deepens your connection to the growing process. It allows you to nurture your plants from the very beginning and witness their transformation into fruitful tomato vines. So roll up your sleeves, gather your materials, and let’s dive into the exciting world of indoor tomato seed sowing!
Choosing the Right Tomato Seeds for Indoor Sowing
When it comes to selecting tomato seeds for indoor sowing, there are a few factors to consider to ensure the best results. Here are some tips to help you choose the right tomato seeds for your indoor gardening venture:
- Variety: Consider the type of tomatoes you prefer and the purpose for which you want to grow them. Are you looking for large slicing tomatoes, cherry tomatoes, or paste tomatoes for sauces? Research the different tomato varieties available and choose ones that align with your taste preferences and requirements.
- Date to Maturity: Pay attention to the “days to maturity” information provided on the seed packets or in online catalogs. This indicates the average number of days it takes for a tomato plant to produce fruits after transplanting outdoors. Depending on your climate and growing season, select tomato varieties with a suitable maturity date that allows you to harvest before the first frost.
- Disease Resistance: Look for tomato varieties that are specifically bred to be resistant to common tomato diseases such as blight, wilt, or mosaic virus. Disease-resistant varieties give your plants a higher chance of surviving and thriving, particularly in outdoor conditions where diseases can easily spread.
- Growing Space: Consider the size of the containers or garden beds where you plan to transplant your tomato seedlings. Some varieties are indeterminate and grow as sprawling vines that require ample space and support, while determinate varieties tend to have a more compact growth habit. Choose varieties that suit the available growing space and desired plant structure.
- Flavor and Culinary Uses: Each tomato variety offers a unique flavor profile and culinary potential. Some are known for their sweetness, while others have a tangy or rich flavor. Consider how you plan to use your tomatoes – in salads, sauces, or as fresh snacks – and choose varieties that complement your culinary preferences.
- Heirloom vs. Hybrid: Decide whether you want to grow heirloom or hybrid tomato varieties. Heirlooms are open-pollinated and have been passed down through generations, offering unique flavors and characteristics. Hybrids are the result of cross-breeding between different tomato varieties, often selected for specific traits like disease resistance or productivity. Both have their advantages, so choose based on your preferences.
By considering these factors and taking note of the specific qualities you are looking for in your tomato plants, you can make an informed choice when selecting the right tomato seeds for indoor sowing. Remember, there is a wide range of tomato varieties available, so don’t be afraid to explore and experiment!
Materials Required for Indoor Sowing of Tomato Seeds
Before you begin indoor sowing of tomato seeds, it’s essential to gather all the necessary materials to ensure a successful start. Here’s a list of items you’ll need:
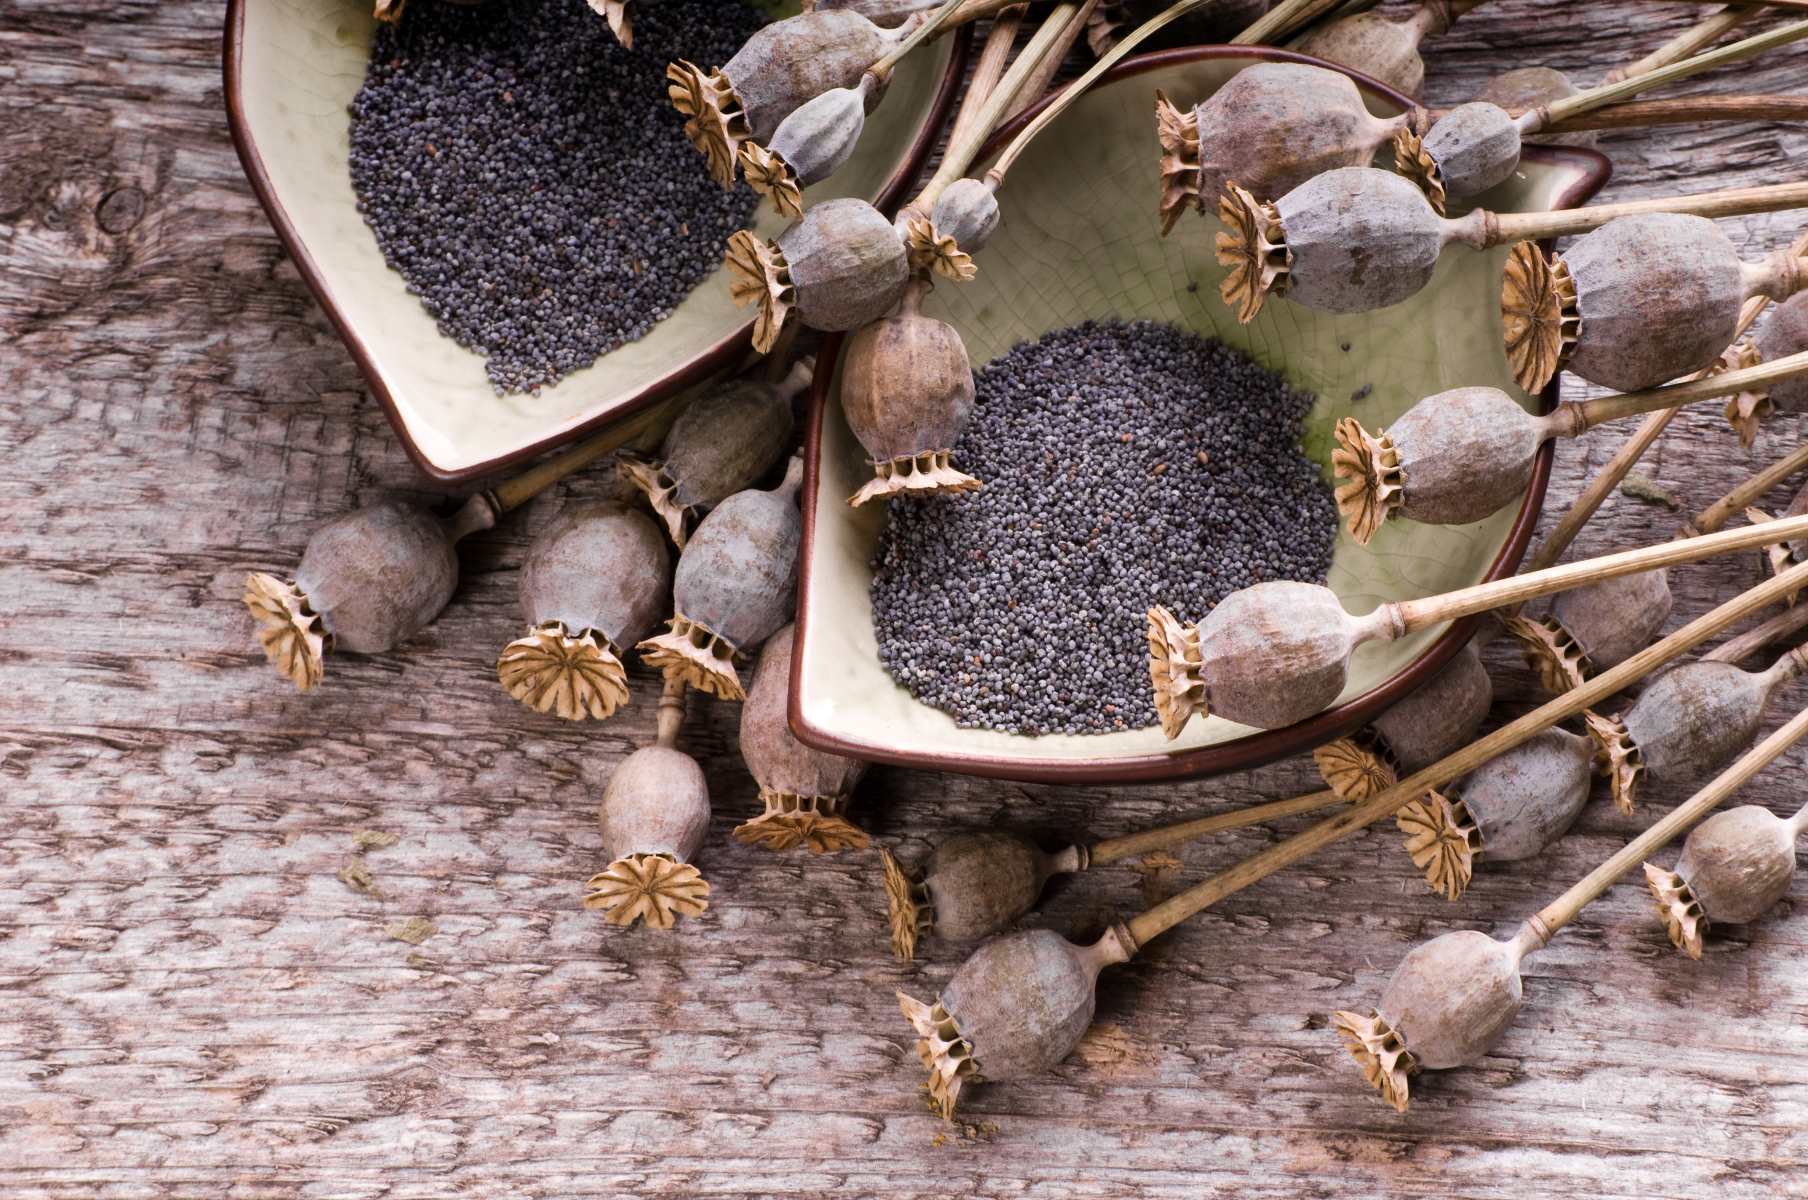
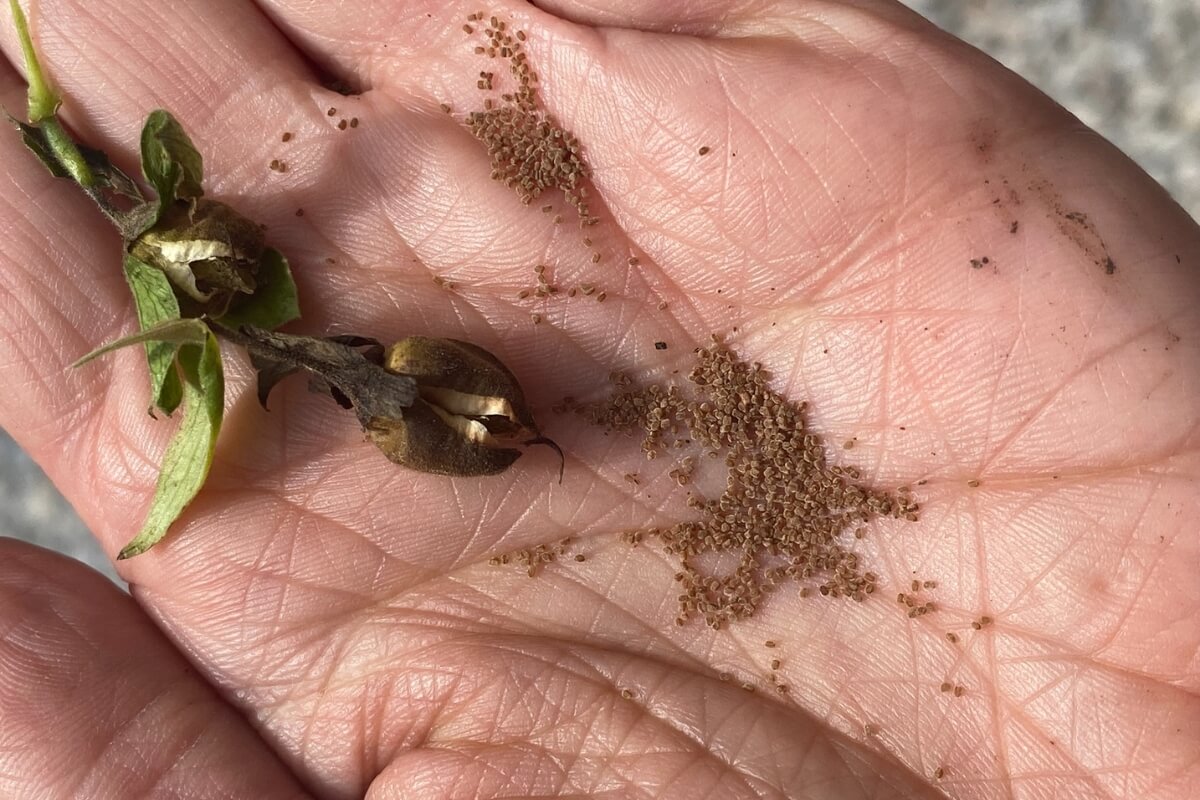
- Tomato Seeds: Choose the tomato varieties you want to grow and purchase high-quality seeds from a reputable source. Make sure the seeds are fresh and haven’t expired.
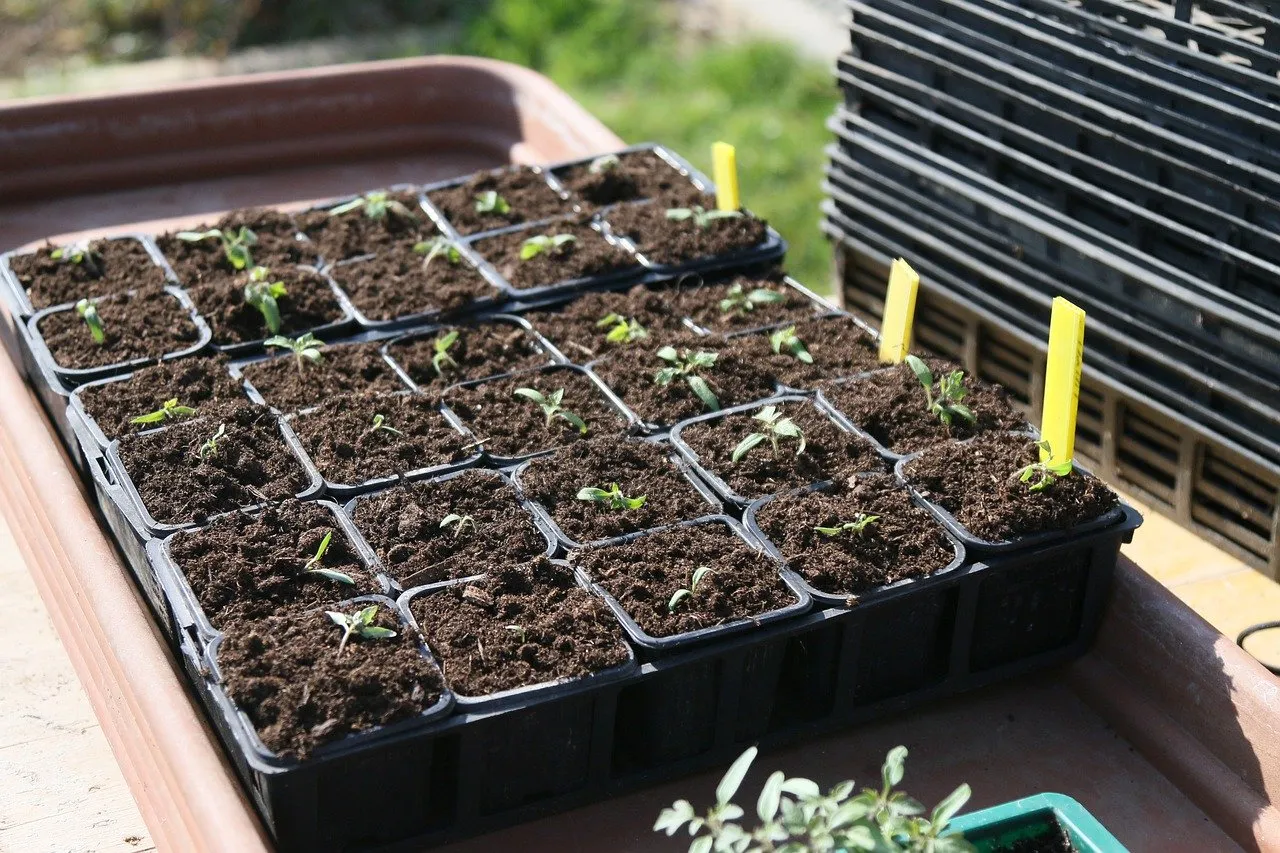
- Seed Trays or Seedling Pots: You will need containers to sow the tomato seeds. Seed trays with separate cells or individual seedling pots work well. Opt for containers that are at least 2-3 inches deep and have drainage holes at the bottom.
- Seed Starting Mix: Use a well-draining seed starting mix specifically formulated for starting seeds. Avoid using regular garden soil, as it may be too heavy and can lead to poor germination and damping-off disease.
- Watering Can or Spray Bottle: You’ll need a watering can with a fine rose or a spray bottle to water the young tomato seedlings gently. This helps prevent overwatering and allows for even moisture distribution.
- Labels or Markers: Use labels or markers to identify your tomato varieties and keep track of sowing dates. This will be helpful when it comes to transplanting and caring for your seedlings.
- Clear Plastic Dome or Plastic Wrap: A clear plastic dome or plastic wrap can be used to create a mini greenhouse effect that helps retain moisture and maintain consistent humidity levels during the germination process. Make sure to provide ventilation to prevent fungal growth.
- Grow Lights or a Sunny Window: Tomato seedlings require bright light for healthy growth. If you don’t have access to a sunny window, invest in fluorescent grow lights or LED grow lights to provide the necessary light energy for robust seedling development.
- Heat Mat (Optional): If you’re starting your tomato seeds in a cool environment, consider using a heat mat under your seed trays to provide bottom warmth. This can help stimulate faster germination and improve overall seedling growth.
- Thermometer: A thermometer will help you monitor the temperature inside your indoor growing area. Maintain the ideal temperature range of around 70-75°F (21-24°C) for optimal seed germination.
By having these materials ready before you begin the process, you’ll be well-prepared for indoor sowing of tomato seeds. With the right tools in hand, you can set yourself up for success and ensure healthy growth for your tomato seedlings.
Preparing the Soil Mix for Sowing Tomato Seeds Indoors
Creating the right soil mix for sowing tomato seeds indoors is crucial to provide the ideal growing conditions for your seedlings. A well-balanced and nutrient-rich soil mix will support healthy germination and early growth. Here’s how you can prepare the soil mix:
- Choose a Seed Starting Mix: Use a high-quality seed starting mix that is lightweight and sterile. Avoid using regular garden soil, as it can be too heavy and may contain pathogens that can harm the delicate seedlings.
- Moisten the Seed Starting Mix: Before filling your seed trays or seedling pots, moisten the seed starting mix. Add water gradually and mix it in until the mixture achieves a damp, crumbly consistency. Be careful not to make it too wet, as excessive moisture can lead to damping-off disease.
- Fill the Containers: Fill your seed trays or pots with the moistened soil mix, leaving a small gap at the top. Gently press down the soil to remove any air pockets, ensuring good seed-to-soil contact.
- Make Small Indentations: Use the back of a spoon or your finger to make small indentations in the soil mix. These indentations should be shallow and spaced about 1 inch apart to allow ample room for the tomato seeds to germinate and grow.
- Sow Tomato Seeds: Place 1-2 tomato seeds in each indentation, following the seed packet instructions for proper spacing. If you’re using small cells in a seed tray, sow only one seed per cell.
- Cover and Label: Gently cover the tomato seeds with a thin layer of the soil mix or vermiculite. This helps provide insulation and maintains moisture levels. Place labels or markers in each container to identify the tomato variety you’re sowing.
- Mist or Water Carefully: Sprinkle water over the soil surface using a fine rose or misting spray bottle. Be cautious not to wash away the seeds or create too much standing water. Ensure the soil remains consistently moist but not saturated throughout the germination process.
- Provide Bottom Heat (Optional): If you’re using a heat mat, place the seed trays on top of it to provide bottom warmth. This helps speed up germination by maintaining a temperature of around 70-75°F (21-24°C).
- Cover and Create Humidity: Place a clear plastic dome or loosely cover the seed trays with plastic wrap to create a mini greenhouse effect. This helps retain moisture and maintain a consistent humidity level around the seeds.
- Place in a Warm Location: Find a warm spot in your indoor growing area where the temperature remains stable. Avoid placing the trays in direct sunlight, as excess heat can dry out the soil and harm the germinating seeds.
By carefully preparing the soil mix and providing appropriate moisture, warmth, and protection for the tomato seeds, you set the foundation for successful germination and early growth. Remember to regularly monitor the moisture levels and adjust watering as needed. Soon, you’ll see the first signs of life as your tomato seedlings emerge from the soil!
Read more: When To Sow Lupine Seeds
Step-by-Step Guide to Sow Tomato Seeds Indoors
Sowing tomato seeds indoors is an exciting and rewarding process. Follow these step-by-step instructions to ensure successful germination and healthy seedling growth:
- Gather Your Materials: Collect all the necessary materials, including tomato seeds, seed trays or pots, seed starting mix, labels, watering can or spray bottle, clear plastic dome or plastic wrap, grow lights or a sunny window, and a thermometer.
- Prepare the Soil Mix: Use a high-quality seed starting mix and moisten it with water until it reaches a damp, crumbly consistency.
- Fill the Containers: Fill your seed trays or pots with the moistened soil mix, leaving a small gap at the top. Press down gently to remove air pockets and ensure good seed-to-soil contact.
- Create Indentations: Make shallow indentations in the soil mix, about 1 inch apart, using the back of a spoon or your finger.
- Sow Tomato Seeds: Place 1-2 tomato seeds in each indentation, following the spacing recommendations on the seed packet. If using small cells in a seed tray, sow only one seed per cell.
- Cover and Label: Gently cover the seeds with a thin layer of soil mix or vermiculite. Place labels or markers in each container to identify tomato varieties.
- Mist or Water: Sprinkle water over the soil surface using a fine rose or misting spray bottle. Avoid creating standing water or washing away the seeds. Keep the soil consistently moist but not saturated.
- Provide Bottom Heat (Optional): If using a heat mat, place the seed trays on top to provide gentle bottom warmth. Maintain a temperature of around 70-75°F (21-24°C) for optimal germination.
- Cover and Create Humidity: Place a clear plastic dome or loosely cover the seed trays with plastic wrap to create a mini greenhouse effect. This helps retain moisture and maintain consistent humidity levels.
- Find a Warm Location: Place the seed trays in a warm spot in your indoor growing area, away from direct sunlight. Ensure the temperature remains stable and provide supplemental grow lights if needed.
- Monitor and Water: Regularly check the moisture levels in the soil. Water as necessary to keep the soil evenly moist, but avoid overwatering. Maintain appropriate humidity levels by providing ventilation if using a plastic dome or wrap.
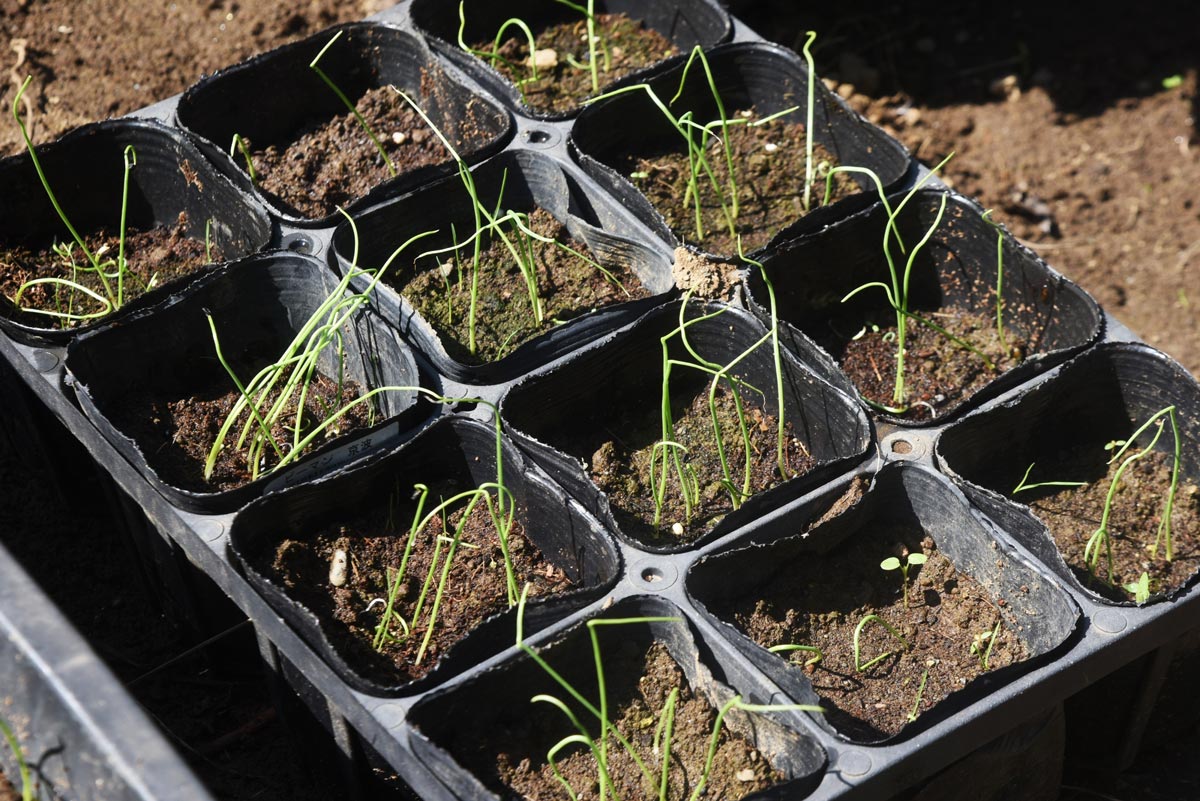
- Monitor Germination: Be patient and keep an eye on the seed trays for signs of germination. Tomato seeds typically germinate within 5-10 days, depending on the variety and growing conditions.
- Remove Cover and Provide Light: Once the tomato seedlings emerge, remove the plastic cover and place the trays under grow lights or near a sunny window to provide adequate light. Adjust the positioning of the lights to keep them a few inches above the seedlings.
Following these steps will help you successfully sow tomato seeds indoors and set the stage for healthy germination and robust seedling growth. Remember to be patient, provide proper care, and watch as your tomato seedlings thrive and prepare for transplanting them outdoors when the time is right!
Tip: Sow tomato seeds indoors 6-8 weeks before the last frost date in your area. This gives the plants enough time to grow before transplanting them outdoors. Keep the seeds warm and provide plenty of light for healthy seedlings.
Providing Optimal Conditions for Tomato Seed Germination
Creating optimal conditions for tomato seed germination is crucial to ensure the successful development of healthy seedlings. By providing the right environment, you can maximize germination rates and set the stage for strong and vigorous plants. Here’s how to provide the optimal conditions for tomato seed germination:
- Temperature: Tomato seeds germinate best in warm soil. Maintain a consistent temperature of around 70-75°F (21-24°C) to encourage rapid and successful germination. Use a thermometer to monitor the temperature in your growing area and adjust as necessary.
- Moisture: Tomato seeds require consistent moisture to germinate properly. Keep the soil evenly moist but not overly saturated, as too much water can lead to fungal diseases. Use a fine mist or a watering can with a fine rose attachment to water the seed trays, avoiding excessive force that could dislodge the seeds.
- Light: While light is not necessary for the germination process itself, providing a source of gentle, indirect light can help guide seedlings as they emerge from the soil. Place the trays under fluorescent grow lights or near a sunny window. Ensure the light source is kept a few inches above the seedlings to prevent them from getting leggy.
- Humidity: Maintaining a proper level of humidity can enhance germination rates. Humidity can be increased by using a clear plastic dome or covering the seed trays with plastic wrap. This creates a mini greenhouse effect, trapping moisture and creating a humid microclimate for the seeds to germinate. However, it’s important to provide ventilation to prevent the buildup of excess moisture and reduce the risk of fungal diseases.
- Patience: Tomato seeds typically germinate within 5-10 days, but this can vary depending on the variety and growing conditions. It’s important to be patient and avoid the temptation to disturb the seeds or check for germination too frequently. Disturbing the seeds can disrupt their growth and decrease germination rates.
- Monitoring and Care: Regularly monitor the seed trays for any signs of germination. Once the seedlings emerge, remove the plastic cover and continue to water as needed, keeping the soil evenly moist. Provide adequate light to ensure strong and healthy growth. Be cautious of overwatering, as it can lead to dampening-off disease.
- Transplanting: Once the tomato seedlings have developed their first set of true leaves, it’s time to transplant them to larger containers or individual pots. This process, known as “pricking out,” allows the seedlings to have more space for root development and promotes stronger growth.
By providing optimal conditions for tomato seed germination, you give your tomato seeds the best chance to sprout and develop into healthy seedlings. Remember to maintain proper temperature, moisture, light, and humidity levels throughout the germination process and continue to provide appropriate care as the seedlings grow. Enjoy the excitement of watching your tomato seeds transform into vigorous young plants, ready to be transplanted into your garden or larger containers!
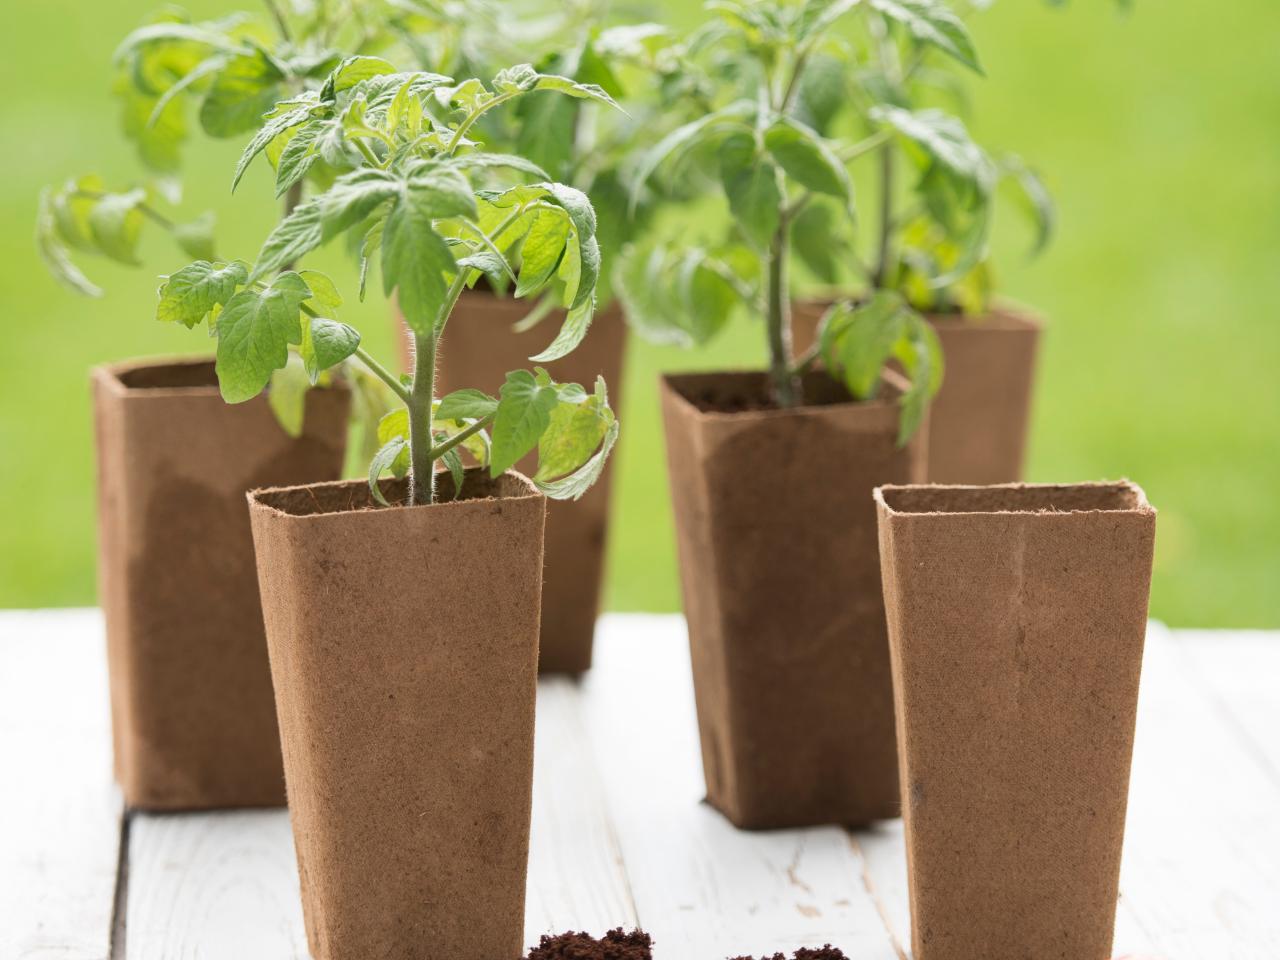
Transplanting Tomato Seedlings to Larger Containers
Once your tomato seedlings have developed their first set of true leaves, it’s time to transplant them into larger containers. This step is essential to provide the seedlings with more space for root development, ensuring their continued growth and health. Follow these steps to successfully transplant your tomato seedlings to larger containers:
- Prepare the Larger Containers: Choose containers that are at least 4-6 inches deep and have drainage holes at the bottom. Fill the containers with a well-draining potting mix, leaving a 1-inch gap at the top to allow for easier watering.
- Water the Seedlings: Before transplanting, water the seedlings thoroughly. This helps to loosen the soil around their roots and reduces the risk of transplant shock.
- Gently Remove Seedlings: Carefully loosen the soil around each seedling using a spoon or your fingers. Hold the seedling by its leaves, not the delicate stem, to minimize damage.
- Plant at Appropriate Depth: Make a small hole in the center of the larger container and gently place the seedling, ensuring that the root ball is well-covered. The seedling should be planted at the same depth as it was in the seed tray or pot.
- Firm the Soil: Gently firm the soil around the seedling to provide stability and support. Avoid pressing too hard, as this can compact the soil and hinder root growth.
- Water Thoroughly: After transplanting, water the seedlings again, making sure to saturate the soil. This helps settle the roots in their new environment and ensures proper hydration.
- Provide Adequate Light and Ventilation: Place the newly transplanted seedlings in an area that receives bright, indirect light. If using grow lights, adjust the height to keep them a few inches above the seedlings. Ensure proper air circulation to prevent fungal diseases.
- Monitor and Care: Regularly check the moisture levels in the containers and water as needed to keep the soil evenly moist. Avoid overwatering, as it can lead to waterlogged roots and other issues. Additionally, continue to provide proper light, ventilation, and care to support the growth of your transplanted seedlings.
- Harden Off: Before transplanting the seedlings into the garden, it’s important to gradually expose them to outdoor conditions through a process called “hardening off.” This involves gradually increasing their exposure to sunlight, wind, and temperature fluctuations over a week or two. Start with shorter periods of time outside, gradually increasing the duration each day.
By following these steps and providing the necessary care, you’ll ensure a smooth transition for your tomato seedlings as they grow in their new larger containers. This allows them to continue developing their roots and foliage in preparation for transplanting them outdoors in your garden or into even larger containers. Soon enough, you’ll be enjoying the fruits of your labor as your tomato plants flourish and produce delicious homegrown tomatoes!
Caring for Indoor Tomato Seedlings
Once your tomato seedlings have been transplanted into larger containers, it’s important to provide them with proper care to ensure healthy growth and development. Caring for indoor tomato seedlings involves paying attention to their water, nutrients, light, temperature, and overall well-being. Here are some essential care tips for nurturing your indoor tomato seedlings:
- Watering: Monitor the moisture level of the soil and water the seedlings when the top inch of the soil feels dry. It’s important to maintain consistent moisture, but avoid overwatering, as overly wet conditions can lead to root rot and other issues. Water gently to avoid compacting the soil and damaging the delicate roots.
- Nutrients: Once the second set of true leaves appears, you can begin fertilizing your tomato seedlings with a balanced liquid fertilizer. Follow the instructions on the fertilizer packaging for the recommended dilution and frequency of application. Gradually increase the strength of the fertilizer as the seedlings grow.
- Light: Tomato seedlings require bright, indirect light for healthy growth. Place them in a location where they receive 12-14 hours of light each day. If natural sunlight is limited, supplement with fluorescent grow lights or LED grow lights. Position the lights a few inches above the seedlings and adjust the height as they grow to maintain an optimal distance.
- Temperature: Tomato seedlings thrive in warm temperatures. Maintain the indoor temperature between 70-75°F (21-24°C) during the day and slightly cooler at night. Avoid exposing the seedlings to extreme temperature fluctuations, drafts, or cold drafts from windows or vents.
- Support: As tomato seedlings grow, they may require support to prevent them from becoming top-heavy and falling over. Insert stakes or tomato cages gently near the base of the seedlings and tie them loosely with plant ties as necessary. This provides support for the stem and ensures upright growth.
- Pruning: Once the seedlings have grown a few sets of leaves, you can pinch off the lower leaves to promote air circulation and prevent the risk of diseases. This also encourages the seedlings to focus their energy on developing a strong stem and upper foliage.
- Pest and Disease Management: Regularly inspect your tomato seedlings for signs of pests like aphids or disease symptoms such as wilting or yellowing leaves. If needed, treat affected seedlings with organic pest control methods or disease management strategies to protect their health.
- Transplanting: As the seedlings continue to grow, they will eventually outgrow their indoor containers. Transplant them into larger pots or hardened-shaped beds outdoors once all chance of frost has passed and the seedlings have been hardened off. Make sure to provide adequate spacing to allow for proper air circulation and growth.
By providing the right care for your indoor tomato seedlings, you are setting the stage for strong, healthy plants that will yield a bountiful harvest. Regular monitoring, timely watering, appropriate lighting, and proper temperature control will ensure that your seedlings thrive and grow into robust tomato plants ready for transplanting into the garden.
Read more: When To Sow Kale Seeds
Hardening Off Tomato Seedlings before Transplanting Outdoors
Hardening off is a crucial step in the process of preparing your tomato seedlings for transplanting outdoors. It helps gradually acclimate them to outdoor conditions, ensuring they can withstand the changes in temperature, sunlight, and wind without suffering from transplant shock. Here’s a step-by-step guide for hardening off your tomato seedlings:
- Timing: Start the hardening off process about a week or two before you plan to transplant your tomato seedlings into the garden. This timing allows them to gradually adjust to outdoor conditions while minimizing the risk of frost or cold exposure.
- Choose a Sheltered Location: Select a spot outdoors that is sheltered from direct sunlight and strong winds. This can be a covered patio, porch, or a spot against a shaded wall or fence.
- Start with Short Exposure: On the first day, place your tomato seedlings outdoors in their containers for just a couple of hours during the mild part of the day, preferably in the morning or late afternoon. Gradually increase the time spent outside each day by an hour or two.
- Gradually Increase Exposure: Over the course of the week, incrementally increase the exposure time, allowing your seedlings to stay outside for longer periods. Avoid exposing them to extreme weather conditions, such as heavy rain or high winds, during this process.
- Monitor Weather Conditions: Keep a close eye on the weather forecast. If there’s a predicted cold snap or frost, bring your seedlings indoors or provide extra protection such as covering them with cloths or row covers.
- Water and Monitor: During the hardening off period, make sure to water your seedlings as needed, keeping the soil evenly moist. Inspect them regularly for any signs of stress, such as wilting or yellowing leaves, and address any issues promptly.
- Expose to Direct Sunlight: After a few days of gradually increasing exposure, start introducing your tomato seedlings to direct sunlight for short durations, starting with morning sun and gradually exposing them to more intense afternoon sun.
- Finalize Outdoor Exposure: By the end of the hardening off period, your tomato seedlings should be able to spend the entire day outdoors without any adverse effects. They should appear healthy and acclimated to the outdoor environment.
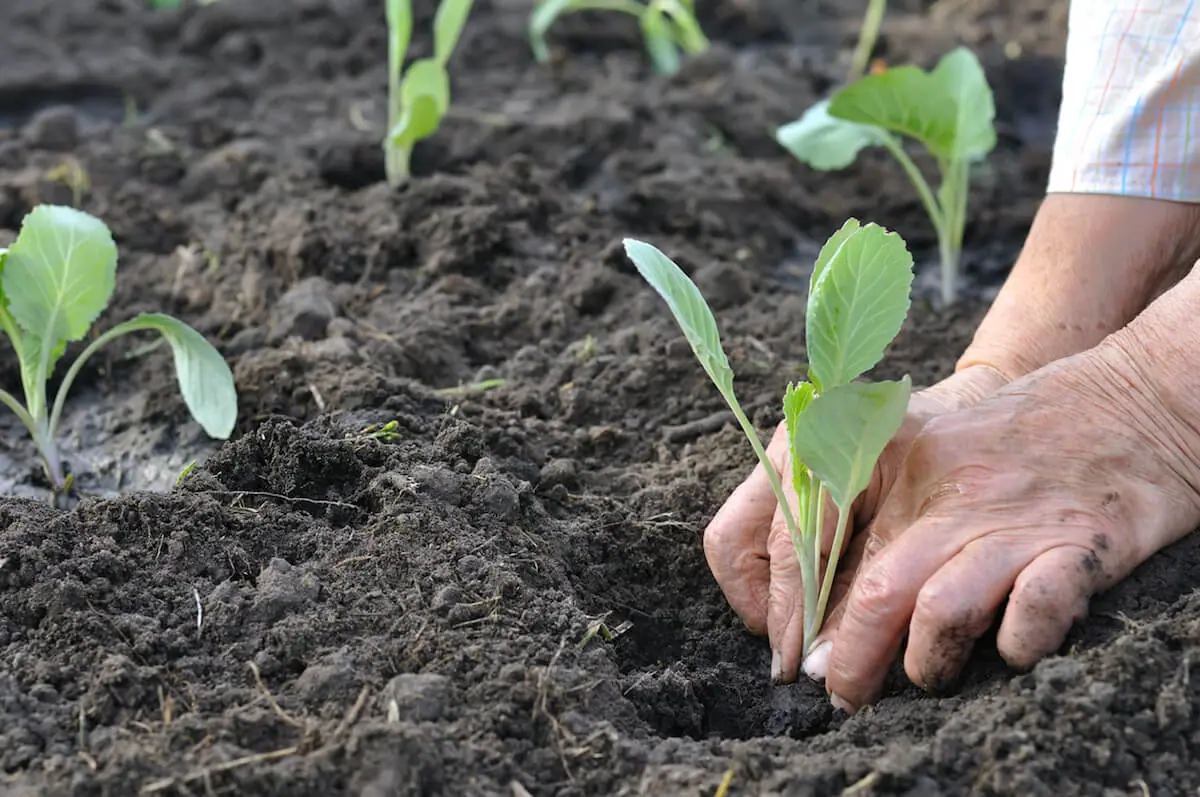
- Transplanting: Once your tomato seedlings have completed the hardening off process, they are ready for transplanting into the garden. Choose a well-prepared garden bed or containers, ensuring there is proper spacing between the plants. Handle the seedlings gently and plant them at the same depth as they were in their indoor containers.
- Provide Post-Transplant Care: After transplanting, continue to water and monitor your tomato plants, gradually adjusting to their new environment. Protect them from extreme weather conditions, such as sudden heavy downpours or intense heat, by using mulch or temporary covers if necessary.
By following these steps and gradually acclimating your tomato seedlings to outdoor conditions, you are significantly reducing the risk of transplant shock and ensuring their successful transition to the garden. Hardening off helps strengthen the seedlings, promoting healthy growth and improving their resilience to the challenges of the outdoor environment.
Conclusion
Congratulations on successfully sowing and caring for your tomato seeds indoors! By starting your tomato seeds indoors, you have gained several benefits, including an extended growing season, protection from external factors, a wider variety selection, better disease and pest prevention, controlled growing conditions, and the opportunity to observe and learn. You have taken the first step towards growing your own delicious tomatoes and experiencing the satisfaction of the harvest.
Throughout this article, we discussed the importance of choosing the right tomato seeds for indoor sowing and provided a comprehensive guide to help you through each stage of the process. From preparing the soil mix and sowing the seeds to providing optimal conditions for germination, transplanting into larger containers, caring for your indoor seedlings, and hardening off before transplanting outdoors, every step plays a crucial role in the success of your tomato plants.
Remember to continue providing proper care for your transplanted seedlings as they grow in your garden or larger containers. Regularly monitor their water needs, ensure they receive adequate light and nutrients, and protect them from pests and diseases. Your efforts will pay off as you witness the vigorous growth and eventual production of your homegrown tomatoes.
As you continue your gardening journey, keep experimenting with different tomato varieties, explore various culinary uses, and adapt your techniques to the specific needs of your plants. Gardening is a constant learning process, and the more you immerse yourself in it, the more you will discover and appreciate the wonders of nature.
So go ahead, keep nurturing your tomato plants with love and care. Enjoy the journey as you watch them thrive, produce an abundance of tasty fruits, and bring joy to your table. Happy gardening!
Frequently Asked Questions about When To Sow Tomato Seeds Indoors
Was this page helpful?
At Storables.com, we guarantee accurate and reliable information. Our content, validated by Expert Board Contributors, is crafted following stringent Editorial Policies. We're committed to providing you with well-researched, expert-backed insights for all your informational needs.

0 thoughts on “When To Sow Tomato Seeds Indoors”