Home>Garden Essentials>When To Plant Dianthus Seeds

Garden Essentials
When To Plant Dianthus Seeds
Modified: March 16, 2024
Discover the best time to plant dianthus seeds in your garden and create a stunning display of colorful blooms throughout the season.
(Many of the links in this article redirect to a specific reviewed product. Your purchase of these products through affiliate links helps to generate commission for Storables.com, at no extra cost. Learn more)
Introduction
Welcome to the wonderful world of gardening! If you’re looking to add a splash of color and fragrance to your garden, then planting dianthus seeds is a fantastic choice. Dianthus, also known as “pinks,” are beautiful flowering plants that are loved for their vibrant hues and delightful scent. Whether you’re a seasoned gardener or just starting out, growing dianthus from seeds can be a rewarding and fulfilling experience.
In this article, we will take you through the process of planting dianthus seeds, from understanding the characteristics of dianthus seeds to caring for the seedlings and eventually harvesting and propagating the seeds. By the end of this guide, you’ll have all the knowledge and techniques needed to successfully grow your own dianthus plants.
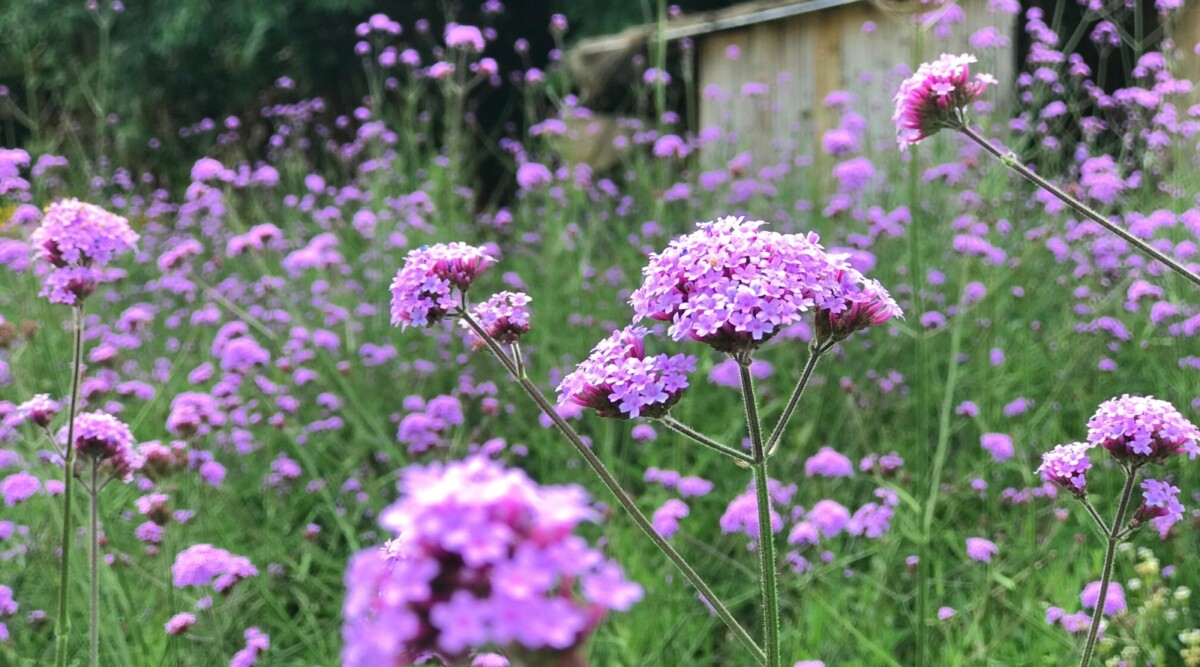
Dianthus seeds come in a variety of colors and forms, including single and double blooms, and they can be found in shades of pink, red, white, and even bicolor varieties. These versatile plants are not only visually appealing but also attract beneficial insects such as bees and butterflies, making them a great addition to any garden ecosystem.
Before we jump into the planting process, let’s delve into the basics of dianthus seeds and the factors you need to consider to ensure successful germination and growth. Understanding these points will give you a solid foundation to grow healthy and vibrant dianthus plants.
Key Takeaways:
- Planting dianthus seeds requires patience and attention to factors like light, soil, and temperature. By following the right steps, you can grow vibrant dianthus plants and enjoy their beauty.
- Harvesting and propagating dianthus seeds allows you to expand your garden and share the joy of these plants with others. With care and attention, your dianthus seedlings will grow into vibrant, flowering plants.
Read more: When To Plant Borage Seeds
Understanding Dianthus Seeds
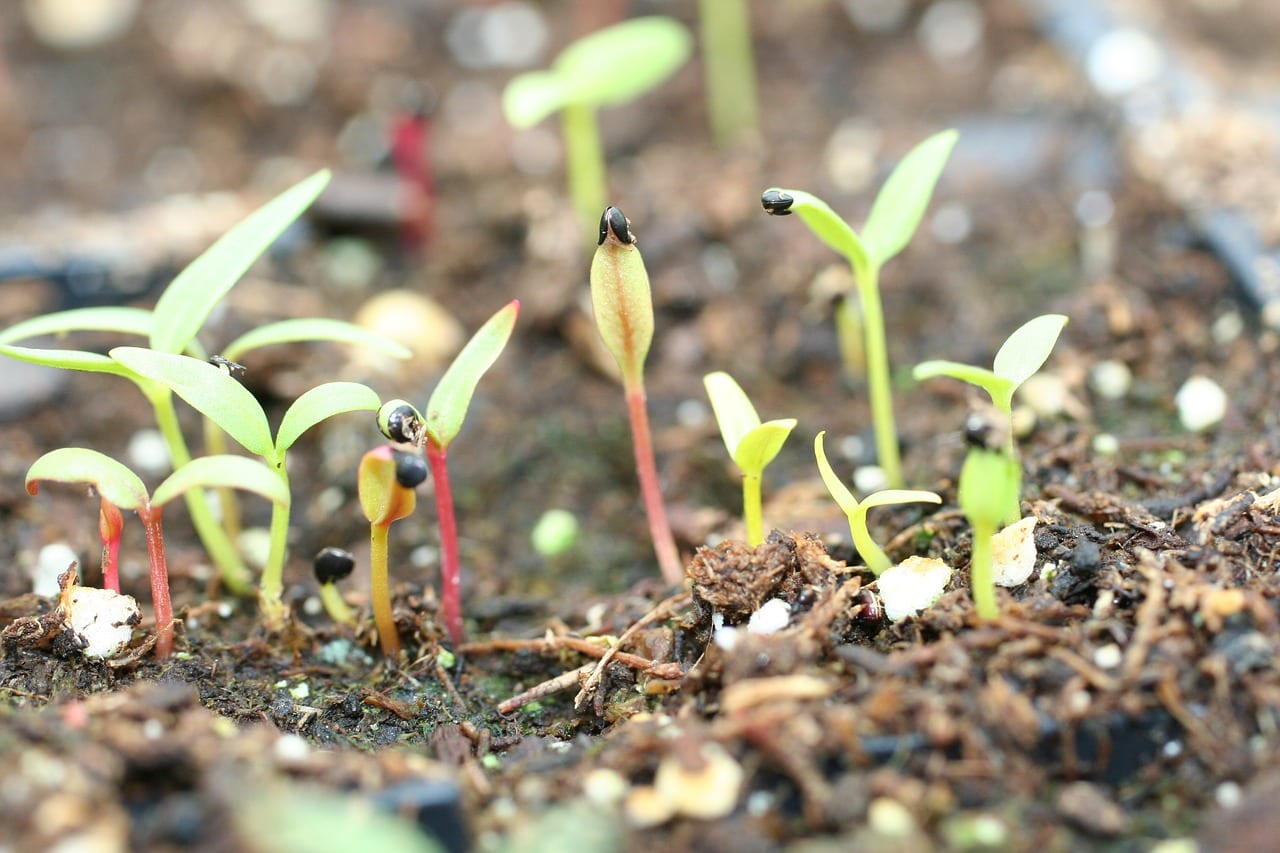
Before you start planting dianthus seeds, it’s important to have a good understanding of their characteristics. Dianthus seeds are small, usually about the size of a pinhead, and they have a textured surface. Each seed contains the embryonic plant enclosed in a protective seed coat.
One interesting thing about dianthus seeds is that they have a natural dormancy period. This means that even if you provide them with the ideal conditions for germination, they may not sprout immediately. Instead, they may enter a period of rest where they remain inactive until the conditions are right.
Germination requirements can vary between different species and cultivars of dianthus. Some varieties have easier germination requirements, while others may require specific conditions to break dormancy. However, there are some general guidelines you can follow to increase your chances of successful germination.
First, it’s important to provide a well-draining growing medium for your dianthus seeds. This can be a mix of peat moss, perlite, and vermiculite or a pre-made seed-starting mix. Avoid using heavy soils that can retain excess moisture, as this can lead to rotting of the seeds or seedlings.
Light is another important factor for dianthus seed germination. Most dianthus seeds require exposure to light to trigger germination. This means that instead of burying the seeds, you should lightly press them onto the surface of the soil and cover them with a thin layer of vermiculite or fine soil. The light will help stimulate the seeds to sprout.
Temperature is also critical for germination success. Dianthus seeds generally prefer cool to moderate temperatures for germination, around 60 to 70 degrees Fahrenheit (15 to 21 degrees Celsius). Some varieties may have specific temperature requirements, so it’s always a good idea to check the seed packet or do some research on the specific dianthus variety you’re growing.
Lastly, be patient when it comes to germination. As mentioned earlier, dianthus seeds can have a natural dormancy period, and it may take anywhere from 7 to 21 days for them to sprout. Keep the soil consistently moist but not overly wet during this time to create an optimal environment for germination.
Now that you have a better understanding of dianthus seeds, let’s dive into the factors you should consider before planting them to ensure successful growth.
Factors to Consider before Planting Dianthus Seeds
Before you start planting dianthus seeds, there are several factors you should consider to ensure the best possible growing conditions for your plants. Taking these factors into account will help you establish a strong foundation for healthy and thriving dianthus seedlings:
- Light: Dianthus plants thrive in full sun, so it’s important to choose a location in your garden that receives at least six to eight hours of direct sunlight per day. Insufficient sunlight can result in weak, leggy plants with less abundant blooms.
- Soil: Dianthus plants prefer well-draining soil with a slightly alkaline pH level between 6.5 and 7.5. If your soil is heavy clay or overly sandy, amend it with organic matter such as compost or well-rotted manure to improve drainage and fertility.
- Water: While dianthus plants are relatively drought-tolerant once established, they still require regular watering during their initial growth stages. Water deeply to promote root development, but allow the soil to dry out slightly between waterings to prevent root rot.
- Temperature: Dianthus plants are resilient and can tolerate moderate variations in temperature. However, they tend to thrive in cooler temperatures, ideally ranging from 60 to 70 degrees Fahrenheit (15 to 21 degrees Celsius). Extreme heat or cold can negatively impact their growth and flowering.
- Fertilizer: Before planting dianthus seeds, prepare the soil by incorporating a balanced slow-release fertilizer. This will provide the necessary nutrients for healthy growth. Alternatively, you can top-dress the plants with compost or a diluted liquid fertilizer during the growing season.
- Spacing: Proper spacing is essential for dianthus plants to promote good air circulation and prevent the spread of disease. Space the seedlings or transplants at least 8 to 12 inches apart, depending on the mature size of the specific dianthus variety you are growing.
- Pests and Disease: Dianthus plants are generally resistant to pests and diseases. However, they can still be susceptible to issues such as aphids, snails, and fungal infections. Monitor your plants regularly and take appropriate measures if any problems arise.
- Companion Plants: Consider planting dianthus alongside companion plants that complement their growth habits and aesthetics. Good companion plants for dianthus include lavender, salvia, coreopsis, and geraniums.
- Time and Patience: Growing dianthus from seeds requires time and patience. It takes several weeks for the seeds to germinate and establish. Be prepared to provide consistent care and attention to your dianthus seedlings as they grow and mature.
By considering these factors and tailoring your garden preparations accordingly, you’ll greatly increase the likelihood of successful growth and abundant blooms from your dianthus plants. Now that you have a good understanding of the pre-planting factors, let’s move on to the best time to plant dianthus seeds.
Best Time to Plant Dianthus Seeds
The timing of planting dianthus seeds is crucial for their successful growth and establishment. Dianthus plants are typically cool-season perennials, and the best time to plant the seeds will depend on your specific climate and the variety of dianthus you’re growing.
In regions with mild winters and cool summers, such as USDA Hardiness Zones 4 to 7, it’s recommended to sow dianthus seeds in late summer or early fall. This timing allows the seeds to undergo a period of cold stratification, which helps break dormancy and promotes germination in spring when conditions become favorable.
For regions with warmer climates, where winters are mild and summers are hot, it’s best to plant dianthus seeds in early spring, right after the last frost date. This timing allows the seeds to take advantage of the cool temperatures and ample sunlight during the spring season for healthy growth.
It’s important to note that dianthus seeds require a period of moist chilling (cold stratification) to break dormancy and promote germination. If you’re starting your dianthus seeds indoors, you can simulate this process by placing the seeds in a damp paper towel inside a sealed plastic bag and refrigerating them for 2 to 3 weeks before planting.
Whether you’re starting your seeds indoors or sowing them directly in the garden, make sure to check the seed packet or do some research on the specific dianthus variety you’re growing for any specific planting requirements or recommendations.
By planting dianthus seeds at the appropriate time, you’ll give them the best chance to establish strong root systems and produce beautiful blooms. Now that you know when to plant, let’s move on to the steps involved in planting dianthus seeds.
Steps for Planting Dianthus Seeds
Planting dianthus seeds is a relatively straightforward process that can be done indoors or directly in the garden. Follow these steps to ensure successful germination and growth of your dianthus seeds:
- Prepare the Soil: Choose a well-draining location in your garden that receives full sun. If the soil is heavy or clay-like, amend it with organic matter to improve drainage. Remove any weeds or debris from the planting area.
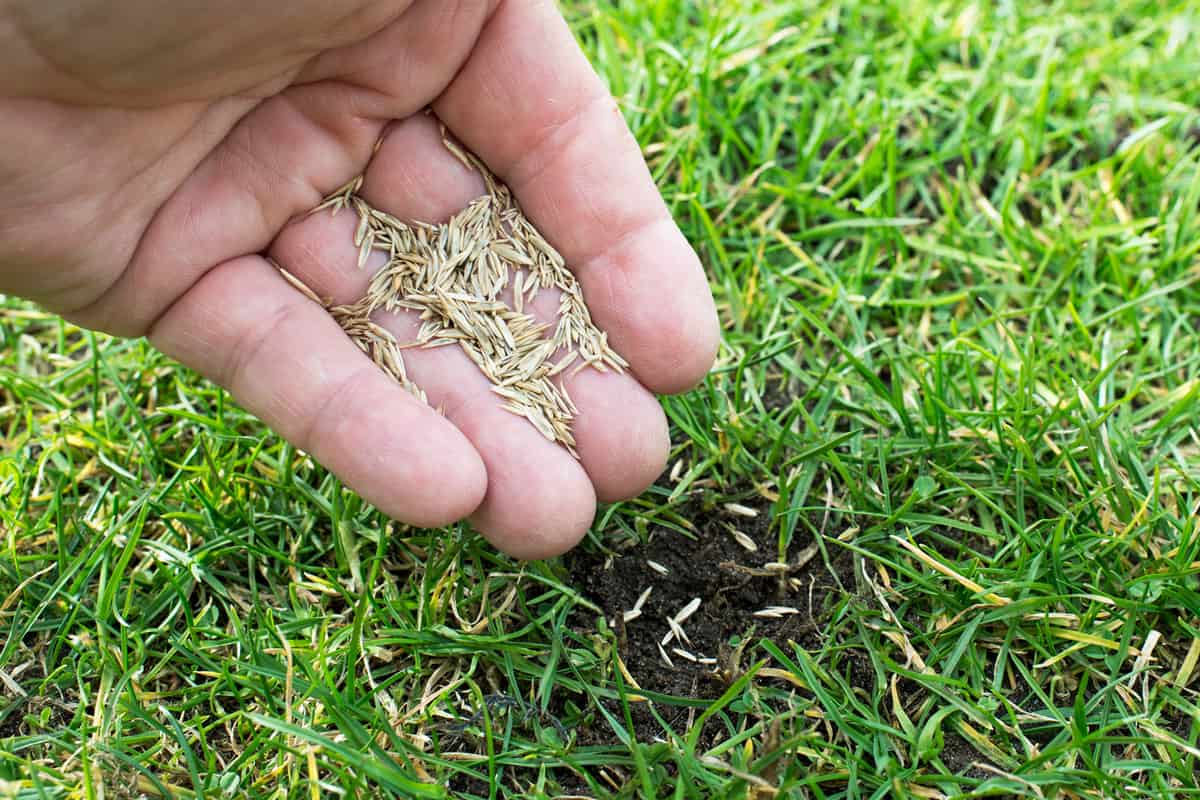
- Sow the Seeds: If you’re starting your seeds indoors, fill seed trays or pots with a well-draining seed-starting mix. Sow the dianthus seeds on the surface and lightly press them into the soil. If planting outdoors, scatter the seeds on the prepared soil surface.
- Water Gently: After sowing the seeds, water the soil gently to ensure good contact between the seeds and the soil. Avoid overwatering, as this can lead to rotting or wash away the seeds.
- Provide Light: Dianthus seeds require light to stimulate germination. If planting indoors, place the seed trays or pots in a location that receives bright indirect light. If planting outdoors, make sure the seeds are exposed to ample sunlight.
- Keep the Soil Moist: During the germination period, keep the soil consistently moist but not overly wet. Use a spray bottle or a light misting to avoid disturbing the seeds or causing waterlogged conditions.
- Thin the Seedlings: Once the seedlings emerge and develop their first set of true leaves, thin them out if they are overcrowded. Leave only the healthiest and strongest seedlings, spacing them according to the specific dianthus variety’s recommendations.
- Transplant (if necessary): If you started your dianthus seeds indoors and they have outgrown their containers, gently transplant them into larger pots or directly into the garden. Be careful not to disturb the roots too much.
- Maintain Care: Continue to provide regular water, ensuring the soil remains consistently moist but not waterlogged. Monitor the plants for any signs of nutrient deficiencies, pests, or diseases, and take appropriate measures if necessary.
- Enjoy the Blooms: With proper care and maintenance, your dianthus plants will begin to bloom, rewarding you with their vibrant colors and delightful fragrance. Deadhead spent flowers to encourage continuous flowering throughout the season.
Remember to follow any specific instructions or recommendations provided on the seed packet or from reliable sources when it comes to planting and caring for your dianthus seeds. Now that you’ve learned the steps to plant dianthus seeds, let’s move on to understanding how to care for the seedlings as they grow.
Plant Dianthus seeds in early spring after the last frost, or in late summer for fall blooms. Sow the seeds in well-drained soil and keep them moist until they germinate.
Read more: When To Plant Vinca Seeds
Caring for Dianthus Seedlings
As your dianthus seedlings continue to grow, it’s important to provide them with the proper care to ensure their health and development. Follow these guidelines to care for your dianthus seedlings:
- Watering: Dianthus seedlings require regular watering to keep the soil consistently moist, but not overly saturated. Water at the base of the plants to avoid wetting the foliage, which can increase the risk of fungal diseases.
- Fertilizing: After the first set of true leaves has developed, you can start feeding your dianthus seedlings with a balanced liquid fertilizer at half the recommended strength. Apply the fertilizer every two weeks to provide the necessary nutrients for healthy growth.
- Thinning: If you have overcrowded seedlings, it’s important to thin them out to provide adequate space for each plant. Remove weaker seedlings, leaving only the healthiest ones. This will prevent competition for nutrients and ensure better airflow around the plants, reducing the risk of disease.
- Mulching: Apply a layer of organic mulch around the dianthus seedlings to help retain moisture in the soil, suppress weed growth, and regulate soil temperature. Avoid placing the mulch directly against the stems to prevent rotting.
- Support: Some taller varieties of dianthus may benefit from staking or support once they start growing. Use bamboo stakes or plant supports to prevent the plants from bending or breaking under their own weight, especially during windy conditions.
- Pinching: To encourage bushier growth and more abundant blooms, consider pinching back the tips of the dianthus seedlings when they reach about 4 to 6 inches in height. This will promote branching and result in a fuller, more compact plant.
- Regular Inspections: Regularly inspect your dianthus seedlings for any signs of pests or diseases. Common issues include aphids, slugs, powdery mildew, and rust. Take appropriate measures, such as insecticidal soap or organic remedies, to control pests, and remove any diseased plants or foliage promptly to prevent the spread of diseases.
- Deadheading: As dianthus plants bloom, it’s beneficial to remove spent flowers promptly. This process, known as deadheading, encourages continuous blooming by redirecting the plant’s energy into producing new blooms rather than developing seeds.
- Winter Protection: In colder climates, provide protection for your dianthus plants during the winter months. Apply a layer of mulch around the base of the plants to insulate the roots, or cover them with a frost blanket or straw to shield them from harsh temperatures and frost.
By following these care guidelines, you’ll help your dianthus seedlings grow into healthy, robust plants that will reward you with their charming flowers. Stay vigilant and attentive to the needs of your seedlings, and adjust your care routine accordingly. In the next section, we’ll explore common issues that may arise with your dianthus plants and provide troubleshooting tips to address them.
Common Issues and Troubleshooting
While dianthus plants are generally resilient, they can sometimes encounter issues that may affect their growth and overall health. Here are some common problems you may come across with your dianthus plants, along with troubleshooting tips:
- Pests: Aphids and slugs are common pests that can affect dianthus plants. To control aphids, spray the affected plants with a mild solution of water and dish soap or use an insecticidal soap. For slugs, try setting up beer traps or using organic slug baits.
- Diseases: Powdery mildew and rust are two fungal diseases that can affect dianthus plants. To prevent powdery mildew, ensure proper air circulation and avoid overhead watering. If powdery mildew appears, remove affected leaves and treat with a fungicidal spray. Rust can be controlled by removing infected foliage and using a fungicidal spray specifically formulated for rust.
- Yellowing Leaves: Yellowing leaves can indicate various issues, such as overwatering, nutrient deficiencies, or root rot. Adjust your watering schedule, ensuring the soil is not overly saturated. Feed the plants with a balanced fertilizer to address any nutrient deficiencies. If root rot is suspected, inspect the roots and consider adjusting the drainage or repotting the affected plants.
- Poor Flowering: If your dianthus plants are not producing as many flowers as expected, it could be due to insufficient sunlight, inadequate fertilization, or overcrowding. Ensure your plants receive at least six to eight hours of direct sunlight per day. Feed them regularly with a balanced fertilizer, following the recommended dosage. Thinning out overcrowded plants can also help improve flowering.
- Drooping or Wilting: Drooping or wilting can be a sign of underwatering, overwatering, or root issues. Check the soil moisture levels and adjust the watering accordingly. If the soil feels damp and the plants are still wilting, it could indicate root problems. Inspect the roots for rot or damage and take appropriate action, such as repotting in fresh, well-draining soil.
- Stunted Growth: Stunted growth may be caused by nutrient deficiencies, poor soil, or stressful growing conditions. Ensure your dianthus plants are receiving adequate nutrition through balanced fertilization and amend the soil with organic matter as needed. Providing optimal growing conditions, such as proper sunlight, water, and temperature, can also help promote healthy growth.
Remember to regularly inspect your dianthus plants for any signs of pests, diseases, or other issues, and address them promptly. With proper care and attention, your dianthus plants will thrive and reward you with their gorgeous flowers.
In the next section, we’ll explore how to harvest and propagate dianthus seeds, allowing you to expand your dianthus collection or share the beauty of these plants with others.
Harvesting and Propagating Dianthus Seeds
Harvesting and propagating dianthus seeds is an exciting way to continue growing these beautiful plants. Here’s how you can harvest and propagate dianthus seeds:
Harvesting Seeds:
- Allow some dianthus flowers to fully mature on the plant. The petals will start to fade, and the seed pods will form.
- Monitor the seed pods as they develop. Once they turn brown and start to split open, gently collect them and place them in a paper bag or envelope.
- Store the seed pods in a cool, dry location for a few weeks to ensure they are fully dry before opening them.
- When the seed pods are completely dry, gently break them open to release the small dianthus seeds.
- Store the seeds in a cool, dark, and dry place, such as a sealed container or envelope, until you are ready to propagate them.
Propagating Seeds:
- Before sowing dianthus seeds, prepare the soil by removing any weeds and loosening it to create a fine, crumbly texture.
- Sow the dianthus seeds thinly on the soil surface, ensuring they are evenly spaced. Lightly press them into the soil, but avoid burying them too deep.
- Cover the seeds with a thin layer of vermiculite or fine soil to protect them and provide a suitable environment for germination.
- Water the soil gently to ensure good moisture contact with the seeds, but avoid overwatering.
- Place the seed trays or pots in a location where they will receive bright, indirect light. Maintain a consistent temperature of around 60 to 70 degrees Fahrenheit (15 to 21 degrees Celsius).
- Keep the soil consistently moist but not waterlogged. Germination typically occurs within 7 to 21 days, depending on the variety and growing conditions.
- As the seedlings grow, thin them out to provide adequate spacing for each plant, following the specific spacing requirements of the dianthus variety.
- Continue to care for the dianthus seedlings by watering them regularly, fertilizing as necessary, and protecting them from pests and diseases.
- Transplant the dianthus seedlings into their permanent locations in the garden once they have developed a strong root system and are large enough to handle the transplanting process.
- Allow the dianthus plants to mature and bloom. As the flowers fade, you can repeat the harvesting process to collect more seeds for future propagation or to share with fellow gardeners.
Harvesting and propagating dianthus seeds allows you to expand your garden and share the beauty of these plants with others. With proper care and attention, your dianthus seedlings will grow into vibrant, flowering plants, continuing the cycle of growth and renewal.
Now that you have learned how to harvest and propagate dianthus seeds, let’s wrap up this article with some final thoughts.
Conclusion
Planting and growing dianthus from seeds is a delightful experience that allows you to witness the entire lifecycle of these beautiful flowering plants. By understanding the characteristics of dianthus seeds, considering the necessary factors before planting, knowing the best time to sow the seeds, and following the steps for planting and caring for the seedlings, you can successfully grow a stunning dianthus garden.
Remember to provide your dianthus plants with ample sunlight, well-draining soil, and appropriate watering to ensure their optimal growth. Regularly inspect them for pests and diseases, addressing any issues promptly to maintain their health and vigor. Harvesting and propagating dianthus seeds allows you to continue the cycle of growth, expanding your garden or sharing the joy of these plants with others.
Throughout the process, be patient and enjoy the journey. Gardening is a wonderful opportunity to connect with nature and cultivate a sense of fulfillment as you watch your dianthus plants bloom and thrive. Whether you’re a seasoned gardener or a beginner, growing dianthus seeds will bring beauty, fragrance, and a touch of elegance to your outdoor space.
So, grab your dianthus seeds, get your hands in the soil, and embark on this gardening adventure. With the right techniques and a little bit of care, you’ll be rewarded with a vibrant dianthus garden that will brighten your day and captivate your senses for years to come.
Frequently Asked Questions about When To Plant Dianthus Seeds
Was this page helpful?
At Storables.com, we guarantee accurate and reliable information. Our content, validated by Expert Board Contributors, is crafted following stringent Editorial Policies. We're committed to providing you with well-researched, expert-backed insights for all your informational needs.


0 thoughts on “When To Plant Dianthus Seeds”