Home>Garden Essentials>Garden Storage>How To Build Wardrobe Closet
Garden Storage
How To Build Wardrobe Closet
Modified: March 1, 2024
Learn how to build a wardrobe closet with ample storage space. Discover storage solutions for organizing your clothes, shoes, and accessories efficiently.
(Many of the links in this article redirect to a specific reviewed product. Your purchase of these products through affiliate links helps to generate commission for Storables.com, at no extra cost. Learn more)
Introduction
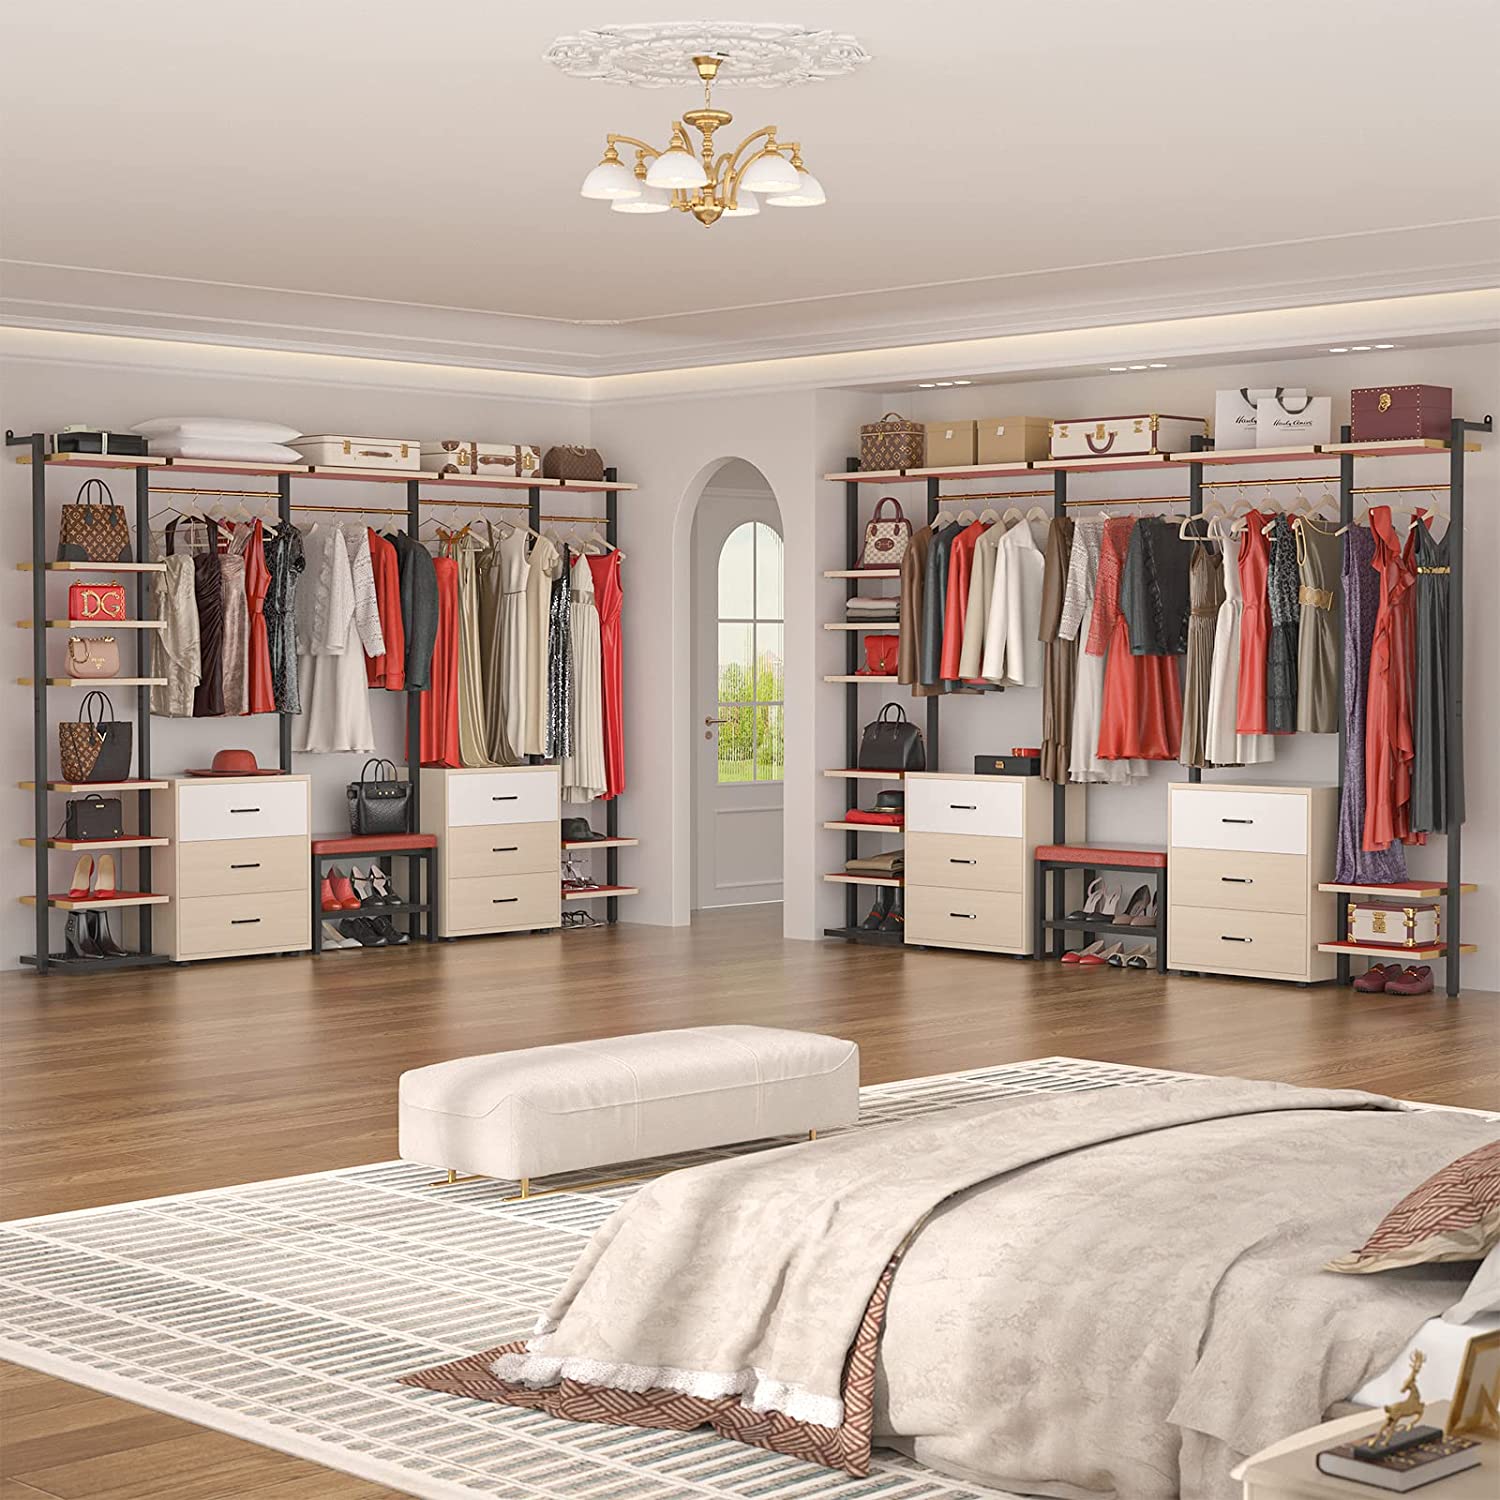
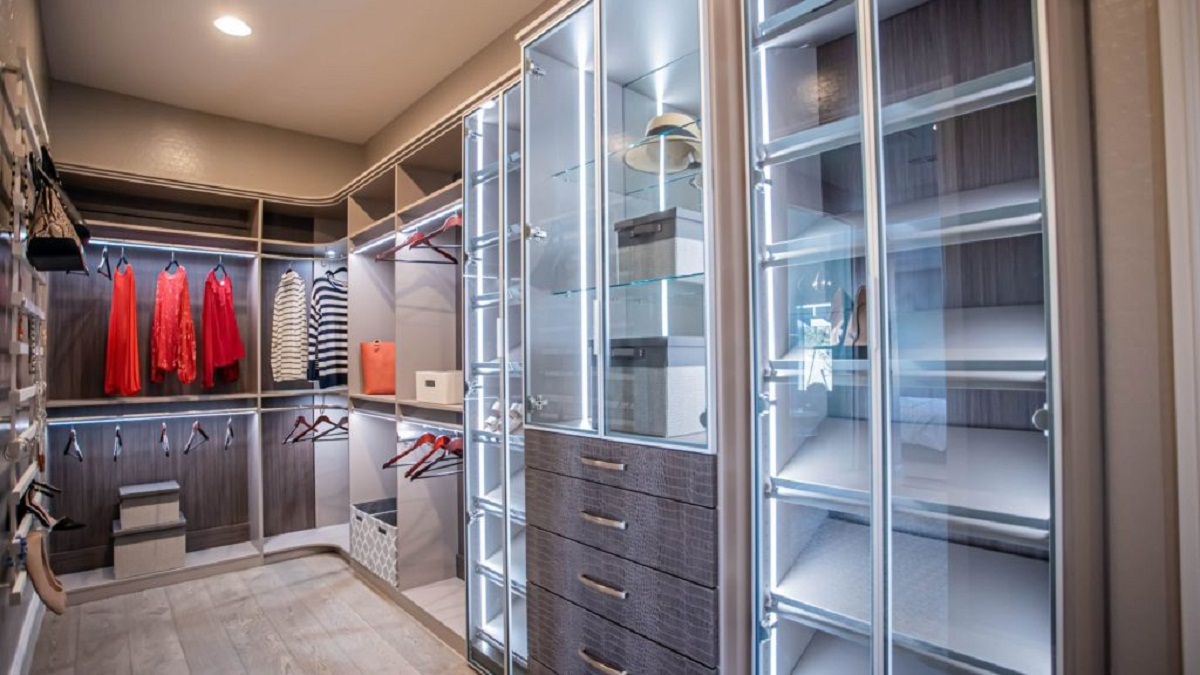
When it comes to optimizing the storage space in your home, a wardrobe closet is an excellent choice. It provides a dedicated area to organize and store your clothes, shoes, accessories, and more. However, buying a ready-made wardrobe closet can be expensive and may not always meet your specific storage needs. That’s where building your own wardrobe closet comes in handy. Not only does it offer a more affordable option, but it also allows you to customize the design and size to fit your space perfectly.
In this guide, we will take you through the step-by-step process of building a wardrobe closet from scratch. From determining the location and size to adding shelves and finishing touches, you will learn all the essential steps to create a functional and aesthetically pleasing storage solution.
Whether you’re a seasoned DIY enthusiast or just starting with woodworking projects, building a wardrobe closet is an achievable task with the right tools and materials. So let’s dive in and explore how you can create your very own wardrobe closet that not only meets your storage needs but also adds a touch of personal style to your home.
Key Takeaways:
- Building a wardrobe closet from scratch allows for customization of size, design, and storage configuration to fit your space and specific needs, providing a cost-effective and personalized storage solution.
- Attention to detail, accurate measurement, and high-quality materials are essential for constructing a sturdy and reliable wardrobe closet that maximizes storage potential and adds a touch of personal style to your home.
Read more: How To Build A Wardrobe Closet
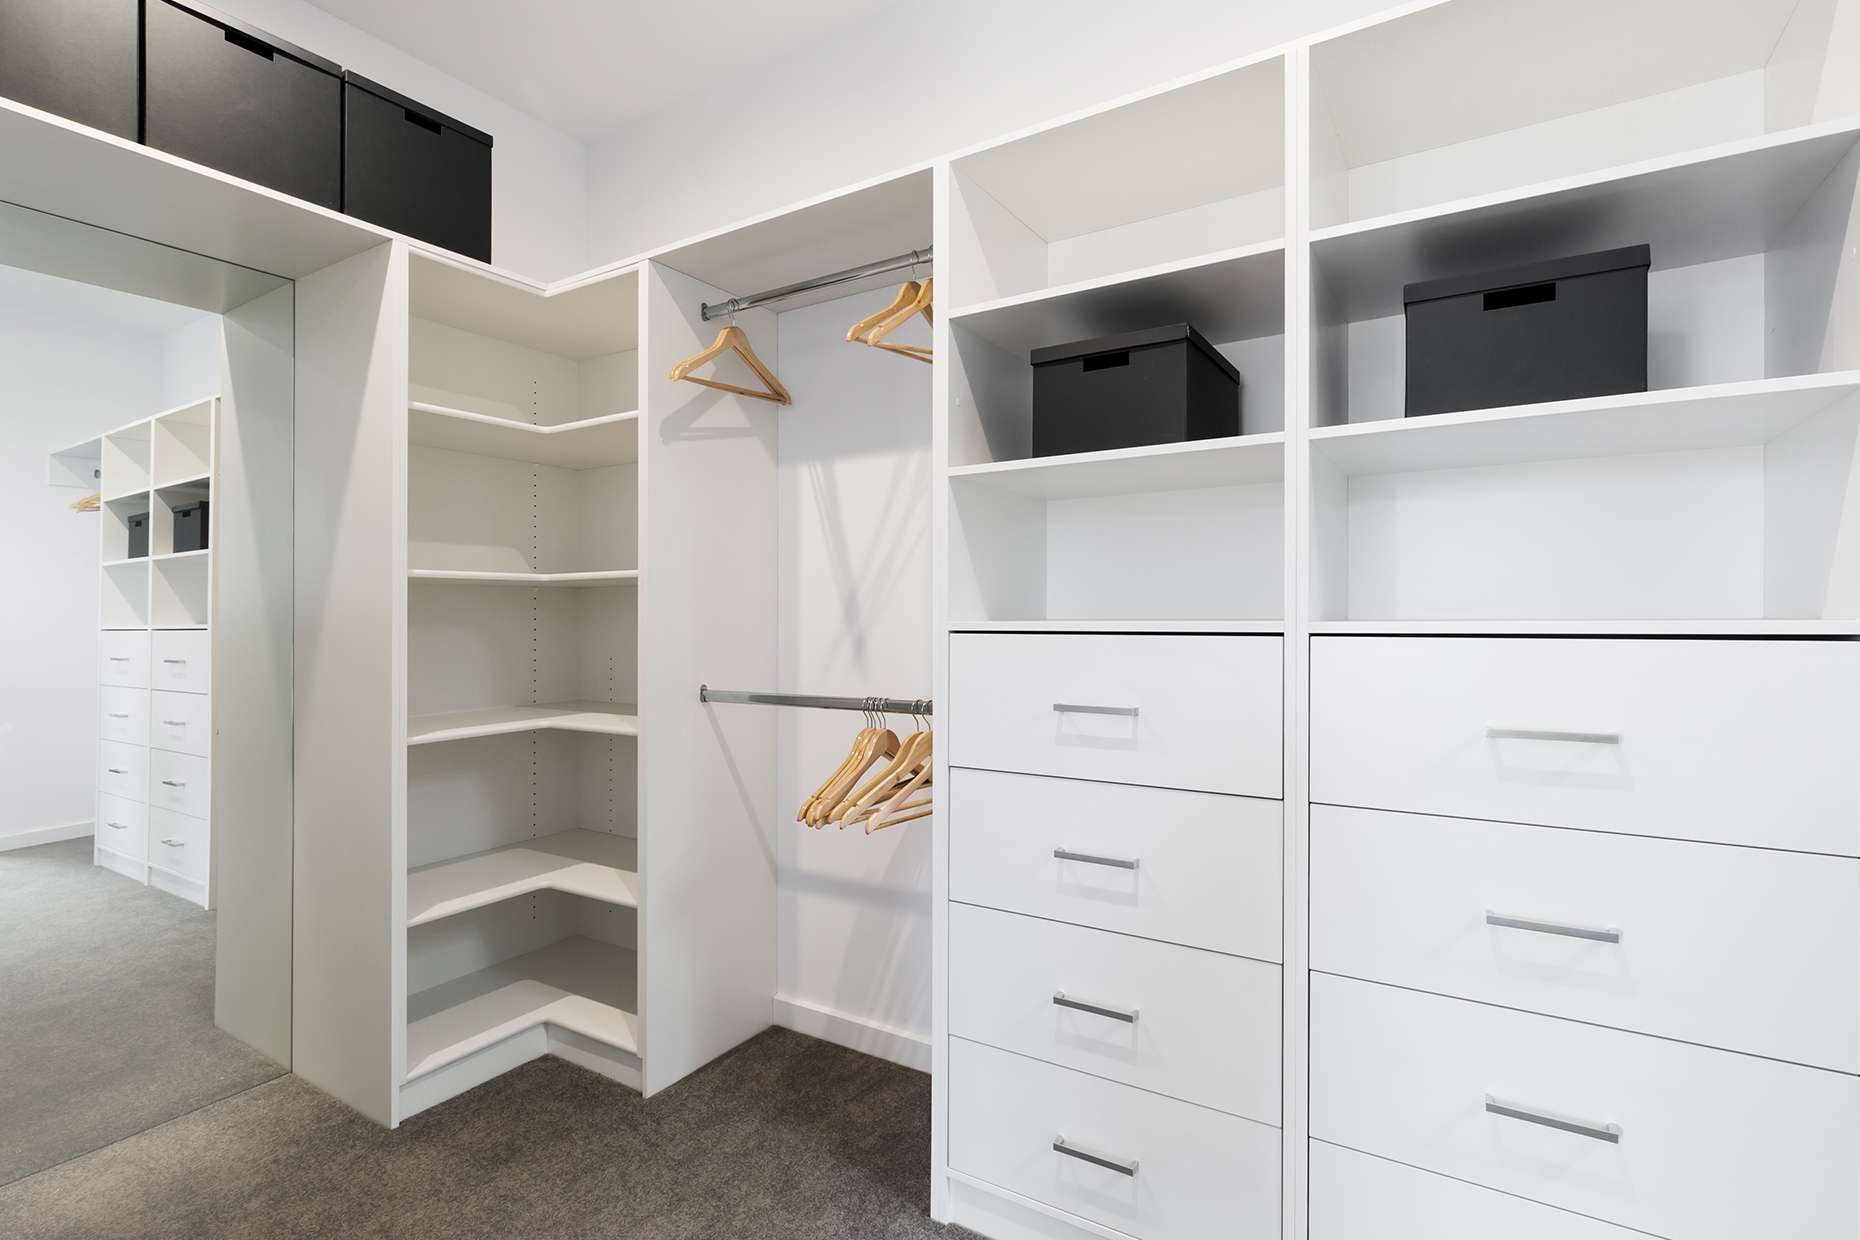
Step 1: Determine the Location and Size
The first and most crucial step in building a wardrobe closet is to determine the location and size that will best suit your needs. Consider the available space in your home and identify an area where the wardrobe can be placed without obstructing other furniture or walkways.
Measure the dimensions of the chosen space, including the height, width, and depth. This will help you determine the size of the wardrobe closet you can build. Make sure to account for any existing features such as windows, doors, or electrical outlets that may affect the design and functionality of the wardrobe.
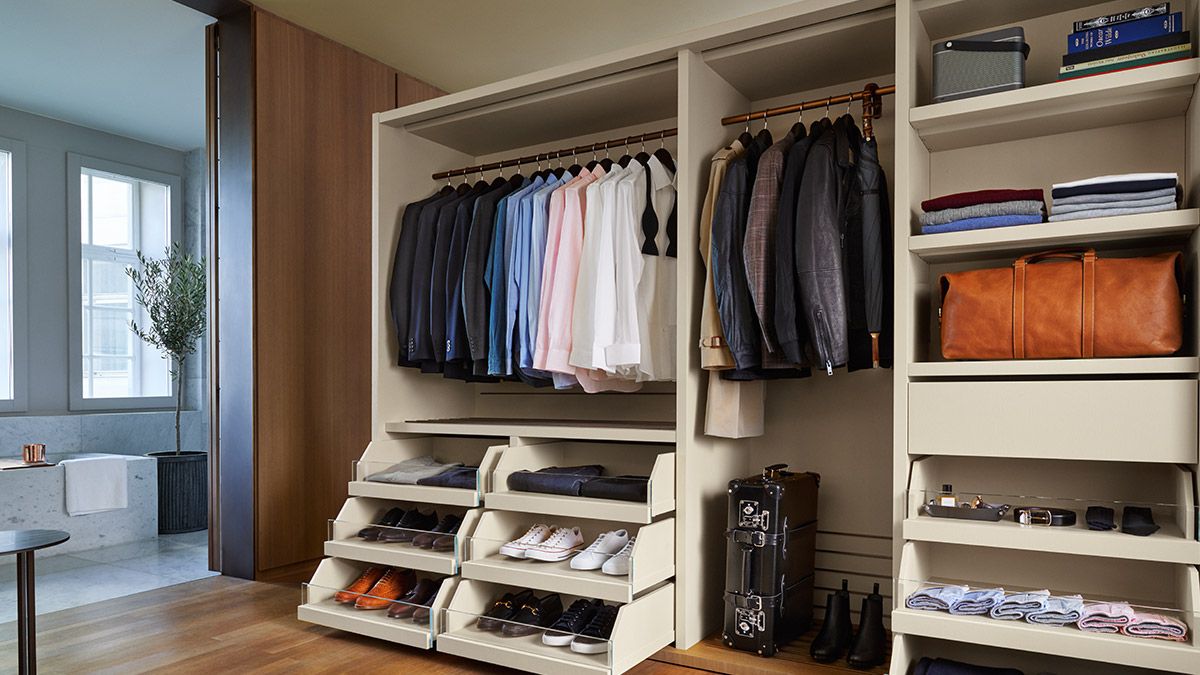
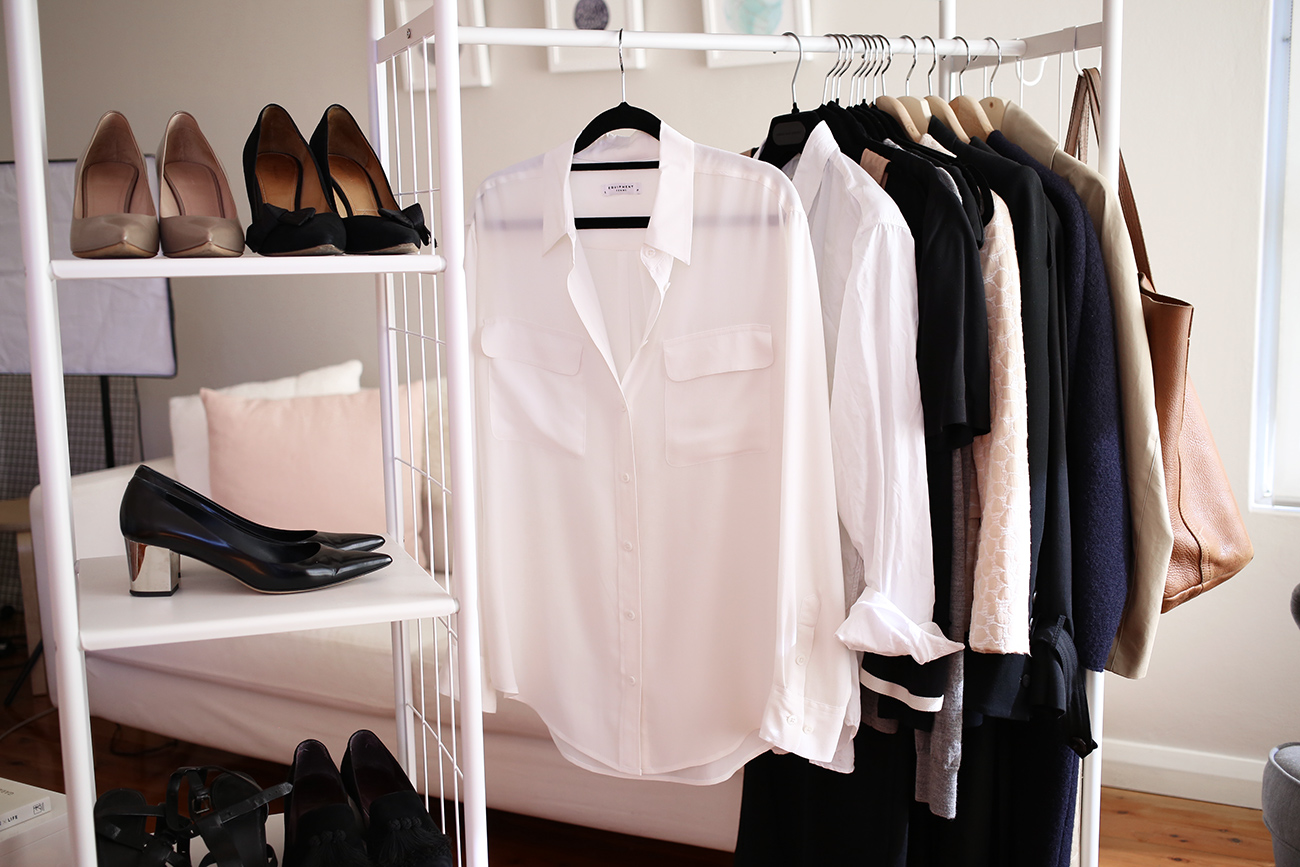
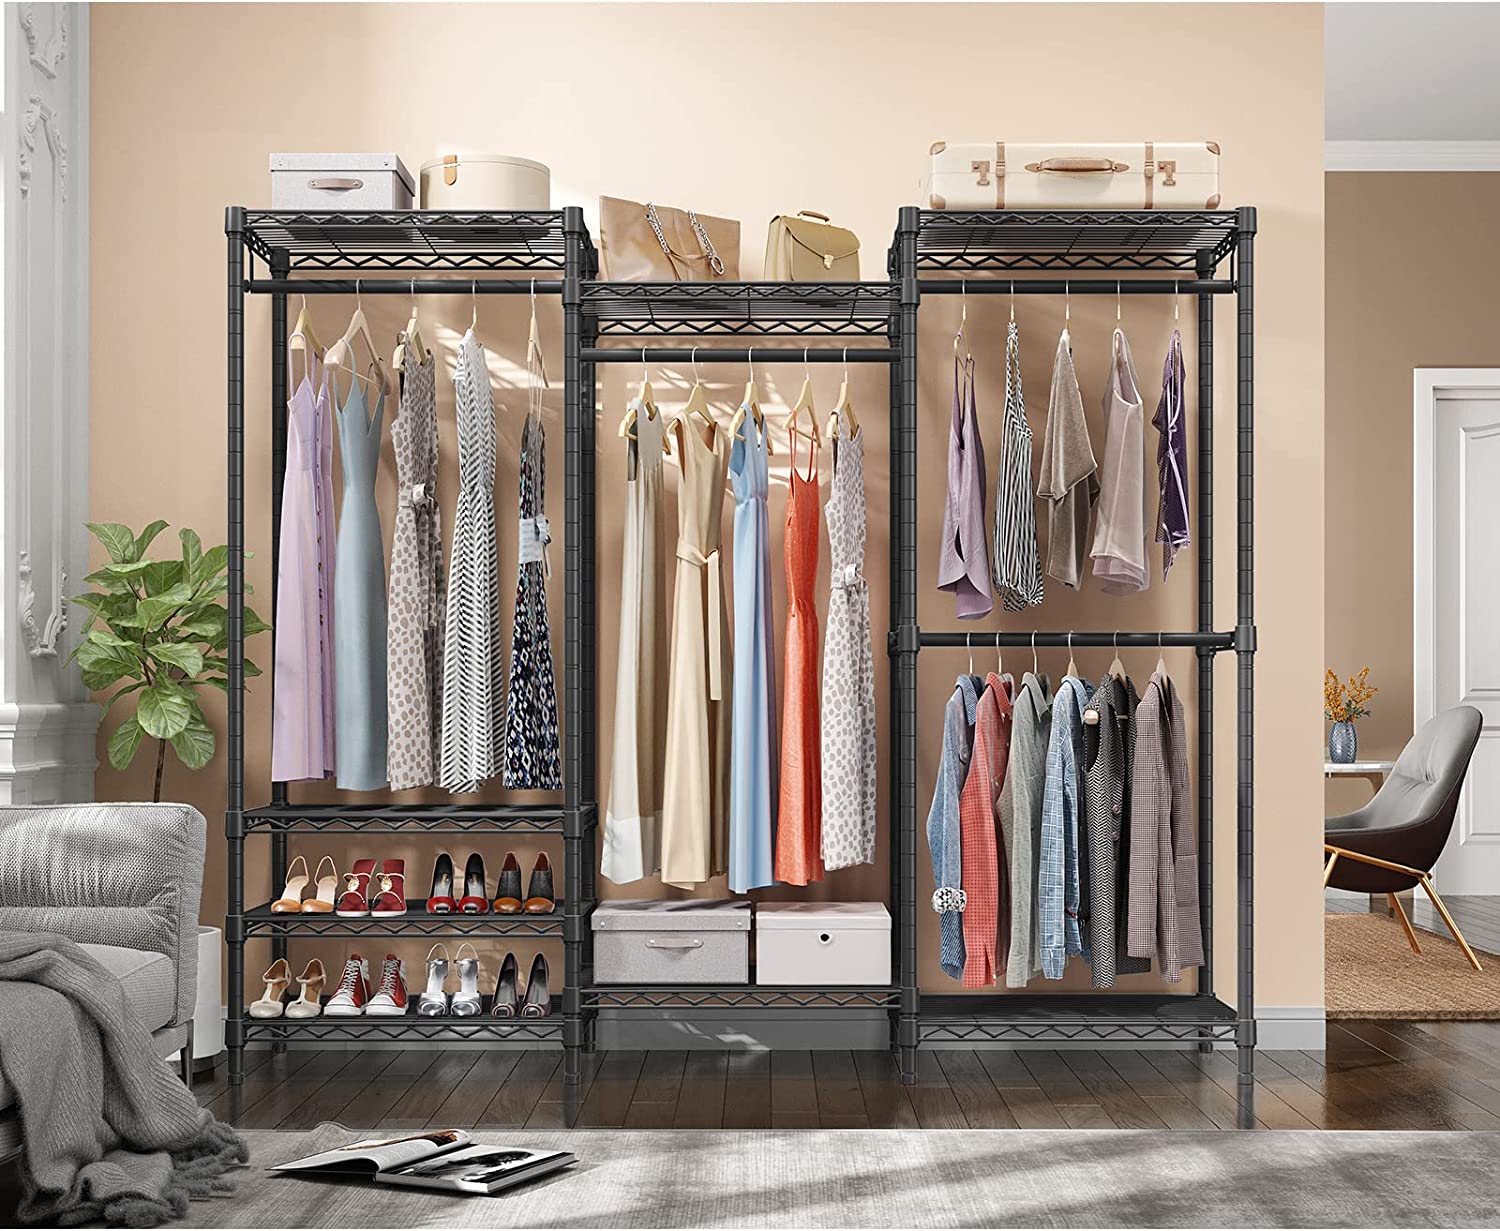
Next, consider your storage needs and the items you plan to keep in the wardrobe. Do you have a large collection of dresses and suits that require ample hanging space? Or do you need more shelves for folded clothes and accessories? Take inventory of your clothing and other belongings to determine the optimal storage configuration.
Once you have a clear idea of the size and location requirements, it’s time to move on to the next step: gathering the materials and tools necessary for the construction process. With careful planning and measurement, you can ensure that your wardrobe closet fits seamlessly into your space and provides the storage capacity you need.
Step 2: Gather Materials and Tools
Before you can begin building your wardrobe closet, it’s important to gather all the necessary materials and tools. Here is a list of the items you will need:
- Plywood sheets
- 2×4 lumber for the frame
- Shelving boards
- Hanging rods
- Saw
- Hammer
- Screwdriver
- Measuring tape
- Sandpaper
- Wood glue
- Screws
- Nails
- Paint or finish of your choice
Make sure to choose high-quality materials that are durable and suitable for your design. The plywood sheets and shelving boards should be thick enough to provide stability and support for your wardrobe. The 2×4 lumber will be used to construct the frame, so consider its strength and dimensions.
Additionally, you will need basic tools such as a saw, hammer, screwdriver, and measuring tape to cut and assemble the materials. Sandpaper will come in handy for smoothing out any rough edges or surfaces. Wood glue, screws, and nails will be used for joining the different components together securely.
Lastly, decide on the finish or paint you want to apply to your wardrobe closet. This can be a clear coat to enhance the natural beauty of the wood or a colorful paint that complements your room’s décor.
Once you have gathered all the necessary materials and tools, you’re ready to move on to the next step: constructing the frame of the wardrobe closet. With careful preparation and organization, you can ensure a smooth building process and a sturdy final product.
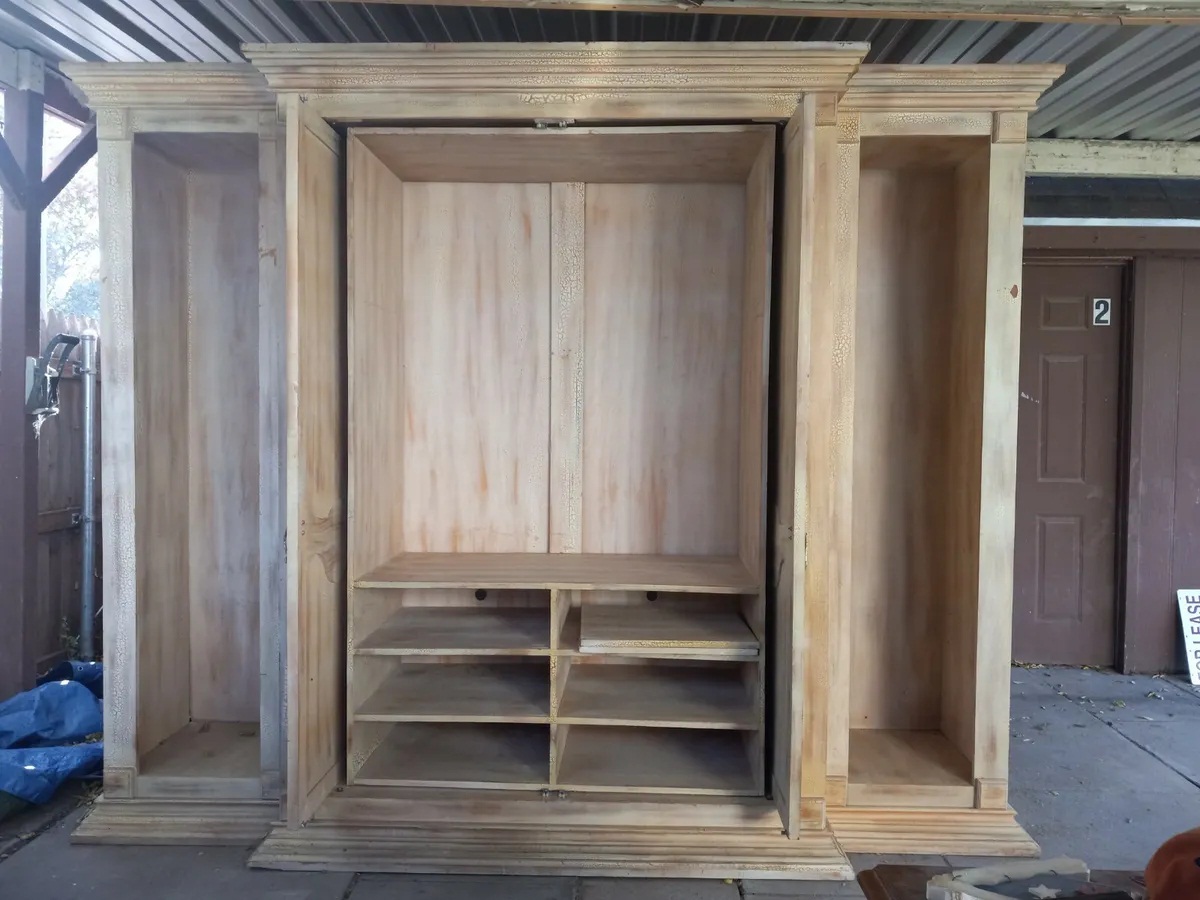
Step 3: Construct the Frame
Now that you have all the materials and tools ready, it’s time to start building the frame for your wardrobe closet. The frame provides the structure and support for the entire wardrobe, so it’s essential to construct it properly.
Begin by cutting the 2×4 lumber into the desired lengths for the vertical and horizontal pieces of the frame. Use your measuring tape and saw to ensure accurate cuts. Make sure to account for the height, width, and depth of your wardrobe closet when determining the lengths.
Next, assemble the frame by attaching the vertical pieces to the horizontal pieces using wood glue and screws. Position the pieces according to your wardrobe closet dimensions, ensuring that they are plumb and level. Use a level tool to check the alignment and make any necessary adjustments.
Reinforce the corners of the frame by adding corner brackets or using additional pieces of lumber. This will provide extra stability and prevent the frame from shifting or wobbling.
Once the frame is assembled, double-check its stability and ensure that it fits properly in the chosen location. Make any final adjustments and secure the frame to the wall using screws, ensuring it is firmly anchored.
With the frame complete, you can now move on to the next step: adding shelves and hanging rods to maximize the storage capacity of your wardrobe closet.
Remember to work carefully and precisely during the construction process to achieve a sturdy and reliable frame that will support the weight of your clothes and other belongings.
When building a wardrobe closet, make sure to measure the space accurately before purchasing materials. This will ensure that the closet fits perfectly in the designated area.
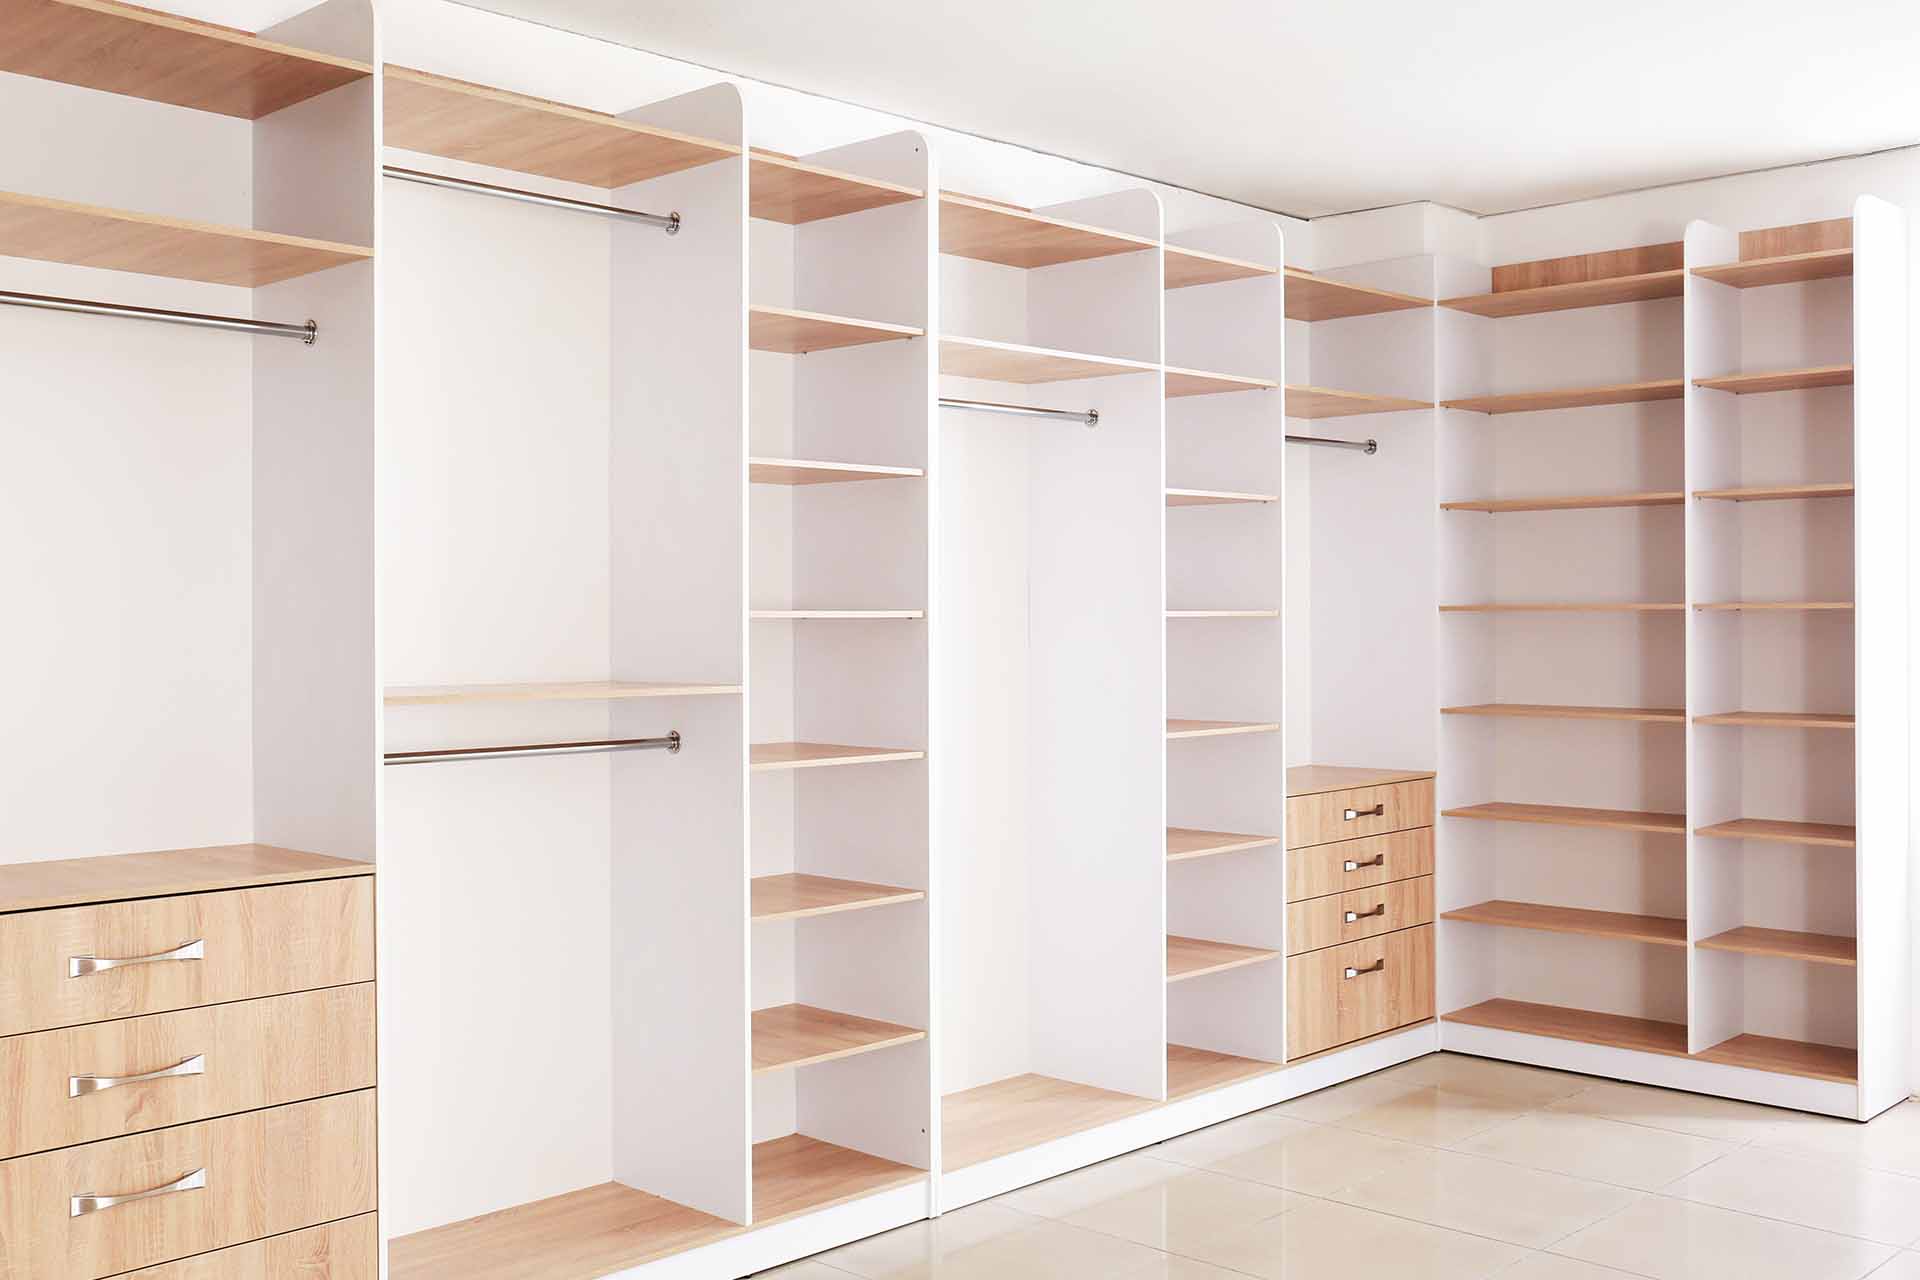
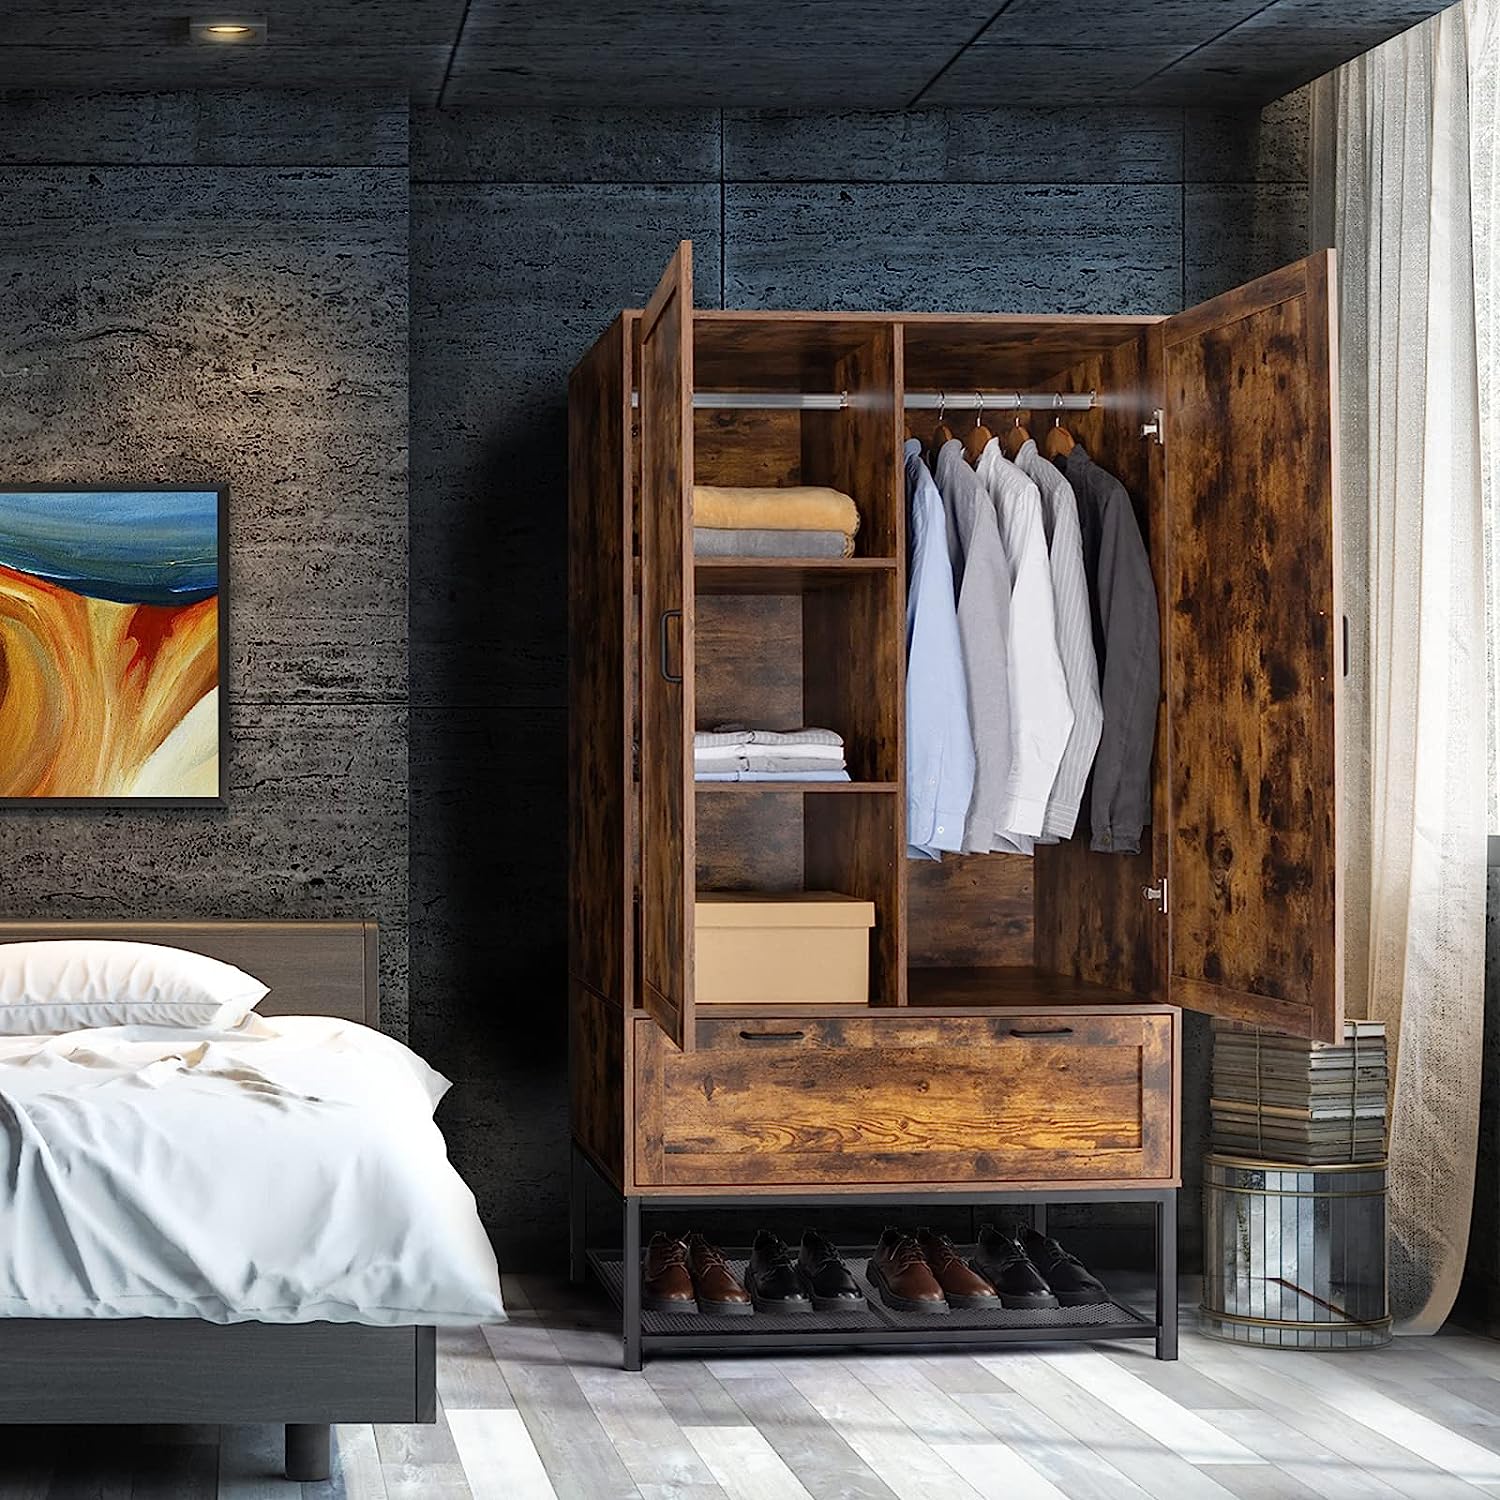
Step 4: Add Shelves and Hanging Rods
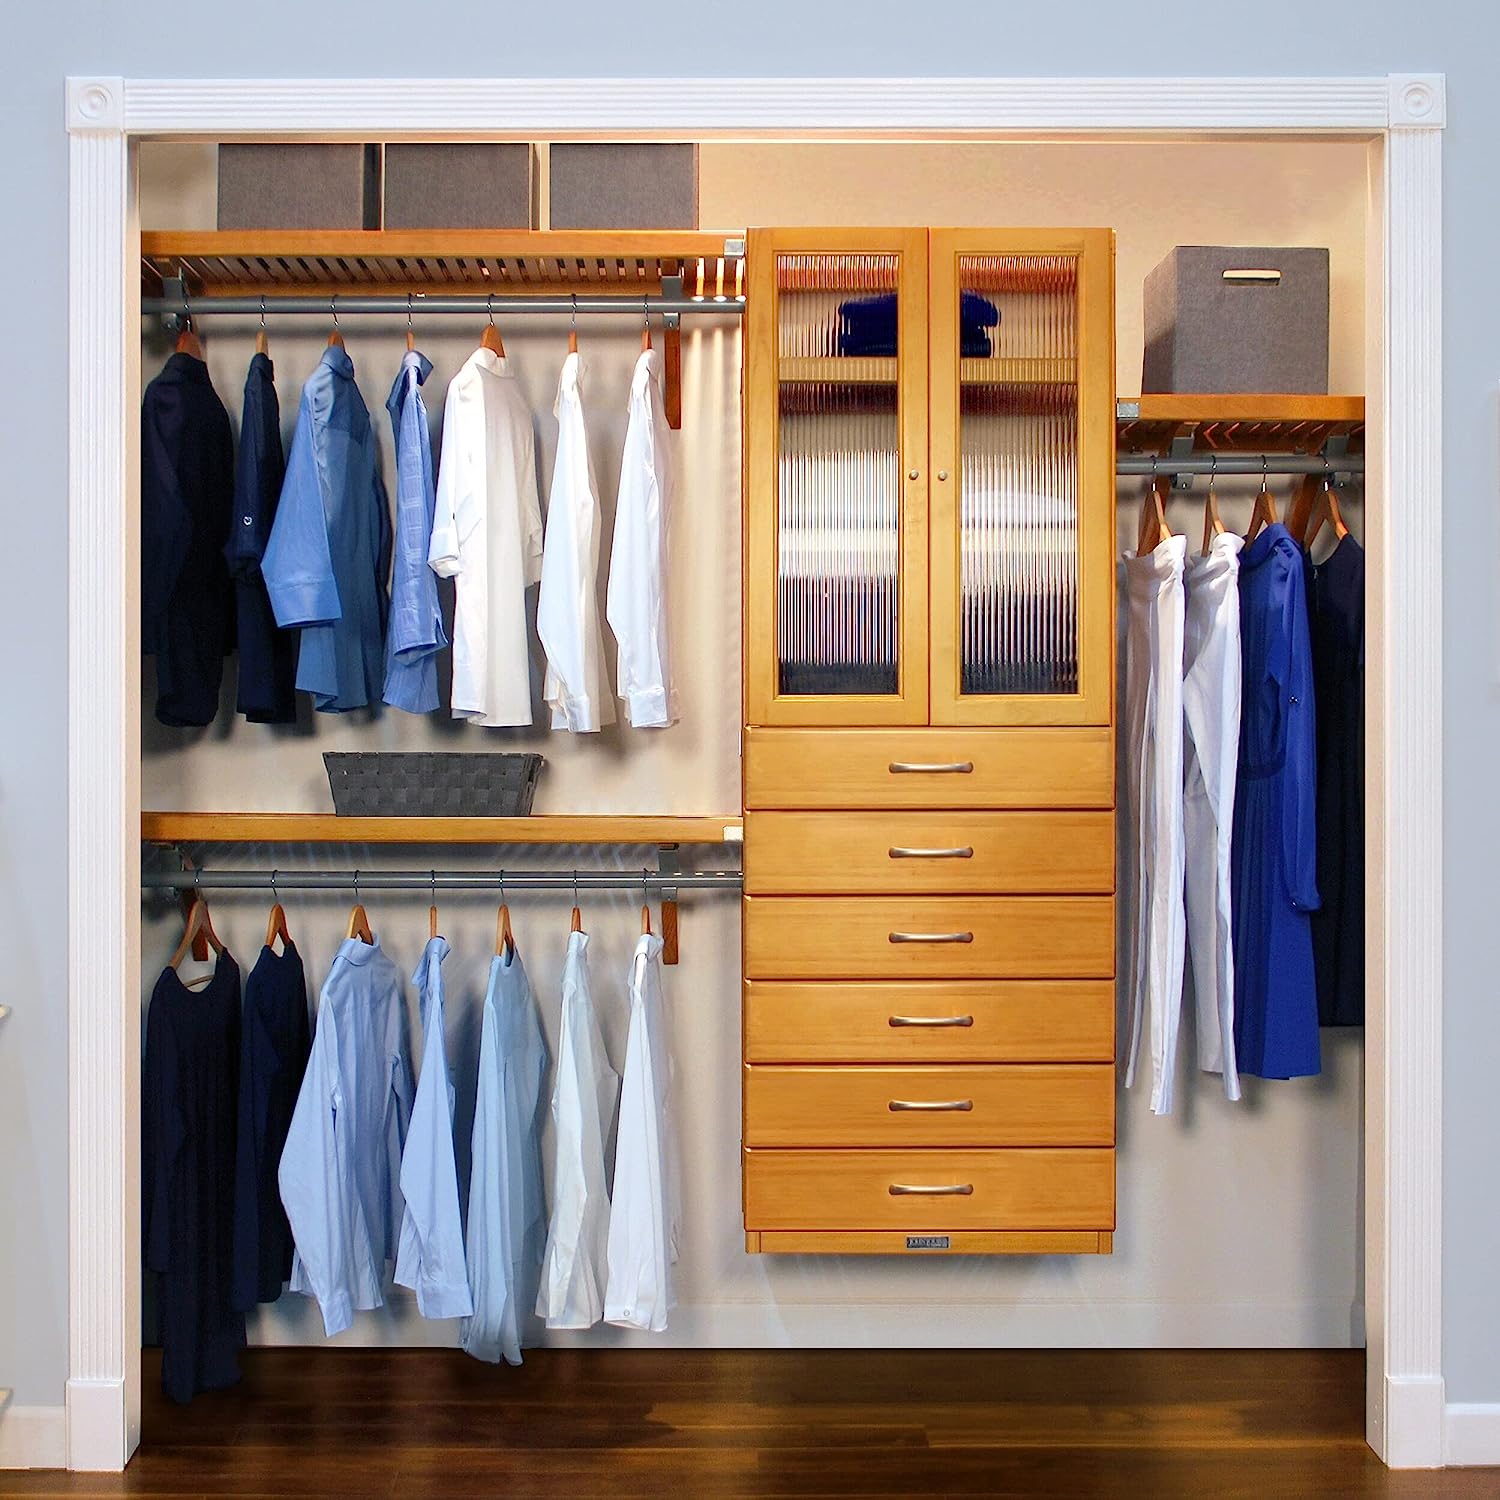
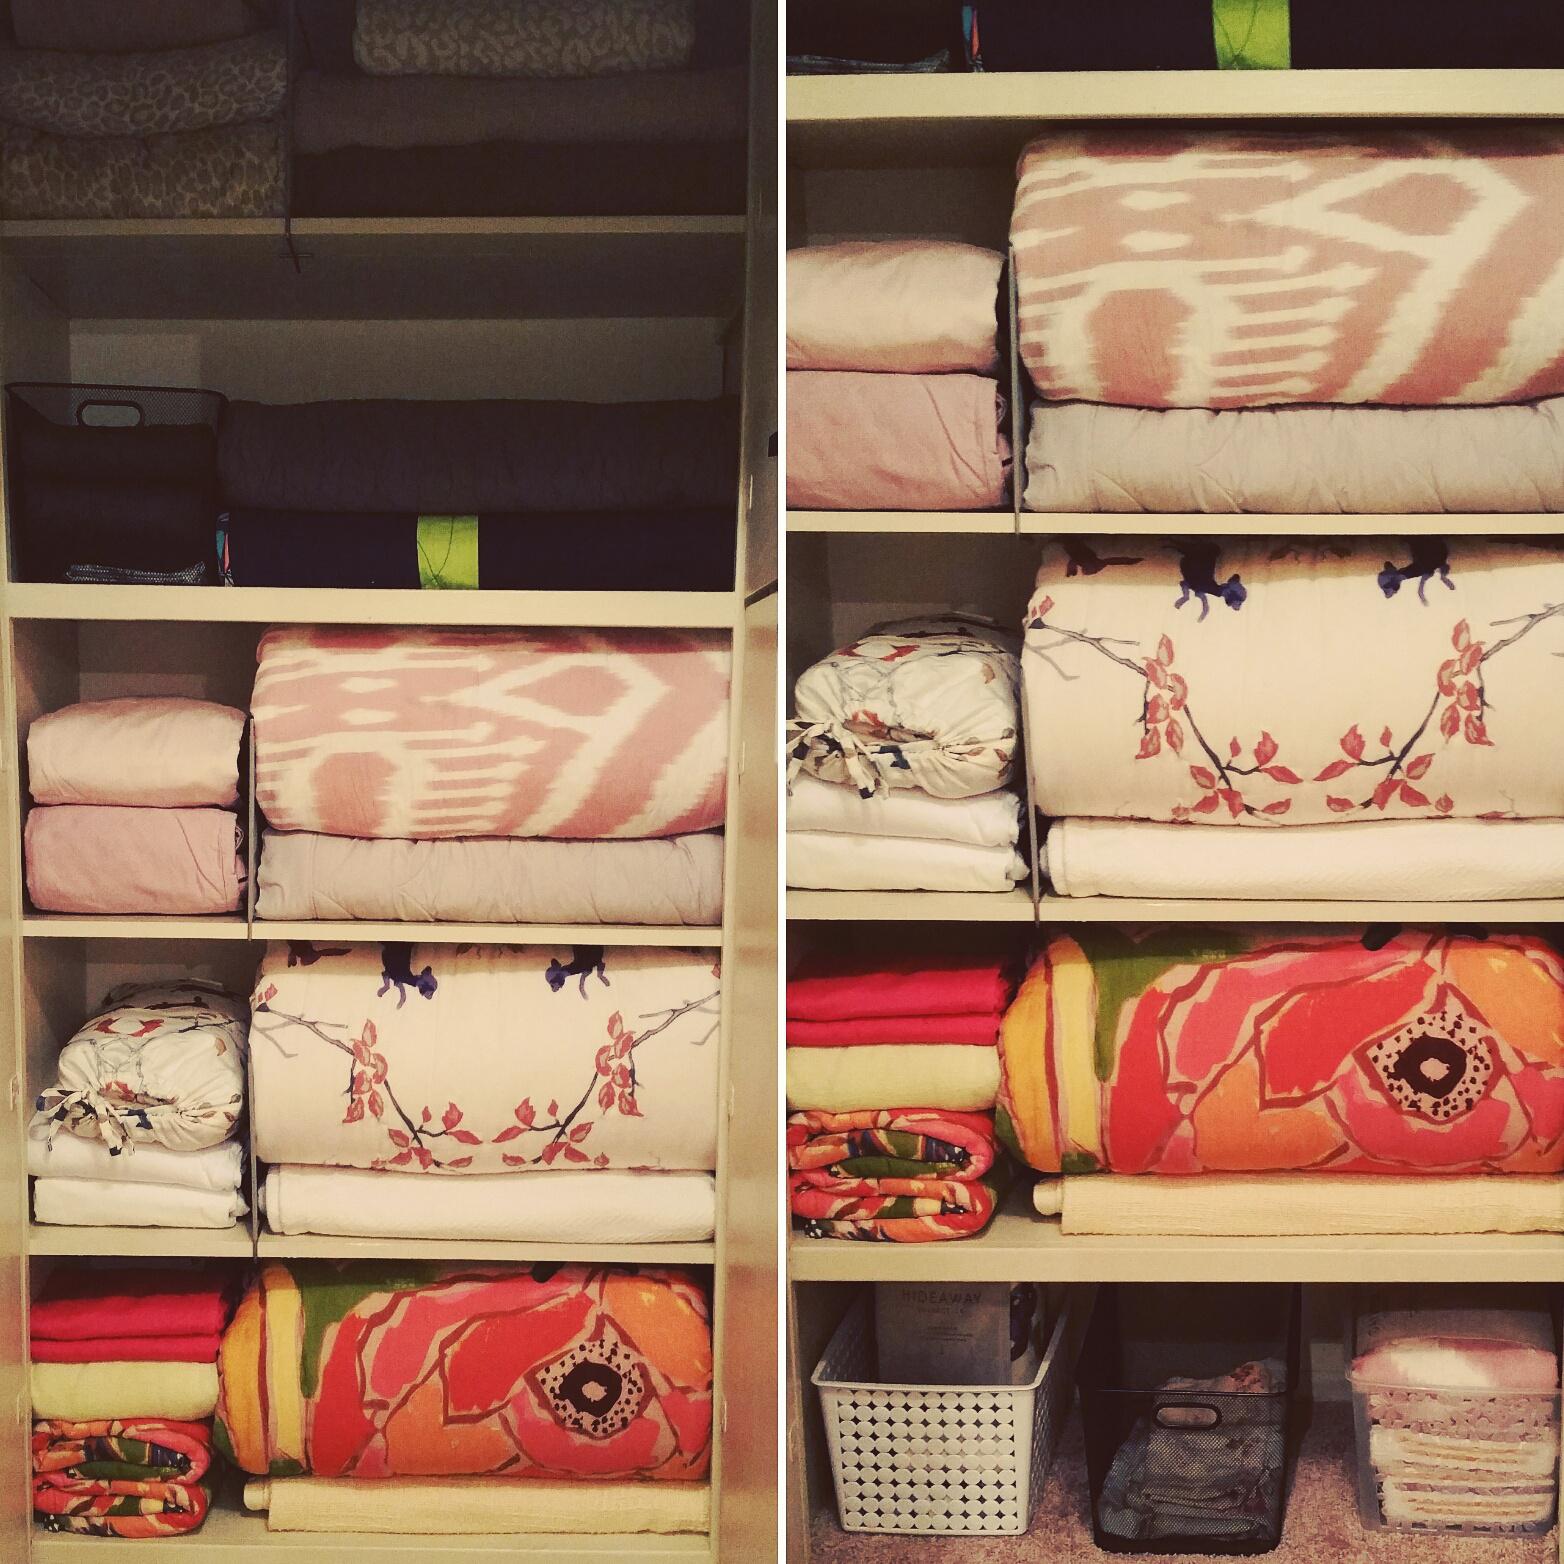
With the frame of your wardrobe closet constructed, it’s time to add the shelves and hanging rods to create the functional storage spaces you need. This step will allow you to customize the interior of the wardrobe to suit your specific storage requirements.
Begin by measuring and cutting the plywood or shelving boards to the desired lengths for the shelves. Keep in mind the height and depth measurements of your wardrobe closet when determining the size of the shelves. Use a saw to make precise cuts, ensuring that the shelves fit snugly into the frame.
Attach the shelves to the frame using wood glue and screws. Position them at the desired heights, taking into consideration the types of items you’ll be storing on each shelf. For added stability, consider reinforcing the shelves by installing support brackets or adding additional lumber underneath.
Next, install the hanging rods for your clothes. Measure the desired heights for the rods and mark their positions on the vertical frame pieces. Use a saw or rod cutter to cut the rods to the appropriate lengths.
Attach the hanging rods to the frame using rod brackets or screws. Make sure they are securely fastened and provide enough support for your clothing.
Once the shelves and hanging rods are in place, take a moment to double-check their stability and adjust any placement if needed. The shelves should be level and capable of supporting the weight of your clothing and accessories.
At this stage, your wardrobe closet is starting to take shape and offer functional storage solutions. However, there’s one more step remaining: installing doors and adding finishing touches to complete the project.
Remember to take your time and ensure that the shelves and hanging rods are installed securely, as they will be handling the weight of your clothing over time.
Read more: How To Build A Wardrobe
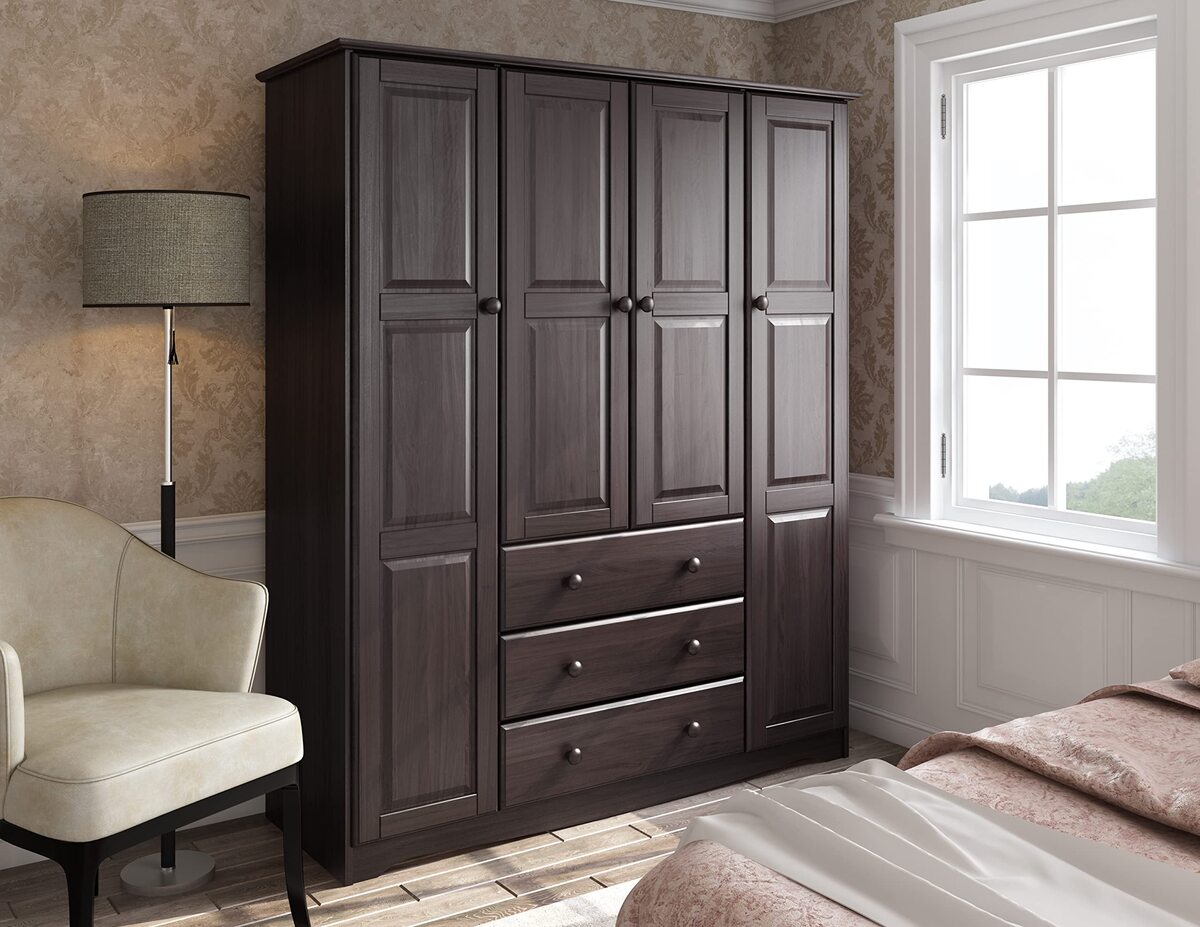
Step 5: Install Doors and Finishing Touches
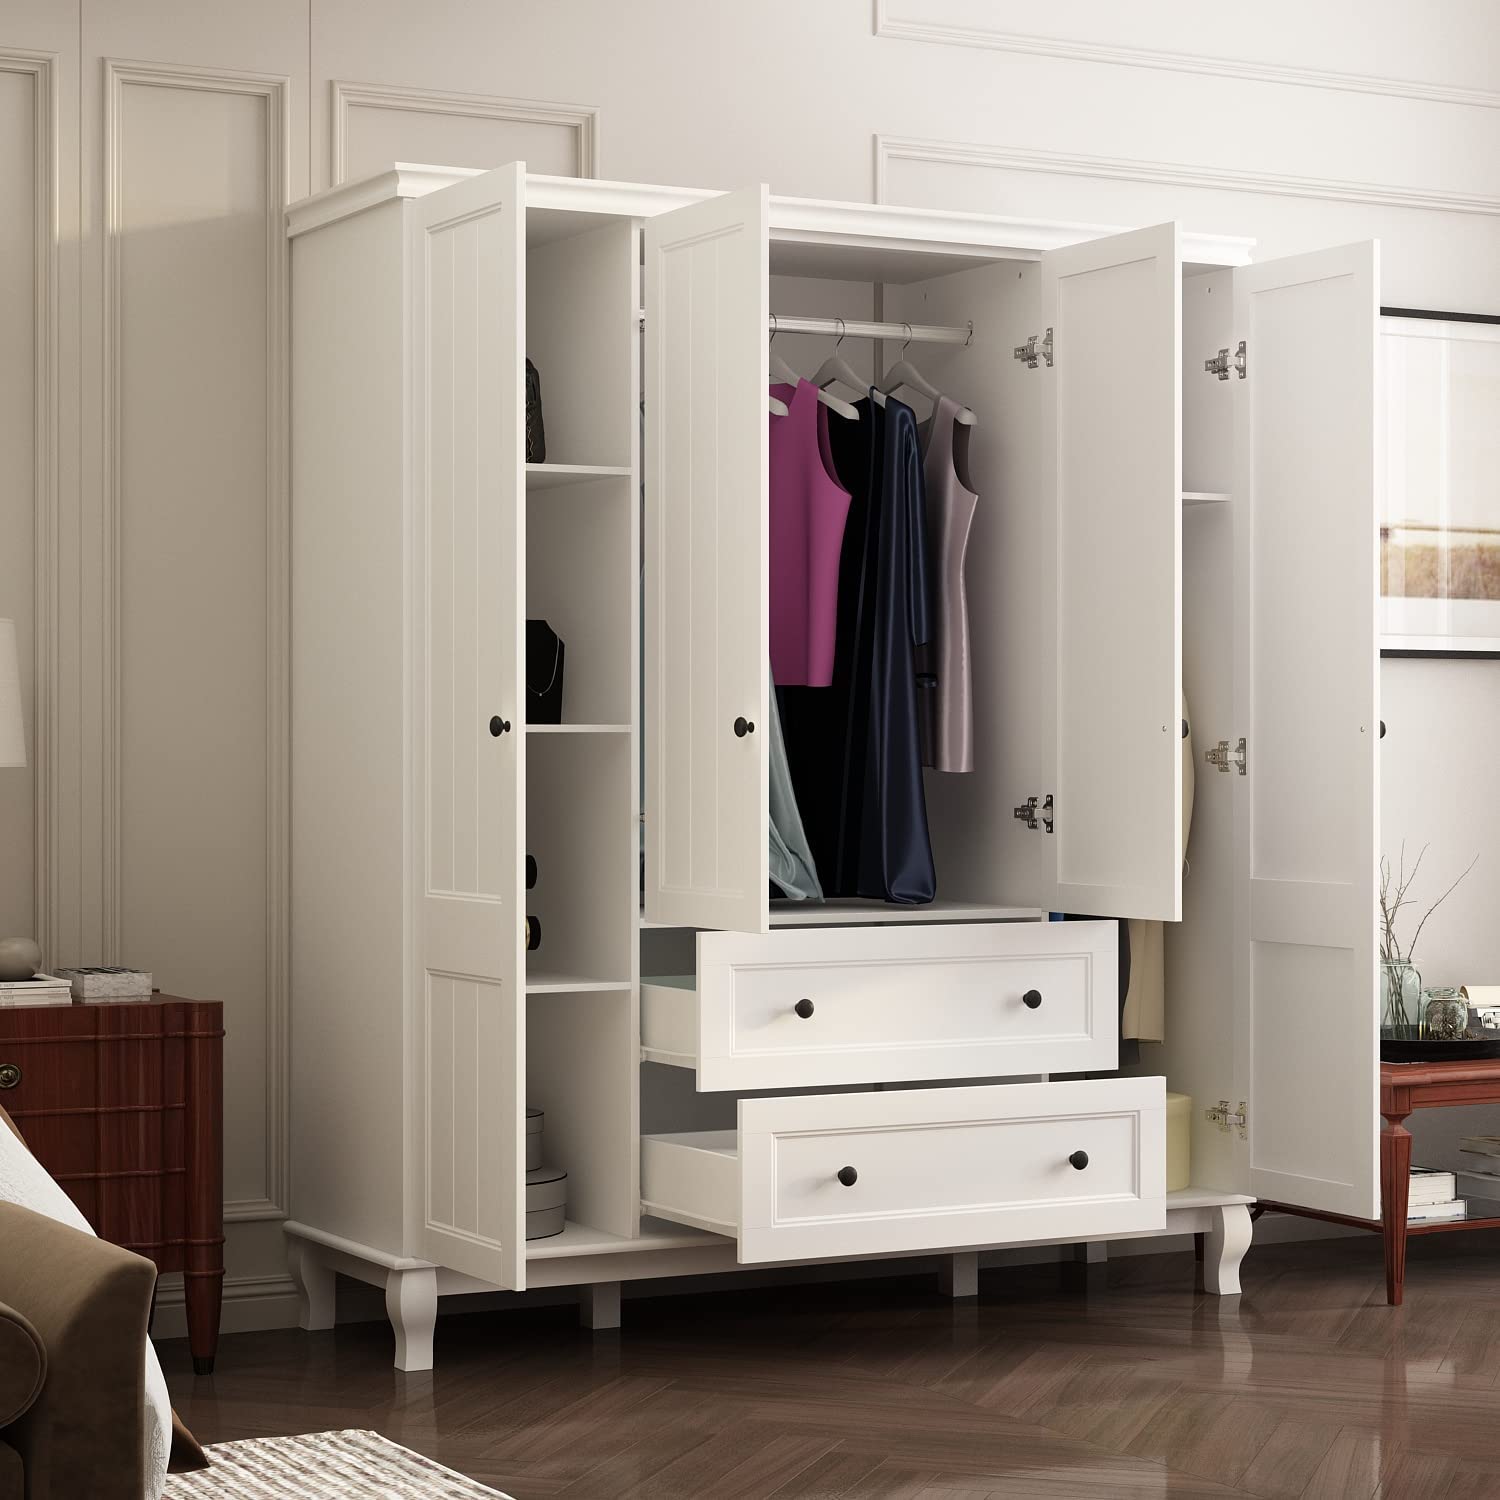
As you near the final stages of building your wardrobe closet, it’s time to install the doors and add the finishing touches that will enhance the functionality and aesthetics of the storage space.
Begin by selecting the type of doors you want for your wardrobe closet. You can choose from options such as hinged doors, sliding doors, or even curtains. Consider the space available in your room and the overall design aesthetic you want to achieve.
If you’re opting for hinged doors, measure and cut the plywood or door panels to the appropriate sizes. Attach hinges to the doors and mount them onto the wardrobe frame. Ensure that they swing open and close smoothly.
If you’re going with sliding doors, install the door tracks on the top and bottom of the wardrobe frame. Attach the door panels to the tracks and test their smooth movement.
Once the doors are in place, you can add the finishing touches to enhance the overall appearance of the wardrobe closet. Sand down any rough edges or surfaces and apply a coat of paint or finish of your choice. This will not only protect the wood but also give your wardrobe a polished and visually appealing look.
You can also consider adding additional features such as decorative molding, handles, or knobs to the doors for a personalized touch. These small details can make a big difference in the overall aesthetic of the wardrobe.
Finally, take a step back and admire your newly built wardrobe closet. Test the doors to ensure they open and close smoothly, and check the shelves and hanging rods for stability.
By installing doors and adding finishing touches, you not only improve the functionality and appearance of the wardrobe closet but also create a seamless storage solution that blends seamlessly with your room’s décor.
Now that your wardrobe closet is complete, you can enjoy the satisfaction of creating a customized storage space that suits your needs and adds value to your home.
Conclusion
Building your own wardrobe closet is a rewarding and cost-effective way to optimize your storage space. By following the step-by-step process outlined in this guide, you can create a customized storage solution that meets your specific needs and complements your home’s interior design.
Starting with determining the location and size, you can envision the perfect spot for your wardrobe closet and ensure it fits seamlessly into your space. By gathering the right materials and tools, you are well-prepared for the construction process.
Constructing the frame forms the foundation of your wardrobe closet, providing stability and support. Adding shelves and hanging rods allows you to organize your clothes and accessories efficiently. The installation of doors and finishing touches adds the final touches of functionality and aesthetics.
Throughout the build, it is important to pay attention to detail, measure accurately, and use high-quality materials. This will ensure the durability and longevity of your wardrobe closet.
With your DIY wardrobe closet complete, you can now enjoy the benefits of an organized and efficient storage solution. Whether you have a small space or a large room, this project allows you to maximize your storage potential while adding a touch of personal style to your home.
So, why settle for generic and expensive ready-made wardrobe closets when you can create your own? Put your skills and creativity to work, and embark on the journey of building a wardrobe closet that reflects your unique storage needs and personal taste.
Happy building and happy organizing!
Frequently Asked Questions about How To Build Wardrobe Closet
Was this page helpful?
At Storables.com, we guarantee accurate and reliable information. Our content, validated by Expert Board Contributors, is crafted following stringent Editorial Policies. We're committed to providing you with well-researched, expert-backed insights for all your informational needs.

0 thoughts on “How To Build Wardrobe Closet”