Home>Articles>How To Install A Sliding Barn Door For Functional Farmhouse Style
Articles
How To Install A Sliding Barn Door For Functional Farmhouse Style
Modified: January 8, 2024
Learn how to install a sliding barn door to add functional farmhouse style to your home. Read articles and guides on installing sliding barn doors.
(Many of the links in this article redirect to a specific reviewed product. Your purchase of these products through affiliate links helps to generate commission for Storables.com, at no extra cost. Learn more)
Introduction
Sliding barn doors have become a popular trend in interior design, adding a touch of rustic charm and functionality to any space. Whether you’re looking to create a farmhouse-inspired aesthetic or simply seeking a functional way to divide rooms, installing a sliding barn door is a great option.
In this guide, we will walk you through the step-by-step process of installing a sliding barn door. From measuring the opening to hanging the door and fine-tuning the sliding motion, we will cover everything you need to know to successfully complete this project.
Before we begin, it’s important to note that installing a sliding barn door does require some basic handyman skills and tools. If you’re not comfortable with DIY projects or don’t have the necessary tools, it’s always best to consult a professional.
Now, let’s get started on transforming your space with a functional and stylish sliding barn door!
Key Takeaways:
- Transform your space with a functional and stylish sliding barn door by following these step-by-step installation instructions. From measuring and preparing the opening to adjusting the sliding motion, each step is crucial for a successful project.
- Enjoy the benefits of a sliding barn door, from rustic charm to efficient space usage, by taking the time to install it properly. With attention to detail and patience, you can achieve a beautiful and functional addition to your space.
Read more: Barn Doors With Style
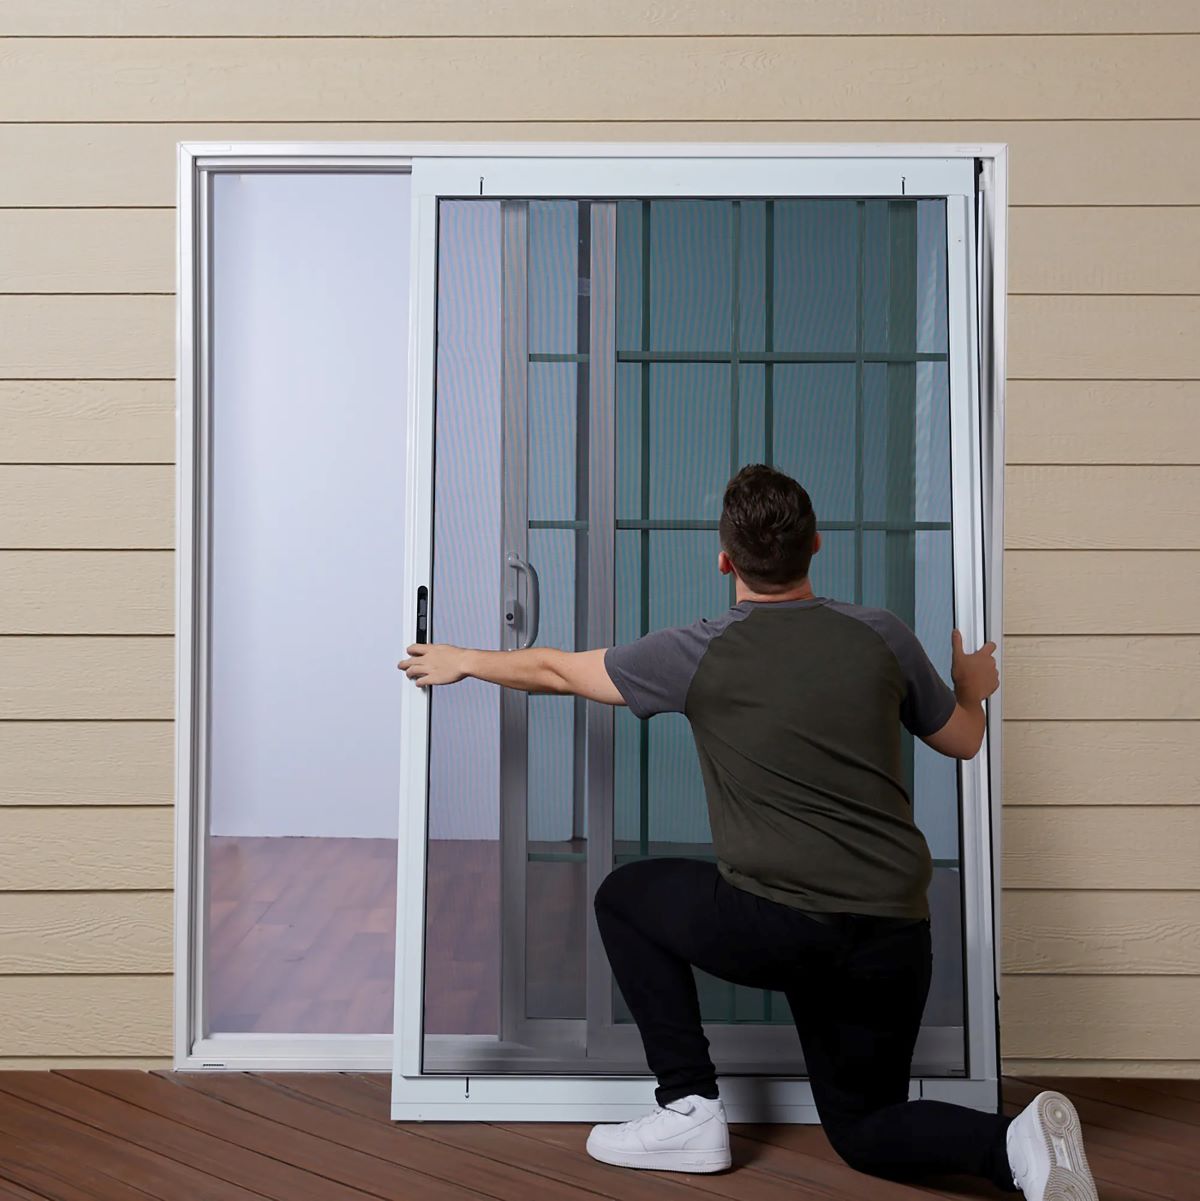
Step 1: Measure and Prepare the Opening
The first step in installing a sliding barn door is to accurately measure and prepare the opening where the door will be installed. Here’s what you need to do:
- Measure the width and height of the opening: Use a tape measure to determine the width and height of the opening where the barn door will be installed. It’s essential to get accurate measurements to ensure the door fits properly.
- Choose the right door size: Based on your measurements, select a barn door that is slightly larger than the opening to ensure full coverage and privacy. Keep in mind that the door should have enough space to slide freely along the track.
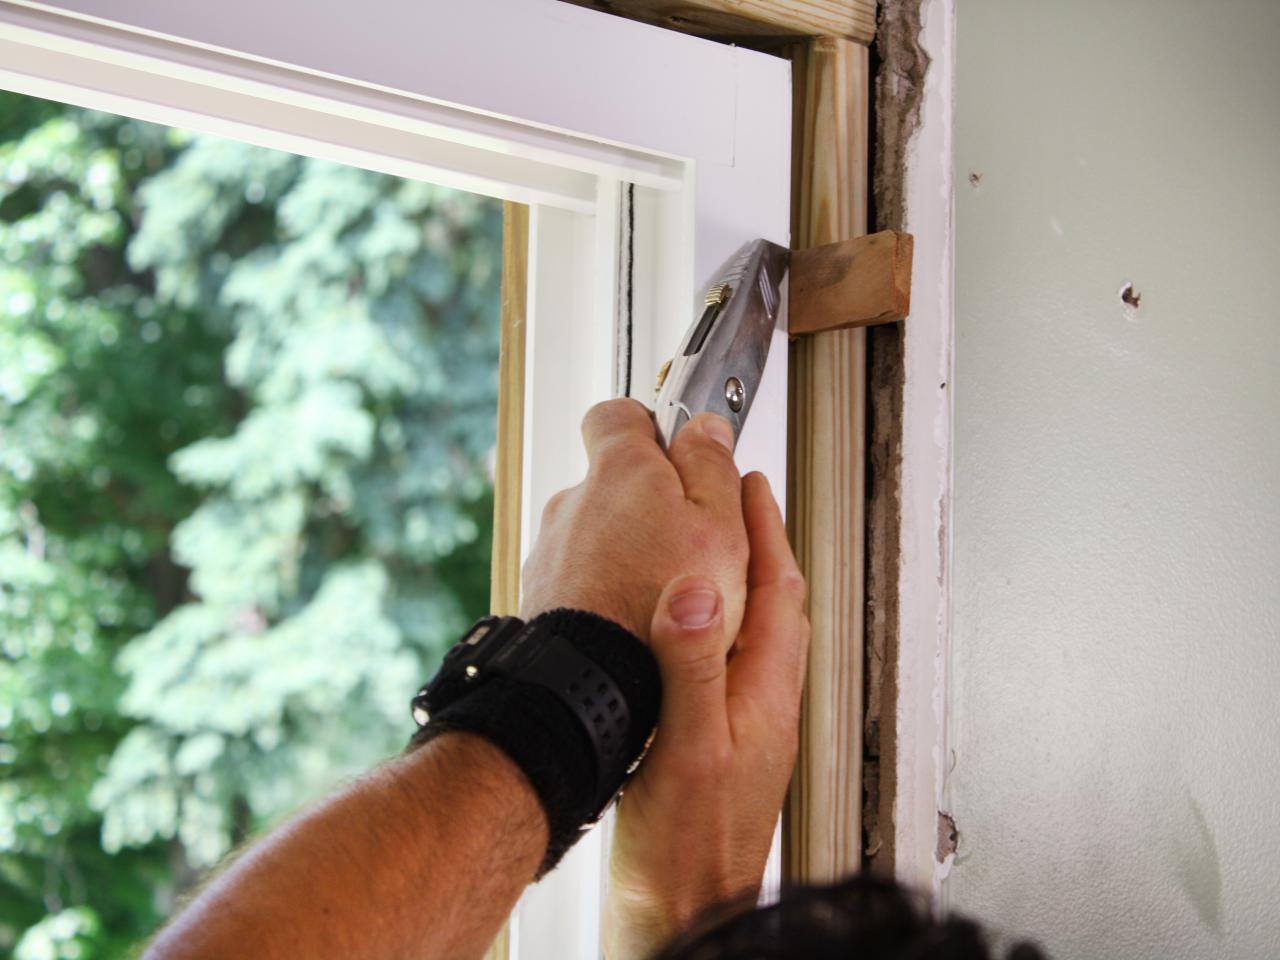
- Prepare the opening: Clear the area around the opening and remove any obstacles that may interfere with the installation process. Ensure that the walls are clean and free from any debris.
- Locate the studs: Use a stud finder to locate the wall studs along the opening. It’s crucial to anchor the track securely to the studs for proper support.
- Mark the mounting holes: Once you have identified the studs, mark the mounting hole locations on the wall. These marks will serve as a guide when installing the track.
By taking the time to measure and prepare the opening correctly, you’re setting yourself up for a smoother installation process. Accurate measurements and proper preparation will help ensure that the sliding barn door fits perfectly and operates smoothly.
Step 2: Gather Materials and Tools
Before you can begin the installation process, it’s essential to gather all the necessary materials and tools. Here’s a list of what you’ll need:
- Sliding barn door hardware kit: This typically includes the track, rollers, mounting screws, and other necessary components. Make sure to choose a kit that is appropriate for the weight and size of your door.
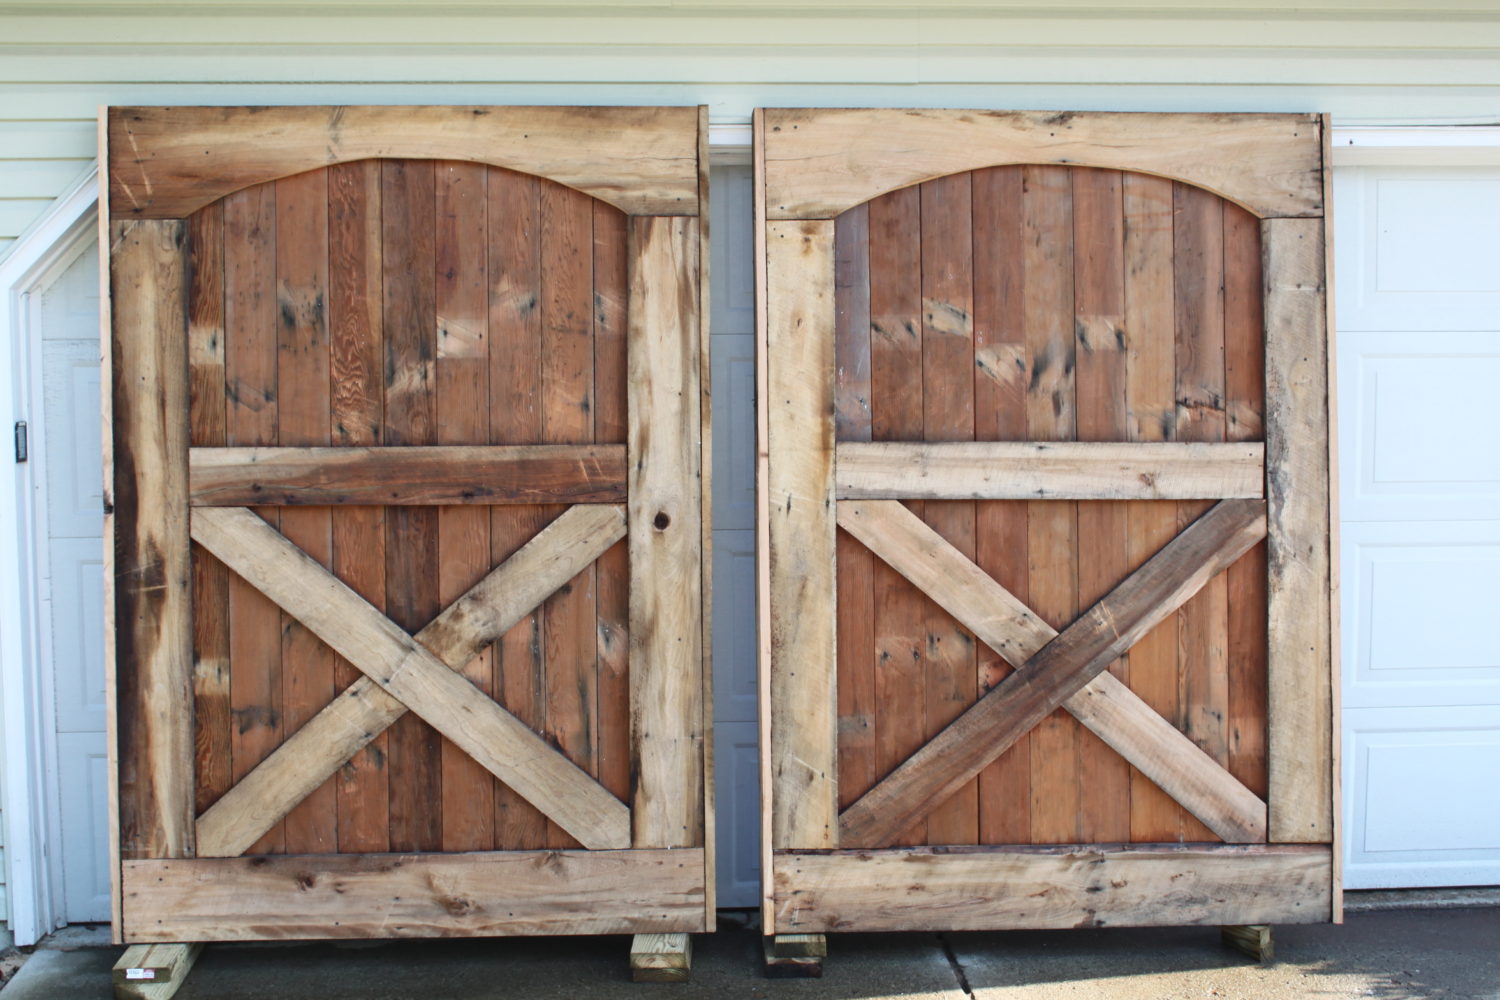
- Barn door: Select a barn door that matches your desired style and fits the dimensions of your opening. You can choose from various materials such as wood, metal, or a combination.
- Measuring tape: An accurate measuring tape is crucial for taking precise measurements of the opening and determining the placement of the track.
- Level: A level is necessary to ensure that the track is installed straight and level, preventing any issues with the door’s sliding motion.
- Drill: A drill will be needed to make holes for the mounting screws and secure the track to the wall.
- Screwdriver: Depending on the hardware kit, you may need a screwdriver to tighten or adjust screws and other components.
- Stud finder: A stud finder will help you locate the wall studs to ensure proper installation of the track.
- Pencil or marker: Using a pencil or marker, you’ll be able to mark the placement of the track and any necessary holes on the wall.
- Safety goggles and gloves: Always prioritize safety and wear goggles and gloves when handling tools and hardware.
By gathering all the materials and tools ahead of time, you’ll be well-prepared for the installation process, reducing any potential delays or interruptions. Make sure to familiarize yourself with the instructions provided with the hardware kit and double-check that you have everything you need before proceeding to the next step.
Step 3: Install Track and Mounting Brackets
Now that you have measured the opening and gathered the necessary materials and tools, it’s time to install the track and mounting brackets. Follow these steps:
- Position the track: Hold the track up against the wall, aligning it with the marked locations for the mounting holes. Use a level to ensure that the track is perfectly horizontal.
- Mark the hole positions: With the track in position, use a pencil or marker to mark the locations of the mounting holes on the wall.
- Pre-drill holes: Remove the track and use a drill with an appropriate-sized drill bit to pre-drill holes at the marked positions. Be sure to drill into the wall studs for maximum support.
- Attach the track: Place the track back on the wall, aligning the mounting holes with the pre-drilled holes. Secure the track to the wall using the provided mounting screws, making sure they are tightened securely.
- Install mounting brackets: Depending on the hardware kit, you may need to install additional mounting brackets to support the track. Align the brackets with the pre-drilled holes and attach them securely to the wall using screws.
- Double-check alignment: Once the track and mounting brackets are installed, use a level to ensure that the track is still perfectly horizontal. Make any necessary adjustments before proceeding.
Proper installation of the track and mounting brackets is crucial for the smooth operation of the sliding barn door. Take your time to ensure that the track is level and securely attached to the wall. By following these steps, you’ll be one step closer to enjoying your newly installed sliding barn door.
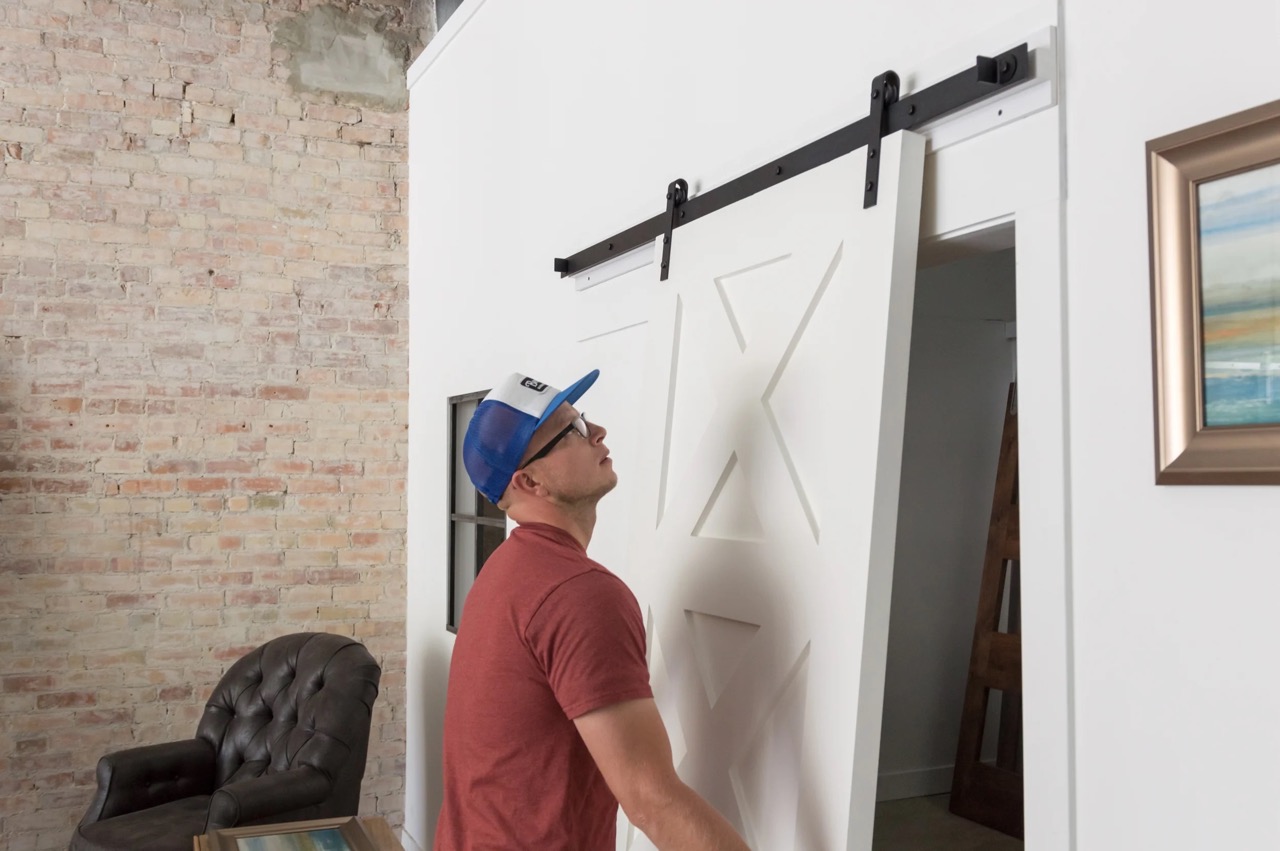
Step 4: Hang the Barn Door
With the track and mounting brackets securely installed, it’s time to hang the barn door. Follow these steps:
- Attach rollers to the door: Depending on the hardware kit, you may need to attach rollers or hangers to the top of the barn door. Follow the instructions provided with your hardware kit to properly attach the rollers.
- Place the door on the track: Lift the barn door and carefully place the rollers onto the track. Ensure that the rollers are properly aligned with the track and securely in place.
- Test the sliding motion: Gently push and pull the door along the track to test the sliding motion. The door should move smoothly and effortlessly. If there is any resistance or uneven sliding, make necessary adjustments to the rollers.
- Secure the door stops: Install door stops at both ends of the track to prevent the door from sliding off the track. These stops will ensure that the door remains in the desired position when opened or closed.
- Check for clearance: Verify that there is enough clearance for the door to slide freely without any obstructions. Ensure that the door doesn’t scrape against the walls or any other objects.
Hanging the barn door is an exciting step in the installation process. Take your time to ensure that the door is properly aligned and the rollers are securely attached to the track. By following these steps, you’ll be able to admire your beautiful barn door sliding effortlessly along the track.
When installing a sliding barn door, make sure to measure the door opening accurately and choose a hardware kit that can support the weight of the door. This will ensure smooth and functional operation.
Step 5: Install Door Guide
Once the barn door is hanging on the track, it’s important to install a door guide to keep the door aligned and prevent it from swinging or wobbling. Follow these steps to install the door guide:
- Select the appropriate door guide: There are different types of door guides available, such as floor-mounted guides and wall-mounted guides. Choose the one that best suits your needs and matches your hardware kit.
- Determine the placement: The door guide should be installed on the floor or wall, opposite the side where the door is mounted. Position the guide so that it aligns with the bottom of the door when closed.
- Mark the guide’s location: Use a pencil or marker to mark the location where the guide will be installed. Ensure that it is centered and aligned with the bottom of the door.
- Pre-drill holes: If necessary, pre-drill holes at the marked locations. This will make it easier to install the screws or anchors for the door guide.
- Attach the door guide: Place the door guide over the pre-drilled holes and secure it in place using screws or anchors, depending on the type of guide you are using. Make sure it is firmly attached and doesn’t move when pressure is applied.
- Test the door movement: Open and close the barn door to ensure that it glides smoothly and the door guide keeps it aligned. Make any necessary adjustments to the guide if needed.
Installing a door guide is essential to maintain the stability and alignment of the barn door. It prevents any potential swinging or wobbling, ensuring that the door operates smoothly and stays in place. By following these steps, you’ll have a properly installed door guide that enhances the functionality of your sliding barn door.
Step 6: Secure the Door and Adjust
After hanging the barn door and installing the door guide, it’s time to secure the door in its final position and make any necessary adjustments for optimal performance. Follow these steps:
- Tighten mounting screws: Check all the mounting screws on the track, mounting brackets, and door hardware. Ensure that they are securely tightened to prevent any movement or wobbling.
- Check door alignment: Close the barn door and observe its alignment with the opening. If necessary, make slight adjustments to the position of the mounting brackets to ensure that the door is centered and properly aligned.
- Address any gaps or misalignment: If there are any gaps between the door and the wall or floor, adjust the guide or mounting brackets as needed to minimize or eliminate these gaps. The door should fit snugly when closed.
- Test the door movement: Open and close the barn door multiple times to ensure that it slides smoothly along the track without any obstructions or friction. Make any necessary adjustments to the door guide or rollers to improve the sliding motion.
- Check for noise: Pay attention to any noise or squeaking when operating the door. If there are any unwanted sounds, apply a lubricant or grease to the track and rollers to reduce friction and improve the overall performance.
- Secure additional hardware: If your hardware kit includes extra screws or bolts, make sure to use them to secure the track, mounting brackets, or door handle for added stability.
By securing the door and making necessary adjustments, you’ll ensure that your sliding barn door operates smoothly and remains in its desired position. Take the time to fine-tune the door’s alignment and address any issues for a flawless finish.
Step 7: Test the Sliding Motion
Now that the barn door is securely installed and adjusted, it’s time to test the sliding motion to ensure that everything is functioning properly. Follow these steps to test the sliding motion:
- Gently push and pull the door: Apply gentle pressure to the barn door and test its sliding motion along the track. It should move smoothly and effortlessly without any resistance or dragging.
- Check for any sticking or binding: Pay close attention to any areas where the door may stick or bind along the track. If you notice any issues, carefully examine the track and rollers to identify the cause.
- Adjust the rollers if necessary: If the door is not sliding smoothly, or if it is sticking or binding in certain areas, you may need to make further adjustments to the rollers. Consult the instructions provided with your hardware kit for guidance on how to adjust the rollers.
- Test the door in different positions: Open and close the barn door at various positions along the track to ensure that it performs consistently. It should slide effortlessly regardless of its position.
- Check for levelness: Use a level to ensure that the barn door is still perfectly level on the track. If any adjustments are needed, make them to maintain proper alignment and prevent any future issues with the sliding motion.
Testing the sliding motion of the barn door is essential to ensure that it operates smoothly and effortlessly. Address any issues or adjustments during this step for optimal performance. By following these steps, you’ll have a fully functional sliding barn door that adds both style and functionality to your space.
Conclusion
Installing a sliding barn door can bring a touch of rustic charm and functional farmhouse style to any space. By following these steps, you can successfully install a sliding barn door and enjoy its benefits for years to come.
From measuring and preparing the opening to hanging the door and adjusting the sliding motion, each step plays a crucial role in the overall installation process. Take your time to ensure accurate measurements, gather the necessary materials and tools, and follow the instructions provided with your hardware kit.
Installing a sliding barn door requires some basic handyman skills and tools, but with attention to detail and patience, it is an achievable project for many DIY enthusiasts. However, if you are not comfortable with DIY projects or lack the necessary tools, it’s always best to consult a professional for assistance.
Once installed, a sliding barn door can enhance the aesthetic appeal of your space while providing functional benefits such as room dividing, privacy, and efficient use of space. It’s important to regularly maintain and clean the door and its hardware to ensure continued smooth operation.
Remember to test the sliding motion, address any issues, and make necessary adjustments during the installation process. This will ensure that your sliding barn door operates effortlessly, allowing you to enjoy its beauty and functionality.
Now that you have the knowledge and guidance to install your sliding barn door, it’s time to embark on this exciting project and transform your space with a touch of farmhouse style and functionality.
Frequently Asked Questions about How To Install A Sliding Barn Door For Functional Farmhouse Style
Was this page helpful?
At Storables.com, we guarantee accurate and reliable information. Our content, validated by Expert Board Contributors, is crafted following stringent Editorial Policies. We're committed to providing you with well-researched, expert-backed insights for all your informational needs.


0 thoughts on “How To Install A Sliding Barn Door For Functional Farmhouse Style”