Articles
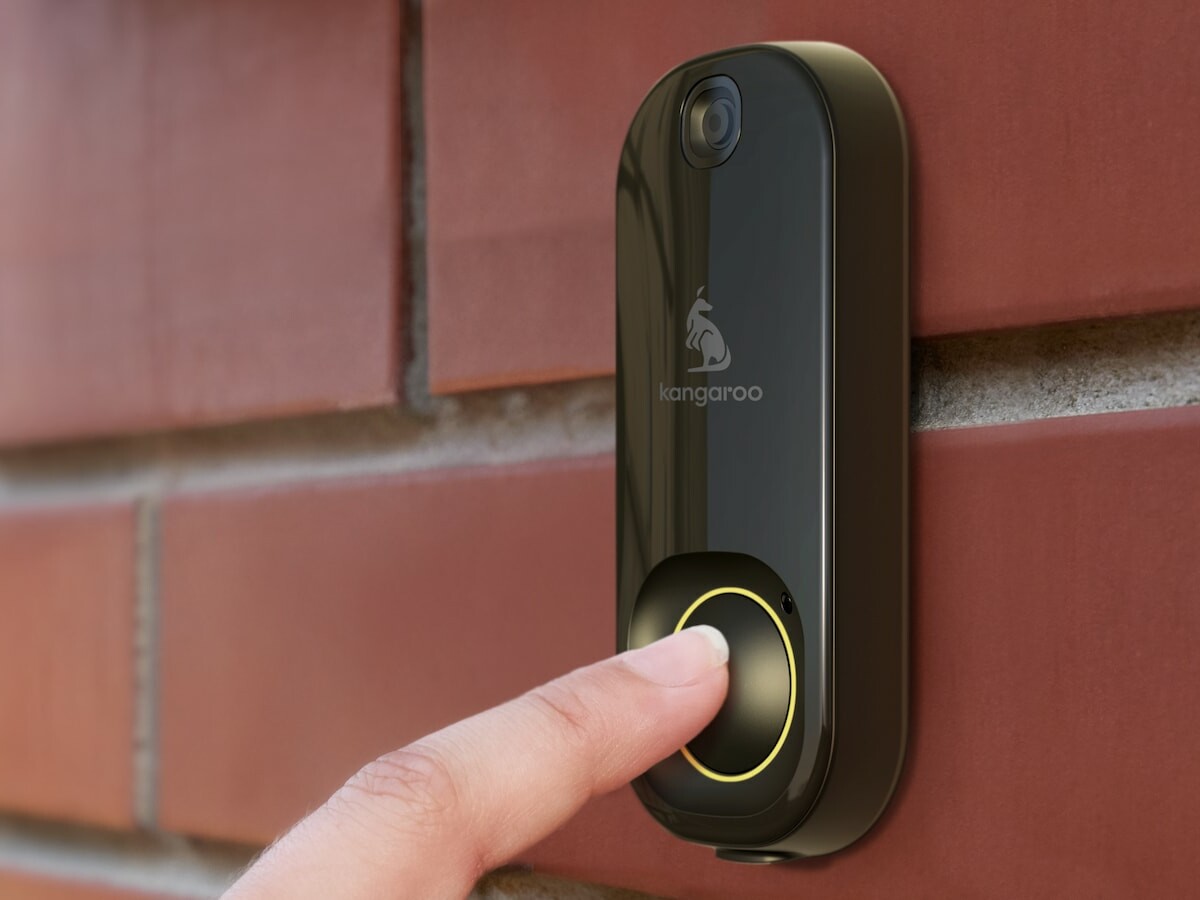
How To Change Batteries In Kangaroo Doorbell
Modified: August 31, 2024
Learn how to easily change the batteries in your Kangaroo Doorbell with this informative article. Ensure your doorbell is always powered and functioning properly.
(Many of the links in this article redirect to a specific reviewed product. Your purchase of these products through affiliate links helps to generate commission for Storables.com, at no extra cost. Learn more)
Introduction
Welcome to our guide on how to change the batteries in a Kangaroo Doorbell. The Kangaroo Doorbell is a smart and innovative device that allows you to monitor and answer your door from your smartphone or tablet. It provides convenience and security by allowing you to see and communicate with visitors, even when you are away from home.
However, like any electronic device, the Kangaroo Doorbell requires power to function properly. Over time, the batteries may drain and need to be replaced. In this guide, we will walk you through the step-by-step process of changing the batteries in your Kangaroo Doorbell.
By following these simple instructions, you can ensure that your doorbell continues to work seamlessly, providing you with peace of mind and enhanced home security. Whether you are a new owner of a Kangaroo Doorbell or have had it for a while, this guide will help you keep your device in optimal condition.
Before we dive into the battery replacement process, let’s take a moment to gather the necessary tools that you’ll need to complete the task.
Key Takeaways:
- Regularly changing the batteries in your Kangaroo Doorbell is crucial to ensure optimal performance and reliability, allowing you to rely on its advanced features for enhanced home security and convenience.
- Following the step-by-step guide and utilizing the necessary tools, along with troubleshooting tips, will help you maintain your Kangaroo Doorbell’s functionality and enjoy peace of mind in monitoring your front door.
Read more: How To Change Battery In Blink Doorbell
Step 1: Gather the necessary tools
Before you begin the battery replacement process, it’s important to gather the necessary tools. Having the right tools on hand will make the process smoother and more efficient. Here are the tools you’ll need:
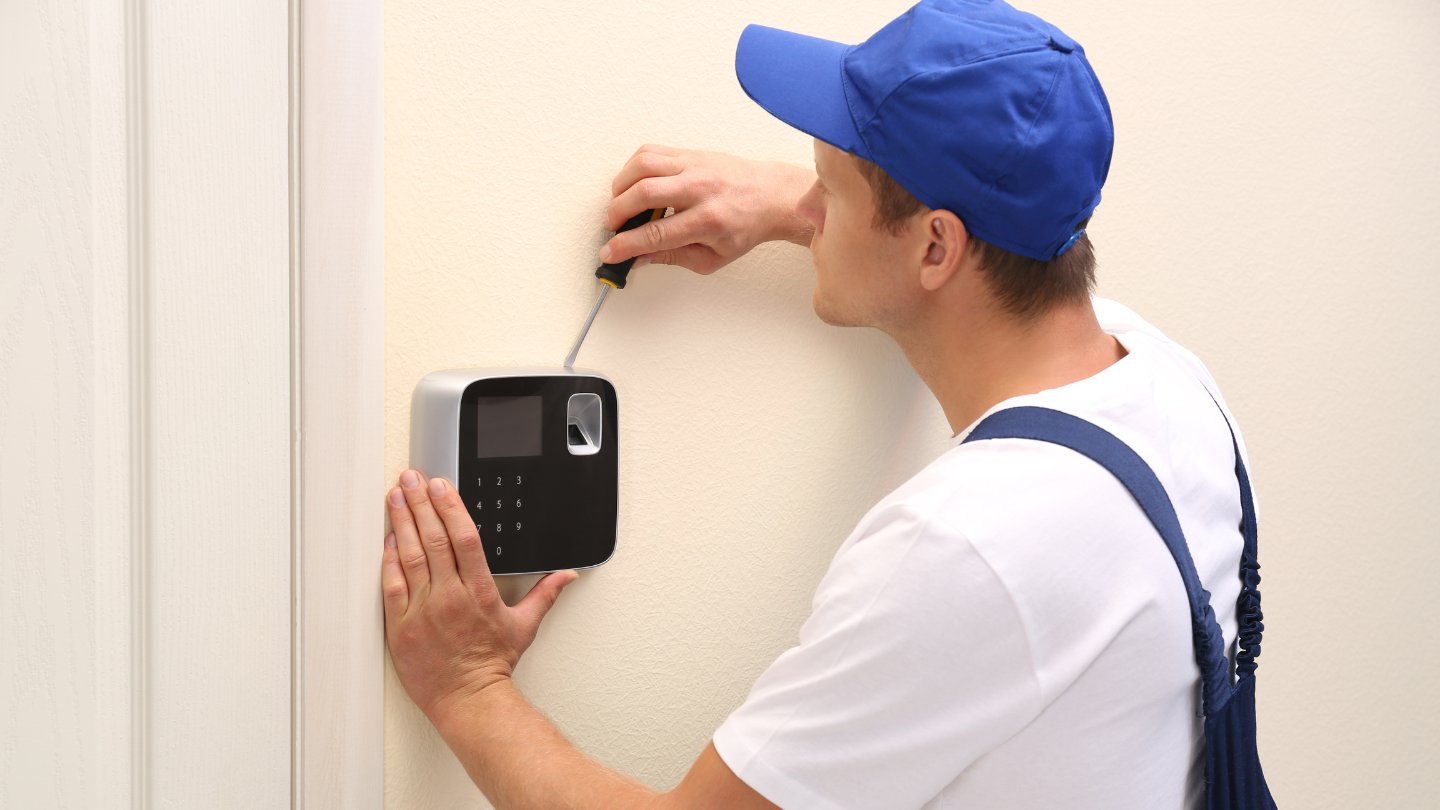
1. Phillips screwdriver: This will be used to remove the screws that hold the cover of the Kangaroo Doorbell in place.
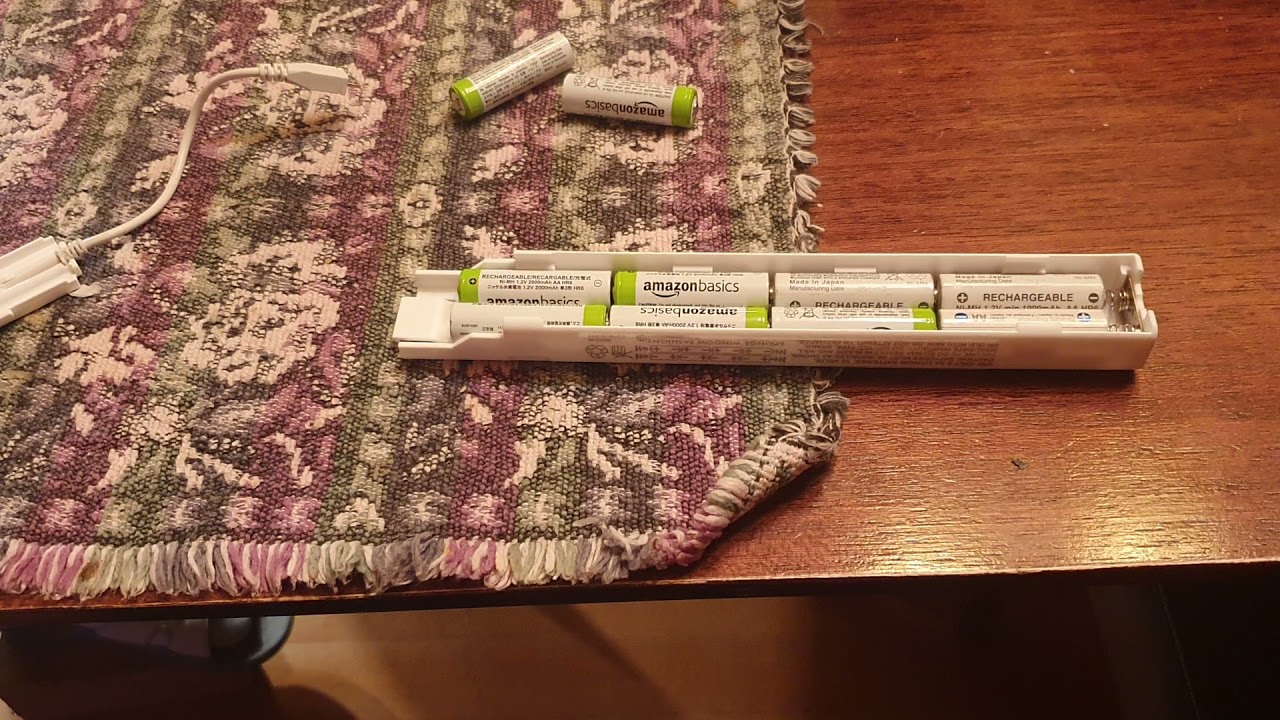
2. New batteries: Make sure you have the correct type and quantity of batteries needed for your specific Kangaroo Doorbell model. Refer to the user manual or the manufacturer’s website for battery specifications.
3. Clean cloth or tissue: You may need to wipe away any dust or debris that has accumulated on the battery compartment or the doorbell itself.
Once you have these tools ready, you’re now prepared to move on to the next step.
Remember to handle the tools and batteries with care, and ensure that they are kept in a safe place when not in use. Now that you have everything you need, let’s proceed to removing the cover of the Kangaroo Doorbell.
Step 2: Remove the cover of the Kangaroo Doorbell
To access the battery compartment of the Kangaroo Doorbell, you’ll first need to remove the cover. Follow these steps to safely remove the cover:
1. Locate the screws: Take a close look at the Kangaroo Doorbell and identify the screws that are holding the cover in place. These screws are usually located on the sides or bottom of the doorbell.
2. Use the Phillips screwdriver: Take the Phillips screwdriver that you gathered earlier and insert it into the head of the screw. Apply gentle pressure and turn the screwdriver counterclockwise to loosen and remove the screws. Be careful not to lose the screws as you remove them.
3. Lift the cover: Once all the screws have been removed, gently lift the cover of the Kangaroo Doorbell. You may need to use your fingertips or a flat tool to pry open the cover if it is secured tightly.
4. Set aside the cover: Place the removed cover in a safe place. It’s important to keep it away from any liquids or excessive heat to prevent damage.
With the cover removed, you’ll now have access to the battery compartment of the Kangaroo Doorbell. In the next step, we’ll guide you on how to locate the battery compartment and remove the old batteries.
Step 3: Locate the battery compartment
Now that you have successfully removed the cover of the Kangaroo Doorbell, it’s time to locate the battery compartment. Follow these steps to find the battery compartment:
1. Inspect the interior: Take a look inside the Kangaroo Doorbell and examine the area beneath the cover. You are looking for a small compartment or slot where the batteries are housed. This compartment is typically located near the bottom or side of the doorbell.
2. Look for markings or labels: Some Kangaroo Doorbell models may have markings or labels indicating the location of the battery compartment. These markings may include symbols or texts such as “Battery” or a battery icon.
3. Consult the user manual: If you are having trouble locating the battery compartment, refer to the user manual that came with your Kangaroo Doorbell. The manual should provide clear instructions and diagrams to help you find the battery compartment.
Once you have located the battery compartment, you’re ready to move on to the next step which involves removing the old batteries. Remember to handle the doorbell and its components with care to avoid any damage.
Step 4: Remove the old batteries
Now that you have located the battery compartment of your Kangaroo Doorbell, it’s time to remove the old batteries. Follow these steps to safely remove the old batteries:
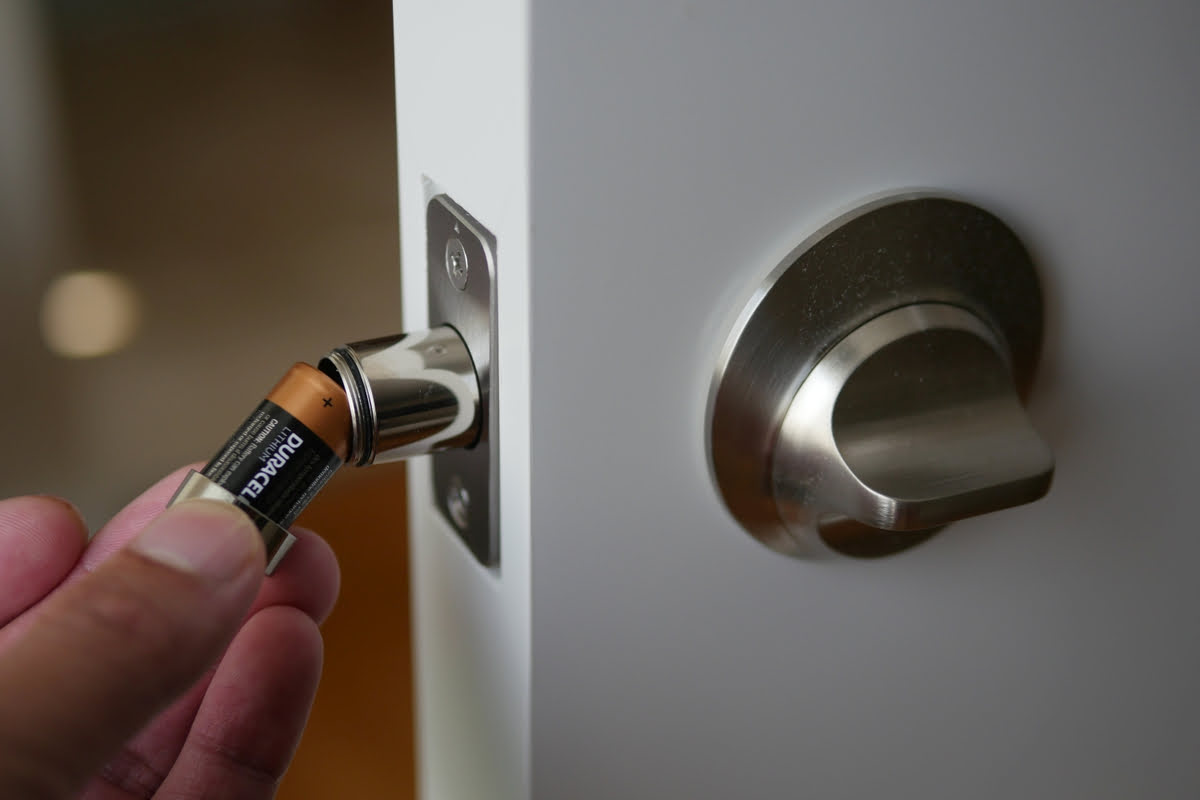
1. Identify the battery orientation: Take a close look at the batteries and note their orientation. Pay attention to the positive (+) and negative (-) markings on the batteries. It’s important to remember the correct positioning of the batteries for later installation.
2. Remove the batteries: Using your fingertips or a small tool, gently lift the old batteries out of the battery compartment. If the batteries are connected by a small wire or connector, carefully disconnect the wires or remove the connector to free the batteries.
3. Dispose of the old batteries properly: It is crucial to dispose of old batteries in an environmentally friendly manner. Check your local regulations for proper battery disposal methods. Many communities have collection centers or recycling programs specifically for batteries.
4. Clean the battery compartment (optional): If you notice any debris or corrosion inside the battery compartment, use a clean cloth or tissue to wipe it clean. This will ensure a good connection when you install the new batteries.
With the old batteries removed and the battery compartment clean, you can now proceed to the next step which involves inserting the new batteries. Make sure to handle the new batteries with care to avoid damaging them.
When changing the batteries in your Kangaroo doorbell, make sure to use the correct type of batteries as recommended by the manufacturer. Follow the instructions in the user manual to safely replace the batteries and ensure proper functioning of the doorbell.
Read more: How To Change Battery On ADT Doorbell
Step 5: Insert the new batteries
Now that you have removed the old batteries from the Kangaroo Doorbell, it’s time to insert the new batteries. Follow these steps to properly insert the new batteries:
1. Check battery compatibility: Ensure that the new batteries you have are the correct type and size recommended for your specific Kangaroo Doorbell model. Refer to the user manual or manufacturer’s instructions for the appropriate battery specifications.
2. Orient the batteries correctly: Take note of the positive (+) and negative (-) markings on the new batteries. Align the batteries in the battery compartment according to the correct orientation, ensuring that the positive end of the batteries aligns with the positive markings in the compartment.
3. Insert the batteries: Carefully place the new batteries into the battery compartment, ensuring a secure fit. If the batteries are connected by a wire or a connector, reattach the wires or connect the batteries accordingly.
4. Close the battery compartment: Once the new batteries are inserted, gently close the battery compartment. Ensure that the compartment is securely closed to prevent any dust or moisture from entering and potentially damaging the batteries.
At this point, you have successfully inserted the new batteries into your Kangaroo Doorbell. In the next step, we will guide you on how to replace the cover of the doorbell.
Step 6: Replace the cover of the Kangaroo Doorbell
With the new batteries properly installed in your Kangaroo Doorbell, it’s time to replace the cover. Follow these steps to securely put the cover back on:
1. Align the cover: Position the cover of the Kangaroo Doorbell over the device, ensuring that it aligns correctly with the body of the doorbell. Take a moment to ensure that all edges and corners of the cover are properly aligned.
2. Press the cover down: Once the cover is aligned, apply gentle pressure and press it down firmly to secure it in place. You may hear a small click or feel a slight resistance as the cover snaps into place.
3. Test the cover’s alignment: After securing the cover, give it a gentle wiggle or tap to ensure it is properly attached. The cover should be snug and not loose or wobbly. If it feels secure, you have successfully replaced the cover.
4. Insert and tighten the screws: If your Kangaroo Doorbell requires screws to hold the cover in place, take the previously removed screws and insert them back into their respective holes. Use the Phillips screwdriver to tighten the screws, but be careful not to overtighten and strip the screws.
With the cover securely in place, you have completed the process of replacing the cover of the Kangaroo Doorbell. It’s time to move on to the next step, which involves testing the functionality of the doorbell.
Step 7: Test the functionality of the doorbell
After replacing the cover and inserting the new batteries in your Kangaroo Doorbell, it’s important to test its functionality to ensure that everything is working correctly. Follow these steps to test the doorbell:
1. Activate the doorbell: Press the doorbell button or trigger a motion sensor, depending on the type of Kangaroo Doorbell you have. This will simulate a visitor at your door and trigger the doorbell system.
2. Check for notifications: Open the Kangaroo Doorbell app on your smartphone or tablet and check for any notifications. The app should alert you when someone rings the doorbell or when motion is detected.
3. Verify video and audio: If your Kangaroo Doorbell has a camera and audio capabilities, check if you can see and hear the live feed from the doorbell on your device. Ensure that the video is clear and the audio is audible.
4. Test two-way communication: If your Kangaroo Doorbell supports two-way communication, try speaking through your smartphone or tablet and listen for the audio to come through the doorbell. This allows you to communicate with visitors at your door even when you are not physically present.
5. Check battery status: Within the Kangaroo Doorbell app or on the device itself, check the battery status to ensure that the new batteries are properly recognized and that the level is adequate.
If the Kangaroo Doorbell functions as expected, congratulations! You have successfully completed the battery replacement process. However, if you encounter any issues or the doorbell does not work properly, proceed to the next step for troubleshooting tips.
Step 8: Troubleshooting tips
In case you encounter any issues with your Kangaroo Doorbell after replacing the batteries, here are some troubleshooting tips to help you resolve common problems:
1. Check battery orientation: Make sure that the new batteries are inserted with the correct orientation. Double-check that the positive and negative ends of the batteries align with the corresponding markings inside the battery compartment.
2. Confirm battery compatibility: Ensure that you are using the correct type and size of batteries recommended for your Kangaroo Doorbell. Using incompatible or low-quality batteries may result in malfunctions or inconsistent performance.
3. Clean battery contacts: If you notice poor battery connectivity or intermittent performance, clean the battery contacts inside the compartment. Use a dry cloth or a small brush to gently remove any dirt or residue that may hinder proper battery contact.
4. Reset the doorbell: If the doorbell is not responding or behaving erratically, try resetting it. Refer to the user manual for specific instructions on how to reset your Kangaroo Doorbell. Typically, this involves holding down a specific button or performing a specific sequence of actions.
5. Check Wi-Fi connection: Ensure that your Kangaroo Doorbell has a stable Wi-Fi connection. Weak or unstable Wi-Fi signals can affect the functionality and performance of the doorbell. If necessary, move your Wi-Fi router closer to the doorbell or consider using a Wi-Fi extender.
6. Update firmware and app: Check for any available firmware updates for your Kangaroo Doorbell and ensure that you have the latest version of the Kangaroo Doorbell app installed. Keeping the firmware and app up to date can improve the overall performance of the doorbell.
7. Contact customer support: If you have tried all the troubleshooting tips and the issues persist, reach out to Kangaroo Doorbell’s customer support for further assistance. They will be able to provide additional guidance and solutions to resolve any complex issues.
By following these troubleshooting tips, you can effectively address common problems with your Kangaroo Doorbell and enjoy its full functionality.
Read more: How To Change Vivint Doorbell Battery
Conclusion
Congratulations! You have successfully learned how to change the batteries in your Kangaroo Doorbell. By following the step-by-step guide and utilizing the necessary tools, you have ensured that your doorbell continues to function optimally.
Regularly changing the batteries in your Kangaroo Doorbell is essential to maintain its performance and reliability. It ensures that you can always rely on the doorbell to notify you of visitors and provide a safe and secure monitoring system for your home.
Remember to gather the necessary tools, remove the cover, locate the battery compartment, and safely remove the old batteries. Then, insert the new batteries, replace the cover, and test the functionality of the doorbell.
In the event of any issues, follow the troubleshooting tips provided to resolve common problems. And if all else fails, don’t hesitate to reach out to Kangaroo Doorbell’s customer support for further assistance.
With your Kangaroo Doorbell now equipped with fresh batteries, you can confidently rely on its advanced features to enhance your home security and convenience. Enjoy the peace of mind that comes with being able to monitor your front door whether you’re at home or away.
Thank you for taking the time to read our comprehensive guide on changing the batteries in a Kangaroo Doorbell. We hope this article has been informative and helpful. Now go ahead and enjoy the continued reliability of your Kangaroo Doorbell!
Now that you've mastered changing batteries in your Kangaroo Doorbell, why not tackle more around your house? If you're curious about keeping your dwelling in top shape, our article on regular upkeep offers essential tips on home maintenance. For those thinking about safety, our guide on home security measures will help you understand their importance and how to implement them effectively. Both pieces are packed with handy advice to ensure your home remains both welcoming and secure.
Frequently Asked Questions about How To Change Batteries In Kangaroo Doorbell
Was this page helpful?
At Storables.com, we guarantee accurate and reliable information. Our content, validated by Expert Board Contributors, is crafted following stringent Editorial Policies. We're committed to providing you with well-researched, expert-backed insights for all your informational needs.


0 thoughts on “How To Change Batteries In Kangaroo Doorbell”