Articles
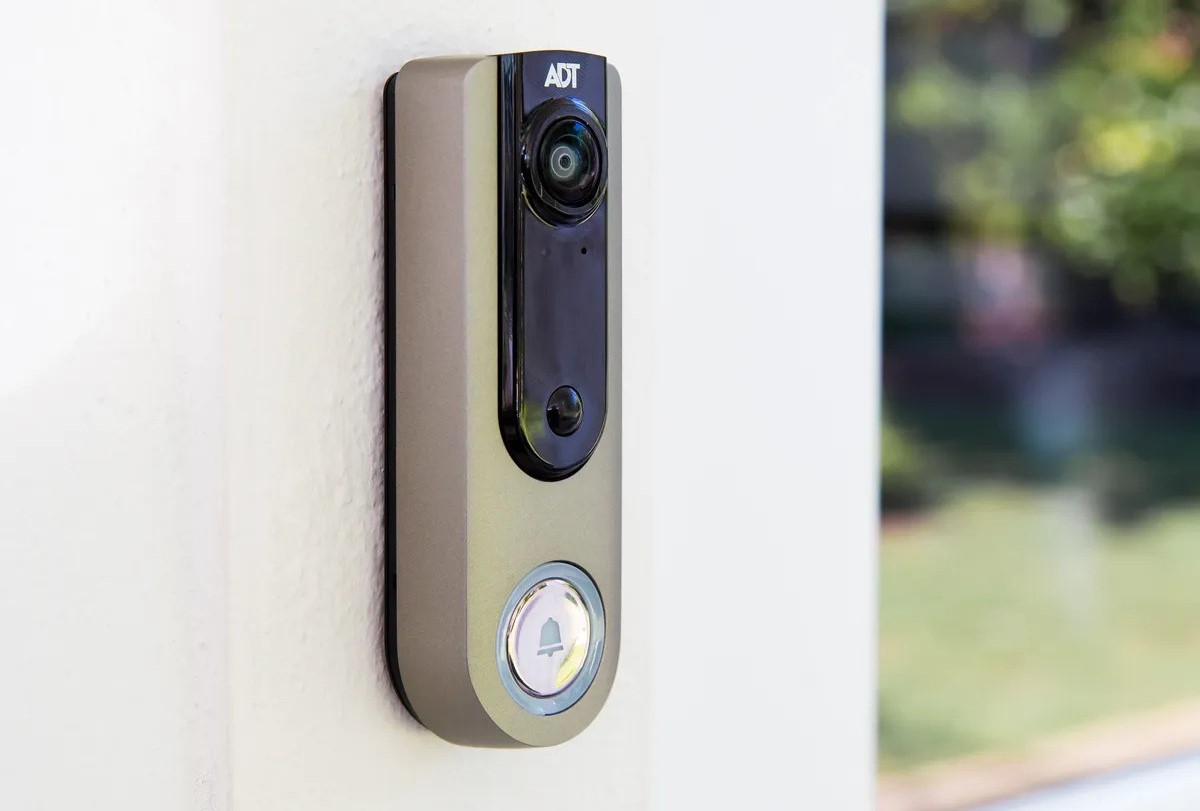
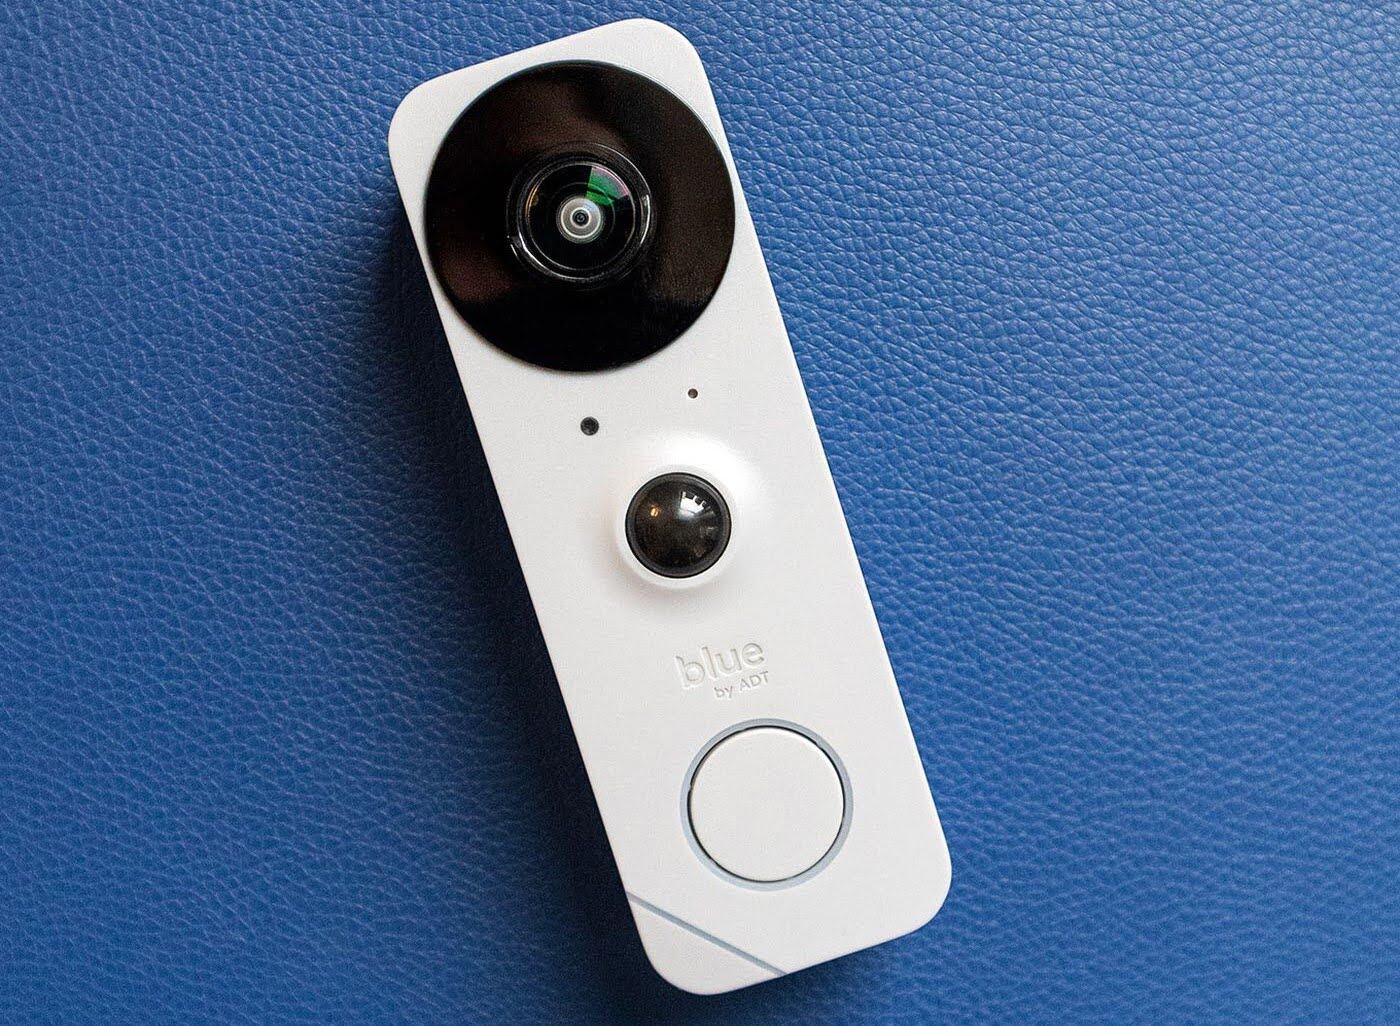
How To Change Battery On ADT Doorbell
Modified: August 16, 2024
Learn how to change the battery on your ADT doorbell with our helpful articles. Ensure your doorbell stays powered and functioning properly.
(Many of the links in this article redirect to a specific reviewed product. Your purchase of these products through affiliate links helps to generate commission for Storables.com, at no extra cost. Learn more)
Introduction
Welcome to this guide on how to change the battery on your ADT doorbell. ADT doorbells are a popular choice for homeowners who value security and convenience. Just like any other electronic device, the battery in your ADT doorbell will eventually need to be replaced. In this article, we will walk you through the step-by-step process of changing the battery so that you can continue enjoying the function and protection your ADT doorbell provides.
Having a properly functioning doorbell is essential for a secure and comfortable home. If your ADT doorbell is not working, the most common issue is a depleted battery. Thankfully, replacing the battery is a simple and straightforward process that can be done by following a few easy steps. Whether you are a tech-savvy individual or someone who is not so familiar with electronics, don’t worry – we’ve got you covered.
Before we dive into the steps, let’s quickly go over the tools you will need to have on hand to successfully change the battery. Having the right tools ensures a smooth and hassle-free battery replacement process. Here are the tools you will need:
Key Takeaways:
- Regularly changing the battery on your ADT doorbell is a simple yet crucial task to ensure uninterrupted security and convenience for your home. Follow the step-by-step guide for a hassle-free replacement process.
- Proper maintenance and timely battery replacements are essential for optimal functioning of your ADT doorbell. Gather the necessary tools, locate the battery compartment, and follow the outlined steps for a smooth battery replacement.
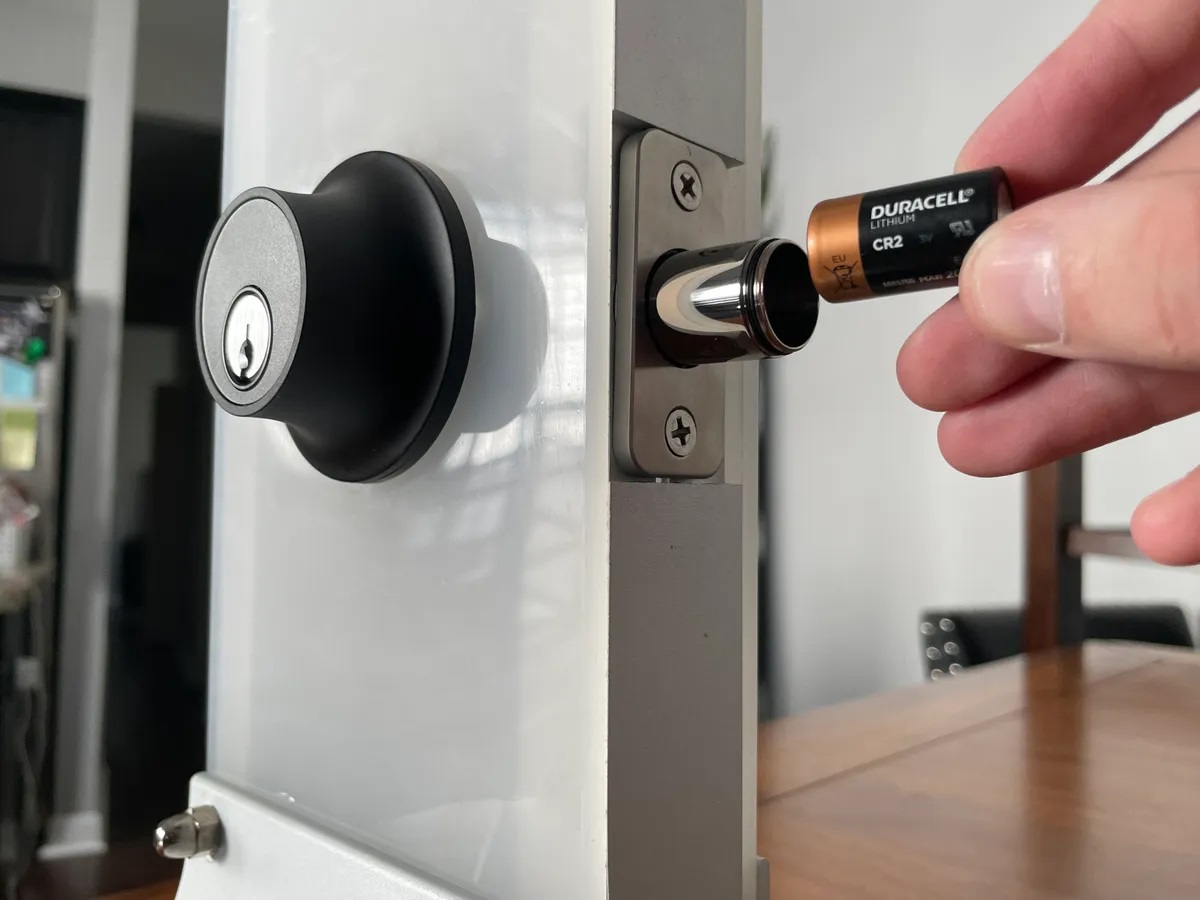
Read more: How To Change The Battery On ADT Door Lock
Step 1: Gather Necessary Tools
Before you begin the battery replacement process, it is important to gather all the necessary tools. Having these tools ready will ensure a smooth and efficient replacement. Here are the tools you will need:
- A small screwdriver: Most ADT doorbells have a small screw that needs to be removed to access the battery compartment. A small screwdriver will be needed to loosen and remove this screw.
- A new battery: Make sure you have a replacement battery that is compatible with your ADT doorbell. Refer to the user manual or check the existing battery for the correct battery type and size.
With these tools in hand, you are now ready to proceed to the next step. Remember to turn off the power to your ADT doorbell before attempting to replace the battery to avoid any electrical mishaps.
Now that you have everything you need, let’s move on to locating the battery compartment.
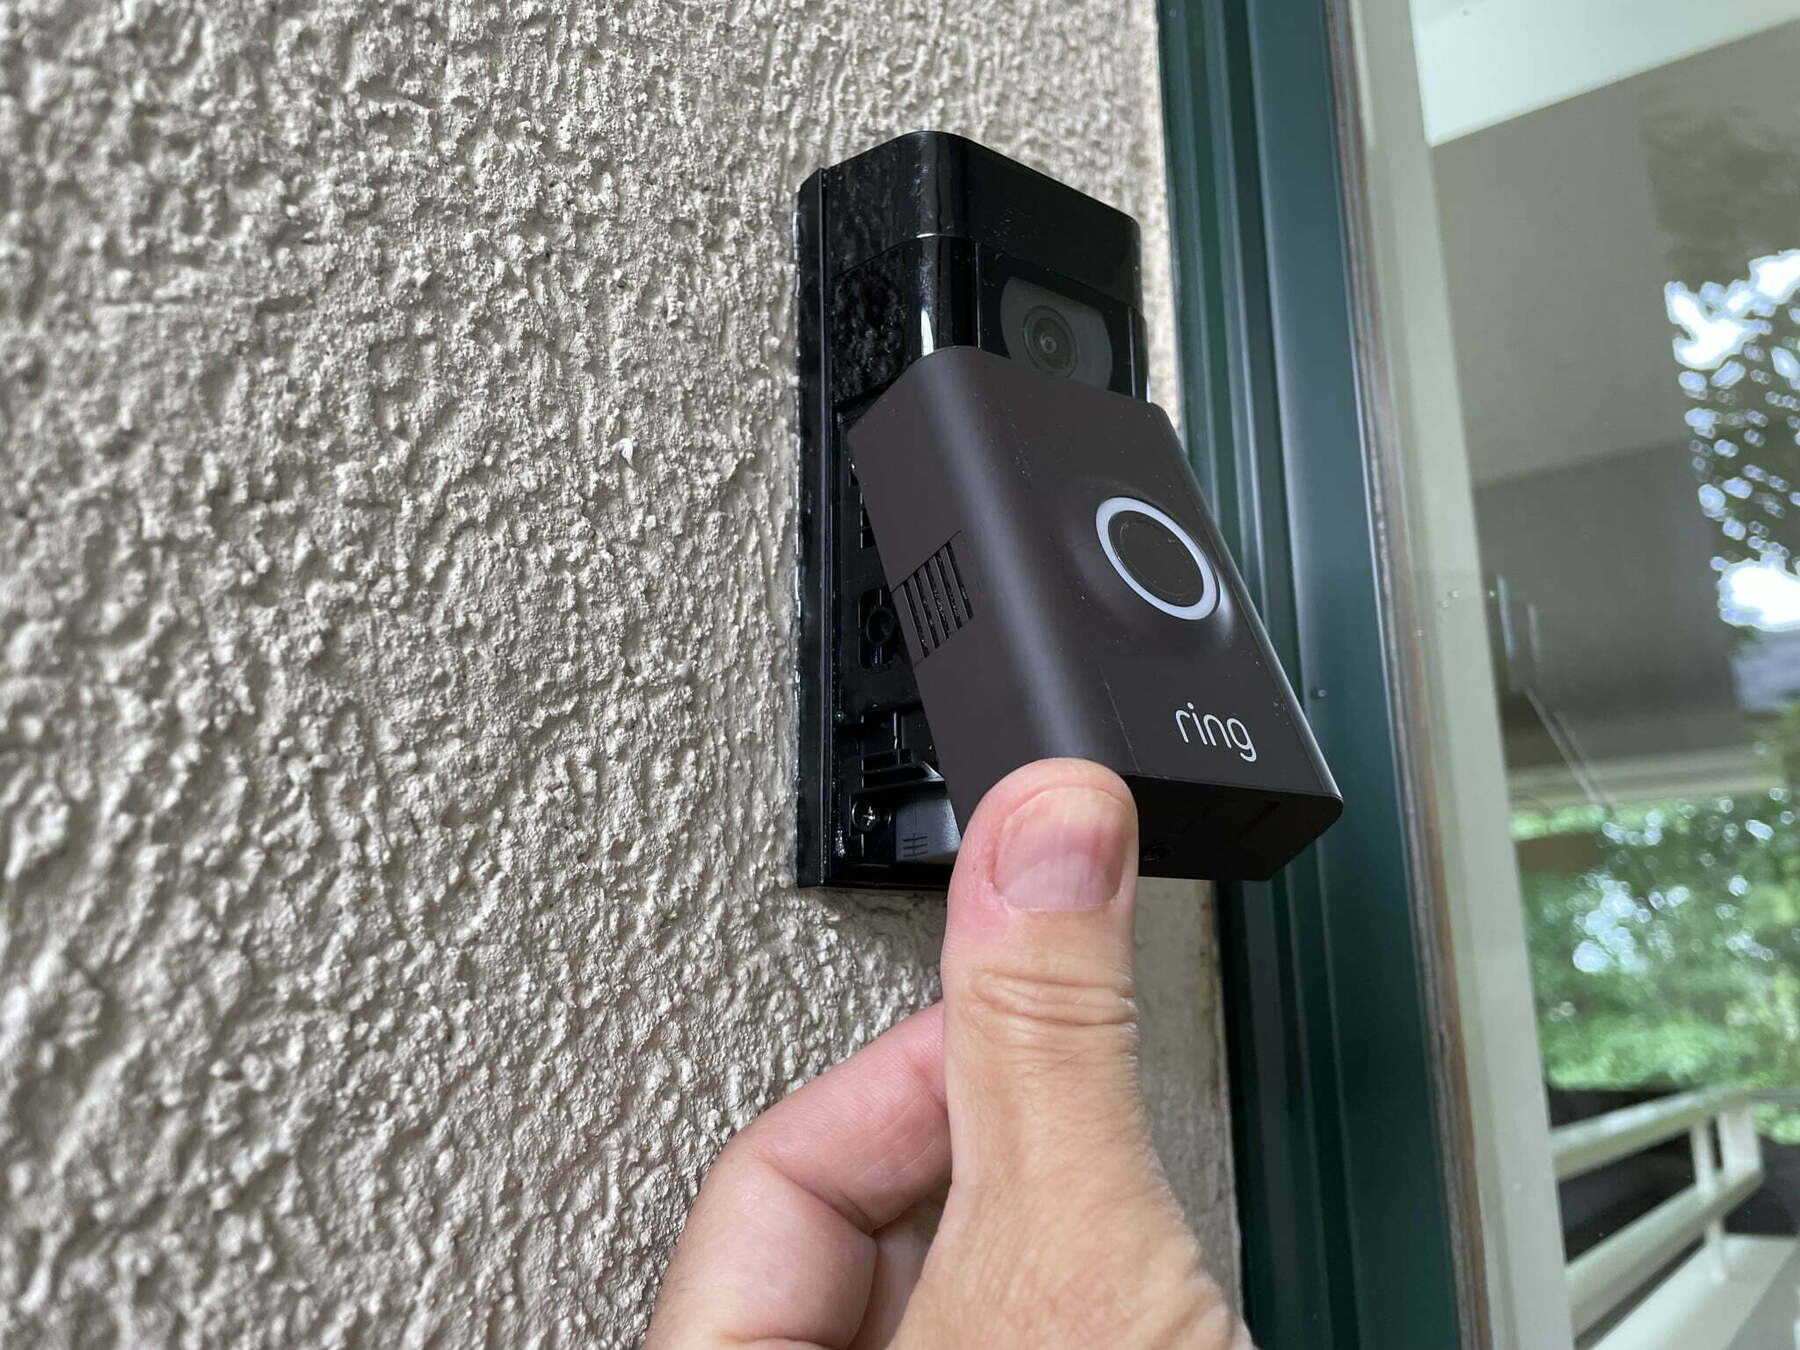
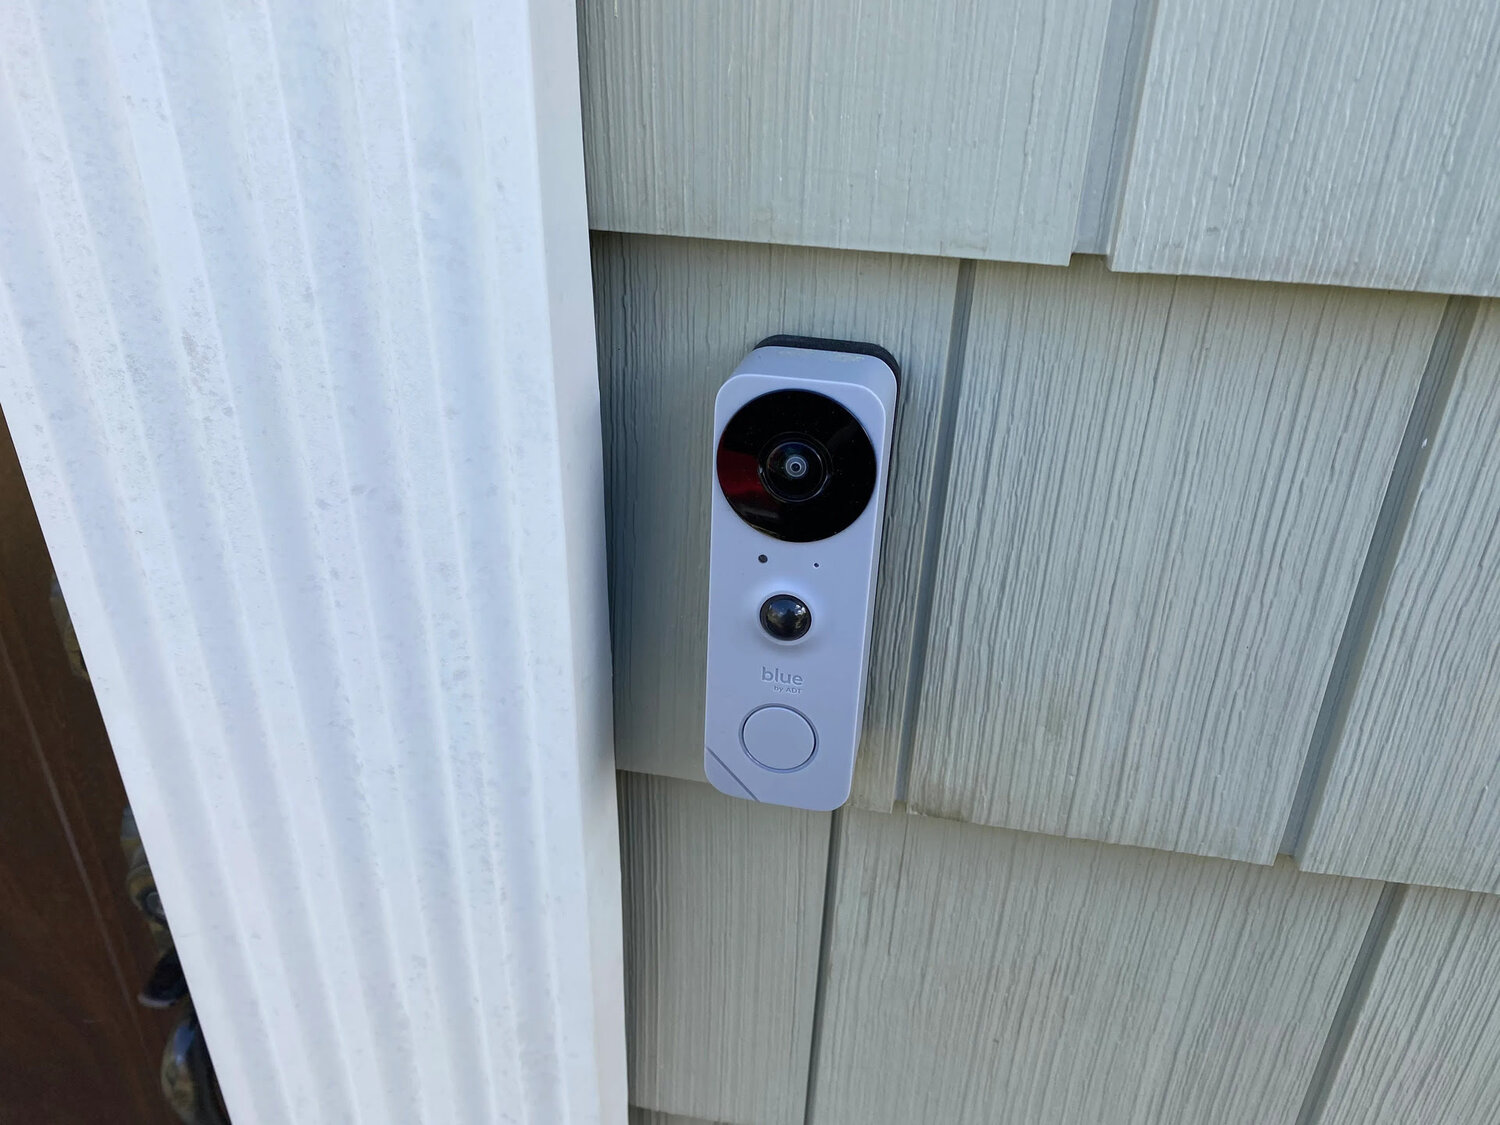
Step 2: Locate the Battery Compartment
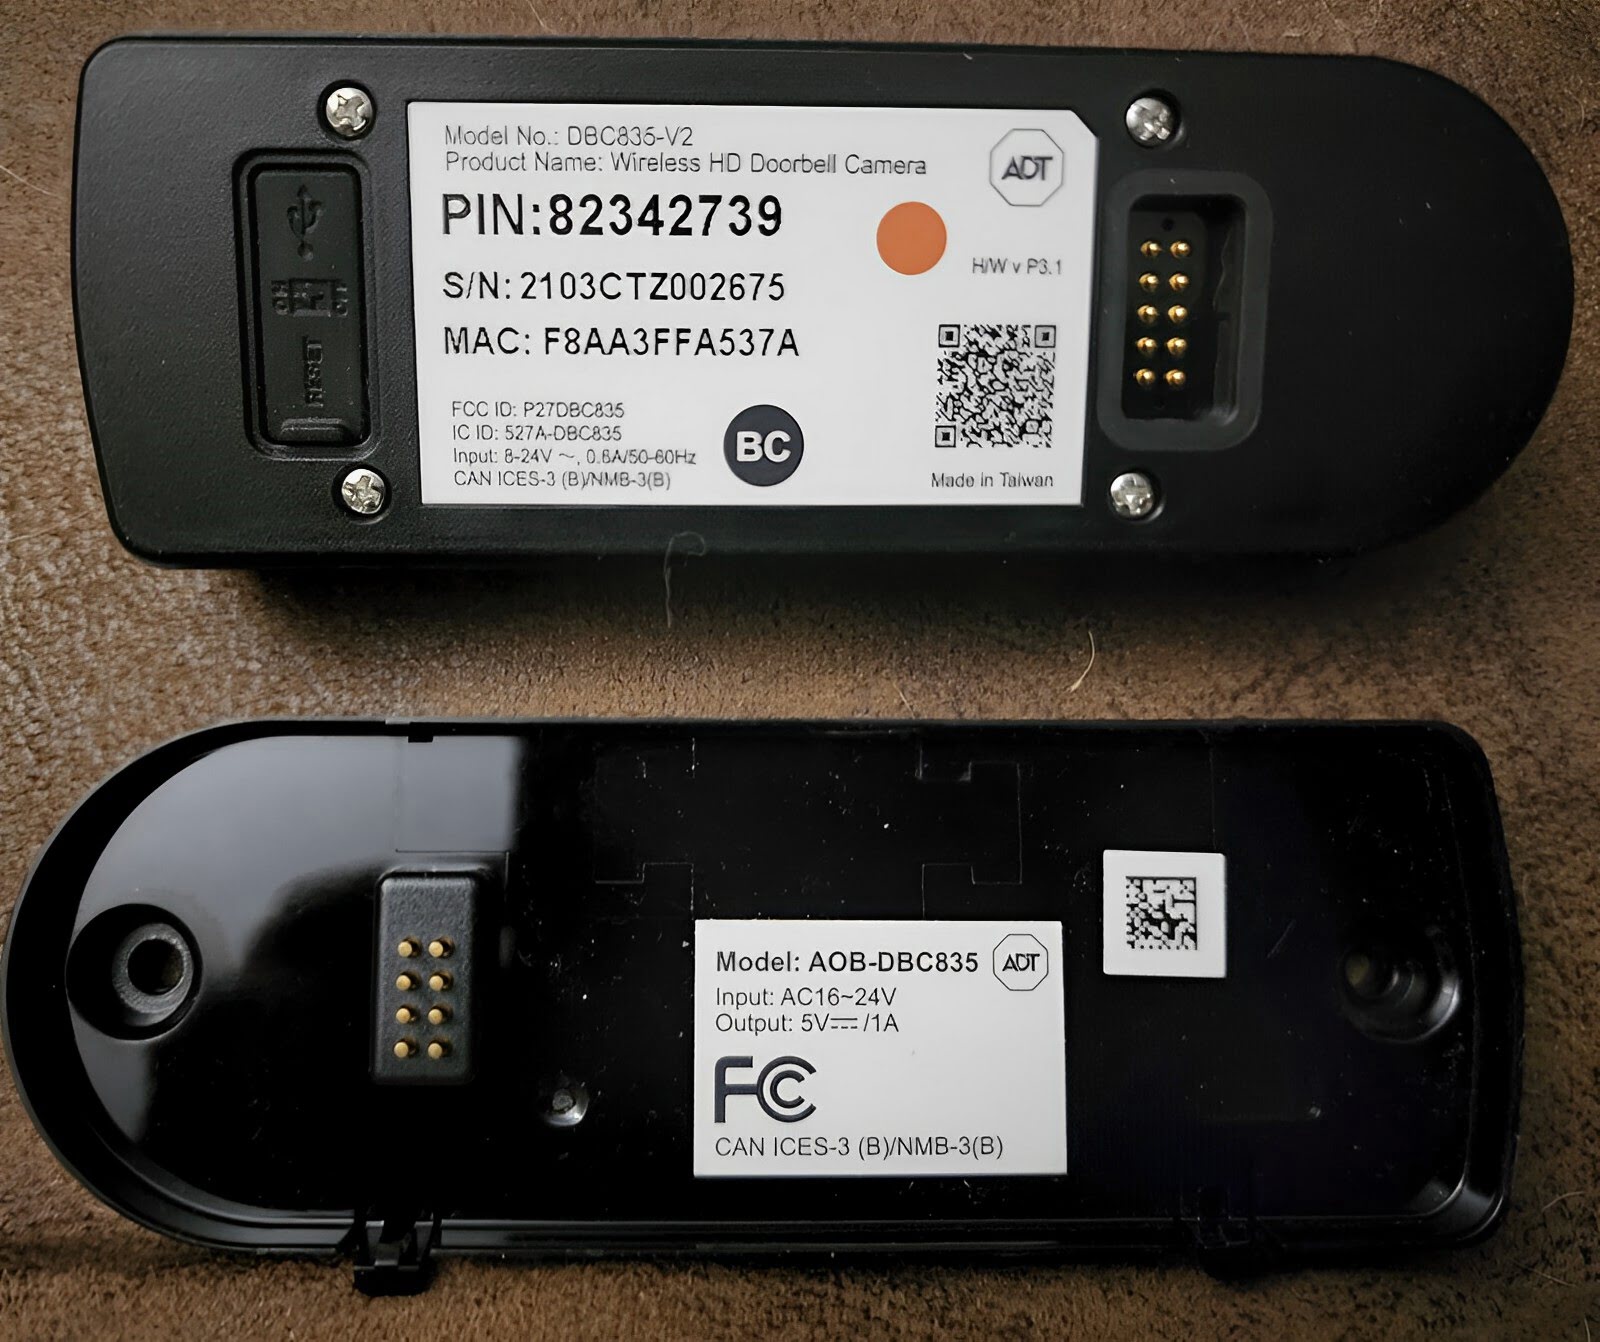
Every ADT doorbell model is slightly different, so the location of the battery compartment may vary. However, most ADT doorbells have the battery compartment located on the back or bottom of the unit. Here are the general steps to follow:
- Inspect the doorbell unit: Carefully examine the ADT doorbell and look for any markings or indicators that might suggest the location of the battery compartment. Some doorbells have a small lock symbol, an arrow pointing downwards, or even a battery icon to guide you.
- Refer to the user manual: If you’re having trouble finding the battery compartment, consult the user manual that came with your ADT doorbell. The manual will provide specific instructions and illustrations to help you locate the compartment.
- Check the back or bottom: In most cases, the battery compartment is located on the back or bottom of the doorbell. Gently turn the doorbell around or invert it to inspect these areas. Look for any screws or panels that may be covering the battery compartment.
- Remove any covers or screws: If you find a cover or screw, use the small screwdriver to loosen and remove it. Set aside the cover or screw in a safe place so that you can easily put it back later.
Once you have located the battery compartment and removed any covers or screws, you are ready to proceed to the next step: removing the old battery.
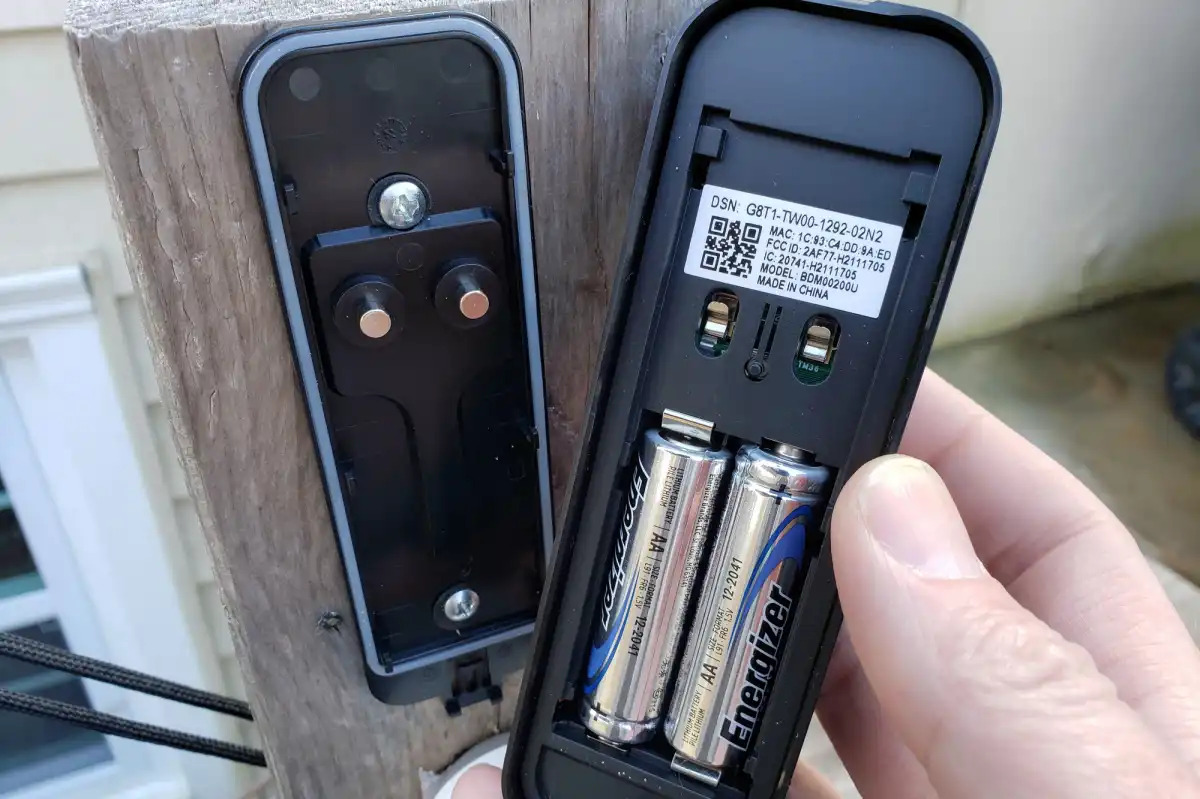
Step 3: Remove the Old Battery
Now that you have located the battery compartment, it’s time to remove the old battery. Follow these steps to safely remove the old battery from your ADT doorbell:
- Ensure the power is off: Before you begin, make sure the power to your ADT doorbell is turned off. This will prevent any electrical accidents or damage.
- Inspect the battery: Take a moment to examine the old battery. Note its size, type, and any indications of how it should be removed (e.g., arrows or markings).
- Remove the battery: Depending on the design of your ADT doorbell, the battery may be held in place by clips, connectors, or simply by gravity. Gently lift or slide the battery out of its compartment. Be careful not to use excessive force or damage any surrounding components.
- Dispose of the old battery properly: It is important to dispose of the old battery in an environmentally-friendly manner. Check your local regulations or recycling centers for the proper methods of battery disposal.
Once the old battery is removed and properly disposed of, it’s time to move on to the next step: inserting the new battery.
When changing the battery on your ADT doorbell, make sure to turn off the power to the doorbell first to avoid any electrical hazards. Then carefully remove the old battery and replace it with a new one, following the manufacturer’s instructions.
Step 4: Insert the New Battery
With the old battery successfully removed, it’s time to insert the new battery into your ADT doorbell. Follow these steps to ensure a proper and secure installation:
- Refer to the user manual: If available, check the user manual for specific instructions on how to insert the new battery. It may include details on the orientation or placement of the battery.
- Check the battery type and size: Verify that the new battery you have matches the required type and size for your ADT doorbell. Avoid using mismatched or incompatible batteries as they may not provide optimal performance or even damage your doorbell.
- Insert the battery: Carefully place the new battery into the battery compartment, ensuring that it is properly aligned with the designated connectors or slots. Ensure that the positive (+) and negative (-) terminals of the battery match the corresponding indicators in the compartment.
- Secure the battery: If your doorbell has clips or connectors to secure the battery, gently press or slide them into place. Double-check that the battery is securely held in position and does not move around.
Once the new battery is securely inserted, it’s time to move on to the next step: testing the doorbell to ensure it is functioning correctly.
Step 5: Test the Doorbell
After successfully inserting the new battery into your ADT doorbell, it’s important to test it to ensure that it is functioning correctly. Follow these steps to test your ADT doorbell:
- Turn the power back on: If you had turned off the power during the battery replacement process, make sure to turn it back on.
- Press the doorbell button: Press the doorbell button and listen for the sound of the chime. If you hear the chime, it indicates that the doorbell is working properly.
- Check for any issues: Pay attention to the sound quality of the chime and any other functions of your ADT doorbell. Make sure that it is loud enough and responsive to the doorbell button press.
If there are any issues with the doorbell’s functionality, double-check the battery placement and its connection. Ensure that the battery is securely inserted and making proper contact with the connectors. If the problem persists, consult the user manual or contact ADT customer support for further assistance.
Once you have confirmed that the doorbell is working correctly, it’s time to move on to the final step: closing the battery compartment.
Step 6: Close the Battery Compartment
Now that you have tested your ADT doorbell and confirmed that it is functioning properly with the new battery, it’s time to close the battery compartment. Follow these steps to securely close the compartment:
- Inspect the compartment: Take a moment to ensure that the battery is properly seated and aligned inside the compartment. Double-check that there are no loose wires or obstructions.
- Reattach any covers or screws: If you had removed any covers or screws to access the battery compartment, gently place them back in their original positions. Use the small screwdriver to tighten the screws if necessary. Make sure that the covers are securely fastened.
- Ensure a tight seal: Check around the edges of the battery compartment to ensure a tight seal. This will help protect the battery from moisture and dust.
Once you have closed the battery compartment and ensured a secure seal, congratulations! You have successfully changed the battery on your ADT doorbell. Your doorbell should now continue to provide reliable security and convenience for your home.
If you encounter any issues or difficulties during the battery replacement process, it is recommended to consult the user manual for your specific ADT doorbell model or seek assistance from ADT customer support.
Remember, proper maintenance and timely battery replacements are important to keep your ADT doorbell functioning optimally. Regularly check the battery and replace it as needed to ensure uninterrupted service.
Conclusion
Changing the battery on your ADT doorbell is a simple yet essential task to maintain its functionality. By following the step-by-step guide outlined in this article, you can easily replace the battery and ensure that your doorbell continues to provide security and convenience for your home.
Remember to gather the necessary tools, locate the battery compartment, remove the old battery, insert the new battery, test the doorbell, and close the battery compartment. These steps will guide you through the process and help you successfully complete the battery replacement.
Regular maintenance and timely battery replacements are crucial for the proper functioning of your ADT doorbell. It is recommended to check the battery periodically and replace it as needed to ensure uninterrupted service. Additionally, refer to the user manual for specific instructions and guidelines tailored to your ADT doorbell model.
If you encounter any difficulties or issues during the battery replacement process, do not hesitate to consult the user manual or contact ADT customer support for assistance. They will be able to provide further guidance and troubleshooting if needed.
By taking the time to change the battery on your ADT doorbell, you are ensuring that your home remains secure and that you can rely on the convenience and peace of mind it provides. So, go ahead and confidently tackle the process of changing the battery on your ADT doorbell!
Now that you're all set with a fresh battery in your ADT doorbell, why stop there? Ensuring your home is secure extends beyond a functional doorbell. Delve into our next feature, where we discuss the vital aspects of home security systems. Learn what makes a safe household tick and why skipping on security measures could be risky business. Your peace of mind is priceless—make sure your sanctuary is as secure as possible.
Frequently Asked Questions about How To Change Battery On ADT Doorbell
Was this page helpful?
At Storables.com, we guarantee accurate and reliable information. Our content, validated by Expert Board Contributors, is crafted following stringent Editorial Policies. We're committed to providing you with well-researched, expert-backed insights for all your informational needs.

0 thoughts on “How To Change Battery On ADT Doorbell”