Home>Gardening & Outdoor>Landscaping Ideas>How To Dye Bunny Tail Grass
Landscaping Ideas
How To Dye Bunny Tail Grass
Modified: February 18, 2024
Discover expert tips and techniques for dyeing bunny tail grass in your landscaping projects. Enhance your outdoor space with unique and vibrant landscaping ideas.
(Many of the links in this article redirect to a specific reviewed product. Your purchase of these products through affiliate links helps to generate commission for Storables.com, at no extra cost. Learn more)
Introduction
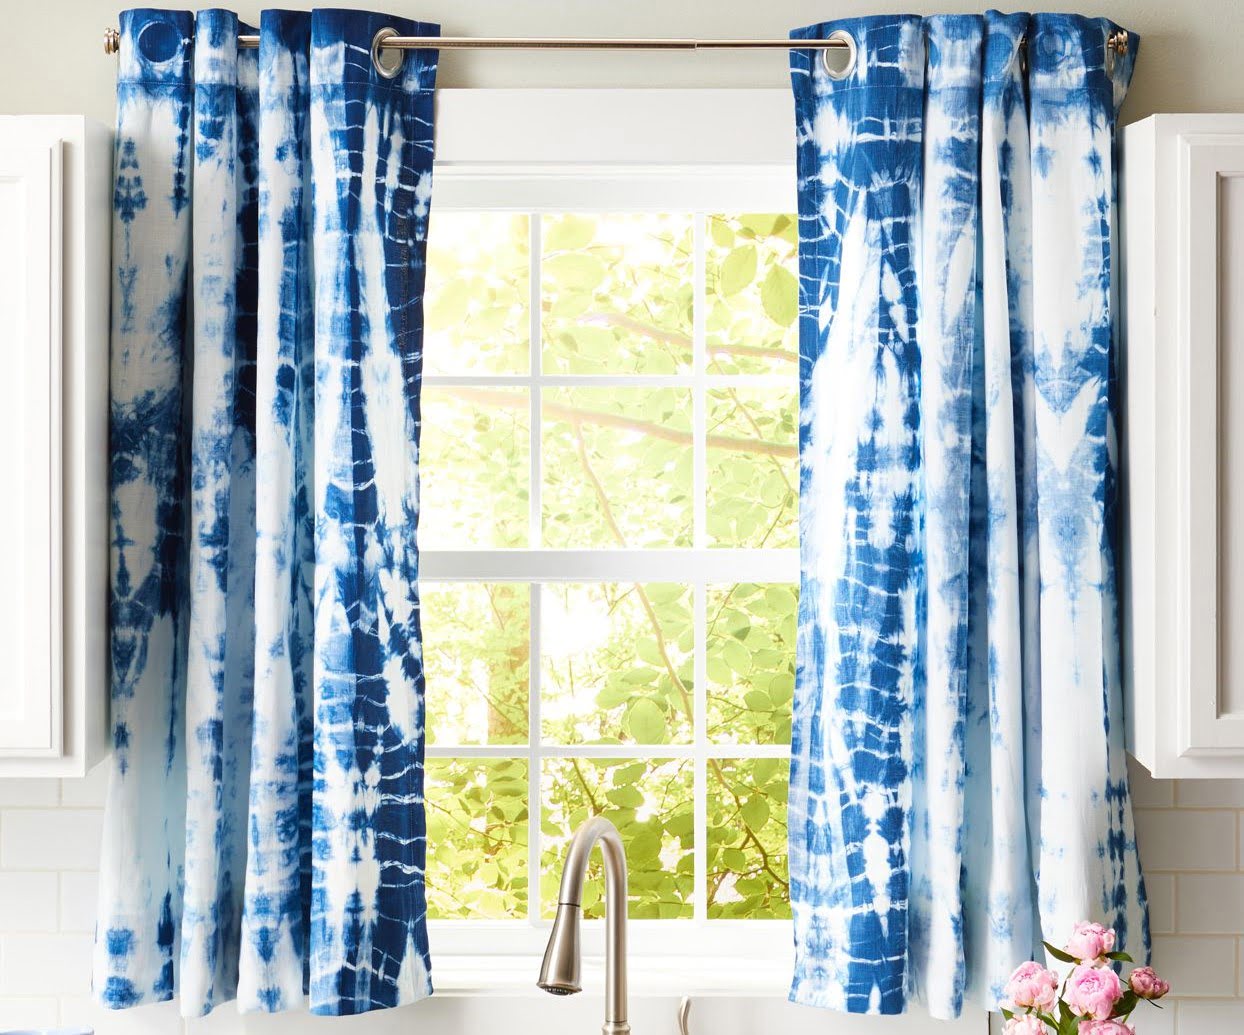
Welcome to the enchanting world of bunny tail grass! If you're looking to add a pop of color to your floral arrangements, create unique home decor, or simply indulge in a delightful DIY project, then dyeing bunny tail grass is a fantastic idea. This whimsical ornamental grass, with its soft and fluffy texture, serves as an excellent medium for expressing creativity. By infusing it with vibrant hues, you can elevate its visual impact and introduce a touch of personalized charm to your living space.
Dyeing bunny tail grass is a delightful and rewarding activity that allows you to unleash your artistic flair. Whether you're a seasoned crafter or a novice enthusiast, this process offers an opportunity to experiment with colors and bring a touch of nature indoors. In the following sections, we'll explore the step-by-step process of dyeing bunny tail grass, from preparing the materials to the final styling. Get ready to embark on a captivating journey of creativity and self-expression as we delve into the wonderful world of dyeing bunny tail grass.
Key Takeaways:
- Unleash your creativity by dyeing bunny tail grass to add vibrant colors to your home decor and floral arrangements. It’s a fun and rewarding DIY project for crafters of all levels!
- Prepare, dye, dry, and style bunny tail grass to create stunning, personalized decor. Infuse nature with your artistic vision and enjoy the enchanting results in your living space.
Read more: How To Preserve Bunny Tail Grass
Materials Needed
Before diving into the delightful process of dyeing bunny tail grass, it’s essential to gather the necessary materials. Here’s a list of items you’ll need to embark on this creative endeavor:
- Bunny Tail Grass: The star of the show! You can either harvest bunny tail grass from your garden or purchase it from a local florist or garden center. Ensure that the grass is fresh and free from any signs of damage.
- Dye or Food Coloring: Choose high-quality liquid dye or food coloring in the desired shades. Opt for colors that complement your existing decor or align with the theme of your floral arrangements.
- Large Bowl or Container: Select a spacious container that can accommodate the bunny tail grass while allowing ample room for the dyeing process. This will facilitate easy maneuvering and ensure thorough color coverage.
- Water: Use clean, room-temperature water to create the dye solution. The water should be at a level that fully submerges the bunny tail grass without causing overflow.
- Vinegar: White vinegar acts as a mordant, helping the dye adhere to the grass fibers. It plays a crucial role in ensuring long-lasting and vibrant coloration.
- Protective Gloves: To safeguard your hands from coming into direct contact with the dye, wear protective gloves throughout the dyeing process.
- Plastic Wrap or Paper Towels: These materials are essential for blotting and drying the dyed bunny tail grass, preventing any excess dye from creating a mess during the drying phase.
- Drying Rack or Newspaper: After dyeing, the bunny tail grass needs to dry thoroughly. A drying rack or a layer of newspaper provides an ideal surface for this purpose.
- Scissors: A pair of scissors will come in handy for trimming the bunny tail grass to the desired length and removing any damaged or discolored sections.
- Optional: Floral Arrangements or Vases: If you plan to incorporate the dyed bunny tail grass into floral displays, have your vases or arrangements ready for the final styling phase.
By ensuring that you have these materials at your disposal, you’ll be fully equipped to embark on the delightful journey of dyeing bunny tail grass and infusing it with captivating colors that reflect your unique style and creativity.
Preparing the Bunny Tail Grass
Before immersing the bunny tail grass in a vibrant bath of color, it’s crucial to prepare the grass to ensure optimal dye absorption and long-lasting results. Follow these simple steps to get the bunny tail grass ready for the dyeing process:
- Inspect and Trim: Carefully examine the bunny tail grass, and trim off any damaged or discolored sections using a pair of sharp scissors. This step ensures that the grass is in prime condition for the dyeing process and allows for a uniform color application.
- Separate the Stems: If the bunny tail grass is gathered in bunches, delicately separate the stems to create individual strands. This separation facilitates thorough dye penetration and ensures that each strand receives an even coating of color.
- Fluff and Loosen: Gently fluff and loosen the individual strands of bunny tail grass to prevent them from clumping together during the dyeing process. This step promotes uniform color distribution and prevents the formation of dense, undyed patches.
- Prepare the Work Area: Set up a clean and spacious work area where you can comfortably carry out the dyeing process. Lay down protective coverings, such as plastic wrap or paper towels, to safeguard your workspace from any potential dye spills or splatters.
By meticulously preparing the bunny tail grass, you lay the foundation for a successful dyeing experience, ensuring that the grass is primed to absorb the vibrant hues that will transform it into a captivating decorative element. With the grass prepped and ready, you’re now poised to embark on the exciting dyeing process that will breathe new life and color into this delightful natural adornment.
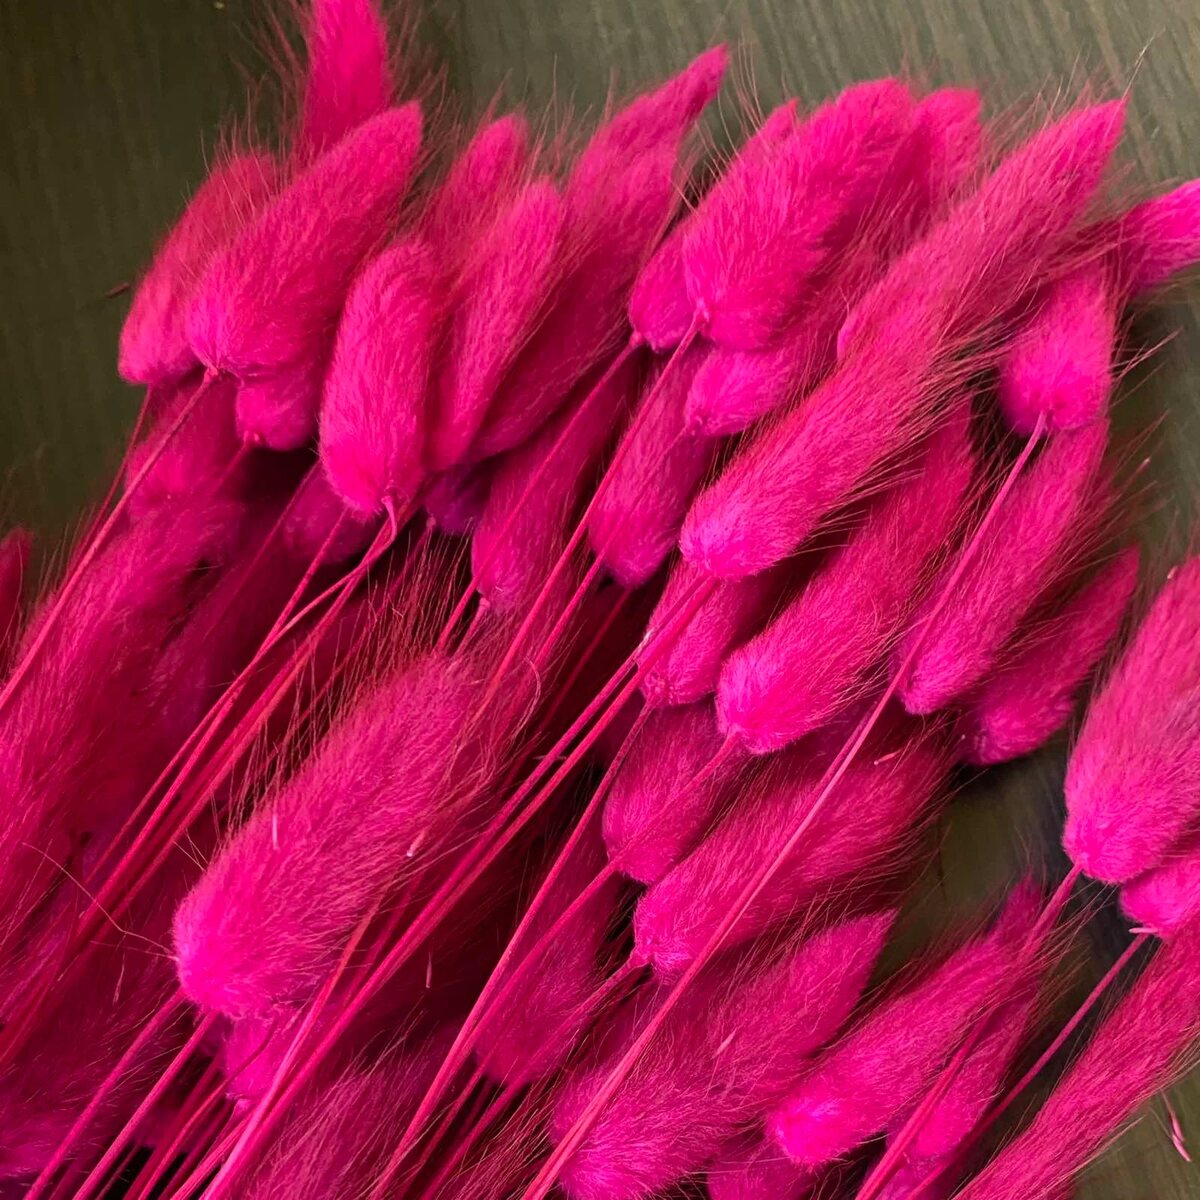
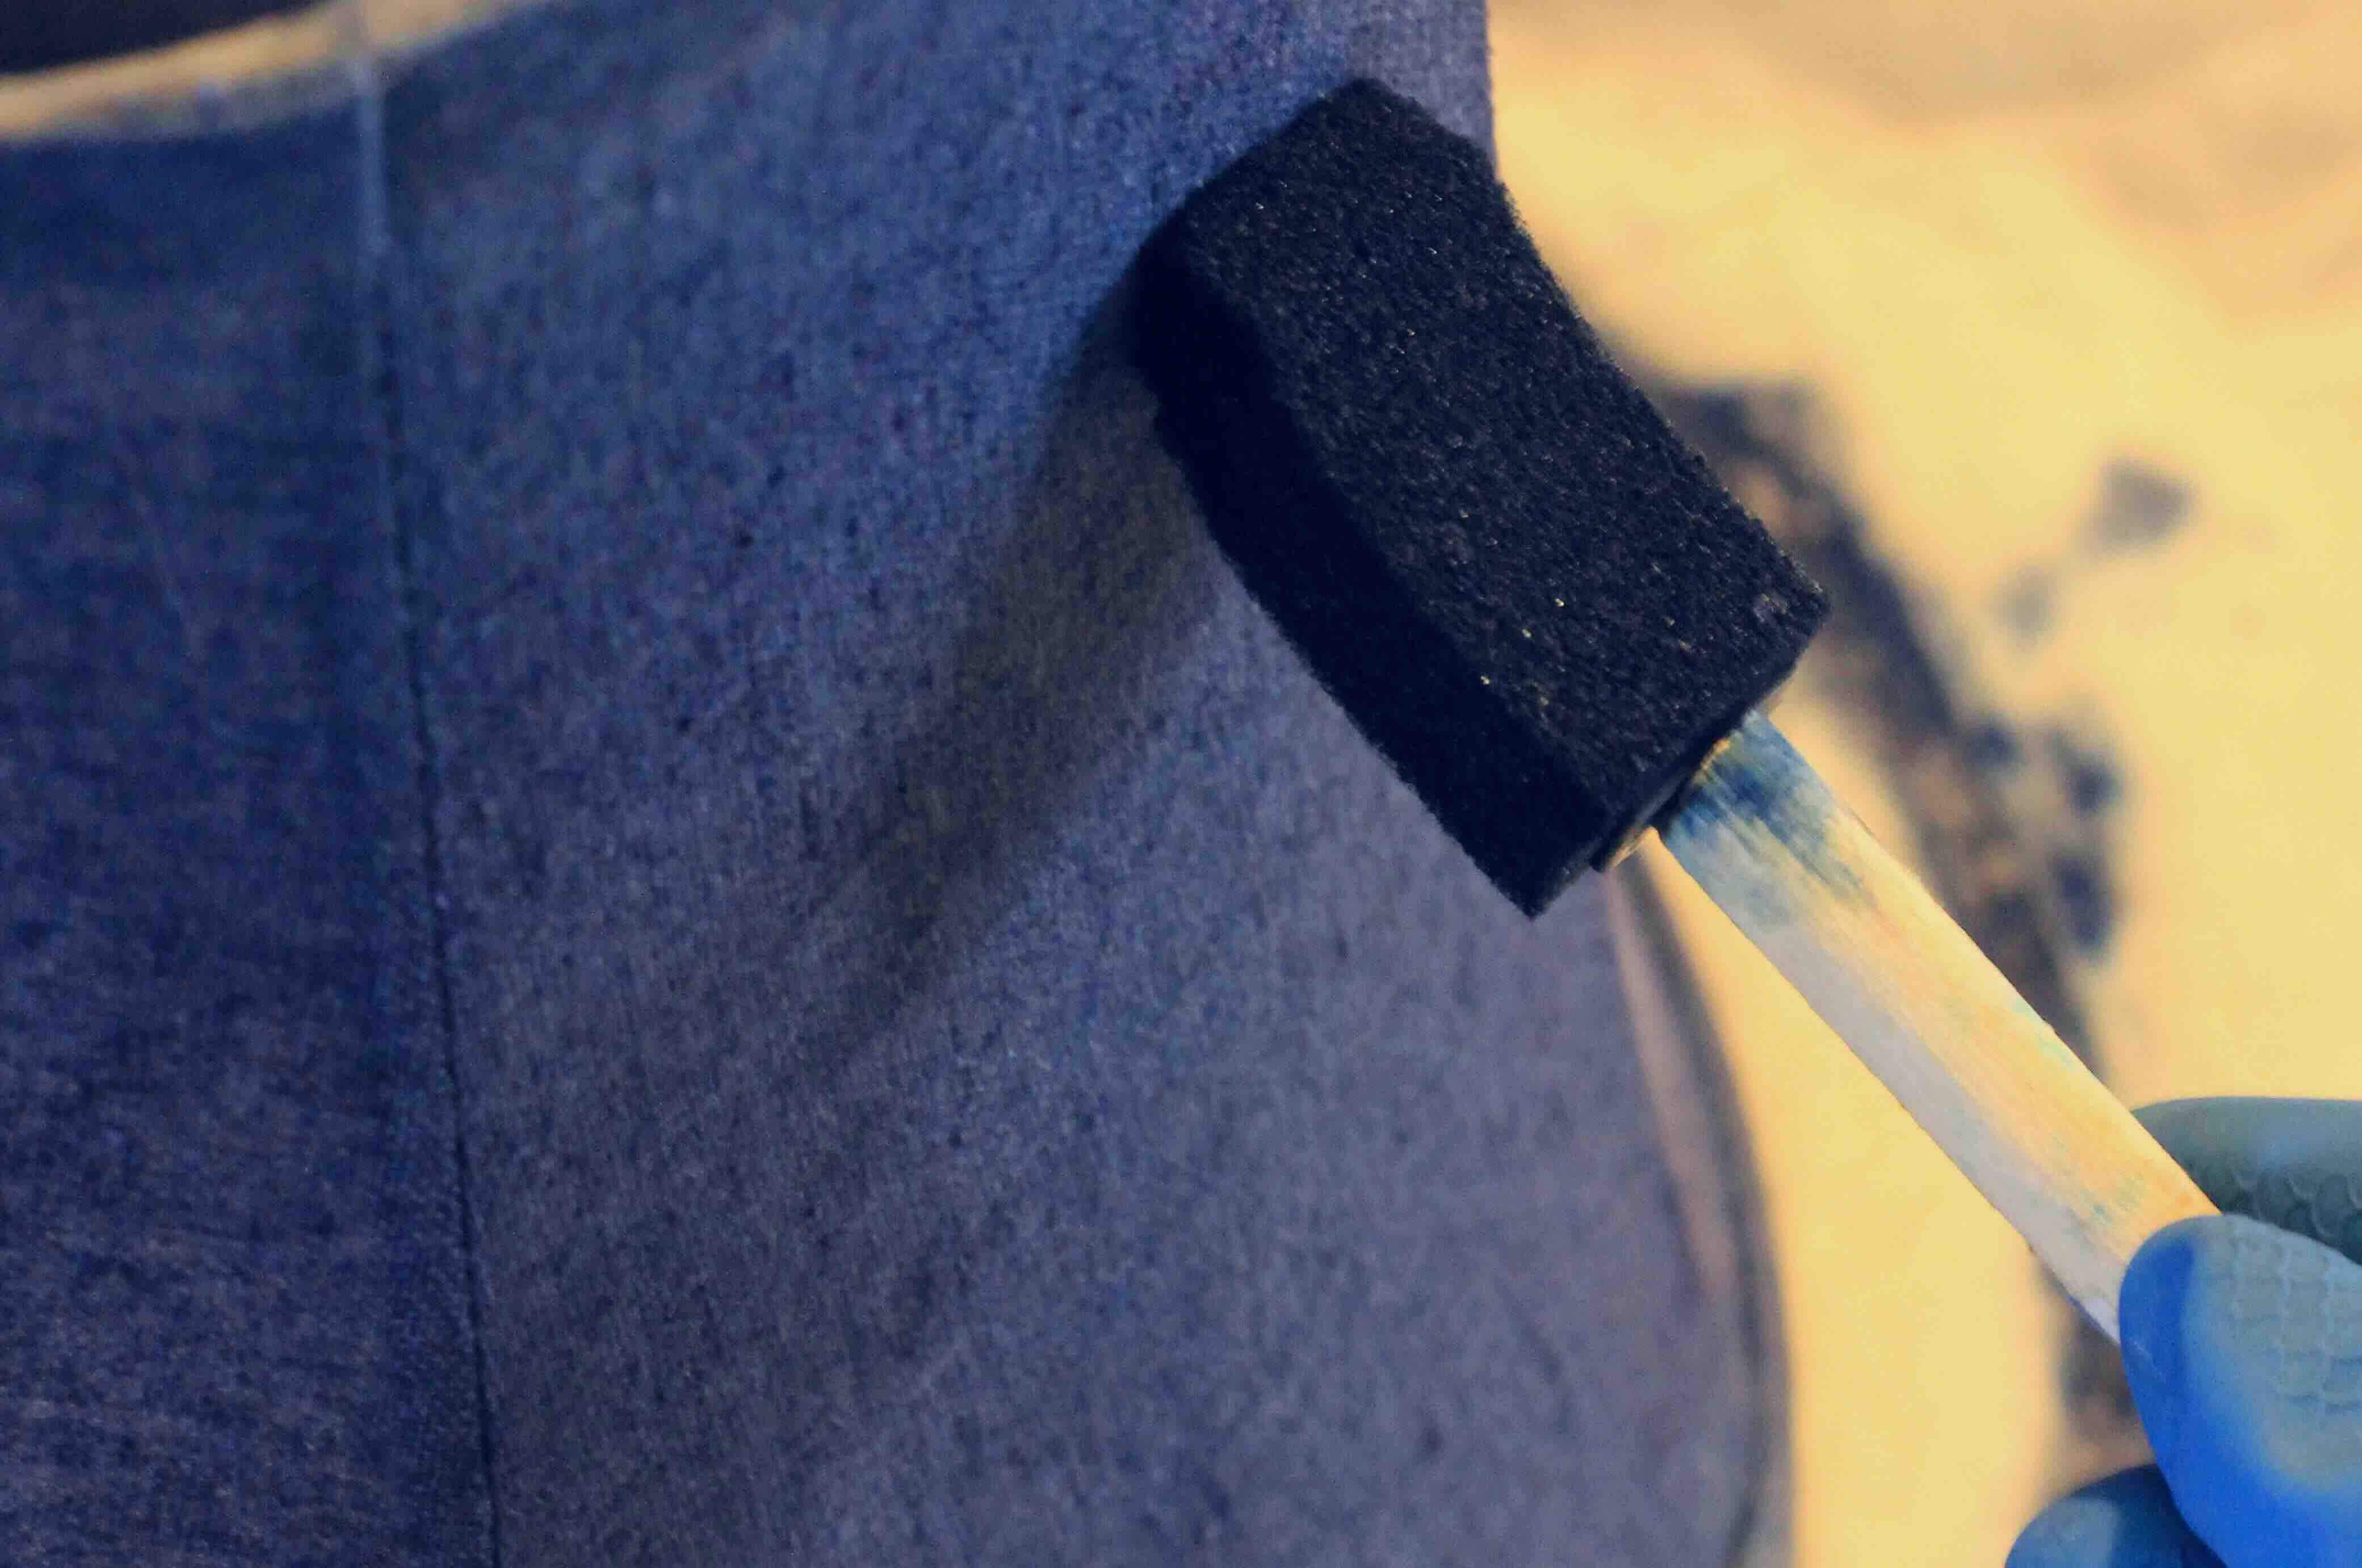
To dye bunny tail grass, mix water and fabric dye in a container. Submerge the grass in the dye mixture for 30 minutes, then remove and let it dry. This will give the grass a new color.
Dyeing Process
Now that the bunny tail grass is meticulously prepared, it’s time to immerse it in a delightful bath of color. The dyeing process offers a wonderful opportunity to infuse the grass with vibrant hues that align with your personal style and creative vision. Follow these steps to embark on the enchanting journey of dyeing bunny tail grass:
- Prepare the Dye Solution: In a large bowl or container, combine room-temperature water with your chosen liquid dye or food coloring. Add a small amount of white vinegar to the solution, as it acts as a mordant, enhancing the adherence and longevity of the color on the grass fibers. Stir the mixture thoroughly to ensure the dye and vinegar are evenly distributed.
- Submerge the Grass: Carefully place the prepared bunny tail grass into the dye solution, ensuring that all the strands are fully submerged. Gently agitate the grass to facilitate even color coverage, allowing the dye to penetrate the fibers and infuse them with the desired hue.
- Monitor the Color Intensity: Keep a close eye on the grass as it absorbs the dye, periodically checking the color intensity to gauge the desired vibrancy. The duration of immersion will impact the depth of color, so adjust the dyeing time based on your preference for light, pastel, or rich and intense hues.
- Remove and Blot: Once the bunny tail grass has achieved the desired coloration, carefully remove it from the dye solution. Gently blot the dyed grass with paper towels or a clean, absorbent cloth to remove any excess moisture and dye, ensuring that the color remains vibrant and consistent.
The dyeing process is a captivating and transformative experience, allowing you to witness the magical infusion of color into the delicate strands of bunny tail grass. With the grass now adorned in captivating hues, it’s time to proceed to the final stages of drying and styling, where the true beauty of the dyed grass will come to life in all its enchanting glory.
Drying and Styling
After the bunny tail grass has been dyed to perfection, the final steps involve drying and styling the adorned strands to showcase their captivating beauty. This phase of the process allows you to unleash your creativity and incorporate the dyed grass into a myriad of decorative arrangements. Follow these steps to ensure that the dyed bunny tail grass dries thoroughly and is ready for stunning displays:
- Arrange for Drying: Place the dyed bunny tail grass on a drying rack or a layer of newspaper in a well-ventilated area. Ensure that the strands are spread out to allow for adequate air circulation, promoting uniform drying and preventing any residual moisture from affecting the vibrant colors.
- Monitor the Drying Process: Allow the dyed grass to air dry naturally, periodically checking its progress. Depending on the climate and humidity levels, the drying time may vary. Patience is key during this phase, as thorough drying is essential for preserving the color intensity and ensuring that the grass is ready for styling.
- Trim and Style: Once the dyed bunny tail grass is completely dry, use scissors to trim the strands to your desired length. Consider incorporating the vibrant grass into a diverse array of decorative arrangements, such as floral bouquets, centerpieces, or standalone displays. Let your imagination soar as you explore the myriad ways to showcase the beauty of the dyed grass.
- Enjoy the Fruits of Your Creativity: With the dyed bunny tail grass now dried, trimmed, and styled to perfection, revel in the delightful results of your creative endeavor. Whether adorning your living space with vibrant floral arrangements or crafting unique home decor, the dyed grass serves as a stunning testament to your artistic vision and ingenuity.
The drying and styling phase marks the culmination of the enchanting journey of dyeing bunny tail grass. By embracing this process, you’ve breathed new life and color into this whimsical natural adornment, infusing it with your unique style and creativity. The dyed bunny tail grass now stands as a captivating testament to the beauty that unfolds when nature and artistry intertwine.
Read more: How To Dye A Patio Umbrella
Conclusion
Embarking on the delightful endeavor of dyeing bunny tail grass offers a captivating fusion of creativity, nature, and self-expression. Through the meticulous preparation, enchanting dyeing process, and the final stages of drying and styling, you’ve transformed this whimsical ornamental grass into a stunning canvas of vibrant colors that reflect your unique style and vision.
As you adorn your living space with the captivating beauty of the dyed bunny tail grass, take a moment to revel in the joy of creation and the wondrous harmony between natural elements and artistic ingenuity. Whether incorporated into floral arrangements, displayed as standalone decorative pieces, or used to add a touch of whimsy to your surroundings, the dyed grass serves as a testament to your creativity and the enchanting possibilities that unfold when nature becomes a canvas for self-expression.
May the vibrant hues of the dyed bunny tail grass infuse your surroundings with charm and delight, serving as a constant reminder of the beauty that blossoms when imagination and nature intertwine. Embrace the artistry, celebrate the colors, and continue to explore the endless avenues through which you can infuse your world with the enchanting allure of dyed bunny tail grass.
With each dyed strand, you’ve woven a thread of creativity into the tapestry of your surroundings, adding a touch of whimsy and vibrancy to every corner of your home. The journey of dyeing bunny tail grass is not merely a creative pursuit but a celebration of the boundless beauty that emerges when nature’s treasures are adorned with the hues of your imagination.
Frequently Asked Questions about How To Dye Bunny Tail Grass
Was this page helpful?
At Storables.com, we guarantee accurate and reliable information. Our content, validated by Expert Board Contributors, is crafted following stringent Editorial Policies. We're committed to providing you with well-researched, expert-backed insights for all your informational needs.


0 thoughts on “How To Dye Bunny Tail Grass”