Home>Furniture>Living Room Furniture>How To Dye Seat Cushions
Living Room Furniture
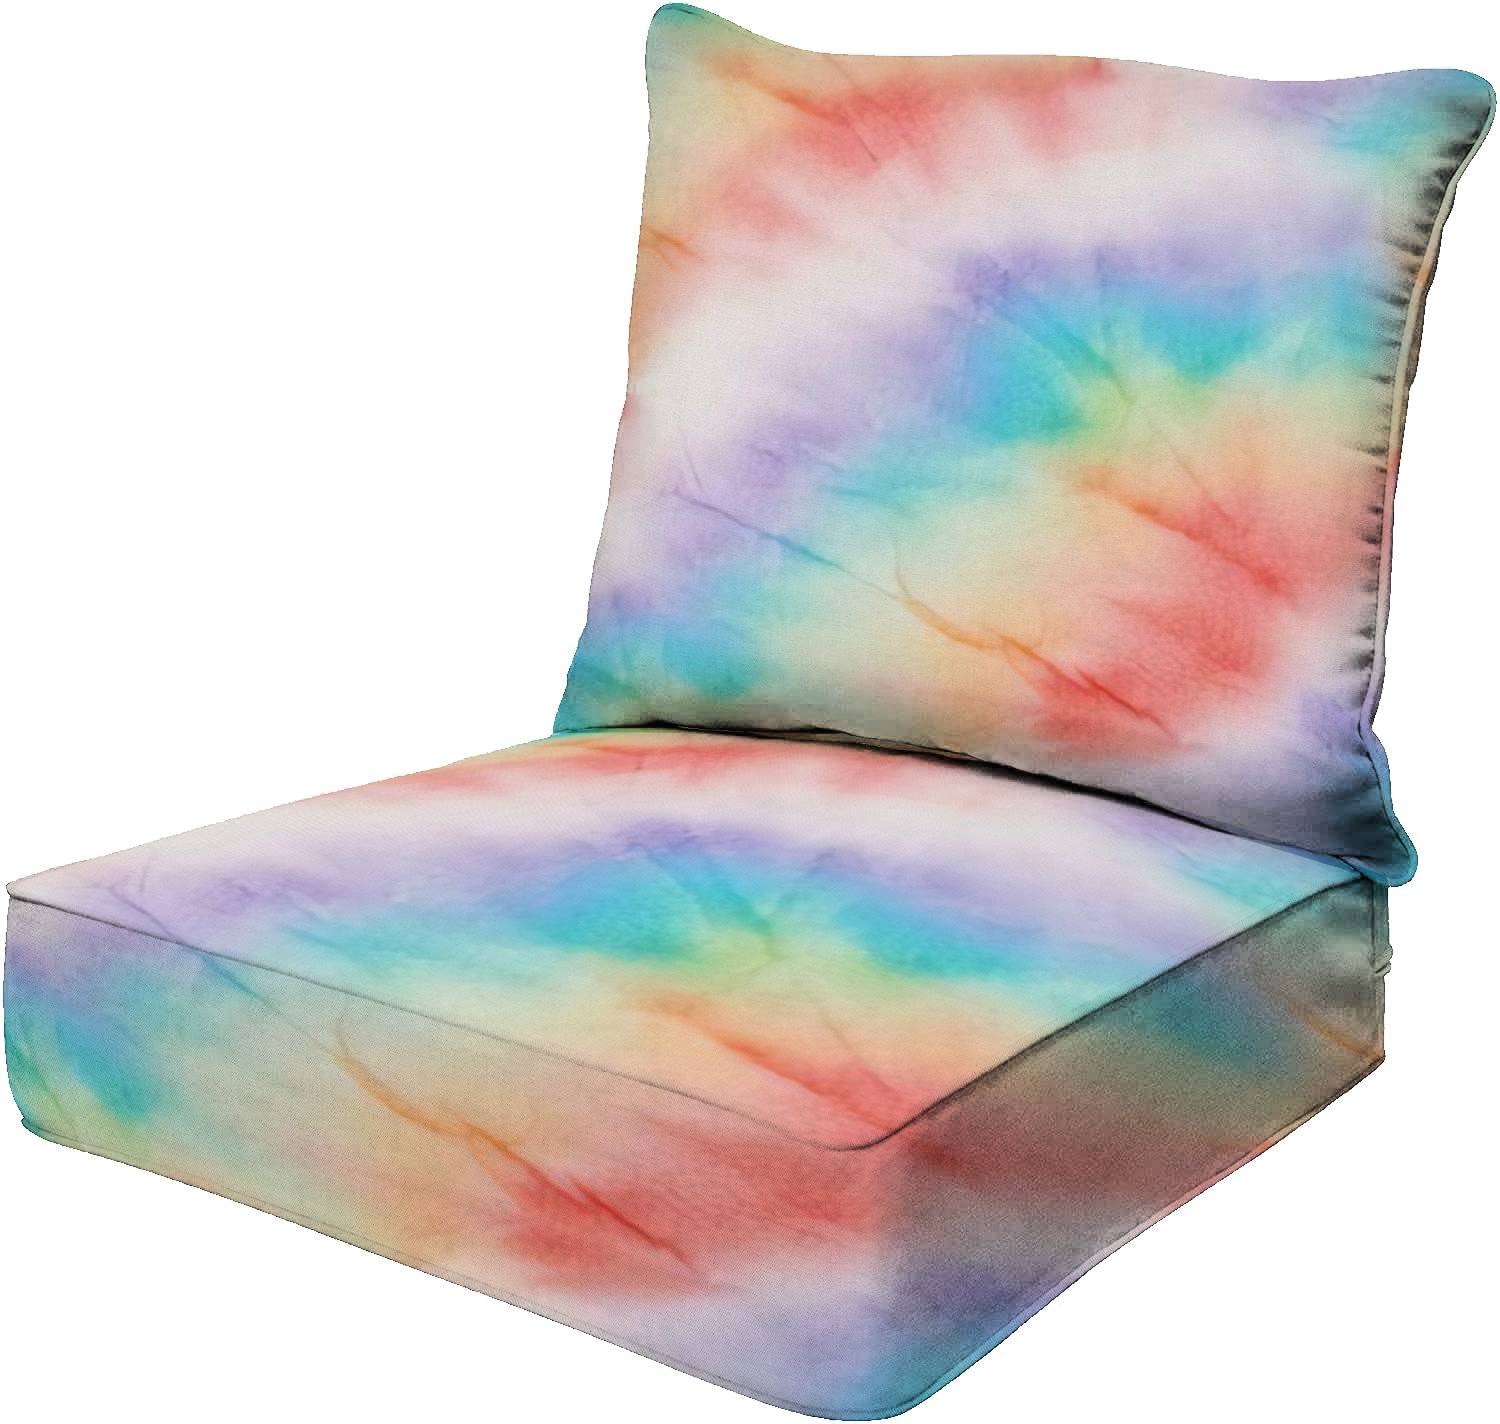
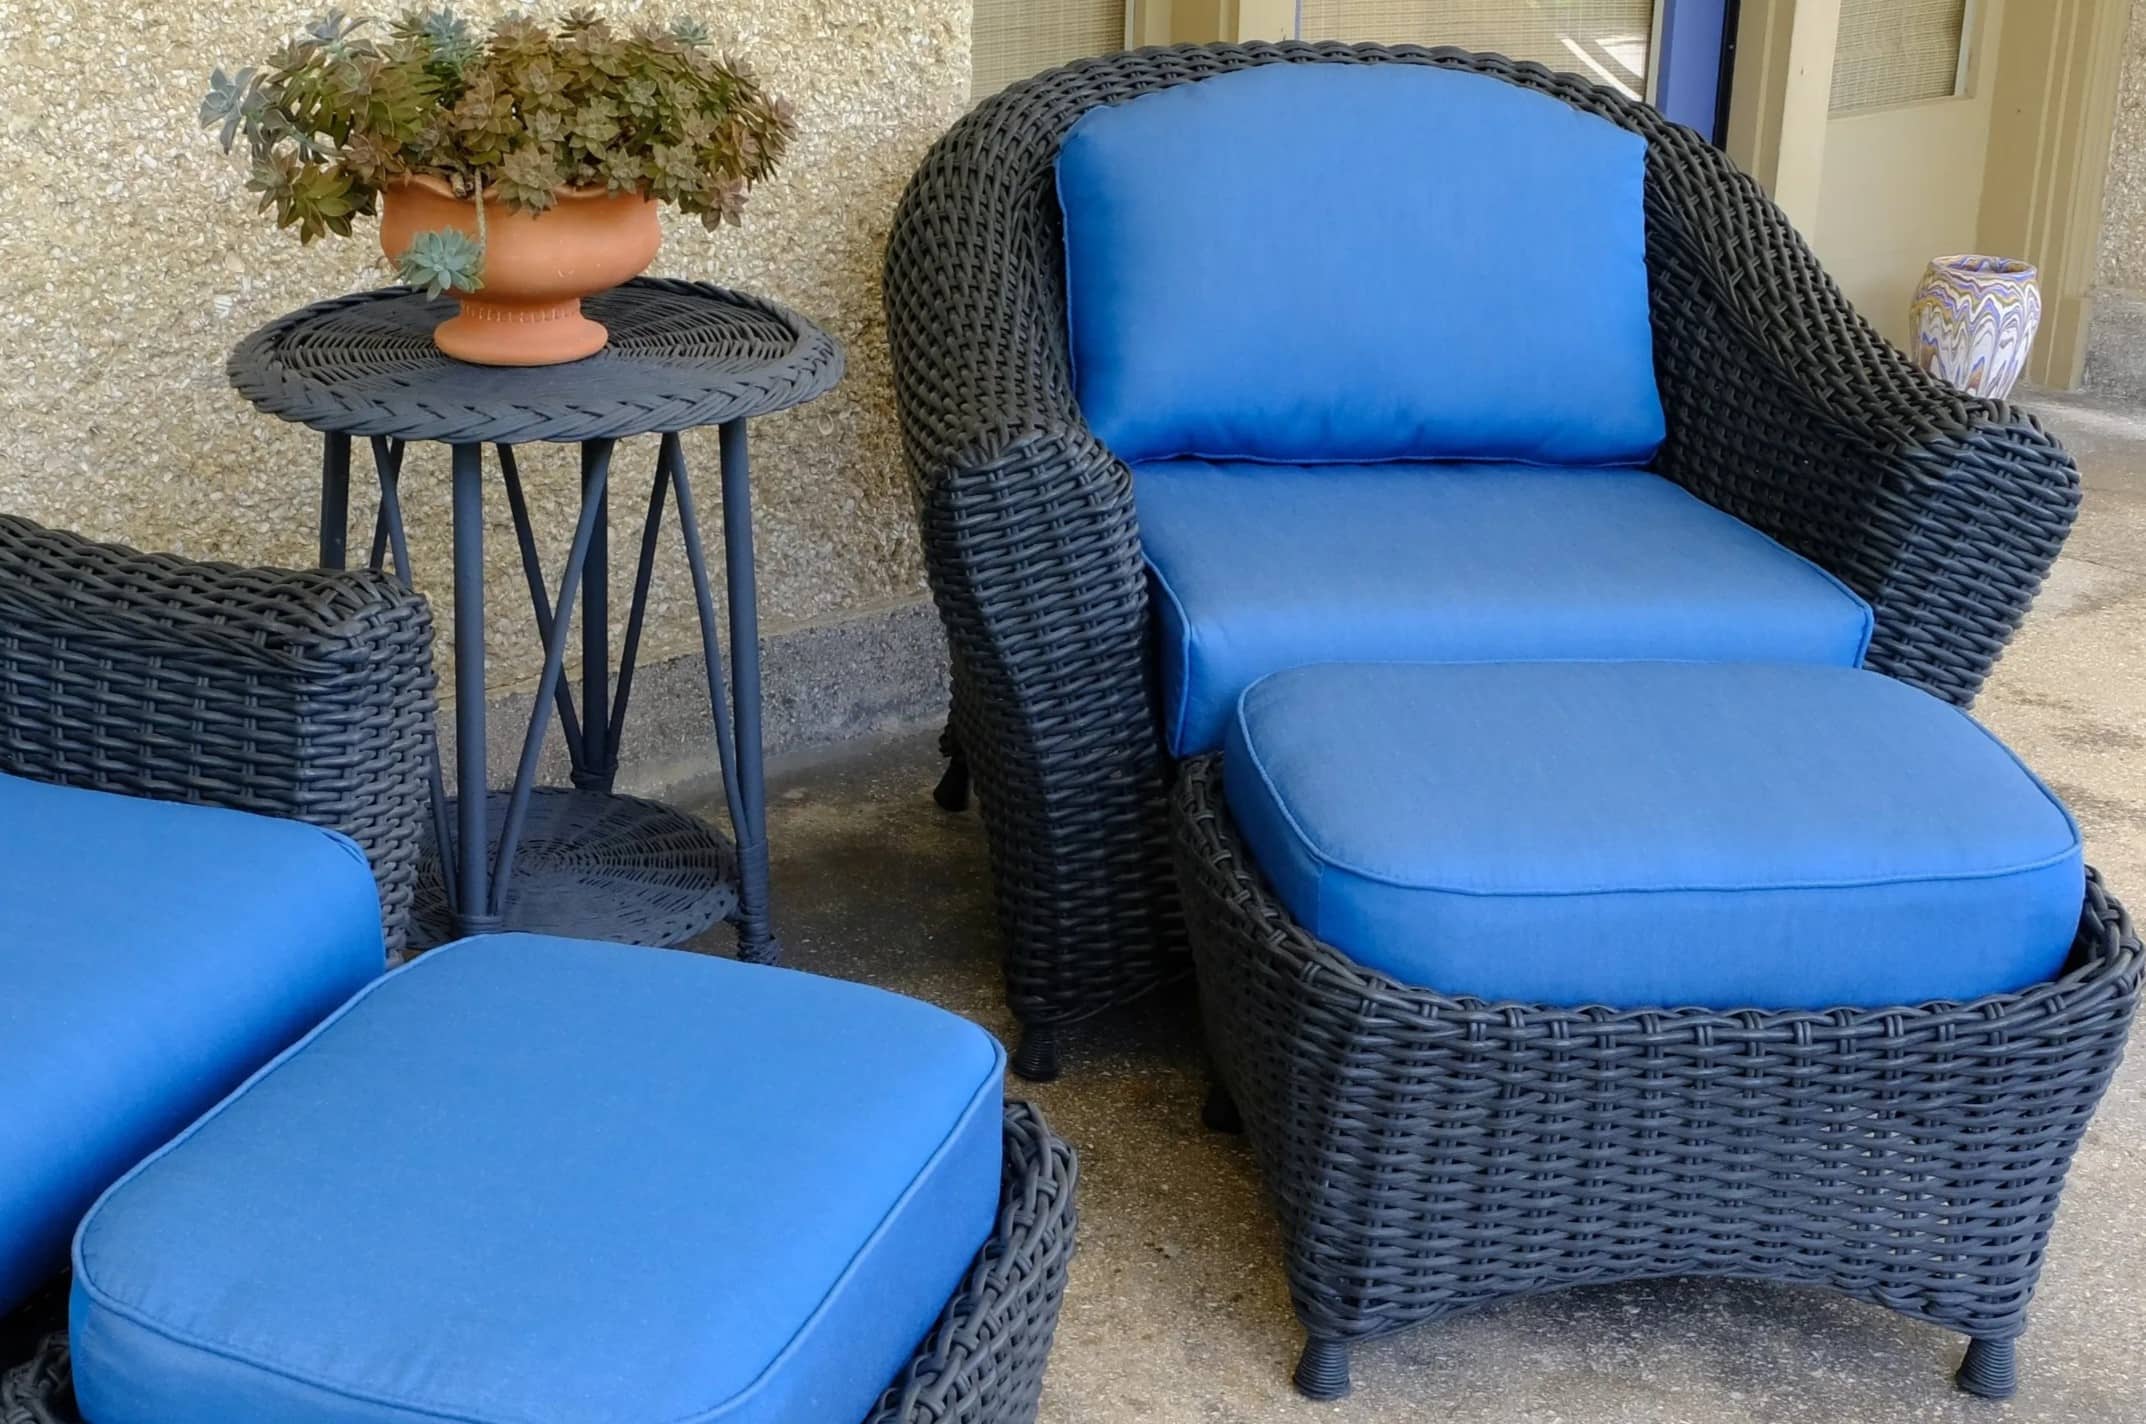
How To Dye Seat Cushions
Modified: March 16, 2024
Learn how to dye seat cushions and transform your living room furniture with our step-by-step guide. Enhance your space with a pop of color!
(Many of the links in this article redirect to a specific reviewed product. Your purchase of these products through affiliate links helps to generate commission for Storables.com, at no extra cost. Learn more)
Introduction
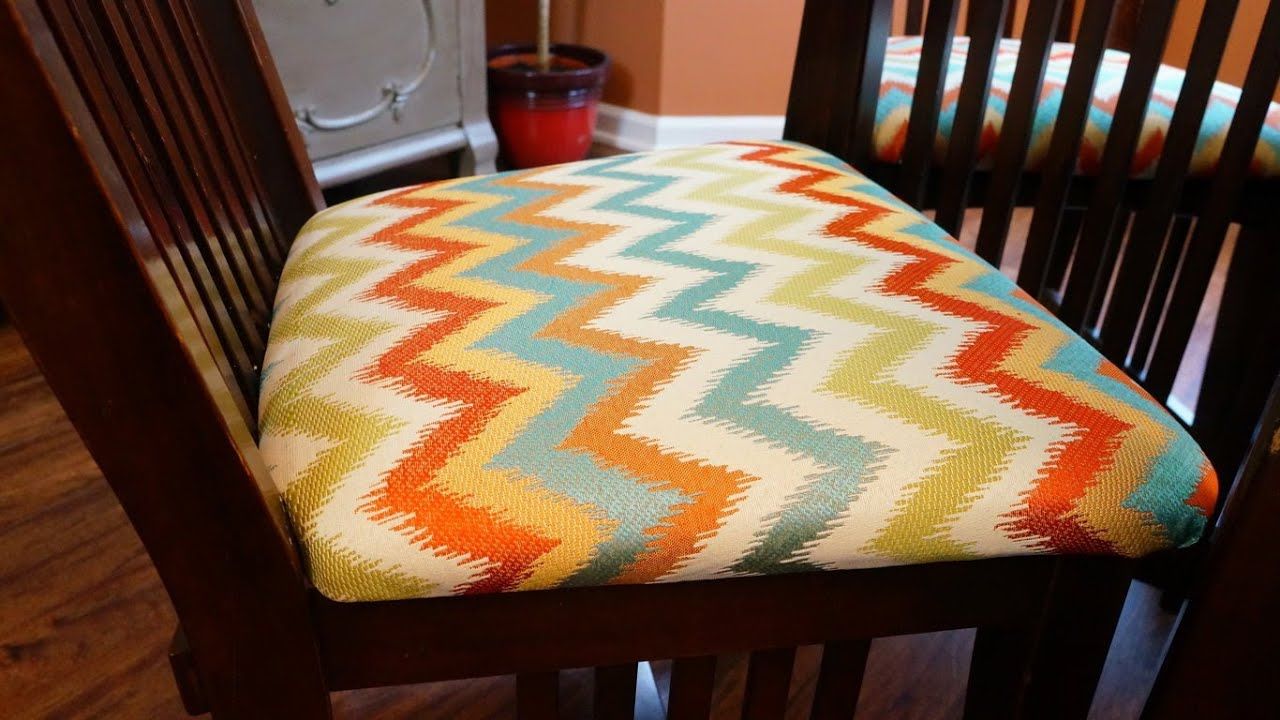
Welcome to our comprehensive guide on how to dye seat cushions. Are your seat cushions worn out or outdated? Tired of the same old look and want to give your living room furniture a fresh and vibrant makeover? Dyeing your seat cushions can be a fantastic solution to revitalizing your living space without breaking the bank.
Dyeing seat cushions not only allows you to customize the color to match your decor, but it can also extend the lifespan of your furniture. So, whether you want to transform your faded cushions into bold statement pieces or simply refresh the existing color, this tutorial will provide you with step-by-step instructions on how to achieve professional-looking results.
Before we begin, it’s important to note that the specific dyeing process may vary depending on the material of your seat cushions. In this guide, we will focus on dyeing fabric seat cushions, as this is the most common type. Let’s get started!
Key Takeaways:
- Revitalize your living room furniture by dyeing seat cushions to match your decor and extend their lifespan. Follow step-by-step instructions for professional-looking results.
- Choose the right dye, test it on a small area, and apply it evenly to achieve vibrant and long-lasting results. Maintain your newly dyed seat cushions for a fresh and personalized living space.
Read more: How To Dye Patio Cushions
Materials and Tools Needed
Before embarking on the seat cushion dyeing project, it’s crucial to gather all the necessary materials and tools. Having everything ready beforehand will ensure a smooth and efficient process. Here’s what you’ll need:
- Fabric dye: Choose a fabric dye that is specifically formulated for the material of your seat cushions. There are various types of dyes available including liquid, powder, and spray.
- Water: You’ll need water to mix with the dye and also for rinsing during the process.
- Bucket or large basin: This will be used to mix the dye and water before soaking the cushions.
- Gloves: Protect your hands from dye stains by wearing rubber or latex gloves.
- Old clothes or apron: Dyeing can be messy, so wear clothes that you don’t mind getting stained or an apron to protect your clothing.
- Drop cloth or plastic sheet: Lay down a drop cloth or plastic sheet to protect the work surface from any accidental spills or drips.
- Paintbrush or sponge: Depending on the dye type, you may need a paintbrush or sponge to apply the dye evenly onto the seat cushions.
- Plastic wrap: This will be used to wrap the cushions after applying the dye, allowing it to set and penetrate the fabric.
- Clean cloth or towel: Keep a clean cloth or towel nearby to blot any excess dye or moisture.
- Optional: Fabric fixative or sealer: If you want to ensure the longevity of the dye job, you can consider using a fabric fixative or sealer. This will help set the color and prevent fading.
Make sure you have all these materials and tools ready before proceeding with the next steps. Now that you’re fully prepared, let’s move on to the first step: preparing the seat cushions.
Step 1: Preparing the Seat Cushions
Before you begin the dyeing process, it’s important to properly prepare your seat cushions. This will help ensure that the dye adheres evenly and the final results are satisfactory. Follow these steps to prepare your seat cushions:
- Remove the seat cushions from the furniture: Take off the seat cushions and set them aside on a clean surface.
- Clean the seat cushions: Use a vacuum cleaner or brush attachment to remove any dust, dirt, or debris from the cushions. If there are any stains, gently spot clean them with a mild detergent and water, and allow the cushions to dry completely before proceeding.
- Check the care instructions: Refer to the care label on the seat cushions to ensure they are suitable for dyeing. Some fabrics may not be compatible with certain dyes, so it’s essential to follow the manufacturer’s recommendations.
- Protect the surrounding areas: Place a drop cloth or plastic sheet beneath the seat cushions to protect the work surface from any accidental spills or drips.
- Prepare the workspace: Set up a well-ventilated area for dyeing. If you are working indoors, open windows or turn on fans to promote air circulation.
By following these preparation steps, you’ll create an ideal environment for the dyeing process and ensure the best possible results. Once your seat cushions are clean and your workspace is ready, you can proceed to the next step: choosing the dye.
Step 2: Choosing the Dye
Choosing the right dye is crucial for achieving the desired color and ensuring long-lasting results. There are several factors to consider when selecting a dye for your seat cushions. Here’s a guide to help you make an informed decision:
- Type of dye: There are different types of fabric dyes available, such as synthetic dyes, natural dyes, and fiber-reactive dyes. Synthetic dyes, like Rit Dye, are commonly used for DIY projects and offer a wide range of colors. Natural dyes, derived from plant-based materials, provide a more eco-friendly option. Fiber-reactive dyes are known for their colorfastness and vibrant results.
- Color selection: Consider the color you want to achieve. Whether you prefer a bold and dramatic shade or a subtle and soft tone, the dye color should complement your existing decor. Keep in mind that the original color of the cushion fabric may affect the final result, so choose a dye color that will work well with it.
- Material compatibility: Ensure that the dye you select is suitable for the fabric of your seat cushions. Different dyes work best on specific materials, such as cotton, linen, polyester, or blends. Read the packaging or consult the manufacturer’s instructions to confirm compatibility.
- Quantity of dye: Depending on the size and number of your seat cushions, estimate the amount of dye required. Follow the instructions on the dye packaging to determine the appropriate dye-to-water ratio.
- Special features: Some dyes may have special features, such as being fade-resistant, colorfast, or suitable for use in washing machines. Consider these features based on your needs and preferences.
Take your time to research and select the most suitable dye for your seat cushions. Once you have chosen the dye, it’s time to move on to the next step: testing the dye on a small area of the fabric.
Step 3: Testing the Dye on a Small Area
Before applying the dye to the entire seat cushion, it’s important to test it on a small, inconspicuous area of the fabric. Testing the dye helps you determine the color intensity, penetration, and any potential reactions with the fabric. Follow these steps to conduct a dye test:
- Choose a small area: Select a discreet section of the seat cushion, such as the underside or an inner seam, to perform the test.
- Prepare the dye: Mix the dye according to the manufacturer’s instructions. Use the correct dye-to-water ratio to achieve the desired color intensity.
- Apply the dye: Using a paintbrush or sponge, apply a small amount of the dye to the test area. Ensure even coverage and saturation of the fabric.
- Allow the dye to set: Follow the recommended set time provided by the dye manufacturer. Typically, this can range from a few minutes to an hour, depending on the dye type.
- Rinse and evaluate: After the set time, rinse the test area thoroughly with water to remove any excess dye. Gently blot the area dry with a clean cloth or towel. Evaluate the color and check for any undesirable reactions, such as bleeding, fading, or inconsistent coverage.
- Assess the results: Examine the test area under different lighting conditions to ensure that the color is to your liking. If you are satisfied with the results and there are no adverse reactions, you can proceed to dye the entire seat cushion.
Testing the dye on a small area allows you to make any necessary adjustments or changes before committing to dyeing the entire cushion. It helps you avoid any potential surprises or disappointments. Once you are confident with the test results, move on to the exciting step of applying the dye to the seat cushions.
Read more: How To Dye Patio Furniture Cushions
Step 4: Applying the Dye to the Seat Cushions
Now that you have tested the dye and confirmed its suitability, it’s time to apply it to the entire surface of your seat cushions. Follow these steps to ensure the dye is applied evenly and achieves the desired color:
- Prepare the dye mixture: Mix the dye according to the manufacturer’s instructions, using the recommended dye-to-water ratio. Stir the mixture well to ensure the dye is thoroughly dissolved.
- Protect your hands: Put on rubber or latex gloves to protect your hands from dye stains.
- Apply the dye: Dip a paintbrush or sponge into the dye mixture and start applying it to the fabric of the seat cushion. Work in small sections, ensuring even coverage and saturation. Use long, smooth strokes to distribute the dye and avoid overlapping brush marks.
- Work from the center outwards: Start in the center of the cushion and work your way towards the edges. This will help prevent any excess dye from pooling at the edges or seams.
- Multiple coats (if necessary): Depending on the desired color intensity, you may need to apply multiple coats of dye. Allow each coat to dry before applying the next one. This will help achieve a more vibrant and opaque result.
- Flip and repeat: Once one side of the seat cushion is dyed and dry, flip it over and repeat the dyeing process on the other side.
Ensure that the entire surface of the seat cushion is evenly coated with the dye. Take your time and be thorough during this step to achieve consistent and professional-looking results. Once you’ve applied the dye to all the seat cushions, it’s time to allow the dye to set and penetrate the fabric. Proceed to the next step to learn how.
Before dyeing seat cushions, make sure to clean them thoroughly to remove any dirt or stains. Use a dye specifically made for fabric and follow the instructions carefully for best results.
Step 5: Allowing the Dye to Set
After applying the dye to the seat cushions, it’s crucial to allow the dye to set and penetrate the fabric. This step ensures long-lasting color and prevents the dye from easily washing out. Follow these guidelines to properly set the dye:
- Wrap the cushions: Once the dye is applied, wrap each seat cushion tightly in plastic wrap. This helps to keep the dye in contact with the fabric and prevents it from drying out.
- Let it sit: Place the wrapped seat cushions in a warm and dry area, ideally away from direct sunlight. Allow the cushions to sit undisturbed for the recommended amount of time stated on the dye package. This can range from a few hours to overnight.
- Check color development: After the recommended set time has passed, carefully unwrap one seat cushion to check the color development. Keep in mind that the color may appear darker when wet, so it’s important to let the cushion fully dry before assessing the final color.
By allowing the dye to set, the color will deeply penetrate the fabric and become more resistant to fading and washing out. After the dye has set and the color has developed to your liking, it’s time to remove any excess dye. Move on to the next step for instructions on how to do this.
Step 6: Removing Excess Dye
Removing excess dye is an essential step to ensure that your seat cushions don’t bleed or transfer color onto other surfaces. Follow these steps to remove any excess dye on the fabric:
- Unwrap the cushions: Carefully remove the plastic wrap from each seat cushion.
- Blot with a clean cloth: Use a clean, dry cloth or paper towel to gently blot the surface of the seat cushions. This will help absorb any excess dye that may be sitting on top of the fabric.
- Rinse the cushions: Fill a sink or basin with cool water and place the seat cushions in the water. Gently agitate the cushions by hand to help remove any remaining dye particles.
- Continue rinsing: Drain the water and refill the sink or basin with clean water. Repeat the rinsing process until the water runs clear and no more dye is visible.
It’s important to note that not all dyes require rinsing. Some dyes, especially those labeled as colorfast, may not require rinsing. Always refer to the dye manufacturer’s instructions for specific guidance.
Once you’ve removed the excess dye, it’s time to dry the seat cushions. Proceed to the next step to learn how to do this properly.
Step 7: Drying the Seat Cushions
Properly drying the seat cushions is crucial to ensure that the dye sets completely and the fabric remains in good condition. Follow these steps to effectively dry your seat cushions:
- Gently squeeze out excess water: After rinsing the seat cushions, gently squeeze out any excess water. Avoid wringing or twisting the cushions, as this can cause them to lose their shape.
- Blot with a towel: Lay a clean, absorbent towel on a flat surface and place the damp seat cushions on top. Fold the towel over the cushions and press down gently to absorb additional moisture.
- Air drying: Allow the seat cushions to air dry completely in a well-ventilated area. Avoid direct sunlight, as prolonged exposure can fade the color and damage the fabric.
- Fluff and reshape: Once the cushions are dry, fluff and reshape them to restore their original form. Gently knead and manipulate the fabric to reinstate the cushion’s plumpness.
Make sure that the seat cushions are fully dry before placing them back on your furniture. Damp cushions may lead to mold or mildew growth, which can damage both the cushions and your furniture.
With the seat cushions dry and ready, you’re almost done! In the next step, we’ll discuss some finishing touches and final steps to complete the dyeing process.
Read more: How To Reupholster Seat Cushions
Step 8: Finishing Touches and Final Steps
As you near the completion of the seat cushion dyeing process, there are a few finishing touches and final steps to consider. Follow these guidelines to add those extra touches and ensure a polished outcome:
- Inspect for any touch-ups: Once the seat cushions are dry, carefully inspect them for any areas that may need touch-ups. If there are any spots where the dye coverage is uneven or not to your liking, you can apply additional dye to those specific areas.
- Apply fabric fixative or sealer (optional): If you want to enhance the durability and colorfastness of the dye job, consider using a fabric fixative or sealer. These products help set the dye and prevent it from fading or bleeding. Follow the manufacturer’s instructions for application.
- Reattach the seat cushions: Once you are satisfied with the dye color and the final touch-ups, reattach the seat cushions to their respective furniture pieces.
- Clean up your workspace: Before putting away all the materials and tools, take a moment to clean up your workspace. Dispose of any plastic wrap or used dye mixture properly. Clean the brushes or sponges as per the manufacturer’s recommendations.
By completing these final steps, you’ll ensure that your seat cushions have a professional finish and are ready to be enjoyed in your living space. Take a step back and admire the transformation you’ve accomplished!
To maintain the beauty and longevity of your newly dyed seat cushions, keep reading for some helpful tips on maintenance.
Tips for Maintaining the Dye Job
Now that you’ve successfully dyed your seat cushions, it’s important to follow some maintenance tips to keep them looking vibrant and beautiful for years to come. Here are some helpful tips for maintaining the dye job:
- Avoid direct sunlight: Prolonged exposure to direct sunlight can cause the dye to fade over time. Whenever possible, position your furniture away from direct sunlight or use curtains or blinds to block out harsh rays.
- Regularly clean your seat cushions: Dirt and debris can settle on the fabric, making the colors appear dull. Regularly vacuum or brush your seat cushions to remove any surface dust. Spot clean any spills or stains promptly using a mild detergent and water.
- Follow manufacturer instructions for washing: If your seat cushions are machine washable, make sure to follow the specific washing instructions provided by the manufacturer. Use gentle detergents, cool water, and avoid any harsh washing cycles or strong agitation that may cause the dye to fade or bleed.
- Avoid abrasive cleaning methods: Harsh scrubbing or abrasive cleaning methods can damage the fabric and affect the dye. Use a gentle touch when cleaning your seat cushions, and avoid using harsh chemicals or bleach.
- Consider using fabric protectors: To further protect your newly dyed seat cushions, you can apply a fabric protector spray. This will help repel spills and stains, making them easier to clean and maintain.
- Rotate the cushions periodically: To ensure even wear and prevent excessive fading in specific areas, periodically rotate the seat cushions. This will help distribute the use and exposure to sunlight more evenly.
- Handle with care: When moving or arranging your seat cushions, handle them with care to avoid snagging or tearing the fabric. Sharp objects or rough edges can cause damage to the dye and the fabric.
- Store cushions properly: If you need to store your seat cushions for an extended period, make sure they are clean and completely dry before storing them in a cool, dry place. Avoid storing them in direct sunlight or in a damp environment to prevent mold or mildew growth.
By following these maintenance tips, you can extend the lifespan of your newly dyed seat cushions and keep them looking fresh and vibrant.
Congratulations on completing the seat cushion dyeing process! Enjoy your transformed living room furniture and the renewed atmosphere it brings.
Conclusion
Reviving your living room furniture by dyeing your seat cushions can breathe new life into your space. With the step-by-step guide we’ve provided, you now have the knowledge and tools to transform your worn-out or outdated seat cushions into vibrant and eye-catching focal points.
Throughout this article, we discussed the materials and tools needed for the dyeing process, as well as how to prepare the seat cushions and choose the right dye. We also covered the importance of testing the dye on a small area and provided instructions on how to apply the dye evenly.
Additionally, we discussed the importance of allowing the dye to set, removing excess dye, and properly drying the seat cushions. We offered some extra tips for finishing touches and final steps to ensure a professional outcome. Lastly, we shared valuable tips for maintaining the dye job and keeping your seat cushions looking their best.
Remember to always follow the manufacturer’s instructions and consider the specific needs of your seat cushions when dyeing and maintaining them. Take the time to properly prepare, test, and apply the dye to achieve the best results.
Now, armed with this knowledge and a bit of creativity, it’s time to unleash your inner designer and give your living room furniture a stunning and personalized touch. Share your newly dyed seat cushions with friends and family, and bask in the joy of creating a space that truly reflects your style and personality.
Frequently Asked Questions about How To Dye Seat Cushions
Was this page helpful?
At Storables.com, we guarantee accurate and reliable information. Our content, validated by Expert Board Contributors, is crafted following stringent Editorial Policies. We're committed to providing you with well-researched, expert-backed insights for all your informational needs.

0 thoughts on “How To Dye Seat Cushions”