Furniture
How To Dye Lamp Shades
Modified: August 27, 2024
Learn how to dye lamp shades to transform your furniture. Bring new life to your old lamp shades with our easy step-by-step guide.
(Many of the links in this article redirect to a specific reviewed product. Your purchase of these products through affiliate links helps to generate commission for Storables.com, at no extra cost. Learn more)
Introduction
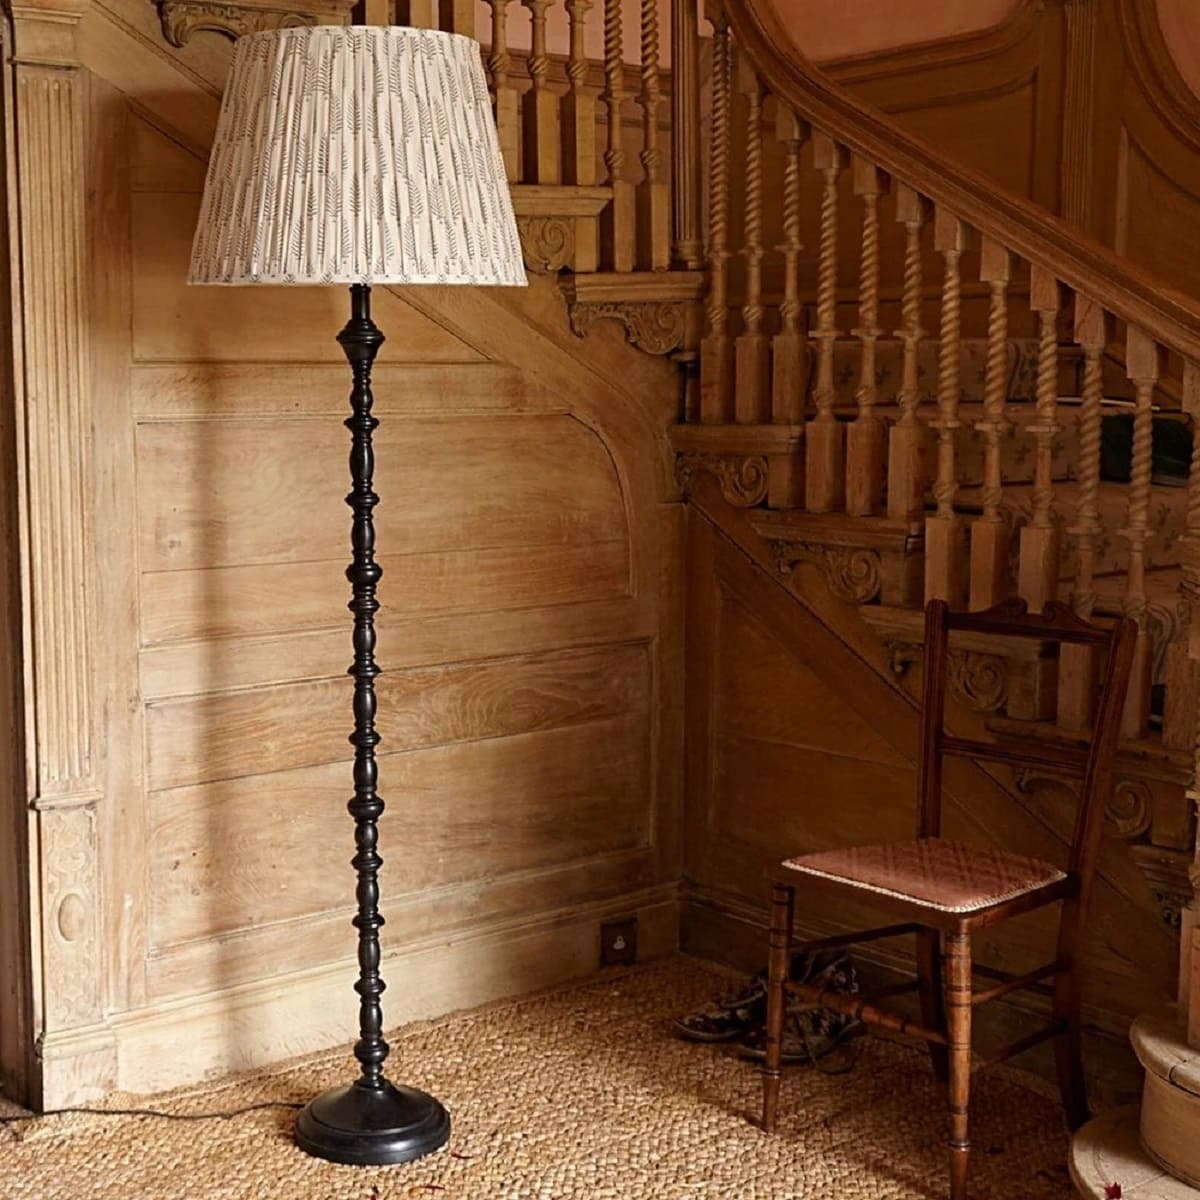
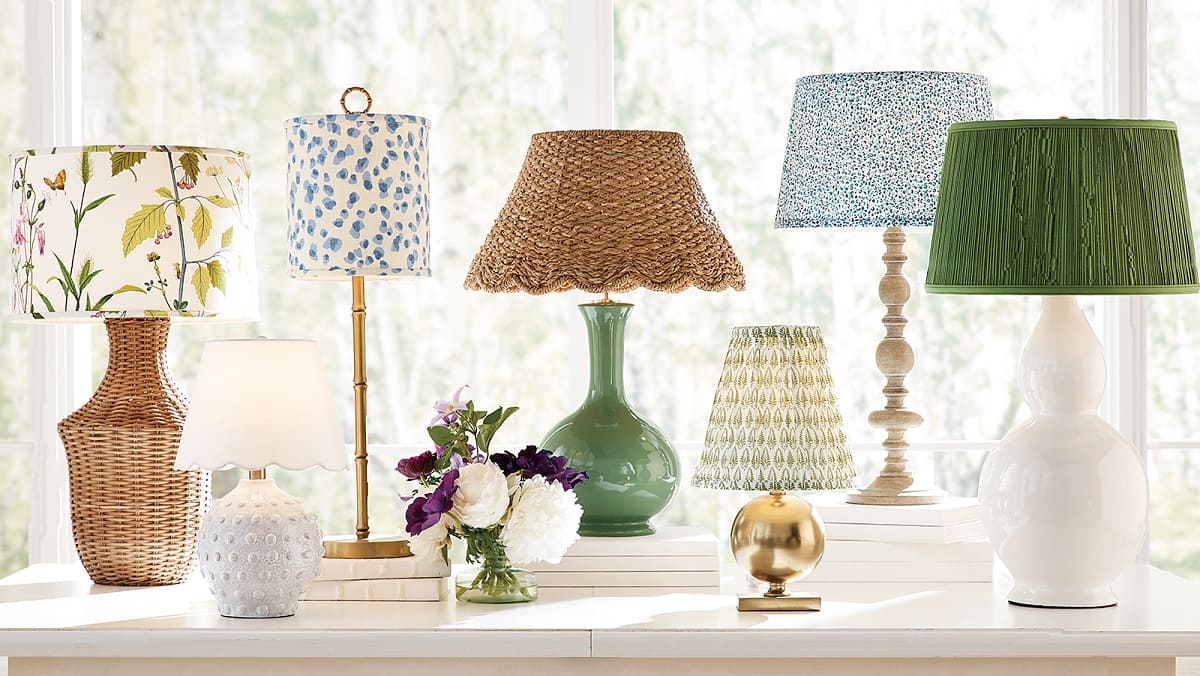
Welcome to the world of DIY lamp shade transformation! If you’re looking to give your old lamp shades a new lease on life, dying them is a fantastic option. Dyeing lamp shades allows you to personalize your home decor and create a unique look that matches your style. Whether you want to create a vibrant focal point or a subtle, refined accent, dyeing lamp shades can be a fun and fulfilling project.
In this article, we’ll guide you through the process of dyeing lamp shades step by step. From preparing the lamp shade to selecting the right dye and applying it, we’ll cover all the essential tips and techniques to achieve beautiful and long-lasting results.
Before we dive into the exciting world of lamp shade dyeing, it’s important to make sure you have the necessary supplies on hand. Here’s a quick checklist of what you’ll need:
- A lamp shade
- Fabric dye in your desired color
- A large container or bucket
- Hot water
- Mild detergent
- Gloves to protect your hands
- A stirring tool (such as a wooden spoon)
- Old towels or newspapers for the drying process
Now that you have all the essential supplies, let’s get started on transforming your lamp shades into stunning focal points!
Key Takeaways:
- Transform your old lamp shades into personalized pieces of home decor by dyeing them. Select the right dye, prepare the lamp shade, and enjoy the creative process of adding your unique touch to your living space.
- Dyeing lamp shades is a fun and fulfilling DIY project that allows you to revamp your home decor with vibrant, customized accents. Embrace the endless possibilities and enjoy creating stunning, personalized lamp shades.
Read more: How To Put A Lamp Shade On
Preparing the Lamp Shade
Before you begin the dyeing process, it’s important to properly prepare your lamp shade to ensure optimal results. Here are the steps to follow:
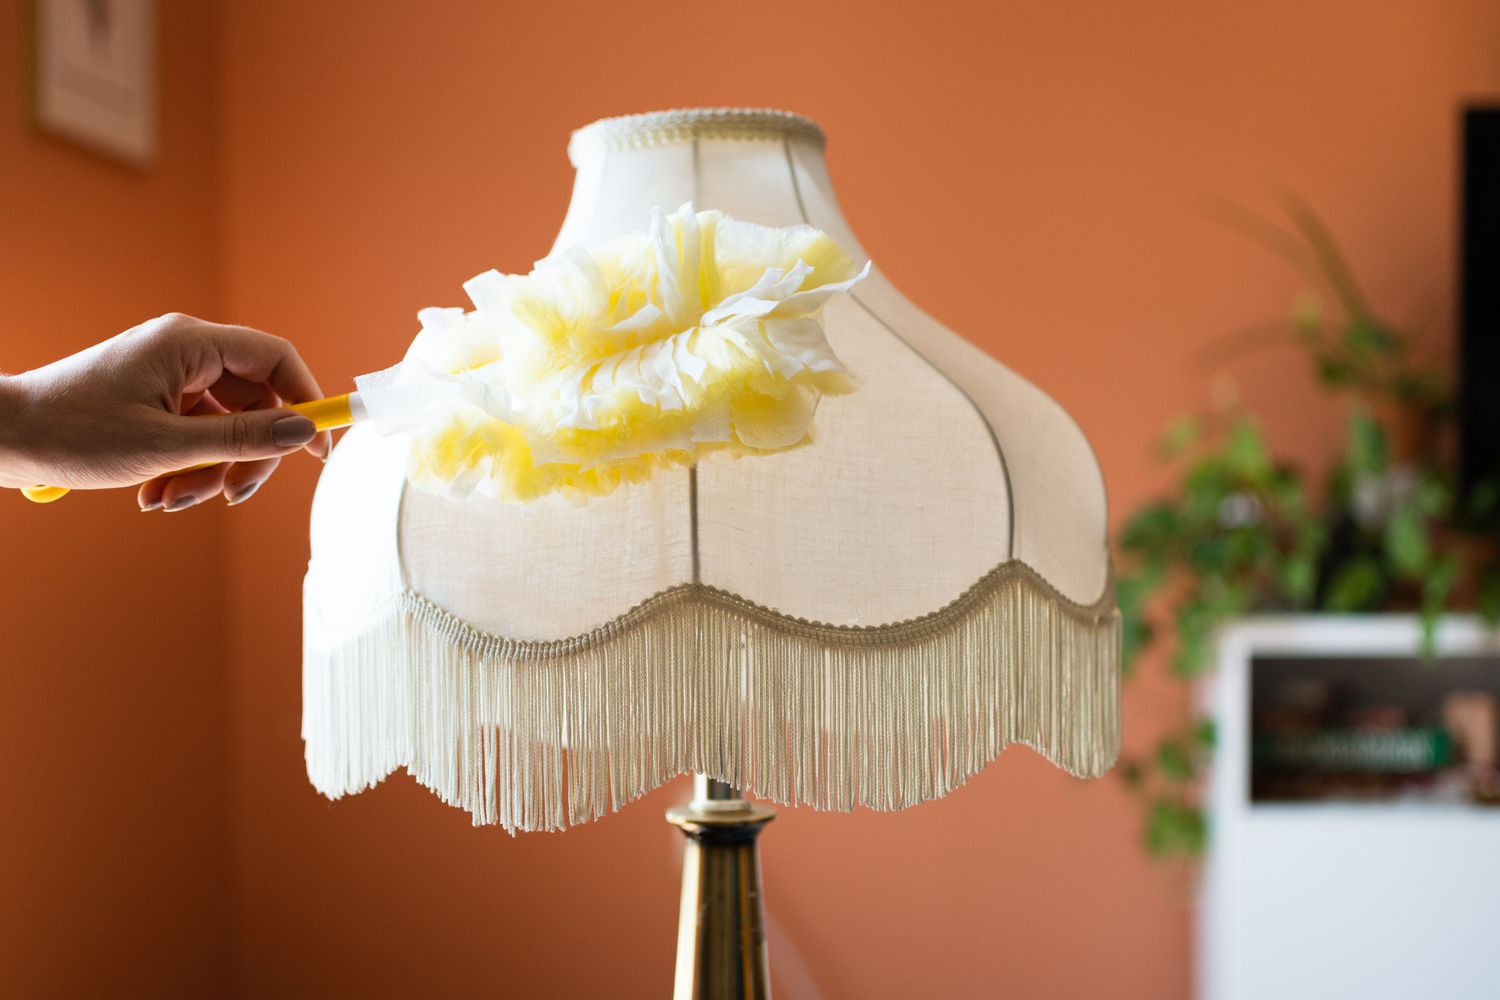
- Remove any dust and debris: Start by gently dusting off the lamp shade with a soft cloth or brush. This will help create a clean surface for the dye to adhere to.
- Inspect for stains or damage: Take a close look at your lamp shade to identify any stains, discoloration, or damage. If you notice any stains, try spot cleaning them with a mild detergent and water. For more stubborn stains, you may need to consider replacing the affected area or choosing a darker dye color to camouflage the imperfections.
- Prepare the lamp and workspace: Ensure that your lamp is unplugged and remove the bulb and lamp harp (the metal wire that holds the lamp shade). Set up your workspace in a well-ventilated area and cover the surface with old towels or newspapers to protect it from potential dye splatters.
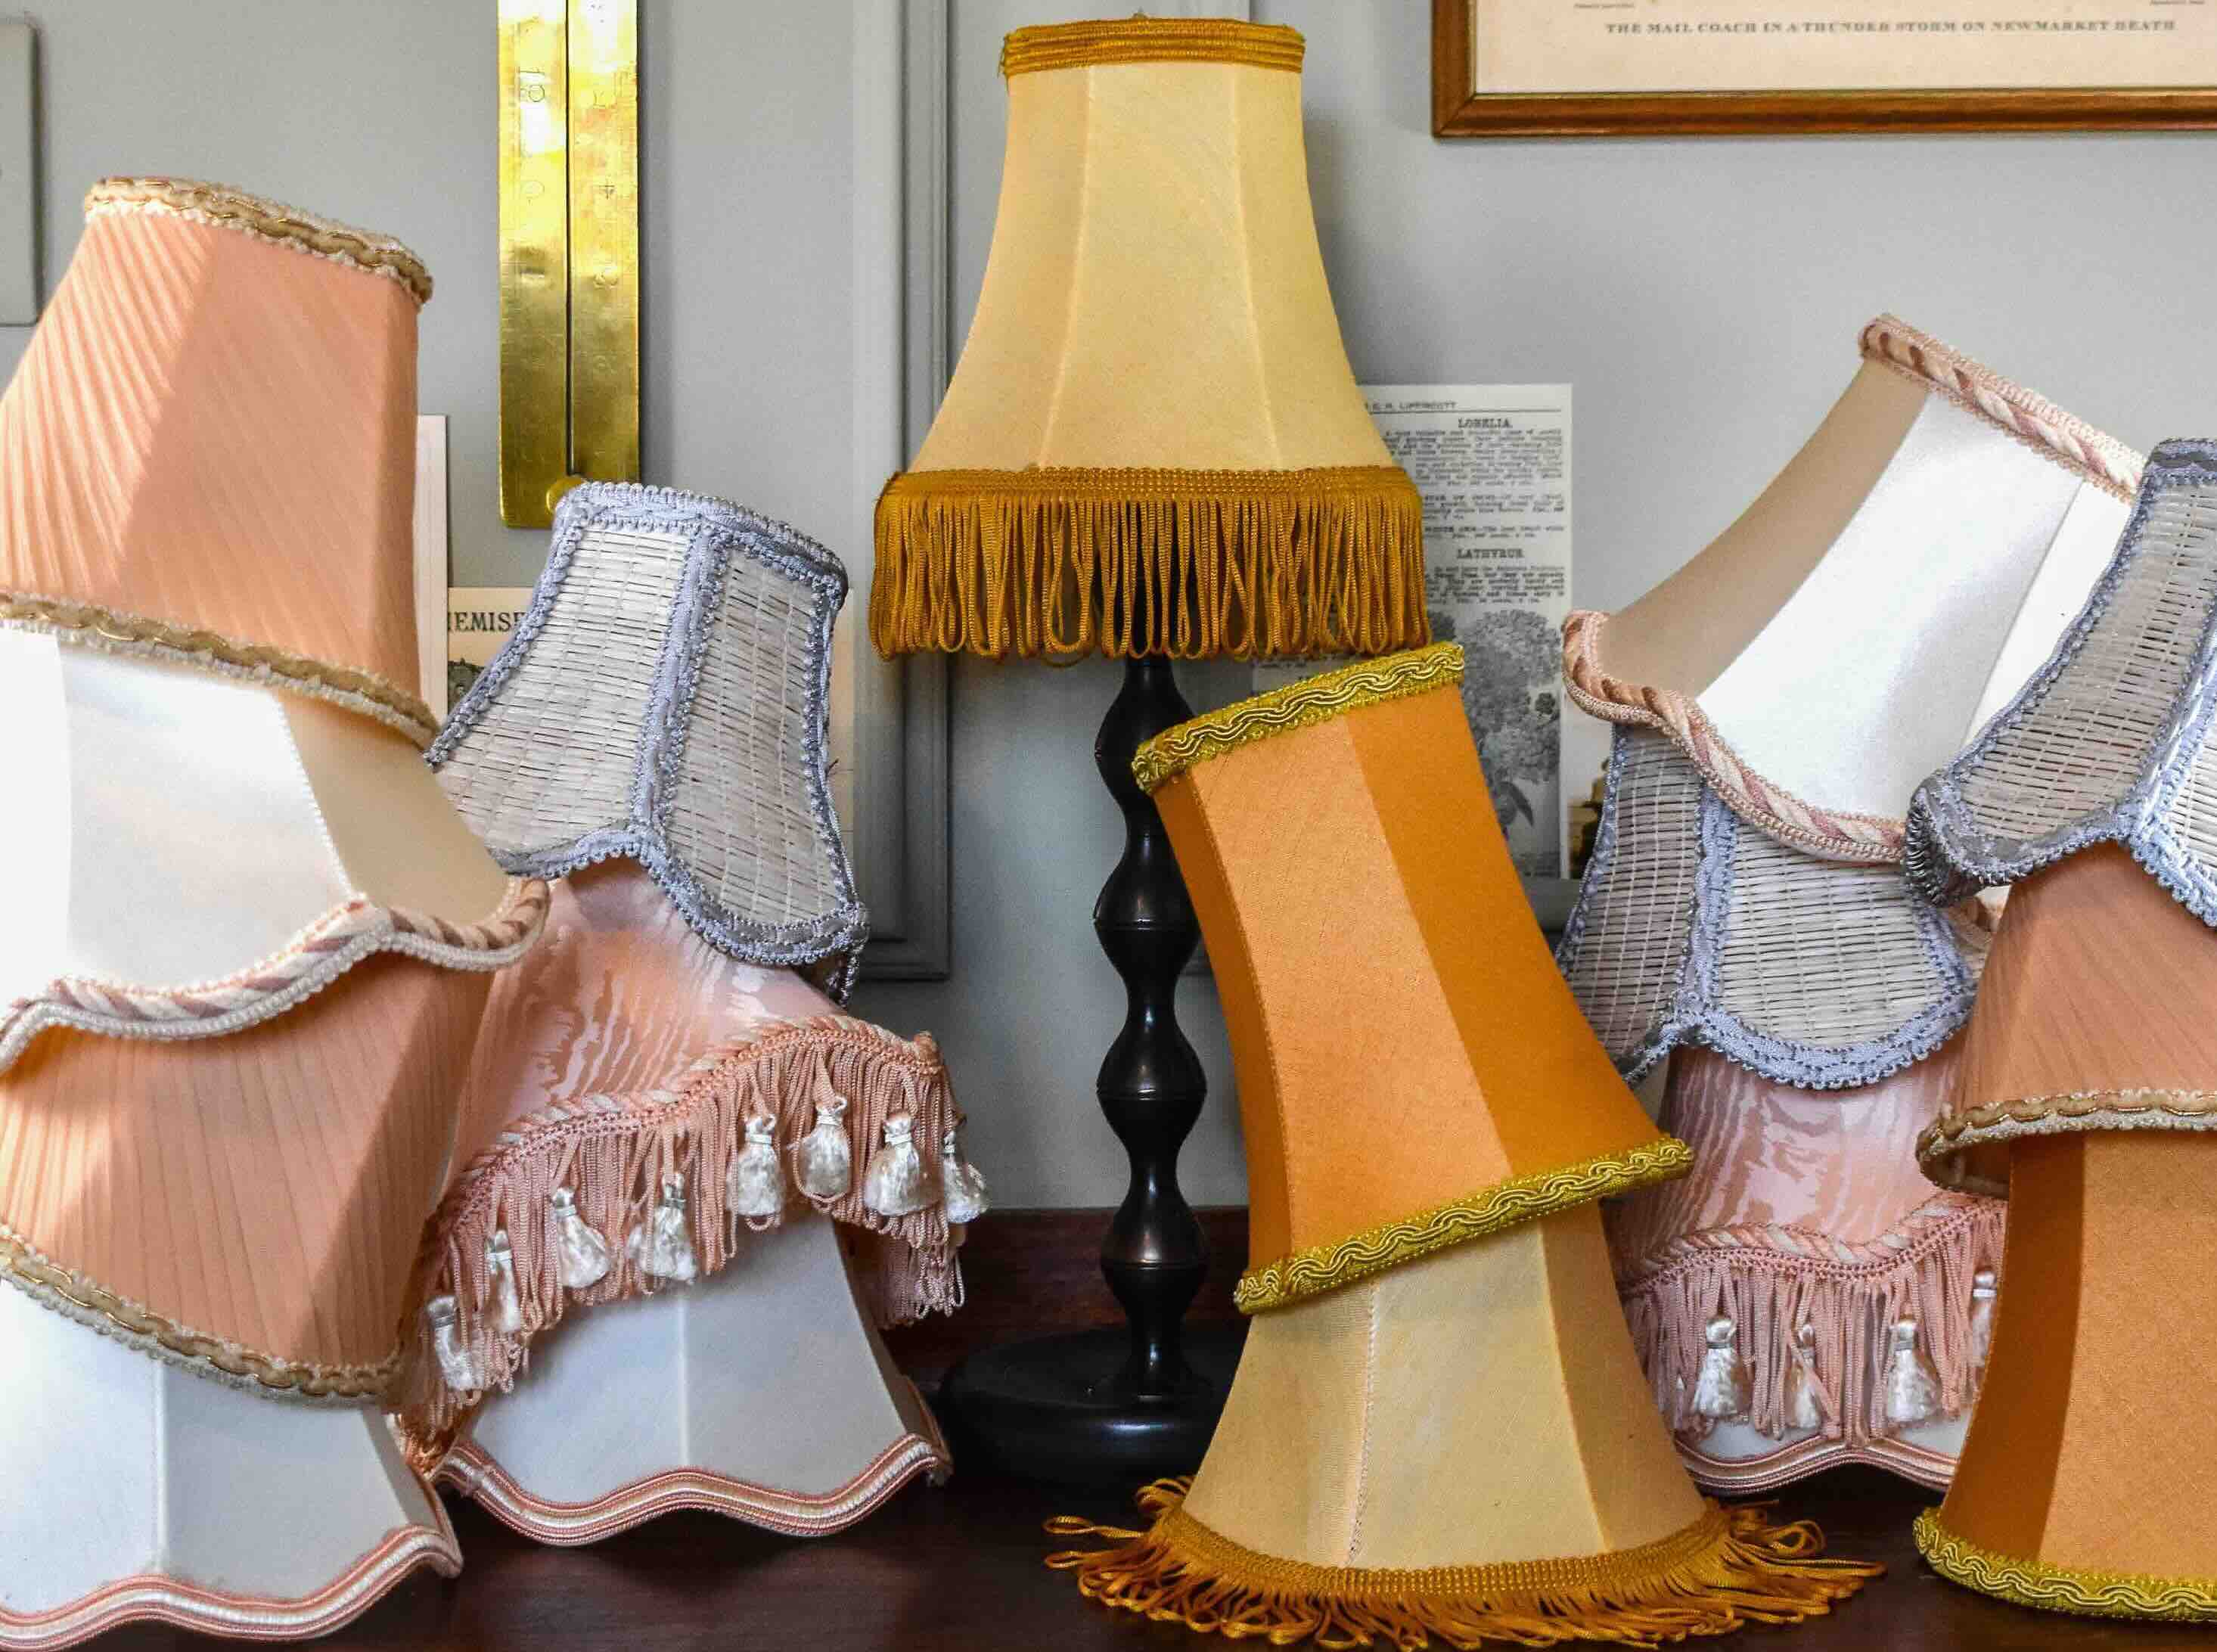
- Detach any decorative elements: If your lamp shade has any detachable decorative elements, such as trim or fringe, carefully remove them before dyeing. This will prevent them from accidentally getting stained or damaged during the process. You can reattach them later once the dyeing is complete.
By following these preparation steps, you’ll ensure that your lamp shade is clean and ready for the dyeing process. Now that your lamp shade is prepped, it’s time to move on to the exciting part – choosing the right dye!
Choosing the Right Dye
When it comes to dyeing lamp shades, selecting the right dye is crucial for achieving the desired color and effect. Here are a few factors to consider when choosing a dye:
- Type of dye: There are various types of dyes available for fabric, including liquid dyes, powder dyes, and spray dyes. Liquid dyes are commonly used for lamp shade dyeing as they provide more even and consistent results. Powder dyes can also be used, but they require careful mixing to ensure proper saturation.
- Fabric compatibility: Consider the material of your lamp shade when selecting a dye. Different dyes are suitable for different fabrics, so make sure to choose one that is compatible with your lamp shade material. If you’re unsure, check the label on the dye packaging or consult with a sales associate for recommendations.
- Color intensity: Determine the desired color intensity for your lamp shade. Some dyes offer bold, vibrant colors, while others provide more muted and subtle shades. Keep in mind that the final color may vary depending on the original color of your lamp shade and the dye concentration.
- Dyeing technique: Consider the dyeing technique you plan to use. If you want to achieve an ombre effect or create patterns on your lamp shade, opt for a dye that allows for easy blending and layering.
- Dye quantity: Estimate the amount of dye you’ll need based on the size of your lamp shade. It’s better to have extra dye on hand to ensure full saturation rather than running out in the middle of the process.
Take your time to explore different dye options and compare their features and colors. You can also experiment with mixing different dyes to create custom shades. Once you’ve chosen the perfect dye, it’s time to mix the dye solution and start the dyeing process.
Mixing the Dye Solution
Now that you’ve chosen the right dye for your lamp shade, it’s time to mix the dye solution. Follow these steps to ensure a well-mixed and effective dye solution:
- Read the dye instructions: Carefully read the instructions provided with your dye to understand the recommended dye-to-water ratio. Different dyes may have different instructions, so it’s important to follow them for optimal results.
- Prepare the dye bath: Fill a large container or bucket with hot water according to the instructions on the dye packaging. Use gloves to protect your hands from the dye and ensure that the container is large enough to fully submerge your lamp shade.
- Add the dye: Gradually add the dye to the hot water, following the recommended quantity specified in the instructions. Stir the mixture with a wooden spoon or stirring tool to evenly distribute the dye particles.
- Test the color: Before immersing your entire lamp shade in the dye bath, it’s a good idea to test the color on a small section or a spare piece of fabric. This will help you gauge the color intensity and make any necessary adjustments to the dye solution.
- Adjust the dye concentration: If you want a lighter shade, you can dilute the dye by adding more water. Conversely, if you desire a darker hue, you can add more dye. Keep in mind that the lamp shade material and its original color can also impact the final result.
Be sure to mix the dye solution thoroughly to achieve a consistent color. Once you’re satisfied with the dye concentration and have tested the color, it’s time to move on to the next exciting step: dyeing your lamp shade.
When dyeing lamp shades, make sure to choose a dye that is specifically designed for fabric. Test the dye on a small, inconspicuous area of the lamp shade first to ensure the color turns out as desired.
Dyeing the Lamp Shade
With the dye solution ready, it’s time to dye your lamp shade and bring it to life with a new color. Follow these steps to ensure a successful dyeing process:
- Immerse the lamp shade: Gently lower your lamp shade into the dye bath, ensuring that it is fully submerged. Use the wooden spoon or stirring tool to agitate the lamp shade gently, allowing the dye to penetrate the fabric evenly.
- Stir and monitor: Continuously stir the lamp shade in the dye bath to ensure that the color is evenly distributed. Keep an eye on the shade to monitor the desired color intensity. Remember that the longer you leave the lamp shade in the dye bath, the darker the color will become.
- Check the color periodically: After a few minutes of dyeing, carefully remove a small section of the lamp shade from the dye bath to check the color. If the shade is not yet the desired color, place it back in the dye bath and continue dyeing.
- Achieving ombre or gradient effect: If you’re looking to create an ombre or gradient effect on your lamp shade, you can partially immerse the shade in the dye bath, allowing only certain sections to absorb the dye. Alternatively, you can dip the lamp shade in a lighter dye concentration first and then gradually increase the dye concentration as you move up the shade.
- Be patient: The dyeing process can take some time, especially if you’re aiming for a significant color transformation. Patience is key! Allow the lamp shade to absorb the dye for the recommended duration, as specified in the dye instructions or based on your desired color intensity.
Take your time and be mindful of the dyeing process. Remember that the outcome may vary based on the original color and material of your lamp shade, as well as the dye concentration. Once you’re satisfied with the color, it’s time to proceed to the next step: drying and setting the dye.
Read more: How To Cover A Lamp Shade
Drying and Setting the Dye
After dyeing your lamp shade, it’s important to properly dry and set the dye to ensure that the color lasts and remains vibrant. Follow these steps to effectively dry and set the dye:
- Gently squeeze out excess dye: Once you’ve achieved your desired color, remove the lamp shade from the dye bath and carefully squeeze out any excess dye. Be gentle to avoid damaging the fabric or altering the dye pattern.
- Blot the lamp shade: Place the damp lamp shade on a clean, absorbent surface such as old towels or newspapers. Gently blot the shade to absorb excess moisture. Avoid rubbing or wringing the shade, as this can cause the dye to bleed or fade.
- Allow the lamp shade to air dry: Find a well-ventilated area where you can hang the lamp shade or lay it flat and allow it to air dry completely. Avoid exposing the lamp shade to direct sunlight, as this can cause fading or discoloration.
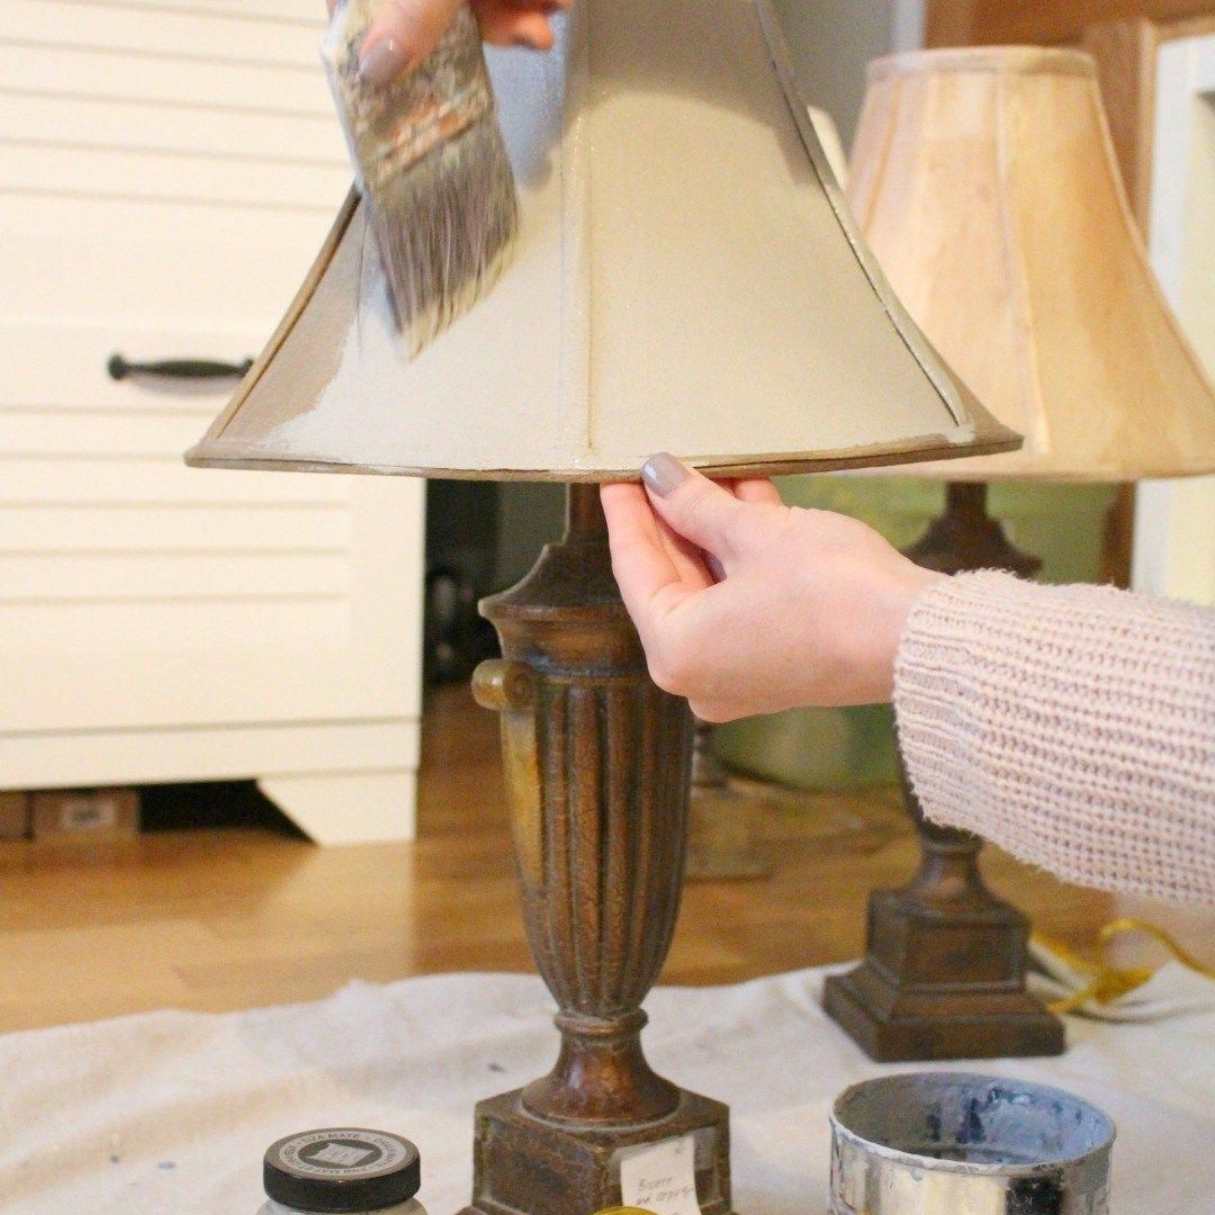
- Set the dye with heat: Once the lamp shade is dry, it’s important to set the dye to ensure longevity. Follow the instructions provided with your dye for the recommended method to set the color. This typically involves applying heat, such as using an iron or placing the shade in a dryer on a low heat setting.
- Protect the lamp shade: To maintain the color and prevent fading, avoid excessive exposure to direct sunlight. Consider using a UV-protective spray or fabric sealant to add an extra layer of protection to your newly dyed lamp shade.
By properly drying and setting the dye, you’ll help ensure that your lamp shade retains its vibrant color and remains beautiful for years to come. Now that your lamp shade is fully dried and the dye is set, it’s time to put the finishing touches on your DIY masterpiece.
Finishing Touches
Now that you have successfully dyed and dried your lamp shade, it’s time to add the finishing touches to complete your DIY project. Follow these steps to enhance the overall appearance of your lamp shade:
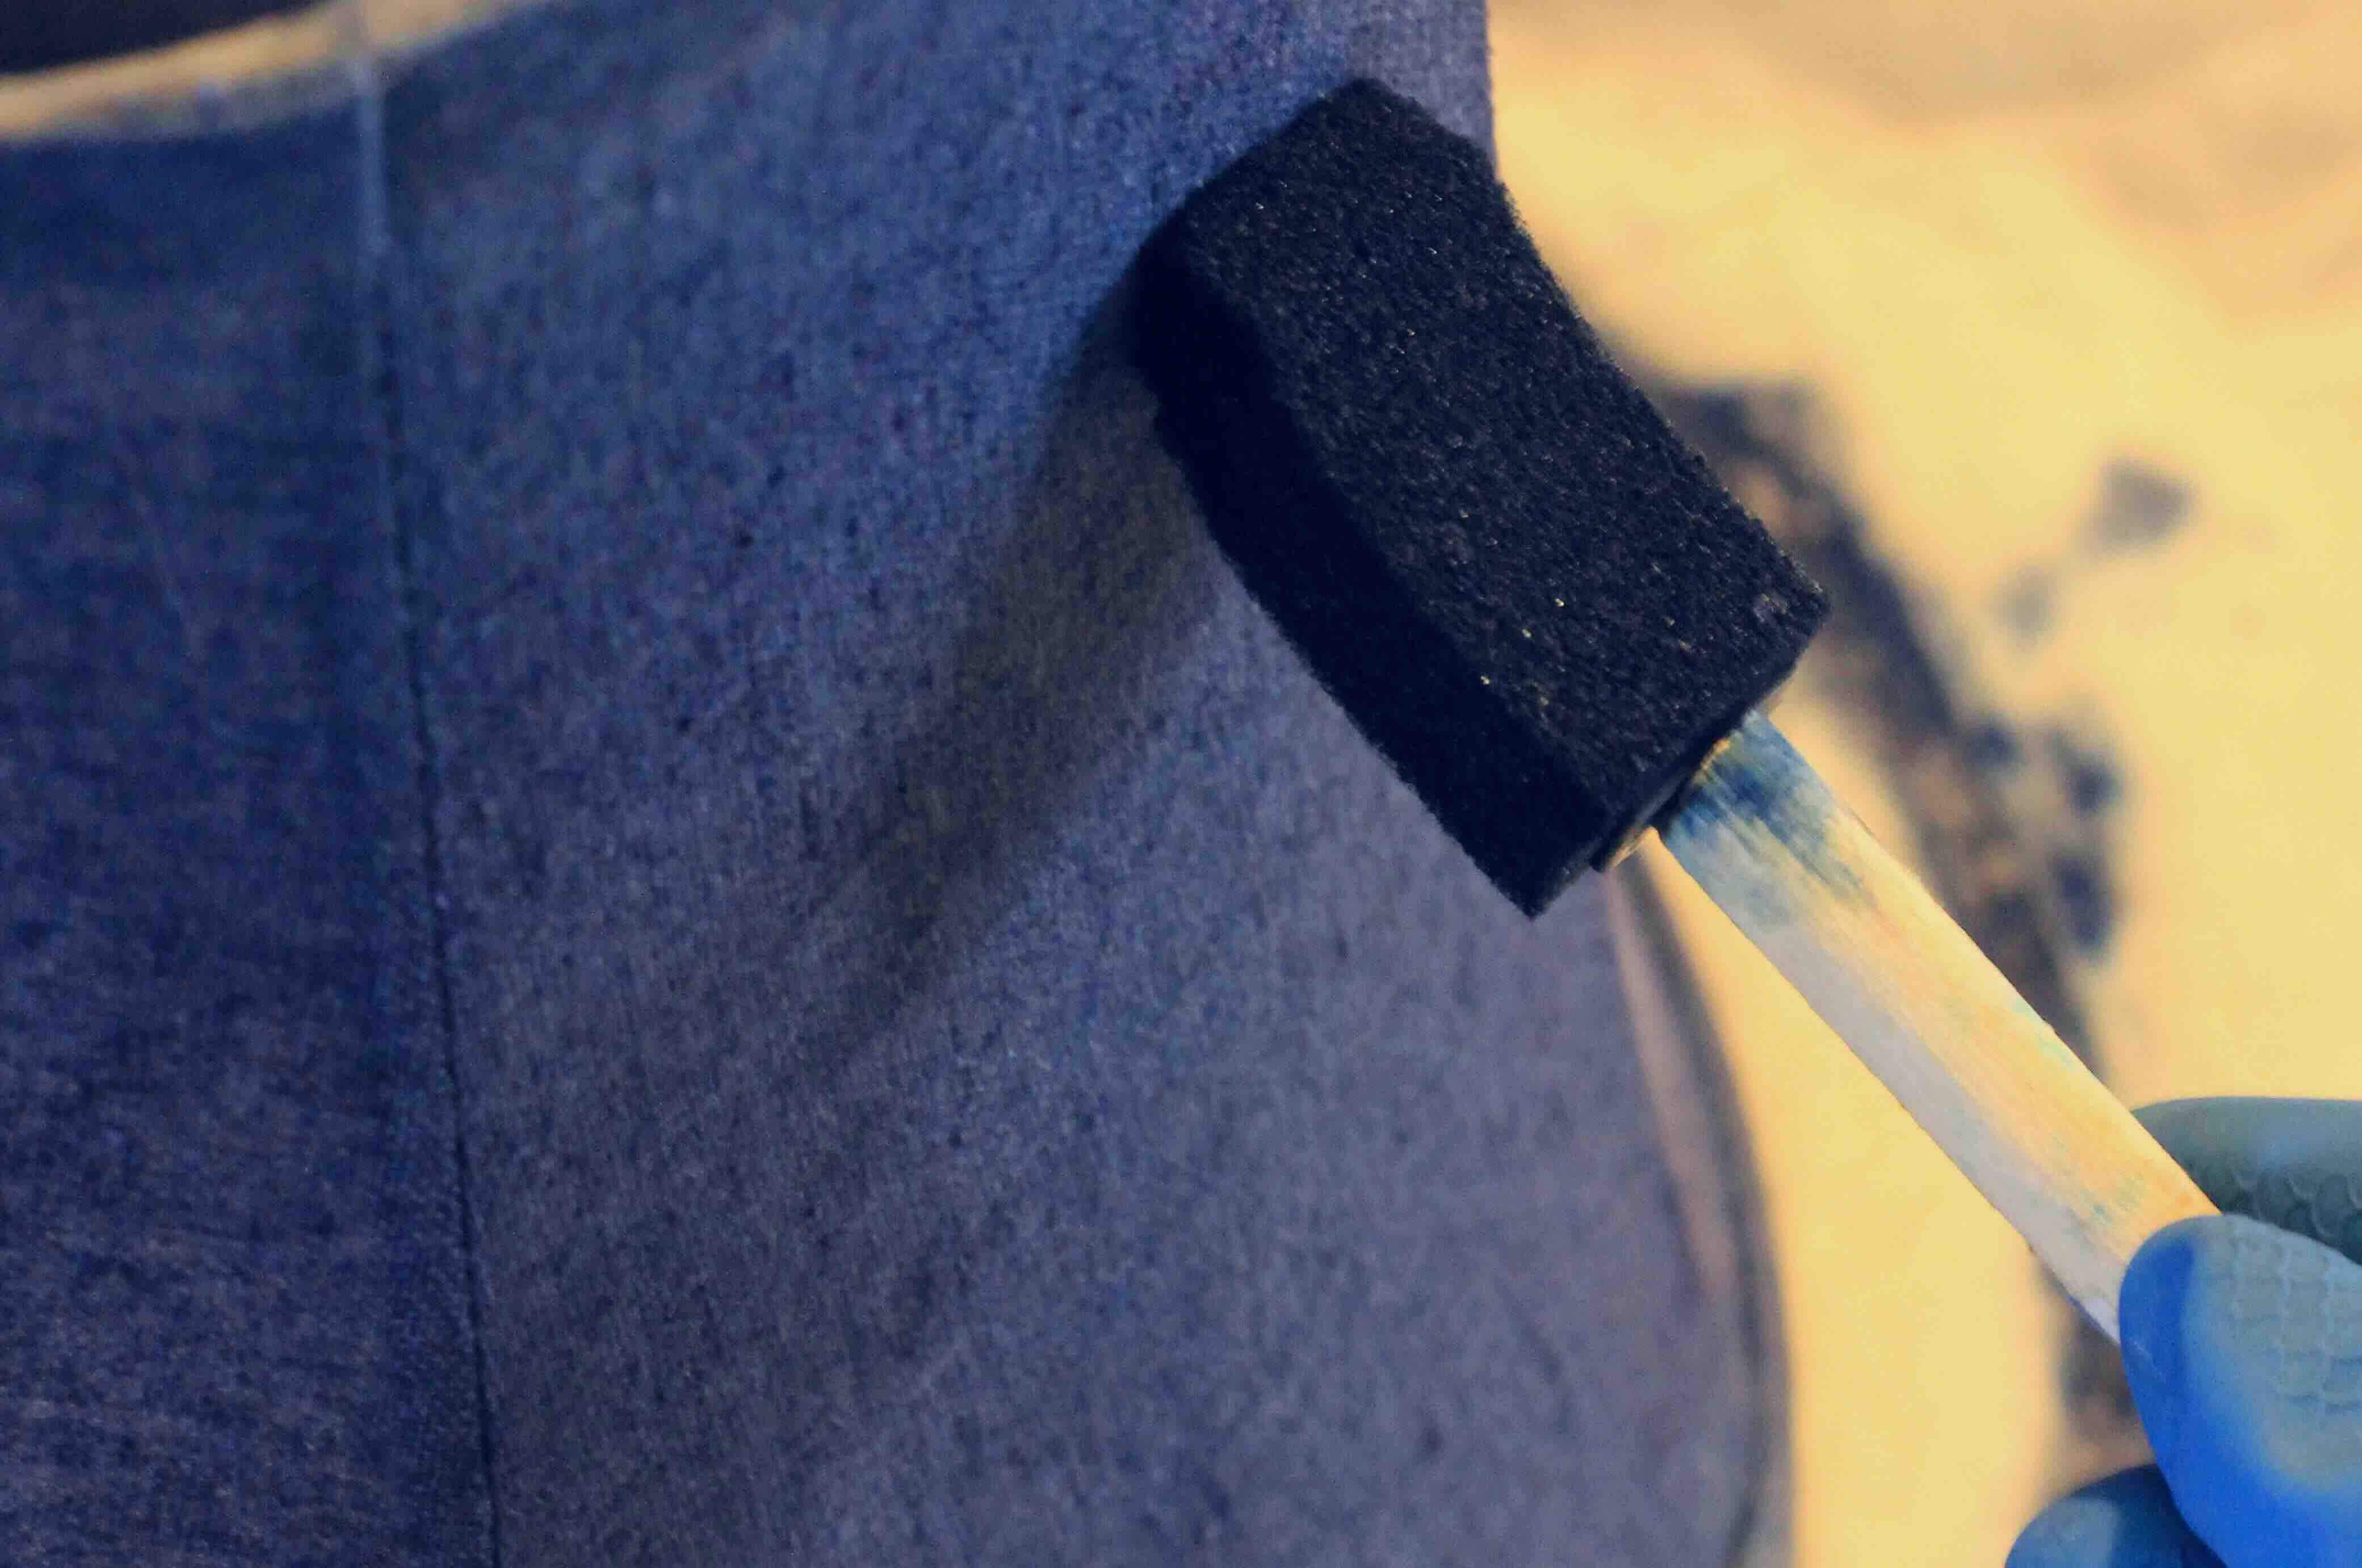
- Inspect for any touch-ups: Once the lamp shade is fully dried, carefully examine it for any areas that may need touch-ups. If you notice any uneven color or missed spots, you can use a small brush or sponge to apply additional dye to those areas. Allow the touch-ups to dry completely before moving on to the next step.
- Reattach any decorative elements: If you removed any detachable decorative elements before dyeing your lamp shade, now is the time to reattach them. Whether it’s trim, fringe, or other adornments, secure them back onto the lamp shade using glue or sewing techniques as appropriate.
- Inspect for any loose threads or imperfections: Carefully examine the lamp shade for any loose threads, fraying, or imperfections that may have occurred during the dyeing process. Trim any loose threads and address any other imperfections before placing the shade back on your lamp.
- Place the lamp shade back on your lamp: Once you are satisfied with the appearance of the lamp shade, carefully reattach it to your lamp. Ensure that the lamp shade is correctly aligned and secured in place.
- Step back and admire your work: Finally, step back and take a moment to admire the transformed lamp shade. Marvel at the new color and the personal touch you’ve added to your home decor. Your DIY project is complete!
Remember, each lamp shade dyeing project is unique, and the final result depends on various factors like the type of dye, lamp shade material, and the dyeing technique employed. Embrace the creativity and individuality of your project, and don’t be afraid to experiment with colors and techniques to achieve the desired look.
Now that you have the knowledge and confidence to dye lamp shades, you can unleash your creativity and revamp your home decor with personalized, colorful accents. Enjoy the process and have fun creating unique and stunning lamp shades!
Conclusion
Congratulations on completing your lamp shade dyeing project! By following the step-by-step guide provided in this article, you’ve transformed your old lamp shades into beautiful, personalized pieces of home decor. Whether you chose vibrant colors to make a bold statement or subtle shades to create a refined ambiance, the dyeing process has allowed you to add your unique touch to your living space.
Remember that dyeing lamp shades is a fun and creative way to breathe new life into your home decor. It’s a cost-effective DIY project that allows you to customize your lamp shades to match your style and preferences. From selecting the right dye to properly preparing the lamp shade, the journey of dyeing your lamp shade opens up a world of possibilities.
Throughout the process, be sure to exercise caution and follow the instructions provided by the dye manufacturer. Properly preparing your lamp shade, choosing the right dye, and mixing the dye solution are all crucial in achieving the desired color and long-lasting results. Drying and setting the dye also play a significant role in maintaining the color vibrancy over time.
Now that you’ve enjoyed the rewarding experience of dyeing lamp shades, you can apply this newfound knowledge and explore other creative projects in the realm of home decor and personalization. Keep experimenting with colors, techniques, and patterns to further personalize your living space.
Remember, the possibilities are endless. With your creativity and the right supplies, you can transform not only lamp shades but also other fabric items in your home into stunning works of art. Enjoy the process, embrace the joy of creating, and continue to add your unique touch to your surroundings.
So, go ahead, gather your supplies, and embark on this exciting dyeing journey. Let your imagination run wild, and watch your lamp shades become beautiful focal points in your home!
Frequently Asked Questions about How To Dye Lamp Shades
Was this page helpful?
At Storables.com, we guarantee accurate and reliable information. Our content, validated by Expert Board Contributors, is crafted following stringent Editorial Policies. We're committed to providing you with well-researched, expert-backed insights for all your informational needs.