Home>Gardening & Outdoor>Outdoor Entertaining>How To Make A Fire Pit Screen
Outdoor Entertaining
How To Make A Fire Pit Screen
Modified: August 20, 2024
Learn how to make a fire pit screen for your outdoor entertaining area. Keep your guests safe and comfortable with this DIY fire pit accessory.
(Many of the links in this article redirect to a specific reviewed product. Your purchase of these products through affiliate links helps to generate commission for Storables.com, at no extra cost. Learn more)
Introduction
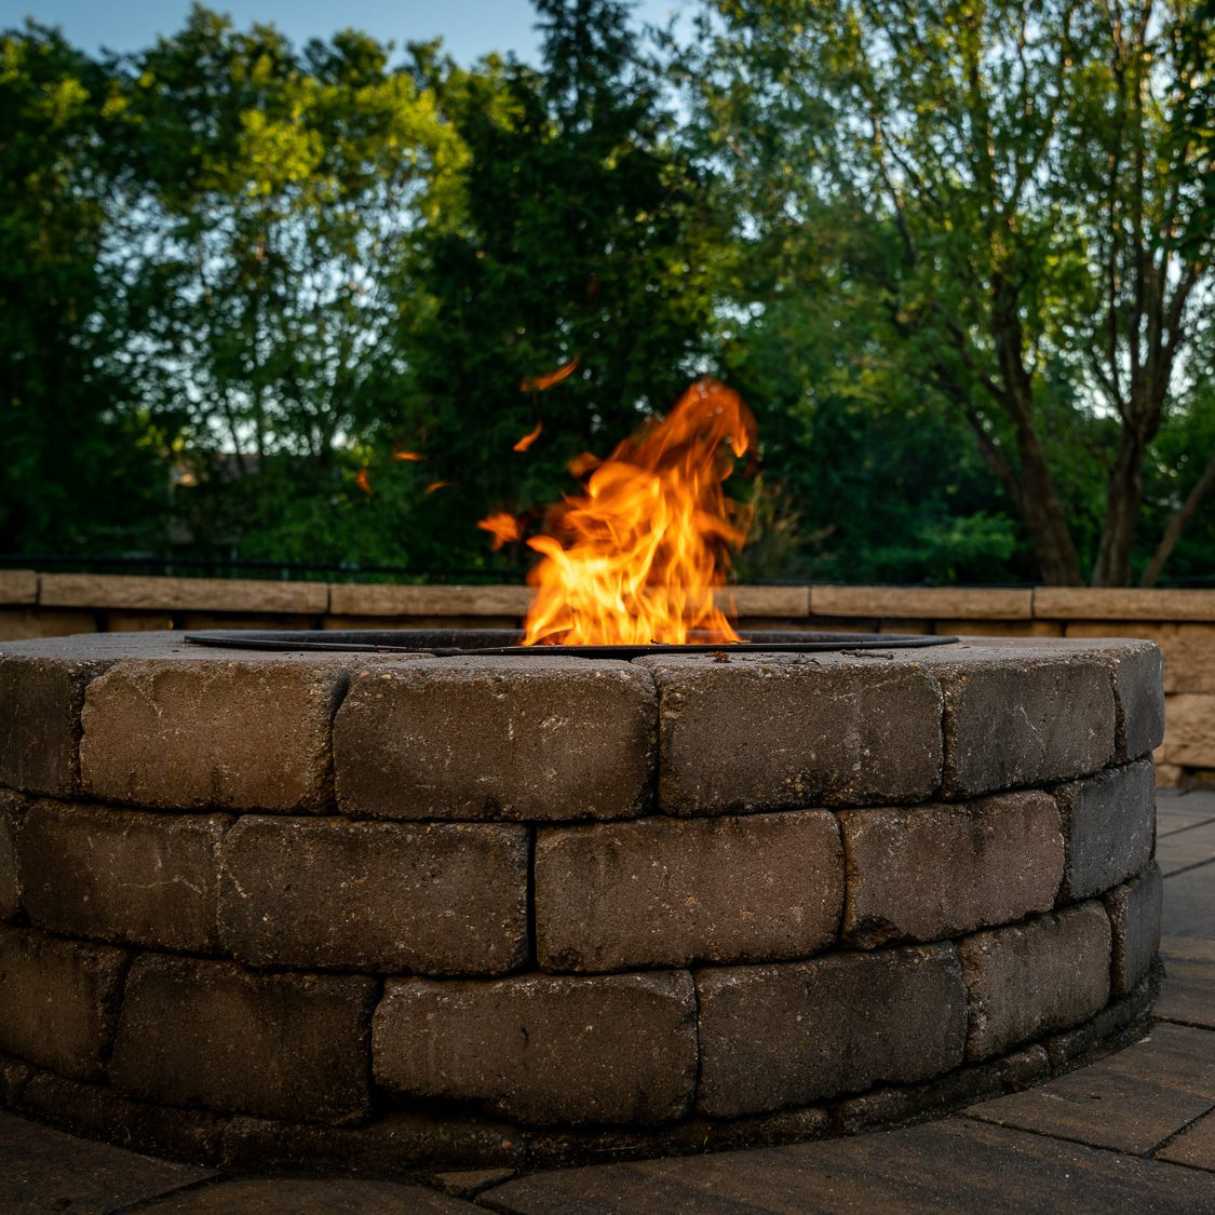
Are you a fan of cozy evenings spent around a crackling fire, sharing stories and laughter with friends and family? If so, you likely understand the appeal of a well-crafted fire pit. However, as any seasoned outdoor entertainer knows, ensuring safety and comfort is paramount when enjoying an open flame. This is where a fire pit screen comes into play.
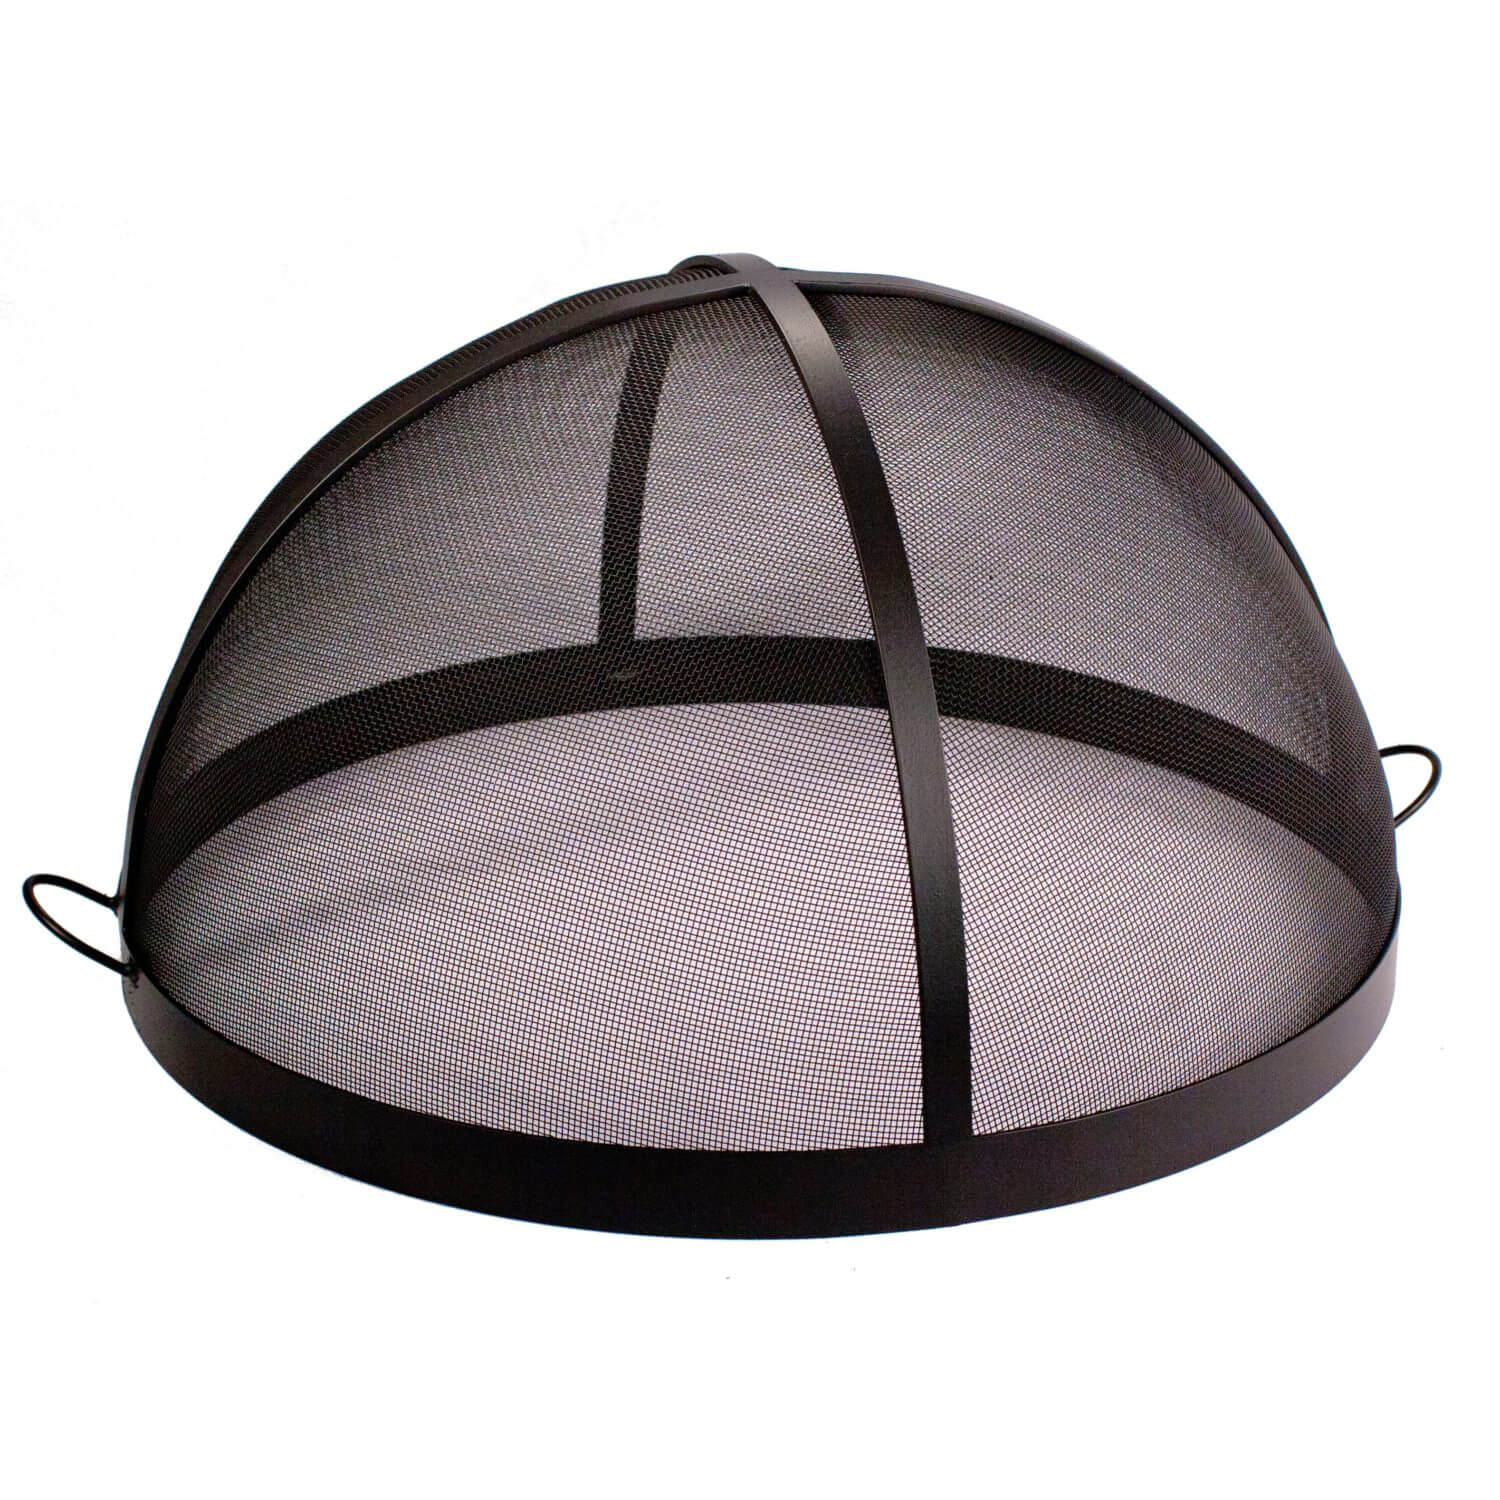
A fire pit screen not only adds a layer of protection by preventing sparks and embers from escaping but also contributes to the overall aesthetic of your outdoor space. Crafting your own fire pit screen can be a rewarding and cost-effective endeavor, allowing you to customize it to fit your specific fire pit dimensions and personal style.
In this comprehensive guide, we will walk you through the step-by-step process of creating a durable and visually appealing fire pit screen. From gathering the necessary materials to assembling and customizing the screen, you'll gain the knowledge and confidence to elevate your outdoor entertaining experience. Let's dive into the materials needed to get started on this exciting DIY project.
Key Takeaways:
- Crafting a fire pit screen involves measuring, cutting, assembling, and adding finishing touches. It enhances safety and adds a personal touch to outdoor fire experiences.
- A custom fire pit screen not only contains sparks and embers but also reflects creativity and craftsmanship, making outdoor gatherings safer and more stylish.
Read more: How To Make A Portable Fire Pit
Materials Needed
Before embarking on this DIY project, it’s essential to gather the required materials to ensure a smooth and efficient crafting process. Here’s a list of the items you’ll need to create your own fire pit screen:
- Measuring tape
- Heavy-duty metal mesh
- Metal frame or sturdy metal strips
- Wire cutters or metal shears
- Heavy-duty gloves
- Safety goggles
- Marker or chalk
- Drill and metal screws
- Hinges (if creating a hinged screen)
- Paint and brush (optional for customization)
These materials can typically be found at your local hardware store or online, and the metal mesh and frame can often be customized to suit your specific fire pit size and shape. With these materials in hand, you’re ready to begin the exciting process of constructing your very own fire pit screen. The next step involves measuring your fire pit to ensure a perfect fit for the screen, which we’ll cover in detail in the following section.
Step 1: Measure the Fire Pit
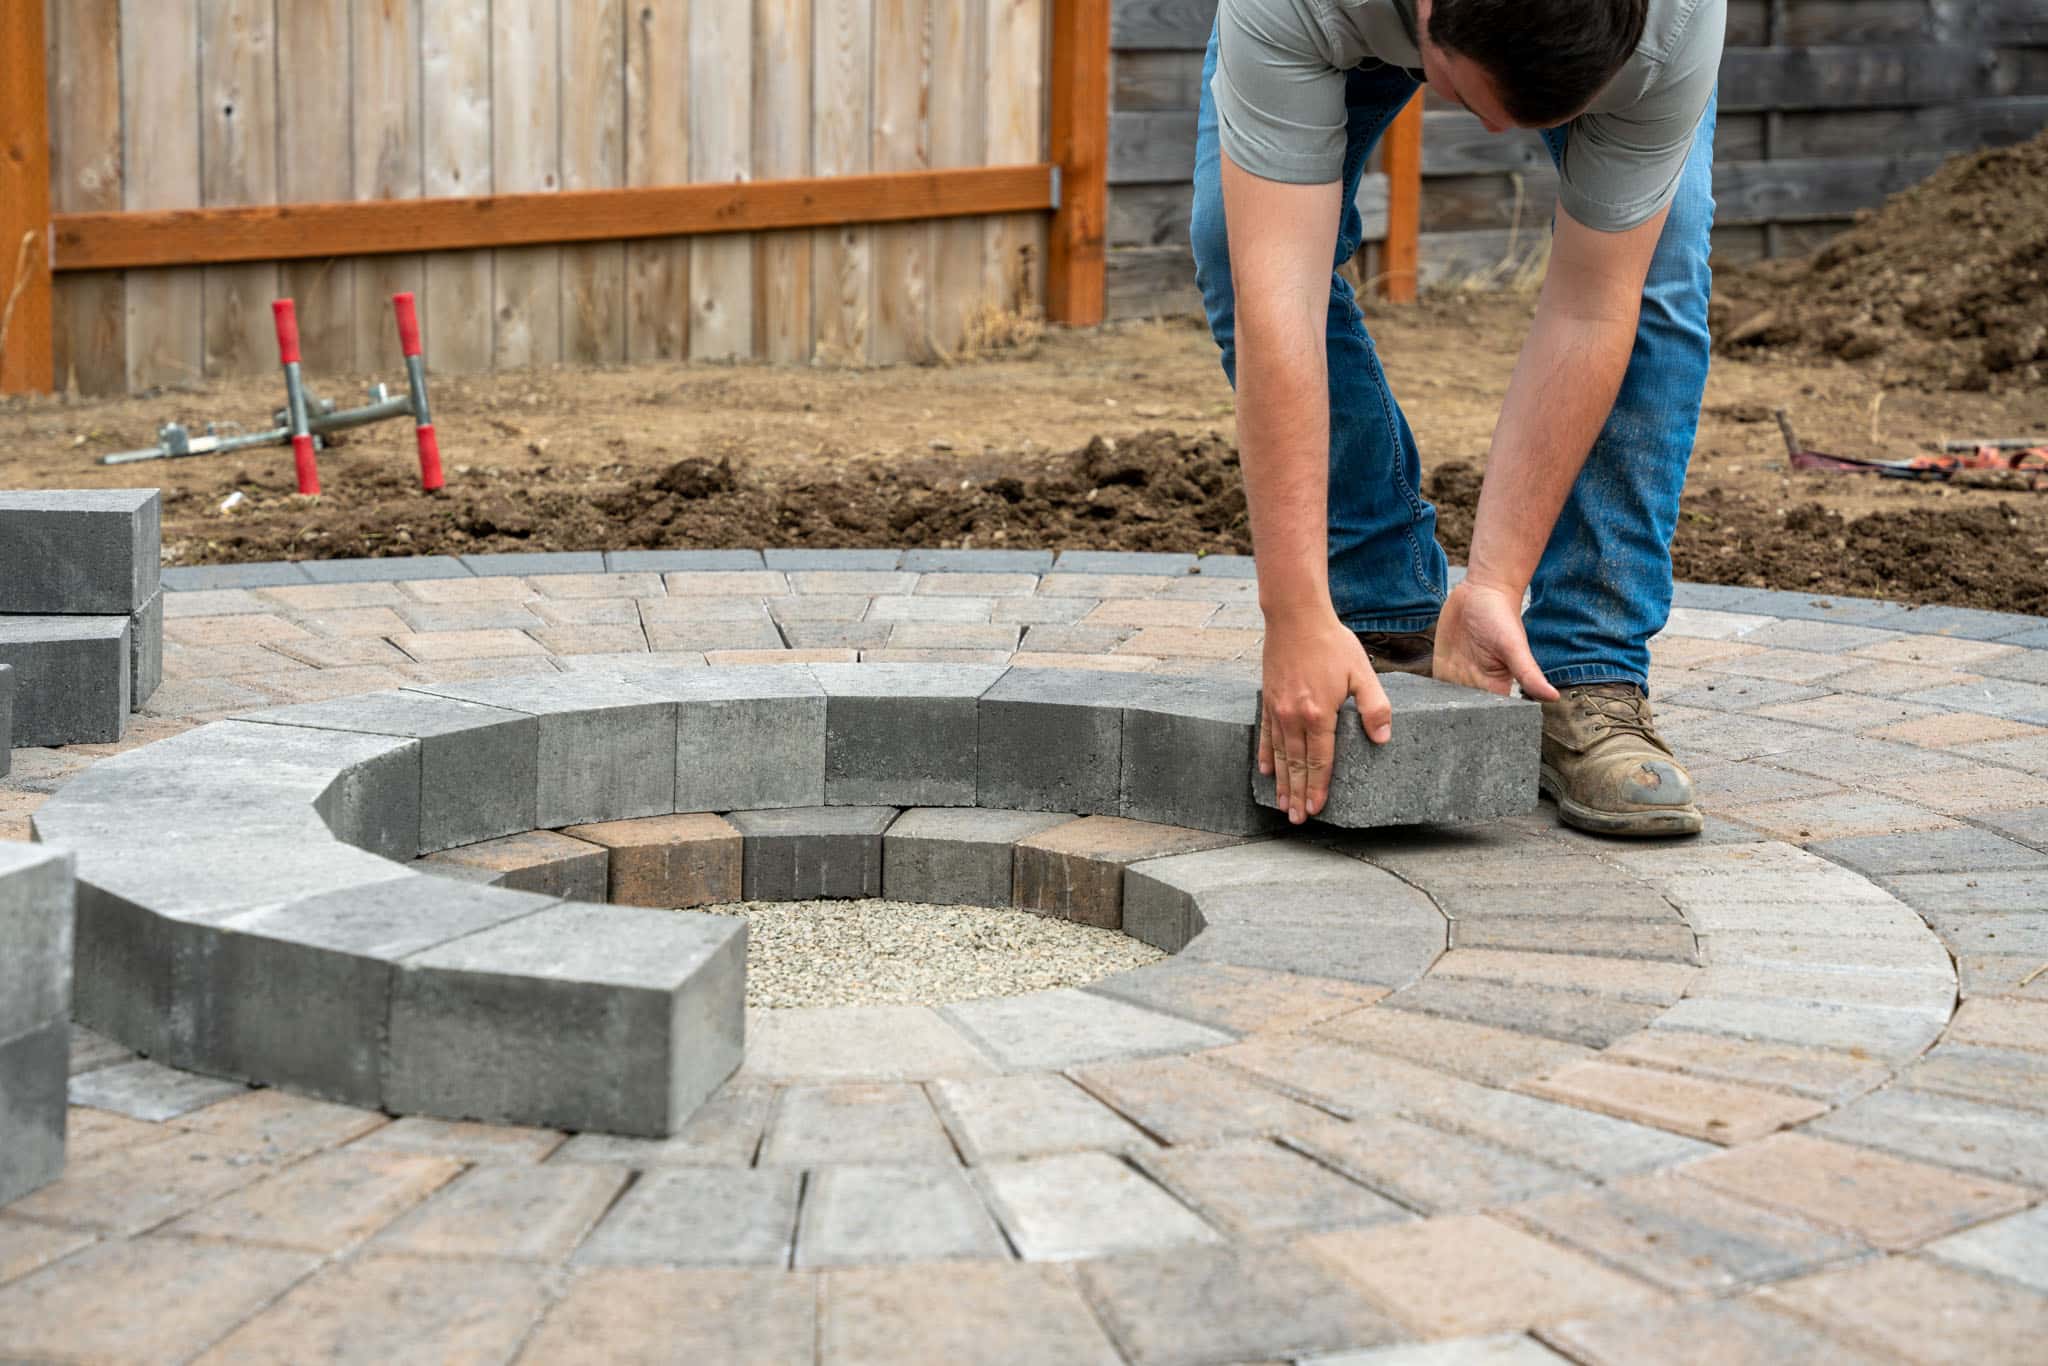
Before diving into the construction of your fire pit screen, it’s crucial to accurately measure the dimensions of your fire pit. This step ensures that the screen will fit snugly and effectively contain the fire while adding a decorative touch to your outdoor space.
Begin by using a measuring tape to determine the diameter of your fire pit. If your fire pit is not perfectly round, take measurements at multiple points to account for any irregularities in shape. Once you have the diameter, add a few inches to this measurement to allow for an adequate overhang of the screen. This overhang will help contain sparks and embers, enhancing the safety of your outdoor fire experience.
If your fire pit has a unique shape or features such as a built-in seating area, take additional measurements to ensure that the screen will accommodate these elements without obstructing their functionality. It’s essential to consider the practical aspects of your fire pit’s design to maintain both safety and convenience.
After obtaining these measurements, mark the dimensions on the heavy-duty metal mesh using a marker or chalk. Double-check the measurements to ensure accuracy before proceeding to the next step. With the mesh accurately marked, you’re ready to move on to the next phase: cutting the metal mesh to fit the measured dimensions of your fire pit.
Accurate measurements serve as the foundation for a well-fitting fire pit screen, ensuring that it not only enhances safety but also complements the aesthetics of your outdoor space. Once the mesh is cut to size, you’ll be one step closer to assembling your custom fire pit screen. Let’s move on to the next step: cutting the metal mesh to fit the measured dimensions of your fire pit.
Step 2: Cut the Metal Mesh
With the precise measurements of your fire pit in hand, it’s time to cut the heavy-duty metal mesh to fit the designated dimensions. This step is crucial in ensuring that the screen will effectively contain the fire while allowing for proper ventilation and visibility of the mesmerizing flames.
Before cutting the metal mesh, don heavy-duty gloves and safety goggles to protect yourself from sharp edges and metal fragments. Lay the marked metal mesh on a flat, stable surface, ensuring that it is secure and won’t shift during the cutting process. Using wire cutters or metal shears, carefully follow the marked lines to cut the mesh to the desired size. Take your time to maintain precision and achieve clean, straight cuts along the marked dimensions.
If your fire pit features a unique shape or requires cutouts to accommodate built-in features, such as seating ledges or decorative elements, use the appropriate tools to create these custom openings while ensuring that the structural integrity of the mesh is maintained. Attention to detail during this cutting phase will result in a tailored screen that seamlessly integrates with your fire pit’s design.
Once the metal mesh is cut to the specified dimensions, inspect the edges for any sharp or protruding sections. If necessary, use a metal file to smooth out any rough edges and ensure a safe and polished finish. With the metal mesh accurately cut and prepared, you’re now ready to move on to the next step: assembling the frame that will support and secure the screen.
The careful cutting of the metal mesh is a pivotal stage in creating a custom fire pit screen that not only enhances safety but also complements the aesthetic appeal of your outdoor space. With the mesh cut to size, the next step involves assembling the frame, bringing you closer to completing your personalized fire pit screen. Let’s proceed to the assembly phase and construct the frame that will support the mesh.
When making a fire pit screen, use heat-resistant materials like stainless steel or aluminum to ensure durability and safety. Make sure the screen fits securely over the fire pit to prevent sparks from escaping.
Step 3: Assemble the Frame
Now that the metal mesh is precisely cut to fit your fire pit, the next crucial step is to construct the frame that will provide support and structure for the screen. The frame not only ensures the stability of the screen but also offers a means to securely attach the mesh, creating a cohesive and functional unit.
If you have a pre-made metal frame that matches the dimensions of your fire pit, you can use this as the foundation for your screen. Alternatively, if you prefer a more customized approach, sturdy metal strips can be employed to build a frame that perfectly accommodates the mesh. These strips can be bent and joined to form a circular or custom-shaped frame, mirroring the contours of your fire pit.
Using a measuring tape and marker, carefully outline the dimensions for the frame, ensuring that it aligns with the size and shape of the metal mesh. Once the frame’s dimensions are marked, use a drill and metal screws to securely connect the metal strips at the designated points, creating a durable and stable frame. If you’re creating a hinged screen for easy access to the fire pit, attach hinges to the frame at this stage to facilitate smooth opening and closing.
As you assemble the frame, periodically place the metal mesh over it to verify that the dimensions align correctly and that the mesh fits snugly within the frame. This iterative approach allows for adjustments to be made as needed, ensuring a perfect fit and seamless integration between the mesh and the frame.
By taking the time to construct a well-fitted frame, you’ll establish a solid foundation for your fire pit screen, guaranteeing its stability and functionality. With the frame assembled, the next step involves attaching the metal mesh to the frame, bringing you closer to the completion of your personalized fire pit screen. Let’s move on to the next crucial phase: attaching the mesh to the frame to create a unified and secure structure.
Read more: How To Make A Simple Fire Pit
Step 4: Attach the Mesh to the Frame
With the frame securely assembled, it’s time to affix the precisely cut metal mesh to create the protective barrier for your fire pit. This step is pivotal in ensuring that the screen effectively contains sparks and embers while allowing for unobstructed views of the mesmerizing flames.
Begin by placing the metal mesh over the frame, ensuring that it aligns seamlessly with the edges and contours of the frame. If necessary, make minor adjustments to the mesh or the frame to achieve a perfect fit. Once the mesh is positioned correctly, use metal screws to attach it to the frame at regular intervals, securing it firmly in place. This process creates a unified structure that combines the durability of the metal mesh with the stability of the frame.
If you opted for a hinged screen, ensure that the hinges are securely fastened and allow for smooth movement, enabling easy access to the fire pit when necessary. Test the functionality of the hinges to guarantee that the screen opens and closes effortlessly, providing both convenience and safety during use.
As you attach the mesh to the frame, pay attention to the tension and alignment of the mesh to prevent any sagging or unevenness. A taut and uniform attachment ensures that the screen maintains its shape and integrity, effectively containing the fire while enhancing the visual appeal of your outdoor space.
Once the mesh is securely attached to the frame, conduct a final inspection to confirm that the screen is structurally sound and aesthetically pleasing. Smooth out any rough edges or protruding sections, and ensure that all components are securely fastened to create a cohesive and reliable fire pit screen.
With the mesh successfully attached to the frame, the next step involves adding the finishing touches to your custom fire pit screen, bringing you closer to the completion of this rewarding DIY project. Let’s move on to the final phase: adding the finishing touches to ensure that your fire pit screen is both functional and visually appealing.
Step 5: Finishing Touches
As you near the completion of your custom fire pit screen, it’s time to add the finishing touches that will elevate both its functionality and visual appeal. Whether you opt for a minimalist, industrial look or prefer to infuse your screen with personalized flair, this phase allows for customization to align with your outdoor aesthetic.
If desired, consider applying a coat of heat-resistant paint to the metal mesh and frame. This not only enhances the screen’s durability by providing an additional layer of protection against the elements but also allows for color coordination with your outdoor decor. Choose a high-temperature paint designed for metal surfaces, and select a hue that complements the surrounding environment, adding a touch of sophistication to your outdoor space.
Additionally, consider the option of embellishing the frame with decorative elements such as metal accents, rivets, or ornamental designs. These details can infuse your fire pit screen with character and charm, transforming it into a striking focal point within your outdoor setting.
For added convenience and versatility, you may choose to incorporate handles on hinged screens, facilitating effortless opening and closing while maintaining a cohesive and polished appearance. These handles can be both functional and aesthetically pleasing, contributing to the overall appeal of your custom fire pit screen.
Finally, conduct a thorough inspection of the screen, ensuring that all components are secure, and the finishing touches have been applied to your satisfaction. Take this opportunity to make any final adjustments and confirm that the screen aligns with your vision for a safe, stylish, and functional addition to your outdoor entertaining space.
With the finishing touches complete, step back and admire your handiwork. Your custom fire pit screen not only enhances the safety and enjoyment of your outdoor fire experiences but also serves as a testament to your creativity and craftsmanship. Whether you’re hosting a gathering or simply unwinding by the fire, your personalized fire pit screen will undoubtedly become a cherished element of your outdoor oasis.
With the completion of the finishing touches, your custom fire pit screen is ready to enhance your outdoor entertaining endeavors. This DIY project has empowered you to create a practical and visually appealing addition to your outdoor space, reflecting your unique style and enhancing the allure of your fire pit. As you prepare to incorporate your new fire pit screen into your outdoor gatherings, take pride in the craftsmanship and creativity that have brought this project to fruition.
Conclusion
Congratulations on successfully crafting your very own fire pit screen! Through careful measurements, precise cutting, and thoughtful assembly, you’ve created a custom barrier that not only enhances the safety of your outdoor fires but also adds a touch of personalized style to your outdoor space. As you prepare to incorporate your new fire pit screen into your outdoor entertaining endeavors, take pride in the craftsmanship and creativity that have brought this project to fruition.
By embarking on this DIY journey, you’ve not only tailored a practical solution for containing sparks and embers but also added a distinctive element to your outdoor ambiance. Whether you’ve chosen a sleek, industrial design or infused your screen with decorative accents and vibrant hues, your fire pit screen stands as a testament to your ingenuity and dedication to creating a welcoming and secure outdoor environment.
As you gather around the crackling flames with friends and family, your custom fire pit screen will serve as a reliable guardian, allowing you to revel in the warmth and glow of the fire while ensuring a safe and enjoyable experience for all. Whether it’s a lively gathering or a tranquil evening under the stars, your fire pit screen will undoubtedly become an indispensable companion, enhancing the allure and comfort of your outdoor oasis.
As you continue to explore the wonders of outdoor entertaining, let your fire pit screen stand as a symbol of your commitment to safety, style, and the joy of gathering around a shared source of warmth and light. With each flicker of the flames, your custom creation will illuminate not only the space around your fire pit but also the creativity and care you’ve invested in crafting a protective and visually captivating addition to your outdoor haven.
Embrace the warmth, revel in the camaraderie, and cherish the memories made around your fire pit, knowing that your personalized screen has played a vital role in ensuring the safety and enjoyment of these cherished moments. As you continue to infuse your outdoor space with your unique touch, let your fire pit screen stand as a testament to the art of combining practicality and creativity in the pursuit of elevated outdoor living.
With your custom fire pit screen in place, you’re well-equipped to savor the magic of outdoor gatherings, knowing that your creation stands as a reliable guardian, combining safety and style in perfect harmony.
Frequently Asked Questions about How To Make A Fire Pit Screen
Was this page helpful?
At Storables.com, we guarantee accurate and reliable information. Our content, validated by Expert Board Contributors, is crafted following stringent Editorial Policies. We're committed to providing you with well-researched, expert-backed insights for all your informational needs.


0 thoughts on “How To Make A Fire Pit Screen”