Home>Gardening & Outdoor>Outdoor Entertaining>How To Make A Simple Fire Pit
Outdoor Entertaining
How To Make A Simple Fire Pit
Modified: August 28, 2024
Learn how to create a charming outdoor entertaining space with a simple fire pit. Discover easy DIY steps and essential tips for a cozy atmosphere. Perfect for gatherings and relaxation.
(Many of the links in this article redirect to a specific reviewed product. Your purchase of these products through affiliate links helps to generate commission for Storables.com, at no extra cost. Learn more)
Introduction
Welcome to the world of outdoor entertaining! Nothing beats the ambiance of a crackling fire on a cool evening, and having a fire pit in your backyard can elevate your outdoor gatherings to a whole new level. Whether you're hosting a barbecue, toasting marshmallows with friends, or simply unwinding with your loved ones, a fire pit provides warmth, light, and a focal point for relaxation and conversation.
Creating your own fire pit is not only a rewarding DIY project but also a cost-effective way to enhance your outdoor space. With the right materials and a bit of creativity, you can build a simple yet stylish fire pit that will become the centerpiece of your outdoor entertaining area. In this guide, we will walk you through the process of constructing a basic fire pit, from choosing the perfect location to enjoying its cozy glow.
So, roll up your sleeves, gather your tools, and get ready to embark on a fun and fulfilling journey to create your very own backyard fire pit. Let's dive into the materials you'll need to get started!
Key Takeaways:
- Building a fire pit for outdoor entertaining is a fun and cost-effective DIY project. Choose a safe location, gather materials, and enjoy cozy gatherings around your handcrafted fire pit.
- Once your fire pit is ready, prioritize safety, then light the fire and enjoy classic activities like roasting marshmallows. Your fire pit will create lasting memories and elevate your outdoor space.
Read more: How To Make A Portable Fire Pit
Materials Needed
Before you begin constructing your fire pit, it's essential to gather all the necessary materials. Here's a list of items you'll need to bring your fire pit vision to life:
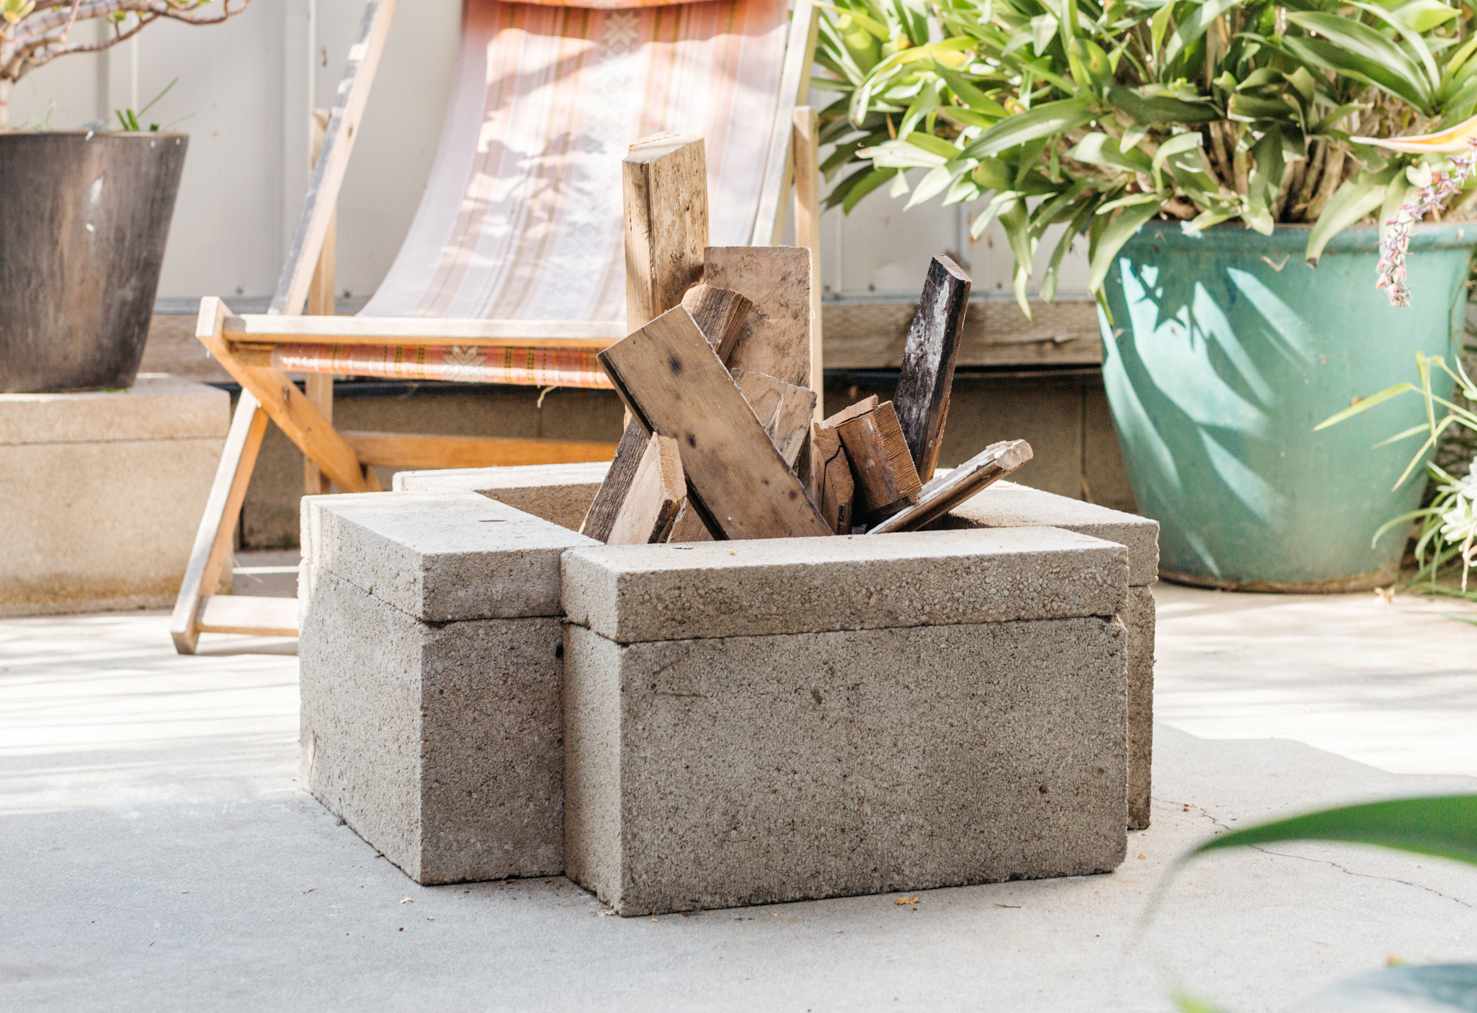
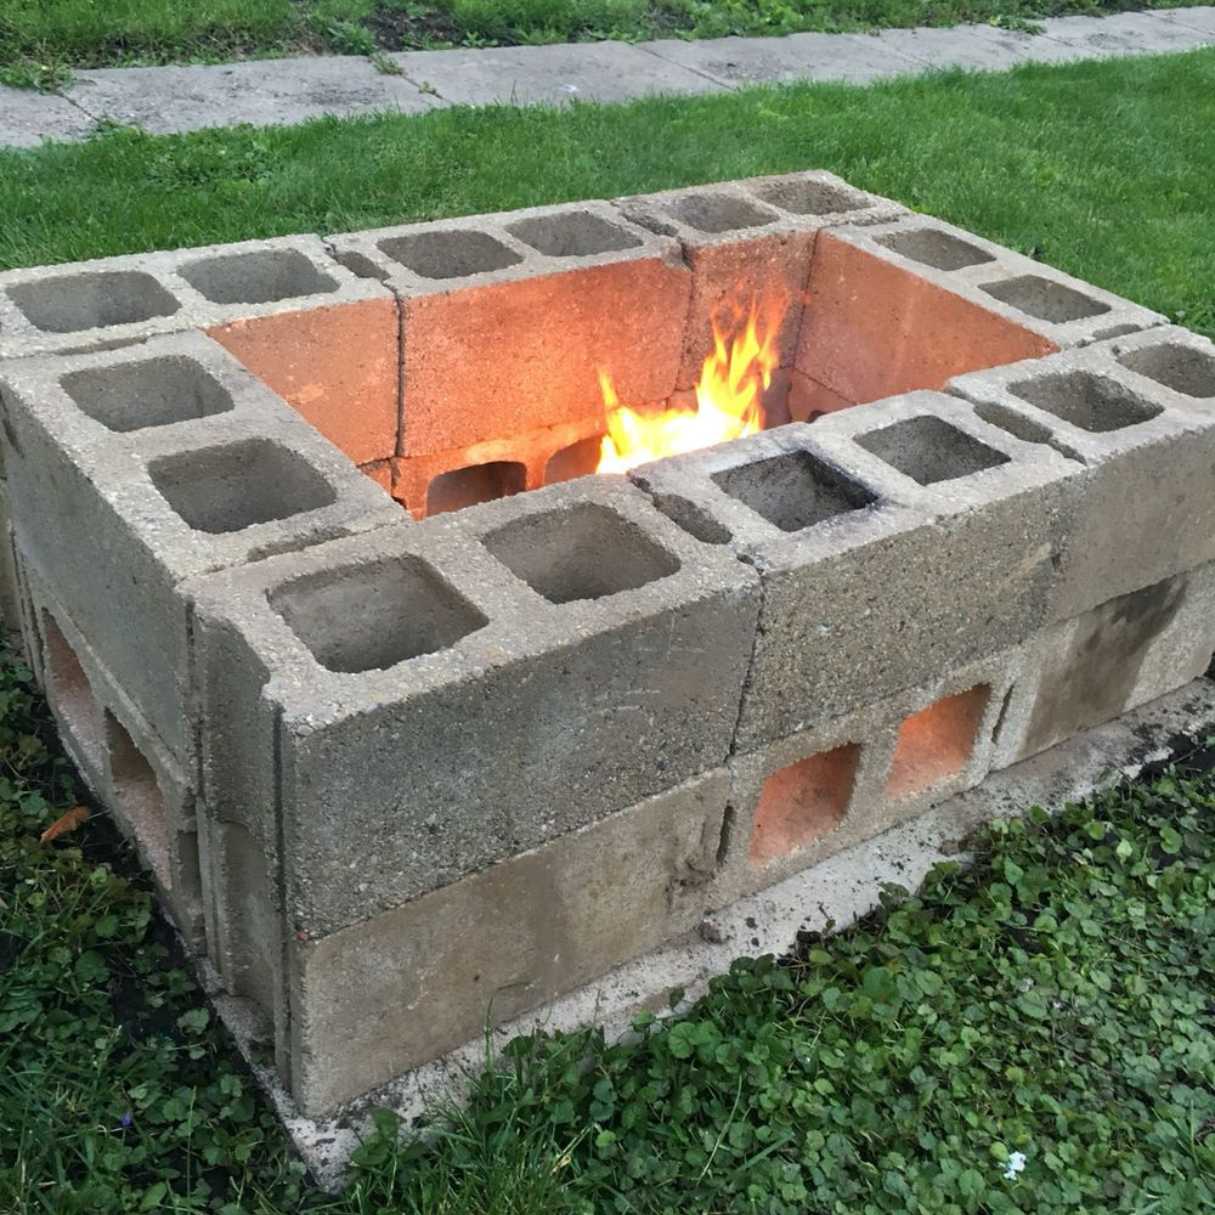
- Fire pit kit or materials for a DIY fire pit (such as retaining wall blocks, bricks, or pavers)
- Gravel
- Sand
- Steel ring or fire pit insert
- Shovel
- Rubber mallet
- Level
- Tape measure
- Safety gloves
- Safety glasses
- Waterproof tarp (to protect the work area)
- Optional: Decorative stones or heat-resistant paint for customizing the fire pit
Once you have these materials on hand, you'll be fully equipped to move on to the exciting process of building your fire pit. Now that you've gathered everything you need, it's time to choose the perfect location for your new outdoor feature.
Step 1: Choose the Location
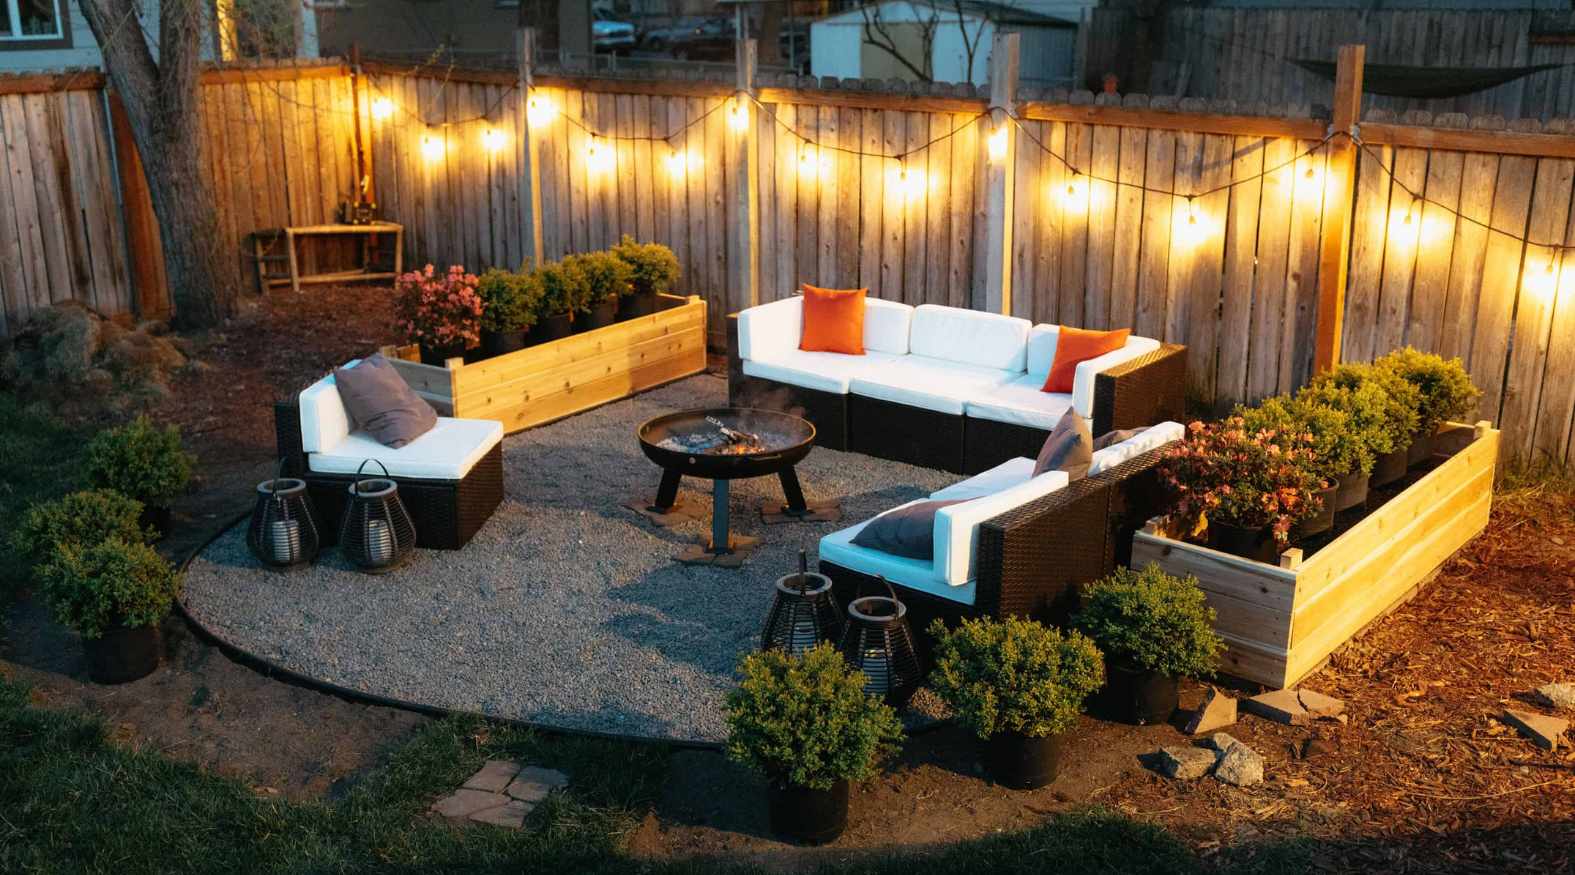
When it comes to selecting the ideal spot for your fire pit, there are a few key factors to consider. First and foremost, safety should be your top priority. Ensure that the location you choose is a safe distance away from any structures, overhanging branches, or flammable materials. It should also comply with any local regulations or homeowner’s association guidelines regarding fire pit placement.
Additionally, think about the functionality and aesthetics of the chosen area. You’ll want to pick a location that allows for comfortable seating and facilitates conversation. If you have a beautiful view in your backyard, positioning the fire pit to take advantage of it can enhance the overall ambiance.
Consider the ground surface as well. It’s best to place the fire pit on a level area to prevent it from tipping over. If you’re using a fire pit kit, follow the manufacturer’s recommendations for the required clearance from combustible surfaces.
Lastly, think about wind patterns in your outdoor space. Position the fire pit in a way that minimizes the impact of wind, as gusts can affect the direction of the smoke and the fire’s behavior.
Once you’ve identified the perfect location, mark the area and proceed to gather the materials for the next steps. With the location chosen, you’re one step closer to enjoying cozy evenings around your own homemade fire pit.
Step 2: Gather the Materials
With the location for your fire pit selected, it’s time to gather the materials that will bring your vision to life. If you’ve opted for a fire pit kit, carefully unpack the contents and review the manufacturer’s instructions. These kits typically include the necessary blocks or stones, a steel ring or fire pit insert, and sometimes adhesive or leveling sand.
If you’re embarking on a do-it-yourself (DIY) fire pit project using retaining wall blocks, bricks, or pavers, ensure that you have enough of these materials to complete the project. Additionally, you’ll need gravel for the base and sand for leveling the foundation and filling gaps between the blocks.
Equipping yourself with the right tools is equally important. A shovel will be essential for excavation and leveling, while a rubber mallet will aid in adjusting the position of the blocks. A level and tape measure are crucial for ensuring that your fire pit is structurally sound and aesthetically pleasing.
Remember to prioritize safety by wearing protective gloves and glasses throughout the construction process. It’s also a good idea to have a waterproof tarp on hand to protect your work area from potential damage.
Finally, if you’re aiming to add a personal touch to your fire pit, consider acquiring decorative stones or heat-resistant paint to customize its appearance. These optional materials can help you tailor the fire pit to complement your outdoor space’s aesthetic.
Once you’ve assembled all the necessary materials and tools, you’ll be ready to move on to the next step: preparing the site for construction. With everything at your fingertips, you’re well-positioned to bring your fire pit to fruition and create a captivating focal point for outdoor gatherings.
When building a simple fire pit, make sure to choose a safe location away from any flammable materials and overhanging branches. Also, use non-flammable materials such as bricks or stones to contain the fire.
Step 3: Prepare the Site
Before you start assembling your fire pit, it’s crucial to prepare the site properly to ensure stability, safety, and longevity. Begin by clearing the chosen area of any debris, vegetation, or obstructions. This will create a clean canvas for the construction process and help prevent potential fire hazards.
Next, use a shovel to excavate the ground where the fire pit will be situated. Aim for a depth that accommodates the gravel base and allows the first layer of blocks to sit level with the surrounding ground. Use a tape measure to confirm that the depth and diameter of the excavation match your fire pit’s design specifications.
Once the excavation is complete, spread a layer of gravel evenly across the bottom of the pit. This will facilitate drainage and provide a stable foundation for the fire pit. Use a tamper or the back of a shovel to compact the gravel, ensuring a firm and level base for the subsequent layers.
Following the gravel layer, distribute a thin, even layer of sand over the compacted gravel. The sand will aid in leveling the first course of blocks and filling any gaps between them. Use a level to confirm that the sand is uniformly distributed and adjust as needed to achieve a flat, stable surface.
Now that the site is properly prepared, you’re ready to move on to the exciting phase of assembling your fire pit. With the groundwork laid and the materials at hand, you’re well-equipped to bring your fire pit to life and create a captivating addition to your outdoor space.
Read more: How To Make A Fire Pit Screen
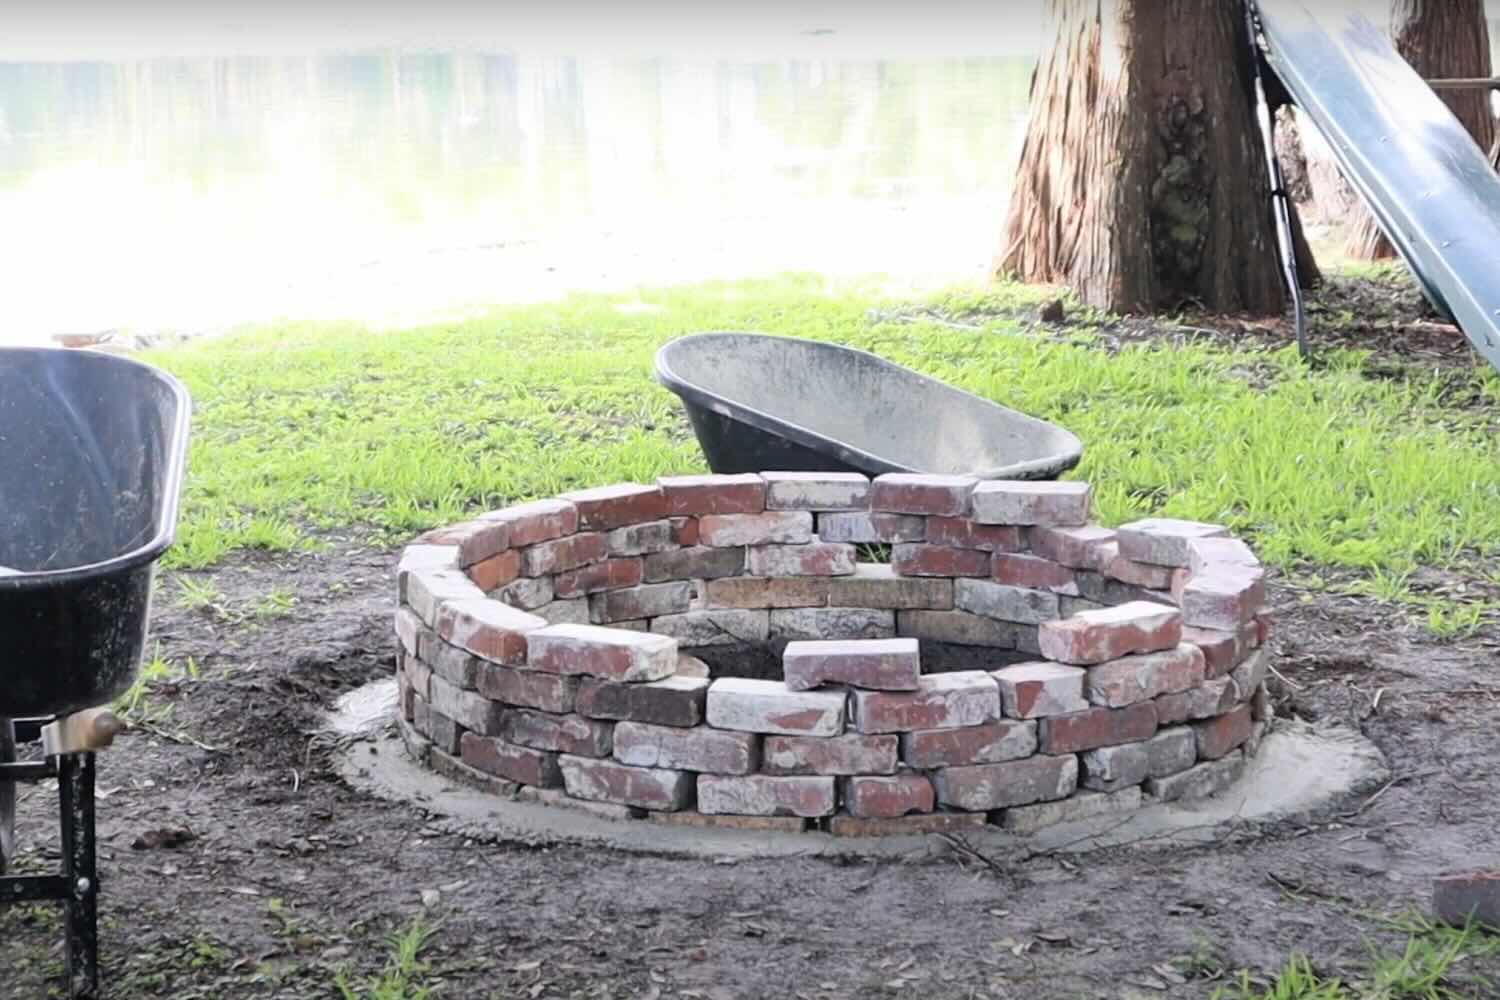
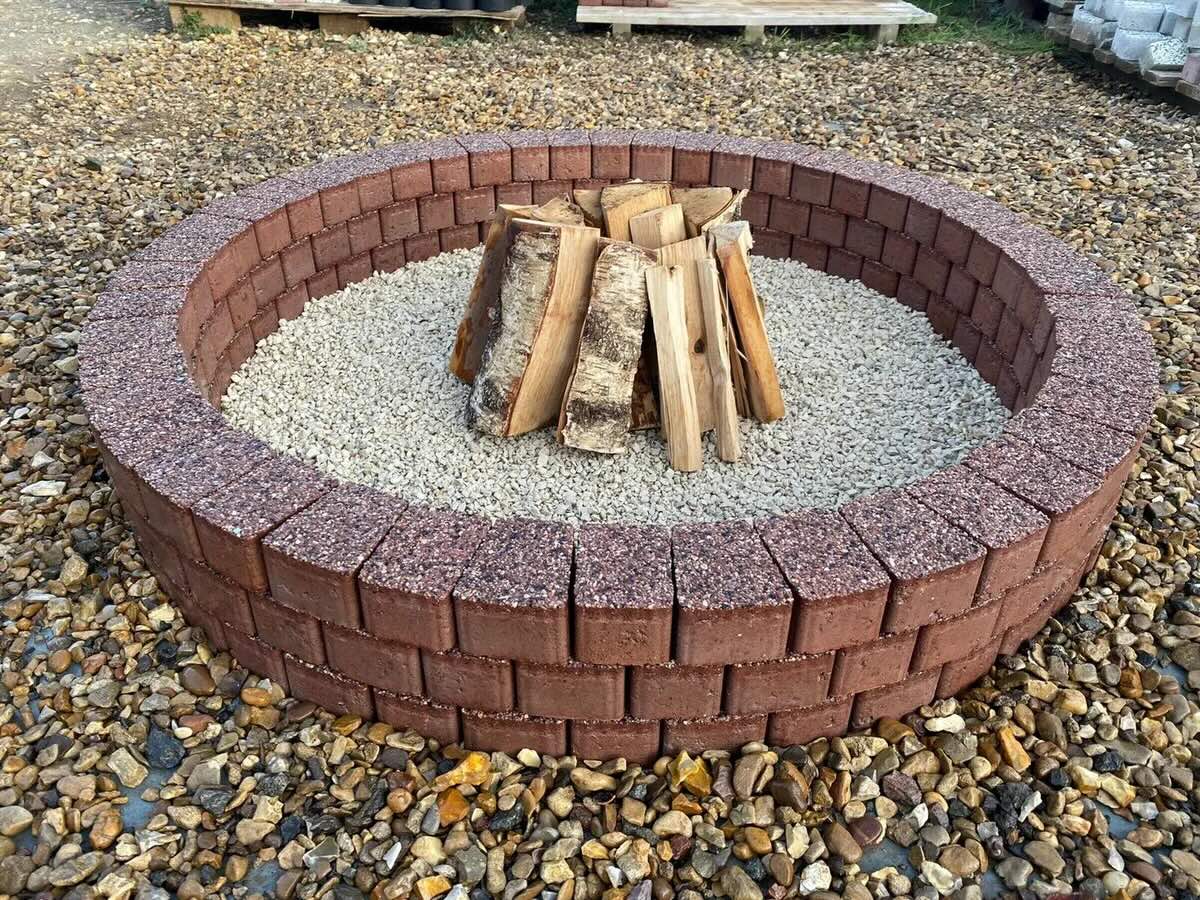
Step 4: Assemble the Fire Pit
With the site prepared and the materials gathered, it’s time to bring your fire pit to fruition by assembling the components. If you’re using a fire pit kit, carefully follow the manufacturer’s instructions to ensure the correct placement and alignment of the blocks or stones. These kits typically include a steel ring or fire pit insert, which should be positioned at the center of the pit to contain the fire safely.
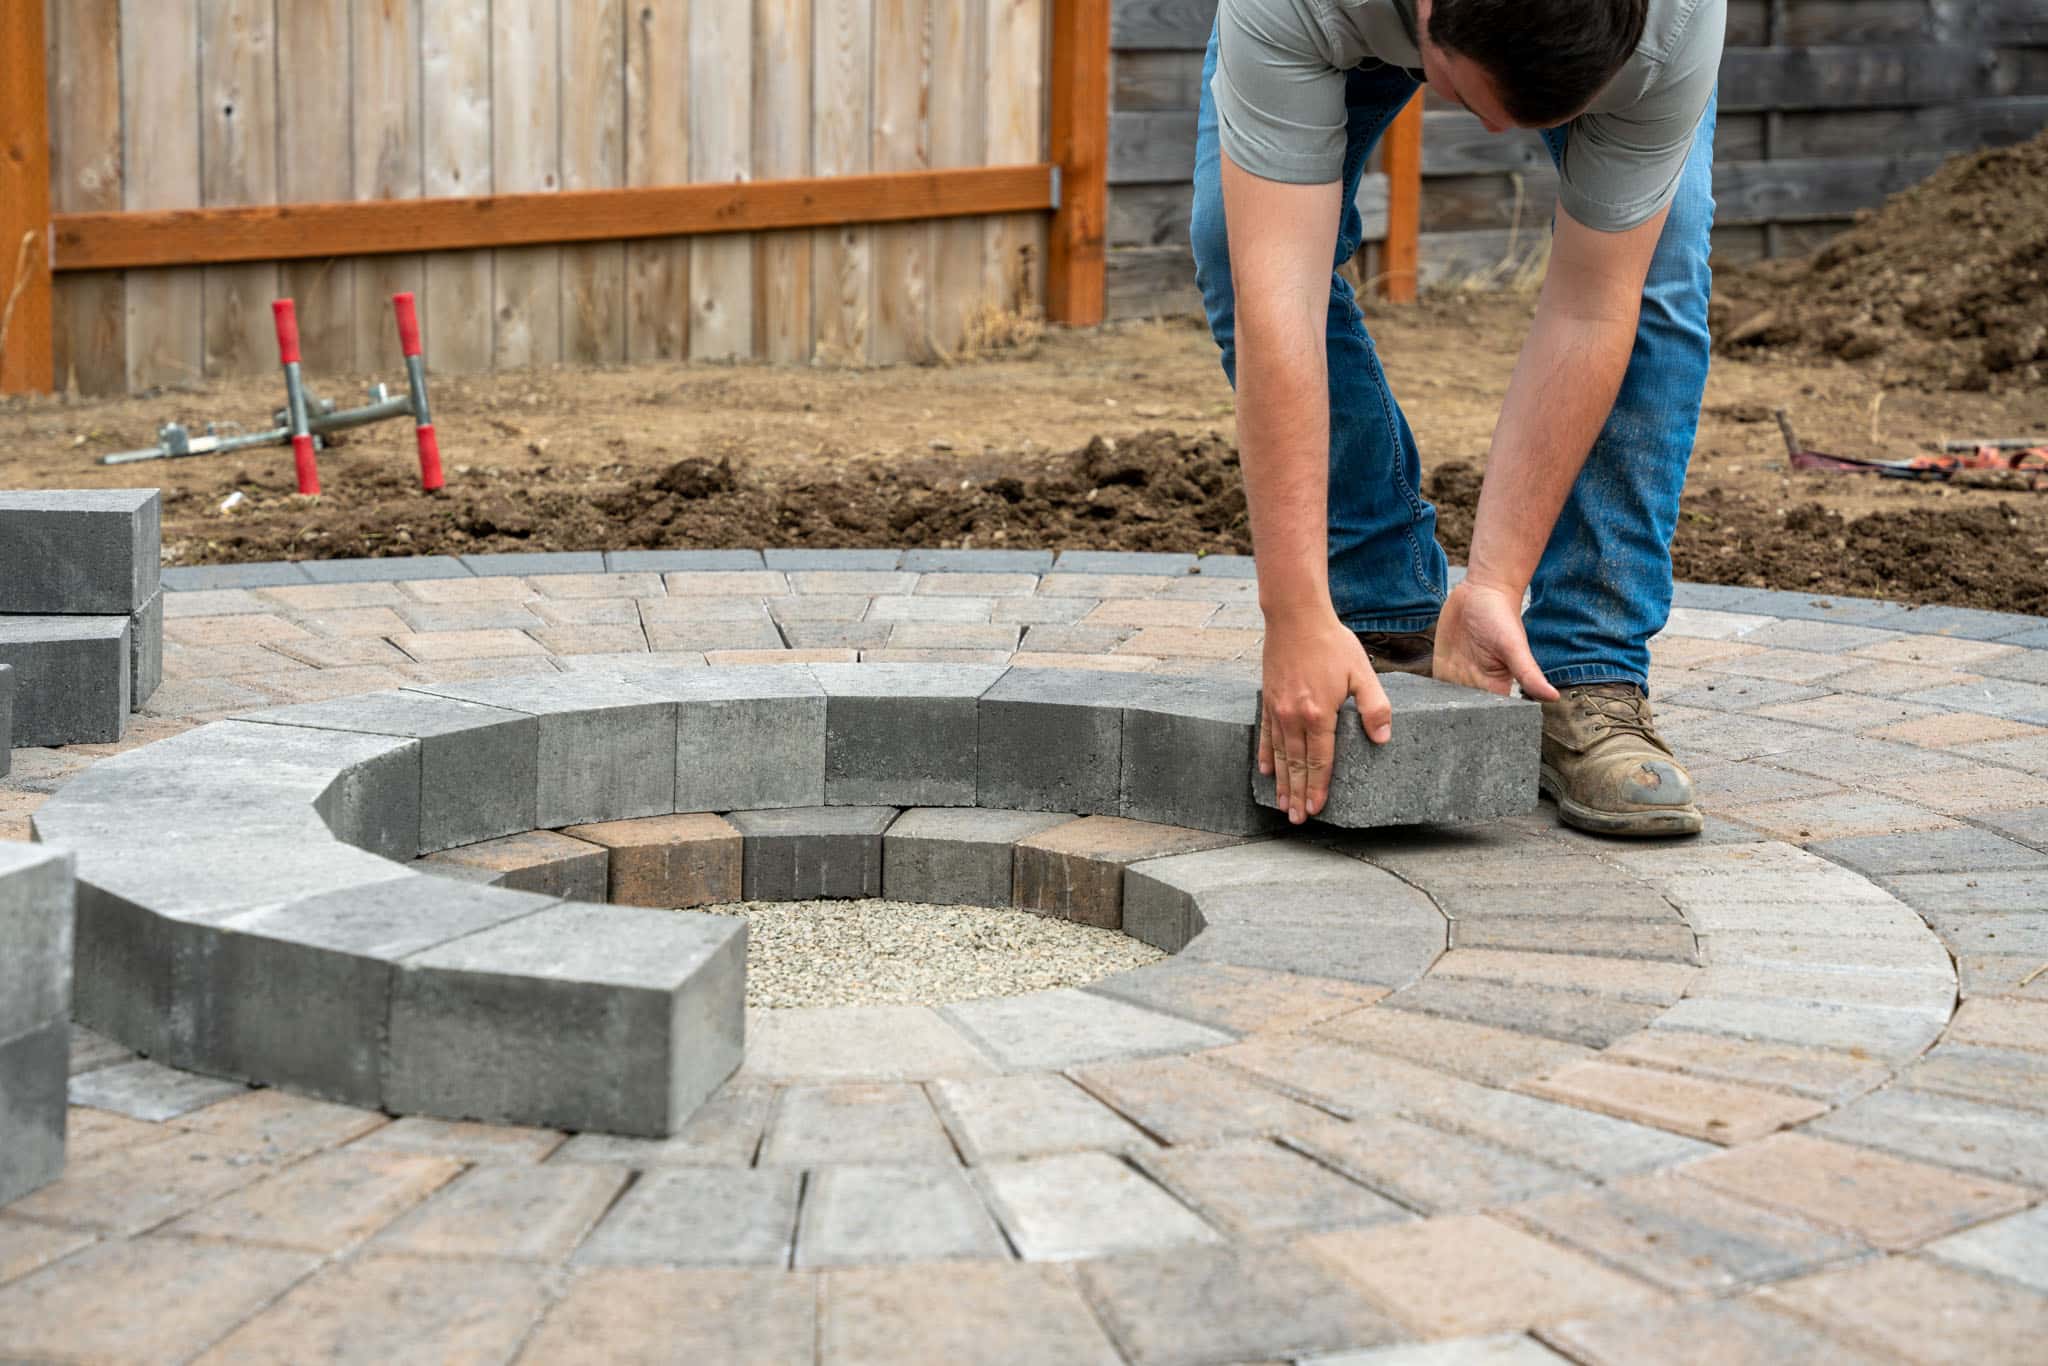
If you’ve opted for a DIY fire pit using retaining wall blocks, bricks, or pavers, start by arranging the first layer of blocks in a circle, following the dimensions outlined in your chosen design. Use a level to ensure that the blocks are evenly positioned and make adjustments as needed to achieve a uniform, stable base.
As you progress to subsequent layers, stagger the blocks to create a sturdy and visually appealing structure. Ensure that each layer is level and securely positioned before adding the next. Depending on the design, you may need to use adhesive to bond the blocks together, so refer to the manufacturer’s recommendations if using specific materials.
If your fire pit includes a steel ring or fire pit insert, carefully place it within the assembled structure, ensuring that it sits securely and centrally. This insert serves as a protective barrier and helps contain the fire, enhancing both safety and the longevity of your fire pit.
Once the blocks are in place and any necessary adjustments have been made, fill the gaps between them with sand. This will help secure the blocks and contribute to the fire pit’s structural integrity. Additionally, it provides a finished look and prevents debris from accumulating between the blocks.
With the final touches in place, your fire pit is ready to become the heart of your outdoor gatherings. Whether you’re roasting marshmallows, sharing stories, or simply enjoying the warmth and glow of the fire, your handcrafted fire pit will undoubtedly create lasting memories and elevate the charm of your outdoor space.
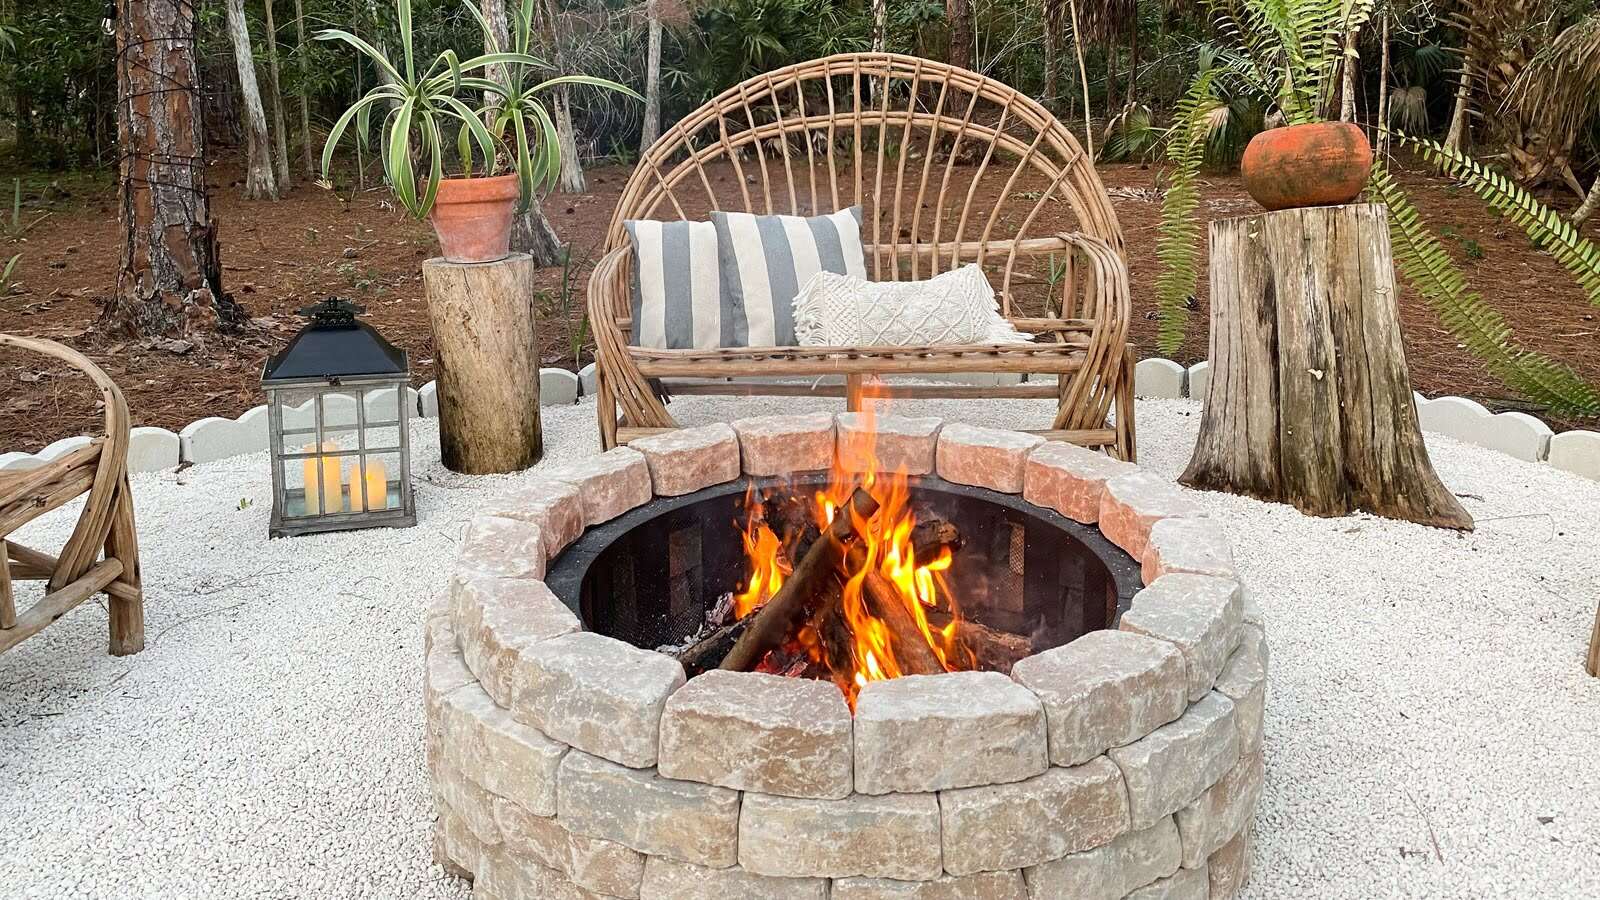
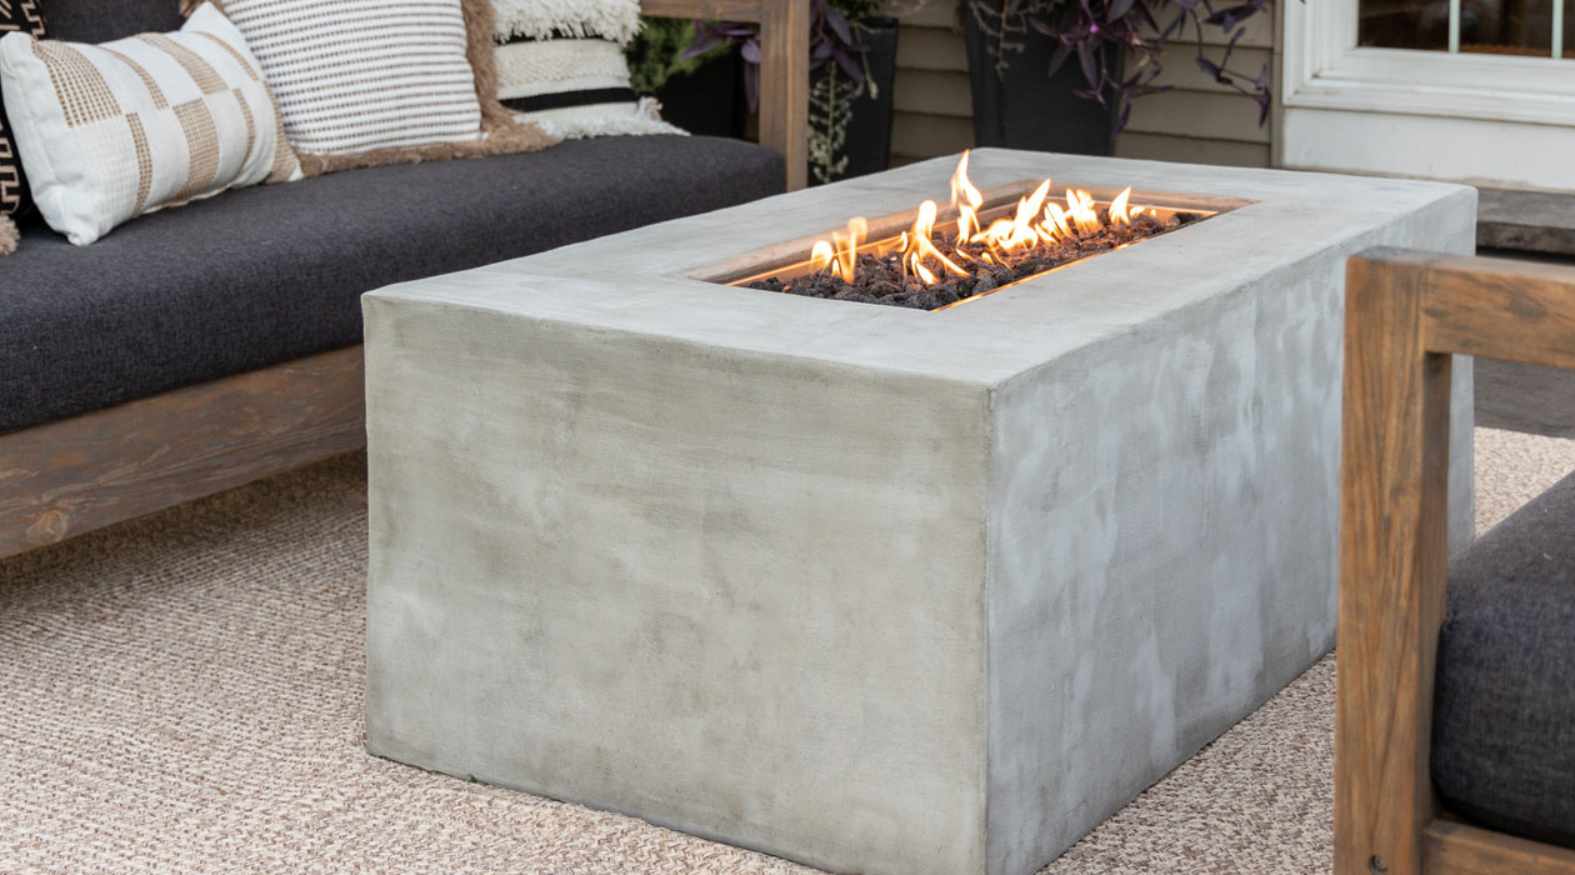
Step 5: Enjoy Your Fire Pit
Congratulations! You’ve successfully constructed your own fire pit, and now it’s time to reap the rewards of your hard work. As the sun sets and the evening air becomes crisp, gather your friends and family to bask in the warm glow of your handcrafted outdoor feature.
Before lighting the fire, take a moment to review essential safety measures with your guests. Emphasize the importance of maintaining a safe distance from the fire pit and exercising caution when adding wood or tending to the flames. Additionally, ensure that a means of extinguishing the fire, such as a bucket of water or a fire extinguisher, is readily accessible.
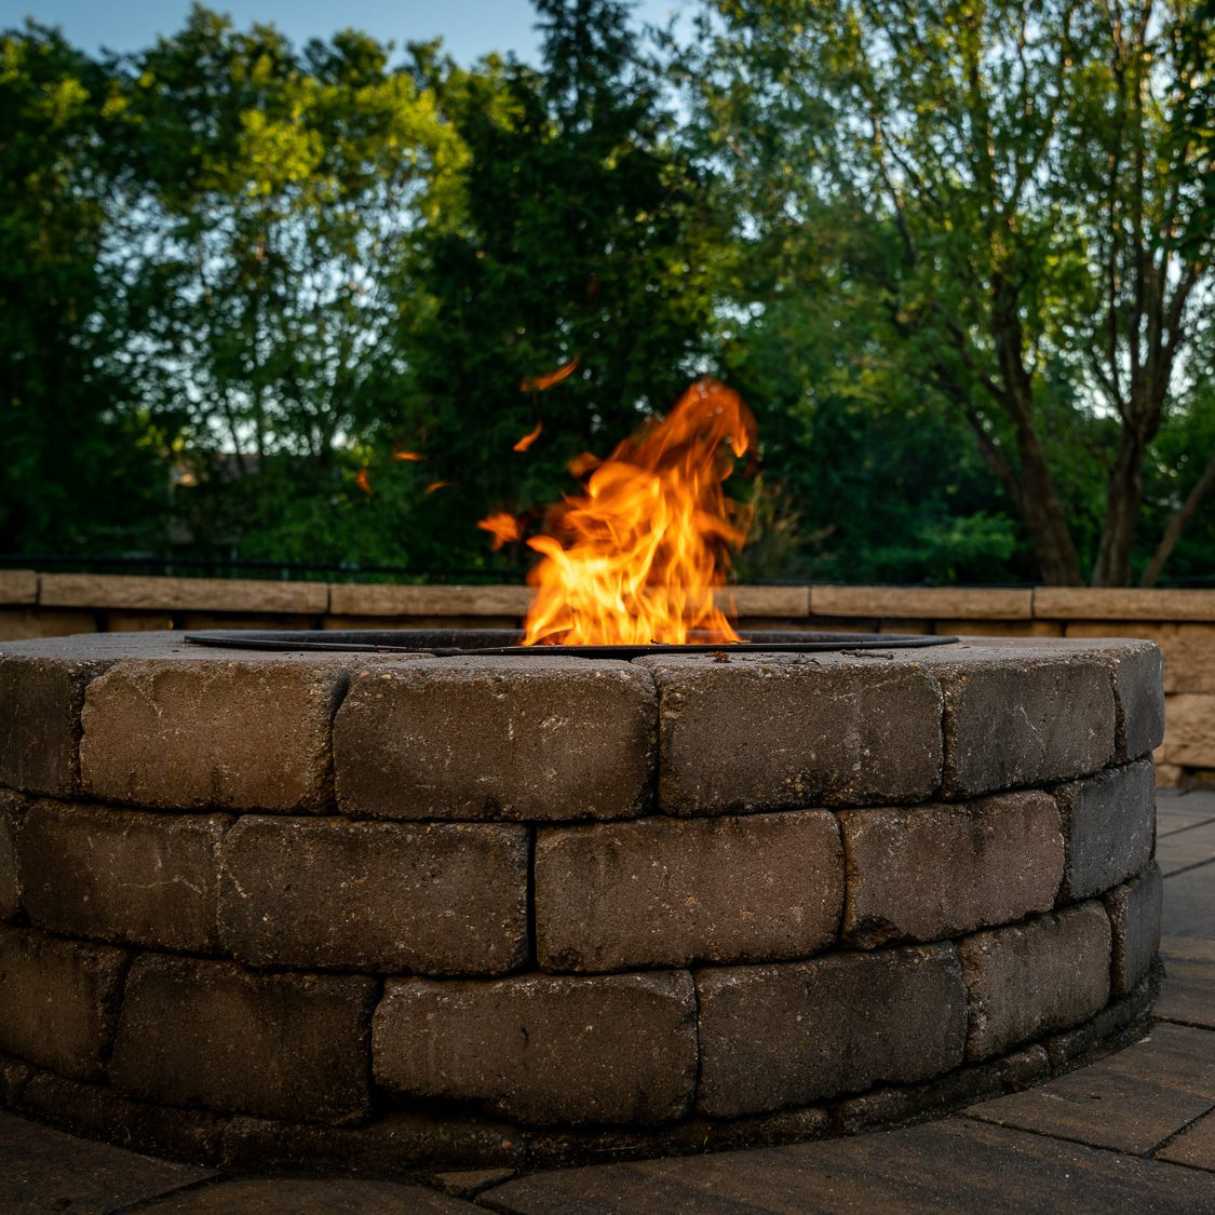
Once all safety precautions are in place, ignite the fire and watch as the flames dance and crackle, casting a captivating glow that sets the perfect ambiance for your outdoor gathering. Whether you’re hosting a casual get-together, a cozy date night, or a lively social event, your fire pit will undoubtedly become the focal point of the evening.
Encourage your guests to indulge in classic fire pit activities, such as roasting marshmallows, making s’mores, or simply enjoying the warmth and mesmerizing allure of the fire. The intimate and inviting atmosphere created by the fire pit will naturally foster engaging conversations and cherished moments among your guests.
As the evening draws to a close, ensure that the fire is completely extinguished before bidding farewell to your guests. Once the fire has cooled and the embers are no longer smoldering, carefully dispose of the ashes in a designated fire-safe container and secure the fire pit area.
With your fire pit now a cherished addition to your outdoor space, you’ll look forward to countless memorable evenings spent gathered around its comforting glow. Whether it’s a tranquil night of stargazing or a lively social gathering, your handcrafted fire pit will continue to enrich your outdoor entertaining experiences for years to come.
So, sit back, relax, and savor the enchanting allure of your very own fire pit – a testament to your creativity and a source of warmth and joy for all who gather around it.
Frequently Asked Questions about How To Make A Simple Fire Pit
Was this page helpful?
At Storables.com, we guarantee accurate and reliable information. Our content, validated by Expert Board Contributors, is crafted following stringent Editorial Policies. We're committed to providing you with well-researched, expert-backed insights for all your informational needs.


0 thoughts on “How To Make A Simple Fire Pit”