Home>Gardening & Outdoor>Outdoor Entertaining>How To Make A Dakota Fire Pit
Outdoor Entertaining
How To Make A Dakota Fire Pit
Modified: August 30, 2024
Learn how to create a Dakota fire pit for your outdoor entertaining needs. Follow our step-by-step guide for a perfect outdoor gathering.
(Many of the links in this article redirect to a specific reviewed product. Your purchase of these products through affiliate links helps to generate commission for Storables.com, at no extra cost. Learn more)
Introduction
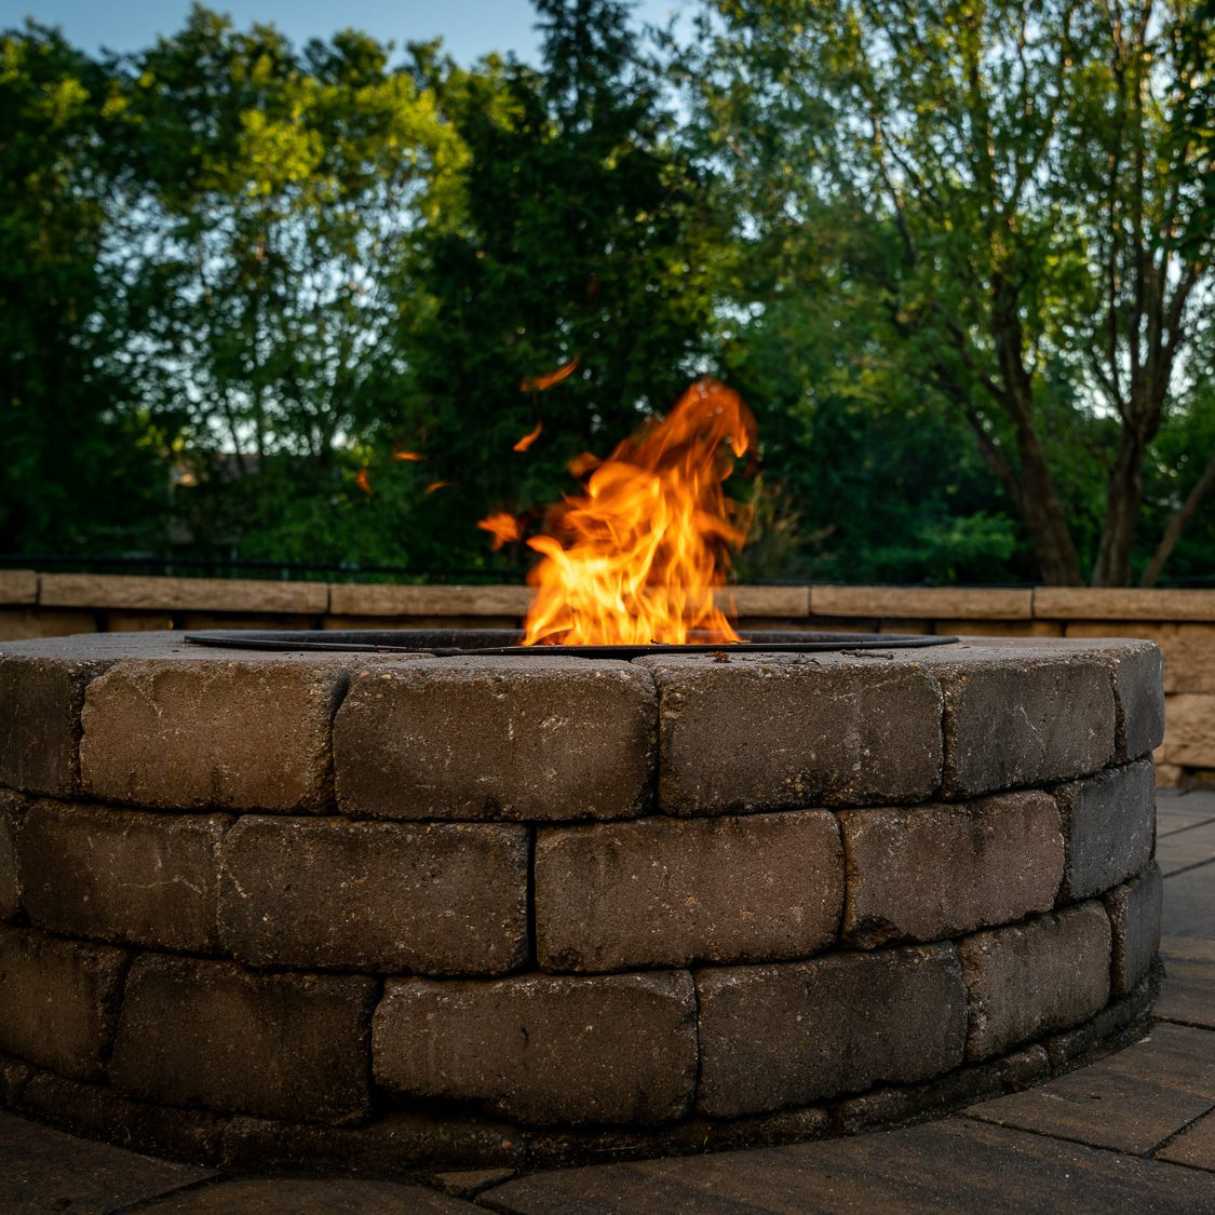
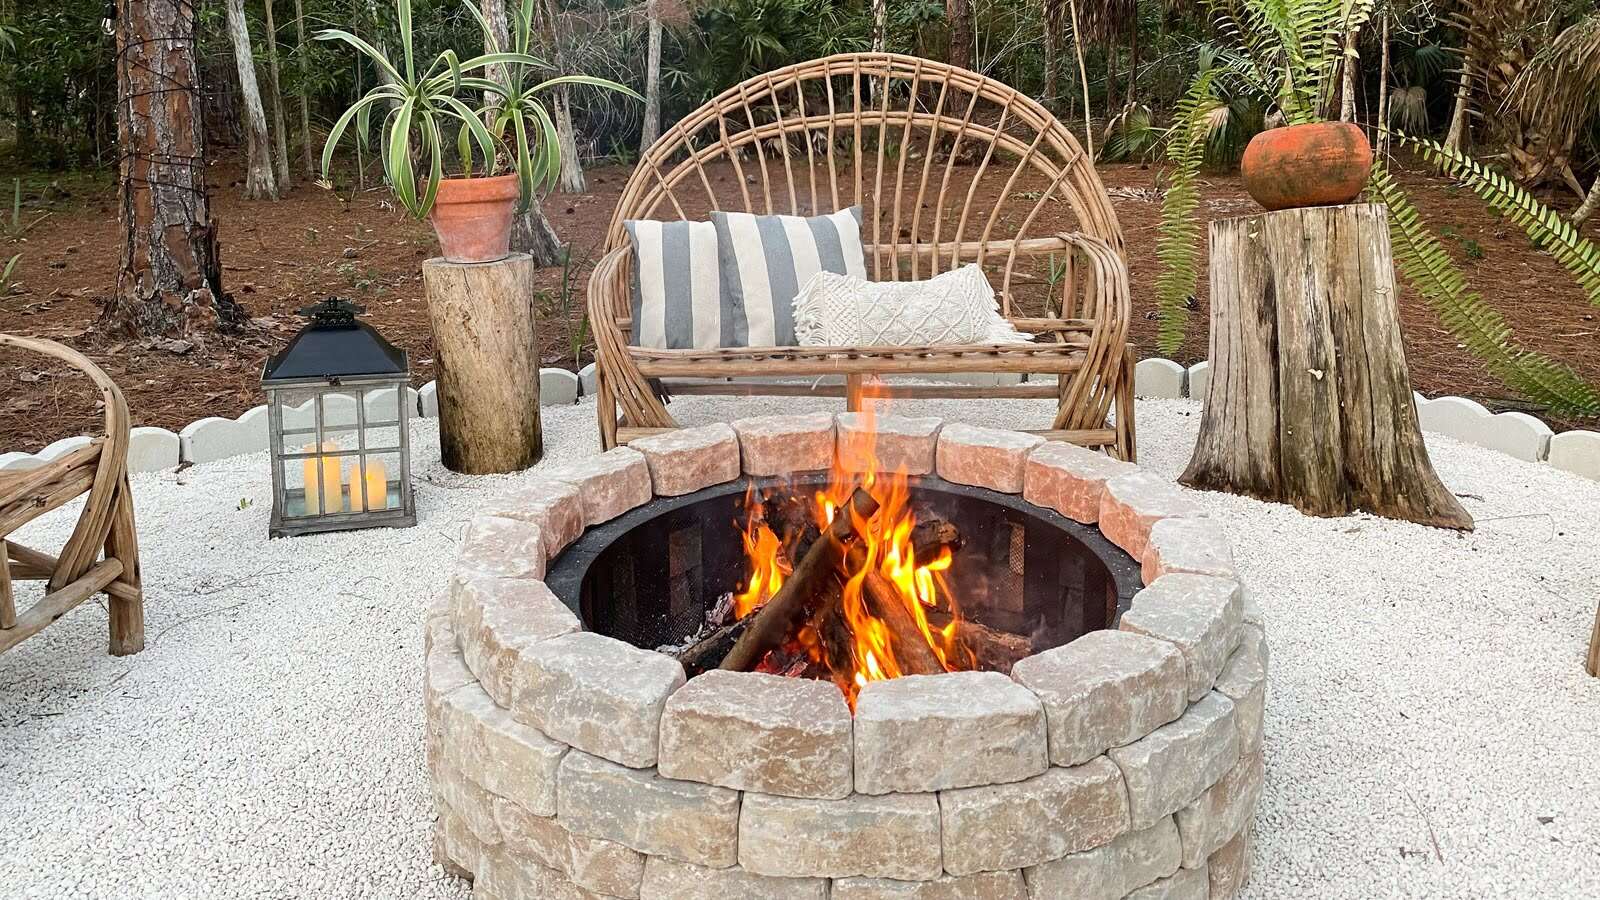
Welcome to the world of outdoor entertaining! If you're someone who loves spending time in your backyard, enjoying the warmth of a crackling fire and the company of friends and family, then learning how to make a Dakota fire pit will undoubtedly pique your interest.
Creating a Dakota fire pit is a fantastic way to elevate your outdoor gatherings. It's a simple yet ingenious method of building a fire that not only provides warmth and light but also minimizes smoke and reduces the risk of accidental wildfires. Whether you're a seasoned outdoor enthusiast or a newbie to the world of backyard bonfires, mastering the art of constructing a Dakota fire pit will undoubtedly add a touch of adventure to your outdoor experiences.
In this guide, we'll delve into the fascinating realm of Dakota fire pits, exploring what they are, the materials needed, and the step-by-step process of building one. Additionally, we'll cover essential safety precautions to ensure that your outdoor fire endeavors are both enjoyable and secure.
So, grab your marshmallows, gather your loved ones, and let's embark on a journey to discover the magic of creating a Dakota fire pit – a simple yet remarkable way to enhance your outdoor entertaining experiences.
Key Takeaways:
- Embrace the magic of a Dakota fire pit for eco-friendly, low-smoke outdoor fires. It’s a simple, safe, and visually captivating way to enhance your outdoor entertaining experiences.
- Prioritize safety and adhere to local regulations when using a Dakota fire pit. Enjoy the warmth and ambiance while taking proactive measures for a secure and enjoyable outdoor fire experience.
Read more: How To Make A Portable Fire Pit
What is a Dakota Fire Pit?
A Dakota fire pit, also known as a Dakota fire hole, is a traditional Native American method of building a fire that offers several distinct advantages over a conventional above-ground campfire. This ingenious design consists of two interconnected holes in the ground, which work together to create a highly efficient and eco-friendly fire source.
The primary hole, typically around 1 to 1.5 feet in diameter, serves as the fire chamber. This is where the actual fire is ignited and sustained. The secondary hole, located adjacent to the fire chamber, acts as a ventilation shaft. It allows air to be drawn into the fire, promoting efficient combustion while minimizing the production of smoke.
One of the most notable benefits of a Dakota fire pit is its remarkable smoke reduction. Unlike a traditional campfire, where smoke can billow and cause discomfort to those gathered around it, a Dakota fire pit produces minimal smoke due to the efficient airflow and combustion process. This makes it an excellent choice for outdoor gatherings, as it allows everyone to enjoy the warmth and ambiance of the fire without being engulfed in smoke.
Furthermore, the design of a Dakota fire pit minimizes the risk of accidental wildfires. By containing the fire within the underground chamber, the surrounding ground remains cooler, reducing the likelihood of stray embers igniting nearby flammable materials. This makes it a safer option for areas prone to dry conditions or with specific fire regulations.
Overall, a Dakota fire pit offers a practical, eco-friendly, and visually appealing way to enjoy outdoor fires. Its efficient use of fuel, minimal smoke output, and reduced environmental impact make it a compelling choice for outdoor enthusiasts seeking a unique and sustainable fire-building method.
Materials Needed
Constructing a Dakota fire pit requires minimal materials, making it an accessible and cost-effective outdoor project. Here’s what you’ll need to get started:
- Shovel: A sturdy shovel is essential for digging the two interconnected holes that form the fire pit. Look for a shovel with a comfortable grip and a durable blade to make the digging process more manageable.
- Tinder and Firewood: Gather dry tinder and firewood to fuel your Dakota fire pit. This can include small twigs, dry leaves, and larger pieces of firewood. Ensure that the wood is dry to facilitate easy ignition and sustained burning.
- Matches or Lighter: To ignite the fire, have a reliable source of ignition on hand, such as matches or a lighter. Consider using long-reach matches to safely light the fire without risking burns.
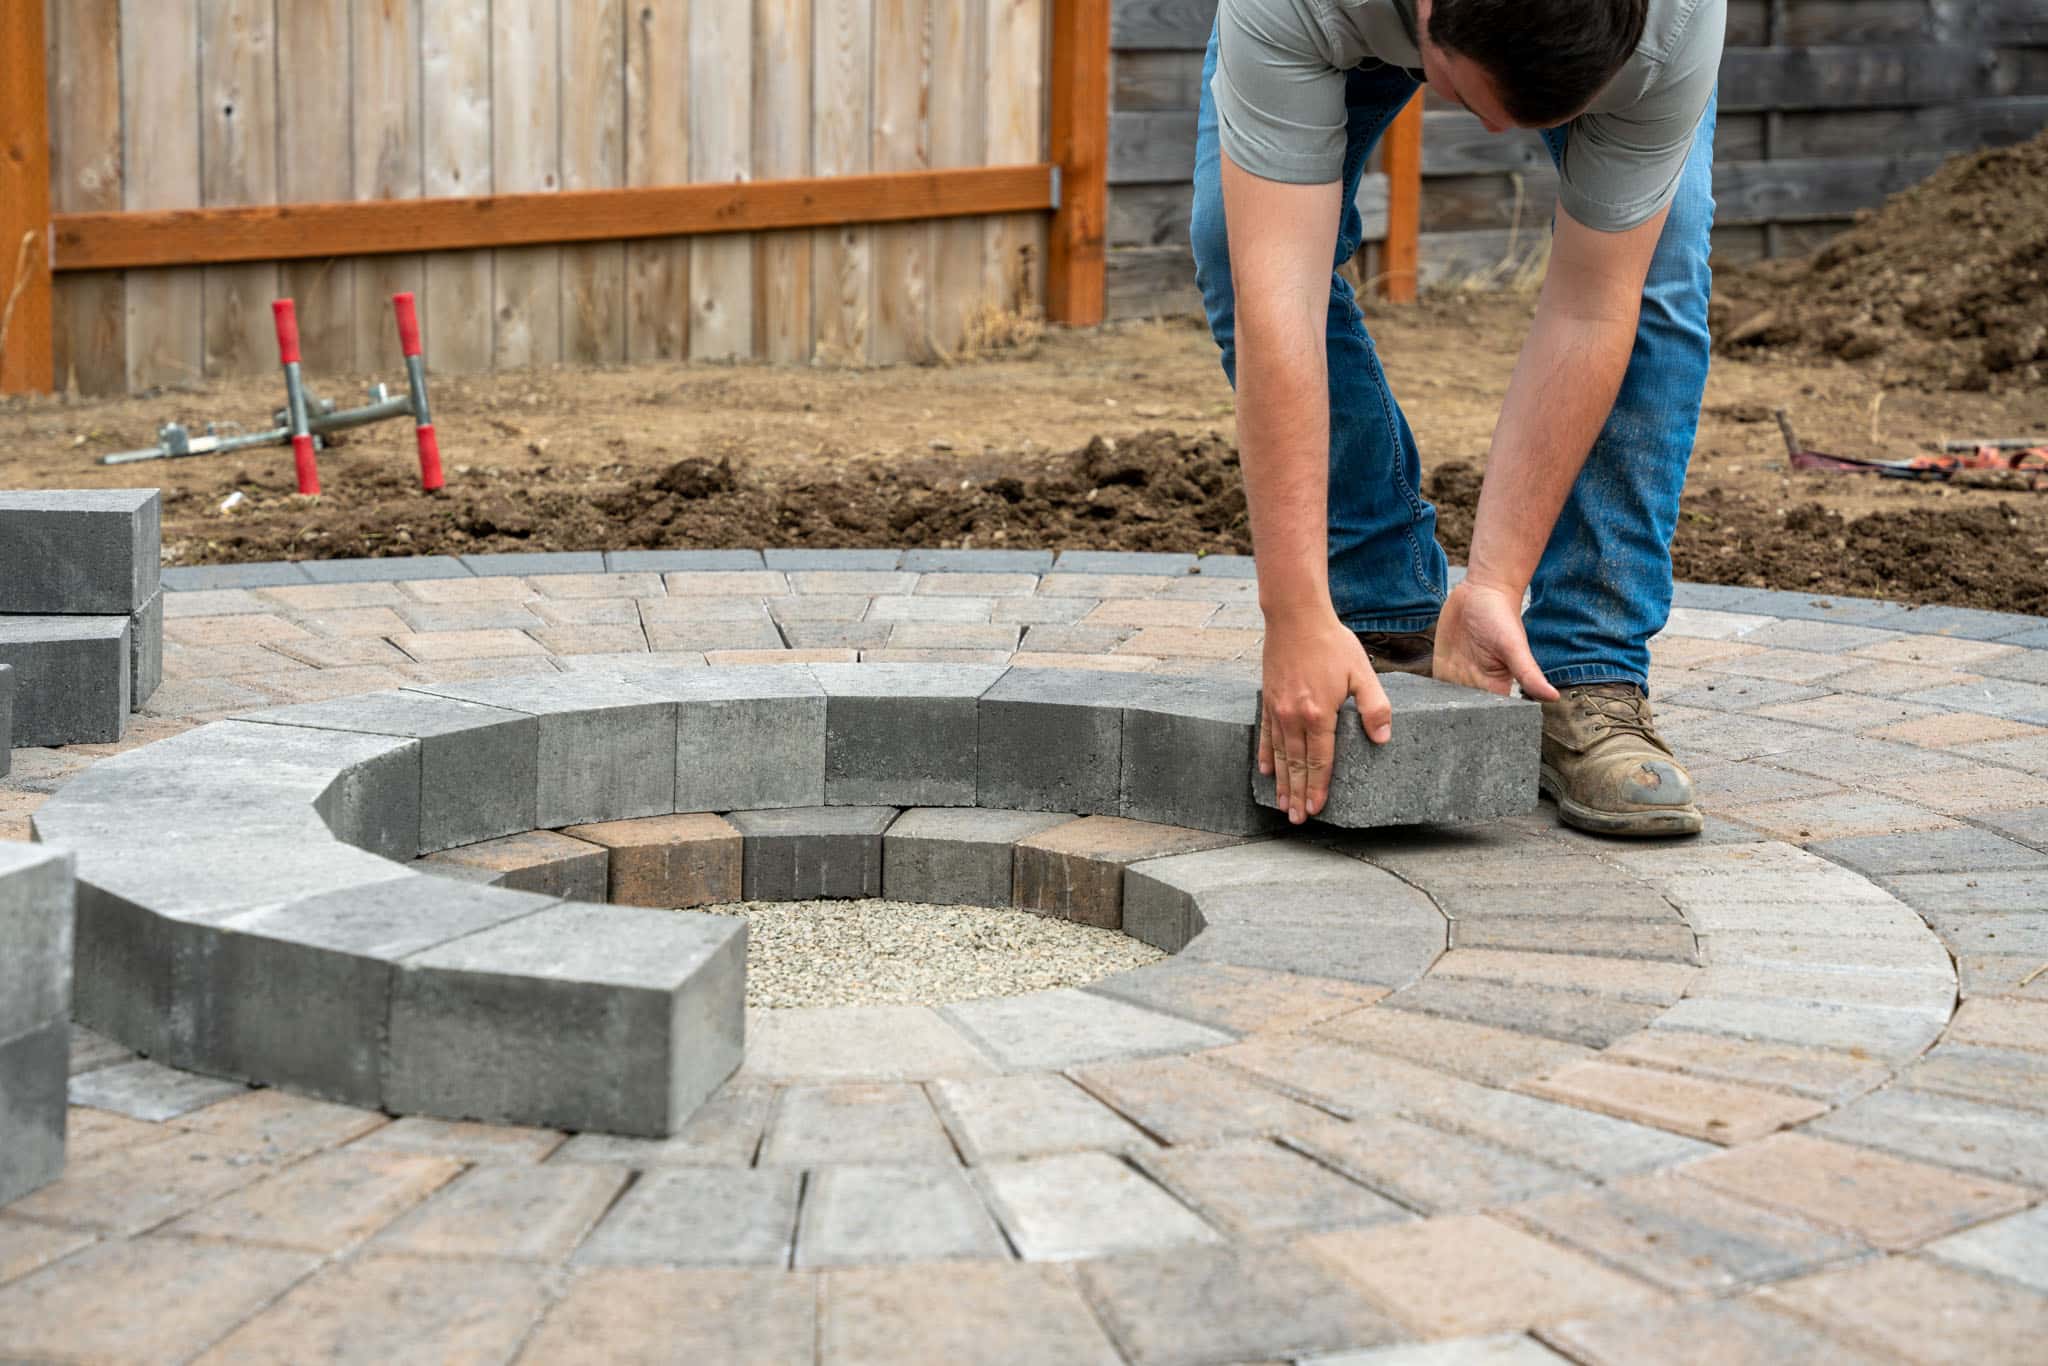
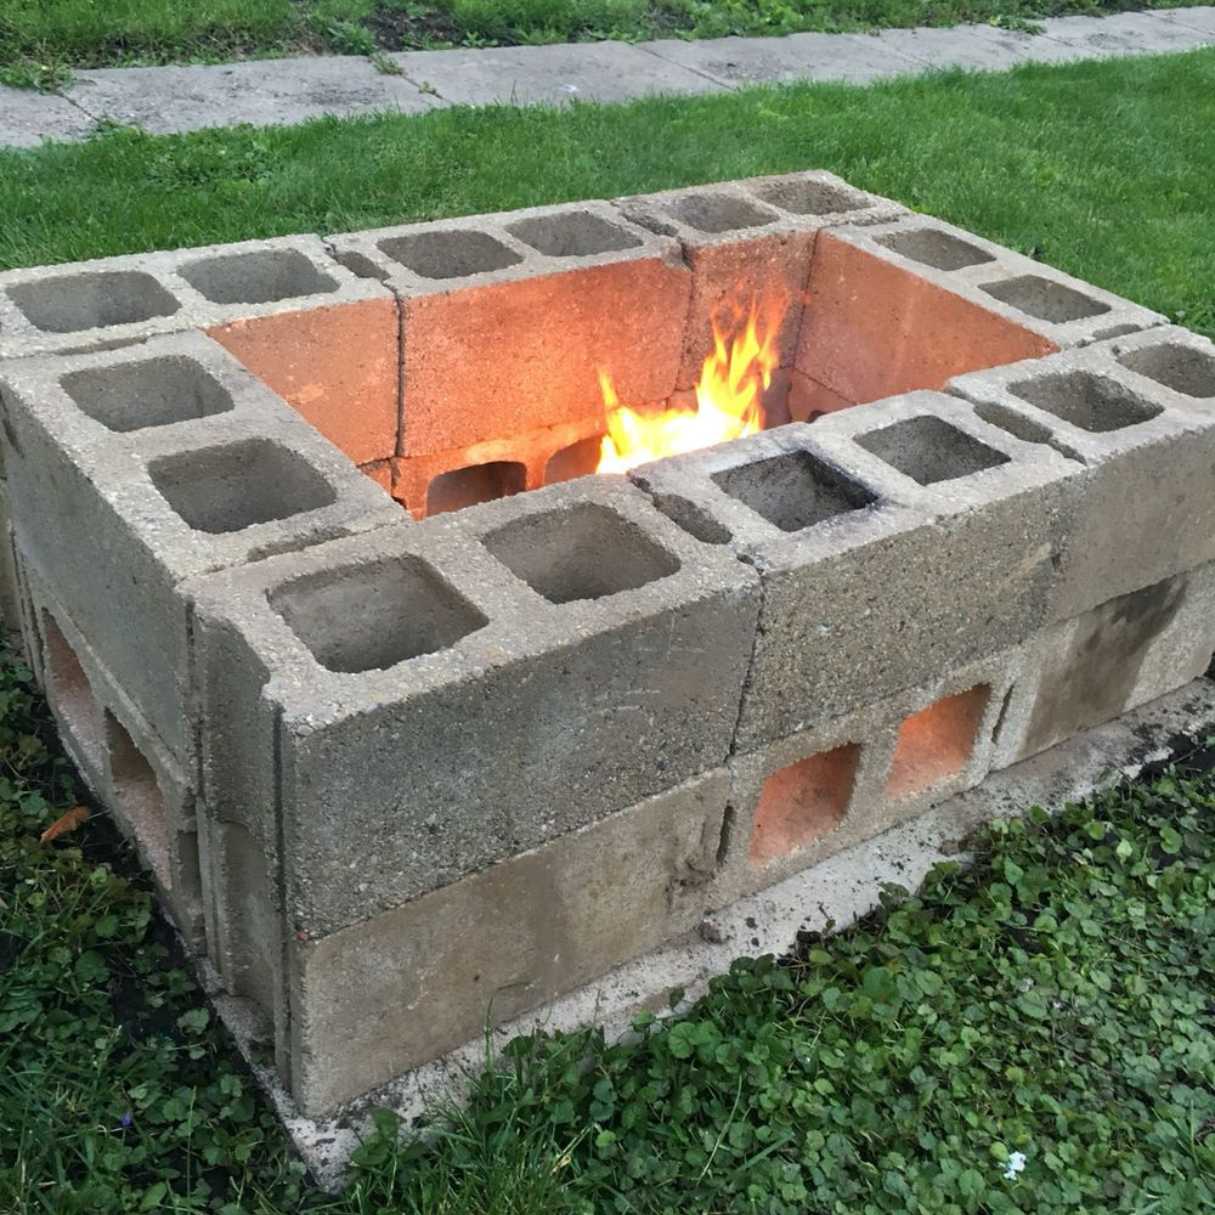
- Optional: Rocks or Bricks: While not essential, placing rocks or bricks around the fire pit can help contain the fire and create a designated area for seating. If you choose to incorporate rocks or bricks, ensure they are heat-resistant and suitable for use in a fire pit.
These basic materials are all you need to begin constructing and enjoying your very own Dakota fire pit. With these items in hand, you’ll be well-prepared to embark on the process of creating a functional and visually captivating fire feature in your outdoor space.
Step 1: Choose the Location
Before commencing the construction of your Dakota fire pit, it’s crucial to carefully select the ideal location for this outdoor feature. Consider the following factors when choosing the site for your fire pit:
- Safety and Regulations: Check local regulations and guidelines regarding outdoor fires in your area. Ensure that you comply with any restrictions or permit requirements to avoid potential legal issues.
- Ground Clearance: Select a location with ample ground clearance, ensuring that there are no overhanging branches, nearby flammable materials, or low-hanging structures that could pose a fire hazard.
- Wind Direction: Take note of the prevailing wind direction in your outdoor space. Position the fire pit so that the ventilation hole faces away from prevailing winds, minimizing smoke and ensuring a more enjoyable fire experience for you and your guests.
- Accessibility: Choose a location that is easily accessible and provides sufficient seating space for your gatherings. Consider the comfort and convenience of your guests when determining the placement of the fire pit within your outdoor area.
- Aesthetics: While functionality and safety are paramount, consider the visual impact of the fire pit within your outdoor space. Select a location that enhances the overall ambiance and appeal of your outdoor entertaining area.
By carefully considering these factors, you can choose a location that not only meets safety and regulatory requirements but also enhances the overall enjoyment and visual appeal of your outdoor fire pit. Once you’ve identified the perfect spot, you’re ready to move on to the next step in the construction process.
Step 2: Digging the Holes
With the location chosen, it’s time to roll up your sleeves and start digging the two interconnected holes that form the foundation of your Dakota fire pit. Follow these steps to ensure a successful excavation process:
- Mark the Locations: Use a stick or spray paint to mark the positions of the two holes. The primary fire chamber should be approximately 1 to 1.5 feet in diameter, while the ventilation hole should be slightly smaller, around 6 to 8 inches in diameter.
- Begin Digging: Using a sturdy shovel, start digging the primary fire chamber hole. Aim for a depth of around 1 to 1.5 feet, creating a cylindrical or conical shape to accommodate the fire and fuel. As you dig, maintain a consistent diameter to ensure a well-defined fire chamber.
- Connect the Ventilation Hole: Once the fire chamber is dug, excavate the ventilation hole, ensuring that it intersects with the base of the fire chamber. This connection allows air to feed the fire, promoting efficient combustion and minimal smoke production.
- Remove Excess Soil: Clear any loose soil and debris from the holes, ensuring a smooth and unobstructed airflow path between the fire chamber and the ventilation hole.
As you dig, take care to maintain the structural integrity of the holes, ensuring that the walls are stable and capable of supporting the fire pit’s operation. Once the holes are excavated and connected, you’re ready to move on to the next step in the construction process: connecting the holes to create a functional Dakota fire pit.
When digging the holes for your Dakota fire pit, make sure to keep the diameter of the holes small to maximize the efficiency of the airflow and heat.
Read more: How To Make A Fire Pit Screen
Step 3: Connecting the Holes
With the primary fire chamber and ventilation holes excavated, the next crucial step in building your Dakota fire pit is connecting these two components to create a functional and efficient fire feature. Follow these steps to ensure a seamless connection between the holes:
- Create the Connection Channel: Using the shovel, carefully carve out a narrow channel that connects the base of the fire chamber to the ventilation hole. This channel serves as the pathway for air to travel from the ventilation hole to the fire, promoting airflow and efficient combustion.
- Clear Obstructions: Ensure that the connection channel is free of any debris or loose soil that could impede the airflow. A clear and unobstructed pathway is essential for the proper functioning of the Dakota fire pit.
- Inspect the Connection: Take a moment to visually inspect the connection between the fire chamber and the ventilation hole. Verify that the channel is well-defined and provides a direct pathway for air to reach the fire. This visual check ensures that the connection is optimized for efficient operation.
- Test the Airflow: To confirm the effectiveness of the connection, gently blow into the ventilation hole while observing the fire chamber. You should see the airflow causing the embers to glow and the fire to respond, indicating that the connection is successfully facilitating the flow of air to the fire.
By carefully connecting the holes and optimizing the airflow pathway, you’ll create a well-functioning Dakota fire pit that maximizes combustion efficiency and minimizes smoke production. With the holes connected, you’re now ready to move on to the exciting step of lighting the fire and enjoying the warmth and ambiance of your newly constructed fire pit.
Step 4: Lighting the Fire
After diligently preparing the fire chamber and connecting the ventilation hole, the time has come to ignite the flames and bring your Dakota fire pit to life. Follow these steps to safely and effectively light the fire:
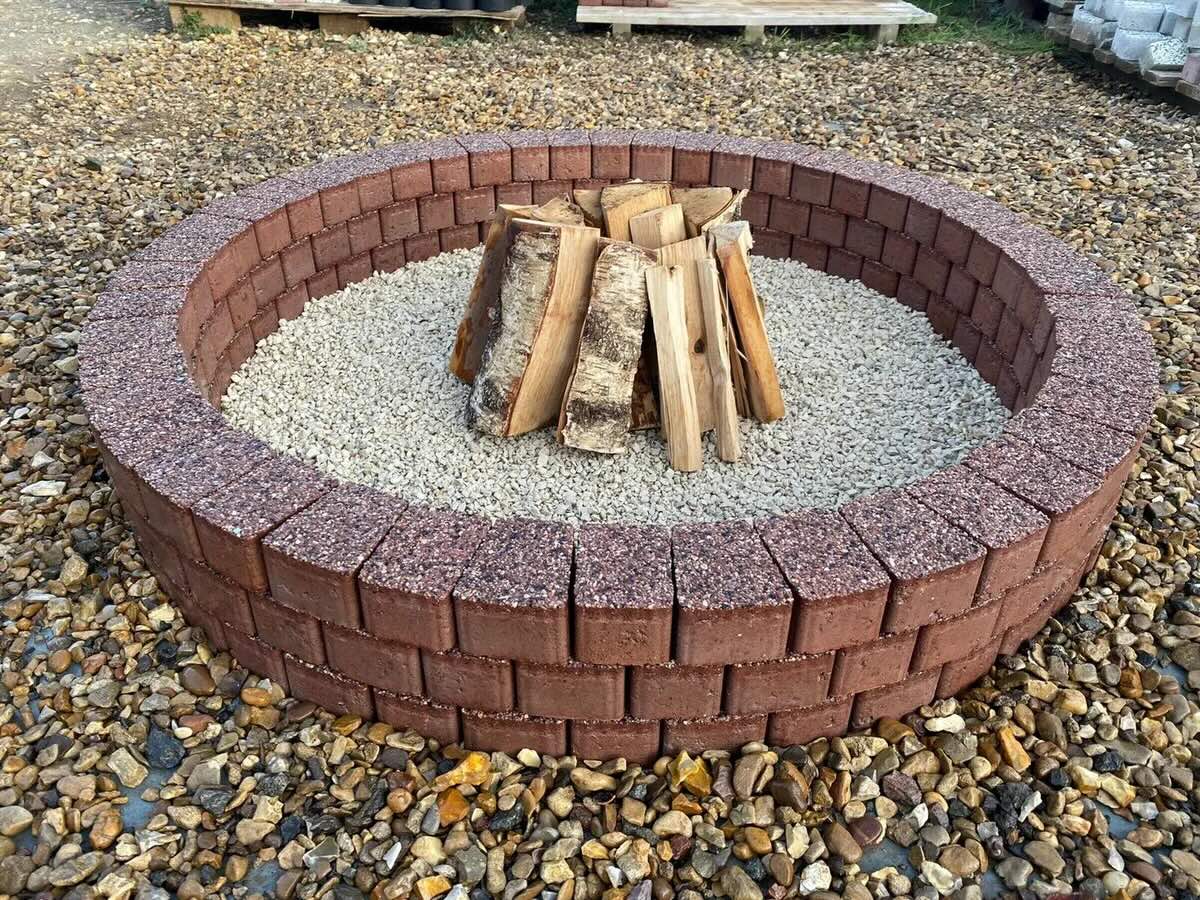
- Prepare the Tinder: Gather a small amount of dry tinder, such as twigs, dry leaves, or other easily ignitable materials. Place the tinder in the center of the fire chamber, creating a small mound to facilitate easy ignition.
- Arrange the Firewood: Position larger pieces of firewood around the tinder, creating a teepee or log cabin structure to promote airflow and facilitate the spread of flames once ignited.
- Ignite the Tinder: Using matches or a lighter, carefully ignite the tinder in the fire chamber. Take care to avoid sudden movements that could disturb the arrangement of the firewood or extinguish the flames.
- Monitor the Fire: As the fire ignites and begins to spread, observe its behavior and adjust the positioning of the firewood as needed to maintain a steady and controlled burn. Avoid adding excessive fuel that could lead to an uncontrollable fire.
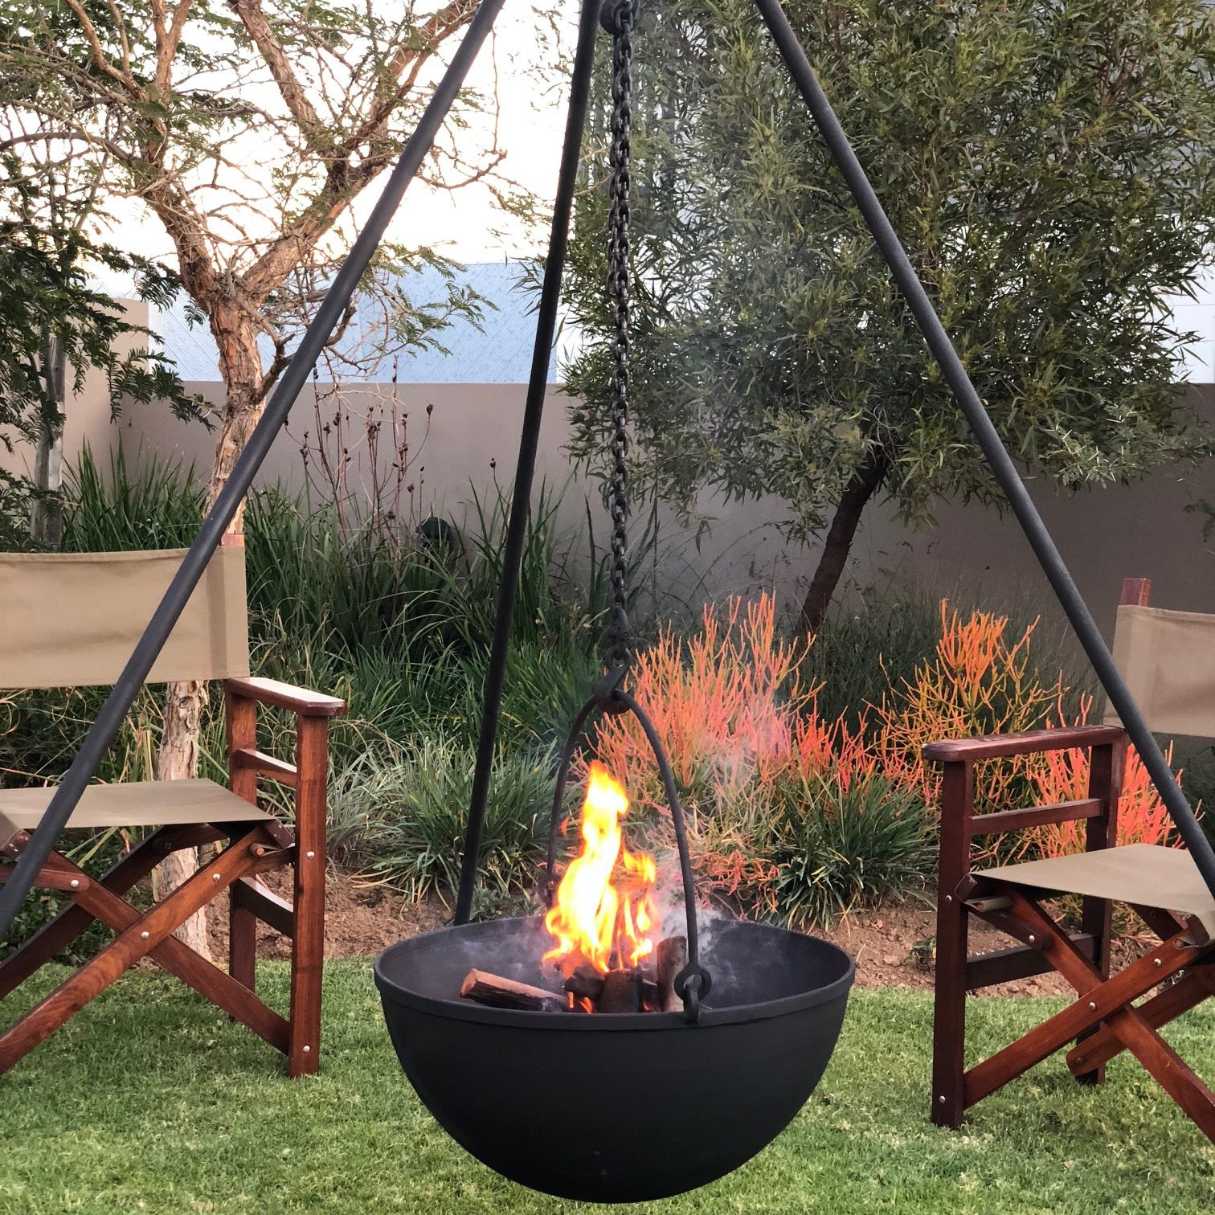
- Enjoy the Fire: Once the flames are burning steadily, take a step back and bask in the warmth and ambiance of your Dakota fire pit. Gather around with friends and family, roast marshmallows, and revel in the captivating allure of your newly ignited outdoor feature.
With the fire roaring in your Dakota fire pit, you’ve successfully completed the construction and ignition process, transforming a simple arrangement of earth and fire into a captivating centerpiece for outdoor gatherings. As you enjoy the crackling flames and the camaraderie of your companions, take pride in your accomplishment and the unique allure of your very own Dakota fire pit.
Safety Precautions
While the allure of a crackling fire in a Dakota fire pit is undeniable, it’s essential to prioritize safety to ensure that your outdoor gatherings are enjoyable and secure. Here are some crucial safety precautions to keep in mind when using a Dakota fire pit:
- Clear the Surrounding Area: Before lighting the fire, ensure that the area around the fire pit is clear of flammable materials, such as dry leaves, branches, or overhanging vegetation. Maintaining a clear perimeter minimizes the risk of accidental fires spreading beyond the designated fire pit area.
- Supervise the Fire: Never leave a fire unattended, especially when using a Dakota fire pit. Assign a responsible individual to monitor the fire at all times and ensure that it remains under control. This proactive approach helps prevent accidents and ensures a safe fire experience.
- Extinguish the Fire Completely: Once your outdoor gathering comes to an end, thoroughly extinguish the fire in the Dakota fire pit. Use water or sand to douse the flames and embers, ensuring that no residual heat remains. Confirm that the fire is completely extinguished before leaving the area unattended.
- Respect Local Regulations: Familiarize yourself with any local regulations or restrictions pertaining to outdoor fires. Adhering to these guidelines demonstrates responsible fire management and contributes to the safety and well-being of your outdoor community.
- Keep a Fire Extinguisher Handy: Have a fire extinguisher or a bucket of sand within reach when using a Dakota fire pit. In the event of an unexpected flare-up or the need to quickly extinguish the fire, having a readily accessible fire suppression tool is essential for prompt action.
By prioritizing safety and adhering to these precautions, you can enjoy the warmth and ambiance of your Dakota fire pit with peace of mind, knowing that you’ve taken proactive measures to ensure a secure and enjoyable outdoor fire experience for yourself and your guests.
Conclusion
Congratulations on mastering the art of creating a Dakota fire pit! By embarking on this journey, you’ve not only learned a time-honored method of building a fire but also expanded your outdoor entertaining repertoire. The allure of a crackling fire, the warmth of the flames, and the camaraderie of friends and family gathered around the fire pit create unforgettable memories and enrich the outdoor experience.
As you continue to explore the world of outdoor entertaining, remember that the Dakota fire pit represents more than just a functional fire feature. It embodies the ingenuity of traditional techniques, the harmony between humans and nature, and the timeless appeal of gathering around a communal fire. Whether it’s a cozy evening with loved ones or a lively outdoor celebration, your Dakota fire pit will undoubtedly become a focal point of enjoyment and connection in your outdoor space.
Embrace the magic of the Dakota fire pit, experiment with different firewood types for unique aromas, and savor the meditative crackle of the flames. As you do so, share the knowledge and joy of this ancient fire-building method with others, inspiring them to embark on their own outdoor adventures and create memorable moments around the captivating glow of a Dakota fire pit.
So, as the flames dance and the evening unfolds, revel in the enchantment of your handcrafted fire pit, knowing that you’ve not only built a functional fire feature but also kindled the spirit of outdoor camaraderie and shared moments that will be cherished for years to come.
Frequently Asked Questions about How To Make A Dakota Fire Pit
Was this page helpful?
At Storables.com, we guarantee accurate and reliable information. Our content, validated by Expert Board Contributors, is crafted following stringent Editorial Policies. We're committed to providing you with well-researched, expert-backed insights for all your informational needs.


0 thoughts on “How To Make A Dakota Fire Pit”