Home>Gardening & Outdoor>Outdoor Entertaining>How To Make A Cinder Block Fire Pit
Outdoor Entertaining
How To Make A Cinder Block Fire Pit
Modified: October 20, 2024
Learn how to create a stunning outdoor entertaining space with a DIY cinder block fire pit. Enhance your backyard with this stylish and functional addition.
(Many of the links in this article redirect to a specific reviewed product. Your purchase of these products through affiliate links helps to generate commission for Storables.com, at no extra cost. Learn more)
Introduction
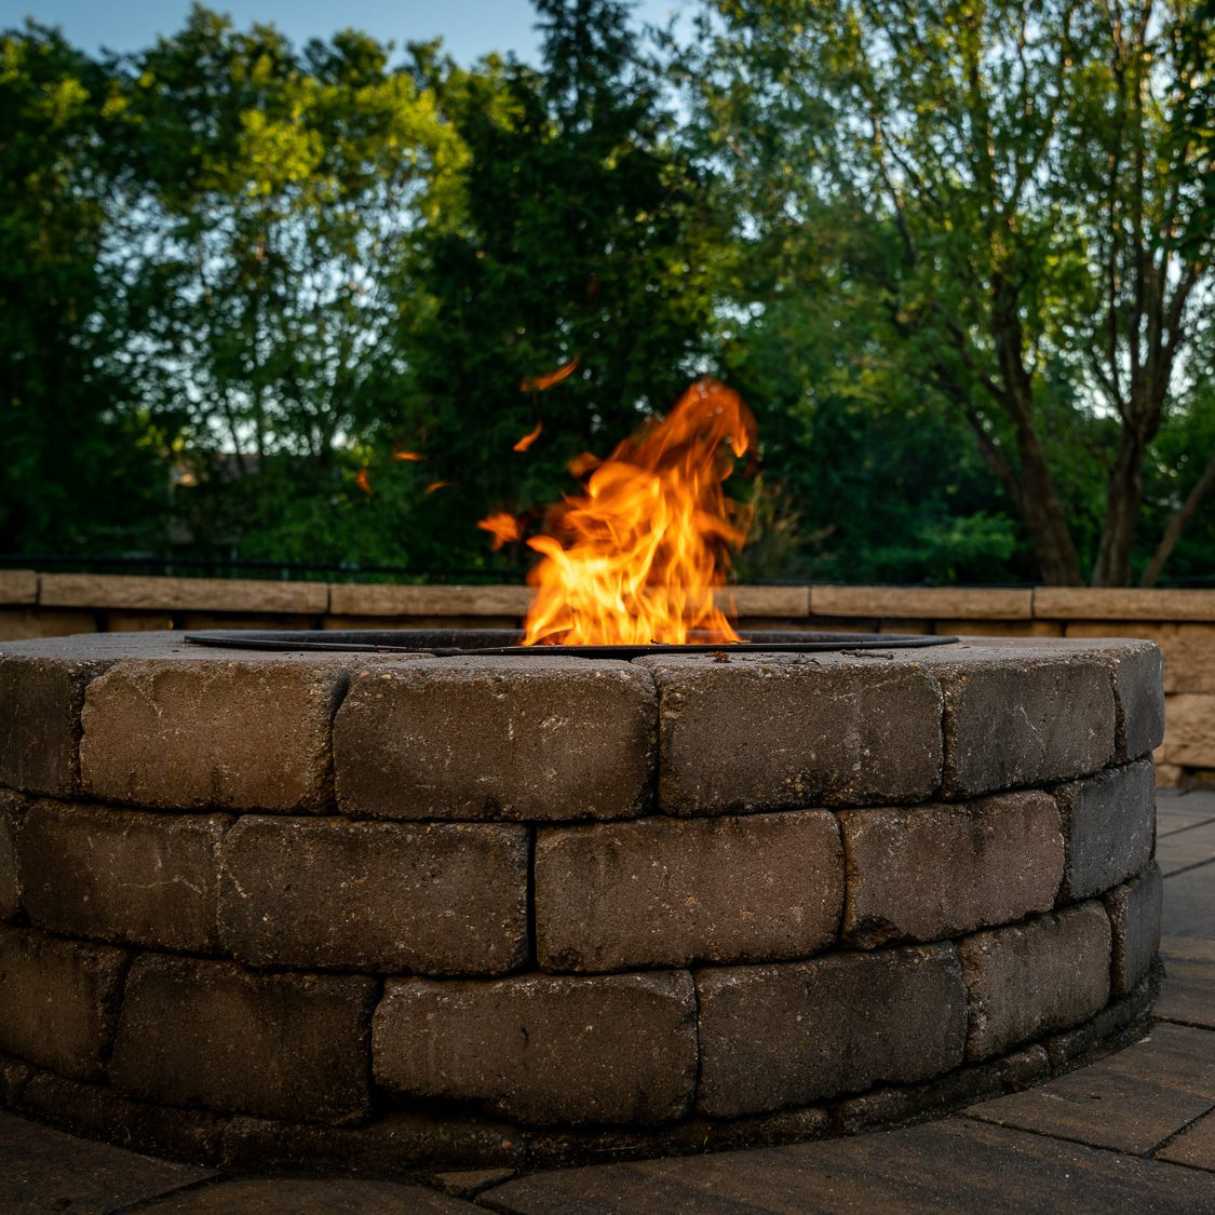
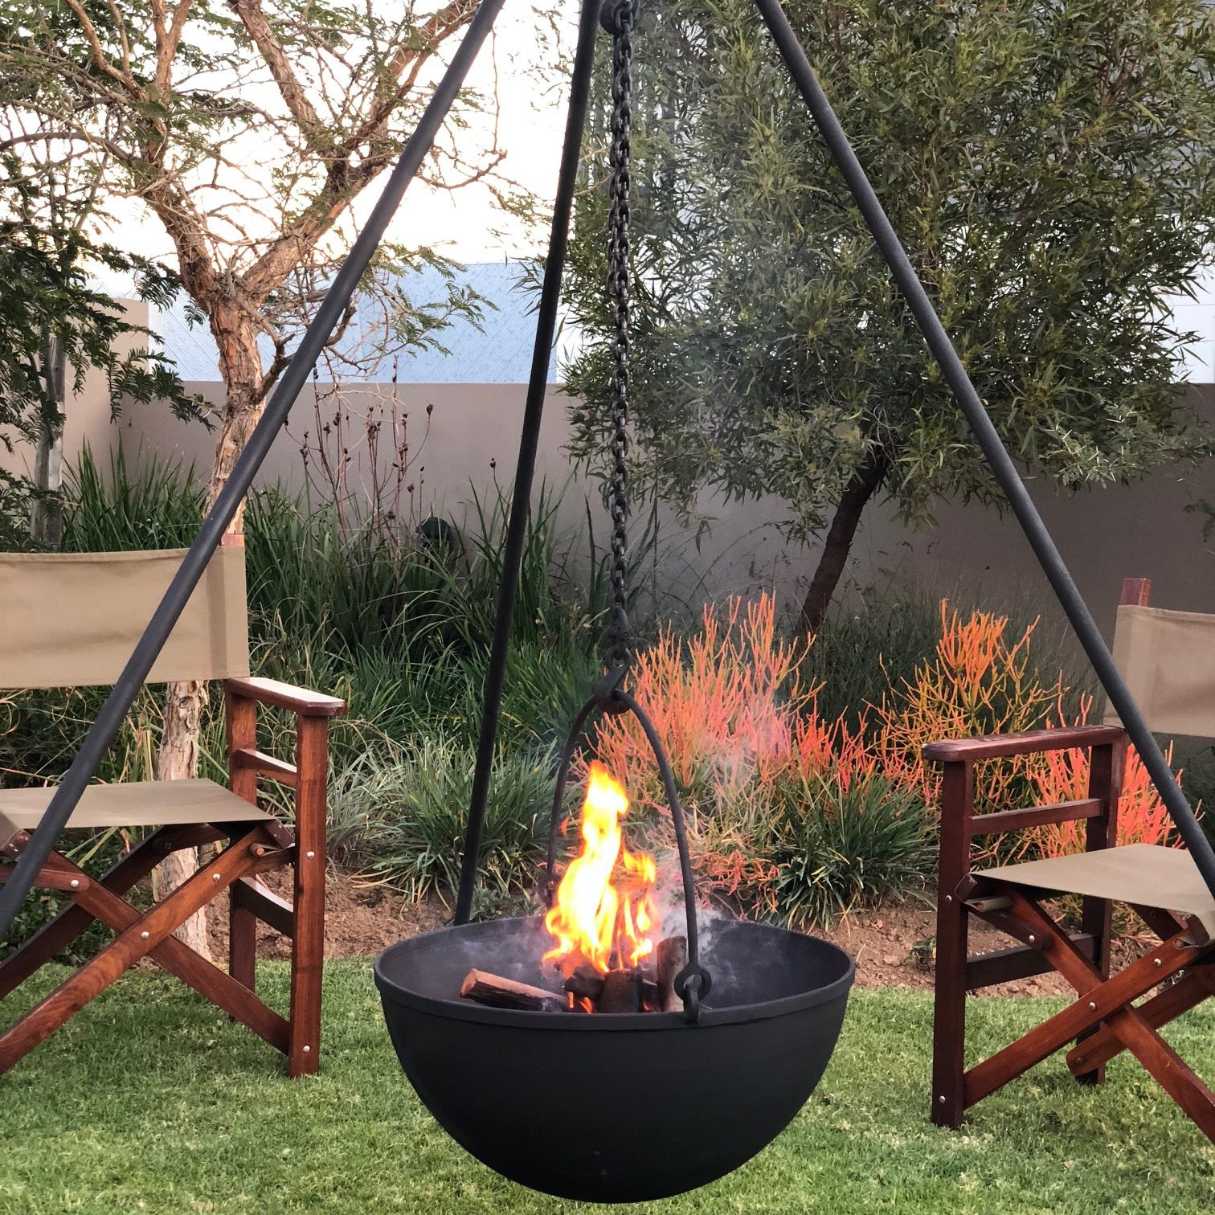
Creating a warm and inviting outdoor space is a delightful way to extend your living area and make the most of your backyard. One of the most popular and cost-effective ways to achieve this is by adding a fire pit. Not only does a fire pit provide a cozy ambiance for gatherings with family and friends, but it also serves as a focal point for outdoor entertaining.
If you're looking to add a touch of rustic charm to your outdoor space, a cinder block fire pit may be the perfect choice. Not only is it a budget-friendly option, but it also offers a customizable and versatile design that can complement any backyard style. Whether you're a seasoned DIY enthusiast or a novice looking to embark on a new project, building a cinder block fire pit is a rewarding and achievable endeavor.
In this comprehensive guide, we'll walk you through the step-by-step process of creating your own cinder block fire pit. From choosing the perfect location to arranging the materials and enjoying the crackling flames, you'll learn everything you need to know to bring this inviting addition to your outdoor oasis to life. So, roll up your sleeves, gather your materials, and get ready to embark on a rewarding journey to enhance your outdoor space with a charming cinder block fire pit.
Key Takeaways:
- Building a cinder block fire pit is an affordable and rewarding DIY project that adds warmth and charm to your outdoor space. Follow the steps to create a safe and inviting gathering spot for friends and family.
- When constructing a cinder block fire pit, carefully choose the location, prepare the area, arrange the blocks, add the fire pit insert, and enjoy the cozy ambiance. Prioritize safety, gather firewood, and create a comfortable seating area for memorable outdoor gatherings.
Read more: How Many Blocks For A Fire Pit
Materials Needed
Before diving into the construction of your cinder block fire pit, it’s essential to gather all the necessary materials. The beauty of this project lies in its simplicity and affordability, as the materials required are readily available and won’t break the bank. Here’s a comprehensive list of what you’ll need:
- Cinder blocks: The foundation of your fire pit, these sturdy blocks will form the structure and provide the framework for your outdoor feature. The number of cinder blocks required will depend on the size and design of your desired fire pit.
- Fire pit insert or steel ring: This insert will contain the fire and ensure a safe and controlled burning environment. Alternatively, a steel ring can be used to provide a defined shape for the fire pit.
- Gravel: Essential for creating a stable and level base for your fire pit, gravel will aid in proper drainage and prevent the accumulation of water within the pit.
- Masonry adhesive: To ensure the stability and durability of your fire pit, masonry adhesive will be used to secure the cinder blocks in place, creating a solid and long-lasting structure.
- Level: An essential tool for ensuring that the cinder blocks are evenly placed and the fire pit is perfectly level, a level will guarantee a professional and aesthetically pleasing result.
- Tape measure: Precise measurements are crucial for the success of your project. A tape measure will help you accurately plan the dimensions of your fire pit and ensure that it fits seamlessly into your outdoor space.
- Protective gear: Safety should always be a top priority. Be sure to have protective gloves and safety goggles on hand to shield yourself from any potential hazards during the construction process.
With these materials in hand, you’ll be well-equipped to embark on the construction of your cinder block fire pit. Once you’ve gathered everything on the list, you’ll be ready to move on to the next step and bring your vision to life.
Step 1: Choose the Location
Before breaking ground on your cinder block fire pit project, it’s crucial to carefully select the ideal location for this inviting outdoor feature. The placement of your fire pit will not only impact the ambiance of your outdoor space but also influence the safety and functionality of the area. Here are some key considerations to keep in mind when choosing the perfect spot for your fire pit:
- Regulations and codes: Check with your local municipality or homeowners’ association to ensure compliance with any regulations or codes regarding the installation of fire pits. Some areas may have specific guidelines regarding the distance required between the fire pit and structures, property lines, and overhead obstructions.
- Safety first: Opt for a location that is away from overhanging trees, low-hanging branches, and any flammable materials. It’s essential to create a clear and safe zone around the fire pit to prevent the risk of accidental fires.
- Wind direction: Consider the prevailing wind direction in your backyard. Select a location that minimizes the impact of wind on the flames, ensuring a more enjoyable and controlled burning experience.
- Accessibility and seating: Choose a spot that allows for easy access and comfortable seating arrangements. Whether you envision cozy gatherings or lively outdoor parties, the location should accommodate the flow of foot traffic and provide ample space for seating around the fire pit.
- Aesthetic appeal: The placement of the fire pit should enhance the visual appeal of your outdoor space. Whether it’s a focal point in your backyard or nestled within a cozy nook, the location should complement the overall design and landscaping of your outdoor area.
By carefully considering these factors, you’ll be able to identify the perfect location for your cinder block fire pit. Once you’ve selected the ideal spot, you’ll be ready to move on to the next step and prepare the area for the construction process.
Step 2: Prepare the Area
With the location of your cinder block fire pit chosen, it’s time to prepare the area for the construction process. This crucial step sets the foundation for a successful and visually appealing fire pit that seamlessly integrates into your outdoor space. Here’s a detailed guide on how to prepare the area for your upcoming project:
- Clear the space: Begin by clearing the designated area of any debris, vegetation, or obstacles. Ensure that the ground is level and free of any obstructions that could impede the construction process.
- Mark the perimeter: Use a tape measure to mark the perimeter of the fire pit, outlining the desired dimensions and shape. This step will provide a clear visual guide for the placement of the cinder blocks and the overall layout of the fire pit.
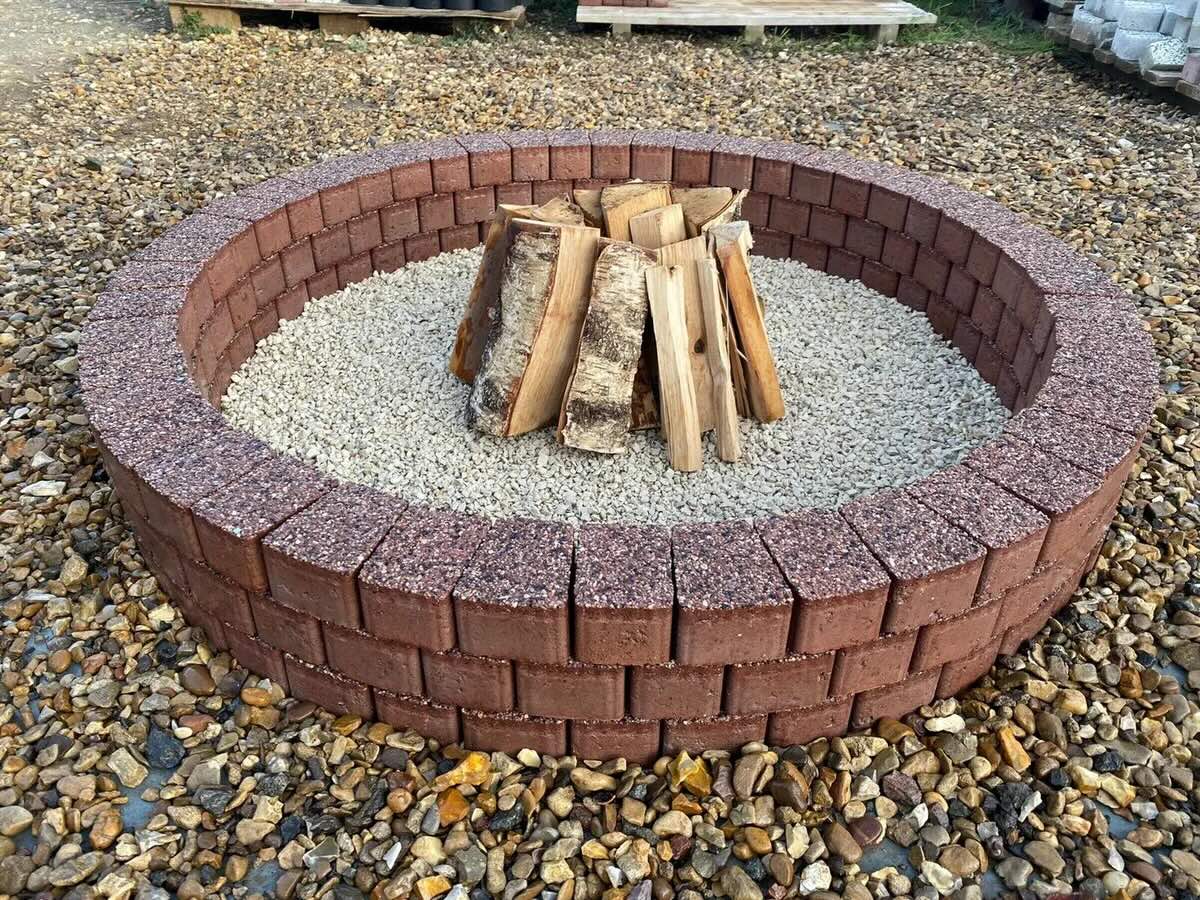
- Add a layer of gravel: Once the perimeter is marked, spread a layer of gravel within the outlined area. The gravel will serve as a stable and porous base, promoting proper drainage and preventing the accumulation of water within the fire pit.
- Compact the gravel: Use a tamper or a hand compactor to firmly compact the layer of gravel. This step is essential for creating a solid and level base that will support the weight of the cinder blocks and ensure the stability of the fire pit.
- Verify the level: Utilize a level to confirm that the compacted gravel base is perfectly level. Adjust the gravel as needed to achieve an even surface, as this will directly impact the stability and aesthetics of the fire pit.
By meticulously preparing the area for your cinder block fire pit, you’ll establish a solid foundation that sets the stage for the construction process. With the groundwork laid and the area primed for the next steps, you’re now ready to move forward and bring your fire pit vision to life.
When building a cinder block fire pit, make sure to use fire-rated bricks or blocks to withstand high temperatures and avoid any potential safety hazards.
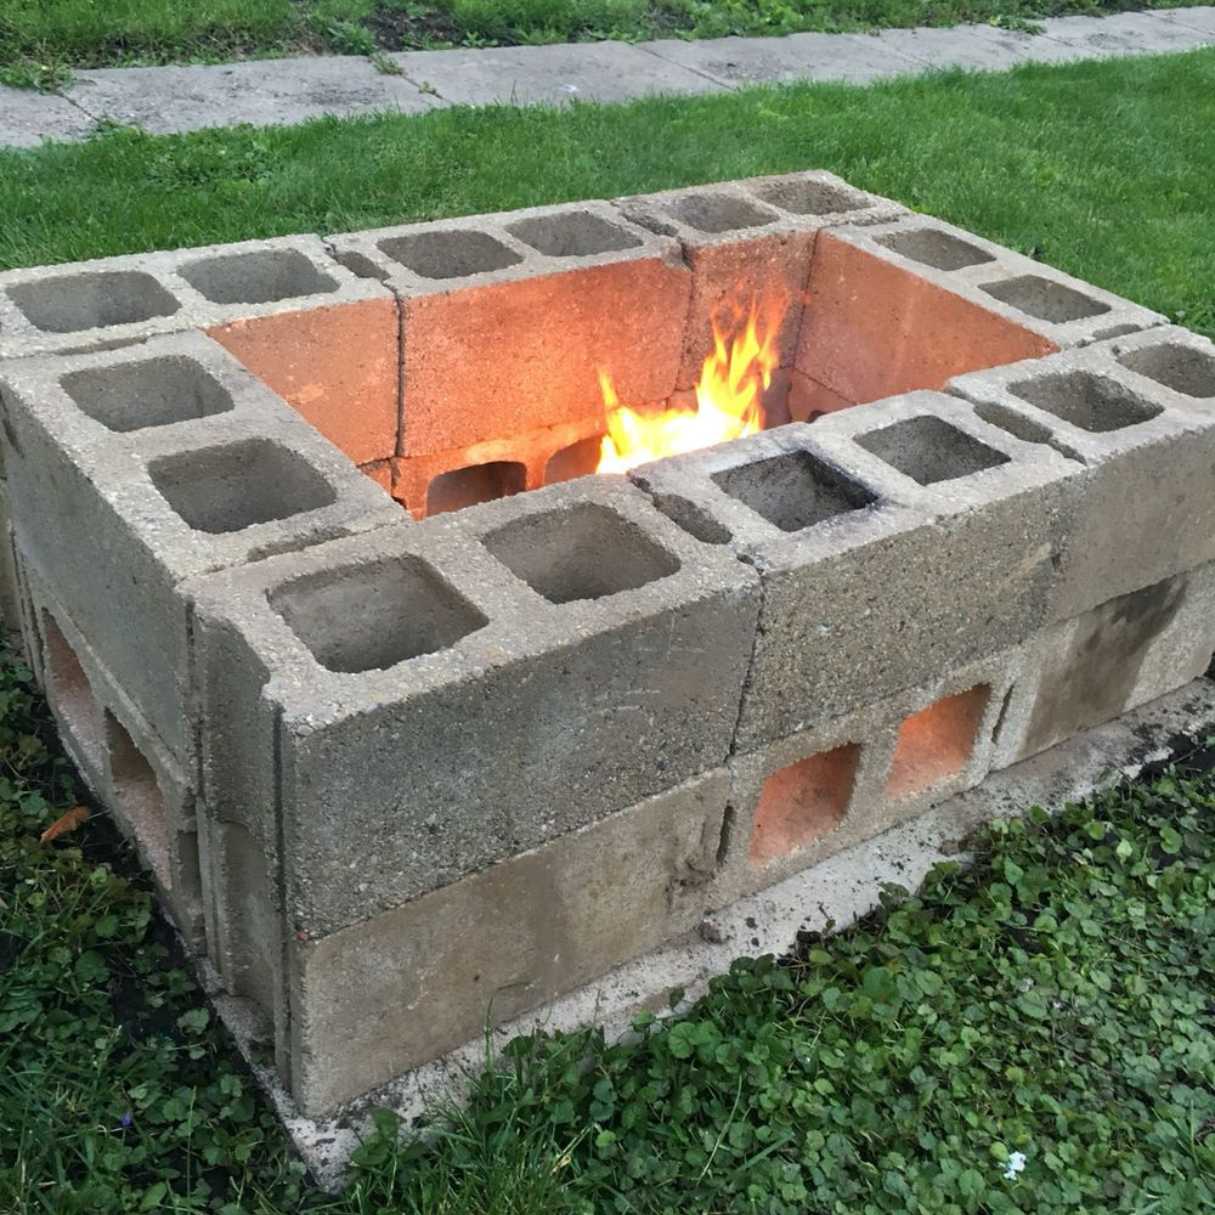
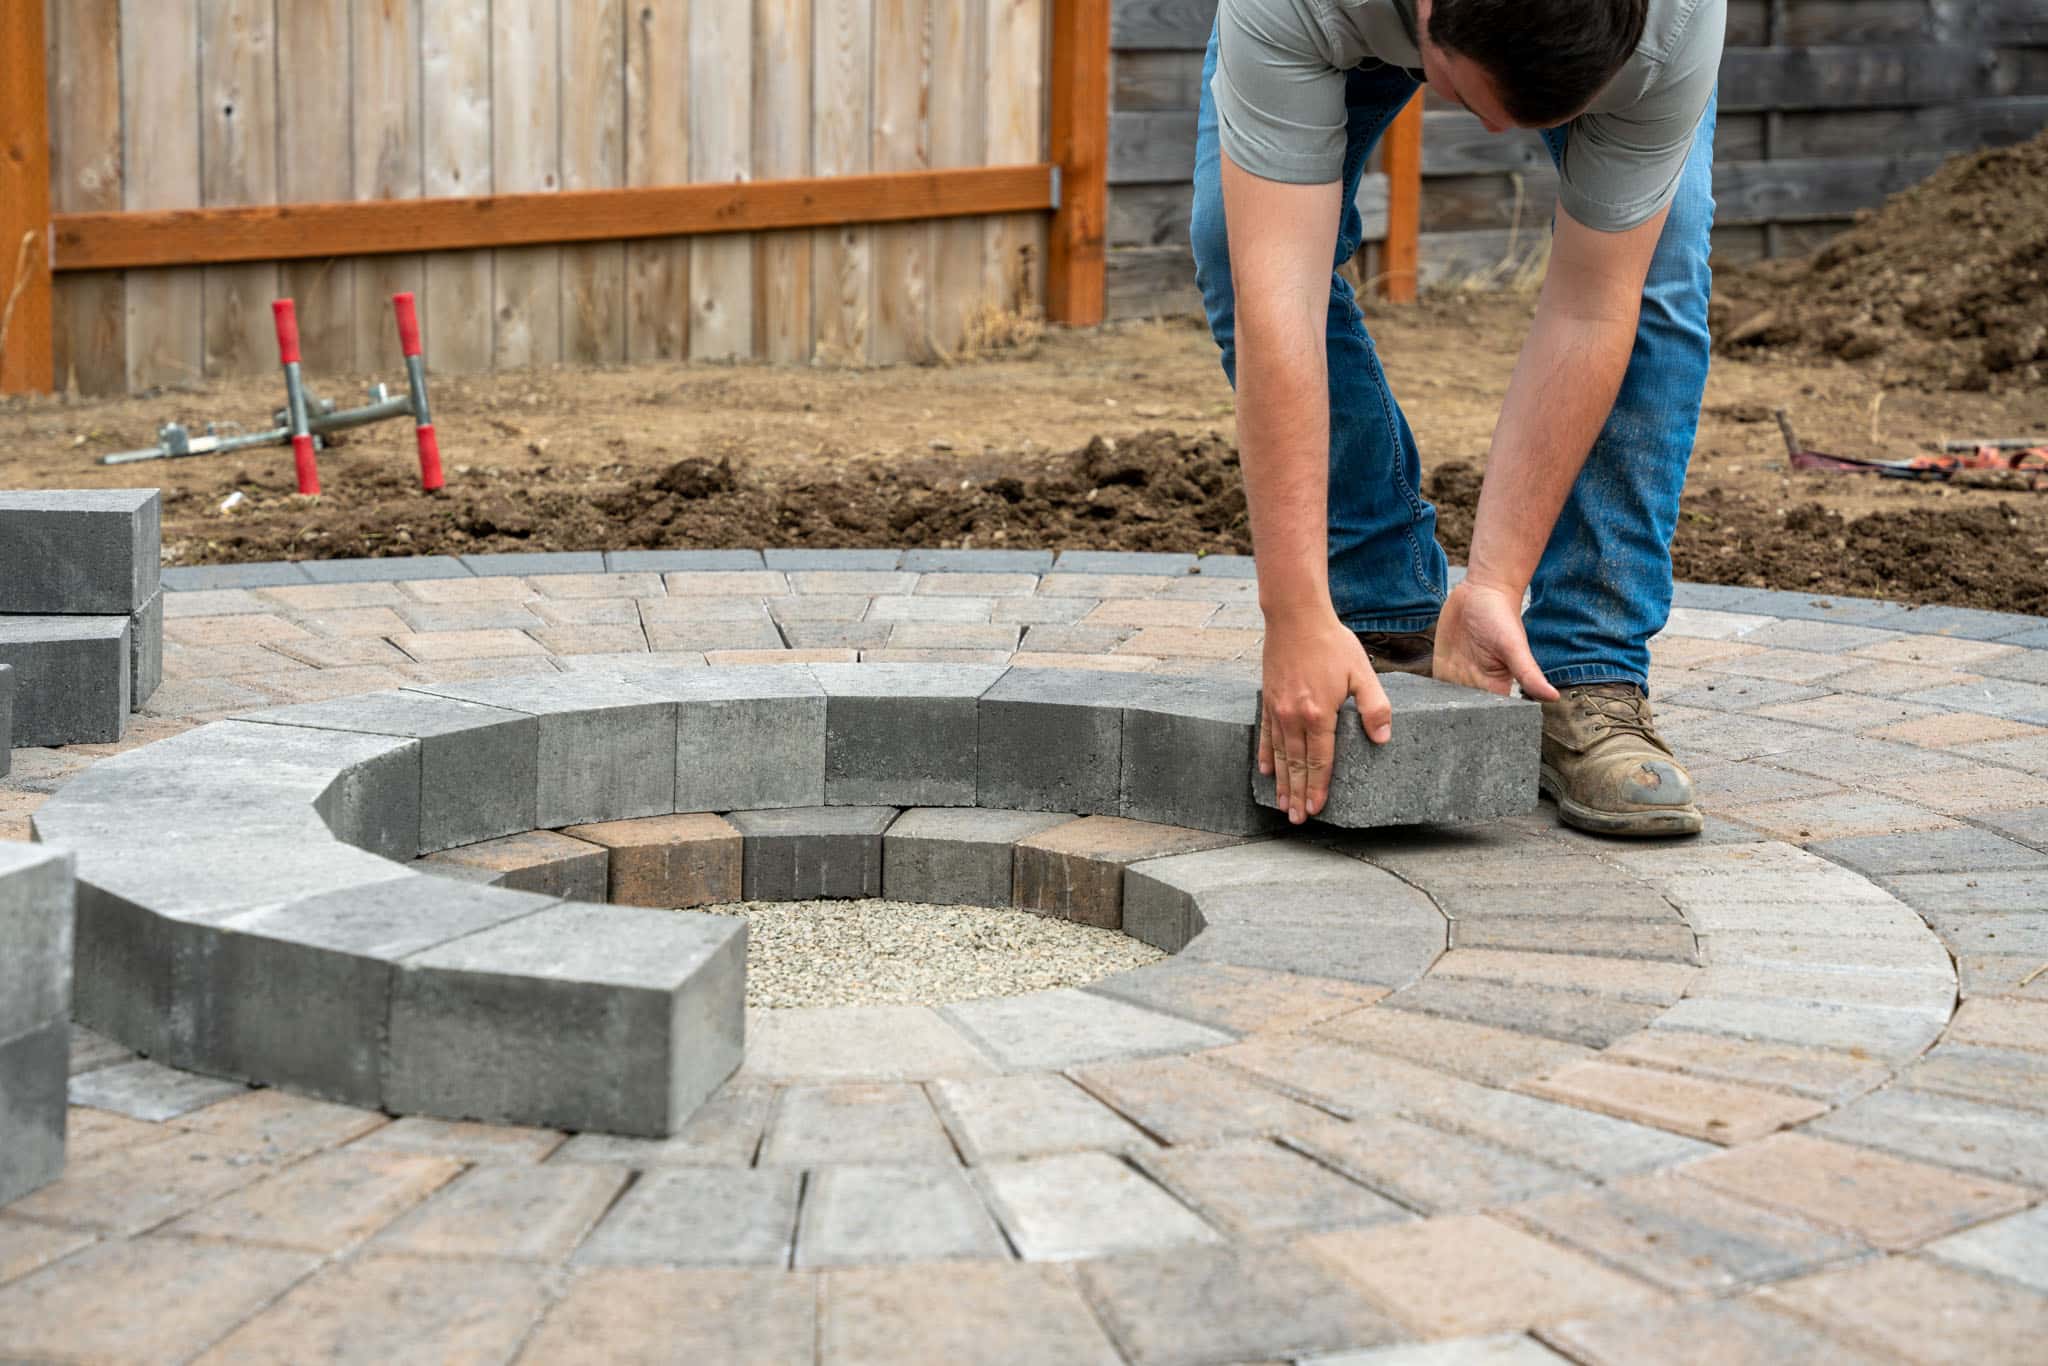
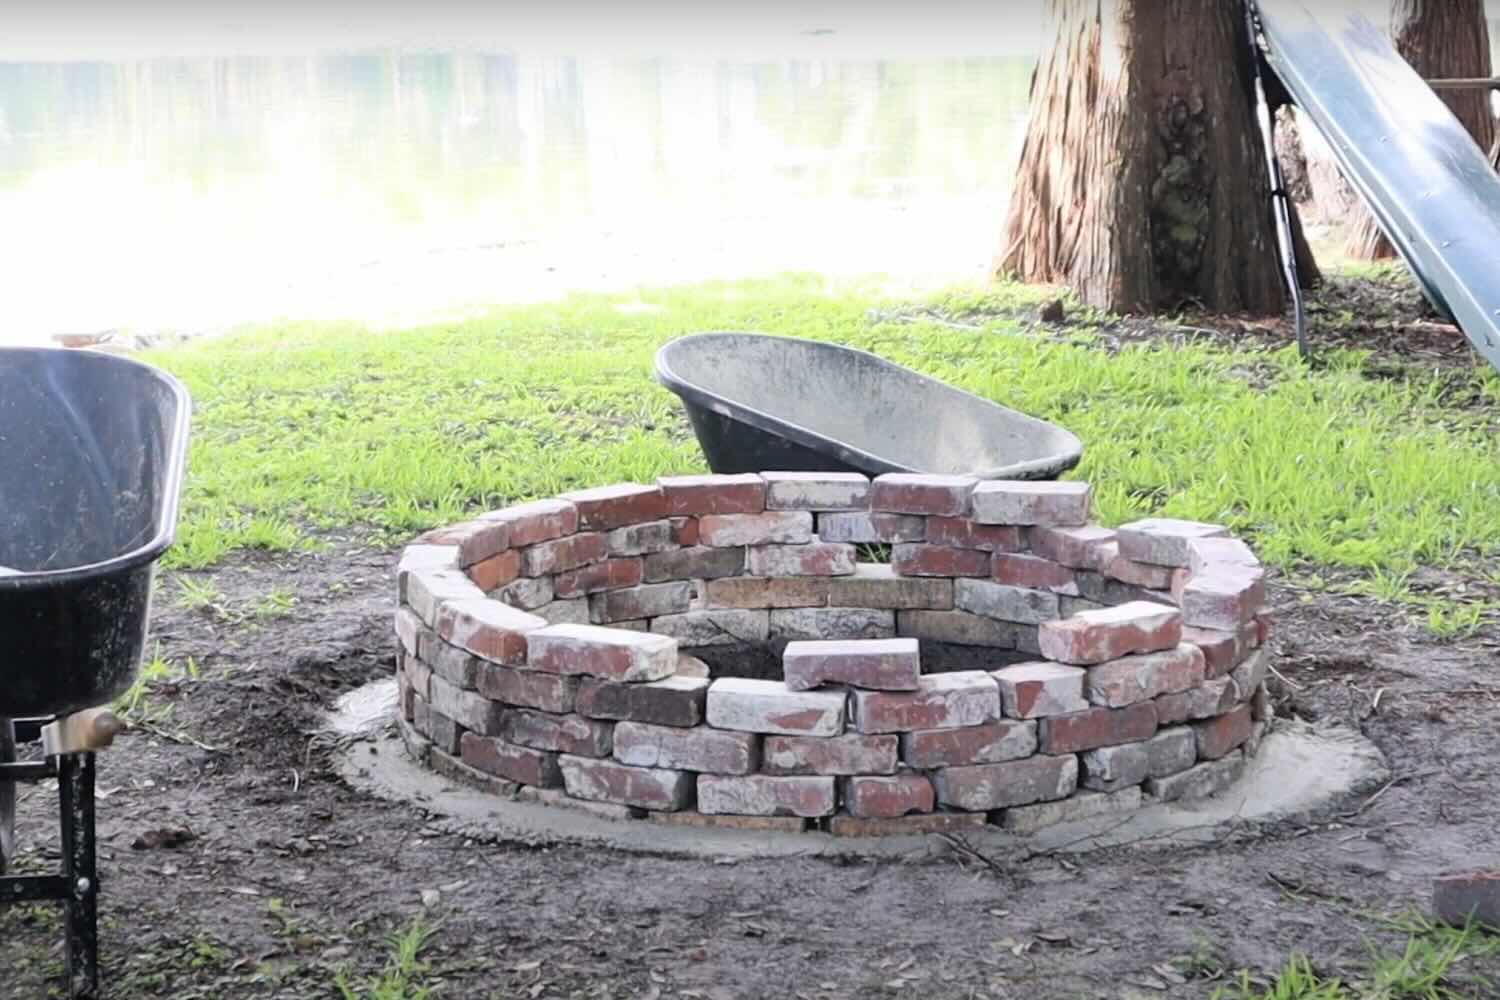
Step 3: Arrange the Cinder Blocks
As you embark on the construction of your cinder block fire pit, the arrangement of the cinder blocks plays a pivotal role in shaping the design and functionality of this outdoor feature. This step is where your vision starts to take form, and the creative possibilities are endless. Here’s a comprehensive guide on how to skillfully arrange the cinder blocks to bring your fire pit to life:
- Plan the layout: Before placing the cinder blocks, visualize the design and dimensions of your fire pit. Whether you opt for a circular, square, or custom shape, planning the layout in advance will ensure a cohesive and visually appealing result.
- Place the first layer: Start by arranging the first layer of cinder blocks along the perimeter outlined for the fire pit. Carefully position each block, ensuring that they are snugly placed together and form a solid foundation for the subsequent layers.
- Stack additional layers: Depending on the desired height of your fire pit, stack additional layers of cinder blocks on top of the base layer. Stagger the blocks in a brick-like pattern to create stability and visual interest, ensuring that the joints are offset from the layer below.
- Use masonry adhesive: To enhance the stability and durability of the fire pit, apply masonry adhesive between the stacked cinder blocks. This will bond the blocks together, creating a secure and long-lasting structure that can withstand the elements.
- Verify the level: Periodically check the level of the cinder blocks as you stack them, ensuring that the fire pit remains perfectly level and aligned. Adjust the placement of the blocks as needed to maintain a uniform and balanced structure.
By skillfully arranging the cinder blocks, you’ll bring your fire pit design to fruition, creating a sturdy and visually striking centerpiece for your outdoor space. With the foundation in place and the cinder blocks artfully arranged, you’re now ready to move on to the next step and add the fire pit insert to complete the construction process.
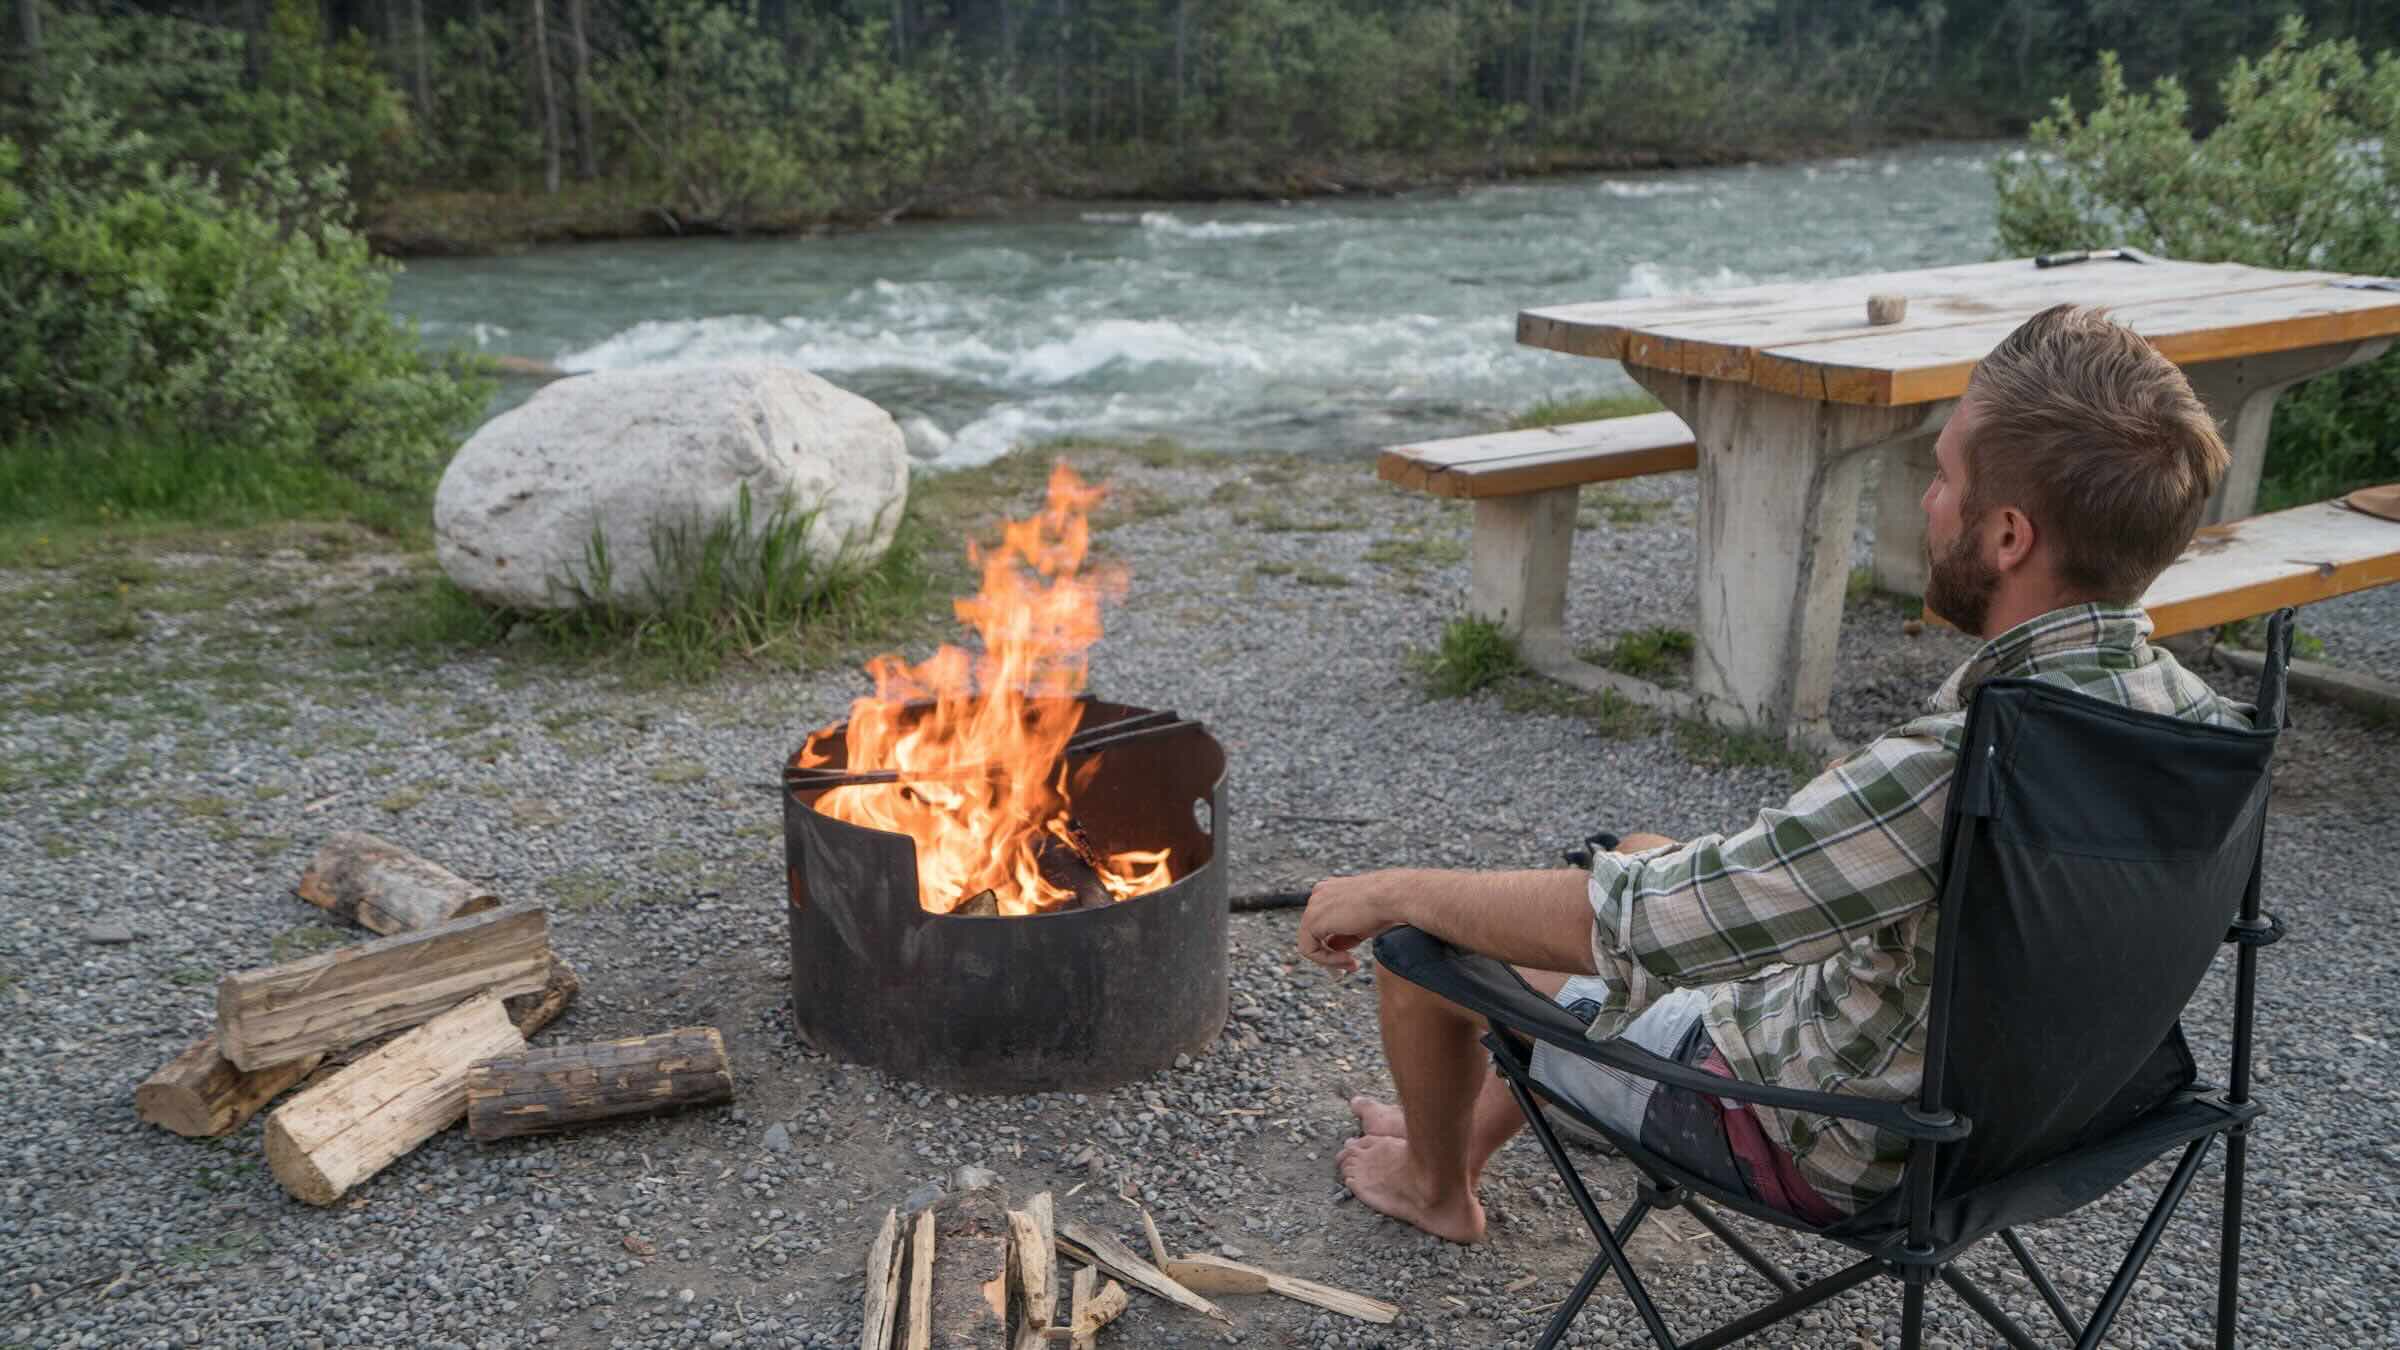
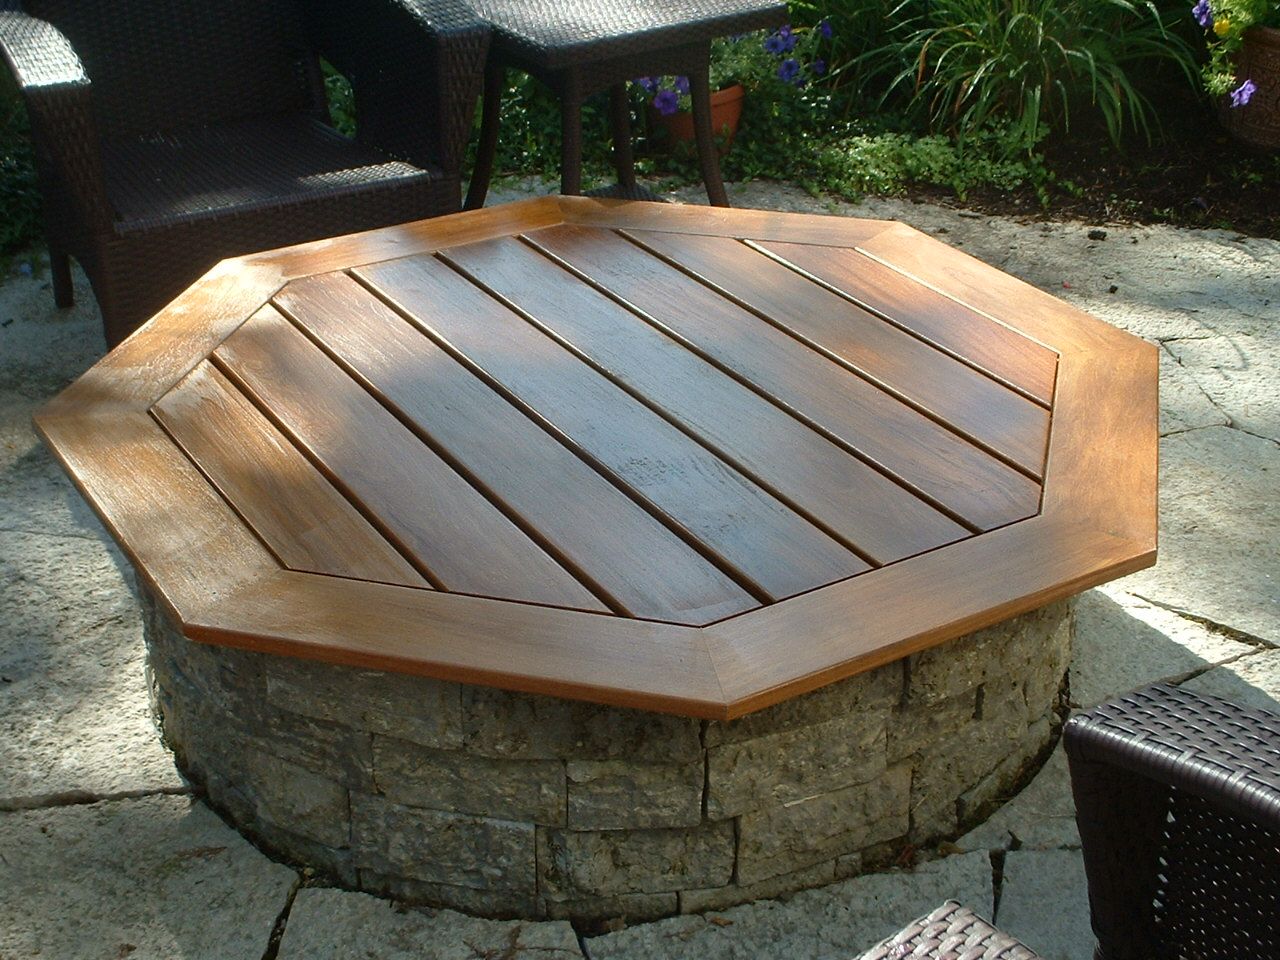
Step 4: Add the Fire Pit Insert
As you near the completion of your cinder block fire pit, the addition of the fire pit insert serves as the final touch that transforms your construction project into a captivating outdoor feature. Whether you opt for a pre-fabricated fire pit insert or a steel ring, this step will provide the finishing details that define the functionality and aesthetic appeal of your fire pit. Here’s a detailed guide on how to seamlessly integrate the fire pit insert into your cinder block creation:
- Choose the right insert: Select a fire pit insert that complements the size and shape of your cinder block fire pit. Whether you prefer a traditional round insert or a custom-shaped steel ring, ensure that it fits securely within the confines of the cinder blocks.
- Position the insert: Carefully place the fire pit insert or steel ring within the center of the cinder block structure. Ensure that it sits flush with the top layer of cinder blocks, creating a seamless and polished appearance.
- Secure the insert: If using a pre-fabricated fire pit insert, follow the manufacturer’s instructions to securely fasten it within the cinder block structure. Alternatively, if using a steel ring, ensure that it is positioned securely and aligned with the outer edge of the cinder blocks.
- Test for stability: Once the insert is in place, test for stability and ensure that it sits level within the fire pit. This step is essential for guaranteeing a safe and secure burning environment, allowing you to enjoy the crackling flames with peace of mind.
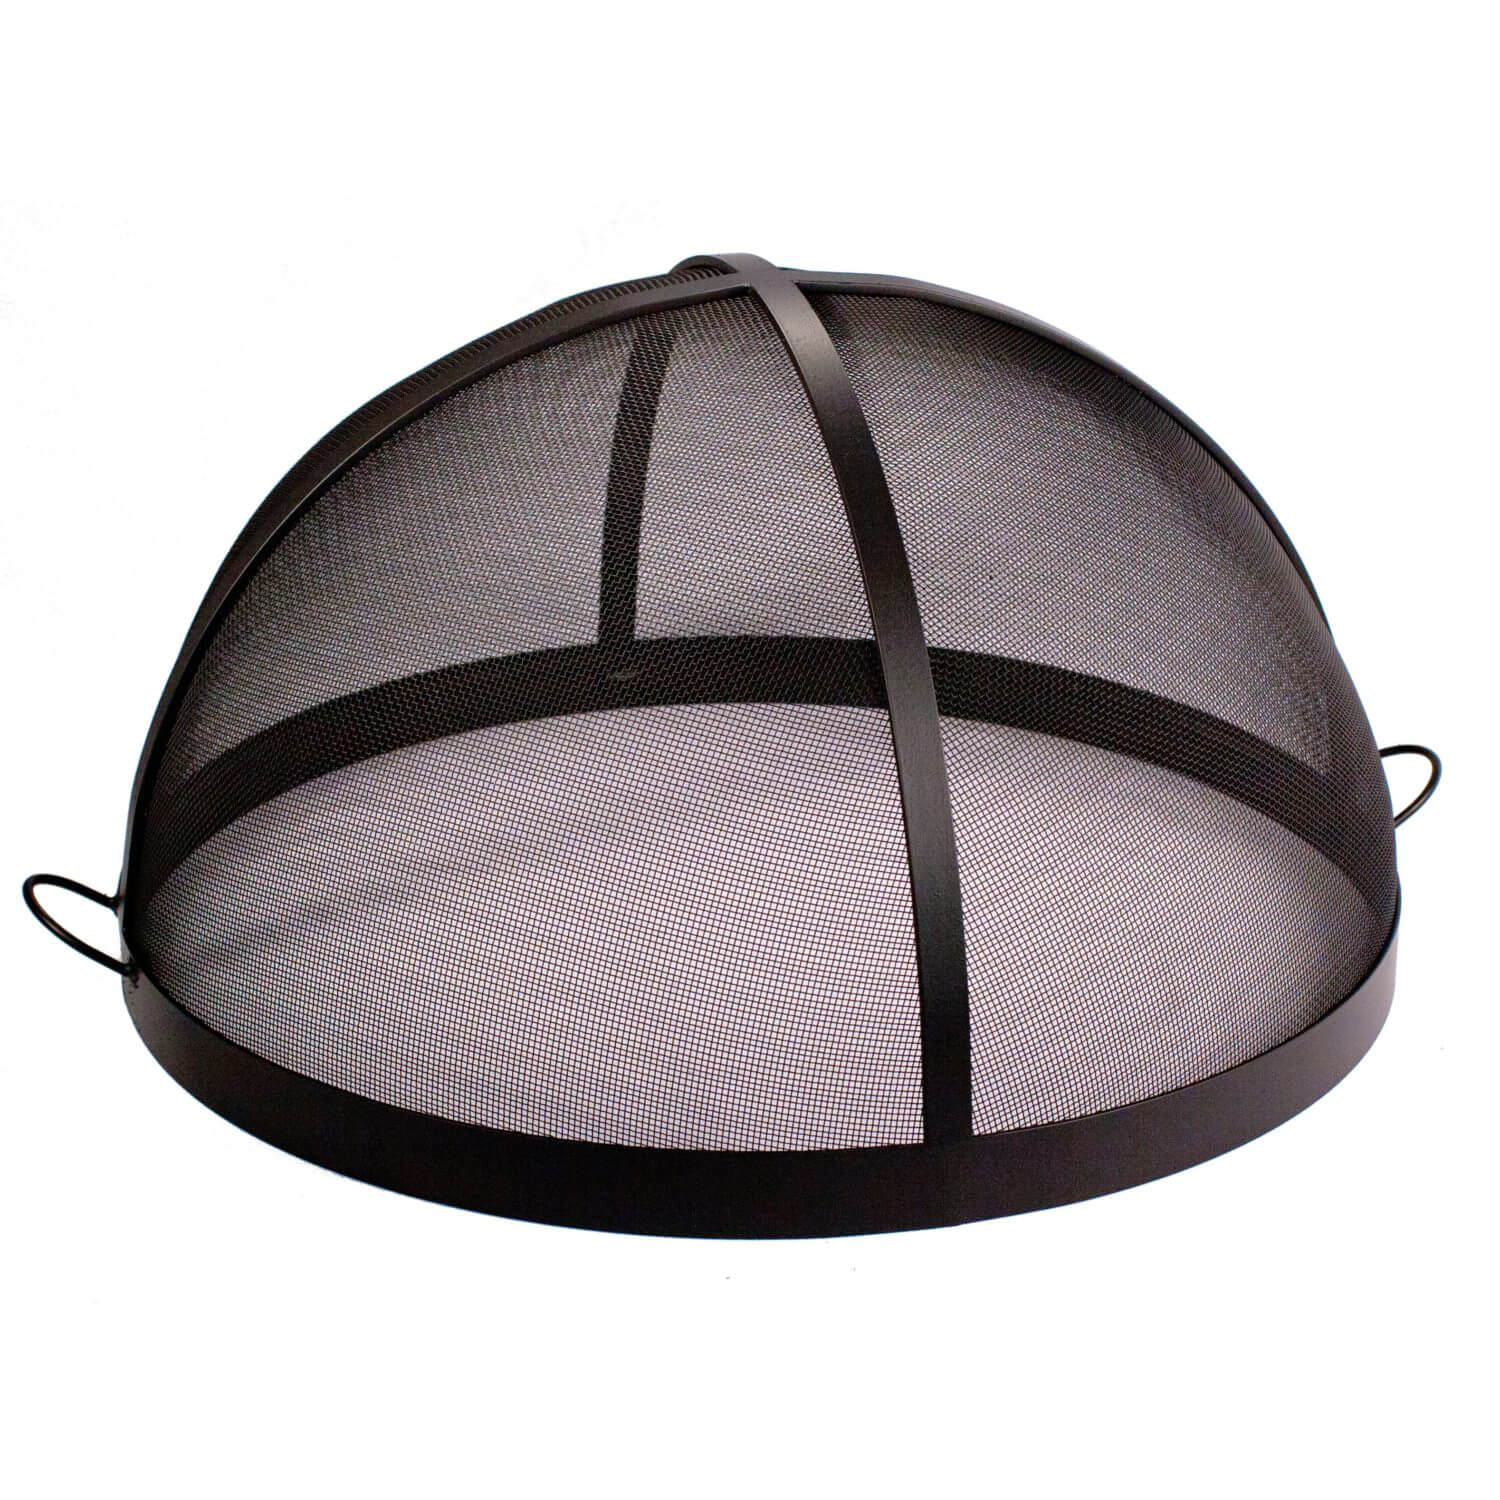
- Add a spark screen (optional): For added safety and convenience, consider incorporating a spark screen to contain embers and prevent sparks from escaping the fire pit. This optional addition enhances the functionality of your fire pit while providing an extra layer of protection.
With the fire pit insert seamlessly integrated into your cinder block creation, your outdoor space is now adorned with a captivating and functional feature that invites warmth and camaraderie. As you approach the final step of the construction process, you’re on the brink of enjoying the fruits of your labor and reveling in the cozy ambiance of your newly constructed fire pit.
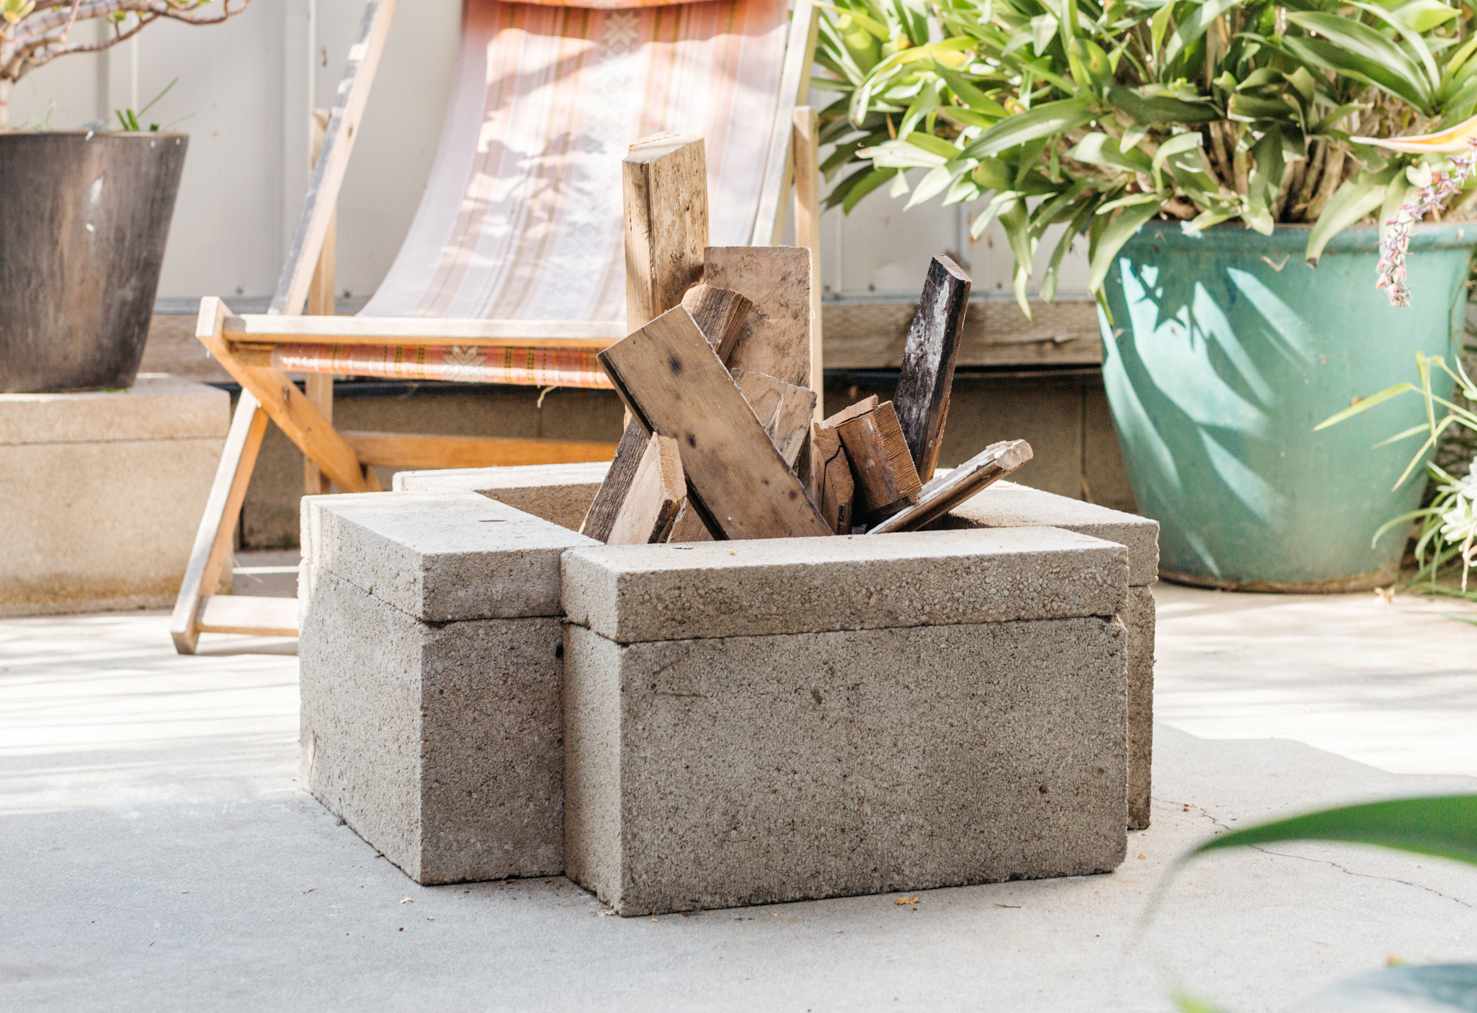
Step 5: Enjoy Your Fire Pit
Congratulations! You’ve successfully completed the construction of your cinder block fire pit, and now it’s time to bask in the inviting glow and warmth of your outdoor creation. As you prepare to enjoy the fruits of your labor, here are some essential tips and considerations to ensure a safe, memorable, and delightful experience with your new fire pit:
- Clear the surrounding area: Before lighting the fire pit, ensure that the immediate vicinity is clear of any flammable materials, debris, or potential hazards. This step is crucial for maintaining a safe and controlled burning environment.
- Gather firewood or fuel: Stock up on seasoned firewood or alternative fuel sources to keep the flames dancing. Whether you prefer the crackling sound and aromatic scent of traditional firewood or the convenience of eco-friendly fire pit fuels, be sure to have an ample supply on hand.
- Light the fire: Carefully ignite the fire pit, using long-reach lighters or matches to start the flames. Exercise caution and follow proper fire safety protocols to prevent accidents and ensure a controlled and enjoyable burning experience.
- Monitor the fire: As the flames flicker and dance within the fire pit, maintain a watchful eye on the fire to ensure that it remains contained and doesn’t pose a risk. Avoid leaving the fire unattended and be mindful of any wind conditions that may affect the flames.
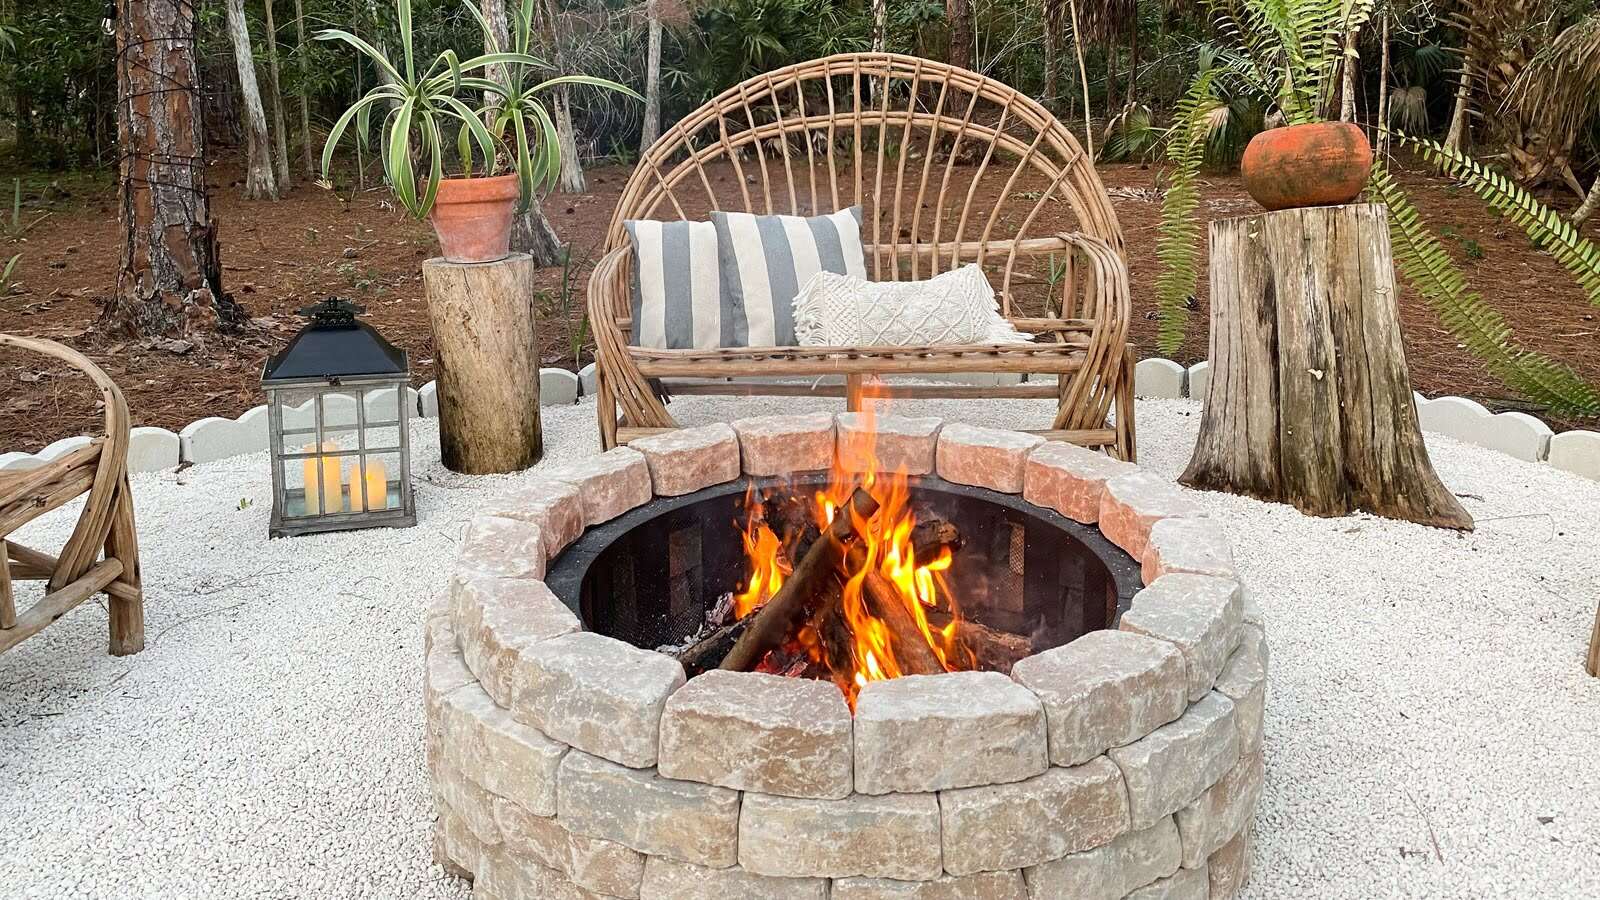
- Create a cozy ambiance: Set the stage for a memorable outdoor gathering by arranging comfortable seating around the fire pit. Whether it’s a casual evening with loved ones or a festive outdoor celebration, the warm glow of the fire pit will create a captivating ambiance.
- Practice fire safety: Prioritize fire safety throughout your enjoyment of the fire pit. Keep a fire extinguisher or water source nearby, and educate guests on basic fire safety guidelines to promote a secure and enjoyable outdoor experience.
With these tips in mind, you’re now ready to savor the enchanting allure of your cinder block fire pit. Whether it’s a tranquil evening under the stars or a lively gathering with friends, your fire pit will serve as the heart of your outdoor space, fostering warmth, camaraderie, and cherished memories for years to come.
Now that you've mastered building your own cinder block fire pit, why stop there? Deck out your outdoor space with vibrant decorations and smart add-ons to truly make it a hub for relaxation and entertainment. For inspiration, check out our guide on outdoor living. Ready for more sizzling designs? Dive into our collection of fire pit ideas perfect for any gathering. And don’t forget, upgrading your space can be as simple as revamping your patio or deck. Get creative with our patio upgrades and transform your outdoor area into a stunning retreat.
Frequently Asked Questions about How To Make A Cinder Block Fire Pit
Was this page helpful?
At Storables.com, we guarantee accurate and reliable information. Our content, validated by Expert Board Contributors, is crafted following stringent Editorial Policies. We're committed to providing you with well-researched, expert-backed insights for all your informational needs.


0 thoughts on “How To Make A Cinder Block Fire Pit”