Home>Gardening & Outdoor>Outdoor Entertaining>How To Make A Metal Fire Pit
Outdoor Entertaining
How To Make A Metal Fire Pit
Modified: January 14, 2024
Learn how to make a metal fire pit for your outdoor entertaining space with our step-by-step guide. Create a cozy and inviting atmosphere for your guests.
(Many of the links in this article redirect to a specific reviewed product. Your purchase of these products through affiliate links helps to generate commission for Storables.com, at no extra cost. Learn more)
Introduction
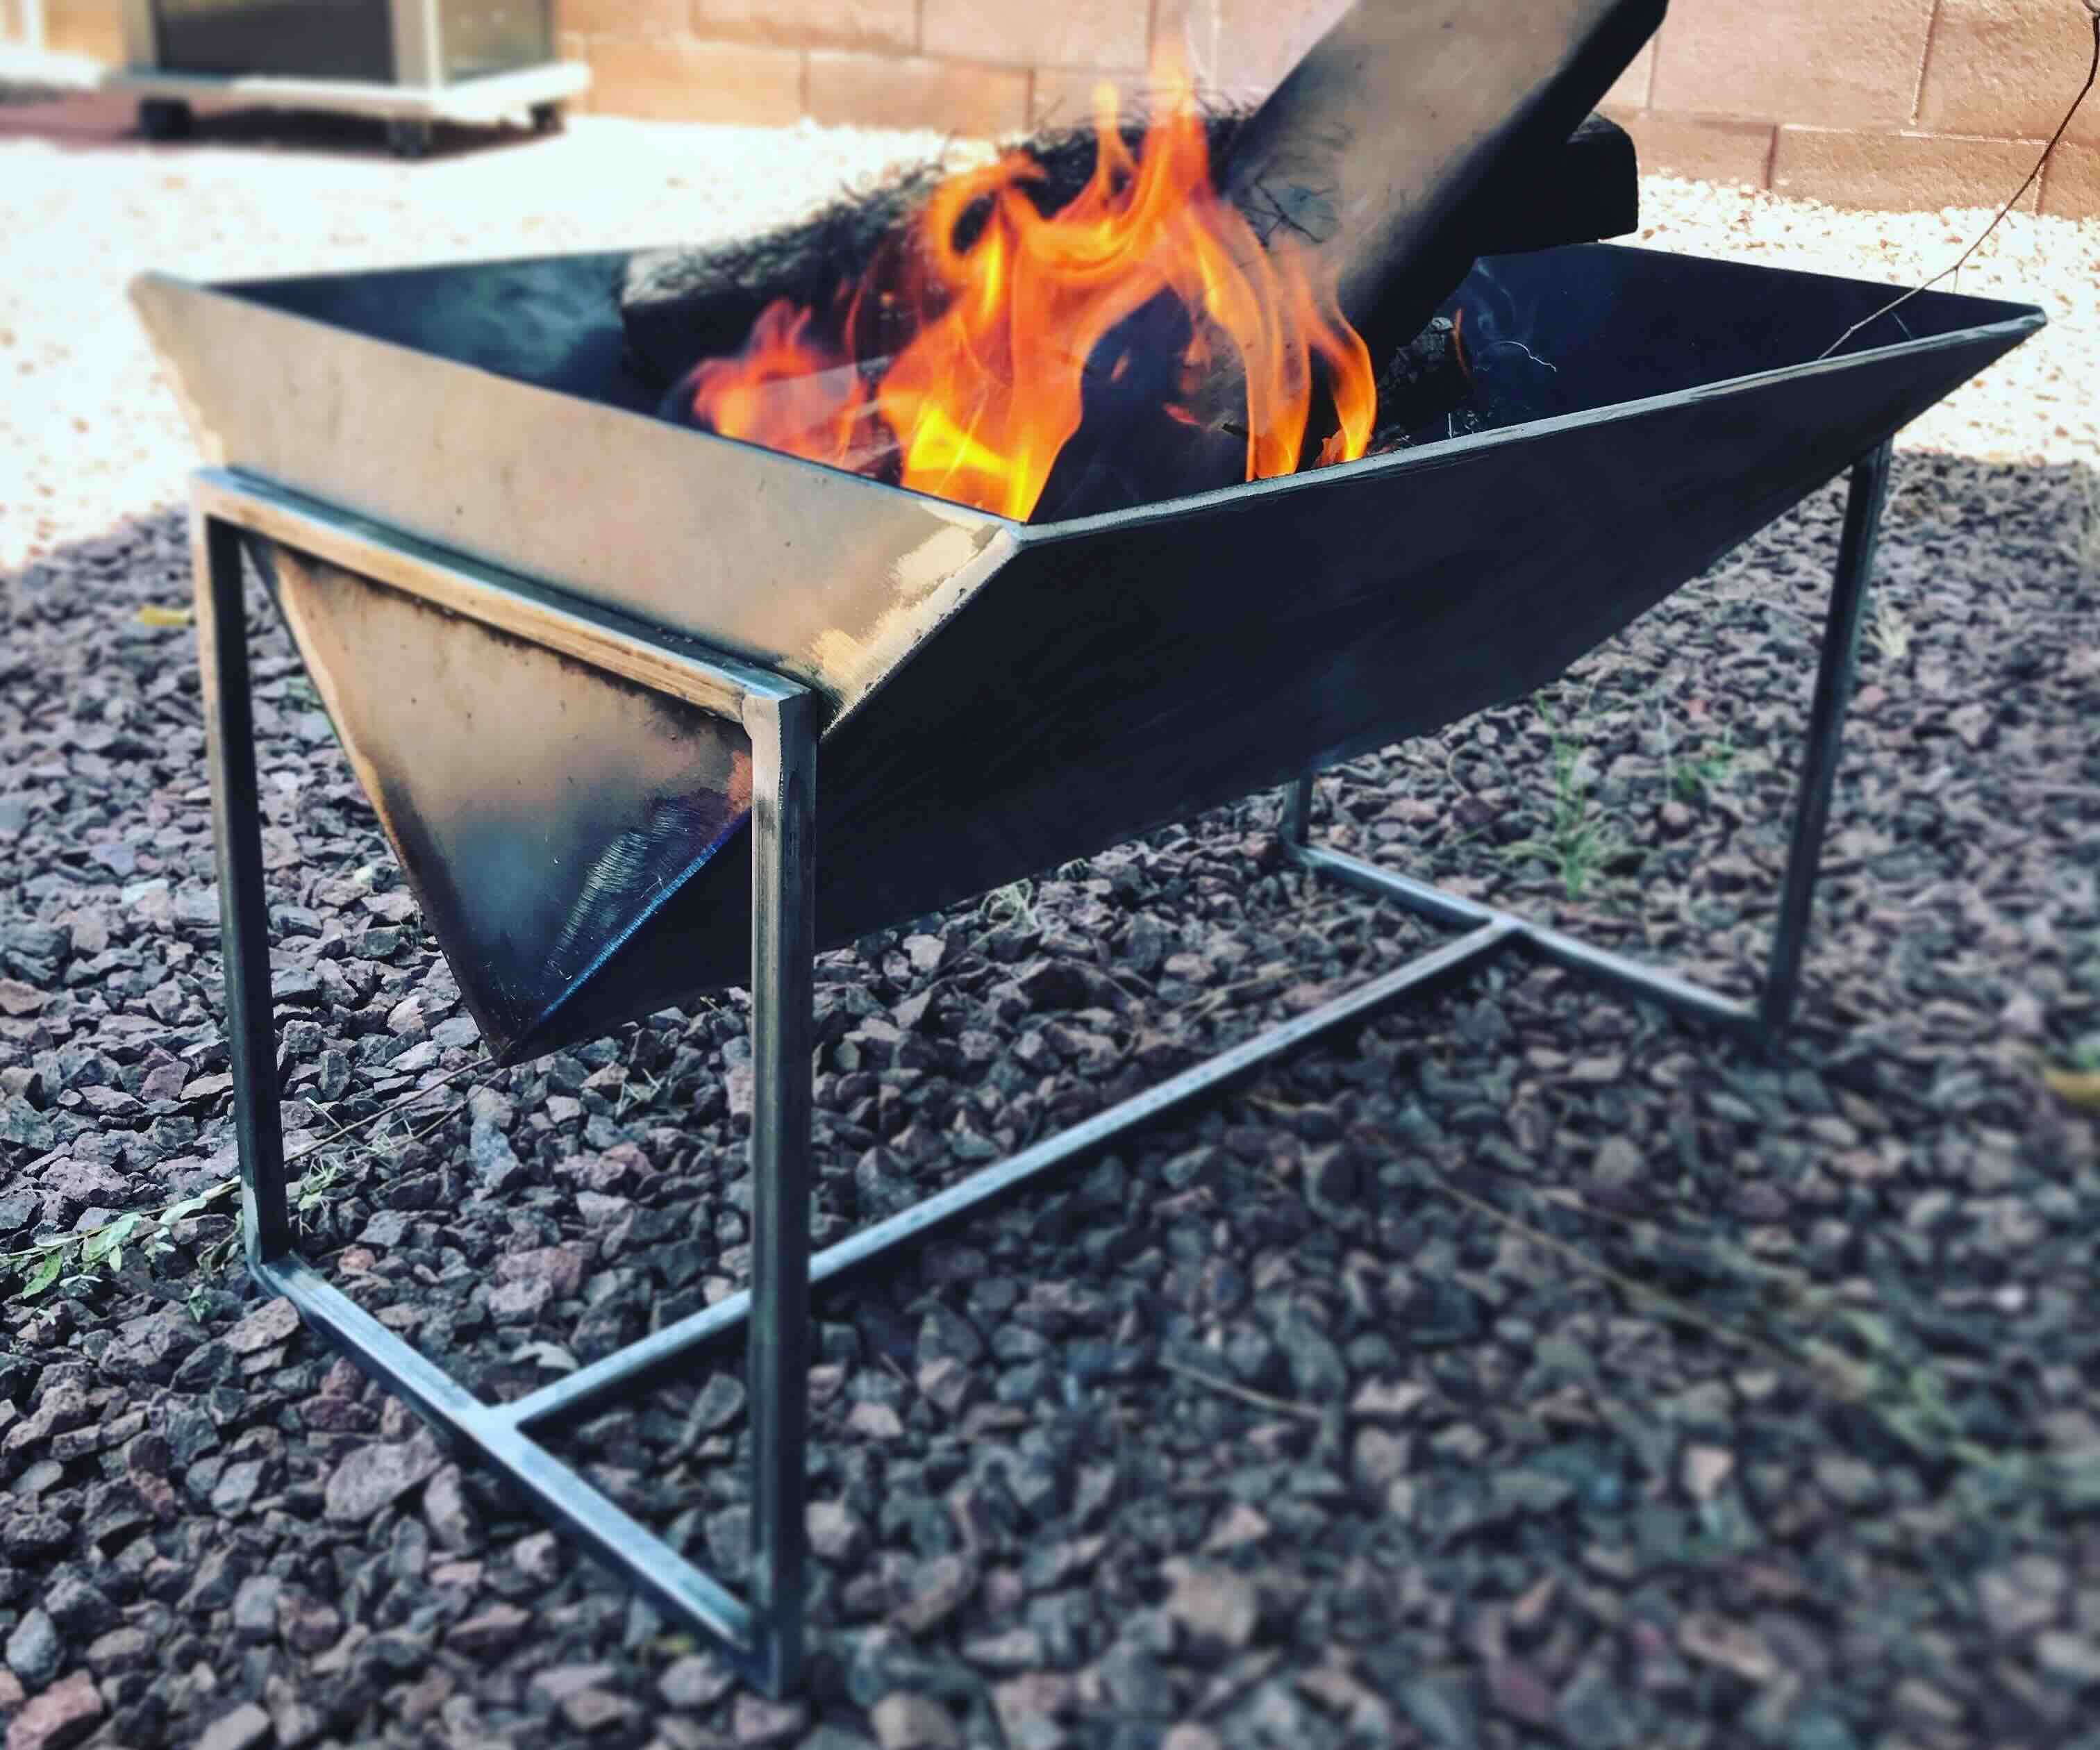
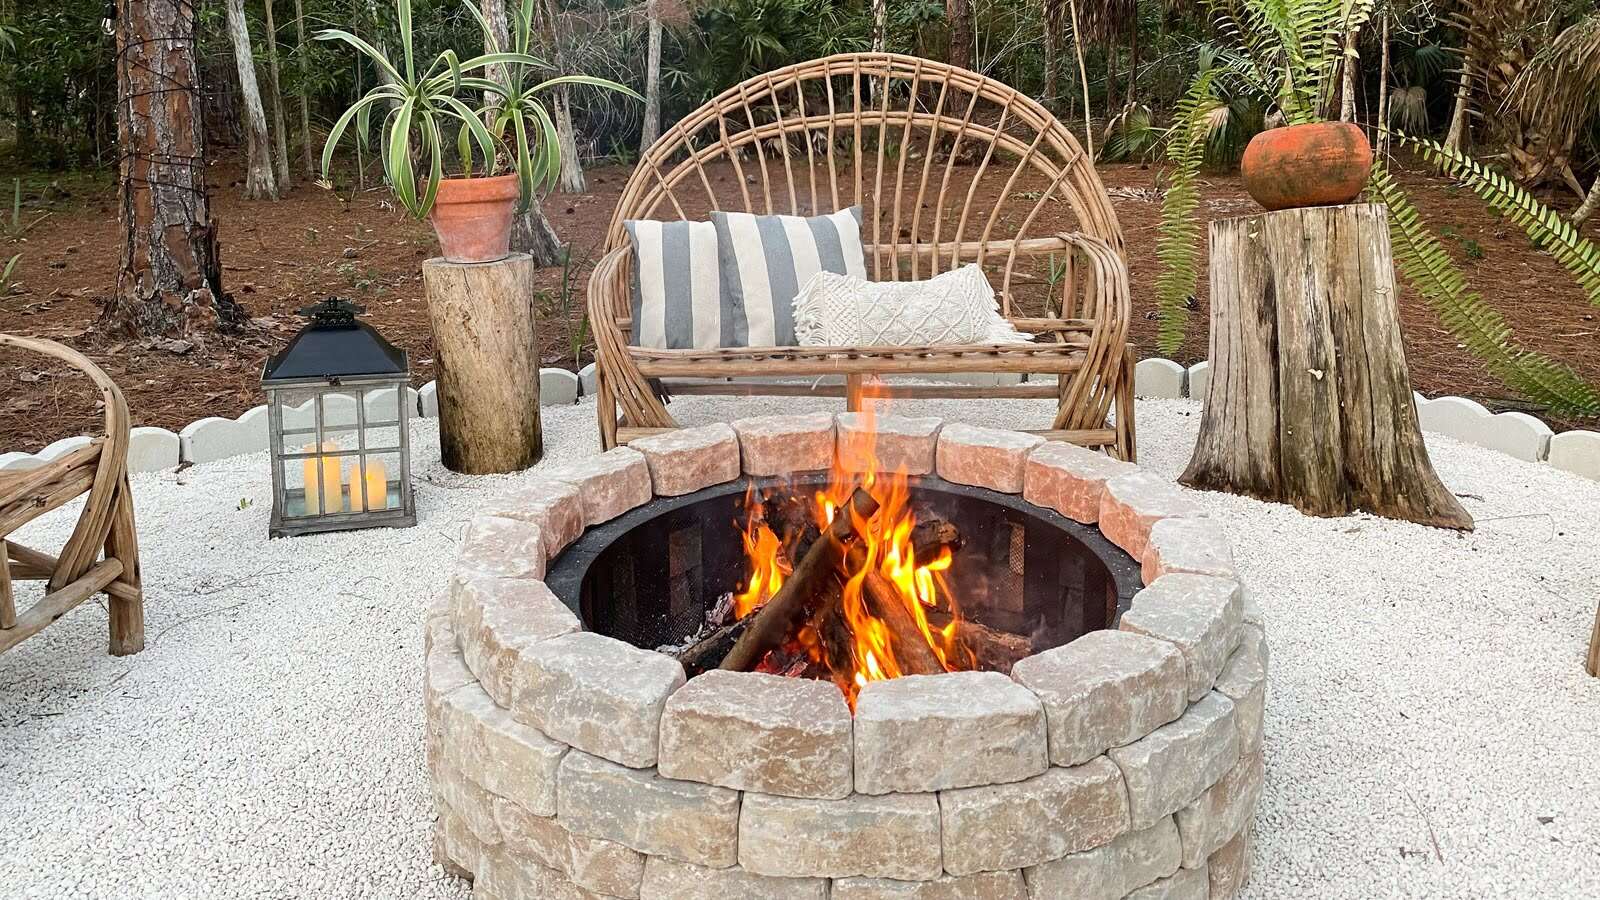
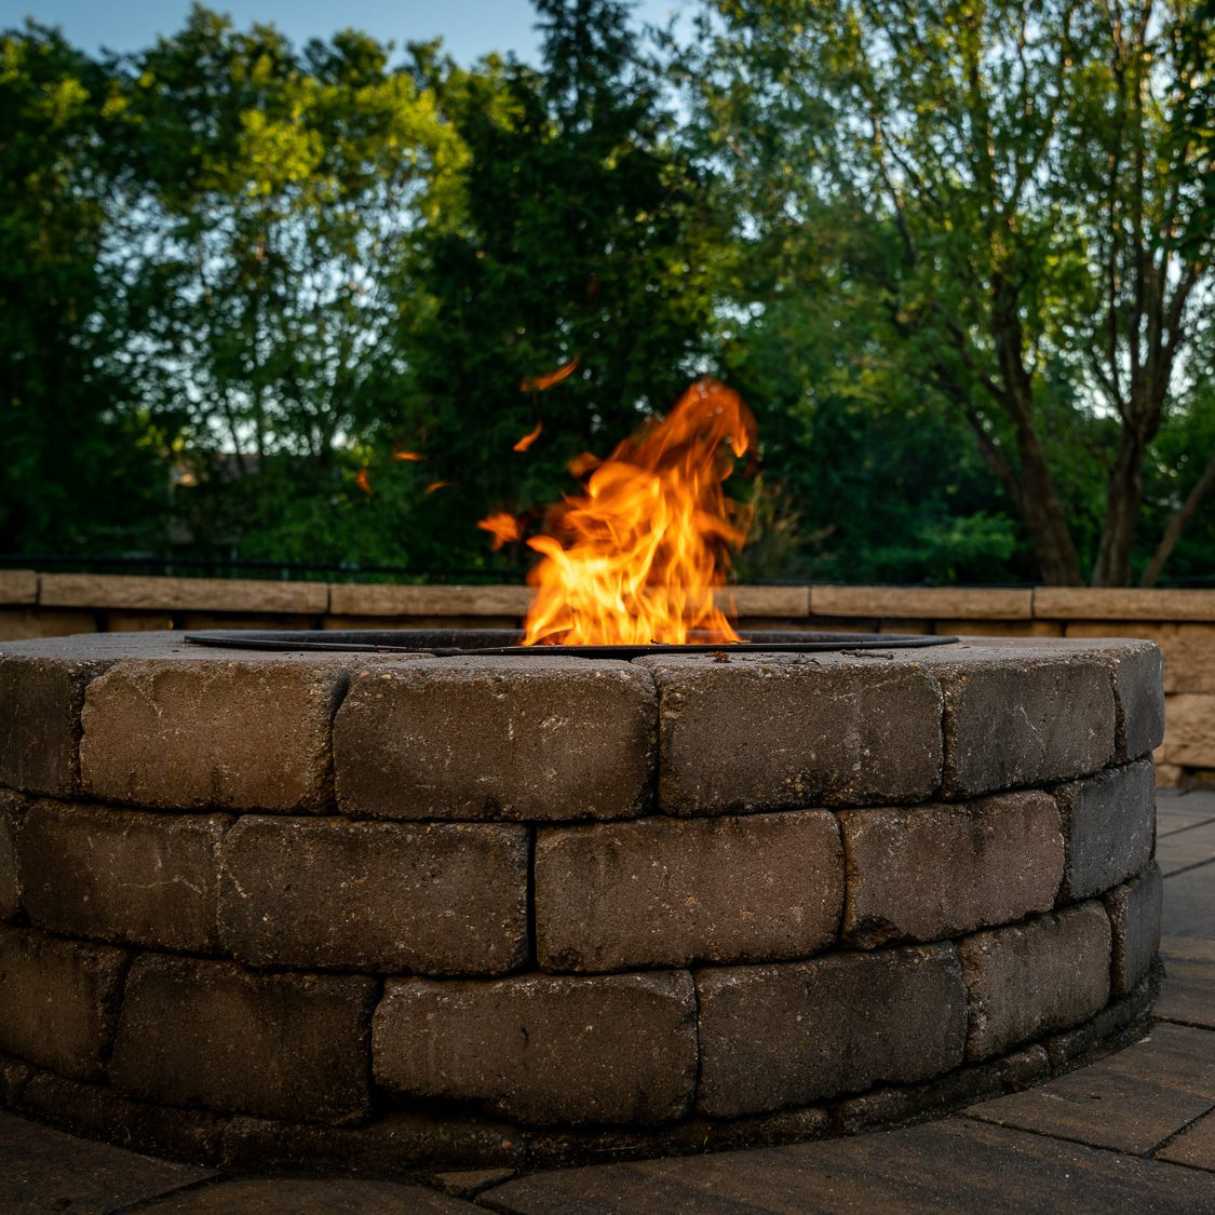
Welcome to the exciting world of outdoor entertaining! There's nothing quite like gathering around a warm, crackling fire on a cool evening, and a metal fire pit can be the perfect addition to your outdoor space. Not only does it provide a cozy ambiance, but it also serves as a focal point for social gatherings, making it an essential element for hosting memorable outdoor events.
Creating your own metal fire pit can be a rewarding and enjoyable project, allowing you to customize the design to suit your style and preferences. Whether you're a seasoned DIY enthusiast or a beginner looking to delve into the world of metalworking, this guide will walk you through the process of crafting a stunning metal fire pit from start to finish.
In this comprehensive tutorial, we'll explore the materials and tools you'll need, as well as the step-by-step process of designing, preparing, cutting, welding, and adding finishing touches to your metal fire pit. By the end of this journey, you'll have a beautiful and functional fire pit that will undoubtedly become the centerpiece of your outdoor entertaining area.
So, roll up your sleeves, unleash your creativity, and get ready to embark on an exciting adventure in metalworking. Let's dive into the world of crafting a custom metal fire pit that will elevate your outdoor space and provide countless hours of warmth and enjoyment for you and your guests.
Key Takeaways:
- Crafting a custom metal fire pit involves designing, cutting, welding, and adding finishing touches. Once completed, it becomes a focal point for social gatherings and memorable outdoor experiences.
- Enjoy the fruits of your labor by hosting gatherings, roasting treats, and creating lasting memories around your custom fire pit. Regular maintenance ensures its longevity and continued enjoyment.
Read more: How To Make A Metal Fire Pit Ring
Materials and Tools
Before diving into the construction process, it’s essential to gather all the necessary materials and tools. Here’s what you’ll need to bring your metal fire pit to life:
Materials:
- Steel or stainless steel sheets: These will form the body of your fire pit.
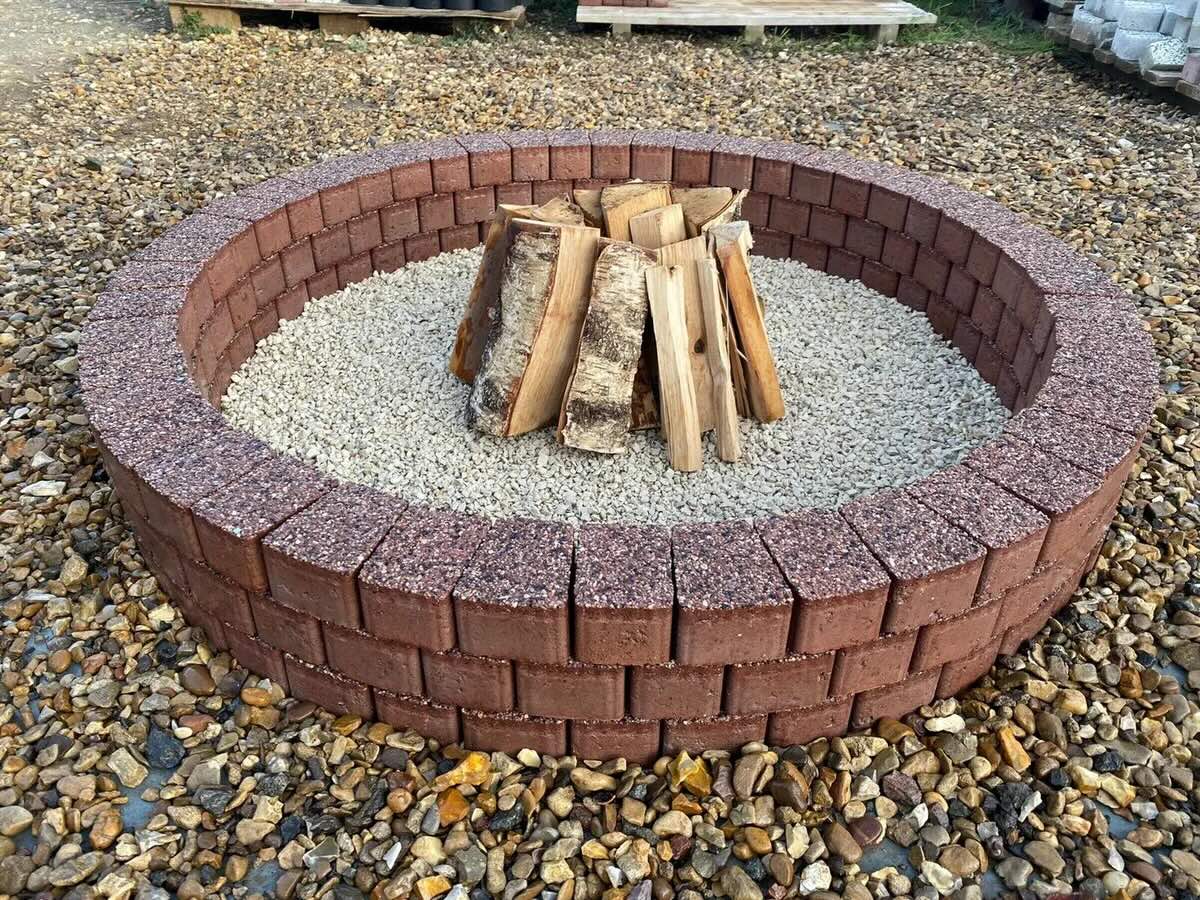
- Refractory cement or fire bricks: These materials will line the inside of the fire pit to withstand high temperatures.
- Heat-resistant paint: Choose a high-temperature paint to coat the exterior of the fire pit, protecting it from the elements.
- Gravel or sand: This will serve as the base for your fire pit, providing stability and heat insulation.
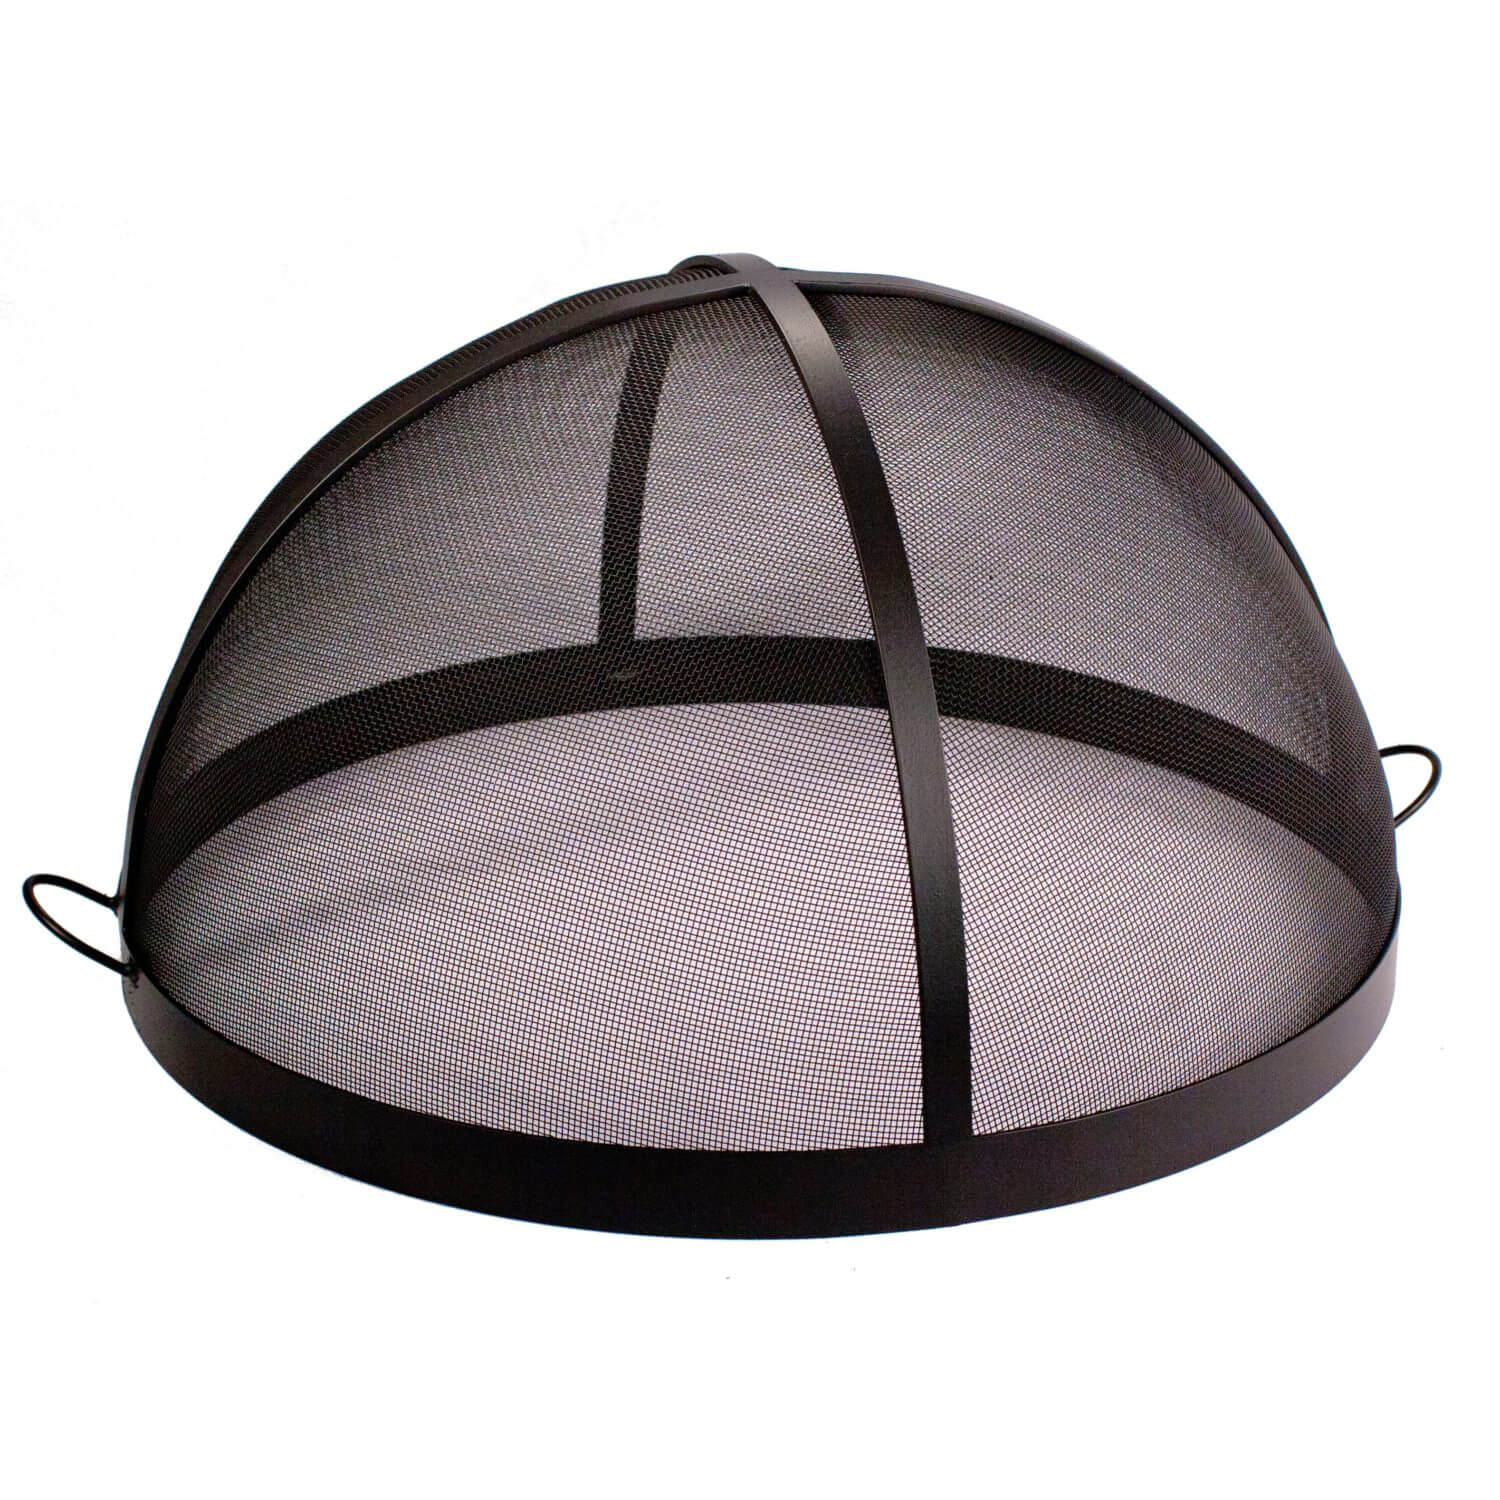
- Fire pit spark screen: To ensure safety, consider adding a spark screen to contain embers and sparks.
- Fire pit grate: A grate will support the wood and elevate it for optimal airflow.
- High-temperature adhesive: This will be used to secure the fire bricks or refractory cement in place.
Tools:
- Angle grinder with cutting and grinding discs: For cutting and shaping the metal sheets.
- Welder: To join the metal pieces together securely.
- Welding gloves and helmet: Safety gear is crucial when working with welding equipment.
- Measuring tape and ruler: For accurate measurements and dimensions.
- Marker or soapstone: To mark cutting lines on the metal sheets.
- Clamps: These will hold the metal pieces in place during welding.
- Drill and metal drill bits: For creating drainage holes and assembling the fire pit components.
- Paintbrushes: To apply the heat-resistant paint evenly.
- Work gloves and safety goggles: Essential for protecting your hands and eyes during the construction process.
With these materials and tools at your disposal, you’ll be well-equipped to tackle the exciting journey of building your own metal fire pit. Once you’ve gathered everything you need, it’s time to move on to the first step: designing the fire pit.
Step 1: Designing the Fire Pit
Designing your metal fire pit is where creativity takes center stage. This is your opportunity to envision the size, shape, and style of your fire pit, ensuring that it complements your outdoor space and meets your functional needs. Here’s a step-by-step guide to help you bring your design to life:
1. Determine the Size and Shape: Consider the available space in your outdoor area and the intended use of the fire pit. Whether you prefer a compact, round fire pit for intimate gatherings or a larger, rectangular design for accommodating more guests, carefully decide on the dimensions that best suit your needs.
2. Select the Metal Sheets: Choose the type of steel or stainless steel sheets that align with your design vision. Consider the thickness of the metal based on the anticipated heat exposure and the durability required for long-term use.
3. Create a Detailed Sketch: Use graph paper or a digital design tool to sketch out the fire pit’s dimensions and features. Include the measurements, the shape of the panels, and any additional elements such as decorative cutouts or handles.
4. Plan for Airflow: Adequate airflow is essential for a well-functioning fire pit. Incorporate vents or gaps in the design to ensure proper oxygen flow, which is crucial for maintaining a steady and efficient burn.
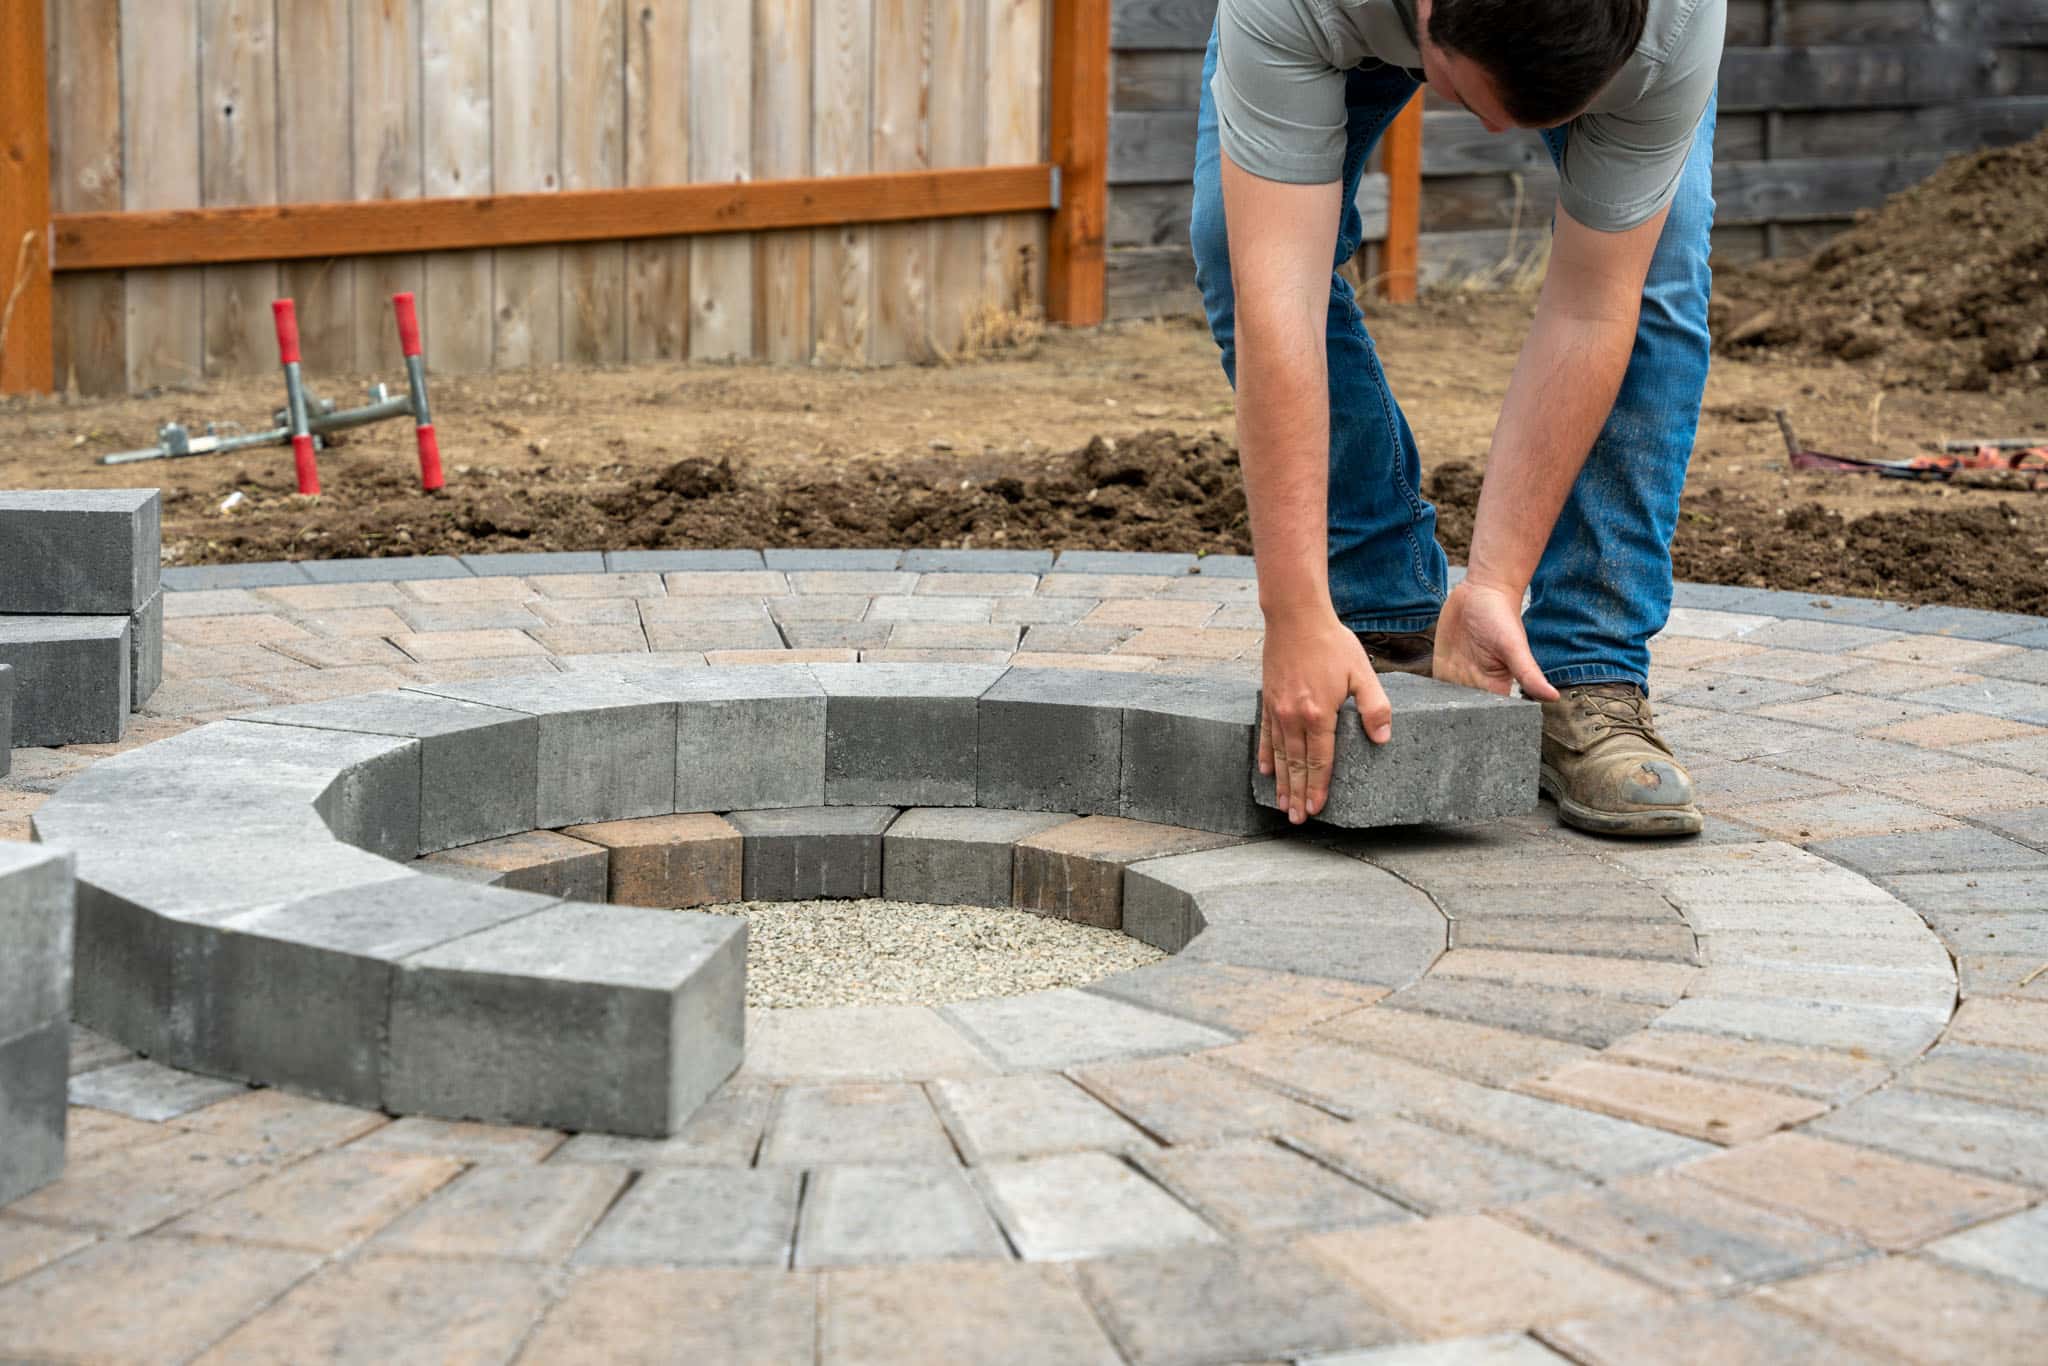
5. Consider Safety Features: Integrate safety elements such as a sturdy base, a spark screen, and a heat-resistant interior lining to protect the surrounding area and prevent accidents.
6. Review and Refine: Once you have a preliminary design, review it to ensure that it aligns with your vision and practical requirements. Make any necessary adjustments to the sketch before moving on to the next phase.
By meticulously planning and visualizing your fire pit design, you’ll lay a solid foundation for the construction phase. With a clear blueprint in hand, you’re ready to proceed to the next step: preparing the metal for fabrication.
Read more: How To Make A Smokeless Fire Pit
Step 2: Preparing the Metal
Before diving into the fabrication process, it’s crucial to prepare the metal sheets for cutting and shaping. This step sets the stage for creating the individual components that will come together to form your custom fire pit. Follow these essential guidelines to ensure that your metal is ready for the next phase:
1. Measure and Mark: Using a measuring tape and a marker or soapstone, carefully measure and mark the metal sheets according to the dimensions outlined in your design. Precision is key at this stage, as accurate markings will guide the cutting and welding processes.
2. Secure the Metal: Use clamps to secure the metal sheets firmly in place before cutting. This will prevent any movement or slippage during the cutting and shaping procedures, ensuring clean and precise results.
3. Wear Protective Gear: Prioritize safety by donning work gloves and safety goggles to shield your hands and eyes from metal shards and debris. Additionally, ensure that you’re working in a well-ventilated area or wear a respirator to avoid inhaling metal dust.
4. Choose the Cutting Method: Depending on the thickness of the metal, select the appropriate cutting tools, such as an angle grinder with cutting discs or a plasma cutter. Follow the marked lines carefully to achieve clean and accurate cuts.
5. Smooth Edges and Surfaces: After cutting the metal, use a grinder with a grinding disc to smooth out any rough edges and refine the surfaces. This step will create clean and safe edges for the assembly process and enhance the overall aesthetic appeal of the fire pit.
6. Inspect for Flaws: Thoroughly inspect the cut metal pieces for any imperfections or irregularities. Address any issues promptly to ensure that the components fit together seamlessly during the welding phase.
By meticulously preparing the metal sheets, you’ll lay the groundwork for a successful fabrication process. With the metal primed and ready, you’re now equipped to move on to the next stage: cutting and welding the components to bring your fire pit to life.
Step 3: Cutting and Welding
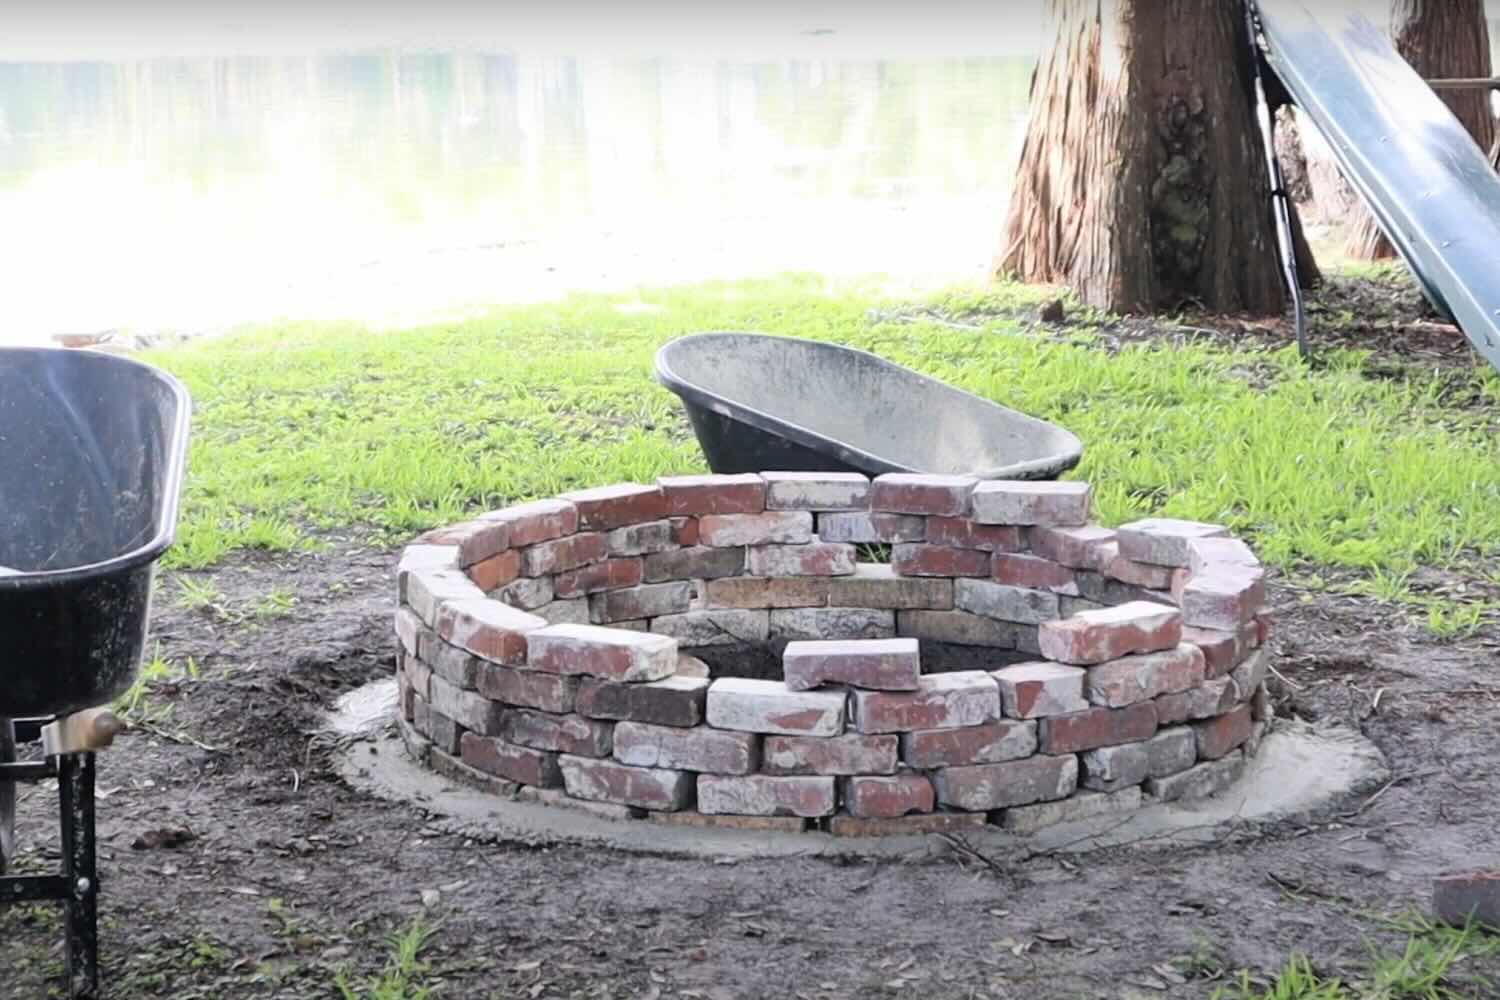
With the metal sheets prepared and the design firmly in mind, it’s time to embark on the transformative process of cutting and welding the components that will shape your metal fire pit. This phase requires precision, patience, and a focus on detail to ensure that the individual pieces come together seamlessly. Here’s a comprehensive guide to navigating the cutting and welding stage:
1. Lay Out the Components: Organize the cut metal pieces according to your design, ensuring that each component is positioned correctly before welding. This preparatory step will streamline the assembly process and minimize errors.
2. Welding Preparations: Set up your welding equipment in a well-ventilated area, and don the necessary safety gear, including welding gloves and a helmet. Ensure that the welding machine is calibrated for the appropriate settings based on the thickness of the metal.
3. Tack Welding: Begin by tack welding the components together, creating temporary bonds to hold the structure in place. This initial welding stage allows for adjustments before committing to permanent welds.
4. Welding Techniques: Employ the appropriate welding technique, such as MIG (Metal Inert Gas) or TIG (Tungsten Inert Gas) welding, based on the type of metal and the desired strength of the welds. Pay close attention to the welding angles and the consistency of the weld beads for optimal results.
5. Structural Integrity: Ensure that the welded joints are secure and structurally sound, providing stability and longevity to the fire pit. Inspect each weld carefully and make any necessary reinforcements to fortify the connections.
6. Refine the Welds: Use a grinder to smooth out the welds and refine the appearance of the joints. This step will enhance the overall finish of the fire pit and create a seamless transition between the welded sections.
7. Test for Stability: Once the welding is complete, assess the stability and structural integrity of the fire pit by gently applying pressure to different areas. Confirm that the components are securely bonded and that the fire pit stands firm without any wobbling or misalignment.
By skillfully navigating the cutting and welding phase, you’ll witness the raw metal transform into a cohesive and sturdy structure, bringing your fire pit one step closer to completion. With the components seamlessly joined, it’s time to add the finishing touches that will elevate your fire pit to a stunning outdoor centerpiece.
When making a metal fire pit, be sure to use heat-resistant materials such as steel or cast iron. Also, consider adding a drainage hole to prevent water buildup and rust.
Step 4: Adding Finishing Touches
As your custom metal fire pit nears completion, the addition of finishing touches will elevate its visual appeal and ensure its functionality. This phase allows you to infuse personal flair and practical elements into the fire pit, transforming it into a captivating outdoor feature. Here’s a detailed exploration of the essential finishing touches:
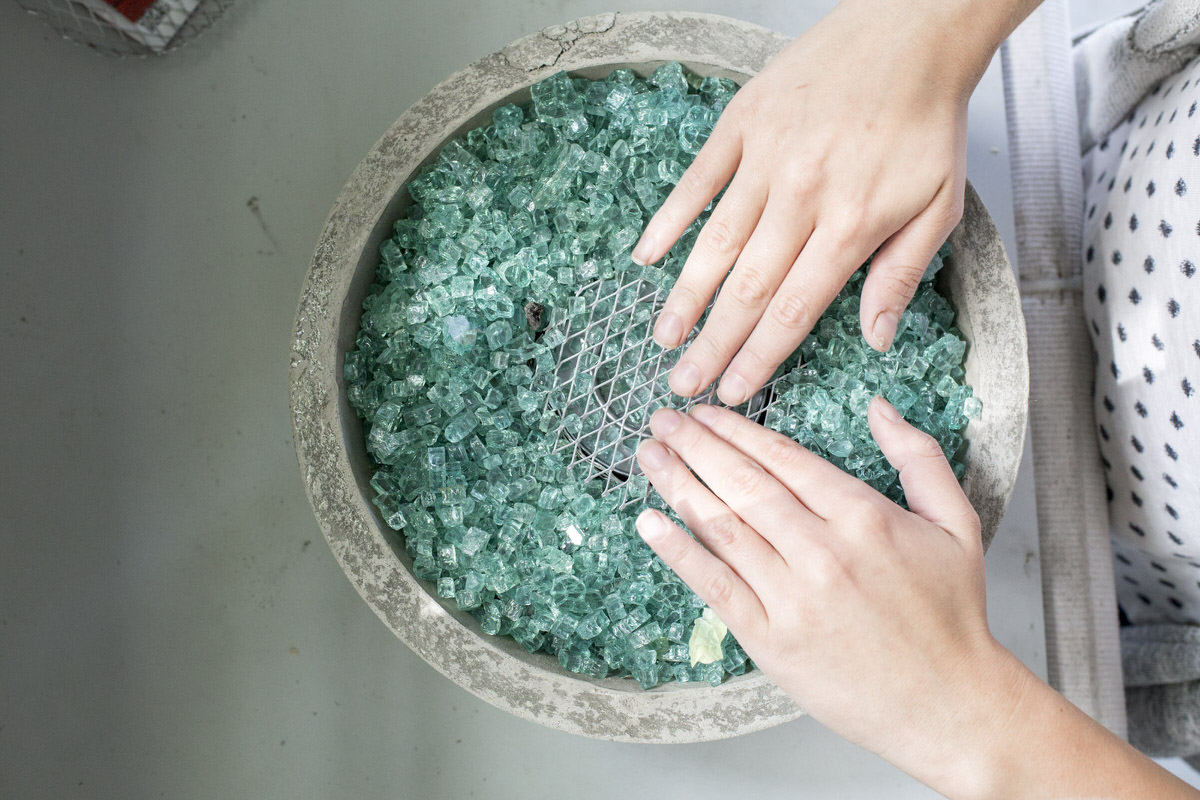
1. Interior Lining: Apply a layer of refractory cement or arrange fire bricks to line the interior of the fire pit. This heat-resistant lining will safeguard the metal structure and enhance the fire pit’s ability to withstand high temperatures, ensuring long-term durability.
2. Protective Coating: Utilize high-temperature paint to coat the exterior of the fire pit, providing protection against rust and corrosion. Select a paint color that harmonizes with your outdoor decor and complements the surrounding environment.
3. Assembly of Additional Components: Install the fire pit grate, which will support the firewood and facilitate optimal airflow for a consistent burn. Additionally, affix the spark screen to contain embers and sparks, enhancing safety during use.
4. Decorative Elements: Consider incorporating decorative elements such as ornamental cutouts or handles to infuse personality into the fire pit. These embellishments can reflect your unique style and contribute to the overall aesthetic appeal of the piece.
5. Quality Assurance: Conduct a thorough inspection of the fire pit, ensuring that all components are securely assembled and that the finishing touches are flawlessly integrated. Address any potential issues or imperfections to guarantee a polished final product.
6. Functional Testing: Test the fire pit by igniting a small, controlled fire to assess its performance and functionality. Confirm that the airflow is optimal, the heat is evenly distributed, and the safety features effectively contain the fire.
7. Outdoor Placement: Once the finishing touches are in place and the fire pit has been tested, position it in your outdoor entertaining area, selecting a prime location that encourages social interaction and relaxation around the warm, inviting glow of the fire.
By meticulously attending to the finishing touches, you’ll breathe life into your metal fire pit, infusing it with character, functionality, and safety. With the fire pit now poised to become a central feature of your outdoor space, it’s time to savor the fruits of your labor and bask in the warmth and ambiance it provides.
Step 5: Enjoying Your Fire Pit
Congratulations on successfully crafting your custom metal fire pit! As the final step in this rewarding journey, it’s time to relish the experience of gathering around the warm glow of your creation and creating lasting memories with family and friends. Here’s how you can fully embrace and enjoy the fruits of your labor:
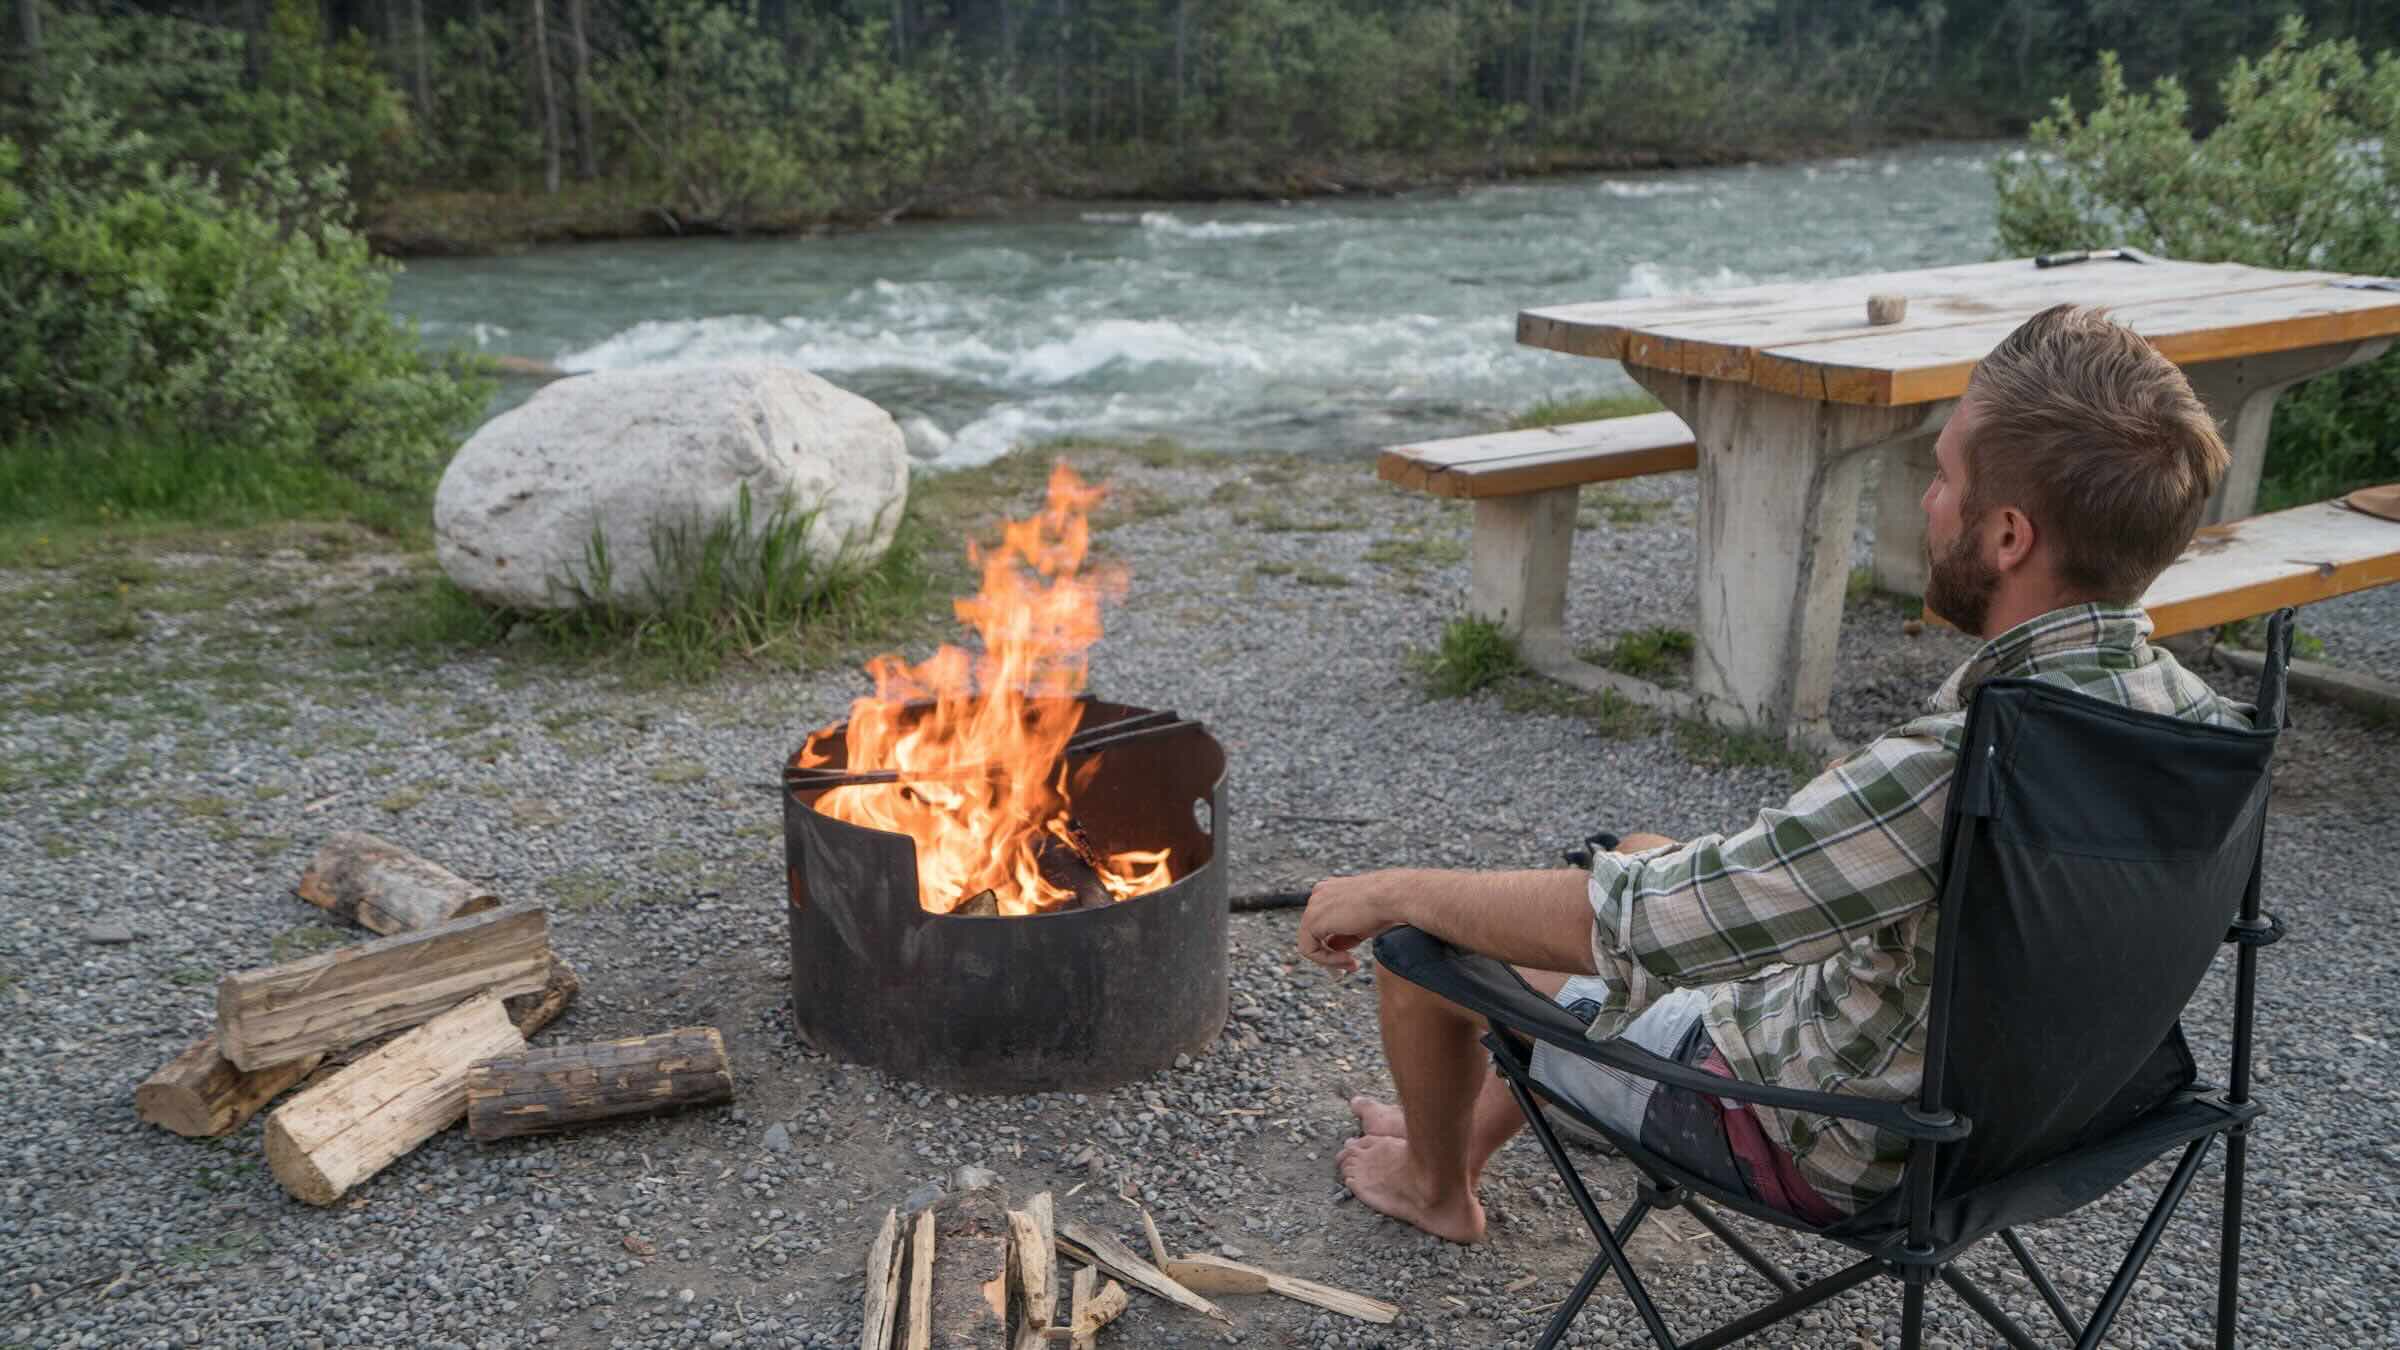
1. Social Gatherings: Host intimate gatherings or lively parties around your fire pit, fostering a welcoming atmosphere that encourages conversation, laughter, and connection. The fire pit will serve as the focal point, drawing guests together and creating unforgettable moments.
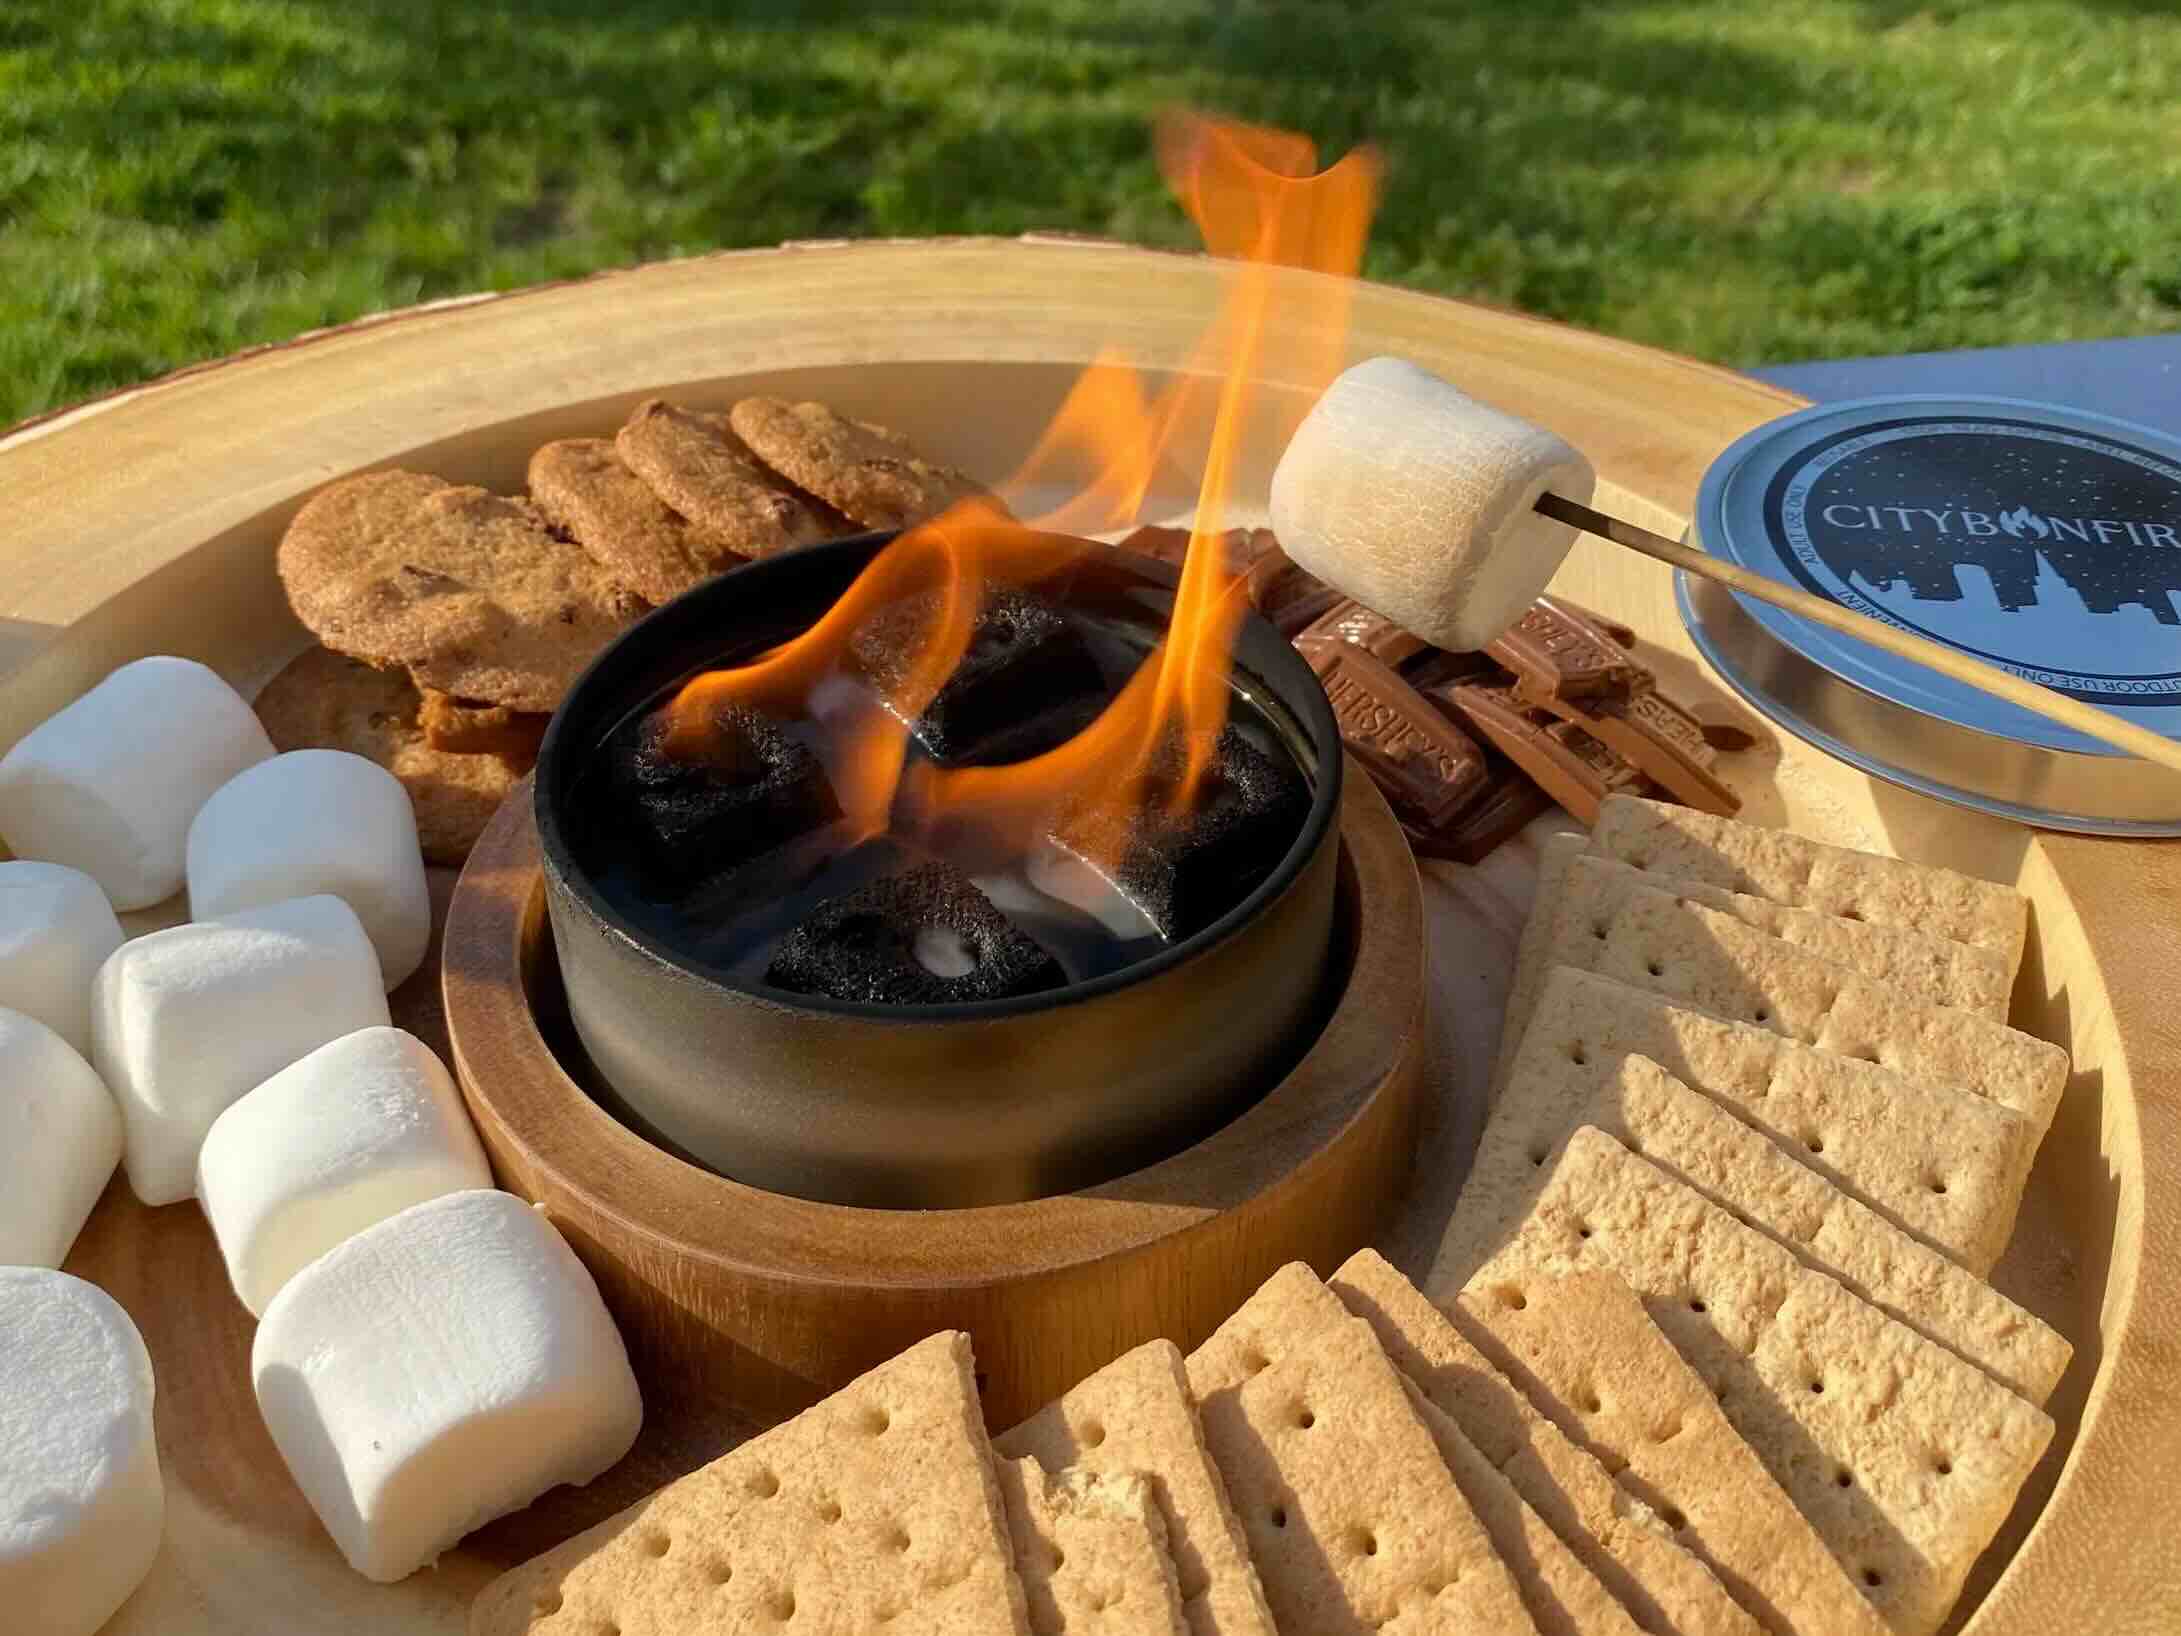
2. S’mores and Treats: Indulge in the time-honored tradition of roasting marshmallows and crafting delectable s’mores over the crackling flames. Encourage guests to bring their favorite treats to share, adding a delightful culinary element to the outdoor experience.
3. Cozy Evenings: Embrace serene evenings by the fire, unwinding with a good book or engaging in heartfelt conversations with loved ones. The gentle warmth and soft illumination of the fire pit create a tranquil ambiance for relaxation and reflection.
4. Seasonal Celebrations: Mark special occasions such as birthdays, anniversaries, or holidays with themed gatherings around the fire pit. Whether it’s a cozy winter celebration or a festive summer soirée, the fire pit will enhance the festive spirit and create cherished memories.
5. Stargazing and Storytelling: Encourage stargazing sessions and storytelling around the fire pit, fostering a sense of wonder and imagination. The captivating dance of flames provides the perfect backdrop for sharing tales and marveling at the night sky.
6. Maintenance and Care: Regularly maintain and care for your fire pit by cleaning the exterior, replacing worn components, and ensuring that safety features are in optimal condition. By upholding the fire pit’s functionality and appearance, you’ll prolong its lifespan and enjoyment for years to come.
7. Create Lasting Memories: Capture the essence of special moments around the fire pit through photographs and mementos, preserving the joy and camaraderie that it brings to your outdoor space. These memories will serve as a testament to the significance of your custom creation.
As you immerse yourself in the pleasures of your newly crafted fire pit, revel in the sense of accomplishment and fulfillment that accompanies the realization of your vision. Cherish the warmth, camaraderjson, and joy that your fire pit fosters, knowing that it stands as a testament to your creativity and dedication.
Frequently Asked Questions about How To Make A Metal Fire Pit
Was this page helpful?
At Storables.com, we guarantee accurate and reliable information. Our content, validated by Expert Board Contributors, is crafted following stringent Editorial Policies. We're committed to providing you with well-researched, expert-backed insights for all your informational needs.

0 thoughts on “How To Make A Metal Fire Pit”