Home>Gardening & Outdoor>Outdoor Entertaining>How To Make A Tripod For A Fire Pit

Outdoor Entertaining
How To Make A Tripod For A Fire Pit
Published: January 10, 2024
Discover how to create a sturdy DIY tripod for your outdoor fire pit, perfect for enhancing your outdoor entertaining space. Explore step-by-step instructions now!
(Many of the links in this article redirect to a specific reviewed product. Your purchase of these products through affiliate links helps to generate commission for Storables.com, at no extra cost. Learn more)
Introduction
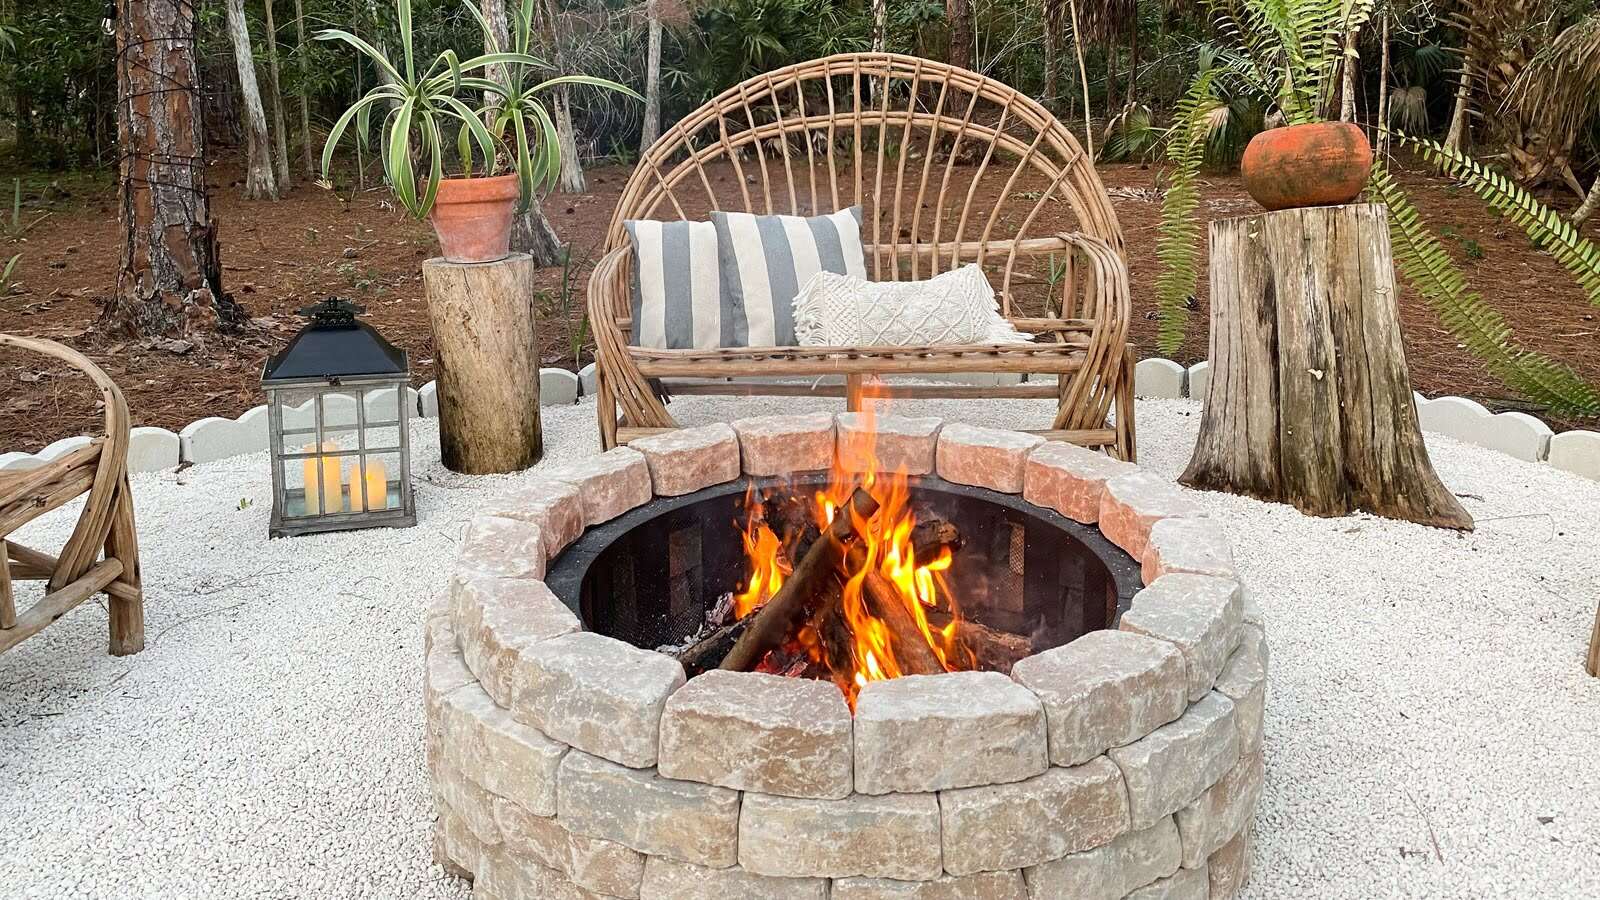
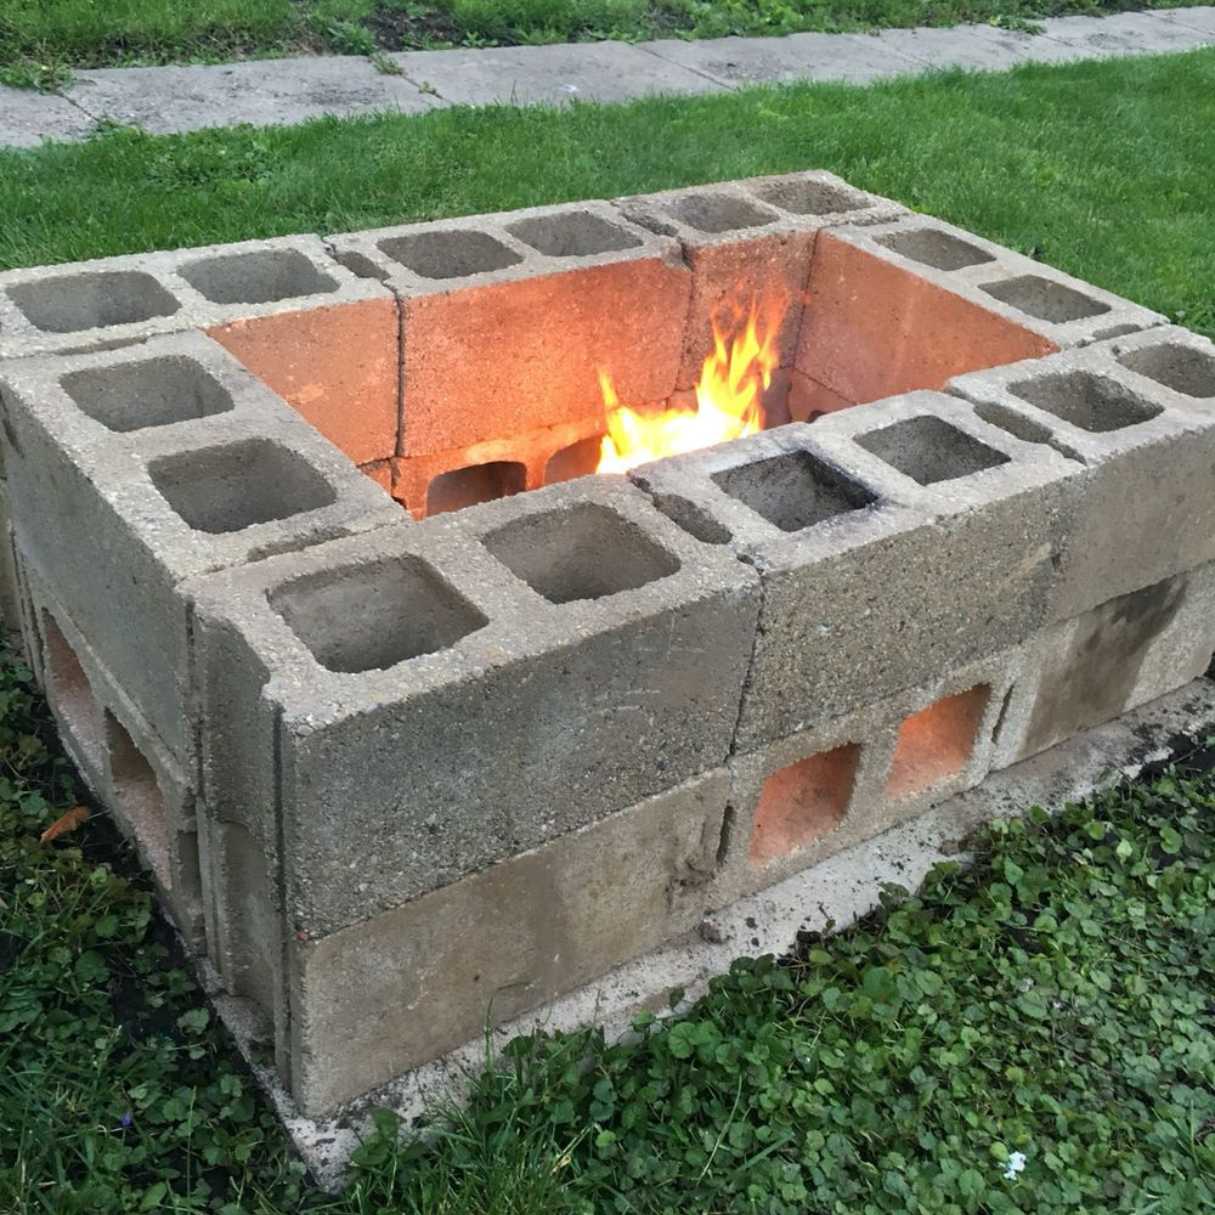
Creating a cozy and inviting outdoor space is a wonderful way to enjoy the beauty of nature while spending quality time with friends and family. One of the most captivating elements of outdoor entertaining is a crackling fire pit, which provides warmth, light, and a captivating ambiance. While there are countless fire pit designs available for purchase, crafting your own tripod for a fire pit can add a touch of rustic charm and personalization to your outdoor area.
In this guide, we will walk through the process of constructing a sturdy and visually appealing tripod for a fire pit. By following these simple steps, you can elevate your outdoor entertaining space and create a focal point that will undoubtedly spark conversations and lasting memories.
Whether you're a seasoned DIY enthusiast or a newcomer to crafting, this project offers an excellent opportunity to unleash your creativity and enhance your outdoor environment. With a few basic materials and a willingness to dive into a hands-on project, you can bring your vision to life and enjoy the fruits of your labor for years to come.
So, gather your tools, roll up your sleeves, and let's embark on this exciting journey of creating a tripod for a fire pit that will become the centerpiece of your outdoor gatherings. Let's get started!
Key Takeaways:
- Crafting a tripod for a fire pit is a fun DIY project that adds rustic charm to your outdoor space. With basic materials and creativity, you can create a captivating centerpiece for memorable gatherings.
- By following simple steps, you can build a sturdy and visually appealing tripod for your fire pit. This personalized touch enhances outdoor ambiance and fosters meaningful connections.
Read more: How To Make A Portable Fire Pit
Materials Needed
Before diving into the construction process, it’s essential to gather all the necessary materials. The following items will be required to build a sturdy and functional tripod for your fire pit:
- Three sturdy metal rods or wooden poles, approximately 6-8 feet in length
- Measuring tape and marker for precise measurements
- Sandpaper or a metal file to smooth any rough edges
- A drill with metal drill bits or a screwdriver, depending on the material of the rods
- Heavy-duty metal chain or strong rope for securing the tripod’s apex
- A fire pit bowl or basin, preferably with a diameter that complements the size of the tripod
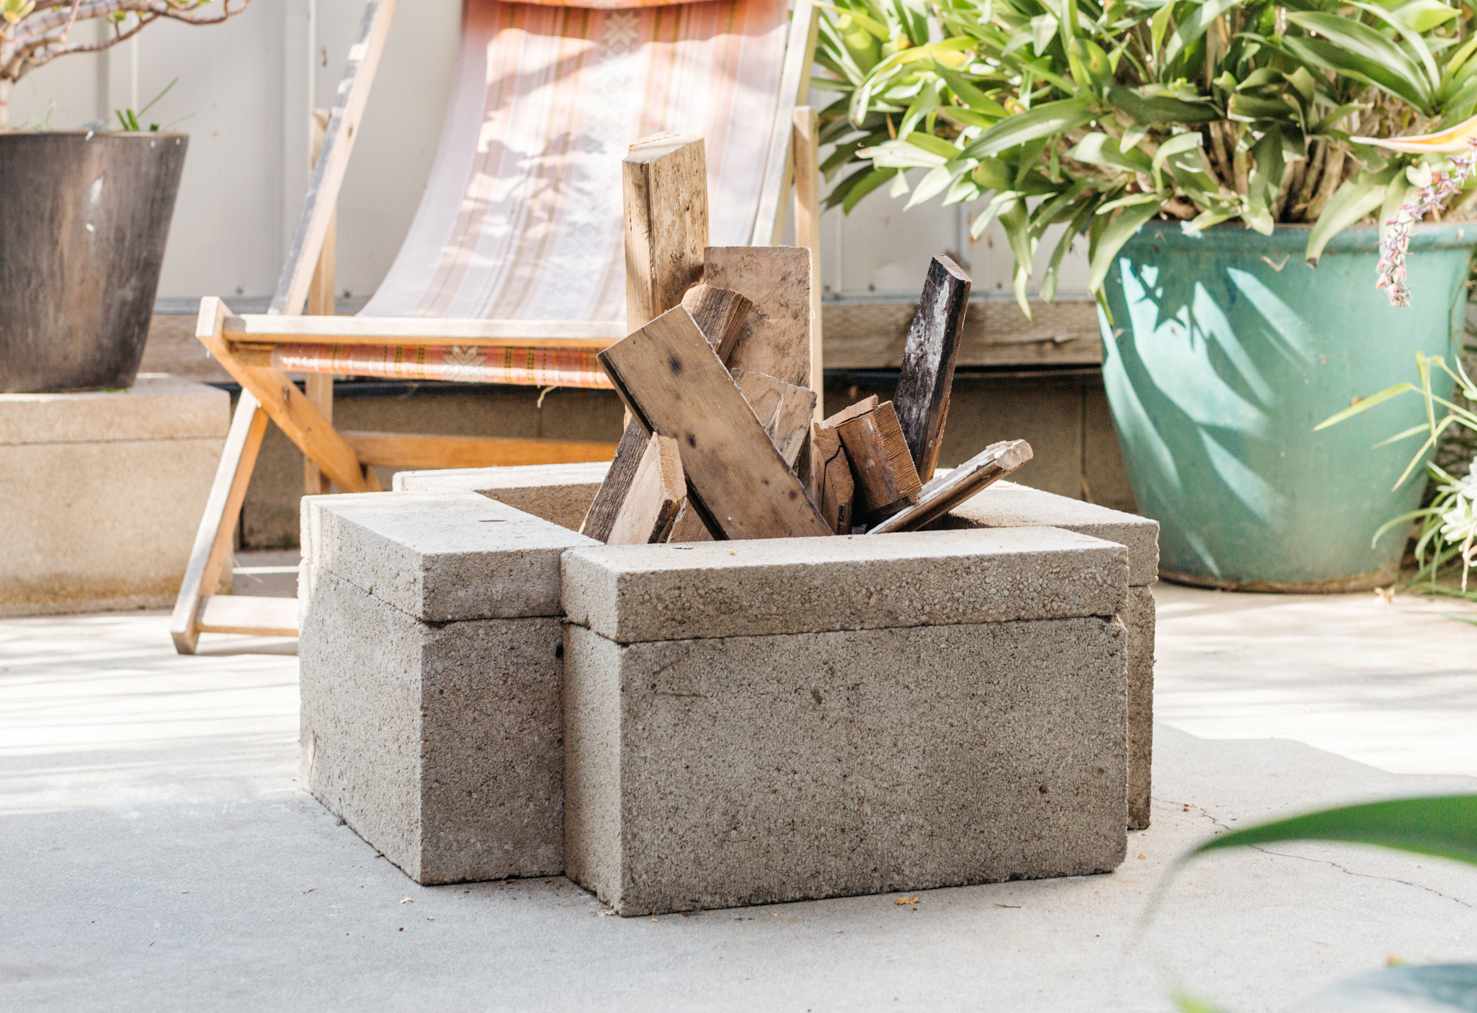
- Firewood and kindling for fueling the fire pit
- Protective gear, including gloves and safety goggles
These materials will serve as the foundation for constructing a durable and visually appealing tripod for your fire pit. Once you have gathered these items, you’ll be well-prepared to proceed with the construction process and bring your outdoor entertaining space to life with a captivating fire feature.
Step 1: Preparing the Legs
The first crucial step in creating a tripod for your fire pit is preparing the legs, which will provide stability and support for the structure. Whether you opt for metal rods or wooden poles, it’s essential to ensure that they are of sufficient length and strength to support the weight of the fire pit and withstand the heat of the fire.
Begin by measuring and marking the rods or poles to achieve consistent lengths for the tripod legs. Use a measuring tape and a marker to make precise markings, ensuring that the legs are of equal length to maintain balance and stability. Once marked, carefully cut the rods or poles to the desired length using a saw or appropriate cutting tool.
After cutting the legs to size, it’s crucial to smooth any rough edges to prevent splinters or injuries. If you’re working with wooden poles, sandpaper can be used to achieve a smooth finish, while a metal file can be employed to remove any burrs or sharp edges from metal rods.
Next, create holes near the top of each leg to facilitate the attachment of the chain or rope that will converge at the apex of the tripod. Using a drill with the appropriate metal drill bits for metal rods or a screwdriver for wooden poles, carefully create a hole in each leg. Ensure that the holes are aligned and positioned at an equal distance from the top of each leg to maintain symmetry.
Once the holes are in place, it’s essential to inspect the legs for any imperfections or inconsistencies that may compromise the stability of the tripod. Ensure that the legs are straight, even, and free from any structural flaws that could affect the overall integrity of the tripod.
With the legs prepared and refined, you’re now ready to proceed to the next step of assembling the tripod, bringing you one step closer to enjoying the warmth and allure of a custom-crafted fire pit in your outdoor space.
When making a tripod for a fire pit, make sure to use sturdy and heat-resistant materials such as metal or heavy-duty wood. Ensure that the legs are evenly spaced and securely attached to the top to provide stability for the fire pit.
Step 2: Assembling the Tripod
With the legs prepared, it’s time to move on to the exciting process of assembling the tripod, bringing your vision of a captivating fire feature one step closer to reality. This step involves bringing the three legs together to form a stable and visually appealing structure that will serve as the foundation for your fire pit.
Begin by arranging the prepared legs on a flat surface, ensuring that they are positioned in a triangular formation with equal spacing between each leg. This initial setup will allow you to visualize the configuration of the tripod and make any necessary adjustments before securing the structure.
Once the legs are positioned appropriately, it’s time to join them at the top to form the apex of the tripod. Using a heavy-duty metal chain or strong rope, carefully thread it through the holes at the top of each leg, ensuring that the chain or rope is securely fastened and taut. This convergence point will provide stability and support for the fire pit, allowing the tripod to bear the weight of the fire feature while maintaining its structural integrity.
As you secure the apex of the tripod, take a moment to assess the alignment and stability of the structure. Ensure that the legs are firmly connected at the apex and that the tripod stands evenly without any wobbling or instability. Making any necessary adjustments at this stage will contribute to the overall functionality and aesthetic appeal of the tripod.
With the legs joined and the apex secured, take a moment to admire the form and symmetry of the assembled tripod. This visual representation of your craftsmanship serves as a testament to the care and precision invested in creating a functional and visually striking centerpiece for your outdoor space.
As the tripod stands proudly, you’re now ready to proceed to the final step of attaching the fire pit, bringing the allure and warmth of a crackling fire to your outdoor entertaining area. The assembly of the tripod marks a significant milestone in the construction process, setting the stage for the culmination of your efforts and the realization of your personalized fire pit.
Step 3: Attaching the Fire Pit
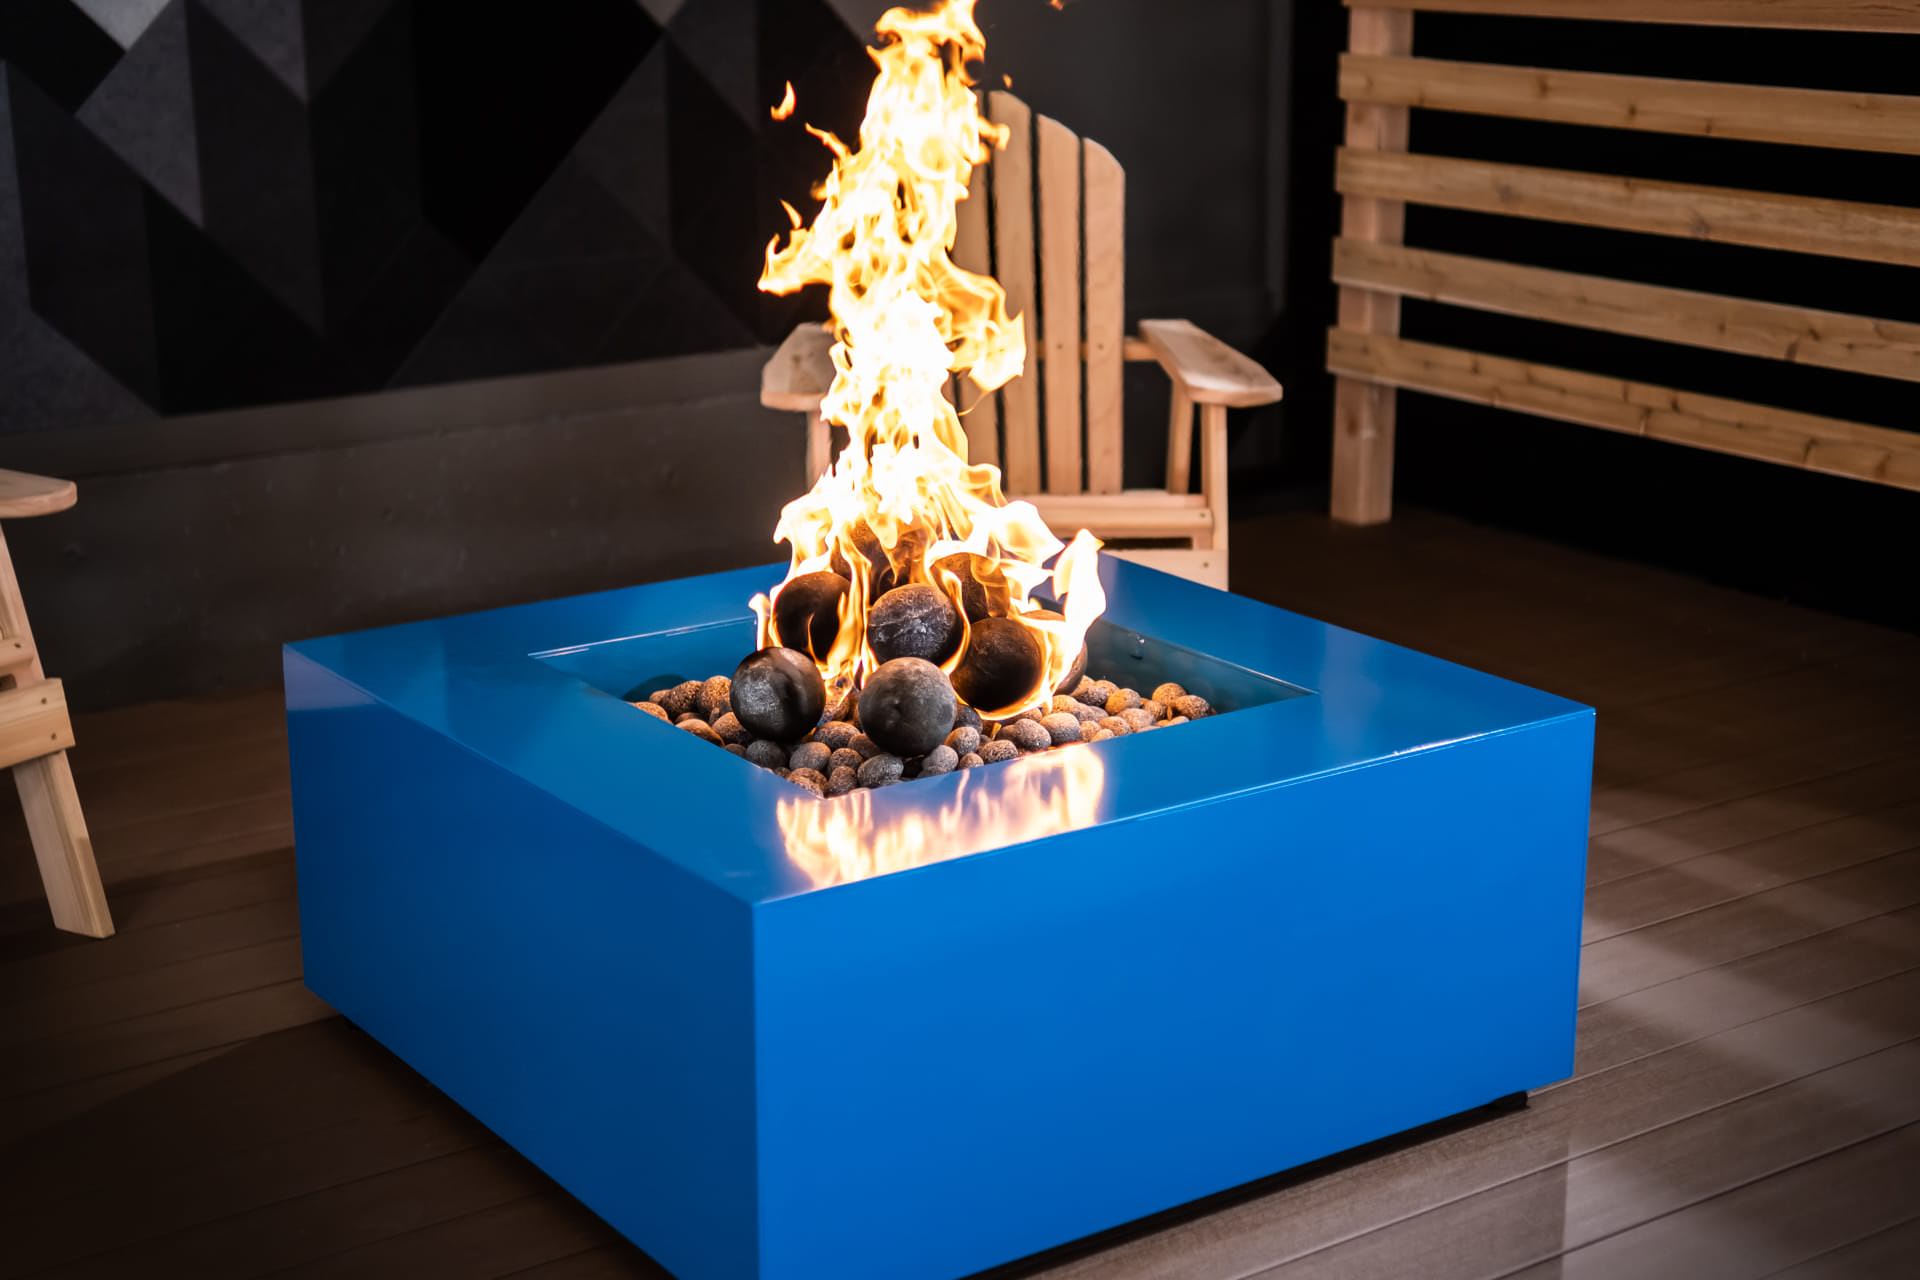
As the assembled tripod stands poised and ready, it’s time to complete the final step of this rewarding project by attaching the fire pit, transforming the structure into a captivating focal point that will illuminate your outdoor gatherings with warmth and ambiance.
Before attaching the fire pit, it’s essential to select a suitable basin or bowl that complements the size and design of your tripod. The fire pit should fit securely within the apex of the tripod, ensuring that it rests evenly and remains stable when in use. Once you’ve chosen the perfect fire pit basin, carefully place it atop the tripod, allowing it to nestle securely within the convergence point of the legs.
With the fire pit in position, take a moment to ensure that it is centered and balanced atop the tripod. This attention to detail will not only enhance the visual appeal of the fire feature but also contribute to its stability and safety during use. Confirm that the fire pit is securely positioned and that the tripod provides ample support for the basin, allowing it to fulfill its purpose as a source of warmth and illumination.
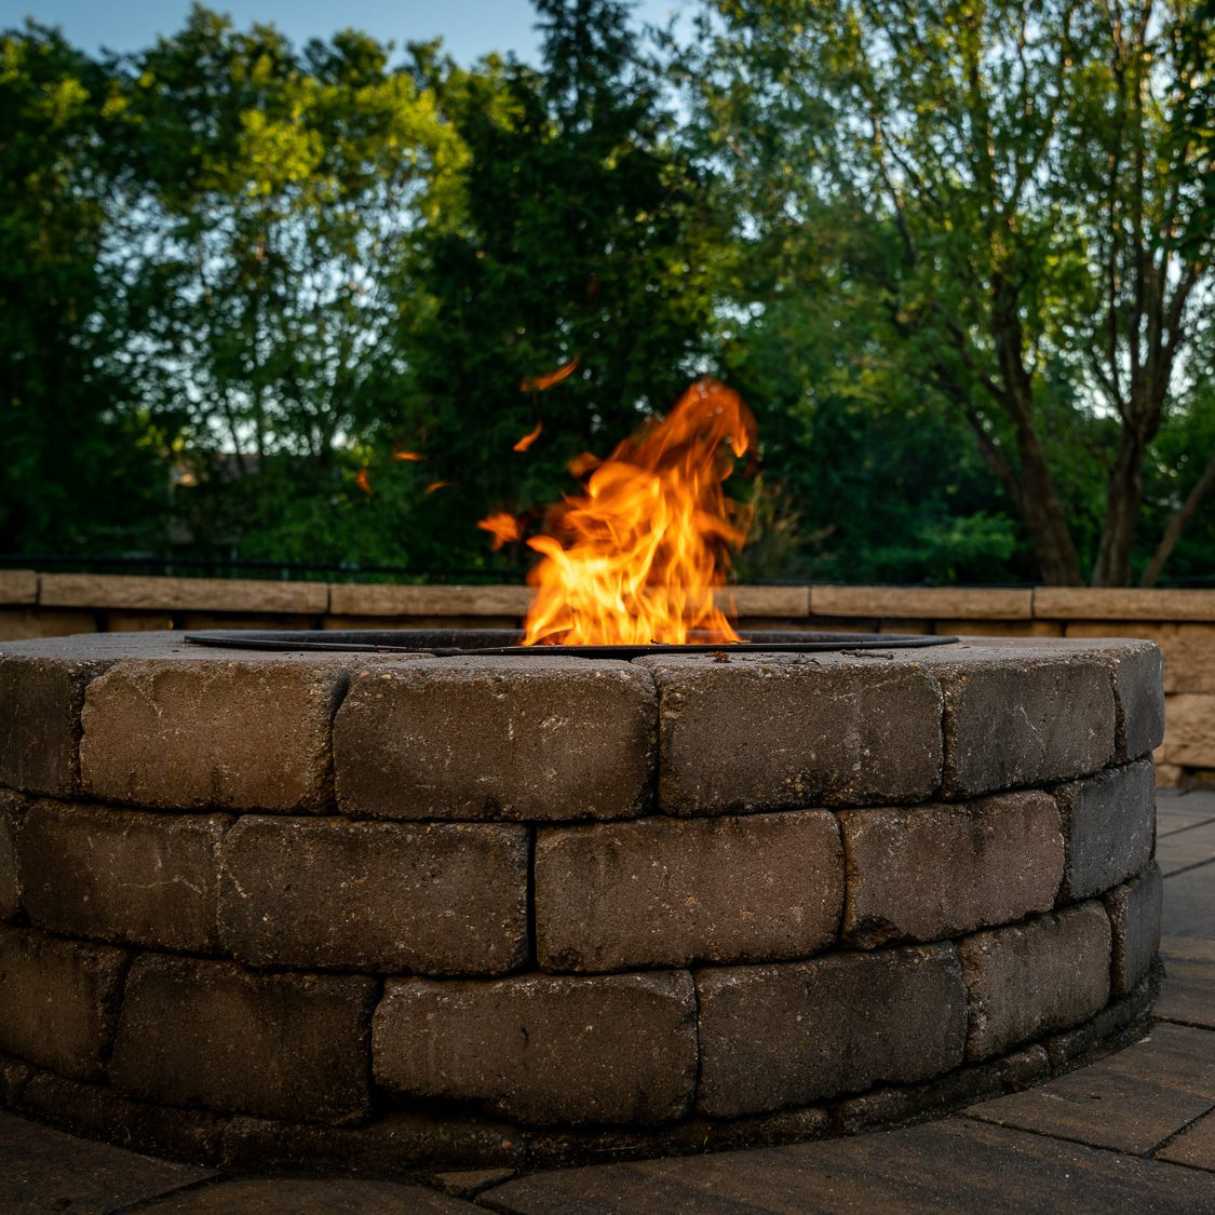
After confirming the stability and alignment of the fire pit, it’s time to prepare the basin for the mesmerizing glow of a crackling fire. Place firewood and kindling within the fire pit, arranging them carefully to facilitate efficient airflow and combustion. As the fire pit comes to life, the warm glow and flickering flames will infuse your outdoor space with a captivating ambiance, creating an inviting atmosphere for relaxation and socializing.
As the flames dance within the fire pit and the tripod stands proudly, you can revel in the satisfaction of bringing your vision to life. The completed tripod for your fire pit serves as a testament to your creativity and craftsmanship, adding a touch of rustic charm and personalized elegance to your outdoor entertaining space.
With the fire pit securely attached to the tripod, you’re now ready to bask in the enchanting glow of a crackling fire, surrounded by the warmth and camaraderie of your outdoor gatherings. This captivating centerpiece will undoubtedly spark conversations and create lasting memories, making every moment spent around the fire pit a cherished experience.
Read more: How To Make A Fire Pit Screen
Conclusion
Congratulations on successfully crafting a sturdy and visually captivating tripod for your fire pit! This hands-on project has not only added a charming focal point to your outdoor space but has also provided a platform for creating unforgettable moments with friends and family. As the flames flicker within the fire pit and the tripod stands proudly, you can relish in the satisfaction of bringing this project to fruition.
By following the steps outlined in this guide, you’ve embarked on a journey of creativity and craftsmanship, infusing your outdoor entertaining area with warmth, light, and an inviting ambiance. The personalized touch of a custom-crafted tripod for your fire pit sets the stage for countless memorable gatherings and cozy evenings spent under the open sky.
As you enjoy the enchanting glow of the fire pit and the captivating allure of the tripod, take a moment to appreciate the sense of accomplishment that comes with creating a functional and visually appealing structure from basic materials. Your dedication to this project has not only enhanced your outdoor environment but has also provided an opportunity for self-expression and hands-on creativity.
Whether you’re hosting a lively outdoor gathering or savoring a tranquil evening by the fire, the tripod for your fire pit will undoubtedly serve as a focal point that ignites conversations, fosters connections, and creates cherished memories. The warmth and allure of a crackling fire will draw friends and family together, establishing your outdoor space as a welcoming and captivating haven for shared moments and meaningful interactions.
As you continue to enjoy the fruits of your labor, may the tripod for your fire pit stand as a symbol of your ingenuity and dedication to crafting an inviting outdoor environment. With each gathering around the fire pit, you’ll have the opportunity to savor the enchanting glow and bask in the camaraderie of those gathered around this captivating centerpiece.
Thank you for joining us on this journey of creating a tripod for a fire pit. May your outdoor space be enriched by the warmth, light, and captivating ambiance of this personalized fire feature, fostering cherished moments and lasting connections for years to come.
Frequently Asked Questions about How To Make A Tripod For A Fire Pit
Was this page helpful?
At Storables.com, we guarantee accurate and reliable information. Our content, validated by Expert Board Contributors, is crafted following stringent Editorial Policies. We're committed to providing you with well-researched, expert-backed insights for all your informational needs.


0 thoughts on “How To Make A Tripod For A Fire Pit”