Home>Gardening & Outdoor>Outdoor Entertaining>How To Make A Fire Pit Cover
Outdoor Entertaining
How To Make A Fire Pit Cover
Modified: January 15, 2024
Learn how to make a custom fire pit cover for your outdoor entertaining area. Protect your fire pit and add style to your outdoor space with this DIY project.
(Many of the links in this article redirect to a specific reviewed product. Your purchase of these products through affiliate links helps to generate commission for Storables.com, at no extra cost. Learn more)
Introduction
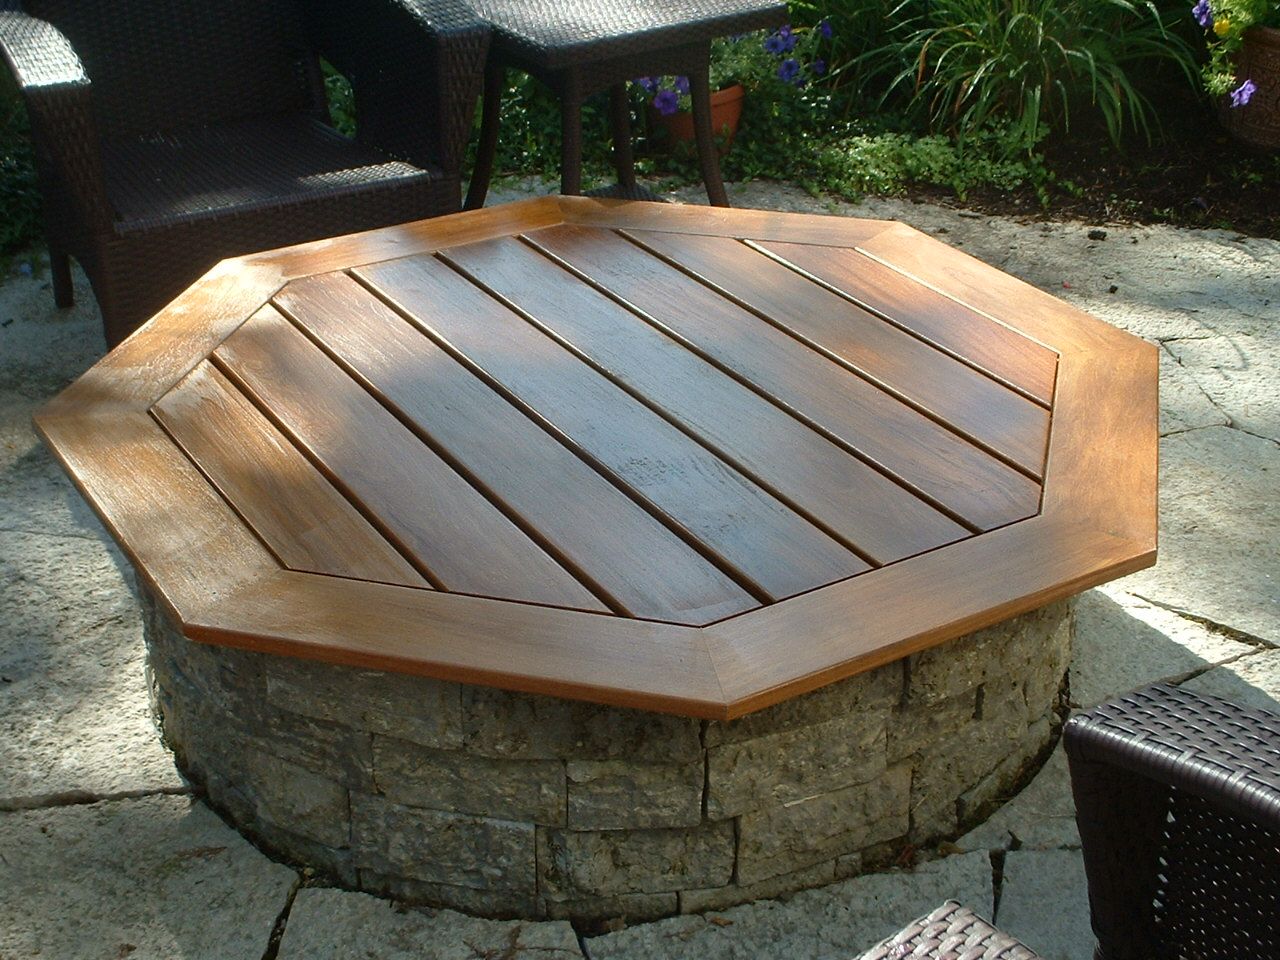
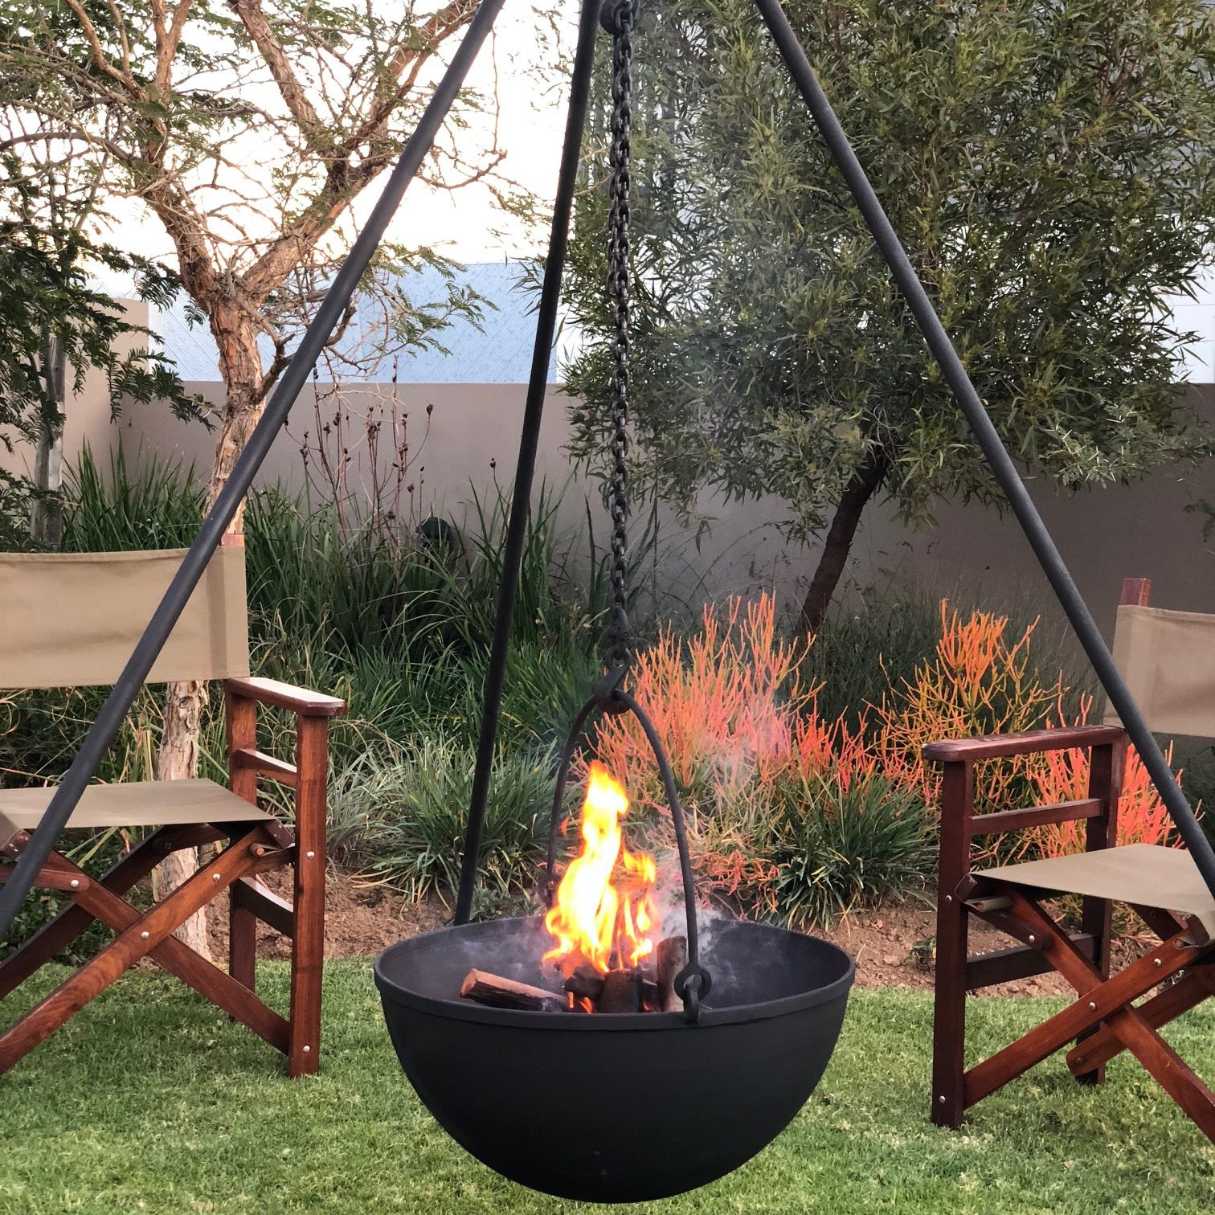
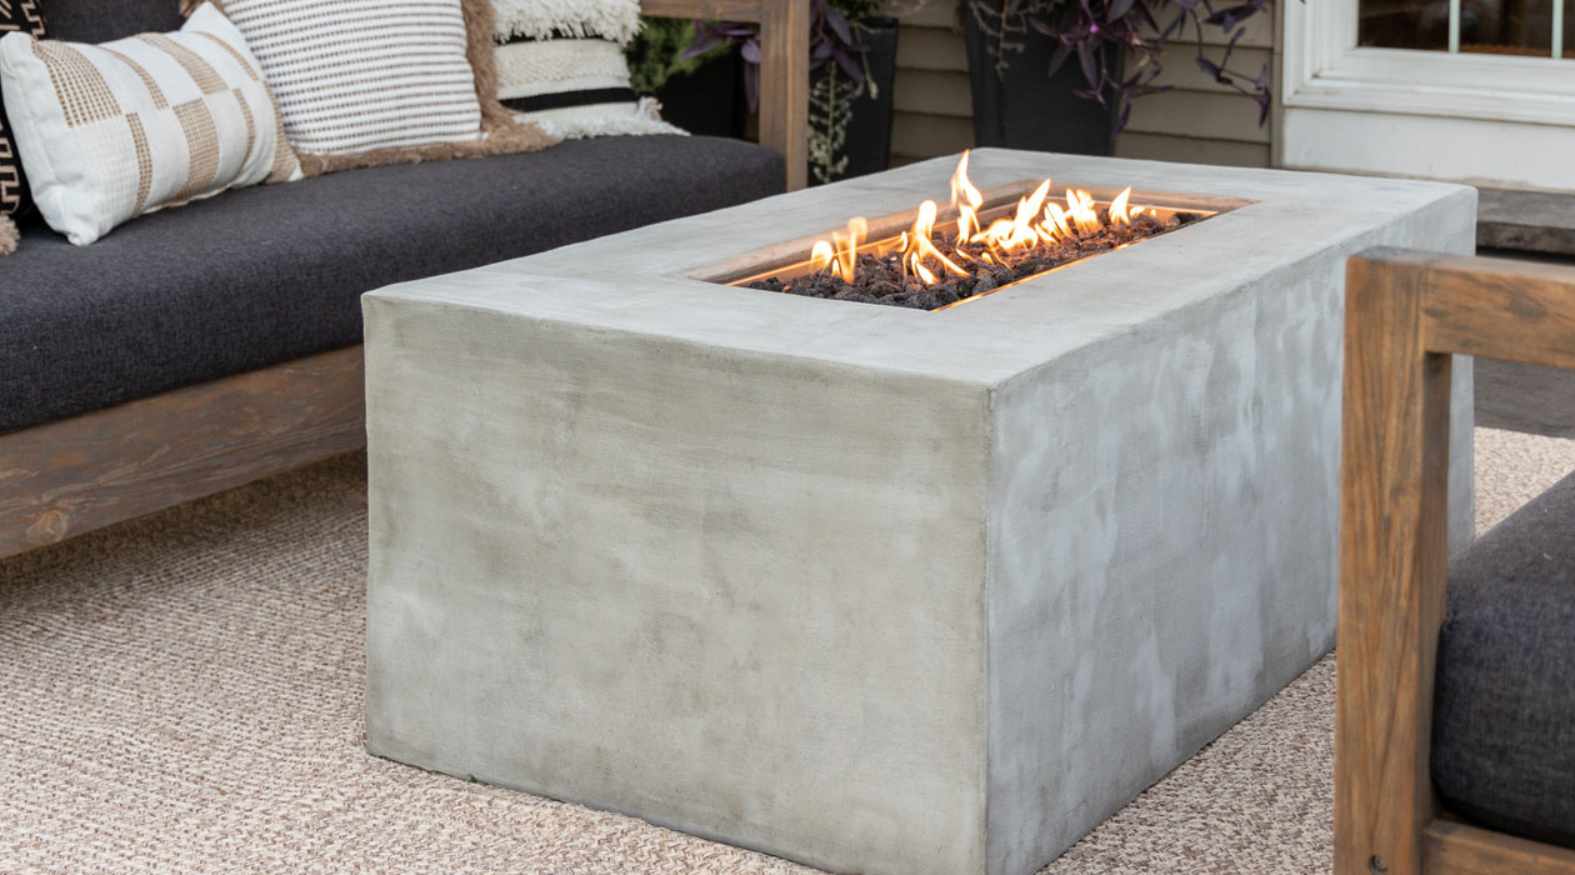
Creating a welcoming outdoor space for entertaining family and friends is a cherished pastime for many homeowners. A fire pit not only adds warmth and ambiance to your gatherings but also serves as a focal point for relaxation and conversation. However, when not in use, it's essential to protect your fire pit from the elements to ensure its longevity and functionality. One effective and economical way to safeguard your fire pit is by crafting a custom cover. In this guide, we will walk through the process of making a durable and stylish fire pit cover that will shield your beloved outdoor feature from rain, snow, and debris.
Whether you're a seasoned DIY enthusiast or just starting to explore the world of outdoor projects, constructing a fire pit cover is a rewarding endeavor that offers both practical and aesthetic benefits. By following the steps outlined in this tutorial, you'll not only safeguard your fire pit but also have the opportunity to showcase your creativity and handiwork. So, roll up your sleeves, gather your materials, and let's embark on this engaging and fulfilling DIY journey to create a protective cover for your cherished outdoor fire pit.
Key Takeaways:
- Protect your fire pit from the elements by crafting a custom cover using plywood, hinges, and handles. This DIY project not only safeguards your outdoor feature but also showcases your creativity and handiwork.
- Ensure a snug fit and seamless functionality by measuring, cutting, assembling, and outfitting the cover with essential components. The carefully crafted fire pit cover adds both practicality and charm to your outdoor space.
Read more: How To Make A Portable Fire Pit
Materials Needed
Before diving into the construction process, it’s essential to gather the necessary materials and tools. Here’s what you’ll need to create a sturdy and functional fire pit cover:
- Measuring tape: To accurately measure the dimensions of your fire pit.
- 3/4-inch exterior-grade plywood: This will serve as the primary material for the cover.
- Saw: A circular saw or a jigsaw to cut the plywood to the desired size.
- Drill and screws: For assembling the frame and attaching hinges.
- Hinges: Choose durable, rust-resistant hinges to facilitate easy opening and closing of the cover.
- Handles: Opt for sturdy handles that will allow for convenient handling of the cover.
- Weathertight sealant: To protect the plywood from moisture and enhance its durability.
- Paint or wood stain: For adding a decorative finish and providing additional protection against the elements.
- Paintbrushes or applicators: To apply the paint or wood stain evenly.
- Sandpaper: For smoothing the edges and surfaces of the plywood.
- Protective gear: Safety goggles, gloves, and a dust mask for personal protection during the construction process.
By ensuring that you have all the required materials and tools at your disposal, you can streamline the construction process and create a fire pit cover that not only offers optimal protection but also complements the aesthetic appeal of your outdoor space.
Step 1: Measure the Fire Pit
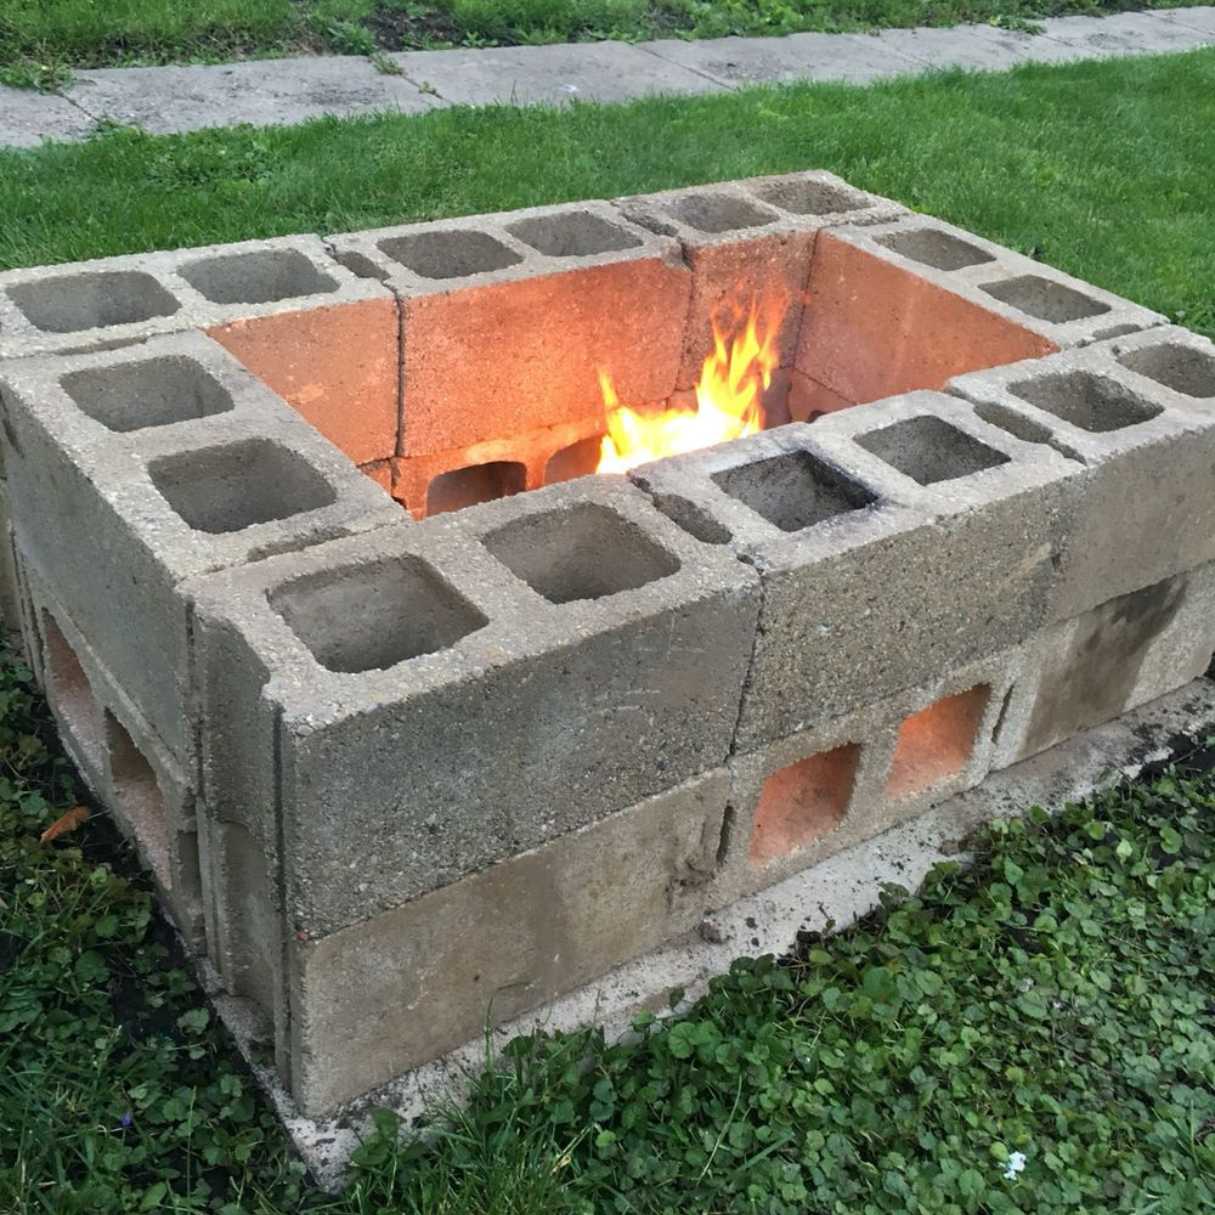
Accurate measurements are crucial for crafting a fire pit cover that fits snugly and provides effective protection. Begin by measuring the diameter of the fire pit at its widest point. If the fire pit is square or rectangular, measure the length and width to determine the cover’s dimensions. It’s important to consider any protruding features, such as handles or decorative elements, when taking measurements to ensure that the cover will fit properly over the fire pit.
Once you have the precise measurements, add an extra inch to each side to allow for overhang. This overhang will help prevent rain and debris from seeping into the fire pit, ensuring that it remains clean and dry when not in use. Additionally, the overhang contributes to the stability of the cover, preventing it from being easily dislodged by wind or other external forces.
After obtaining the measurements, transfer them to the plywood, marking the outline of the cover using a straight edge or a carpenter’s square. Double-check the measurements before proceeding to the next step to avoid any inaccuracies that could compromise the fit and functionality of the cover.
By taking the time to measure the fire pit meticulously and allowing for appropriate overhang, you’ll lay the foundation for a well-fitted cover that effectively shields the fire pit from the elements, prolonging its lifespan and preserving its appeal.
Step 2: Cut the Plywood
With the measurements in hand, it’s time to cut the plywood to the appropriate size for the fire pit cover. Using a circular saw or a jigsaw, carefully cut along the marked outline to create the main panel of the cover. Take care to maintain straight, even cuts to ensure that the cover will sit securely on the fire pit without any protruding edges or uneven surfaces.
If the fire pit is round, you can use a compass or a circular object of the appropriate size to trace a perfect circle on the plywood before cutting. For square or rectangular fire pits, a carpenter’s square can help ensure precise right angles and uniform edges.
After cutting the main panel, use sandpaper to smooth the edges and remove any rough spots. This step is essential for both safety and aesthetics, as it minimizes the risk of splinters and gives the cover a polished, professional look.
Once the plywood is cut and smoothed, place it over the fire pit to confirm that it fits properly. The overhang should be consistent on all sides, providing adequate coverage without obstructing the fire pit’s opening or any additional features. Making any necessary adjustments at this stage will help guarantee a perfect fit before moving on to the next steps of the construction process.
By meticulously cutting the plywood to match the fire pit’s dimensions and smoothing the edges, you’ll lay the groundwork for a well-crafted cover that not only safeguards the fire pit but also enhances the visual appeal of your outdoor space.
Step 3: Assemble the Frame
Creating a sturdy frame for the fire pit cover is essential to ensure its durability and longevity. Start by cutting wooden boards to the desired length to form the perimeter of the cover. The boards should be measured and cut to match the dimensions of the plywood panel, providing support and structure for the cover.
Using a drill and screws, attach the wooden boards to the edges of the plywood panel, forming a secure frame. It’s important to place the screws at regular intervals along the edges to ensure that the frame is firmly anchored to the plywood. This step not only reinforces the cover but also helps maintain its shape and integrity over time.
Additionally, consider adding internal supports within the frame to provide further stability. These supports can be positioned strategically to distribute weight evenly and prevent warping or sagging, especially if the cover is likely to be subjected to heavy loads, such as snow accumulation.
As you assemble the frame, periodically place the cover over the fire pit to verify that it fits properly and sits evenly. Making any necessary adjustments during this stage will help guarantee a seamless fit and a robust, well-constructed cover that effectively shields the fire pit from the elements.
By methodically assembling a solid frame for the fire pit cover, you’ll create a reliable and resilient barrier that not only protects the fire pit but also adds a touch of craftsmanship to your outdoor space.
To make a fire pit cover, measure the diameter of the fire pit and add 2 inches for overhang. Use weather-resistant material like vinyl or canvas, and sew a hem for added durability. Add handles for easy removal.
Read more: How To Make A Fire Pit Screen
Step 4: Attach the Hinges
Attaching hinges to the fire pit cover is a pivotal step that enables easy access to the fire pit while ensuring the cover remains securely in place when not in use. Select durable, rust-resistant hinges that are suitable for outdoor applications, as they will endure exposure to the elements and frequent use.
Position the hinges along one side of the cover, ensuring that they are evenly spaced and aligned parallel to the edge. Use a pencil to mark the locations for the screws, then pre-drill holes to prevent the wood from splitting when the screws are inserted. Secure the hinges to the plywood frame using screws, ensuring that they are firmly anchored and allow for smooth, unhindered movement when opening and closing the cover.
Once the hinges are securely attached, test the functionality of the cover by opening and closing it. The movement should be fluid and effortless, allowing for convenient access to the fire pit when needed. Additionally, check that the cover rests evenly on the fire pit and maintains a snug fit to prevent debris and moisture from entering.
Adding a latch or clasp to the opposite side of the cover, aligned with the hinges, can further enhance the security and stability of the cover. This ensures that it remains closed during inclement weather or windy conditions, safeguarding the fire pit from the elements at all times.
By skillfully attaching hinges to the fire pit cover, you’ll create a functional and user-friendly solution that not only protects the fire pit but also simplifies the process of uncovering it for enjoyable outdoor gatherings.
Step 5: Add Handles
Adding handles to the fire pit cover enhances its practicality and convenience, allowing for effortless handling and removal. Choose sturdy, weather-resistant handles that are well-suited for outdoor use and can withstand frequent lifting and maneuvering.
Position the handles on opposite sides of the cover, ensuring that they are aligned symmetrically for balanced weight distribution. Mark the locations for the handle screws using a pencil, then pre-drill holes to prevent the wood from splitting when the screws are inserted. Secure the handles to the plywood frame using screws, ensuring that they are firmly attached and provide a secure grip for lifting and moving the cover.
When attaching the handles, consider the overall aesthetics of the cover and the ease of handling. Opt for handles that complement the design of your outdoor space and provide ample clearance for comfortable gripping. Additionally, ensure that the handles are positioned to allow for unobstructed opening and closing of the cover without interference.
After attaching the handles, test the functionality by lifting and maneuvering the cover. The handles should provide a firm, comfortable grip, allowing for easy removal and replacement of the cover as needed. This practical addition not only simplifies the process of accessing the fire pit but also adds a touch of convenience to your outdoor entertaining experience.
By thoughtfully adding handles to the fire pit cover, you’ll create a user-friendly and versatile solution that not only protects the fire pit but also enhances the functionality and accessibility of your outdoor space.
Step 6: Apply the Cover
With the fire pit cover fully constructed and equipped with hinges and handles, it’s time to apply it to the fire pit and ensure a secure fit. Position the cover over the fire pit, ensuring that it aligns evenly and rests securely on the edges. The hinges should facilitate smooth opening and closing, allowing for easy access to the fire pit whenever desired.
Once the cover is in place, assess its alignment and fit to confirm that it provides comprehensive protection for the fire pit. The overhang should be consistent on all sides, effectively shielding the fire pit from rain, snow, and debris. Additionally, the cover should sit securely on the fire pit, preventing it from being dislodged by wind or external forces.
If the cover fits snugly and aligns properly with the fire pit, test its functionality by opening and closing it. The movement should be seamless, and the cover should remain stable and secure in its closed position. This ensures that the fire pit is readily accessible when needed while being adequately protected during periods of inactivity.
As a final touch, consider applying a weathertight sealant to the plywood and adding a decorative finish, such as paint or wood stain, to enhance the cover’s durability and aesthetic appeal. This additional layer of protection will safeguard the cover from moisture and environmental exposure, prolonging its lifespan and maintaining its visual appeal over time.
By applying the fire pit cover and ensuring its proper fit and functionality, you’ll establish a reliable and effective safeguard for your outdoor feature, preserving its condition and enhancing the overall allure of your outdoor space.
Conclusion
Crafting a custom fire pit cover is a gratifying endeavor that not only enhances the protection and longevity of your outdoor fire pit but also allows you to showcase your creativity and craftsmanship. By following the step-by-step process outlined in this guide, you’ve embarked on a fulfilling DIY journey that culminates in a practical and stylish solution for safeguarding your cherished outdoor feature.
Throughout the construction process, you’ve meticulously measured, cut, assembled, and outfitted the cover with essential components, ensuring that it fits snugly and functions seamlessly. The careful selection of materials and the thoughtful addition of hinges and handles have contributed to the creation of a durable and user-friendly cover that adds both practicality and charm to your outdoor space.
As you apply the cover to the fire pit and witness its protective capabilities, take pride in the craftsmanship and dedication invested in this project. The cover not only shields the fire pit from the elements but also serves as a testament to your DIY prowess and commitment to maintaining an inviting and well-appointed outdoor entertaining area.
With the fire pit cover in place, you can relish the peace of mind that comes with knowing your outdoor feature is safeguarded from adverse weather conditions and debris. Whether you’re hosting gatherings, enjoying quiet evenings by the fire, or simply admiring your outdoor space, the cover stands as a testament to your attention to detail and your ability to merge practicality with aesthetic appeal.
As you continue to explore DIY projects and cultivate your outdoor living area, let this experience inspire future endeavors and ignite a passion for creating functional and beautiful enhancements to your home. Embrace the satisfaction of completing a project that not only serves a practical purpose but also reflects your individual style and ingenuity, enriching your outdoor lifestyle and creating lasting memories with family and friends.
Frequently Asked Questions about How To Make A Fire Pit Cover
Was this page helpful?
At Storables.com, we guarantee accurate and reliable information. Our content, validated by Expert Board Contributors, is crafted following stringent Editorial Policies. We're committed to providing you with well-researched, expert-backed insights for all your informational needs.


0 thoughts on “How To Make A Fire Pit Cover”