Home>Gardening & Outdoor>Outdoor Recreation & Activities>How To Make A Frisbee Out Of Paper
Outdoor Recreation & Activities
How To Make A Frisbee Out Of Paper
Modified: September 2, 2024
Learn how to make a frisbee out of paper for outdoor recreation and activities. Follow these simple steps for a fun and easy DIY project.
(Many of the links in this article redirect to a specific reviewed product. Your purchase of these products through affiliate links helps to generate commission for Storables.com, at no extra cost. Learn more)
Introduction
Making a frisbee out of paper is a fun and creative activity that can be enjoyed by people of all ages. Whether you're looking for a simple DIY project or a way to entertain yourself on a lazy afternoon, crafting a paper frisbee can be a delightful and rewarding experience. Not only is it an excellent way to exercise your creativity, but it also provides an opportunity to engage in some lighthearted outdoor fun.
Creating a paper frisbee is a fantastic way to repurpose materials and reduce waste. By using just a few sheets of paper, you can transform something seemingly ordinary into a source of entertainment. This activity also encourages resourcefulness and innovation, as you'll be challenged to design a frisbee that can soar through the air with grace and precision.
In addition to being an enjoyable craft project, making a paper frisbee can serve as a valuable learning experience. It provides an opportunity to explore the principles of aerodynamics and physics in a hands-on manner. As you experiment with different folding techniques and test the flight capabilities of your paper creation, you'll gain a deeper understanding of how objects move through the air and the factors that influence their trajectory.
Furthermore, crafting a paper frisbee can be a wonderful bonding activity for friends and family. Whether you're spending time with children, friends, or loved ones, working together to create and play with paper frisbees can foster a sense of camaraderie and shared accomplishment. It's a simple yet meaningful way to connect with others and enjoy the outdoors in a lighthearted and engaging fashion.
In the following sections, we'll explore the step-by-step process of making a paper frisbee, from folding the paper to testing and adjusting its flight. So, gather your materials and get ready to embark on a delightful journey of creativity and outdoor enjoyment!
Key Takeaways:
- Crafting a paper frisbee is a fun way to repurpose materials and learn about aerodynamics. It’s a creative DIY project that fosters outdoor fun and shared experiences with friends and family.
- Making a paper frisbee involves intricate folding and shaping to optimize its flight. Testing and adjusting the frisbee’s performance provides a hands-on lesson in physics and the joy of creativity.
Read more: How To Make A Chandelier Out Of Paper
Materials Needed
To embark on the exciting endeavor of creating a paper frisbee, you'll need just a few simple materials that are likely already available in your home. Here's what you'll need to get started:
-
Paper: The primary material for crafting your paper frisbee is, of course, paper. Opt for standard letter-size or A4 sheets, which are readily accessible and easy to work with. While plain white paper is a popular choice, feel free to experiment with colored or patterned paper to add a touch of flair to your frisbee.
-
Scissors: A pair of scissors will be essential for cutting the paper to the desired size and shape. Ensure that the scissors are sharp and suitable for precise cutting to achieve clean edges and smooth folds.
-
Markers or Colored Pencils (Optional): If you wish to personalize your paper frisbee with decorative designs or vibrant colors, having markers or colored pencils on hand can add a creative touch to your creation.
-
Ruler (Optional): While not mandatory, a ruler can be helpful for ensuring straight and accurate folds. It can also aid in measuring and cutting the paper with precision, especially if you're aiming for a specific frisbee size.
-
Open Space: Once your paper frisbee is ready for flight, having access to an open outdoor space, such as a park or a spacious backyard, will allow you to fully enjoy the frisbee's aerobatic capabilities. The open area will provide ample room for testing the frisbee's flight and maneuvering.
Gathering these materials will set the stage for an enjoyable and creative crafting experience. With these simple items at your disposal, you're all set to embark on the journey of transforming ordinary paper into a delightful and functional frisbee.
Step 1: Folding the Paper
The first step in creating a paper frisbee involves the intricate art of folding the paper to form the basic structure of the frisbee. This process sets the foundation for the frisbee's aerodynamic shape, which is crucial for achieving smooth and stable flight. Follow these detailed instructions to master the art of folding and shape your paper into a functional frisbee:
-
Begin with a square sheet of paper. If you're using a standard letter-size or A4 sheet, you can easily transform it into a square by folding one corner diagonally across to the opposite edge and then trimming off the excess paper along the bottom to create a perfect square.
-
With the square paper in front of you, fold it in half diagonally to form a triangle. Ensure that the edges align precisely to create a sharp and symmetrical fold.
-
Next, unfold the paper to reveal the crease down the middle, forming a distinct line that divides the triangle into two equal halves.
-
Now, fold the two bottom corners of the triangle upwards, aligning them with the top point of the triangle to create a smaller triangle with a straight base.
-
With the bottom corners folded upwards, flip the paper over to the other side, maintaining the triangular shape.
-
Fold the two bottom corners of the triangle upwards once again, aligning them with the top point to create an even smaller triangle with a straight base.
-
After completing these folds, you should have a compact triangular shape with multiple layers of paper neatly stacked within.
-
To secure the folds and reinforce the structure, press along the creases firmly, ensuring that the paper holds its shape and the edges are crisp and well-defined.
By meticulously following these folding instructions, you'll successfully transform a simple square sheet of paper into the foundational structure of a paper frisbee. This carefully crafted shape sets the stage for the subsequent steps, where you'll further refine the frisbee's form and prepare it for flight. With the paper now expertly folded, you're ready to proceed to the next step of shaping the frisbee and bringing it one step closer to soaring through the air with grace and agility.
When making a paper frisbee, use a sturdy paper like cardstock for better durability. Also, make sure to fold the paper evenly to create a balanced and aerodynamic shape.
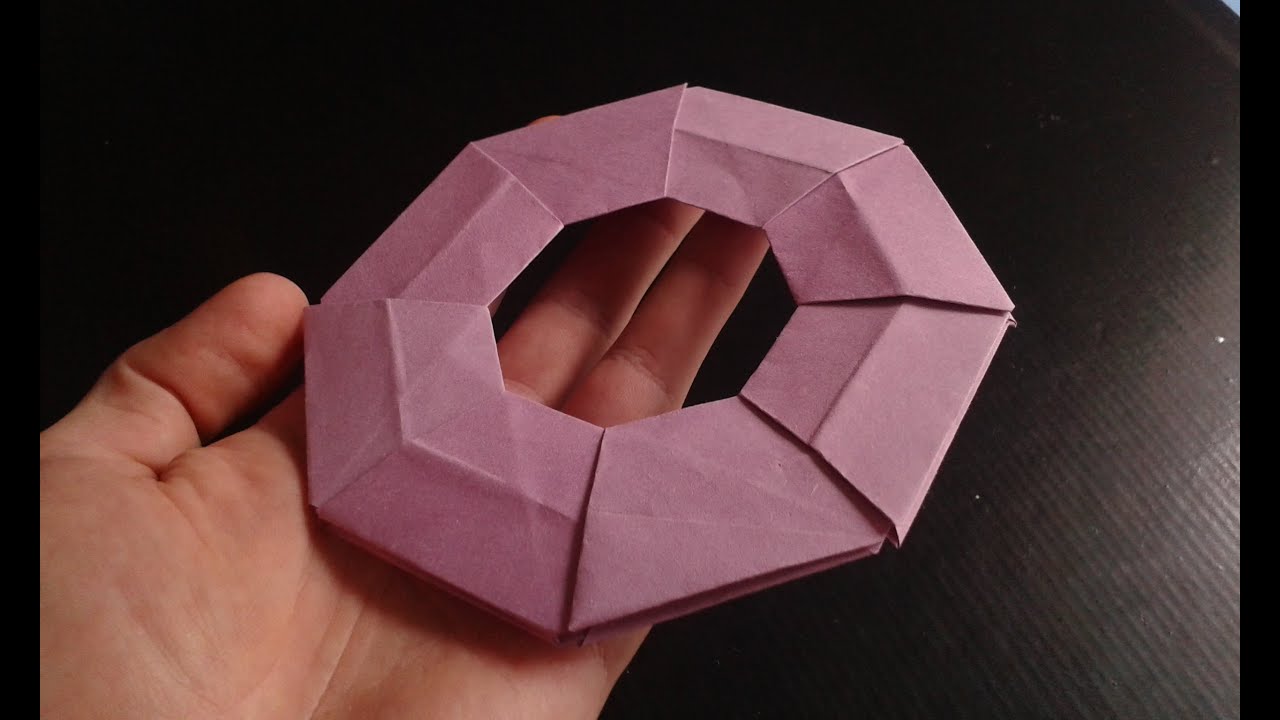
Step 2: Shaping the Frisbee
With the paper expertly folded into a compact triangular shape, you're now poised to embark on the crucial stage of shaping the frisbee. This step involves refining the folded structure to create the distinctive rim and aerodynamic profile that are essential for achieving optimal flight performance. By carefully shaping the paper, you'll transform it into a functional and visually appealing frisbee that's ready to take to the skies.
To shape the frisbee, follow these detailed instructions:
-
Unfold the Top Layer: Begin by carefully unfolding the top layer of the compact triangular structure. This will reveal the multiple layers of paper neatly stacked within, creating a sturdy foundation for shaping the frisbee.
-
Gently Separate the Layers: With the top layer unfolded, gently separate the layers of paper to expose the interior of the structure. Take care to maintain the overall triangular shape while creating a small opening at the center of the paper.
-
Gradually Expand the Opening: Using your fingers, gradually expand the central opening by gently pulling the layers of paper apart. As you do so, the paper will naturally begin to take on the rounded shape characteristic of a frisbee.
-
Smooth Out the Edges: Once the central opening has been expanded to the desired size, carefully smooth out the edges of the paper to create a uniform and rounded rim. This step is crucial for ensuring that the frisbee maintains a consistent aerodynamic profile, allowing it to glide through the air with stability and precision.
-
Reinforce the Rim: To reinforce the rim and enhance the frisbee's durability, press along the edges to create a firm and defined rim. This will help the frisbee maintain its shape during flight and withstand the forces exerted on it as it spins through the air.
-
Inspect and Adjust: After shaping the frisbee, take a moment to inspect the overall form and make any necessary adjustments to ensure that the rim is smooth and symmetrical. This attention to detail will contribute to the frisbee's aerodynamic performance and visual appeal.
By meticulously following these shaping instructions, you'll transform the folded paper into a fully realized frisbee, complete with a rounded rim and aerodynamic profile. With the frisbee now expertly shaped, you're ready to proceed to the next step of testing and adjusting its flight capabilities, bringing you one step closer to experiencing the joy of launching your handmade paper creation through the open skies.
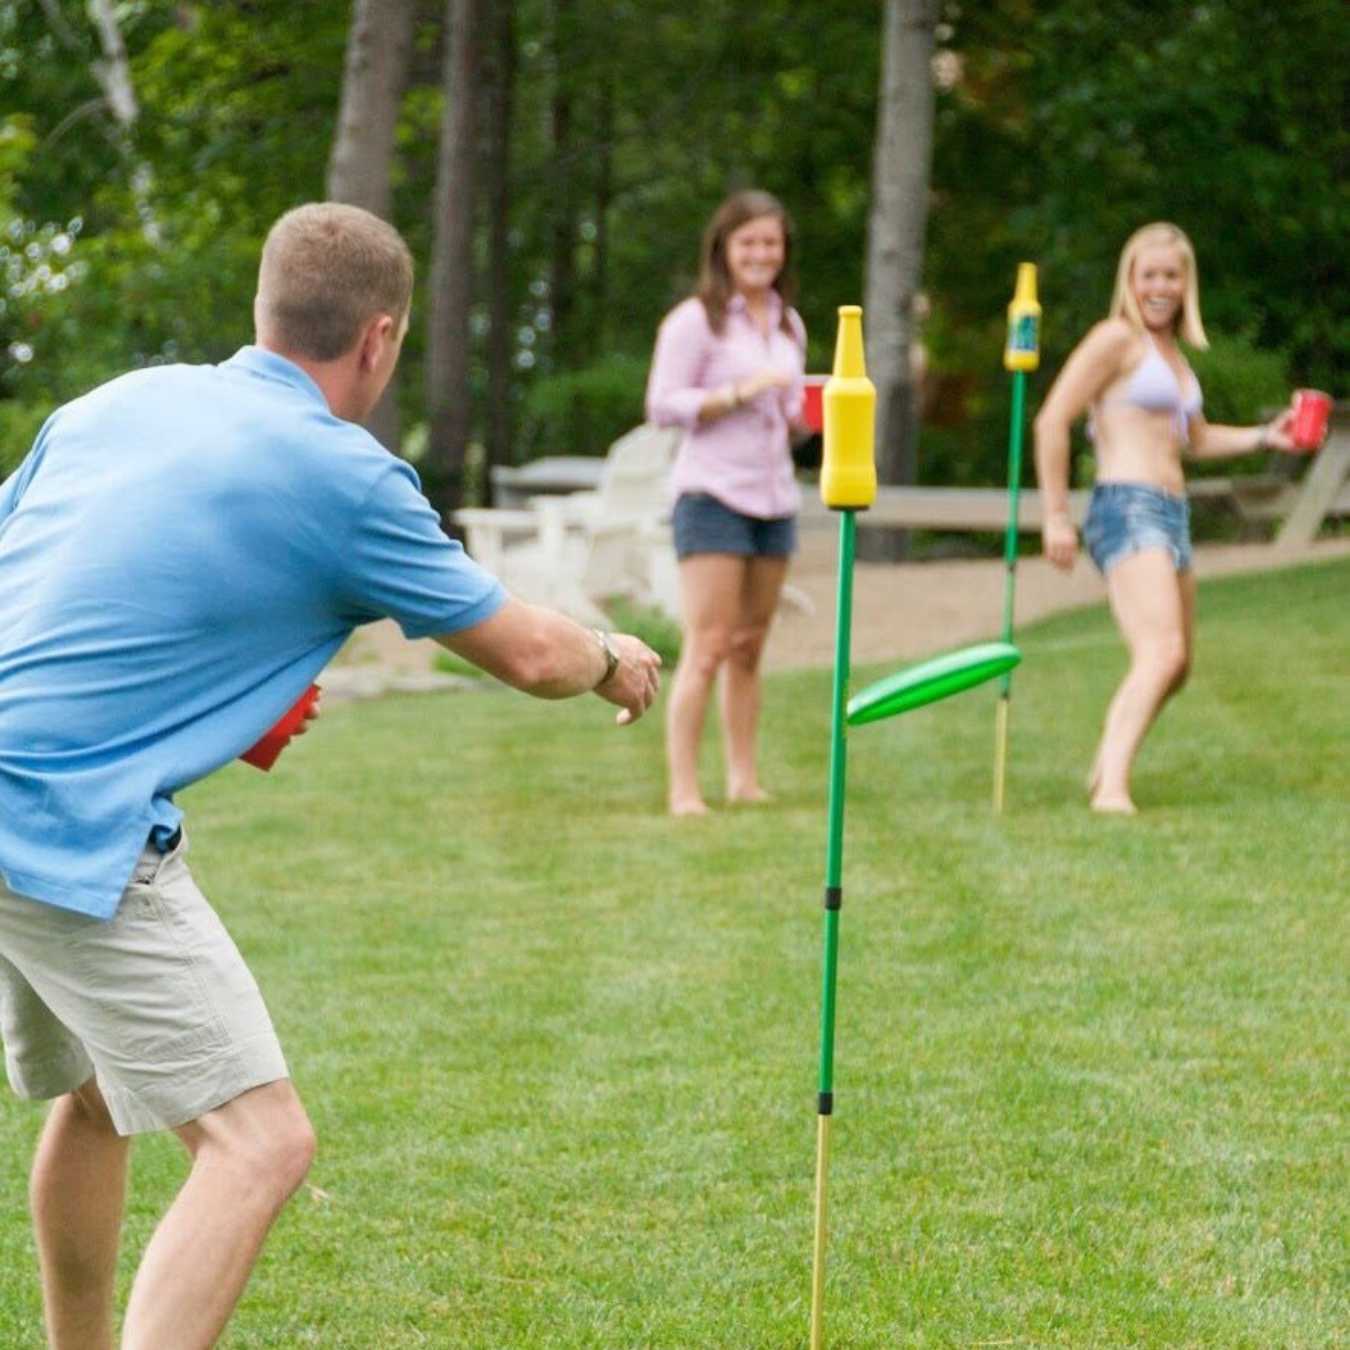
Step 3: Testing and Adjusting
With your paper frisbee expertly folded and shaped, it's time to embark on the exhilarating phase of testing and adjusting its flight capabilities. This step is essential for fine-tuning the frisbee's aerodynamic properties and ensuring that it can soar through the air with grace and precision. By carefully observing its flight behavior and making necessary adjustments, you'll transform your paper creation into a functional and enjoyable flying disc.
To test and adjust your paper frisbee, follow these detailed steps:
-
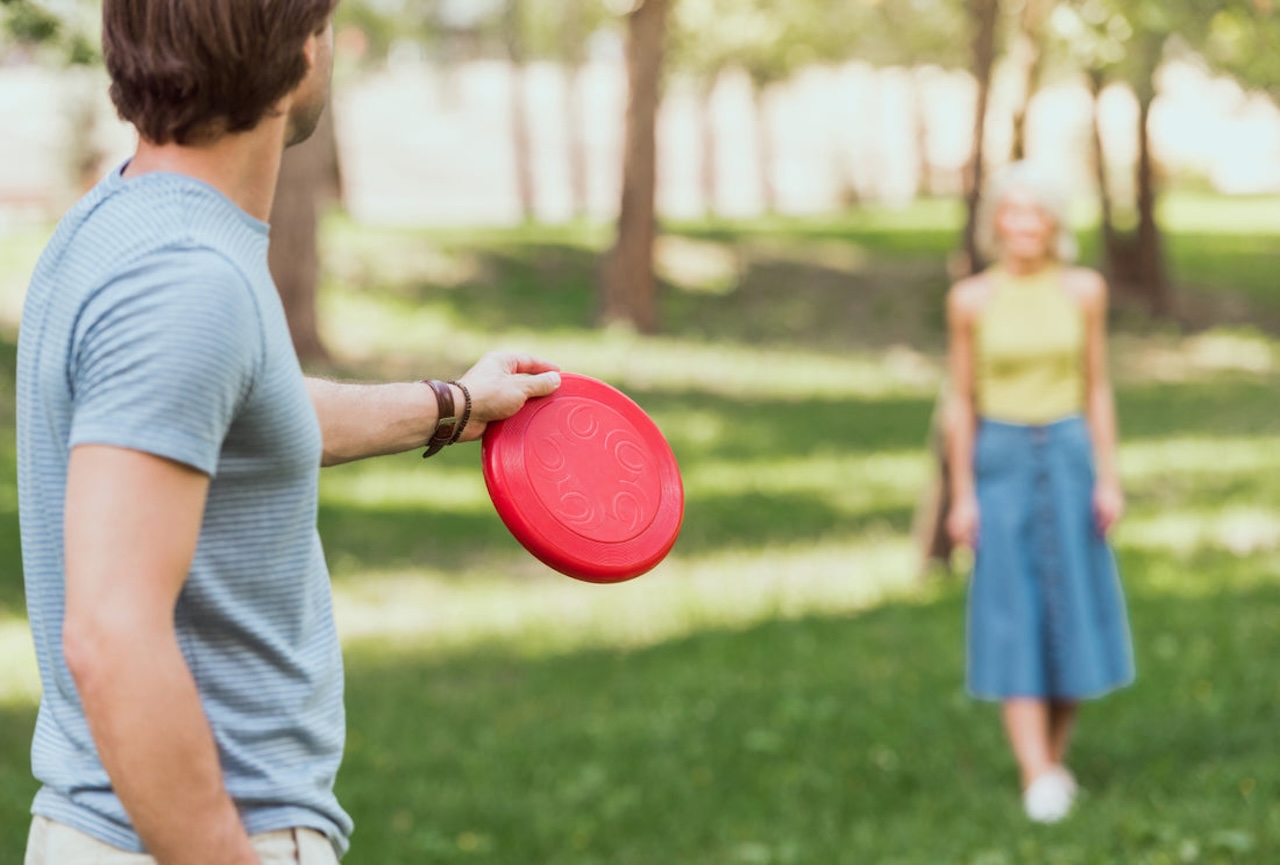
Find an Open Space: Head to an open outdoor area, such as a park or a spacious backyard, where you'll have ample room to test the frisbee's flight. Ensure that the space is free from obstacles and obstructions to allow for unrestricted movement and flight testing.
-
Hold the Frisbee Correctly: Grasp the paper frisbee firmly between your thumb and forefinger, positioning your fingers along the rim to provide stability and control. Ensure that the frisbee is held flat and level, ready to be launched with a swift and decisive throw.
-
Launch the Frisbee: With a smooth and controlled motion, flick your wrist to release the frisbee into the air. Aim for a gentle and level throw to allow the frisbee to gain altitude and begin its graceful flight. Observe the initial trajectory and note any deviations or instability in its movement.
-
Observe the Flight Path: As the frisbee glides through the air, carefully observe its flight path and note any wobbling, tilting, or uneven movement. Pay attention to how it responds to the force of the throw and the surrounding air currents. This observation will provide valuable insights into the frisbee's aerodynamic performance.
-
Make Adjustments: Based on your observations, make subtle adjustments to the frisbee's shape and rim if necessary. Gently reshape the rim to ensure a smooth and uniform profile, which can enhance stability and reduce air resistance. Additionally, consider refining the central opening to optimize the frisbee's aerodynamic properties.
-
Repeat and Refine: After making adjustments, launch the frisbee again and observe its flight behavior. Repeat this process of testing, observing, and refining until you achieve a satisfying and consistent flight pattern. Each iteration will bring you closer to a well-balanced and agile paper frisbee.
By meticulously testing and adjusting your paper frisbee, you'll have the opportunity to fine-tune its flight characteristics and optimize its performance. This hands-on process of observation and refinement not only enhances the frisbee's aerodynamic properties but also provides a rewarding and engaging experience. With each throw and adjustment, you'll gain a deeper understanding of the principles of flight and the factors that influence the behavior of flying objects.
As you continue to test and refine your paper frisbee, you'll witness the tangible results of your efforts as it glides through the air with elegance and precision. This iterative process of testing and adjusting exemplifies the spirit of creativity and experimentation, culminating in the transformation of a simple sheet of paper into a delightful and functional flying disc.
Read more: How To Make Small Boxes Out Of Paper
Conclusion
Crafting a paper frisbee is not just a simple DIY project; it's an immersive journey that combines creativity, physics, and outdoor enjoyment. From the initial folds that shape the paper into a compact triangle to the meticulous adjustments made to optimize its flight, the process of making a paper frisbee is a testament to the joy of hands-on creation and the thrill of witnessing a humble material take flight.
As you embark on the adventure of crafting and refining your paper frisbee, you're not just engaging in a lighthearted activity; you're delving into the principles of aerodynamics and experiencing firsthand the interplay of forces that govern the flight of objects. Each fold, adjustment, and throw offers a valuable lesson in physics, as you observe how the frisbee responds to the forces of lift, drag, and air currents.
Moreover, the act of making a paper frisbee fosters resourcefulness and ingenuity, as you transform a simple sheet of paper into a functional and enjoyable flying disc. It encourages a mindset of repurposing and creativity, demonstrating that with a bit of imagination and skillful manipulation, ordinary materials can be transformed into sources of entertainment and delight.
Beyond the technical aspects, crafting a paper frisbee is a delightful way to connect with others and enjoy the outdoors. Whether you're sharing the experience with friends, family, or fellow enthusiasts, the process of making and testing the frisbee becomes a shared adventure, fostering camaraderie and a sense of accomplishment. The joy of launching the handmade frisbee into the open skies and witnessing its graceful flight becomes a collective celebration of creativity and outdoor recreation.
In conclusion, the journey of making a paper frisbee transcends the act of crafting a simple toy; it embodies the spirit of exploration, creativity, and shared enjoyment. It's a testament to the transformative power of hands-on creation and the joy of experiencing the principles of physics in action. So, gather your materials, embark on the journey of crafting your own paper frisbee, and revel in the simple yet profound pleasure of watching your creation take flight in the boundless expanse of the open air.
Frequently Asked Questions about How To Make A Frisbee Out Of Paper
Was this page helpful?
At Storables.com, we guarantee accurate and reliable information. Our content, validated by Expert Board Contributors, is crafted following stringent Editorial Policies. We're committed to providing you with well-researched, expert-backed insights for all your informational needs.


0 thoughts on “How To Make A Frisbee Out Of Paper”