Furniture
How To Make A Paper Lamp Shades
Modified: January 9, 2024
Discover how to create stunning paper lamp shades to enhance your furniture. Get step-by-step instructions and unleash your creativity!
(Many of the links in this article redirect to a specific reviewed product. Your purchase of these products through affiliate links helps to generate commission for Storables.com, at no extra cost. Learn more)
Introduction
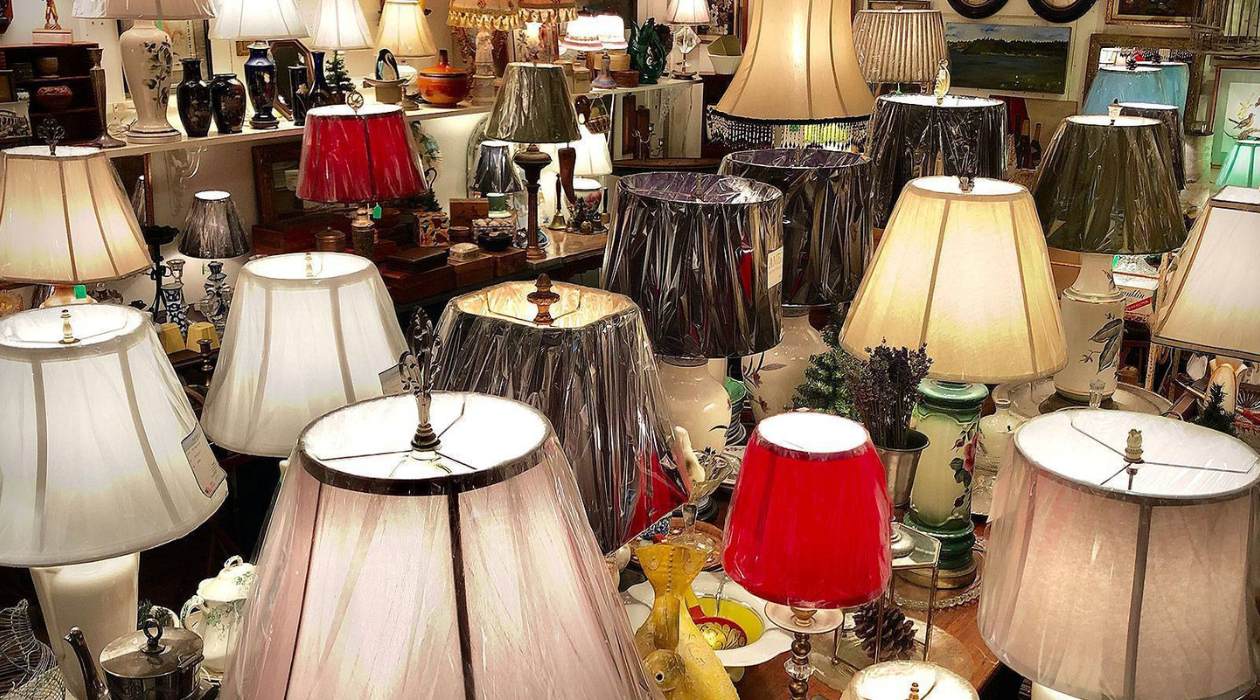
When it comes to home decor, lighting plays a crucial role in setting the mood and ambience of any space. A beautiful lampshade can add a touch of elegance and warmth to any room, creating a cozy and inviting atmosphere. While there are numerous ready-made lampshades available in the market, making your own paper lampshade can be a fun and creative DIY project.
In this article, we will guide you through the process of making a stunning paper lampshade that will not only serve as a functional lighting fixture but also add a unique and personal touch to your home decor. Whether you’re a craft enthusiast or simply looking to infuse some creativity into your living space, this project is perfect for beginners and experienced DIYers alike.
Before we dive into the step-by-step process of creating your paper lampshade, let’s take a look at the materials you will need.
Key Takeaways:
- Create a personalized paper lampshade to add warmth and elegance to your home decor. Experiment with different paper designs and embellishments to reflect your unique style and creativity.
- Enjoy the satisfaction of crafting a functional and visually appealing lighting fixture. Showcase your creativity and craftsmanship by customizing the design to match your personal style and existing decor.
Read more: How To Make A Macrame Lamp Shade
Materials Needed
Before getting started, gather the following materials:
- Decorative paper: Choose a sturdy and opaque paper with a design that complements your existing decor. You can opt for patterned or solid-colored paper, depending on your preference.
- Lampshade frame: Look for a lampshade frame that matches the size and shape you desire. You can find these frames at craft stores or online.
- Scissors: A pair of sharp scissors will be essential for cutting and trimming the paper.
- Ruler or measuring tape: This will help you accurately measure the dimensions of the paper.
- Glue or adhesive tape: Use a strong adhesive that adheres well to both the paper and the frame.
- Pencil or marker: These will come in handy for marking measurements and guidelines on the paper.
- Optional embellishments: If you wish to add extra flair to your lampshade, consider adding decorative elements such as ribbons, beads, or fabric trim.
Once you have gathered these materials, you are ready to begin creating your own unique paper lampshade.
Step 1: Choosing the Paper
The first step in making a paper lampshade is selecting the right type of paper. The paper you choose will determine the overall look and feel of your lampshade. Here are a few factors to consider:
- Opacity: Opt for a paper that is not too transparent, as you want the lampshade to diffuse the light and create a soft glow. Semi-opaque or slightly textured papers work well for this purpose.
- Design: Consider the existing decor and color scheme of the room where the lampshade will be placed. Choose a paper with a design that complements the overall aesthetic. You can go for bold patterns, subtle motifs, or even solid colors for a minimalist look.
- Thickness: Select a paper that is sturdy enough to hold its shape when folded and attached to the lampshade frame. Thin papers may tear easily and won’t provide enough support for the structure.
- Size: Measure the dimensions of your lampshade frame and ensure that the paper is large enough to cover it completely. You can either purchase pre-cut lampshade paper or cut your own from larger sheets.
Remember, the choice of paper ultimately depends on your personal preference and the style you wish to achieve. Take your time to browse through different options and find the perfect paper for your DIY lampshade project.
Step 2: Measuring and Cutting the Paper
Once you have selected the perfect paper for your lampshade, it’s time to measure and cut it to the appropriate size. Follow these steps:
- Measure the lampshade frame: Start by measuring the height and circumference of your lampshade frame. Use a ruler or measuring tape to ensure accurate measurements.
- Mark the measurements on the paper: Using a pencil or marker, mark the height and circumference measurements on the selected paper. Create guidelines to guide your cutting and folding process.
- Cut the paper: Carefully cut along the marked lines to create a rectangular piece of paper that matches the height and circumference of the lampshade frame. Take your time and make precise cuts to ensure a neat and tidy result.
It’s important to note that you may need multiple pieces of paper to fully cover the lampshade frame, depending on its size and shape. If this is the case, repeat the above steps for each piece of paper, ensuring that they are cut to the correct dimensions.
By measuring and cutting the paper accurately, you are preparing the foundation for constructing your paper lampshade. In the next step, we will create the structure of the lampshade using the frame and paper pieces.
Step 3: Creating the Lampshade Structure
Now that you have your paper cut to the appropriate size, it’s time to create the structure of the lampshade using the frame and paper pieces. Follow these steps:
- Prepare the lampshade frame: Remove any existing fabric or covering from the lampshade frame, if applicable. Ensure that the frame is clean and free from any dust or debris.
- Position the paper on the frame: Take one piece of the cut paper and position it around the frame, aligning the edges with the top and bottom of the frame. Secure the paper in place using clips or tape to temporarily hold it in position.
- Attach the paper to the frame: Apply a small amount of glue or adhesive tape to one end of the paper. Press it firmly against the frame to secure it in place. Gradually work your way around the frame, attaching the paper at regular intervals to ensure a smooth and even fit.
- Overlap the paper if necessary: If your lampshade is larger than the width of the paper, you may need to overlap the edges slightly. This will ensure that the entire frame is covered and that there are no gaps in the lampshade structure.
- Repeat the process with additional paper pieces: If you have multiple pieces of cut paper, repeat the above steps to attach them to the frame. Make sure to align the edges and secure them firmly to maintain a cohesive and seamless appearance.
By creating the lampshade structure, you are establishing the foundation needed to proceed with folding and attaching the paper. This step is crucial in ensuring that the lampshade is stable and securely attached to the frame. In the next step, we will fold and attach the paper to complete the construction process.
When making a paper lamp shade, be sure to use a sturdy and heat-resistant paper to avoid any safety hazards. Additionally, consider using a template to ensure precise and even cutting for a professional-looking finish.
Read more: How To Make A Mica Lamp Shades
Step 4: Folding and Attaching the Paper
With the lampshade structure in place, it’s time to fold and attach the paper to create the desired shape and design. Follow these steps:
- Start at the top of the lampshade: Begin folding the excess paper at the top of the lampshade inwards. Create small, even pleats or accordion folds along the top edge of the paper. This will give the lampshade a clean and polished look.
- Secure the folded paper: Once you have folded the top edge, apply a small amount of adhesive or glue to hold the folds in place. Ensure that the folds are evenly spaced and tightly secured to maintain the shape of the lampshade.
- Move down to the bottom: Repeat the folding process at the bottom of the lampshade. Fold the excess paper upwards, creating pleats or accordion folds. Again, secure the folds using adhesive or glue.
- Fold the sides, if necessary: Depending on the shape and design of your lampshade, you may need to fold the sides of the paper as well. This will help create a smooth and seamless transition between the top and bottom of the lampshade.
- Secure the folds: As you fold the sides, secure the folds using adhesive or glue. Make sure the folds are evenly spaced and closely attached to maintain a uniform appearance.
Throughout the folding process, take your time to ensure that the folds are neat and evenly aligned. This will contribute to the overall quality and aesthetics of your paper lampshade. Once you have folded and secured all the edges, the next step is to add some finishing touches.
Step 5: Adding Finishing Touches
Now that you have folded and attached the paper to create the structure of your lampshade, it’s time to add some finishing touches to enhance its appearance. Here are a few ideas:
- Trimming the edges: If you want to give your lampshade a more polished look, consider adding a decorative trim along the top and bottom edges. This can be a ribbon, fabric tape, or even a contrasting strip of paper. Measure the length needed and carefully attach the trim using glue or adhesive tape.
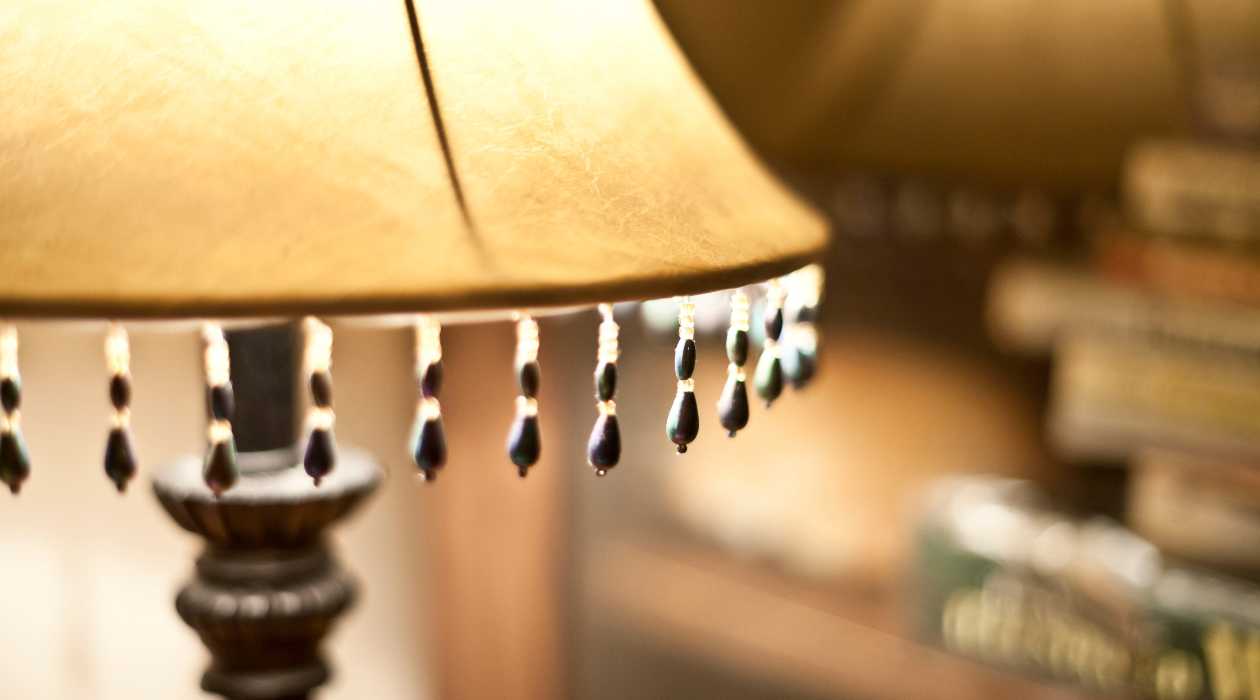
- Embellishments: To add a personal touch or to match your existing decor, consider adding embellishments to the lampshade. This could include decorative beads, sequins, or fabric flowers. Arrange them in a pleasing pattern and secure them to the lampshade using glue.
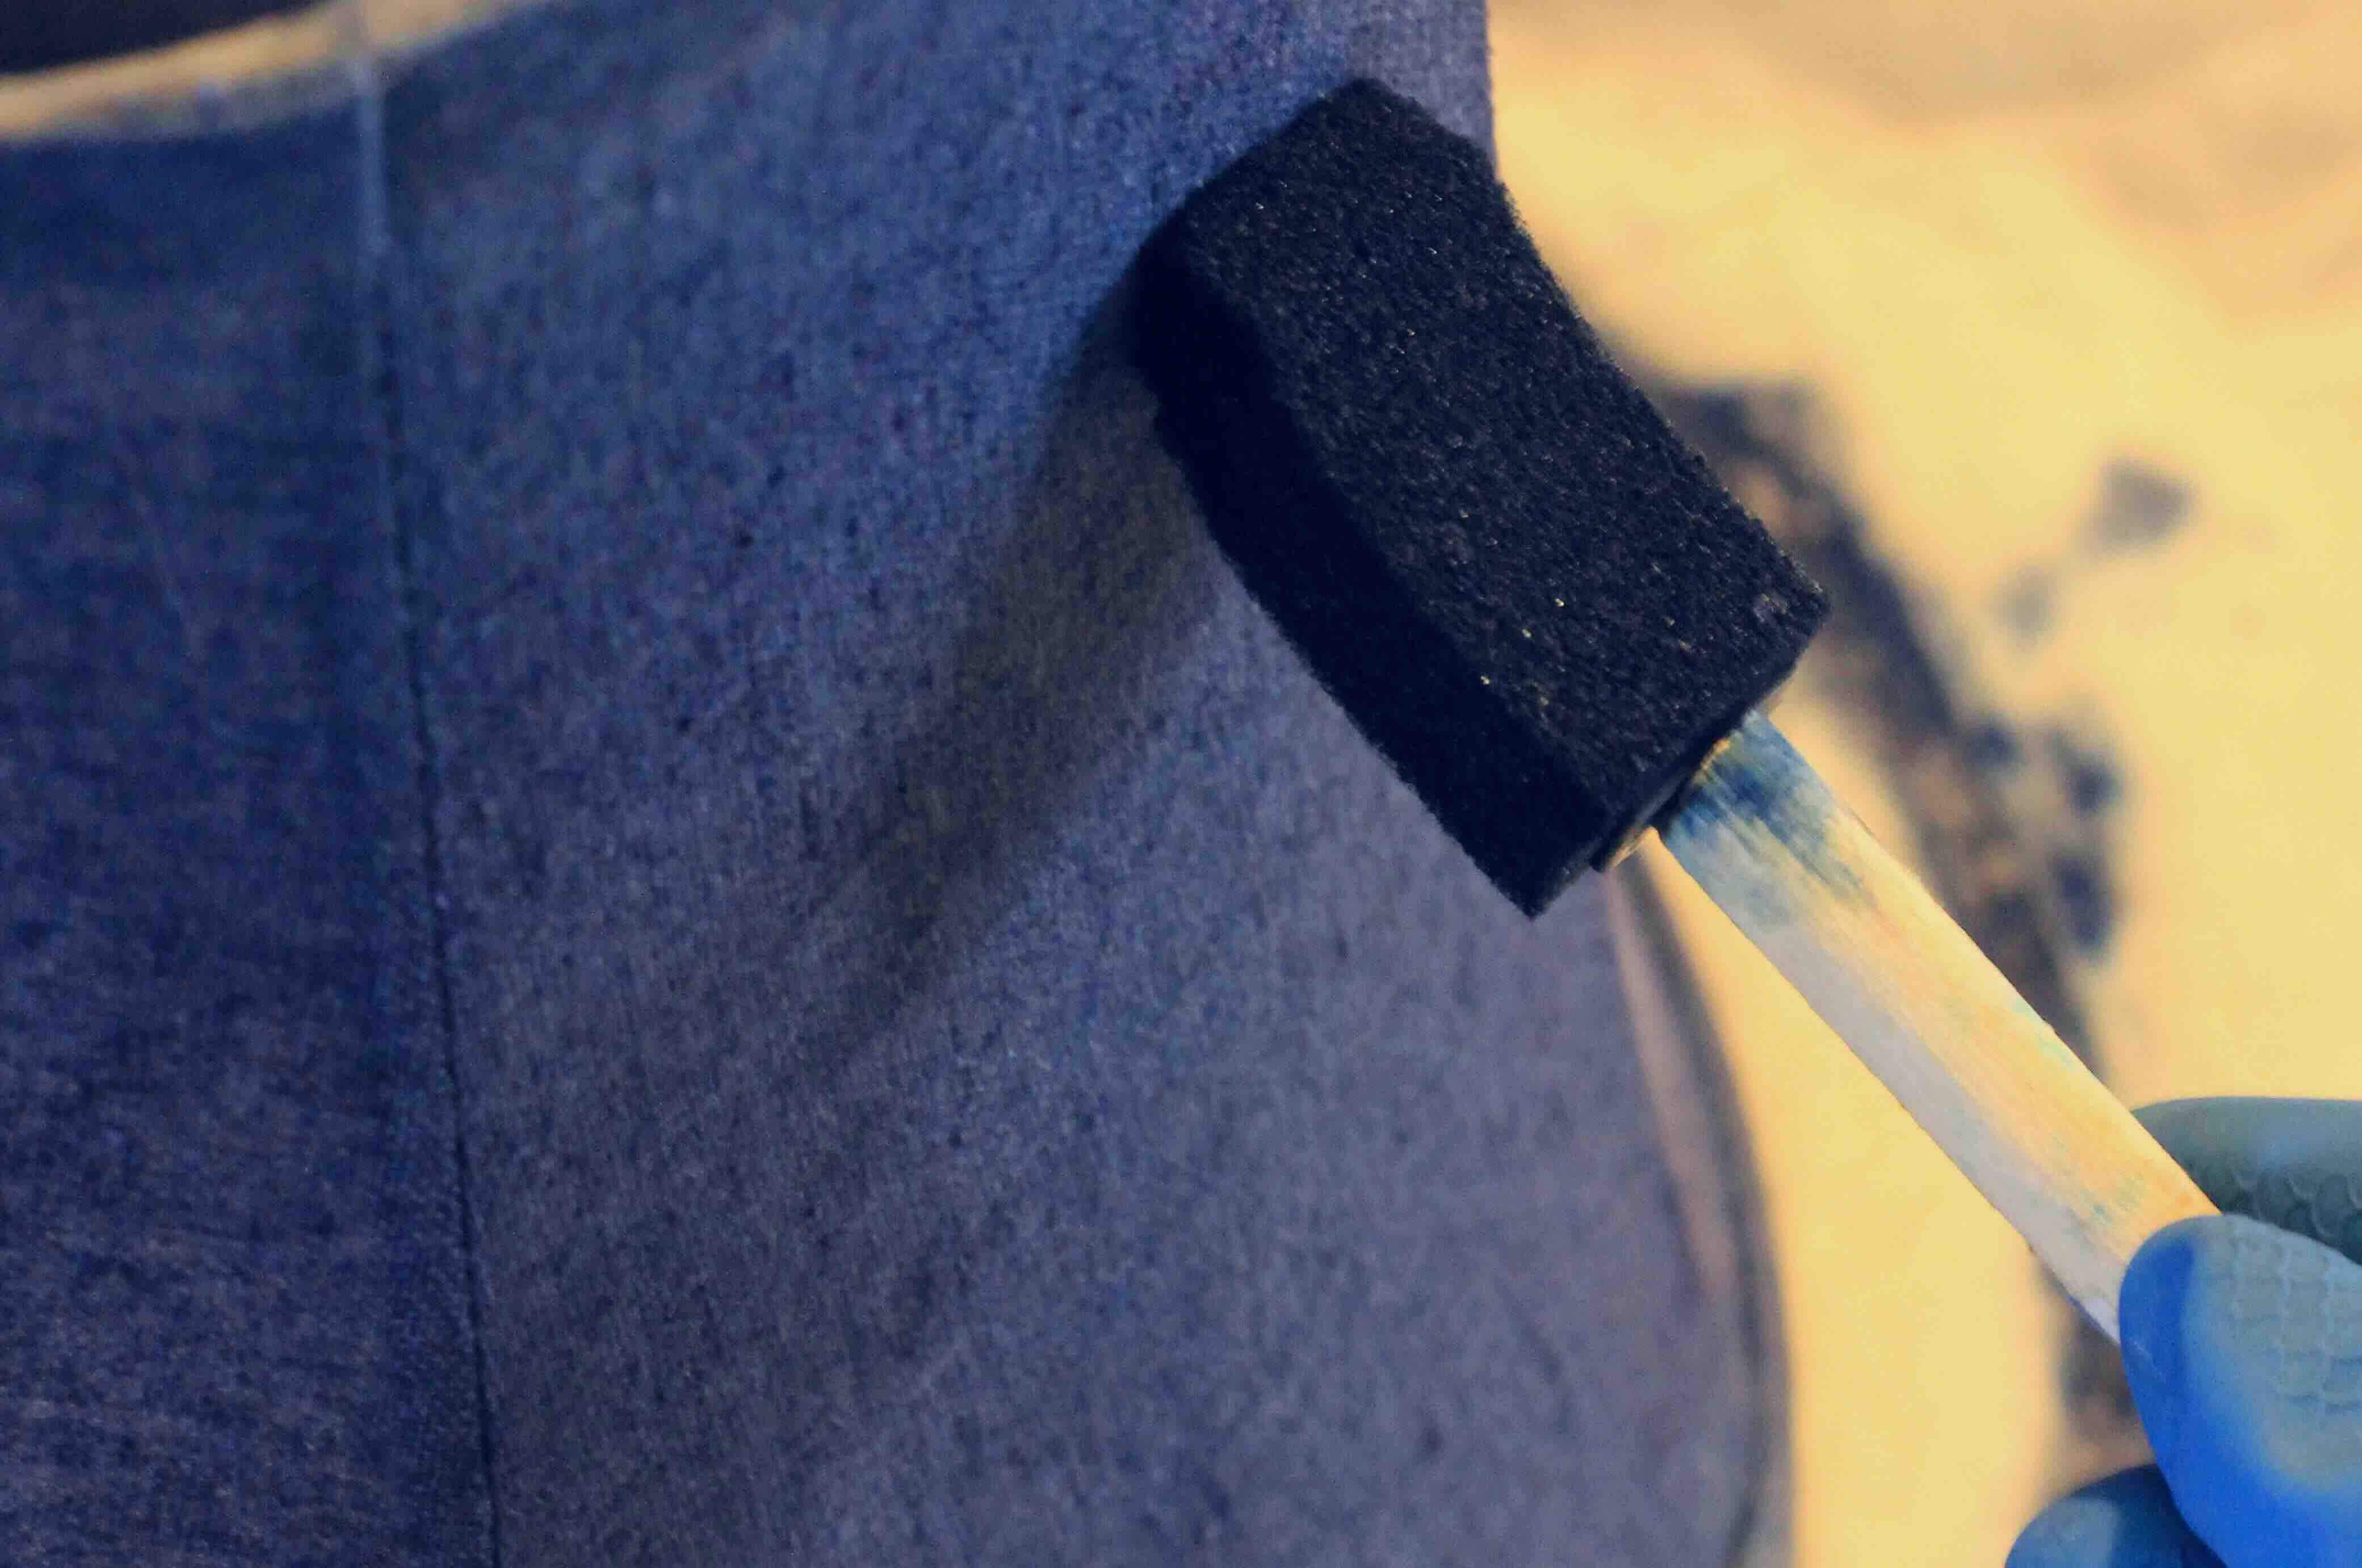
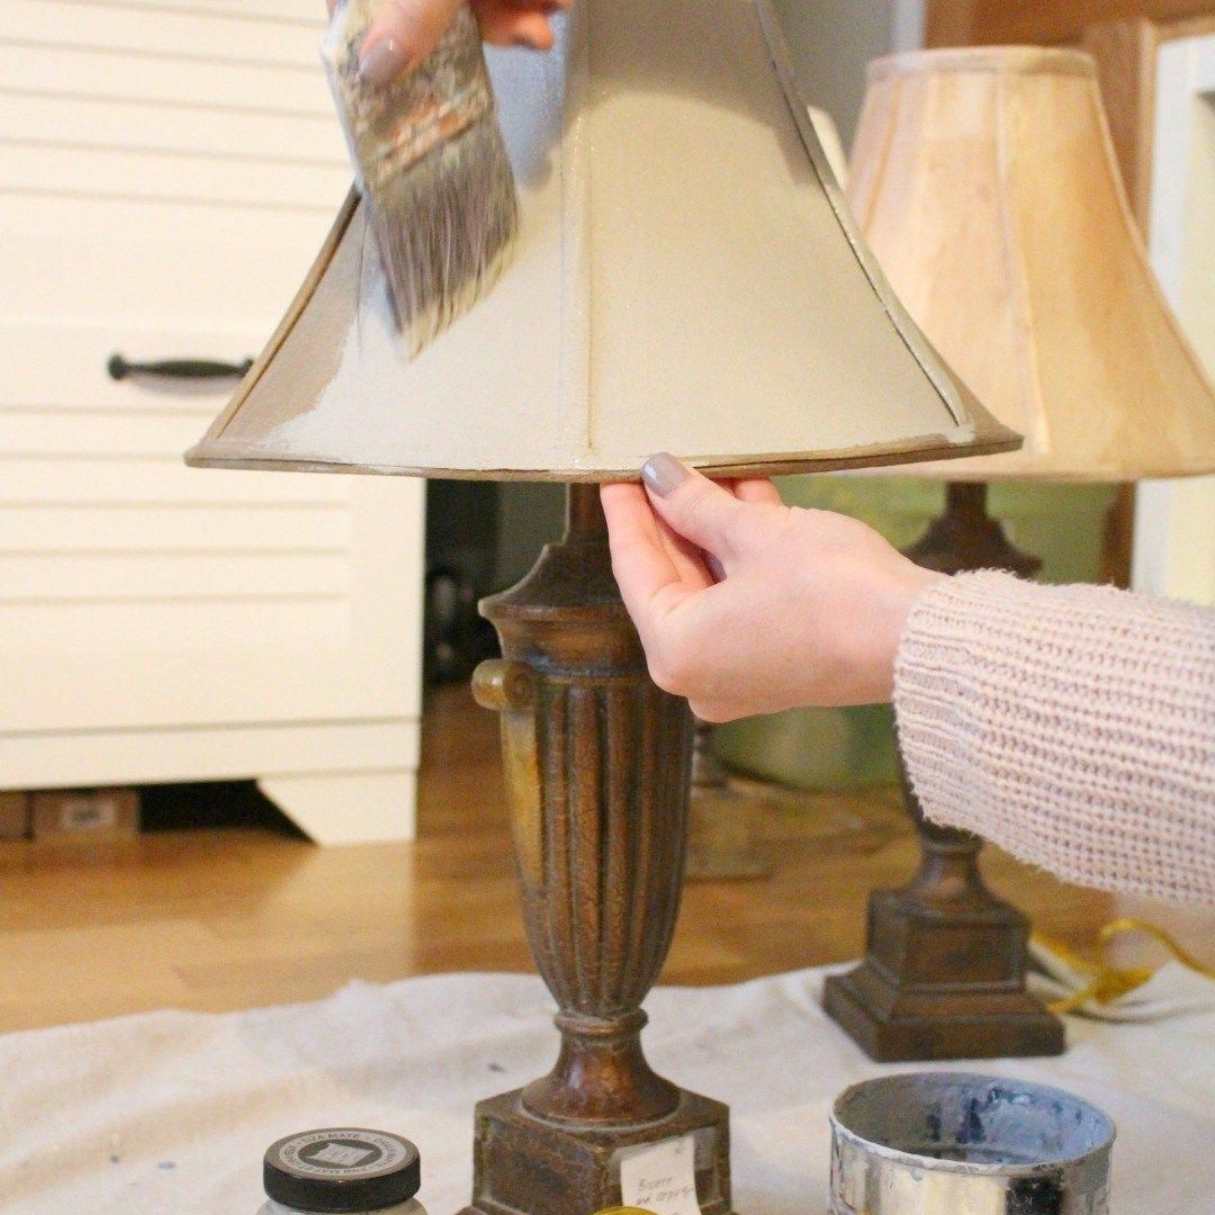
- Paint or stencil designs: If you want to further customize your lampshade, you can paint or stencil designs onto the paper. This could be a simple pattern, a monogram, or even a scenic image. Use acrylic paint or fabric paint for the best results, and allow it to dry completely before moving on to the next step.
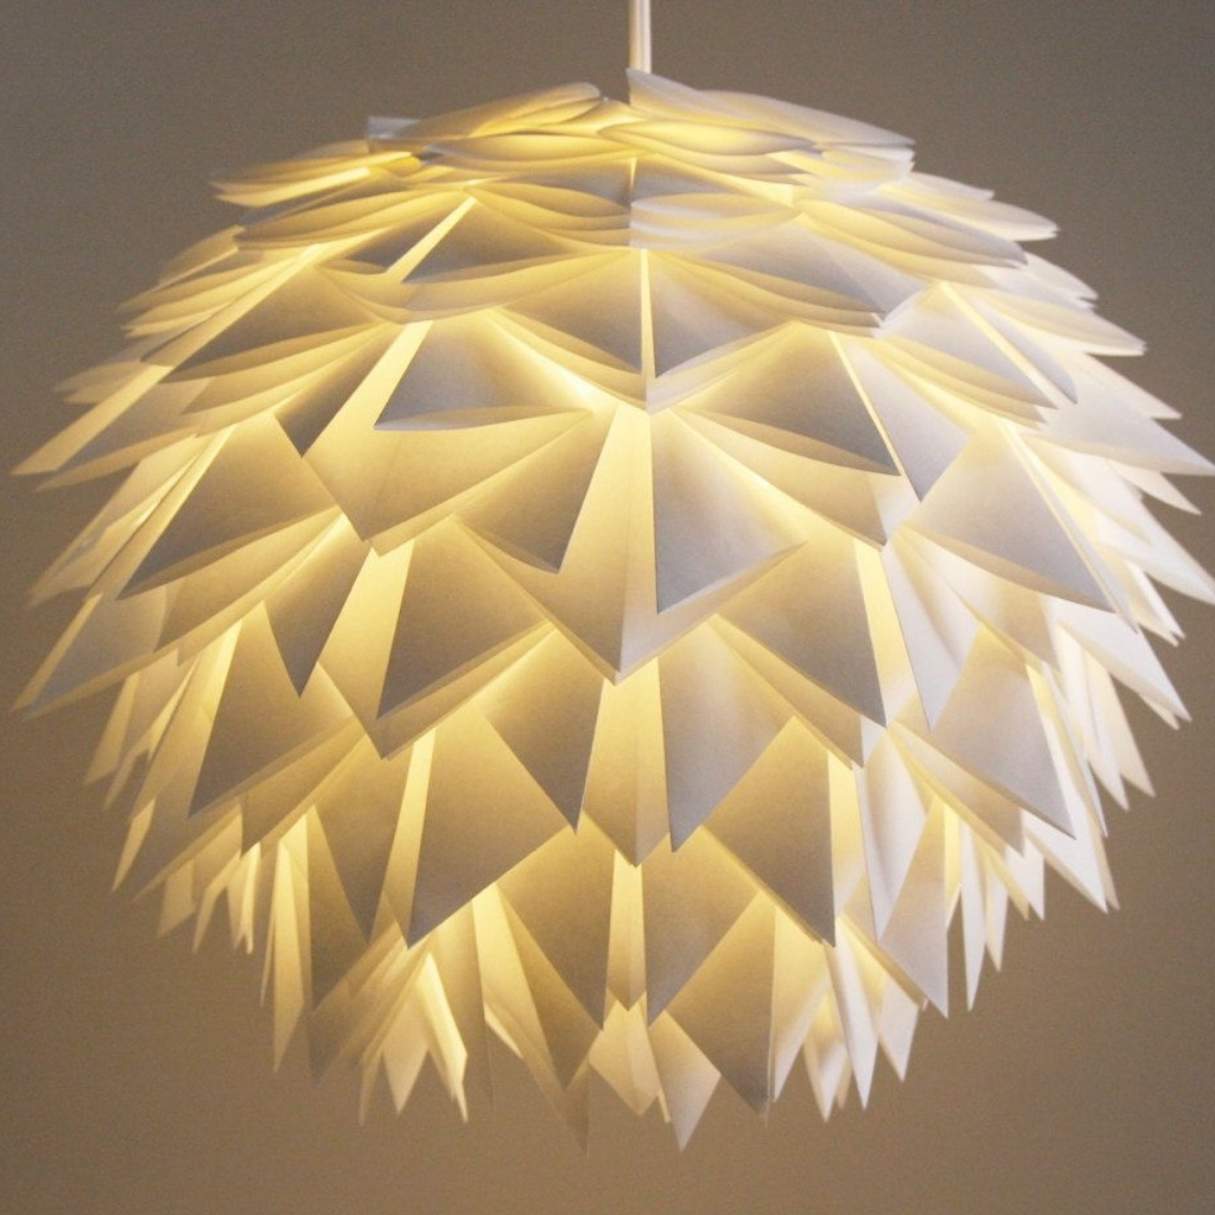
- Paper cut-outs: For a unique and intricate design, you can create paper cut-outs and attach them to the lampshade. These can be floral motifs, geometric patterns, or any other design of your choice. Use a sharp craft knife or scissors to carefully cut out the shapes and secure them with adhesive.
Remember to be creative and experiment with different techniques and materials to achieve the desired look for your paper lampshade. Once you are satisfied with the finishing touches, it’s time to install the lampshade and enjoy the soft glow of your handmade creation.
Step 6: Installing the Lampshade
After putting in all the effort to create your beautiful paper lampshade, it’s time to install it and bask in the warm glow it will bring to your space. Follow these steps to successfully install your lampshade:
- Remove any existing lampshade: If there is already a lampshade on your light fixture, carefully remove it by unscrewing or detaching it from the lamp base.
- Position the lampshade frame: Hold the lampshade frame in the desired position over the lightbulb socket. Make sure it is centered and level.
- Attach the lampshade frame: Depending on the type of lamp, there may be different methods to secure the frame. Some lamps will have a threaded rod or a bracket that holds the lampshade. Follow the instructions provided with your lamp to attach it securely.
- Connect the lightbulb: Screw in a lightbulb of appropriate wattage for the lamp’s specifications. Ensure that it is securely fitted in the socket.
- Test the lampshade: Turn on the lamp to ensure that the light shines through the lampshade evenly and creates the desired ambience in the room. Adjust the lampshade if needed, making sure it is straight and properly aligned.
With your lampshade successfully installed, take a step back and admire your handiwork. The soft glow and unique design of your paper lampshade will surely add a touch of charm and personality to your space. Whether it’s a cozy corner, a bedside table, or a dining room centerpiece, your handmade lampshade will enhance the ambiance and create a warm and inviting atmosphere.
Now that you’ve completed all the steps, it’s time to sit back, relax, and enjoy the cozy and decorative glow of your DIY paper lampshade. Get creative and experiment with different colors, patterns, and designs to make each lampshade a unique and personalized addition to your home decor.
Conclusion
Congratulations! You have successfully completed the process of making your own paper lampshade. By following the step-by-step instructions in this article, you have created a functional and visually appealing lighting fixture that adds a personal touch to your home decor.
Making a paper lampshade not only allows you to showcase your creativity and craftsmanship but also gives you the opportunity to customize the design to match your personal style and existing decor. The satisfaction that comes from creating something with your own hands is unparalleled, and your paper lampshade will surely become a conversation piece among your family and friends.
Remember that the possibilities are endless when it comes to designing and decorating your lampshade. You can experiment with different paper designs, colors, and embellishments to create a lampshade that truly reflects your unique taste and personality. Don’t be afraid to let your imagination run wild and think outside the box!
Now that you have the knowledge and skills to create your own paper lampshade, you can continue to explore the world of DIY home decor and tackle more creative projects. From personalized wall art to handmade decorations, the possibilities are endless.
So, gather your materials, unleash your creativity, and start making beautiful paper lampshades to brighten up your living space. Not only will you enhance your home decor, but you will also discover the joy and satisfaction that comes with crafting something with your own hands.
Frequently Asked Questions about How To Make A Paper Lamp Shades
Was this page helpful?
At Storables.com, we guarantee accurate and reliable information. Our content, validated by Expert Board Contributors, is crafted following stringent Editorial Policies. We're committed to providing you with well-researched, expert-backed insights for all your informational needs.