Articles
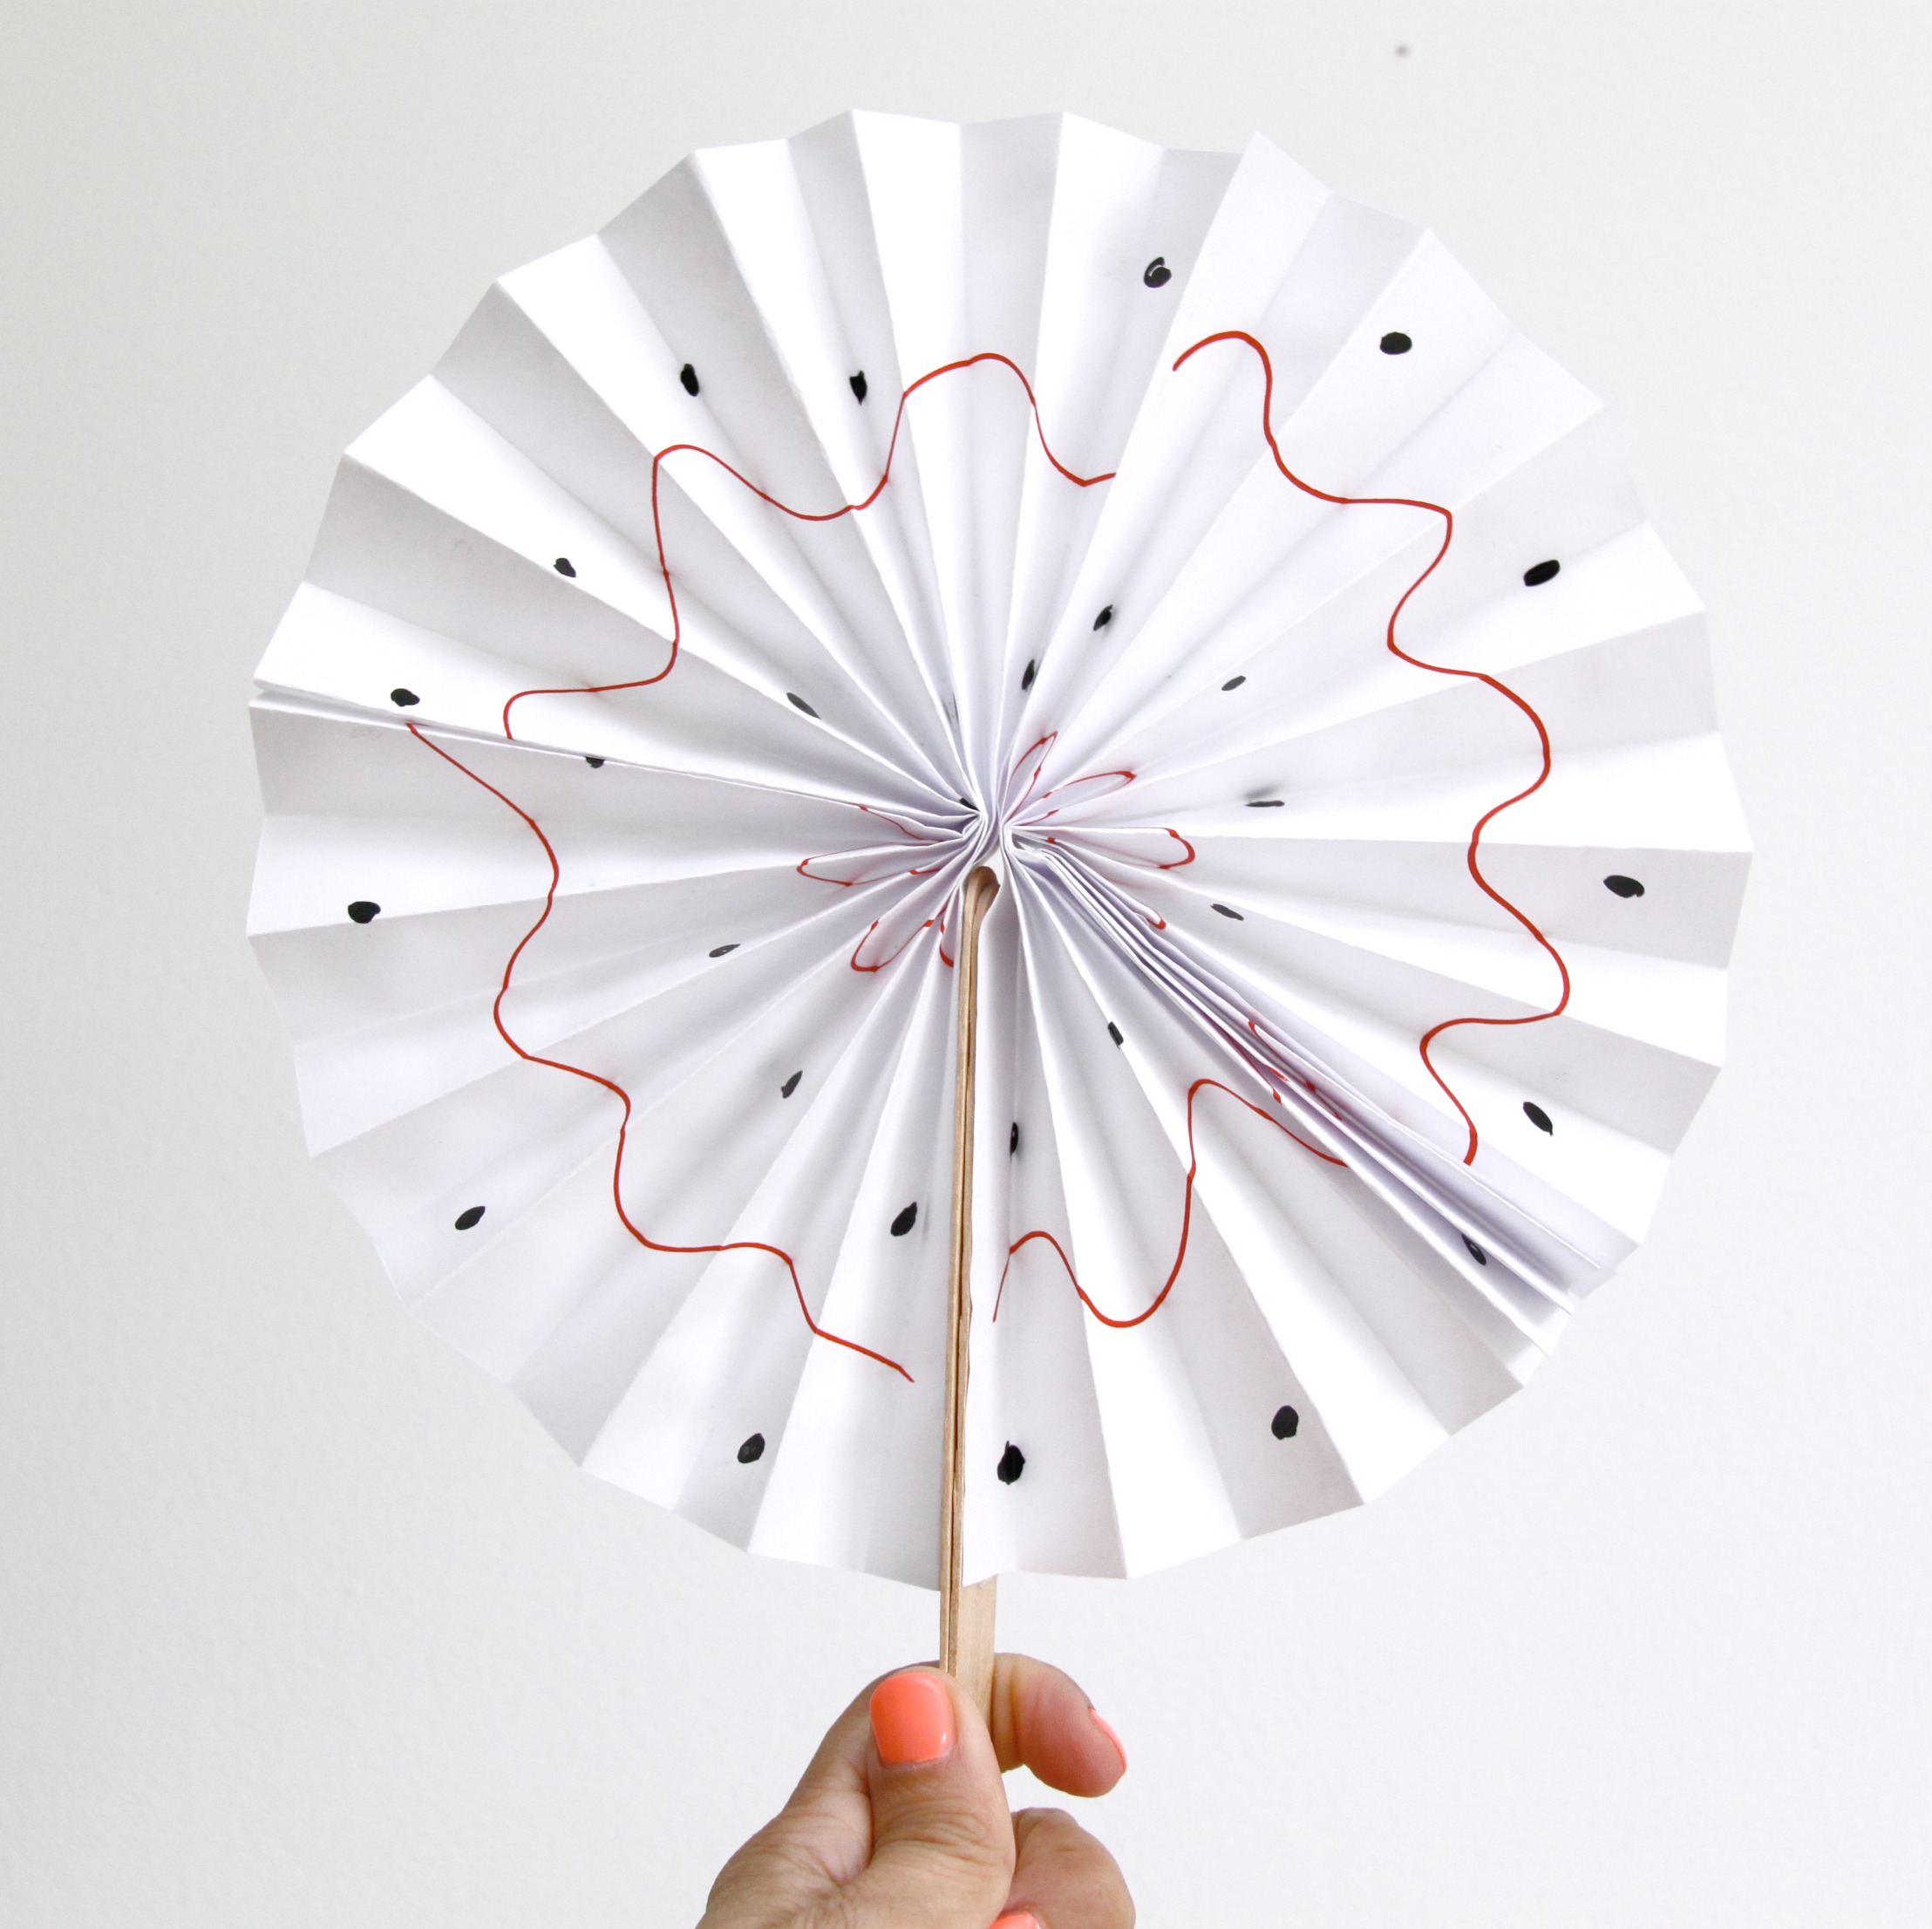
How To Make Paper Fan
Modified: February 20, 2024
Learn how to make a paper fan with this step-by-step guide. Find easy-to-follow articles and expert tips for creating beautiful paper fans.
(Many of the links in this article redirect to a specific reviewed product. Your purchase of these products through affiliate links helps to generate commission for Storables.com, at no extra cost. Learn more)
Introduction
Welcome to this step-by-step guide on how to make a paper fan! Whether you’re looking for a fun craft project or need a cooling tool for those hot summer days, making your own paper fan is a simple and enjoyable activity. Not only is it a great way to unleash your creativity, but it also allows you to customize your fan according to your personal style and preference.
In this article, we will walk you through the process of creating a paper fan from start to finish. You’ll learn the materials needed, the folding techniques, and even how to decorate your fan to make it truly unique. So let’s dive in and get started with this fun DIY project.
Before we begin, gather the materials you’ll need:
- Colorful paper or cardstock
- A ruler
- A pencil
- Scissors
- Glue or tape
- Decorative items such as stickers, markers, or paint (optional)
Now that you have your materials ready, let’s move on to the first step of folding the paper.
Key Takeaways:
- Making a paper fan is a fun and creative DIY project that allows you to express your personal style and stay cool on hot days. With simple materials and step-by-step instructions, you can create a unique and functional fan.
- Decorating the paper fan is an opportunity to unleash your creativity. Whether using markers, stickers, paint, or glitter, the possibilities are endless for customizing your fan and turning it into a personalized work of art.
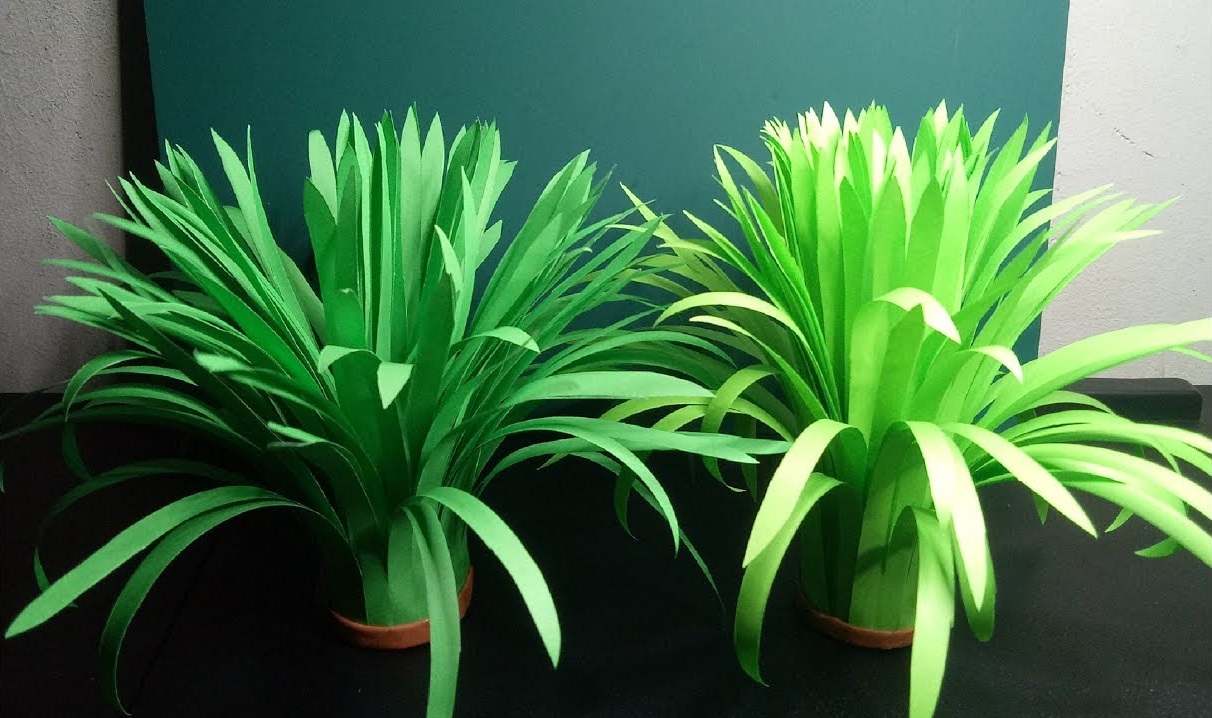
Read more: How To Make Paper Greenery
Materials Needed
Before you begin making your paper fan, gather the following materials:
- Colorful paper or cardstock: Choose a lightweight and easily foldable paper in the color of your choice. You can use origami paper, scrapbook paper, or even repurpose old magazines or newspapers.
- A ruler: A ruler will help you make precise measurements and create clean, straight folds.
- A pencil: Use a pencil to mark the measurements and guidelines on your paper.
- Scissors: You’ll need a pair of scissors to cut the paper to the desired size and shape.
- Glue or tape: Depending on your preference, you can use glue or tape to secure the ends of your folded paper fan.
- Decorative items: If you want to add a personal touch to your paper fan, gather decorative items such as stickers, markers, or paint. This step is optional but can add a fun and creative element to your finished fan.
Once you have gathered all the materials, you’re ready to move on to the next step: folding the paper.
Step 1: Folding the Paper
The first step in making a paper fan is to fold the paper into a long strip. Follow these instructions:
- Take your colorful paper or cardstock and place it on a flat surface.
- Measure and mark a thin strip along the shorter edge of the paper. The width of the strip will determine the size of your fan, so adjust it according to your preference.
- Use a ruler to draw a straight line from one end of the strip to the other end. This will serve as your folding guideline.
- Once the guideline is drawn, fold the paper in half lengthwise along the line. Make sure the edges align perfectly for a neat fold.
- Unfold the paper, and now you will have a crease running down the center of the strip.
- Next, fold each side of the paper towards the center crease. Make sure the edges align with the crease to create a clean and symmetrical fold.
- Repeat the folding process by bringing the outer edges towards the center crease again. This will result in a narrower strip of folded paper.
- Continue folding the paper in this accordion-like pattern until you reach the end of the strip.
- Once you’ve completed the folding, press down firmly to create sharp and defined creases.
- Now that you have your folded paper strip ready, it’s time to move on to the next step: accordion folding.
Follow these instructions carefully, and you’ll have a sturdy and well-folded paper strip that is essential for creating your paper fan. Once you’ve finished folding the paper, proceed to step 2: accordion folding.
Step 2: Accordion Folding
In this step, we will transform the folded paper strip into the classic accordion-style fan shape. Follow these simple instructions:
- Take the folded paper strip and hold it in your hand, with one end facing upwards.
- Starting from the bottom end of the strip, fold it over towards you, creating a valley fold. Press down firmly to ensure a crisp fold.
- Flip the strip over and repeat the valley fold on the other side. This will create a mountain fold.
- Continue alternating between valley folds and mountain folds, folding the strip back and forth like an accordion. Make sure each fold is clean and aligned with the previous fold.
- Keep folding until you reach the end of the paper strip.
- Once you’ve reached the end, press down firmly on the folds to secure them in place.
- If you prefer a smaller fan, you can trim any excess length from the folded strip using a pair of scissors.
- Now that you’ve finished accordion folding the paper strip, it’s time to move on to the next step: securing the ends of the fan.
Accordion folding is an important step in creating a sturdy and functional paper fan. Take your time to ensure clean and precise folds. Once you’ve completed the accordion folding, proceed to step 3: securing the ends of the fan.
When folding the paper for your fan, make sure to crease the folds firmly and evenly to ensure that the fan opens and closes smoothly.
Step 3: Securing the Ends
In this step, we will secure the ends of the folded paper strip to keep the accordion folds intact. Follow these steps to ensure a secure and stable paper fan:
- Take the ends of the folded strip and align them together, making sure the folds are evenly matched.
- Secure the ends by using glue or tape. Apply a small amount of glue or place a piece of tape on the outermost folds of the strip, keeping them tightly together.
- Press down firmly to ensure the ends are securely fastened.
- Allow the glue to dry if you’re using a liquid adhesive.
- If you’re using tape, trim any excess tape along the edges of the fan for a neat finish.
- Once the ends are secured, gently open up the fan by expanding it outwards. You will see the accordion folds extending, creating a beautiful fan shape.
- Take a moment to adjust and align the folds, making sure they are evenly spaced.
- Now that you’ve secured the ends of the fan and expanded it, it’s time to move on to the next step: shaping and expanding the fan.
Securing the ends is crucial for maintaining the structure and shape of your paper fan. Remember to use glue or tape that provides a strong hold but doesn’t weigh down the fan. Once you’ve completed this step, proceed to step 4: expanding and shaping the fan.
Read also: 8 Best Paper Fan for 2025
Step 4: Expanding and Shaping the Fan
In this step, we will focus on expanding and shaping the paper fan to give it the desired look. Follow these instructions to create a beautiful and functional fan:
- Hold the fan by the secured ends and gently fan out the folds, spreading them open.
- As you fan out the folds, take care to keep them evenly spaced and aligned.
- Use your fingers to shape the fan, adjusting the angle of the folds to create a pleasing curve.
- If you want a wider fan, gently push on the center of the folds to expand the fan further.
- Continue shaping and adjusting the folds until you’re satisfied with the overall appearance of the fan.
- Once you’ve shaped the fan to your liking, hold it firmly in place to maintain the shape.
- Spread out the folds in both directions to ensure a full and open fan.
- Take a moment to admire your completed fan, appreciating the craftsmanship and effort put into its creation.
Shaping and expanding the fan allows you to personalize its appearance and create a unique design. Feel free to experiment with different angles and arrangements to achieve the desired look. Now that you’ve expanded and shaped the fan, it’s time to move on to the final step: decorating the fan.
Step 5: Decorating the Fan
In this final step, you have the opportunity to add a personal touch to your paper fan by decorating it. Let your creativity shine and make your fan truly unique. Here are some ideas to get you started:
- Markers or colored pencils: Use markers or colored pencils to add vibrant designs or patterns to the folds of the fan. You can fill in the spaces between the folds or create intricate designs on each individual fold.
- Stickers: Stick colorful and playful stickers on the surface of the fan. You can create a theme with specific types of stickers or randomly place them for a fun and whimsical look.
- Paint: If you want to take your decorating to the next level, use acrylic paint or watercolor to add artistic flair to the fan. Paint intricate designs, landscapes, or abstract patterns to make your fan a true work of art.
- Glitter or sequins: Add some sparkle to your fan by applying glue to the folds and sprinkling glitter or attaching small sequins. This will instantly make your fan eye-catching and glamorous.
- Ribbons or tassels: Attach colorful ribbons or tassels to the bottom ends of the fan for an elegant touch. You can choose ribbons that match the color scheme of your fan or opt for contrasting shades for a bold look.
Remember, the possibilities are endless when it comes to decorating your paper fan. Feel free to combine different techniques and materials to create a design that resonates with your style.
Once you’ve finished decorating your fan, give it some time to dry if you used paint or glue. This will ensure that your design remains intact and prevents any smudging or smearing.
Congratulations! You have successfully learned how to make a paper fan from start to finish. You can now enjoy the cool breeze and admire the beauty of your handmade creation. Have fun showcasing your fan and sharing your newfound crafting skills with others!
Remember, making a paper fan is not only a fun activity but also a great way to express your creativity. So gather your materials and let your imagination run wild as you create your very own customized paper fan.
Conclusion
Congratulations on completing your paper fan! Through this step-by-step guide, you have learned how to transform a simple sheet of paper into a functional and aesthetically pleasing fan. Not only is making a paper fan a fun and enjoyable craft activity, but it also allows you to express your creativity and customize your fan to suit your personal style.
By following the instructions in this guide, you have learned how to fold the paper, accordion fold it, secure the ends, expand and shape the fan, and even decorate it to make it uniquely yours. The process of making a paper fan is not only rewarding but also provides a practical tool to keep cool on hot days.
Feel free to experiment with different materials, colors, and decorating techniques to create a variety of paper fans. You can make fans for different occasions, such as colorful fans for parties or elegant fans for special events. The possibilities are endless!
Whether you choose to make a paper fan for yourself or as a thoughtful handmade gift for someone else, this skill is sure to impress. It’s a wonderful way to tap into your creative side and create something both useful and beautiful.
So why not gather your materials, clear a space on your work area, and give it a try? Grab some colorful paper, a ruler, scissors, and other decorative supplies, and let your imagination guide you as you create your own paper fan masterpiece. Enjoy the process, have fun, and remember to share your creations with others.
With practice, you will become even more skilled at making paper fans, allowing you to create intricate designs and unique patterns. So keep exploring, keep creating, and continue to enjoy the art of making paper fans.
Thank you for joining us on this journey of creativity and craft. We hope you have enjoyed learning how to make a paper fan and that it brings you joy and inspiration in your crafting endeavors!
Frequently Asked Questions about How To Make Paper Fan
Was this page helpful?
At Storables.com, we guarantee accurate and reliable information. Our content, validated by Expert Board Contributors, is crafted following stringent Editorial Policies. We're committed to providing you with well-researched, expert-backed insights for all your informational needs.


0 thoughts on “How To Make Paper Fan”