Articles
How To Make Small Boxes Out Of Paper
Modified: August 28, 2024
Learn how to make small boxes out of paper for your craft storage needs. Find step-by-step instructions and ideas for organizing your crafting supplies.
(Many of the links in this article redirect to a specific reviewed product. Your purchase of these products through affiliate links helps to generate commission for Storables.com, at no extra cost. Learn more)
Introduction
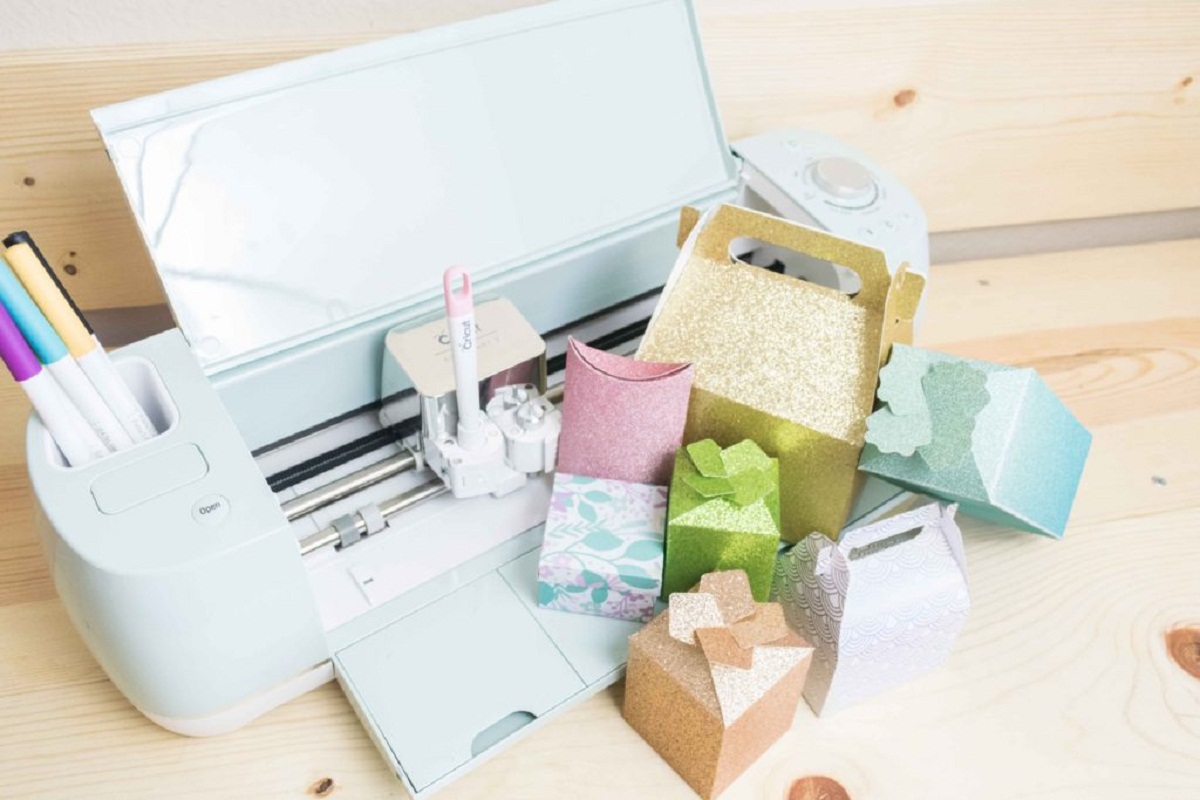
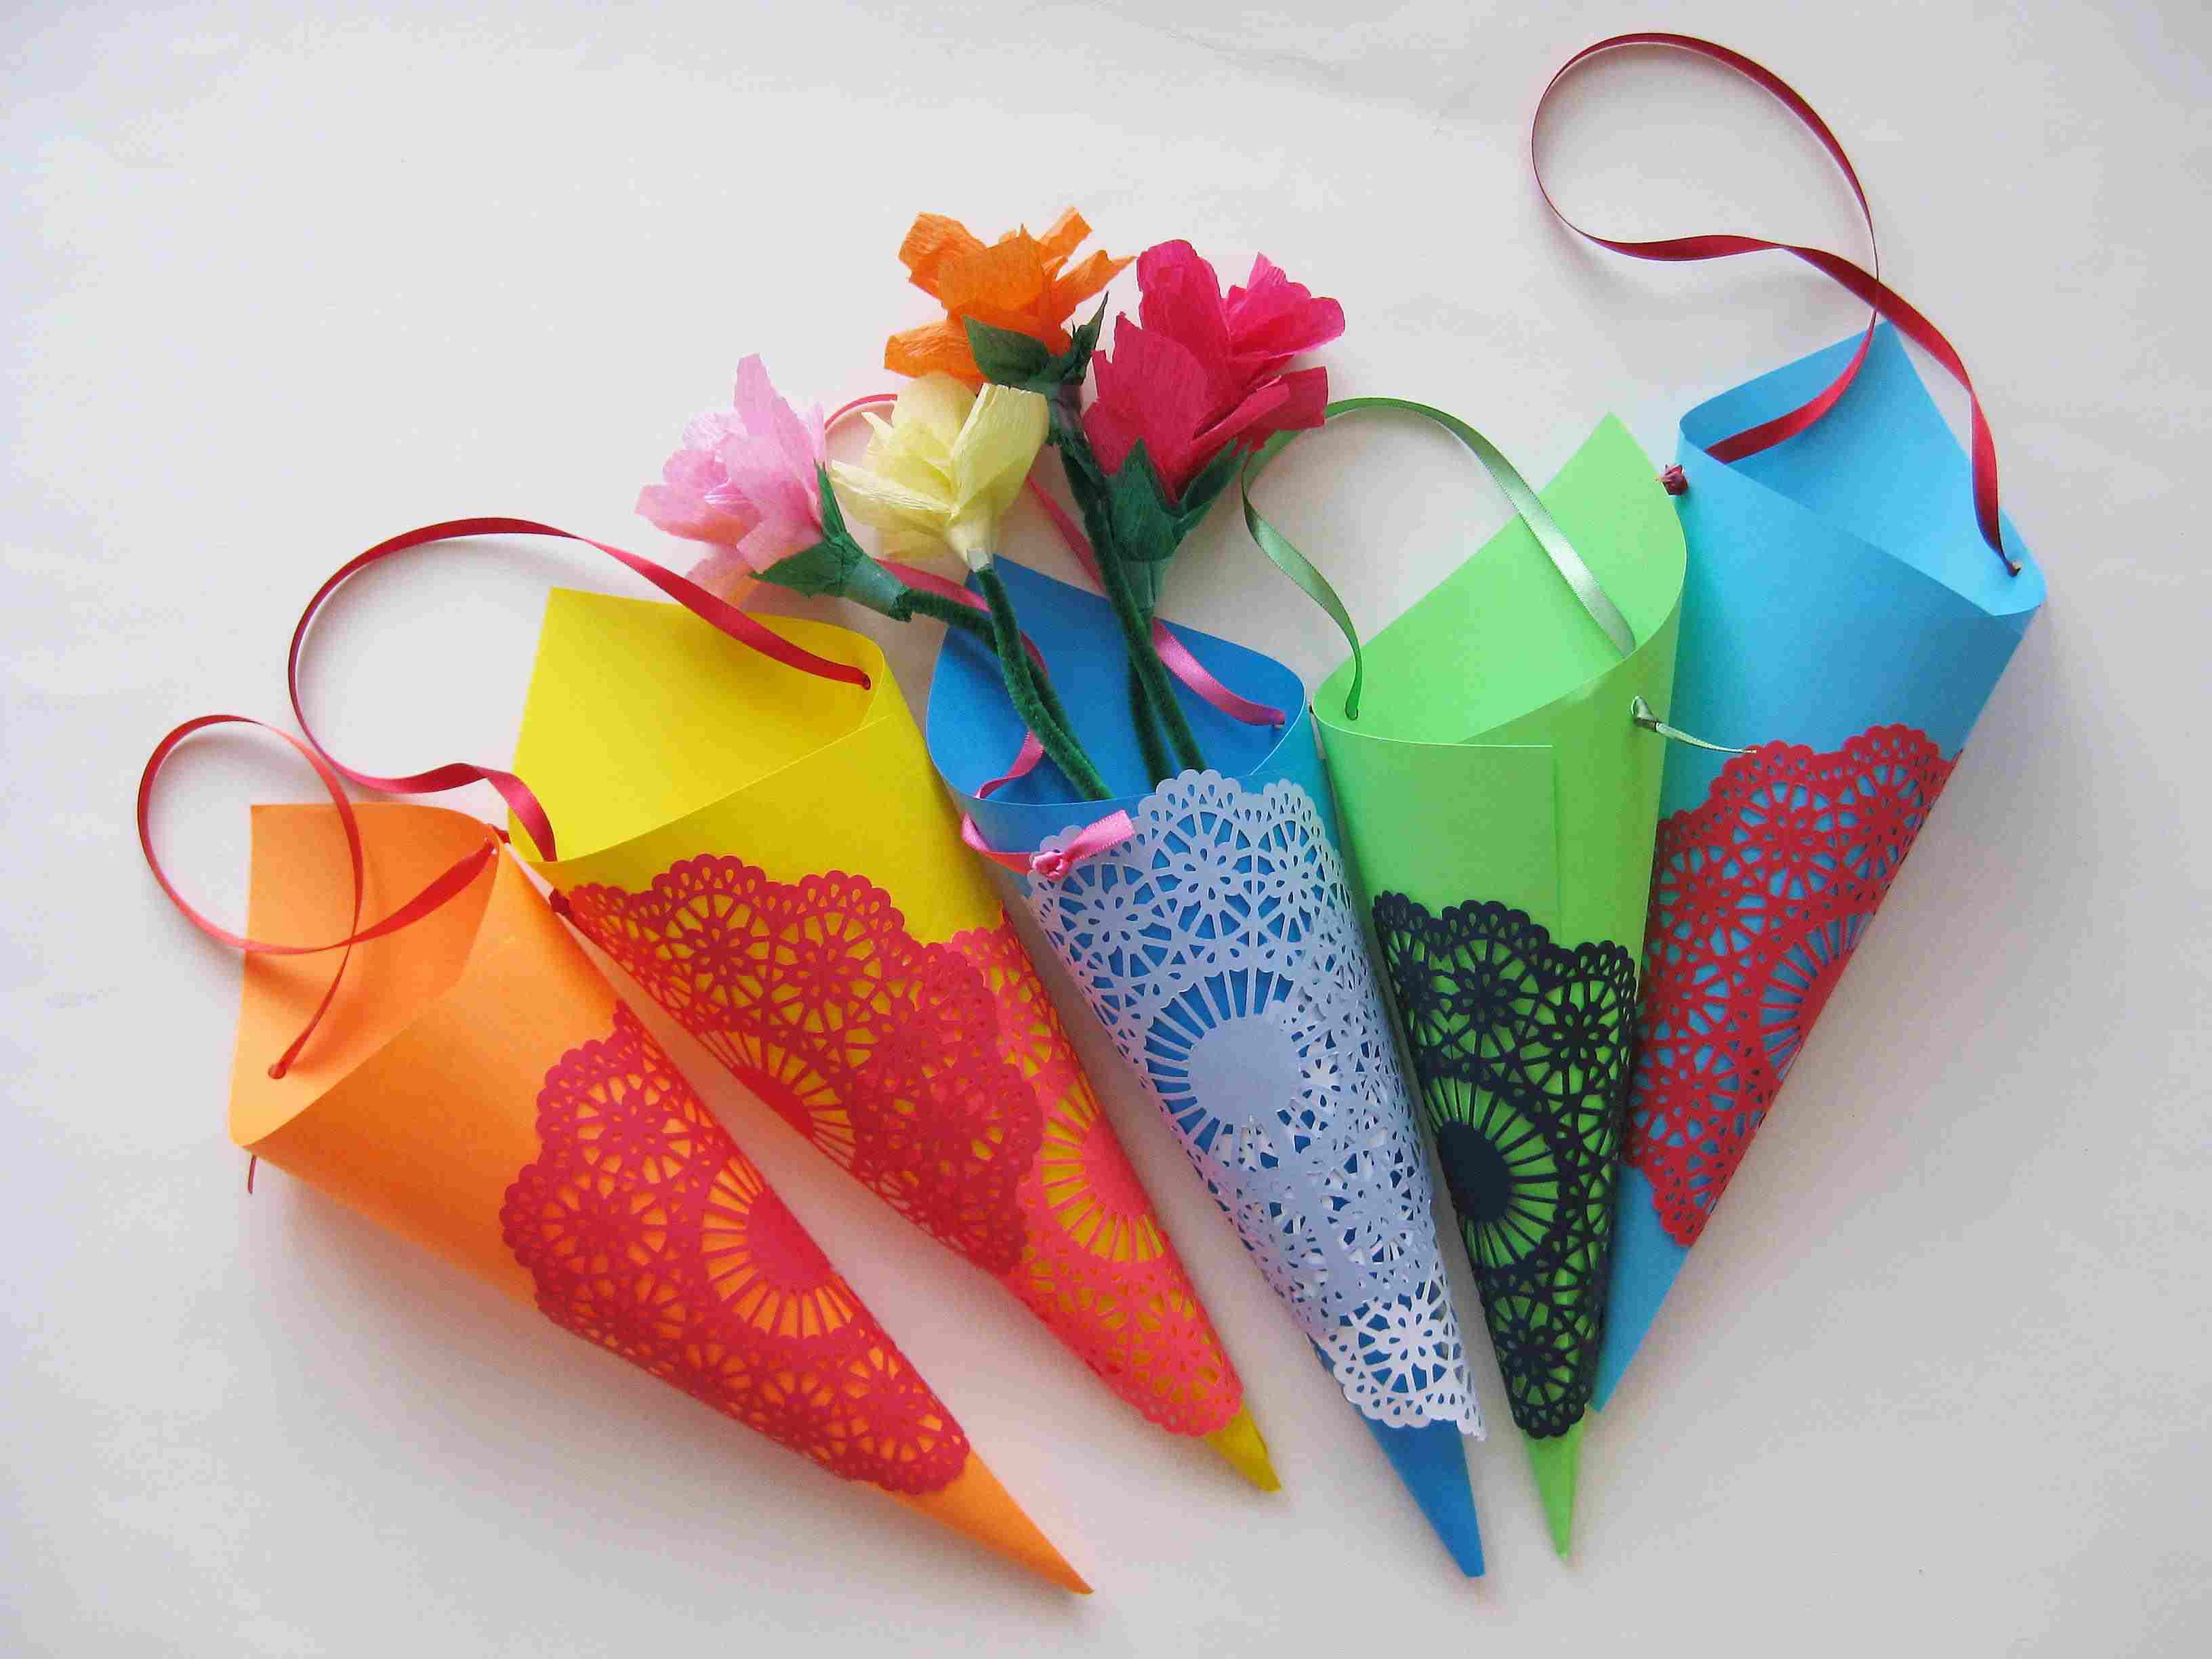
Welcome to the wonderful world of paper crafts! In this tutorial, we’ll explore the art of making small boxes out of paper. Whether you’re looking to store tiny trinkets or create handmade gifts, these paper boxes are the perfect solution.
Creating your own handmade boxes not only allows you to tap into your creativity but also provides a sense of accomplishment. Plus, they can be personalized with different colors, patterns, and embellishments to suit any occasion or personal style.
Don’t worry if you’re a beginner – this tutorial is designed to be simple and easy to follow. With just a few basic materials and some patience, you’ll be crafting beautiful paper boxes in no time.
So, gather your supplies and let’s get started on this exciting paper crafting journey!
Key Takeaways:
- Create personalized, functional paper boxes using simple materials and easy-to-follow steps. Perfect for storing trinkets or crafting handmade gifts for any occasion.
- Embrace creativity and experimentation to craft unique paper boxes, adding a personal touch with colors, patterns, and decorative embellishments. Enjoy the satisfaction of handmade storage solutions and thoughtful gifts.
Read more: How To Make A Chandelier Out Of Paper
Materials Needed
Before we dive into the step-by-step process, let’s gather all the materials you’ll need to make these delightful paper boxes:
- Colored or patterned paper: Choose a sturdy paper that is easy to fold and manipulate. You can select different colors and patterns to add a personal touch to your boxes.
- Ruler: A ruler will help you create precise measurements and fold the paper accurately.
- Pencil: You’ll need a pencil to mark the measurements and crease lines on the paper.
- Scissors: A pair of sharp scissors is essential for cutting the paper.
- Double-sided tape or glue: This will be used to secure the corners of the box.
- Decorative embellishments (optional): If you want to add an extra flair to your paper boxes, gather some ribbons, stickers, or other decorative elements.
Ensure that you have all these materials within easy reach before you begin crafting. Now, let’s move on to the exciting part – creating the small paper boxes!
Step 1: Folding the Paper
The first step in making a small paper box is to fold the paper correctly. Follow these simple instructions:
- Start with a square piece of colored or patterned paper. If your paper is not already square, trim it using scissors or a paper cutter.
- Place the paper on a flat surface, with the colored/patterned side facing down.
- Fold the paper in half diagonally, bringing one corner to the opposite corner. Line up the edges carefully to ensure a precise fold.
- Unfold the paper and rotate it by 90 degrees.
- Fold the paper in half again, this time bringing the other two corners together.
- Unfold the paper once more. You should now have two diagonal creases that intersect at the center of the square.
By folding the paper in this way, we create guide lines that will help in the next steps. Ensure that the creases are crisp and well-defined for easier folding throughout the process.
Now that you have successfully folded the paper, it’s time to move on to the next step – creating the base of the box.
Step 2: Creating the Base of the Box
With the folded paper from the previous step, we will now proceed to create the base of the small paper box. Follow these steps:
- Locate the crease lines in the center of the paper. These lines will guide us in creating the base of the box.
- Take one corner of the paper and fold it towards the center along one of the crease lines.
- Repeat the previous step with the remaining three corners of the paper, folding each corner towards the center along the corresponding crease lines.
- Once all four corners are folded, you will notice that the edges of the paper overlap in the center.
- Press down firmly on the overlapped edges to create creases, securing the base of the box in place.
It’s important to ensure that the folds are neat and symmetrical, as this will affect the overall appearance and stability of the box. Take your time and make any necessary adjustments to achieve the desired result. With the base of the box complete, we can now move on to the next step – forming the sides of the box.
When making small boxes out of paper, use a ruler to ensure precise measurements and fold along the lines to create clean edges. Use a strong adhesive to secure the corners for a sturdy box.
Step 3: Forming the Sides of the Box
Now that we have created the base of the paper box, let’s proceed to form the sides. Follow these steps:
- Take one side of the paper square and fold it inward, aligning it with the center crease line. This will create one side wall of the box.
- Repeat the previous step with the remaining three sides of the paper, folding each side inward along the center crease line.
- As you fold each side, press down firmly on the creases to ensure they are well-defined and secure.
- Once all four sides are folded inward, you will notice that the box is starting to take shape.
At this point, you can adjust the sides of the box to your preferred height by folding the walls higher or lower. Experiment with different heights to create a variety of box sizes.
As you form the sides, pay attention to the alignment of the edges and corners to ensure that the box remains stable and symmetrical. Take your time and make any necessary adjustments to achieve the desired result.
With the sides of the box formed, we can now move on to the next step – securing the corners.
Read more: How To Make A Frisbee Out Of Paper
Step 4: Securing the Corners
Now that the sides of the box are formed, it’s time to secure the corners to ensure the box stays intact. Follow these steps:
- Take a corner of the box and apply a small amount of double-sided tape or glue to the overlapping edges.
- Press the overlapping edges together firmly to secure the corner. Hold it in place for a few seconds to allow the adhesive to bond.
- Repeat the previous step with the remaining three corners of the box.
Make sure to align the edges and corners accurately to maintain the box’s shape and stability. The adhesive will provide extra support and ensure that the corners stay in place.
If you’re using glue, be mindful of the drying time. Allow the glue to set and dry completely before moving on to the next step to avoid any accidental unraveling of the corners.
With the corners securely fastened, we can move on to the final step – adding the finishing touches to our paper box.
Step 5: Finishing Touches
We’re almost done with our small paper box! In this final step, let’s add some finishing touches to make our creation even more appealing. Follow these steps:
- If desired, you can decorate the exterior of the box with ribbons, stickers, or any other decorative embellishments. Get creative and customize the box to your liking.
- To give the box a polished look, gently press down on the creases to make them more defined and crisp.
- Carefully inspect the box for any loose edges or corners. If needed, apply a bit of glue or double-sided tape to secure them.
- Allow any glue or adhesive to dry completely before handling the box.
Congratulations! You have successfully made a small paper box. Admire your handiwork and feel proud of your crafting skills.
Now, you can use your paper box to store small trinkets, jewelry, or even present it as a gift. These boxes are versatile and can be personalized for various occasions and purposes, making them a handy and creative solution.
Remember, practice makes perfect. Don’t hesitate to experiment with different paper sizes, colors, and designs to create a collection of unique paper boxes.
With your newfound knowledge of making small paper boxes, you can now embark on more advanced projects and explore the world of paper crafts.
Enjoy your paper crafting journey and have fun creating beautiful and functional paper boxes!
Please note: The above instructions are a general guide. The specific folding techniques and measurements may vary depending on the design of the box you choose to create.
Conclusion
Congratulations on completing your small paper box! By following the step-by-step instructions in this tutorial, you have learned how to transform a simple square piece of paper into a functional and aesthetically pleasing box.
Not only are these paper boxes practical for storage or gifting purposes, but they also offer a wonderful opportunity to showcase your creativity. You can personalize them with different colors, patterns, and embellishments to match any occasion or personal style.
Remember to practice and experiment with different sizes and designs to further refine your skills in paper crafting. The more you create, the more you’ll uncover new techniques and develop your unique style.
These small paper boxes can be used to store trinkets, jewelry, or small sentimental items. They can also make beautiful handmade gifts filled with special surprises.
So, gather your materials, clear a workspace, and let your imagination run wild. Whether you’re crafting alone or with friends and loved ones, the process of creating these paper boxes promises hours of enjoyment and satisfaction.
Thank you for joining us on this paper crafting journey. We hope you had as much fun making these paper boxes as we did guiding you through the process.
Now go forth and continue exploring the world of paper crafts. Happy crafting!
Frequently Asked Questions about How To Make Small Boxes Out Of Paper
Was this page helpful?
At Storables.com, we guarantee accurate and reliable information. Our content, validated by Expert Board Contributors, is crafted following stringent Editorial Policies. We're committed to providing you with well-researched, expert-backed insights for all your informational needs.


0 thoughts on “How To Make Small Boxes Out Of Paper”