Tableware
How To Make Paper Placemats For Kids
Modified: May 6, 2024
Discover a fun and creative way to entertain your little ones at mealtime with our step-by-step guide on making tableware-themed paper placemats for kids.
(Many of the links in this article redirect to a specific reviewed product. Your purchase of these products through affiliate links helps to generate commission for Storables.com, at no extra cost. Learn more)
Introduction
When it comes to mealtime, parents often have to find creative ways to keep their little ones engaged and entertained. One fun and interactive solution is to make paper placemats for kids. These colorful and personalized mats not only add a touch of excitement to the dining experience but also provide a practical surface for messy eaters.
In this article, we will guide you through the step-by-step process of creating your own paper placemats for kids. Whether you’re planning a birthday party, a playdate, or simply want to add some charm to your family meals, making paper placemats is a fantastic DIY project that the whole family can enjoy.
Before we dive into the instructions, let’s take a look at the supplies you’ll need to get started.
Key Takeaways:
- Engage your child in mealtime fun by creating personalized paper placemats with vibrant designs and protective lamination. It’s a DIY project that fosters creativity and adds excitement to family dining.
- Making paper placemats for kids is a rewarding bonding experience that offers practicality, personalization, and lasting memories. Enjoy mealtime with unique, handmade placemats that reflect your child’s creativity and individuality.
Read more: How To Make A Quilted Placemat
Supplies Needed
Before you begin making paper placemats for kids, it’s important to gather all the necessary supplies. Here’s a list of what you’ll need:
- Colored construction paper
- Scissors
- Glue stick or tape
- Markers, crayons, or colored pencils
- Laminating sheets or contact paper
- Laminating machine or iron (if using laminating sheets)
- Optional: Stickers, glitter, foam shapes, or other embellishments
Once you have all your supplies ready, find a suitable workspace – a clean, flat surface where you can comfortably work on your placemats.
Now that you have everything you need, let’s move on to the next step: preparing the workspace.
Step 1: Gather Materials
Before you can begin creating your paper placemats, you’ll need to gather all the necessary materials. Here’s what you’ll need:
- Colored construction paper: Choose a variety of vibrant colors that will make your placemats visually appealing.
- Scissors: You’ll need a pair of scissors to cut the construction paper into the desired shape and size.
- Glue stick or tape: This will be used to secure any embellishments or decorative elements onto the placemats.
- Markers, crayons, or colored pencils: These will be used to add customized designs and drawings to the placemats.
- Laminating sheets or contact paper: These will help protect your placemats from spills and stains. Laminating sheets are preferable, but if you don’t have access to a laminating machine, contact paper can serve as an alternative.
- Laminating machine or iron (if using laminating sheets): If you’re using laminating sheets, you’ll need a laminating machine or an iron to seal and protect the placemats.
- Optional: Stickers, glitter, foam shapes, or other embellishments: These can add an extra layer of creativity and excitement to your placemats.
Once you have gathered all the necessary materials, you’re ready to move on to the next step: preparing the workspace.
Step 2: Prepare the Workspace
Before you start creating your paper placemats, it’s important to prepare your workspace. Follow these steps to ensure an organized and convenient setup:
- Clean the surface: Clear off any clutter or debris from your workspace to create a clean and smooth surface.
- Cover the surface: Place a protective covering, such as a tablecloth or craft mat, over your work area. This will help protect the table from glue, markers, or any other materials that may accidentally spill or leave marks.
- Organize your materials: Arrange all the supplies you gathered in step one within easy reach. This will make the process smoother and ensure that you don’t have to search for items mid-project.
- Set up your laminating machine (if using): If you’re using a laminating machine, ensure that it is set up and ready to use. If you’re using an iron and laminating sheets, have them nearby as well.
By taking a few moments to prepare your workspace, you will create a comfortable and efficient environment for creating your paper placemats. Now that everything is organized and ready to go, it’s time to move on to the next step: measuring and cutting the paper.
Step 3: Measure and Cut the Paper
Now that your workspace is prepared, it’s time to measure and cut the paper for your paper placemats. Follow these steps:
- Choose the desired size: Decide how big you want your placemats to be. A standard size is usually around 11×17 inches, but you can adjust the dimensions to suit your preferences.
- Measure and mark the paper: Take the colored construction paper and use a ruler to measure out the desired dimensions. Use a pencil or a light-colored marker to make small marks along the edges of the paper, indicating where you will need to cut.
- Cut the paper: Using a pair of scissors, carefully cut along the marked lines to create the desired shape and size for your placemats. If you want rounded corners, you can use a round object, such as a small plate or glass, as a guide to trace and cut.
Repeat these steps to create as many placemats as you need. Remember to take your time and ensure that your cuts are straight and neat for a professional look.
With the paper cut to the right size, you’re ready to move on to the next step: decorating the placemats.
Read more: How To Make Woven Placemats
Step 4: Decorate the Placemats
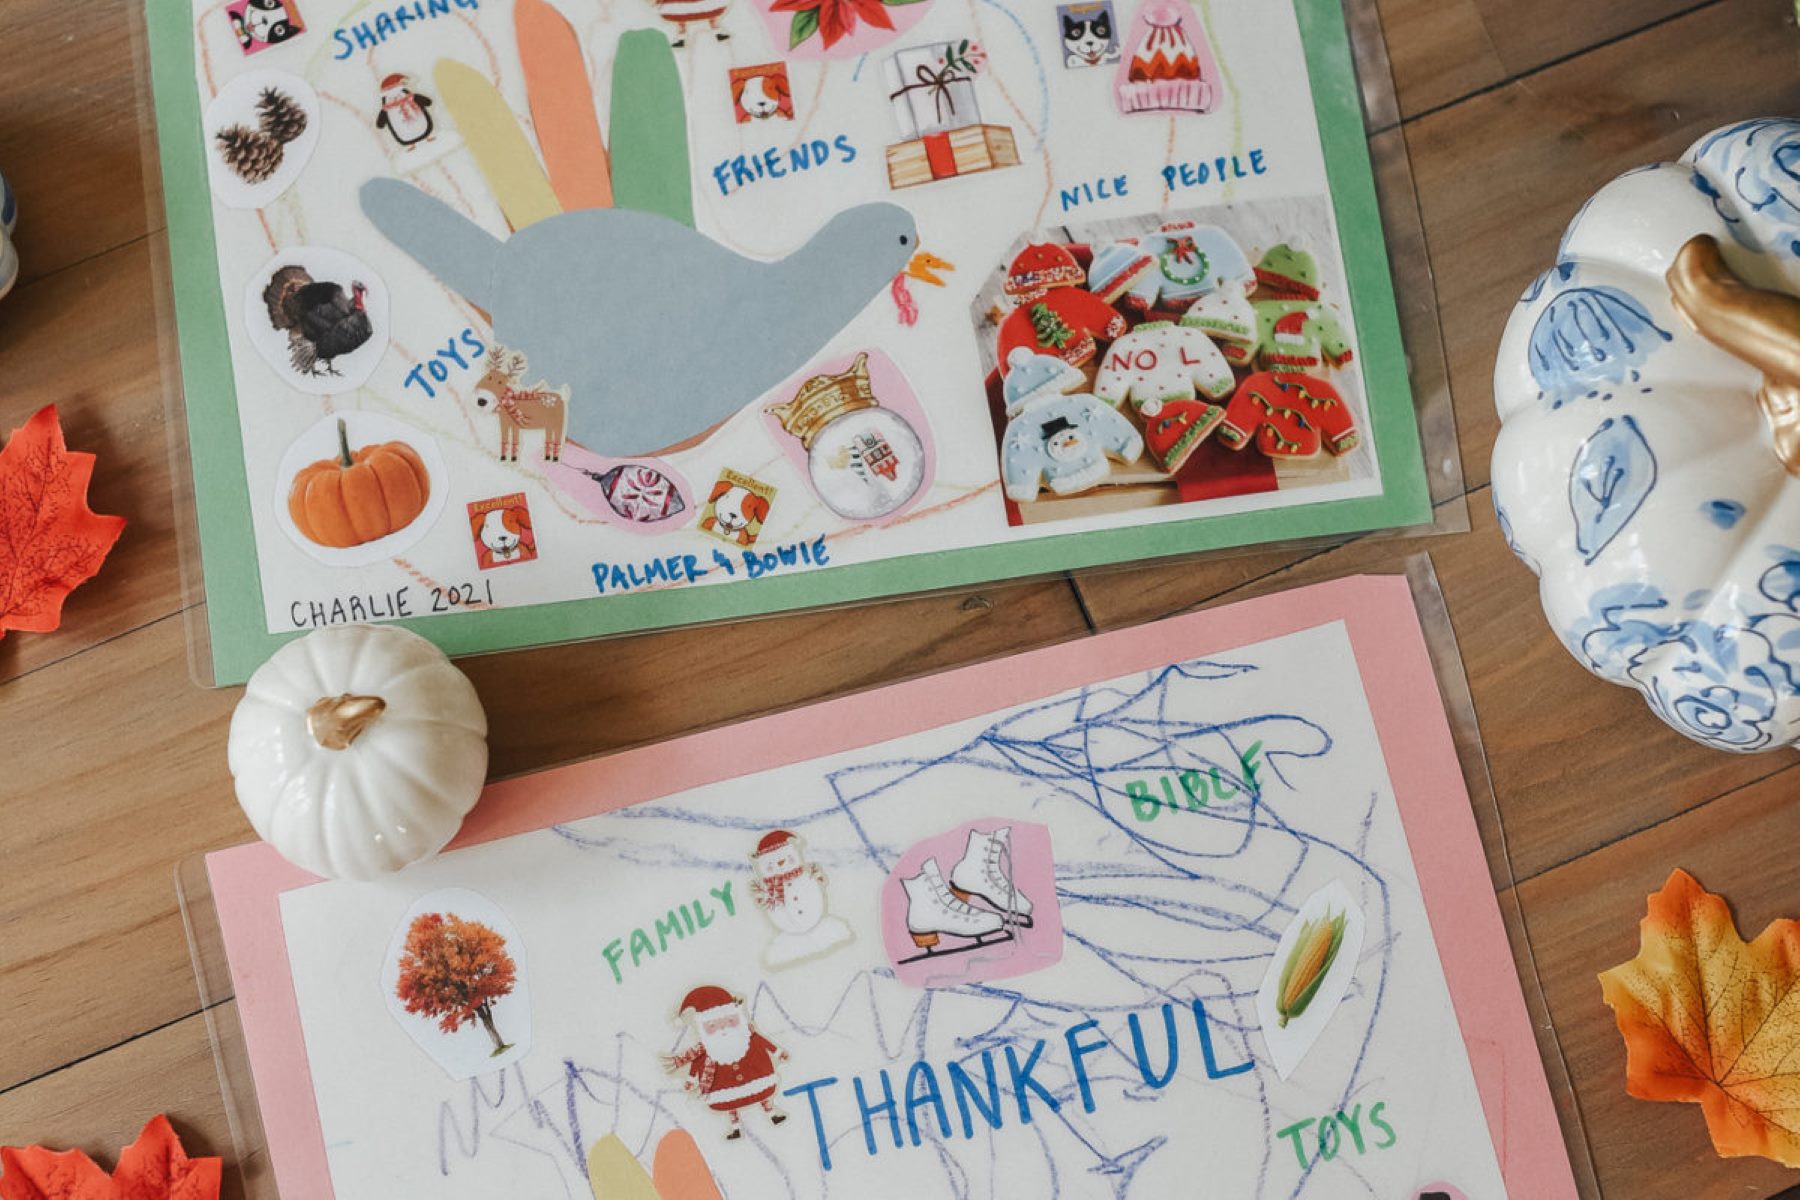
Now comes the fun part – it’s time to let your creativity shine and decorate your paper placemats! Here are some ideas to get you started:
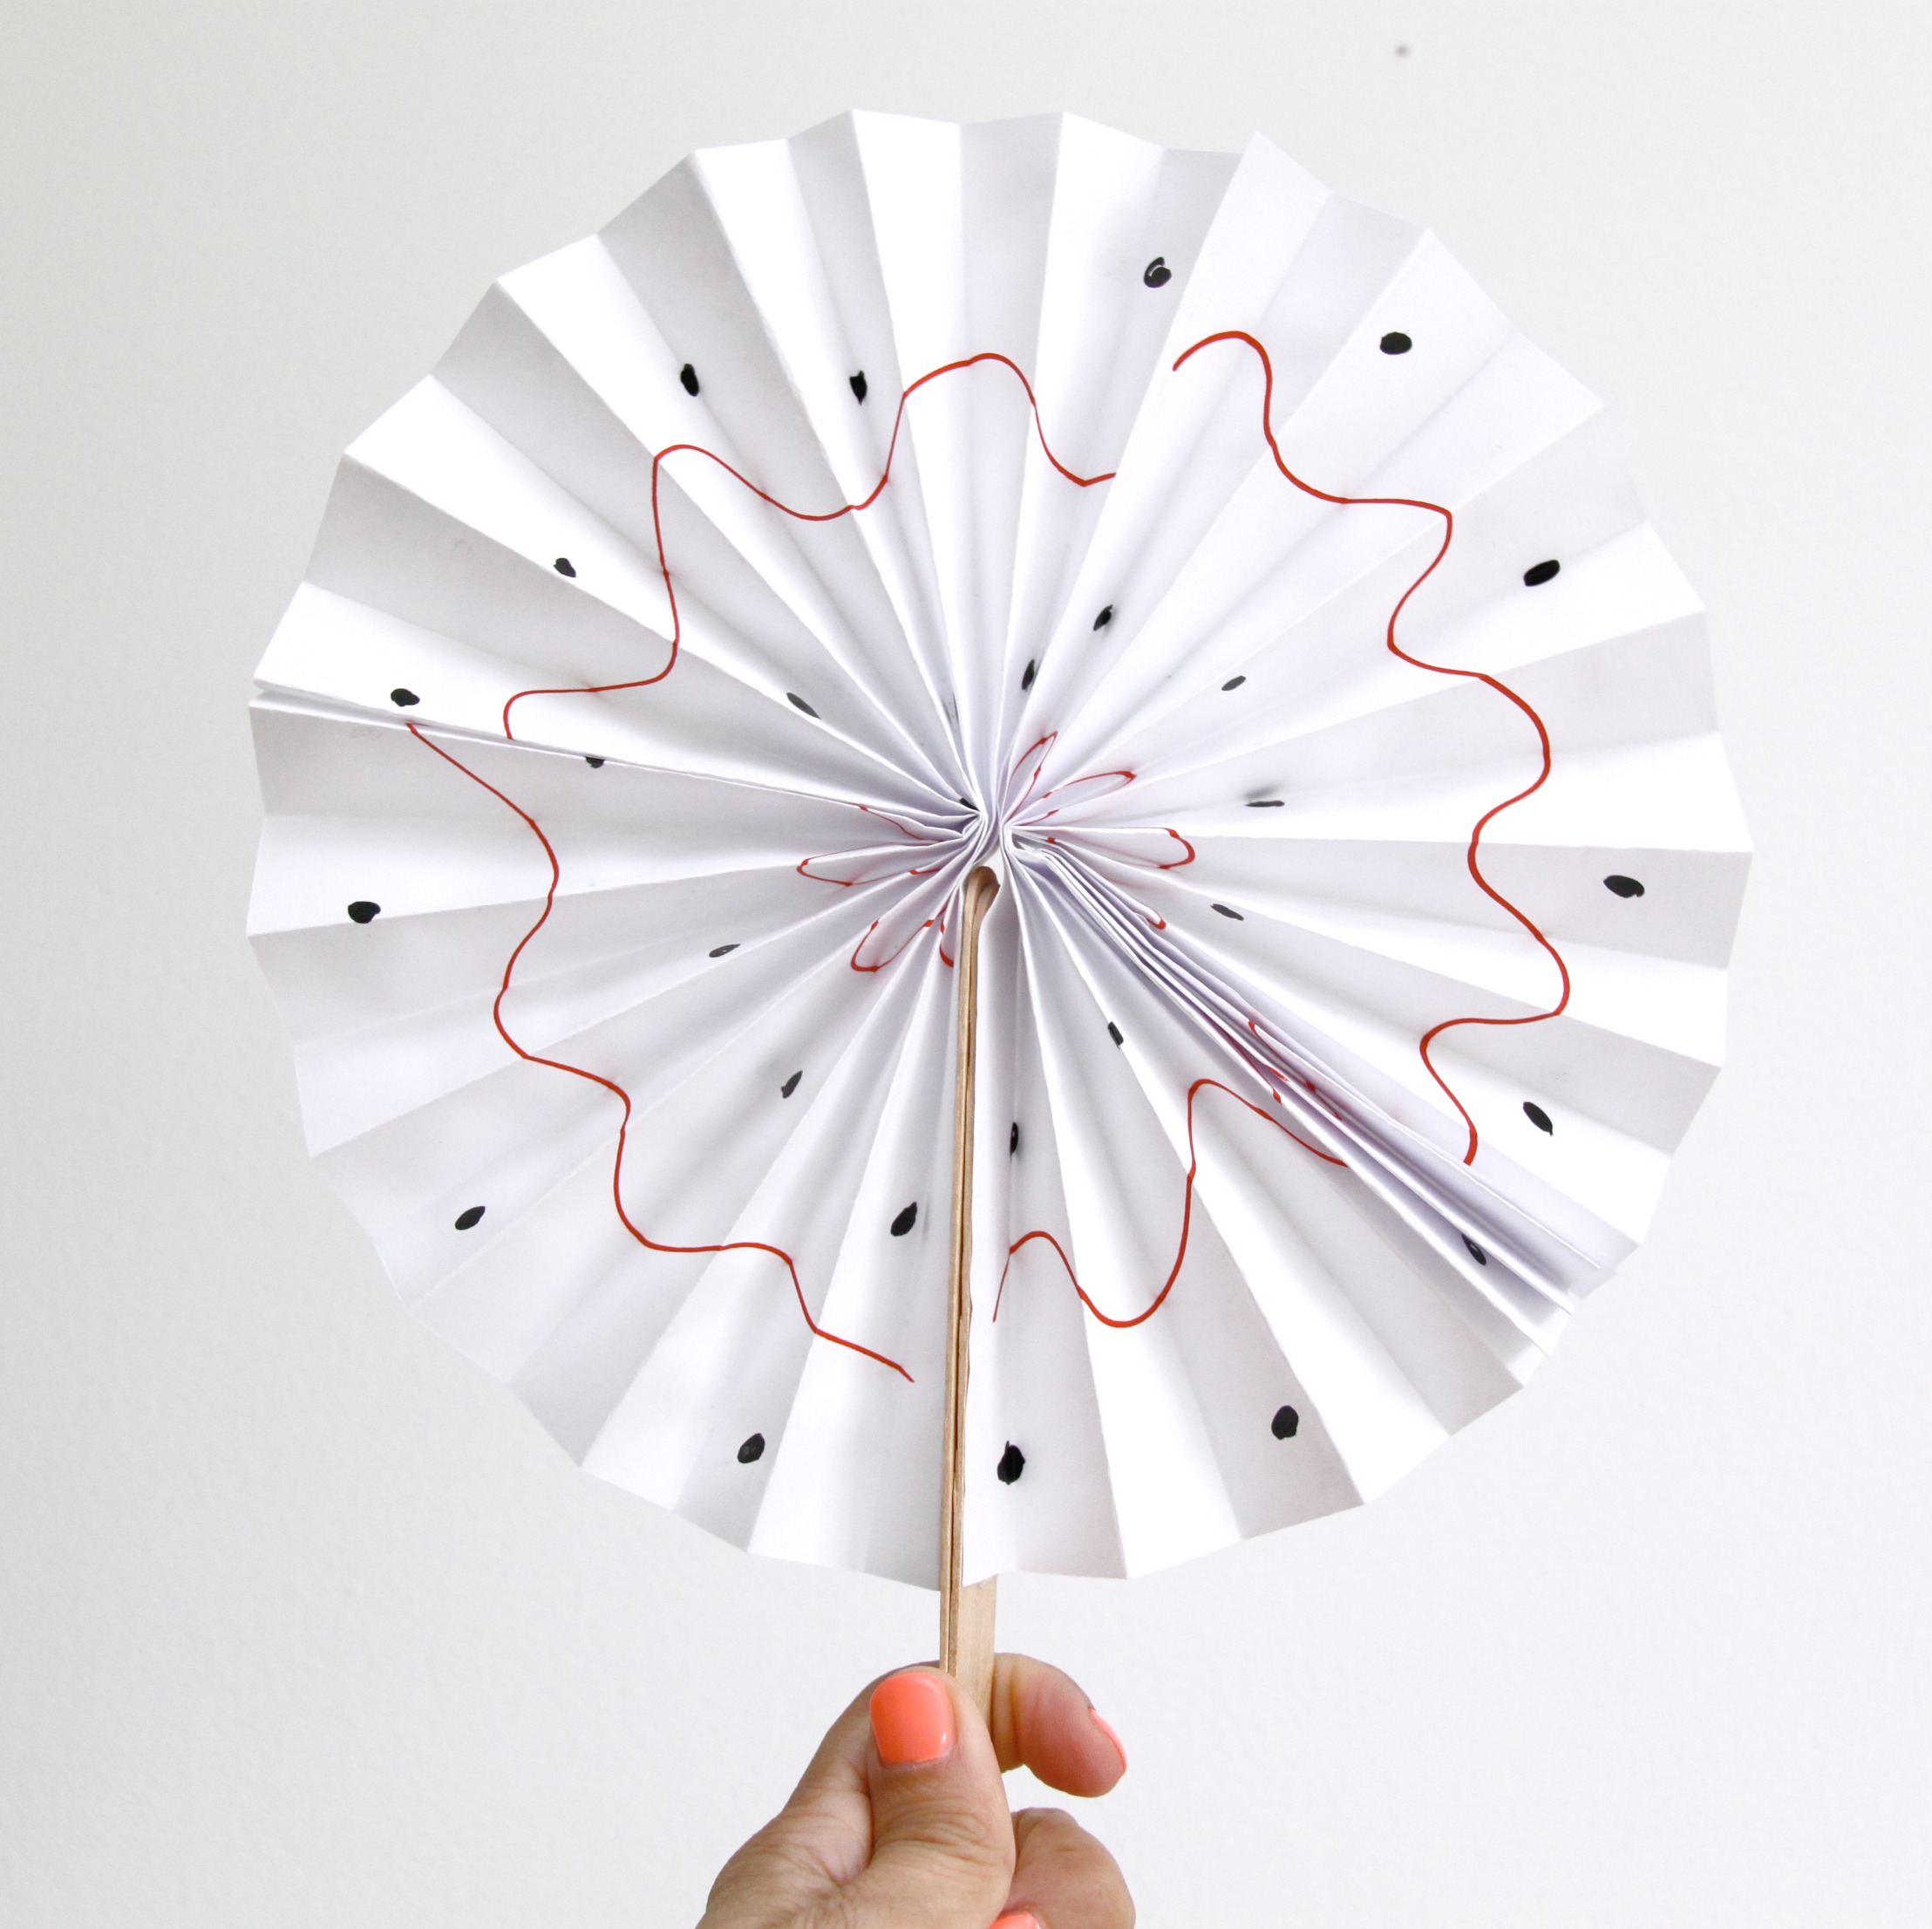
- Colorful designs: Use markers, crayons, or colored pencils to draw and color fun and vibrant designs on your placemats. Encourage your kids to create their own masterpiece by adding doodles, shapes, or even their favorite characters.
- Personalized elements: Add a personal touch by writing each child’s name on their respective placemat. This will make them feel special and add a sense of ownership.
- Themed decorations: If you’re hosting a themed party or event, incorporate decorations that match the theme. For example, if it’s a beach-themed party, draw seashells, palm trees, and waves on the placemats.
- Stickers and glitter: Add some sparkle and texture to your placemats by using stickers or glitter. Let your child’s imagination run wild as they choose and place stickers to create a unique design.
- Collage-style: Cut out pictures or shapes from magazines or construction paper and collage them onto the placemats. This is a great way to add layers and depth to the design.
Remember, the goal is to create visually appealing placemats that will capture your child’s attention and make mealtime more enjoyable. Let your creativity flow and have fun with the decorating process!
Once you’re satisfied with the design, it’s time to move on to the next step: laminating the placemats to make them durable and easy to clean.
Use colorful construction paper and stickers to create fun and personalized paper placemats for kids. Laminate them for durability and easy cleaning.
Step 5: Laminate the Placemats
After you have finished decorating your paper placemats, it’s time to laminate them to protect and preserve your hard work. Follow these steps to laminate your placemats:
- If you’re using laminating sheets, peel off the protective backing, ensuring that the adhesive side is facing up.
- Place the placemat carefully onto the adhesive side of the laminating sheet. Make sure it is centered and aligned properly.
- Slowly and carefully lower the top layer of the laminating sheet onto the placemat, pressing down firmly to secure it in place. Smooth out any air bubbles or wrinkles with your hand.
- If you’re using a laminating machine, feed the placemat and laminating sheet through the machine according to the instructions provided with your specific machine.
- Once the placemat has gone through the laminating machine, give it a few seconds to cool down before carefully removing it from the laminating sheet.
If you’re using contact paper instead of laminating sheets, cut a piece of contact paper slightly larger than your placemat. Peel off the backing and carefully place the placemat onto the sticky side of the contact paper. Press down firmly, smoothing out any air bubbles or wrinkles.
Repeat these steps for each placemat you have created. Once all the placemats are laminated, trim any excess laminate or contact paper from the edges using scissors.
Laminating the placemats not only provides durability but also makes them waterproof and easy to clean. Your placemats are now ready for use, but if you want to add some personal touches, move on to step six.
Step 6: Optional – Add Personal Touches
Now that your paper placemats are laminated and protected, it’s time to add some extra personal touches to make them even more special. Here are some optional ideas:
- Write messages or quotes: Use a permanent marker to write inspiring messages or favorite quotes on the placemats. These uplifting messages can bring smiles to your child’s face during mealtime.
- Add photos: If you have printed photos of your child or their favorite memories, you can cut them into shapes and glue them onto the placemats. This adds a personal and nostalgic element.
- Attach ribbons or bows: Secure small ribbons or bows onto the corners of the placemats to give them a decorative and festive touch.
- Include a clear pocket: Cut a piece of clear plastic or use a clear adhesive pocket and attach it to the placemats. This allows you to insert pictures, drawings, or notes that can be switched out or updated regularly.
- Use foam shapes or stickers: Add dimension and texture by attaching foam shapes or stickers to the placemats. This can create a tactile experience and engage your child’s senses.
Remember, these personal touches are completely optional and can be customized according to your child’s preferences and interests. Get creative and have fun with this step!
Once you’ve added your personal touches, it’s time to let the placemats dry before using them. Move on to step seven for instructions on drying.
Step 7: Let the Placemats Dry
After you’ve finished decorating and laminating your paper placemats, it’s important to allow them to dry completely before using them. Follow these steps to ensure that your placemats are fully dry and ready for use:
- Find a clean and flat surface: Choose a space where you can lay out the placemats without them sticking to other surfaces or getting damaged.
- Place the placemats flat: Lay each placemat flat on the surface, ensuring that they are not overlapping or touching each other.
- Avoid stacking: It’s best to let the placemats dry individually to prevent any potential smudging or sticking.
- Allow ample time to dry: Depending on the type of markers, glue, or laminating materials used, it may take anywhere from a few hours to overnight for the placemats to fully dry and set.
During the drying process, it’s important to keep the placemats in a well-ventilated area to promote proper air circulation. This helps to prevent any moisture from getting trapped and causing the placemats to become damaged or warped.
Once the placemats are completely dry, gently touch the surface to ensure there is no tackiness or residue. If the placemats feel dry and smooth to the touch, you can move on to the final step: enjoying your finished placemats!
Read more: How To Make Placemats With Batting
Step 8: Enjoy the Finished Placemats
Congratulations! You have successfully completed creating your own paper placemats for kids. Now it’s time to sit back, relax, and enjoy the fruits of your labor. Here are some ways to make the most out of your finished placemats:
- Mealtime excitement: Use the placemats during breakfast, lunch, and dinner to add a touch of fun and excitement to your child’s meal experience. They will be thrilled to see their personalized creations at the dining table.
- Party decorations: If you made the placemats for a specific occasion or party, use them as part of the table decorations. Arrange them neatly, and they will bring a festive and personalized touch to the event.
- Gifts and keepsakes: Consider giving the placemats as gifts to relatives, friends, or even teachers. They make thoughtful and unique presents that will be cherished and appreciated.
- Creative playtime: Encourage your child to use the placemats in their imaginative play. They can find different ways to incorporate the placemats in their pretend picnics or tea parties.
- Engaging learning tool: Use the placemats as an educational tool by incorporating numbers, letters, shapes, or even simple math problems. This will make mealtime a fun and interactive learning experience for your child.
Remember to gently clean the placemats after each use. Simply wipe them down with a damp cloth or sponge to remove any food particles or spills. The laminated surface will make it easy to wipe clean without damaging the placemats.
By following these steps and enjoying the finished placemats, you have not only created a practical and personalized dining accessory, but also a lasting memory and bonding experience with your child. So, gather your family, sit down, and enjoy a meal together on your beautiful and unique paper placemats!
Thank you for embarking on this creative journey of making paper placemats for kids. We hope you had fun and found this DIY project both enjoyable and rewarding. Happy crafting and happy mealtime!
Conclusion
Making paper placemats for kids is a wonderful DIY project that adds excitement and personalization to mealtime. By following the steps outlined in this guide, you can create vibrant and unique placemats that not only serve as practical surfaces but also enhance the dining experience for your little ones.
Throughout the process, you gathered the necessary supplies, prepared your workspace, measured and cut the paper, decorated the placemats with your child’s creativity, laminated them for durability, added personal touches, allowed them to dry, and finally enjoyed the finished products.
These handmade placemats offer numerous benefits. They engage your child’s imagination, add a personal touch to every meal, and provide a sense of ownership and pride. The laminated surface makes cleaning easy, ensuring the longevity of the placemats.
Moreover, the opportunity to involve your child in the creative process allows for quality bonding time. Your child will feel a sense of accomplishment in contributing to the dining experience and their own placemat designs.
So, why not embark on this crafty adventure? Create paper placemats that reflect your child’s individuality and interests. Whether it’s for daily meals, special occasions, or as thoughtful gifts, these placemats are sure to bring joy to your family and loved ones.
Get ready to create cherished memories and enjoy the smiles and laughter that these personalized placemats will bring to your household. Let mealtime become an exciting and interactive experience with your homemade paper placemats for kids.
Now, gather your supplies, get creative, and have fun making your own set of paper placemats. Bon appétit!
If you enjoyed learning how to craft delightful paper placemats, why not dive deeper into more creative adventures? Our next guide offers a bouquet of elegant DIY crafts perfect for Easter. From vibrant decorations to charming gifts, these projects promise loads of fun and a chance to brighten any room. Don't miss out on creating memories and masterpieces with your loved ones.
Frequently Asked Questions about How To Make Paper Placemats For Kids
Was this page helpful?
At Storables.com, we guarantee accurate and reliable information. Our content, validated by Expert Board Contributors, is crafted following stringent Editorial Policies. We're committed to providing you with well-researched, expert-backed insights for all your informational needs.


0 thoughts on “How To Make Paper Placemats For Kids”