Home>Gardening & Outdoor>Outdoor Recreation & Activities>How To Make An In Ground Trampoline

Outdoor Recreation & Activities
How To Make An In Ground Trampoline
Modified: October 19, 2024
Learn how to install an in-ground trampoline for safe and fun outdoor recreation and activities. Discover step-by-step instructions and expert tips.
(Many of the links in this article redirect to a specific reviewed product. Your purchase of these products through affiliate links helps to generate commission for Storables.com, at no extra cost. Learn more)
Introduction
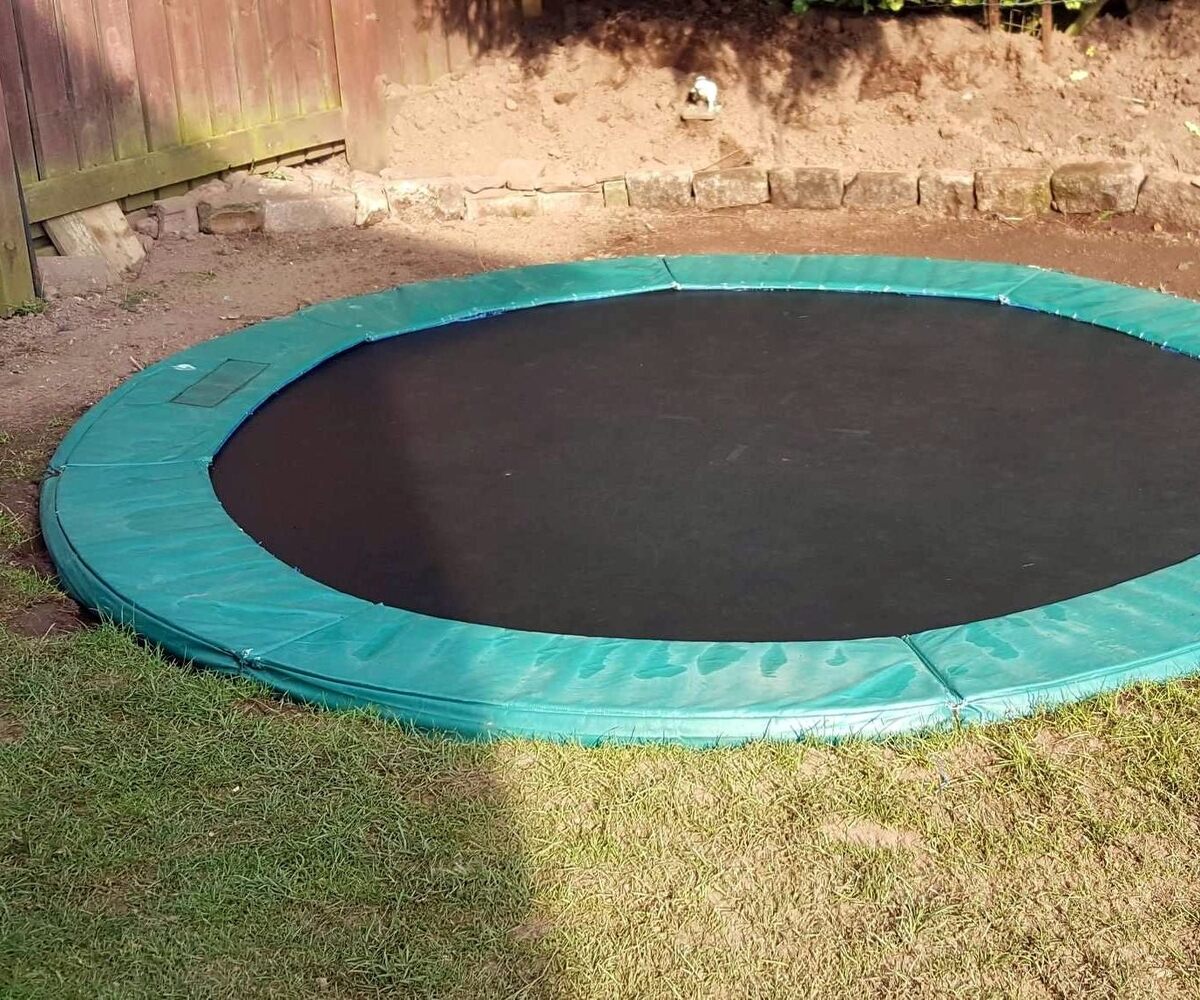
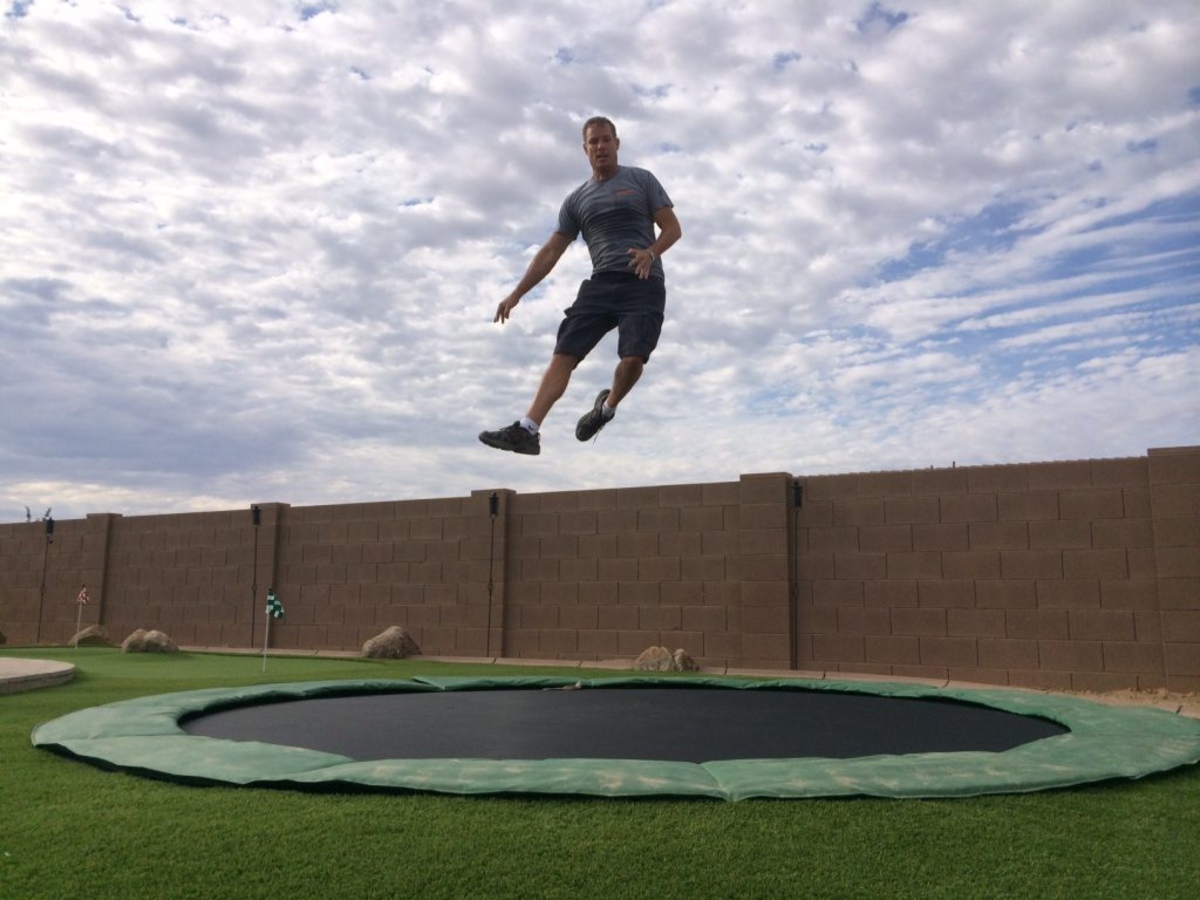
Are you looking to add an element of fun and adventure to your backyard? An in-ground trampoline can be a fantastic addition, providing endless entertainment for both children and adults. Unlike traditional above-ground trampolines, in-ground trampolines seamlessly blend with the landscape, offering a safer and more aesthetically pleasing option.
Installing an in-ground trampoline may seem like a daunting task, but with the right guidance and preparation, it can be a rewarding DIY project. In this comprehensive guide, we will walk you through the step-by-step process of creating your own in-ground trampoline oasis. From selecting the ideal location to ensuring the trampoline is securely in place, we will cover everything you need to know to make this exciting venture a success.
So, roll up your sleeves, gather your tools, and get ready to transform your outdoor space into a hub of bouncing delight. Whether you're a seasoned DIY enthusiast or a novice looking to take on a new challenge, this guide will equip you with the knowledge and confidence to bring your in-ground trampoline dream to life. Let's dive in and uncover the secrets to creating a safe, enjoyable, and visually appealing in-ground trampoline experience for your family and friends to cherish.
Key Takeaways:
- Create a Safe and Fun In-Ground Trampoline
Select a level, spacious location, prepare the ground, assemble the trampoline, and secure it for a safe and enjoyable experience. Regular maintenance and supervision are key for long-term enjoyment. - Embrace the Joy of In-Ground Trampolining
Carefully follow installation steps, test the trampoline, and celebrate the fun it brings. Share the experience with others and prioritize safety and maintenance for lasting enjoyment.
Read more: How To Level Ground For A Trampoline
Step 1: Choose the Location
Before embarking on the installation of an in-ground trampoline, careful consideration of the location is paramount. Selecting the optimal spot for your trampoline will not only enhance its visual appeal but also contribute to the safety and functionality of the setup. Here are some essential factors to keep in mind when choosing the location:
- Level Ground: Ensure that the chosen area is relatively flat and free from any significant slopes or uneven terrain. A level surface will provide a stable foundation for the trampoline and minimize the risk of accidents during use.
- Sufficient Space: The location should offer ample space around the trampoline to accommodate safe entry and exit as well as unrestricted bouncing. It’s advisable to maintain a clear perimeter around the trampoline to prevent collisions with surrounding objects or structures.
- Sunlight and Shade: Consider the sun’s path throughout the day to determine the ideal balance of sunlight and shade for the trampoline. While some sunlight is beneficial, excessive exposure to direct sunlight for extended periods can cause the trampoline materials to deteriorate over time.
- Accessibility: Choose a location that is easily accessible from your home, ensuring that it is convenient for both users and observers. Proximity to a patio, deck, or outdoor seating area can enhance the overall experience of using the trampoline.
- Visual Integration: Take into account the visual impact of the trampoline within your outdoor space. While an in-ground trampoline seamlessly blends with the surroundings, thoughtful placement can further enhance its integration with the landscape, creating a harmonious and inviting environment.
By carefully evaluating these factors and considering the specific layout of your outdoor area, you can identify the perfect location for your in-ground trampoline. Once the ideal spot has been determined, you are ready to move on to the next crucial step in the installation process: preparing the ground for the trampoline’s placement.
Step 2: Prepare the Ground
With the location for your in-ground trampoline selected, the next step is to prepare the ground to ensure a stable and safe foundation. Proper preparation of the ground is essential for the long-term stability and functionality of the trampoline. Follow these key steps to prepare the ground effectively:
- Clear the Area: Begin by clearing the selected area of any debris, rocks, roots, or other obstructions that could interfere with the installation process or pose a hazard to users. A clean and debris-free surface will facilitate the subsequent steps and contribute to the overall safety of the trampoline setup.
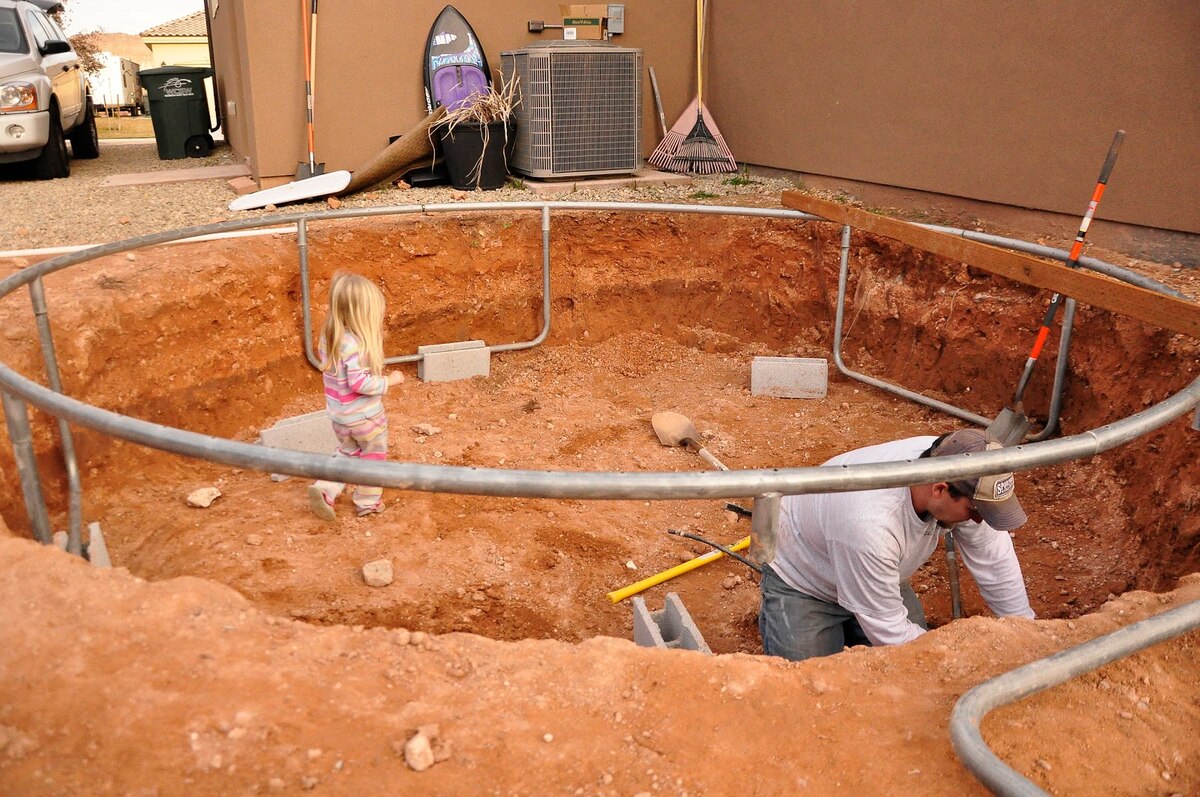
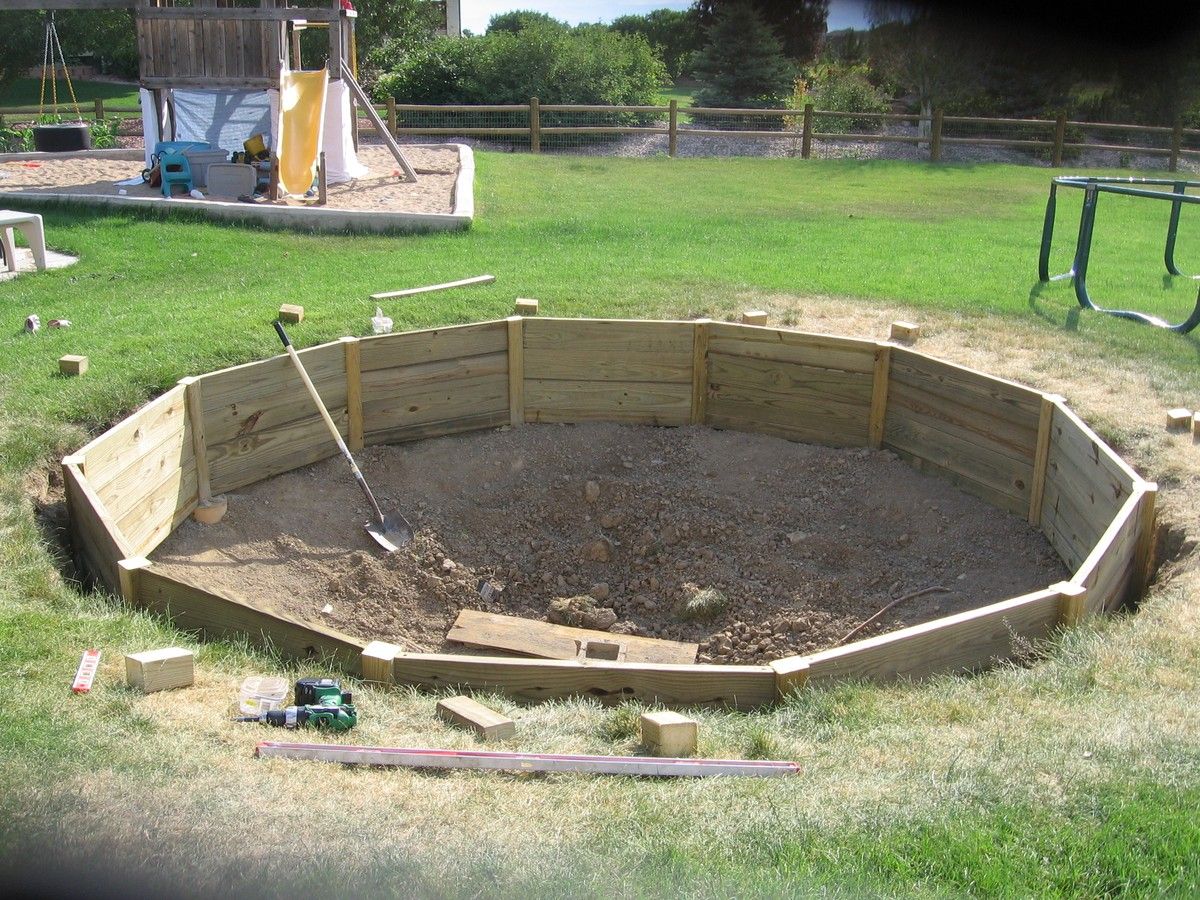
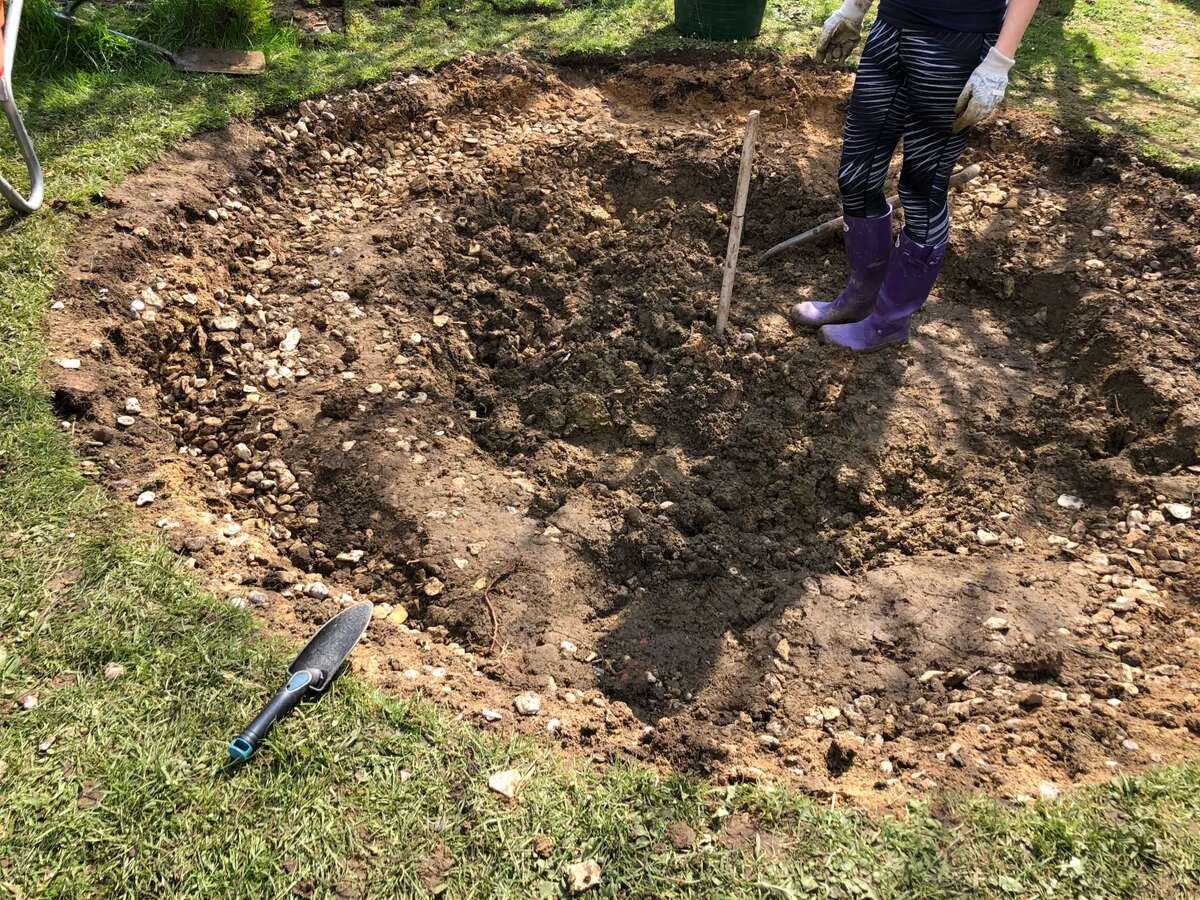
- Excavation: Depending on the design and specifications of your in-ground trampoline, you may need to excavate the ground to create a pit for the trampoline to sit in. Follow the manufacturer’s guidelines and recommendations for the required depth and dimensions of the pit, ensuring that the excavation is carried out accurately.
- Level the Base: Once the pit has been excavated, it is crucial to ensure that the base is level and even. Use a spirit level or laser level to check the surface and make any necessary adjustments to achieve a uniform and stable base for the trampoline.
- Drainage Considerations: Assess the drainage characteristics of the area to prevent water accumulation within the trampoline pit. Proper drainage will help maintain the integrity of the trampoline and prevent issues such as waterlogging, which can compromise the trampoline’s components and safety.
- Protective Measures: Consider incorporating protective measures, such as a retaining wall or drainage system, to safeguard the trampoline pit from soil erosion, water ingress, and other environmental factors that could impact its longevity and stability.
By meticulously preparing the ground according to these guidelines, you can establish a solid and secure base for your in-ground trampoline. The groundwork laid during this phase will set the stage for the successful installation and long-term enjoyment of your trampoline. With the ground prepared, you are now ready to move on to the exciting phase of assembling the trampoline itself.
When digging the hole for the in-ground trampoline, make sure to leave enough space around the edges for proper drainage to prevent water from collecting and causing damage to the trampoline.
Step 3: Assemble the Trampoline
Assembling the trampoline is an exhilarating phase of the in-ground trampoline installation process, bringing the vision of a thrilling backyard attraction one step closer to reality. Follow these essential steps to effectively assemble the trampoline and ensure a seamless integration with the prepared ground:
- Follow Manufacturer’s Instructions: Carefully review the manufacturer’s instructions and guidelines provided with the trampoline to familiarize yourself with the assembly process. Adhering to the manufacturer’s recommendations is crucial for guaranteeing the trampoline’s structural integrity and safety.
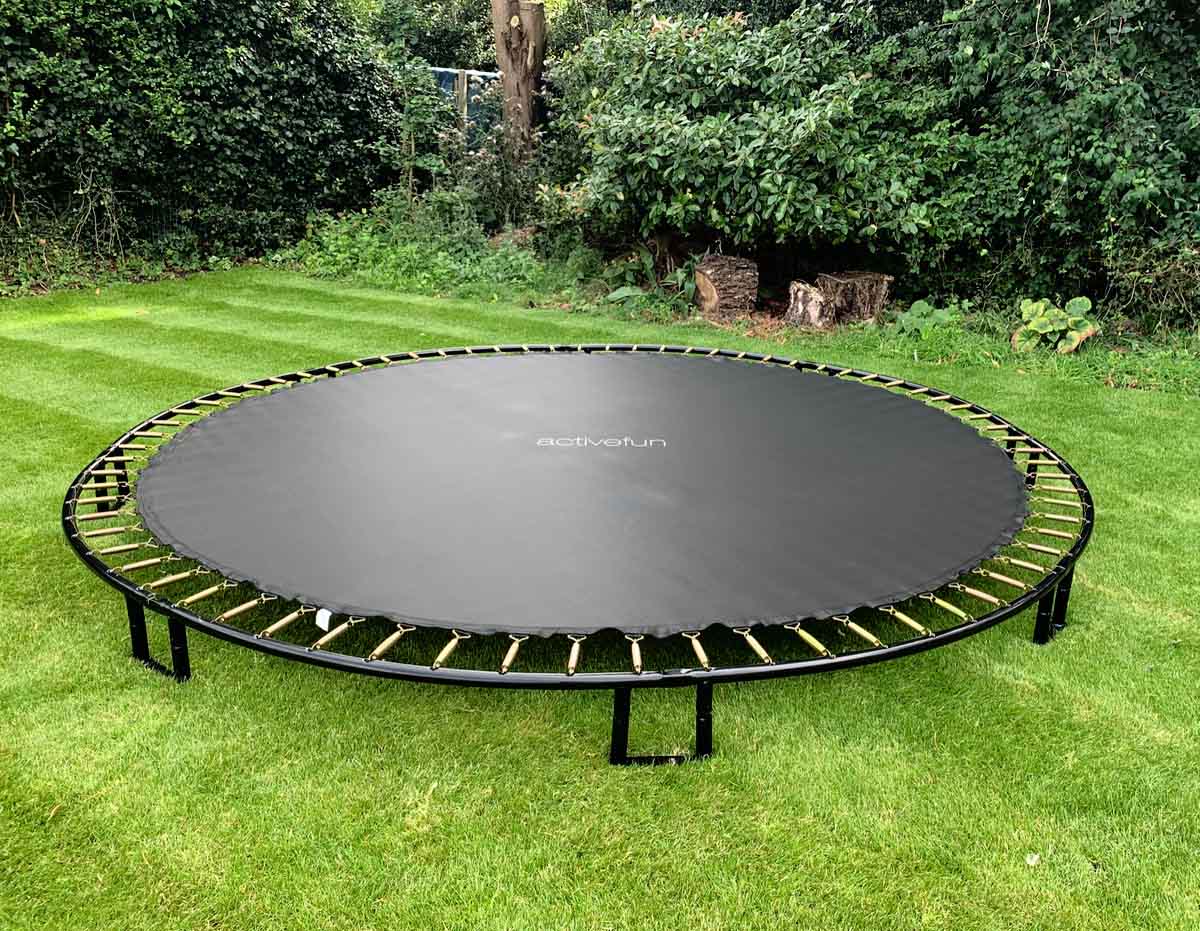
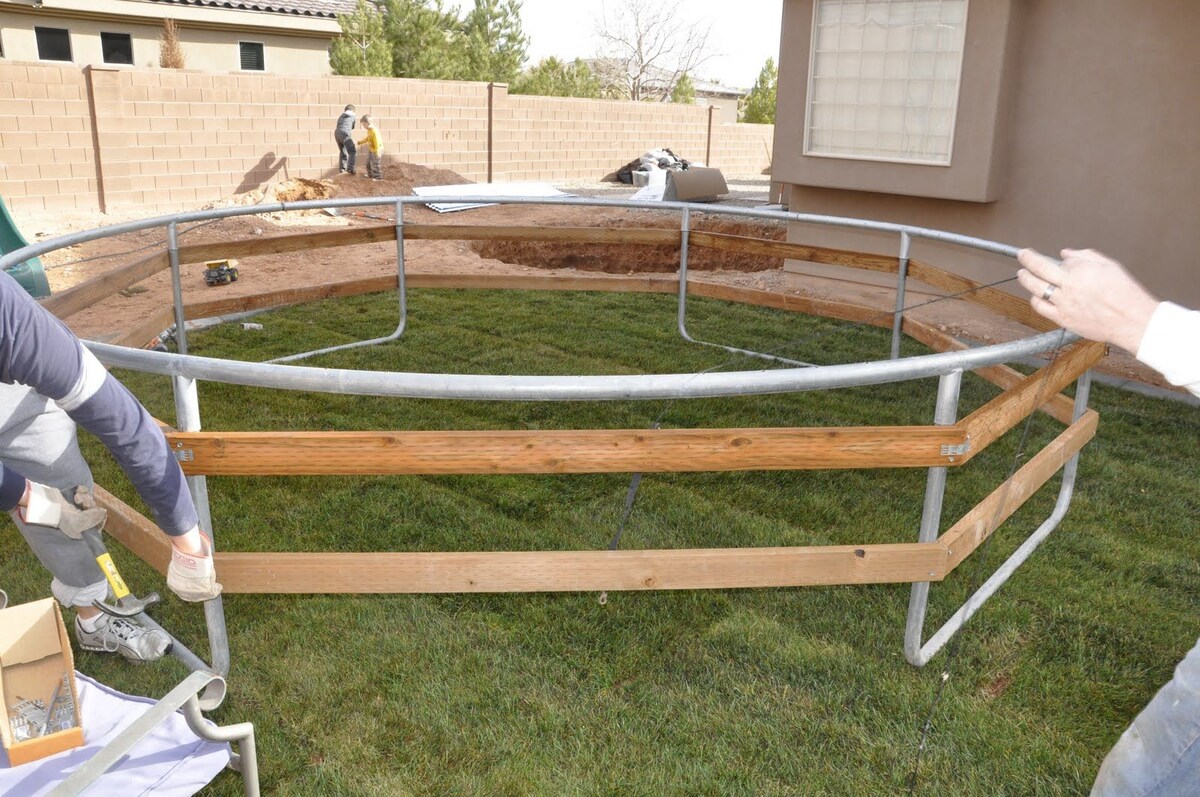
- Install the Frame and Springs: Begin by positioning the trampoline frame within the prepared pit, ensuring that it rests securely on the level base. Attach the springs to the frame and the trampoline mat, following the specific instructions provided by the manufacturer to achieve proper tension and alignment.
- Secure the Mat: Ensure that the trampoline mat is securely fastened to the frame and properly tensioned to facilitate safe and enjoyable bouncing. Verify that the mat is centered and free from wrinkles or creases that could affect its performance.
- Attach Safety Enclosure (If Applicable): If your in-ground trampoline is equipped with a safety enclosure, carefully install and secure it according to the provided instructions. The safety enclosure plays a pivotal role in preventing accidental falls and enhancing the overall safety of the trampoline.
- Inspect and Test: Thoroughly inspect the assembled trampoline to ensure that all components are correctly installed and aligned. Test the trampoline’s bounce and stability to verify that it meets the necessary safety standards and performance expectations.
By methodically following these steps and exercising attention to detail during the assembly process, you can effectively integrate the trampoline into the prepared ground, setting the stage for the final crucial steps of securing the trampoline and preparing it for safe and enjoyable use. With the trampoline assembled, it’s time to shift the focus to ensuring its stability and security.
Step 4: Secure the Trampoline
Securing the trampoline is a critical step in ensuring the safety and stability of the in-ground installation. Properly anchoring the trampoline and implementing additional safety measures will contribute to a secure and enjoyable trampolining experience. Follow these essential guidelines to effectively secure the trampoline:
- Anchoring Systems: Depending on the specific design of your in-ground trampoline, utilize the recommended anchoring systems provided by the manufacturer. Anchors, straps, or other securing mechanisms may be necessary to prevent movement or displacement of the trampoline during use, especially in areas prone to high winds or inclement weather.
- Surface Coverings: Consider incorporating surface coverings, such as impact-absorbing materials or rubber safety tiles, around the perimeter of the trampoline. These coverings can enhance safety by providing a cushioned landing area and reducing the risk of injury in the event of accidental falls or missteps.
- Protective Padding: Install protective padding around the trampoline’s frame and springs to minimize the risk of impact injuries. High-quality, weather-resistant padding will offer additional protection and contribute to the overall safety of the trampoline setup.
- Regular Inspections: Establish a routine for inspecting the trampoline and its surrounding components to identify any signs of wear, damage, or deterioration. Regular maintenance and inspections will help ensure that the trampoline remains secure and safe for use over time.
- Safety Guidelines: Educate users, especially children, about essential safety guidelines for trampoline use. Emphasize the importance of proper supervision, adhering to weight limits, and avoiding risky behaviors to minimize the potential for accidents and injuries.
By implementing these measures and prioritizing the security of the trampoline, you can create a safe and inviting environment for trampoline enthusiasts of all ages. With the trampoline securely in place and equipped with essential safety features, it’s time to proceed to the final step and bring the in-ground trampoline to life through testing and enjoyment.
Read more: How To Install A Ground Trampoline
Step 5: Test and Enjoy!
Congratulations, you’ve reached the culminating phase of the in-ground trampoline installation process – it’s time to put your creation to the test and revel in the exhilarating experience it offers. Follow these steps to ensure a smooth transition from installation to enjoyment:
- Initial Testing: Conduct a preliminary test of the trampoline to verify its stability, bounce quality, and overall performance. Encourage cautious and controlled bouncing during the initial trial to assess the trampoline’s behavior and ensure that it meets safety expectations.
- Supervision and Guidelines: Establish clear guidelines for trampoline usage, emphasizing the importance of supervision, adherence to safety rules, and consideration for other users. Educate users about proper entry and exit techniques, as well as the importance of avoiding rough play or overcrowding on the trampoline.
- Celebrate and Enjoy: Once the trampoline has been deemed safe and fully operational, it’s time to celebrate your accomplishment and indulge in the sheer joy of bouncing. Whether it’s a family gathering, a playdate for children, or a solo trampolining session, relish the excitement and fun that your in-ground trampoline brings to your outdoor space.
- Regular Maintenance: Incorporate regular maintenance and upkeep into your trampoline care routine to preserve its performance and longevity. Routinely inspect the trampoline components, clean the surface, and address any maintenance needs promptly to ensure continued enjoyment and safety.
- Share the Experience: Spread the word about your in-ground trampoline oasis and share the joy of trampolining with friends and neighbors. Hosting trampoline-themed gatherings or inviting others to experience the thrill of your in-ground trampoline can foster a sense of community and camaraderie.
As you embark on this final phase, savor the sense of accomplishment and the boundless entertainment that your in-ground trampoline brings to your outdoor environment. By following these steps and infusing your trampoline experience with safety, enthusiasm, and community spirit, you can create lasting memories and moments of pure enjoyment for years to come.
Frequently Asked Questions about How To Make An In Ground Trampoline
Was this page helpful?
At Storables.com, we guarantee accurate and reliable information. Our content, validated by Expert Board Contributors, is crafted following stringent Editorial Policies. We're committed to providing you with well-researched, expert-backed insights for all your informational needs.




0 thoughts on “How To Make An In Ground Trampoline”