Articles
How To Replace An LED Bulb In A Ceiling Light
Modified: August 28, 2024
Learn how to replace an LED bulb in your ceiling light with our informative articles. Find step-by-step instructions and helpful tips to make the process easier.
(Many of the links in this article redirect to a specific reviewed product. Your purchase of these products through affiliate links helps to generate commission for Storables.com, at no extra cost. Learn more)
Introduction
Replacing a light bulb in a ceiling fixture may seem like a straightforward task, but when it comes to LED bulbs, there are a few additional steps to consider. LED bulbs are known for their energy efficiency and long lifespan, making them a popular choice for residential and commercial lighting. However, proper installation and replacement are crucial to ensure optimal performance and safety.
In this article, we will guide you through the step-by-step process of replacing an LED bulb in a ceiling light. Whether you are a DIY enthusiast or a homeowner looking to save on maintenance costs, this guide will provide you with the necessary knowledge to complete the task effectively and safely.
Before we dive into the details, it’s important to note that each light fixture may have specific instructions or variations, so always consult the manufacturer’s guidelines for your particular model. With that said, let’s get started!
Key Takeaways:
- Replacing an LED bulb in a ceiling light fixture requires careful preparation, safety precautions, and proper disposal. Enjoy energy-efficient and long-lasting lighting by following the step-by-step process outlined in this article.
- Prioritize safety, choose the right replacement bulb, and test the new LED bulb for optimal functionality. By following these steps, you can successfully replace an LED bulb in your ceiling light fixture and contribute to a cleaner environment.
Read more: How To Change Light Bulb In The Ceiling
Step 1: Preparation
Before you begin the process of replacing the LED bulb in your ceiling light, it’s important to gather the necessary tools and materials. This ensures a smooth and efficient replacement process. Here’s what you’ll need:
- A ladder or step stool: Depending on the height of your ceiling, you may need a sturdy ladder or step stool to safely reach the light fixture.
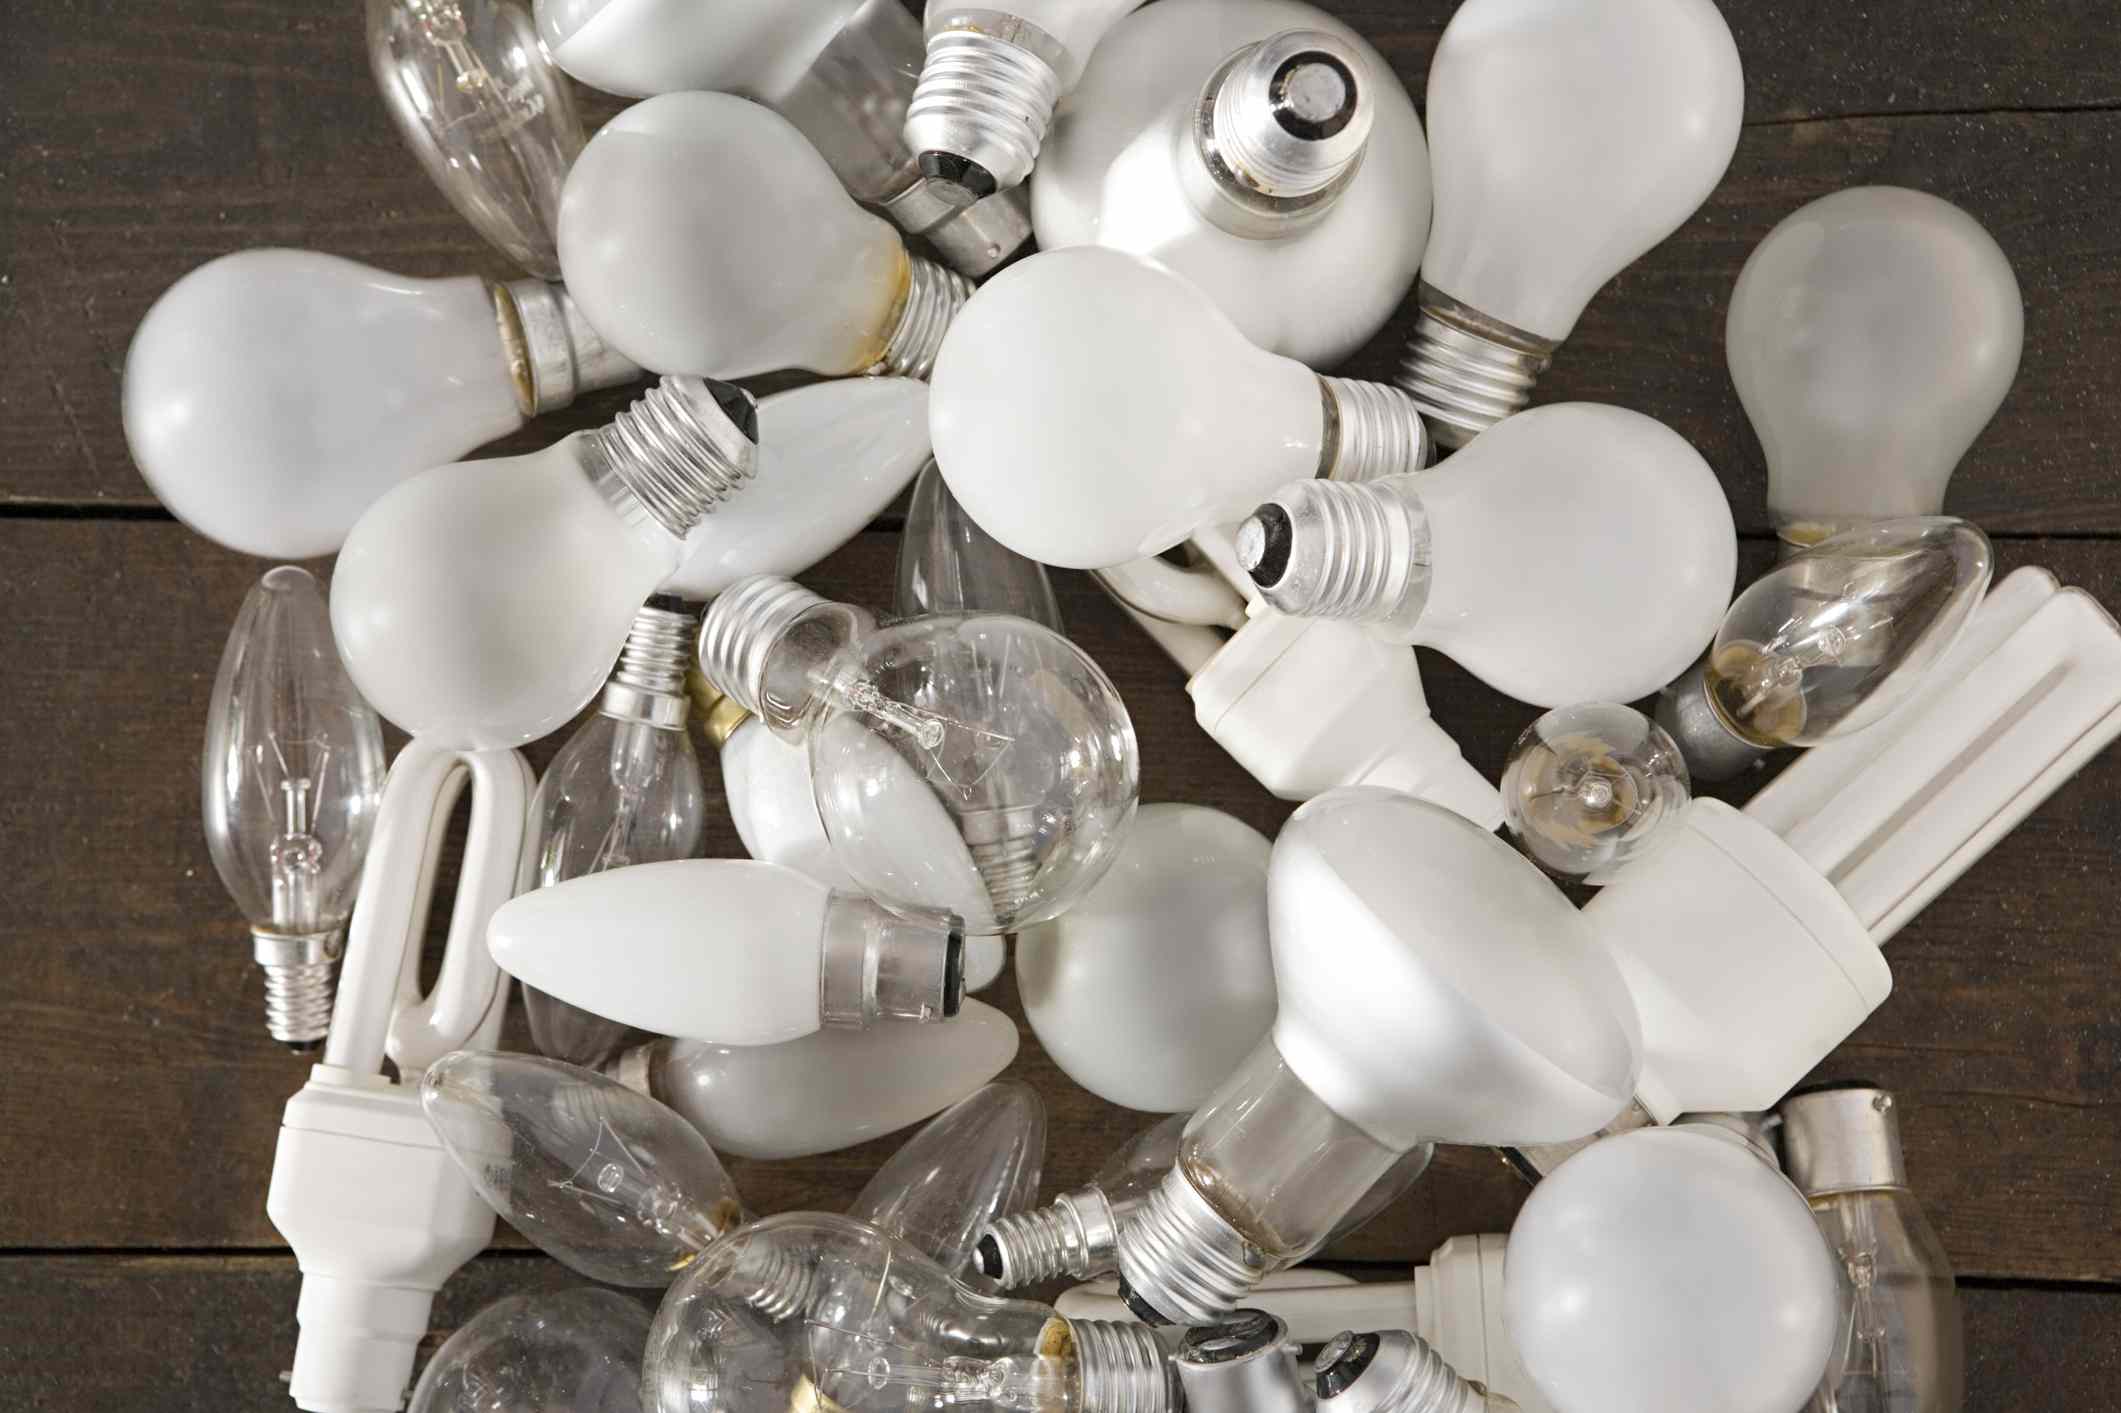
- A replacement LED bulb: Make sure you have a compatible LED bulb for your ceiling light fixture. Check the current bulb’s wattage and base type to choose the appropriate replacement.
- A clean cloth or gloves: Handling LED bulbs with bare hands can leave oils or residues on the surface, which can affect their performance. Use a clean cloth or wear gloves to avoid direct contact with the bulb.
- A flashlight: In case the area around the light fixture is dimly lit, having a flashlight on hand can help you better see what you’re doing.
Once you have gathered these materials, find a suitable workspace near the ceiling light fixture. Ensure there is enough room to move comfortably and work without any hindrances.
It’s also a good practice to turn off any other lighting fixtures in the room to avoid any potential accidents or confusion. Lastly, if you have any doubts or concerns about your electrical knowledge or safety, it’s always best to consult a professional electrician.
Now that you’re prepared, let’s move on to the next step: Safety Precautions.
Step 2: Safety Precautions
When working with any electrical component, including LED bulbs and ceiling light fixtures, safety should be your top priority. Here are some essential safety precautions to follow:
- Turn off the power: Before starting the replacement process, make sure to turn off the power to the light fixture at the circuit breaker. This will prevent any accidental electric shocks.
- Allow the bulb to cool: If the ceiling light has been on recently, give the existing bulb some time to cool down before attempting to remove it. LED bulbs can get hot, so it’s essential to avoid burning yourself.
- Wear protective eyewear: When working with light fixtures, there is always a risk of debris or small particles falling into your eyes. Wear protective eyewear to protect yourself from any potential harm.
- Handle the bulb with care: LED bulbs are fragile, so handle them with care to avoid any damage. Avoid dropping them or using excessive force when removing or installing.
- Avoid moisture: Ensure that the area around the light fixture is dry to prevent electrical hazards. If there is any sign of water damage or moisture, consult a professional electrician before proceeding.
By following these safety precautions, you can minimize the risk of accidents and ensure a safe working environment. Now that you are aware of the necessary safety measures, let’s move on to the next step: Turn Off the Power.
Step 3: Turn Off the Power
Before you begin working on the light fixture, it’s crucial to turn off the power to ensure your safety. Here’s how you can do it:
- Locate the circuit breaker: Typically, the circuit breaker panel is located in the basement, garage, or utility room. It may also be located on an exterior wall of the house. Find the circuit breaker that controls the power supply to the ceiling light.
- Identify the correct breaker: Most circuit breakers are labeled to indicate which area or room they control. Look for the label that corresponds to the light fixture you are working on. If the breakers are not labeled, you may need to do a bit of trial and error.
- Switch off the breaker: Flip the switch associated with the light fixture to the “off” position. This will cut off the power supply to the fixture, ensuring that it is safe to work on.
- Confirm the power is off: To be absolutely certain that the power is off, test the light switch and ensure that the light does not turn on. You can also use a non-contact voltage tester to double-check if there is any live electricity flowing to the fixture.
Once you have confirmed that the power is off, you can proceed to the next step of removing the old bulb. Remember, it’s crucial to take these precautions to avoid any electrical accidents and ensure your safety throughout the replacement process.
Now that you have successfully turned off the power, let’s move on to Step 4: Remove the Old Bulb.
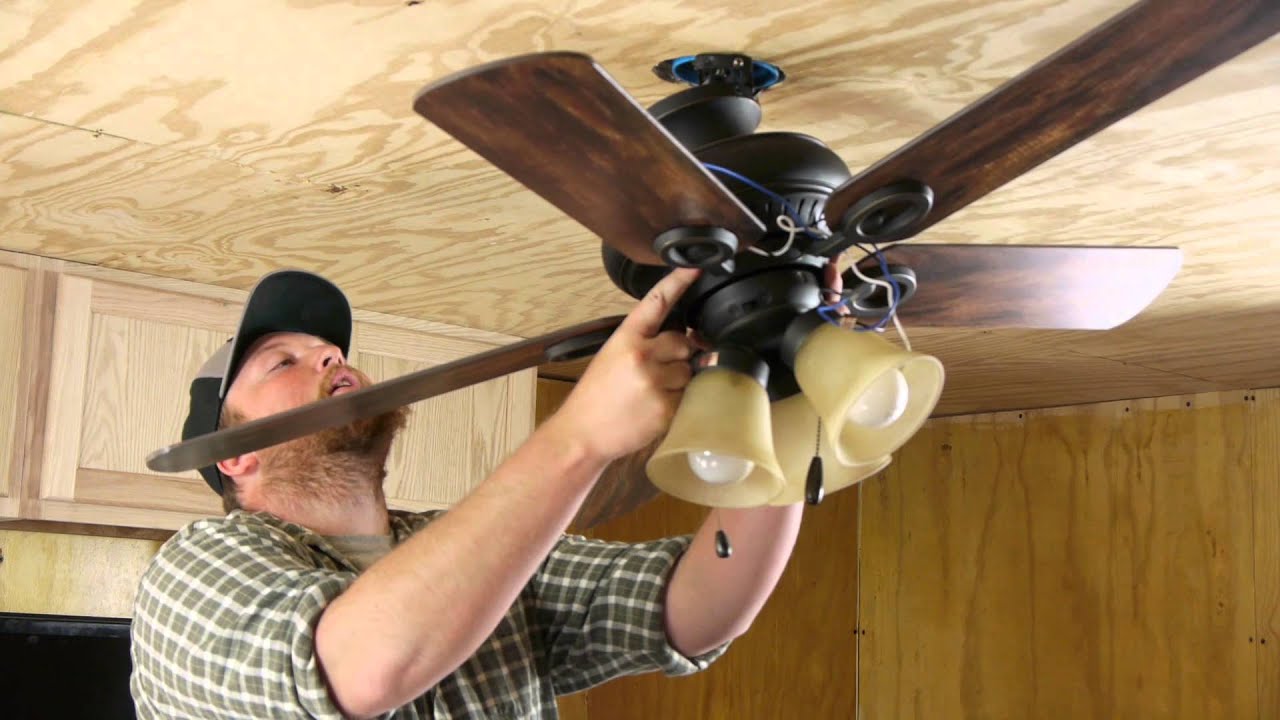
Step 4: Remove the Old Bulb
Now that you have ensured your safety by turning off the power, it’s time to remove the old bulb from the ceiling light fixture. Follow these steps:
- Allow the bulb to cool down: If the light fixture has been recently turned on, give the existing bulb enough time to cool down to avoid burning yourself.
- Locate the bulb: Identify the location of the old bulb in the light fixture. Check if it is accessible from the top or if you need to remove a cover or shade to access it.
- Remove the cover or shade (if applicable): If there is a cover or shade covering the bulb, carefully remove it by loosening the screws, clips, or any fasteners that hold it in place. Set aside the cover or shade in a safe place.
- Unscrew the old bulb: Gently twist the old bulb counterclockwise until it loosens from the socket. If the bulb is stubborn and won’t turn, try using a cloth or gloves for a better grip. Avoid applying excessive force, as it may break the bulb.
- Remove the old bulb: Once the bulb is loose, carefully pull it straight out of the socket, taking care not to twist or force it. Place the old bulb aside for proper disposal.
It’s essential to handle the old bulb with care to avoid any injuries or damage. LED bulbs are fragile, so be mindful of how you remove and handle them. Now that the old bulb has been removed, let’s move on to Step 5: Choose the Right Replacement Bulb.
Read more: How To Replace Light Bulb Socket
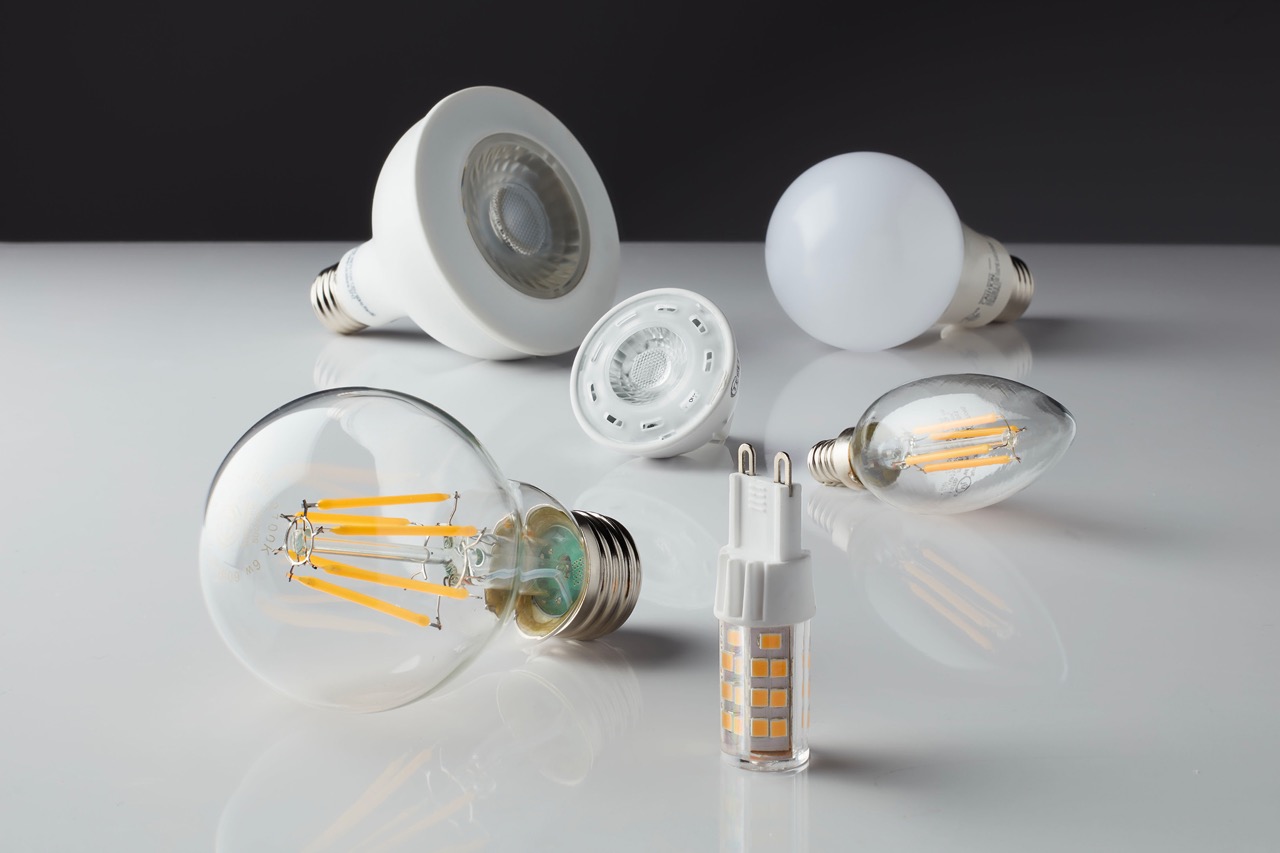
Step 5: Choose the Right Replacement Bulb
Choosing the right replacement LED bulb for your ceiling light fixture is crucial to ensure proper functionality and compatibility. Here are some factors to consider when selecting the replacement bulb:
- Check the wattage: Look at the wattage of the old bulb to determine the appropriate replacement. Make sure to choose an LED bulb with the same or lower wattage to avoid overloading the fixture.
- Consider the color temperature: LED bulbs come in different color temperatures, ranging from warm white to cool white. Decide on the desired ambiance and choose the color temperature accordingly.
- Check the base type: The base type of the bulb should match the socket in the light fixture. Common base types include screw-in (Edison), pin base (bi-pin or GU), or plug-in (CFL or fluorescent).
- Consider the lumens: Lumens indicate the brightness of the LED bulb. Determine the desired brightness level based on the room and lighting needs, and choose a bulb with the appropriate lumen output.
- Look for energy efficiency: LED bulbs are known for their energy efficiency. Opt for bulbs with an ENERGY STAR rating or high energy efficiency to save on electricity costs.
Consult the packaging or product specifications of the LED bulb to ensure it meets the necessary requirements. It’s also helpful to read customer reviews or seek recommendations from trusted sources to make an informed decision.
Once you have chosen the right replacement LED bulb, you are ready to proceed to the next step: Step 6: Install the New Bulb.
Make sure to turn off the power to the ceiling light before attempting to replace the LED bulb. Use a stable step ladder and carefully twist the old bulb out and insert the new one, being careful not to overtighten.
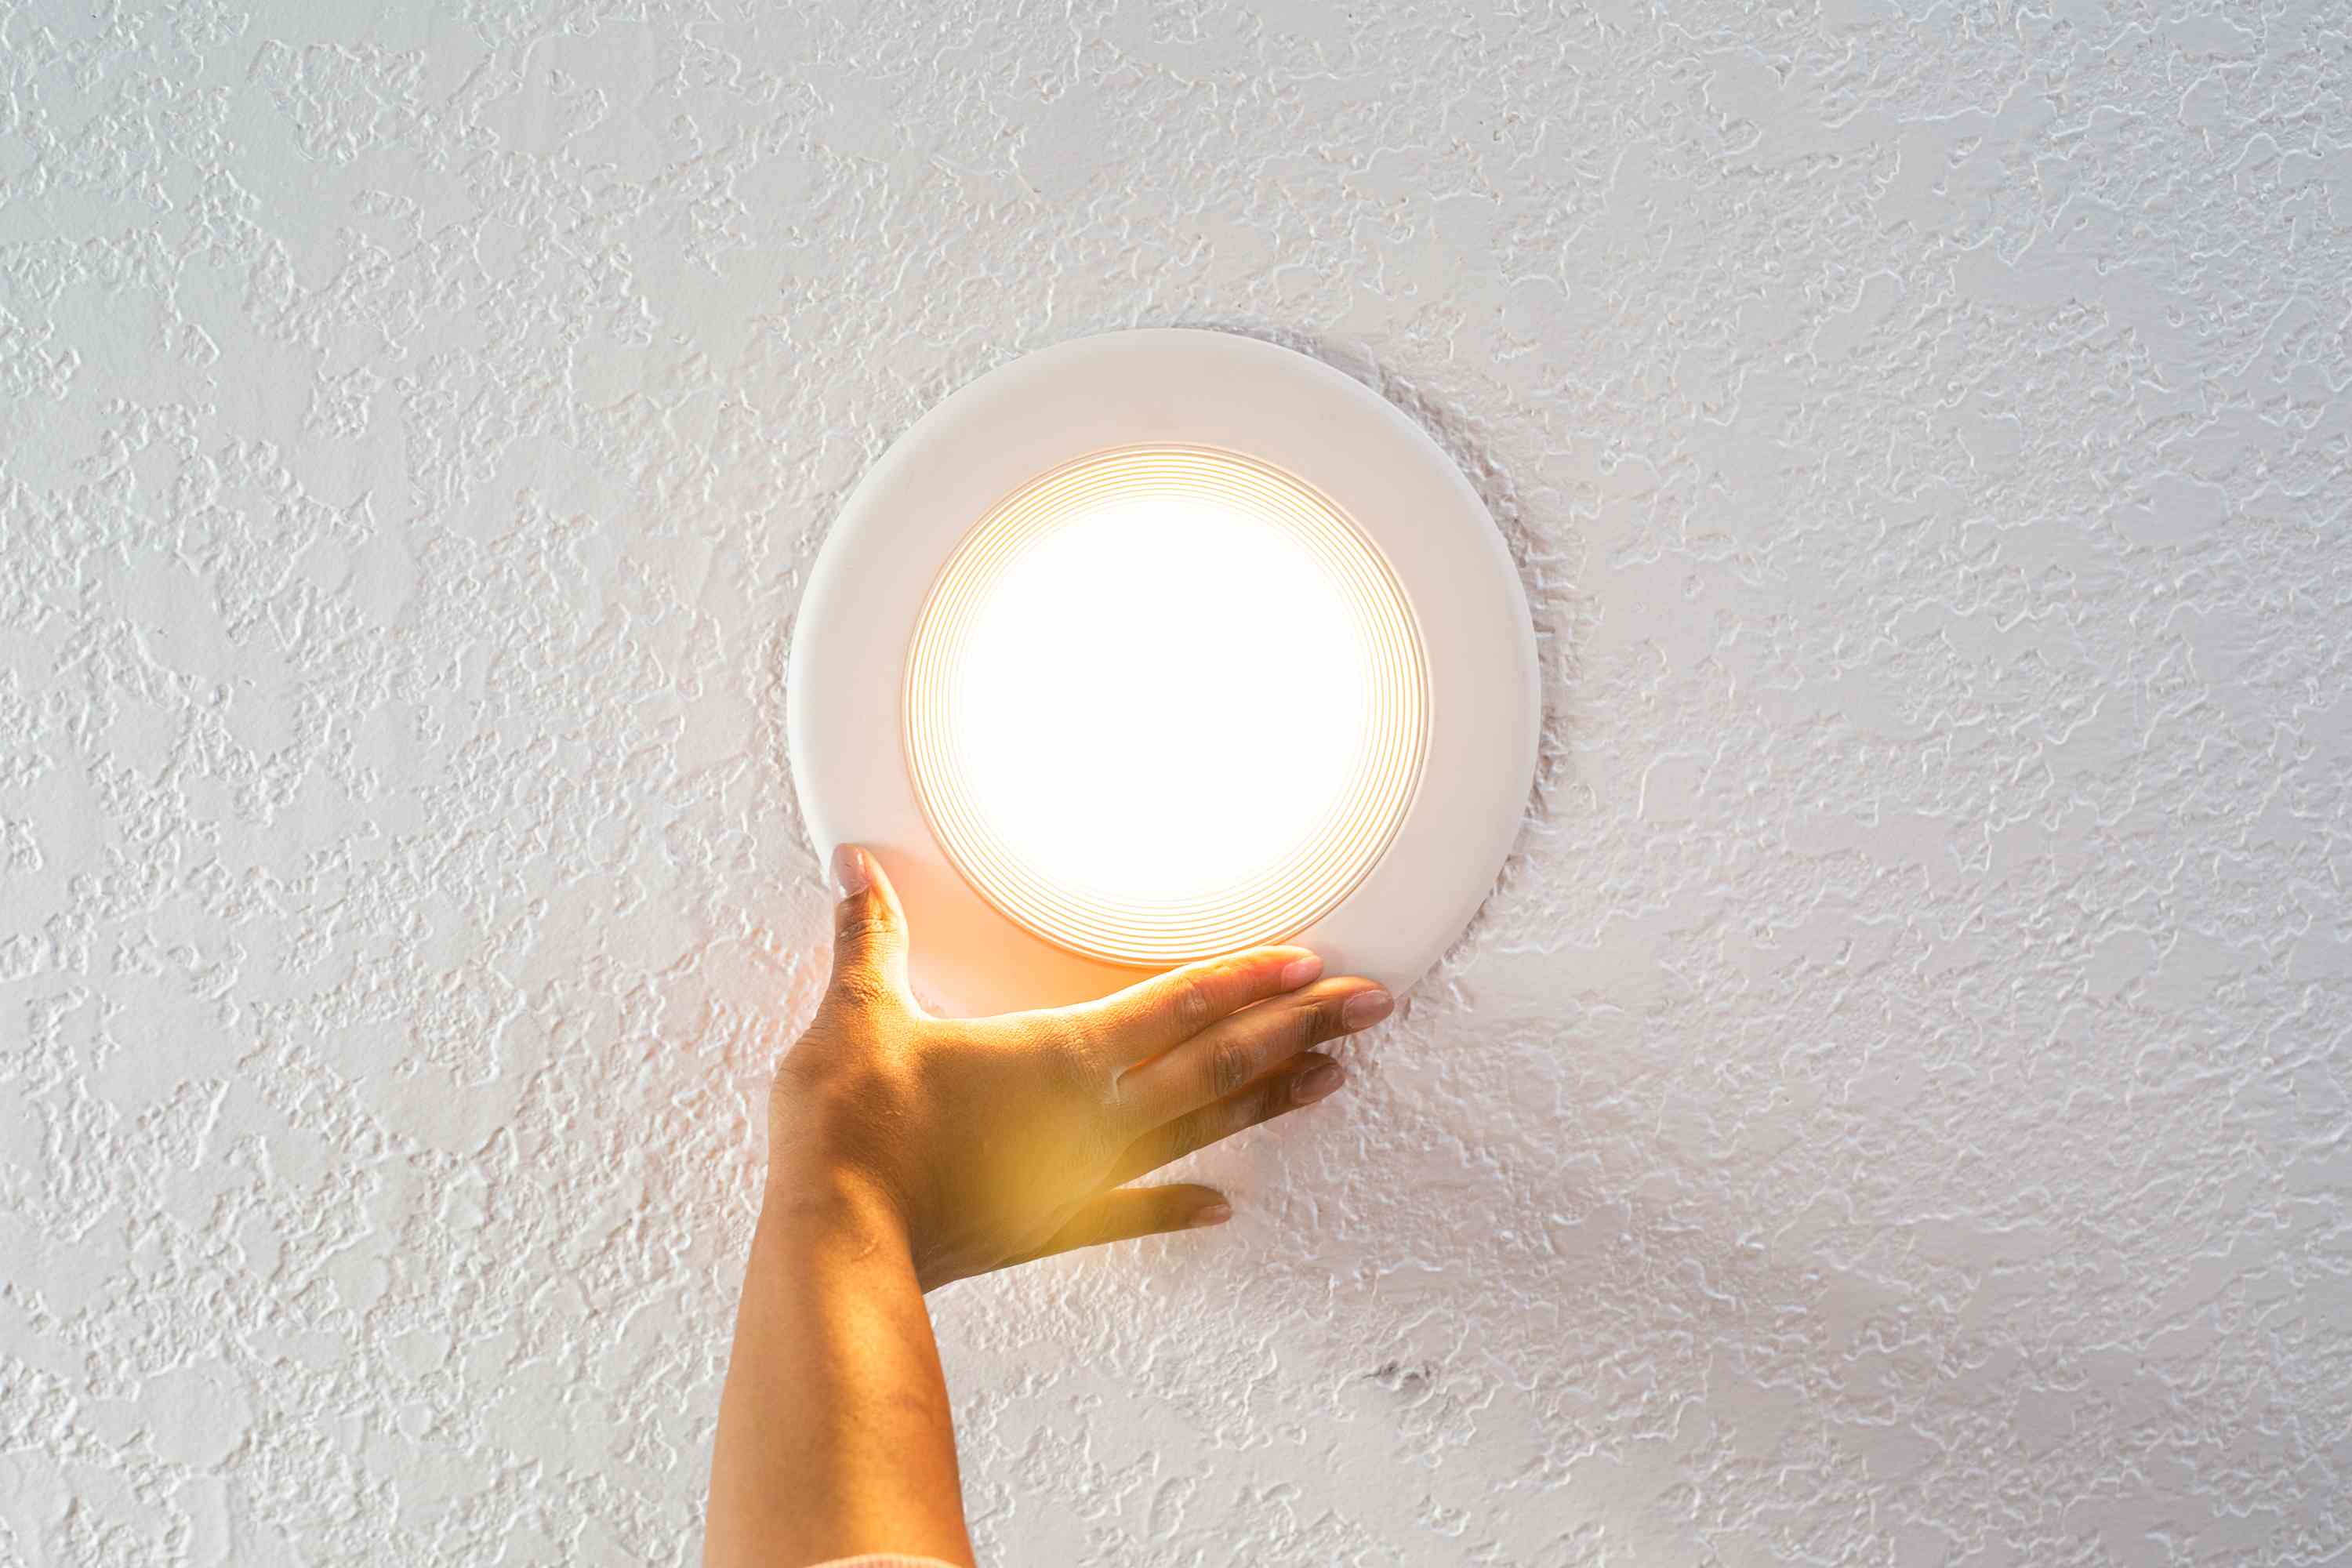
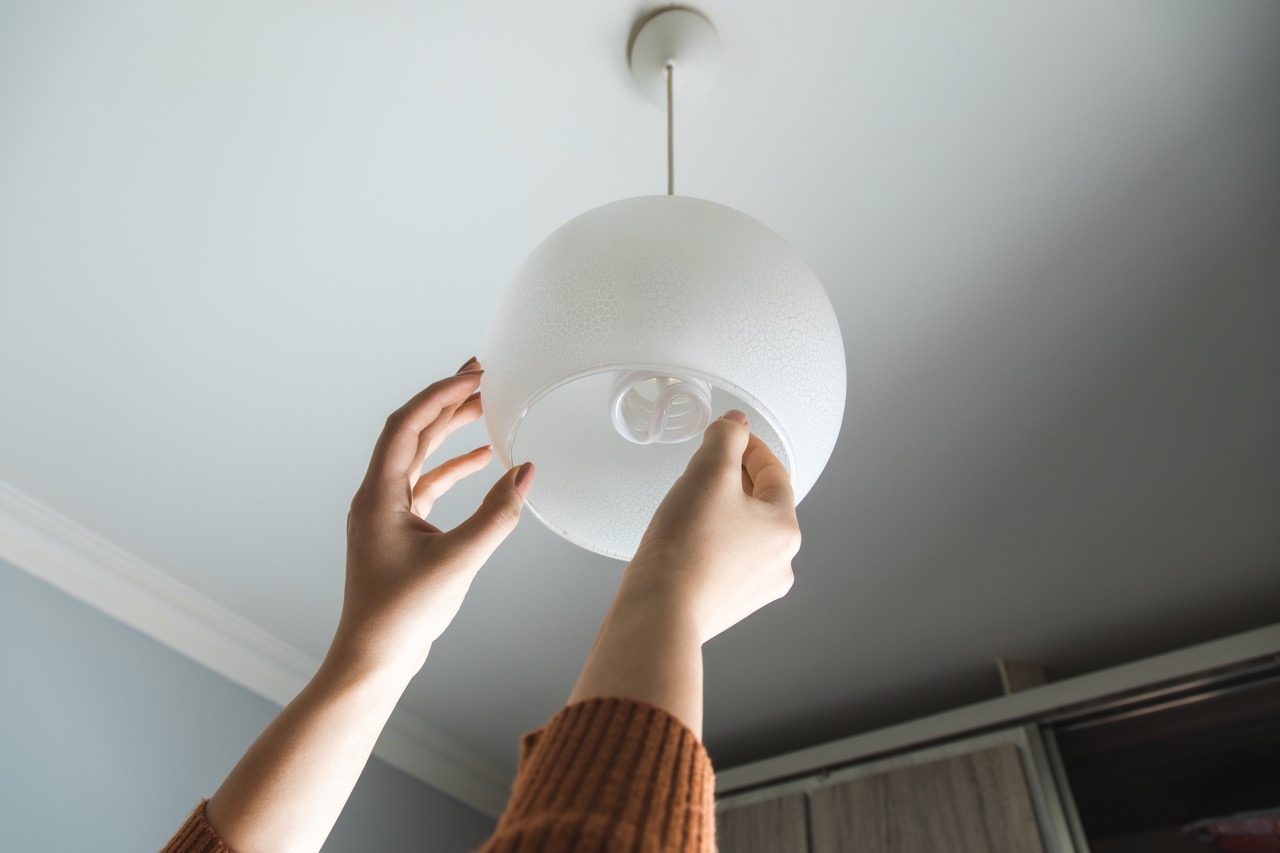
Step 6: Install the New Bulb
With the right replacement LED bulb in hand, it’s time to install it into the ceiling light fixture. Follow these steps to ensure a proper installation:
- Inspect the socket: Before inserting the new bulb, check the socket in the light fixture. Ensure that it is clean and free from any debris or residue that might affect the connection.
- Hold the new bulb correctly: When handling the new LED bulb, avoid touching the actual LED components. Instead, hold the bulb by its base or wear gloves to prevent any oil or residue from your hands transferring onto the bulb.
- Align the base and socket: Align the base of the LED bulb with the socket in the light fixture. Gently push the bulb into the socket, making sure it fits securely. Do not force the bulb or twist it excessively.
- Twist the bulb clockwise: Once the bulb is in place, give it a gentle clockwise twist to secure it. This ensures a proper connection and prevents the bulb from coming loose or flickering.
- Replace the cover or shade (if applicable): If you had removed a cover or shade earlier, now is the time to reattach it. Align the cover or shade with the fixture and secure it using the screws, clips, or fasteners.
It’s important to handle the new bulb with care and avoid any excessive force that could damage it. Make sure the bulb is securely fastened before moving on to the next step.
Now that you have successfully installed the new LED bulb, let’s move on to Step 7: Turn On the Power.
Step 7: Turn On the Power
After installing the new LED bulb into the ceiling light fixture, it’s time to restore power and test the functionality. Follow these steps to turn on the power:
- Return to the circuit breaker panel: Go back to the circuit breaker panel where you previously turned off the power to the light fixture.
- Find the corresponding breaker: Locate the breaker that controls the power supply to the ceiling light fixture.
- Switch on the breaker: Flip the switch associated with the light fixture to the “on” position. This restores power to the fixture.
- Test the light switch: Return to the room and test the light switch connected to the ceiling light fixture. Flip it on to see if the new LED bulb illuminates.
- Observe the functionality: Once the light is turned on, observe the functionality of the new LED bulb. Check for any flickering, dimness, or irregularities in the light output.
If the light functions properly without any issues, congratulations! You have successfully replaced the LED bulb in your ceiling light fixture. However, if you encounter any problems, such as flickering or inconsistent lighting, there may be an underlying issue that requires further investigation. In such cases, it’s recommended to consult a professional electrician for assistance.
Now that you have turned on the power and tested the new bulb, let’s move on to Step 8: Test the New Bulb.
Step 8: Test the New Bulb
After turning on the power to the ceiling light fixture, it’s important to test the new LED bulb to ensure it is functioning properly. Follow these steps to test the bulb:
- Observe the light output: Take a moment to observe the light output of the new LED bulb. Check if the brightness level is as expected and if the color temperature suits your preference.
- Check for flickering or dimness: Watch for any flickering or dimness in the light. LED bulbs are known for their stable and consistent illumination, so any flickering or dimness may indicate an issue.
- Look for any abnormalities: Examine the light for any abnormalities, such as uneven lighting, strange patterns, or unusual color cast. These visual irregularities may indicate a problem with the bulb or the fixture.
- Test the switch operation: Toggle the light switch on and off a few times to ensure smooth operation. Check if the bulb turns on and off promptly without any delay or hesitation.
If the new LED bulb passes these tests without any issues, congratulations! You have successfully replaced the bulb, and it is functioning as expected. Enjoy the energy-efficient and long-lasting lighting provided by the new LED bulb.
However, if you notice any abnormalities or encounter any problems during the testing process, it may be necessary to troubleshoot the issue further. In such cases, consulting a professional electrician is recommended.
Now that you have tested the new LED bulb, let’s move on to Step 9: Dispose of the Old Bulb Properly.
Read more: How To Replace Pool Light Bulb
Step 9: Dispose of the Old Bulb Properly
Proper disposal of the old LED bulb is essential to ensure environmental responsibility and safety. LED bulbs contain various materials that can be harmful if not disposed of correctly. Follow these steps to dispose of the old bulb properly:
- Turn off the power: Before handling the old bulb, make sure the power to the light fixture is turned off at the circuit breaker. This eliminates the risk of electric shock.
- Allow the bulb to cool down: If the old LED bulb was recently in use, give it enough time to cool down to avoid burns.
- Wrap the bulb: Carefully wrap the old bulb in a cloth, such as an old newspaper or tissue paper. This protects the bulb from breaking and contains any potentially harmful substances.
- Place it in a sealed bag: Put the wrapped bulb into a sealed plastic bag. This further prevents any potential release of hazardous materials.
- Label the bag: Use a permanent marker to label the bag as “Used LED Bulb” or “Broken Bulb” to alert others about its contents.
- Dispose of the bulb properly: Check with your local waste management authorities or recycling centers for the appropriate method of disposal. Some areas have specific guidelines for disposing of LED bulbs, so be sure to follow the regulations in your locality.
Avoid throwing the old LED bulb into regular household waste or recycling bins, as this may lead to improper disposal or potential harm to the environment. Take the necessary steps to ensure that it is disposed of in a responsible manner.
By following these instructions, you can contribute to a cleaner and safer environment while replacing your LED bulbs. Remember, responsible disposal is crucial to minimize the environmental impact of electronic waste.
Congratulations! You have now successfully completed all the steps to replace an LED bulb in a ceiling light fixture. Enjoy the benefits of energy-efficient and long-lasting lighting in your space!
If you have any further questions or concerns, it’s always recommended to seek guidance from a professional electrician or consult the manufacturer’s instructions for your specific light fixture.
Thank you for taking the time to learn how to replace an LED bulb in a ceiling light fixture. Happy lighting!
Conclusion
Replacing an LED bulb in a ceiling light fixture is a simple task that can be accomplished by following a few steps and taking the necessary precautions. By doing so, you can enjoy the benefits of energy-efficient and long-lasting lighting in your home or workspace.
In this article, we have discussed the step-by-step process of replacing an LED bulb in a ceiling light fixture. We covered the importance of preparation, safety precautions, turning off the power, removing the old bulb, choosing the right replacement bulb, installing the new bulb, and testing its functionality. We also highlighted the significance of disposing of the old bulb properly to protect the environment.
Throughout the process, it is essential to prioritize safety. Remember to turn off the power before starting any work, handle the bulbs with care, and seek professional help if you are unsure about any step or encounter any issues.
By replacing old incandescent or CFL bulbs with LED bulbs, you can enjoy significant energy savings and a longer lifespan. LED bulbs are more efficient, produce less heat, and have a lesser impact on the environment.
When choosing a replacement LED bulb, consider factors such as wattage, color temperature, base type, lumens, and energy efficiency. These factors will ensure that you select a bulb that suits your lighting needs and is compatible with your fixture.
Finally, when disposing of the old LED bulb, make sure to follow the recommended guidelines and consult your local waste management authorities. Proper disposal helps prevent the release of hazardous substances and contributes to a cleaner environment.
With this comprehensive guide, you are now equipped with the knowledge to replace an LED bulb in a ceiling light fixture. Enjoy the benefits of efficient and long-lasting lighting in your space!
Thank you for reading, and we hope this article has been helpful to you. If you have any further questions or concerns, don’t hesitate to seek professional assistance or refer to the manufacturer’s instructions for your specific light fixture.
Now that you've mastered swapping out an LED bulb, why not upgrade your entire home lighting? Our latest guide on LED replacement offers detailed insights on the best LED options to replace fluorescent tubes next year. With clearer, more efficient lighting solutions just around the corner, this article is a must-read for anyone looking to enhance their home's ambiance and utility.
Frequently Asked Questions about How To Replace An LED Bulb In A Ceiling Light
Was this page helpful?
At Storables.com, we guarantee accurate and reliable information. Our content, validated by Expert Board Contributors, is crafted following stringent Editorial Policies. We're committed to providing you with well-researched, expert-backed insights for all your informational needs.


0 thoughts on “How To Replace An LED Bulb In A Ceiling Light”