Home>Home Appliances>Lighting Appliances>How To Make A Ceiling Light
Lighting Appliances
How To Make A Ceiling Light
Published: February 14, 2024
Learn how to make a ceiling light with our step-by-step guide. Discover creative lighting appliances and DIY tips for your home.
(Many of the links in this article redirect to a specific reviewed product. Your purchase of these products through affiliate links helps to generate commission for Storables.com, at no extra cost. Learn more)
Introduction
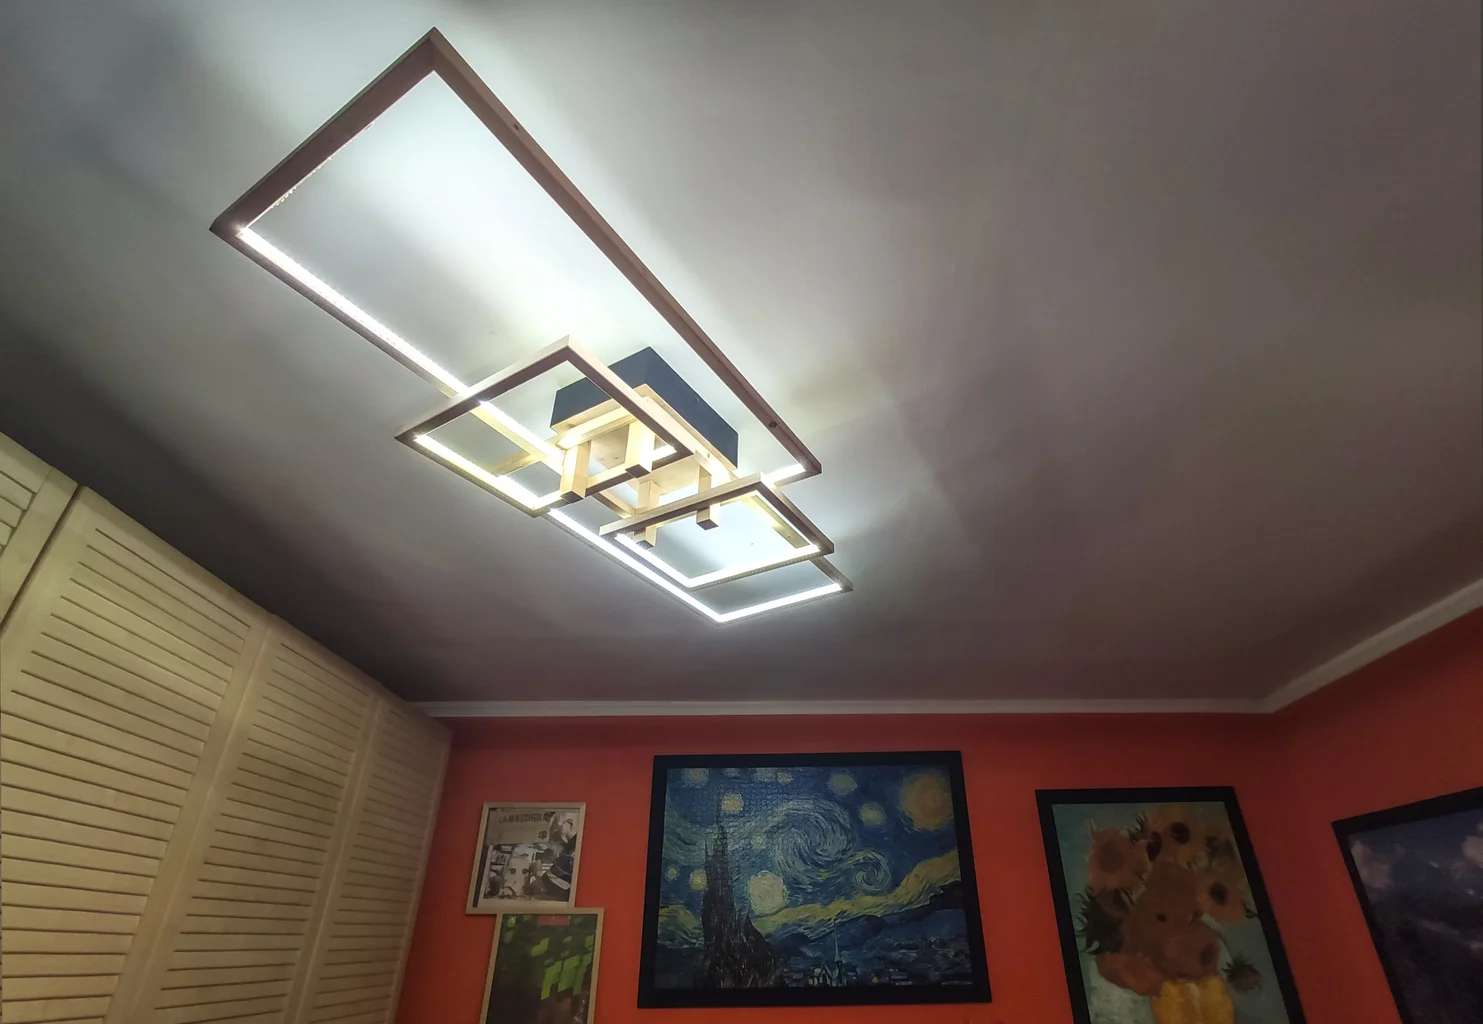
When it comes to illuminating a room, a ceiling light can serve as a focal point, adding both functionality and style to the space. Whether you're looking to upgrade an existing fixture or install a new one, the process can seem daunting at first. However, with the right guidance and a bit of DIY spirit, you can successfully install a ceiling light on your own.
In this comprehensive guide, we will walk you through the step-by-step process of installing a ceiling light fixture. From gathering the necessary materials and tools to testing the final result, we've got you covered. By following these instructions, you'll be able to brighten up your living space with a beautiful ceiling light that perfectly suits your aesthetic preferences.
Let's dive into the details and embark on this illuminating journey together. Whether you're a seasoned DIY enthusiast or a novice looking to expand your skill set, this guide will equip you with the knowledge and confidence to tackle this project with ease. So, roll up your sleeves, gather your tools, and let's get started on creating a well-lit and inviting atmosphere in your home.
Key Takeaways:
- Gathering the right materials and tools, preparing the ceiling, and securing the light fixture are crucial steps in successfully installing a ceiling light. Attention to detail and safety are key for a well-lit and inviting space.
- Testing the light fixture after installation ensures it operates as intended, providing the desired illumination and ambiance. Embrace the DIY spirit and enjoy the transformative impact of a well-installed ceiling light.
Read more: How To Move Ceiling Light
Step 1: Gather Materials and Tools
Before diving into the installation process, it's crucial to gather all the necessary materials and tools. By ensuring that you have everything at your disposal, you can streamline the installation and minimize interruptions. Here's a comprehensive list of what you'll need:
Materials:
- Ceiling Light Fixture: Select a fixture that complements the room's aesthetics and meets your lighting needs.
- Light Bulbs: Choose bulbs that are compatible with the fixture and provide the desired level of brightness.
- Wire Nuts: These will be used to secure the electrical connections.
- Electrical Tape: Essential for insulating and securing wire connections.
- Mounting Bracket: If not included with the fixture, ensure you have a suitable mounting bracket for installation.
- Ceiling Medallion (Optional): This decorative element can enhance the visual appeal of the fixture.
- Safety Glasses: Protect your eyes during the installation process.
Tools:
- Screwdriver Set: Both flathead and Phillips screwdrivers will be necessary for various components.
- Wire Cutter/Stripper: Essential for preparing the electrical wires for connection.
- Voltage Tester: Use this to ensure the power is off before starting the installation.
- Ladder or Step Stool: Depending on the ceiling height, ensure you have a stable platform for reaching the installation area.
- Pliers: Helpful for bending and securing wires as needed.
- Stud Finder: If the fixture is heavy, a stud finder will help locate a secure anchor point in the ceiling.
By having these materials and tools on hand, you'll be well-prepared to proceed with the installation process. It's important to prioritize safety throughout the project, so be sure to wear safety glasses and use a voltage tester to confirm that the power is off before beginning any work. With everything in place, you're ready to move on to the next step and prepare the ceiling for the new light fixture.
Step 2: Prepare the Ceiling
Before installing the new ceiling light fixture, it's essential to prepare the ceiling to ensure a smooth and secure installation process. Follow these steps to get the ceiling ready for the upcoming fixture:
Turn Off the Power
Safety is paramount when working with electrical components. Begin by turning off the power to the existing light fixture at the circuit breaker. Once the power is off, use a voltage tester to confirm that no electricity is flowing to the wires. This crucial step helps prevent any electrical accidents during the installation process.
Remove the Existing Fixture
If there is an old light fixture in place, carefully remove it by unscrewing the mounting screws and disconnecting the wires. Once the fixture is detached, set it aside and proceed to assess the ceiling area.
Inspect the Wiring and Ceiling Box
After removing the old fixture, inspect the wiring and ceiling box to ensure they are in good condition. Look for any signs of damage or wear, such as frayed wires or loose connections. If any issues are identified, it's important to address them before proceeding with the new installation.
Assess the Mounting Surface
Examine the ceiling surface where the new fixture will be installed. Ensure that it is clean and free of any debris or obstructions. If the ceiling surface is uneven, consider using a ceiling medallion to provide a smooth and visually appealing mounting surface for the fixture.
Read more: How To Choose A Ceiling Light
Install a Mounting Bracket (If Necessary)
If the new fixture requires a mounting bracket and one is not already in place, follow the manufacturer's instructions to install the bracket securely to the ceiling box. The mounting bracket serves as a stable anchor for the light fixture and is essential for ensuring its proper installation.
By thoroughly preparing the ceiling for the new light fixture, you'll create a solid foundation for the upcoming installation. Taking the time to assess the wiring, ceiling box, and mounting surface will help ensure a seamless and secure mounting process for the new ceiling light. With the ceiling prepared, you're now ready to move on to the exciting phase of installing the new light fixture and bringing illumination to your space.
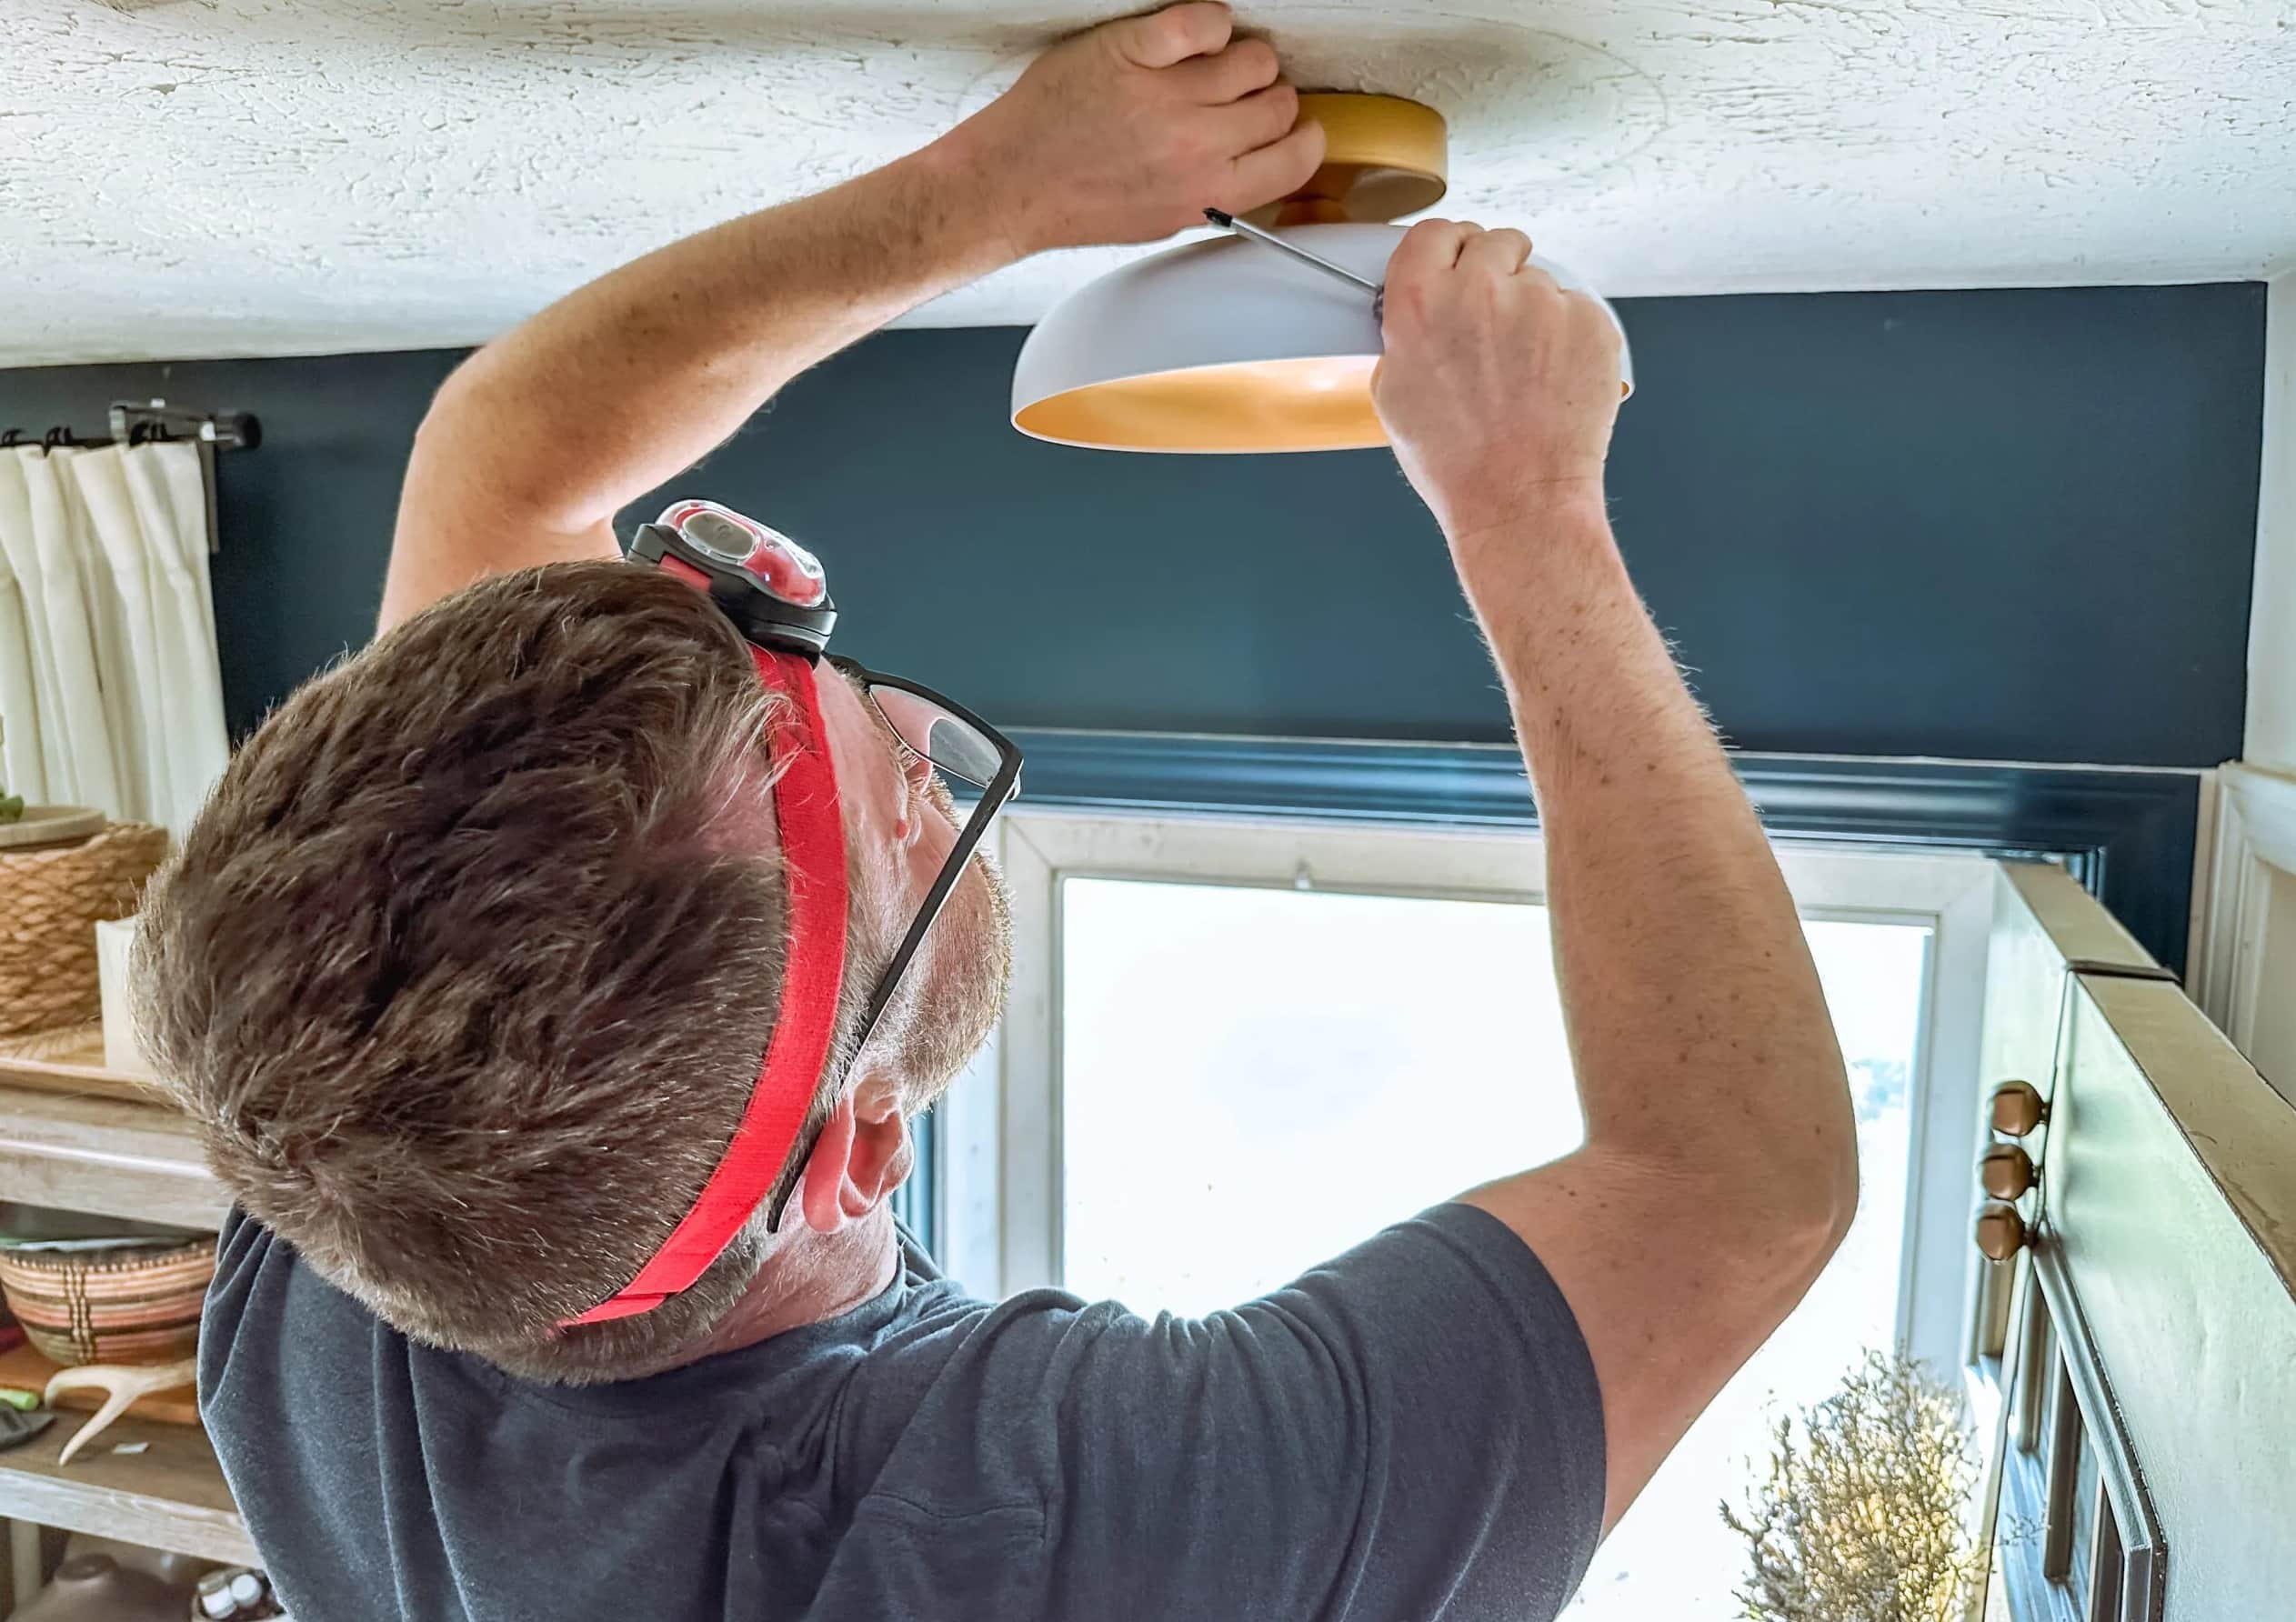
Step 3: Install the Light Fixture
With the ceiling prepared and the necessary materials and tools at your disposal, it's time to proceed with installing the new light fixture. Follow these detailed steps to ensure a successful installation:
-
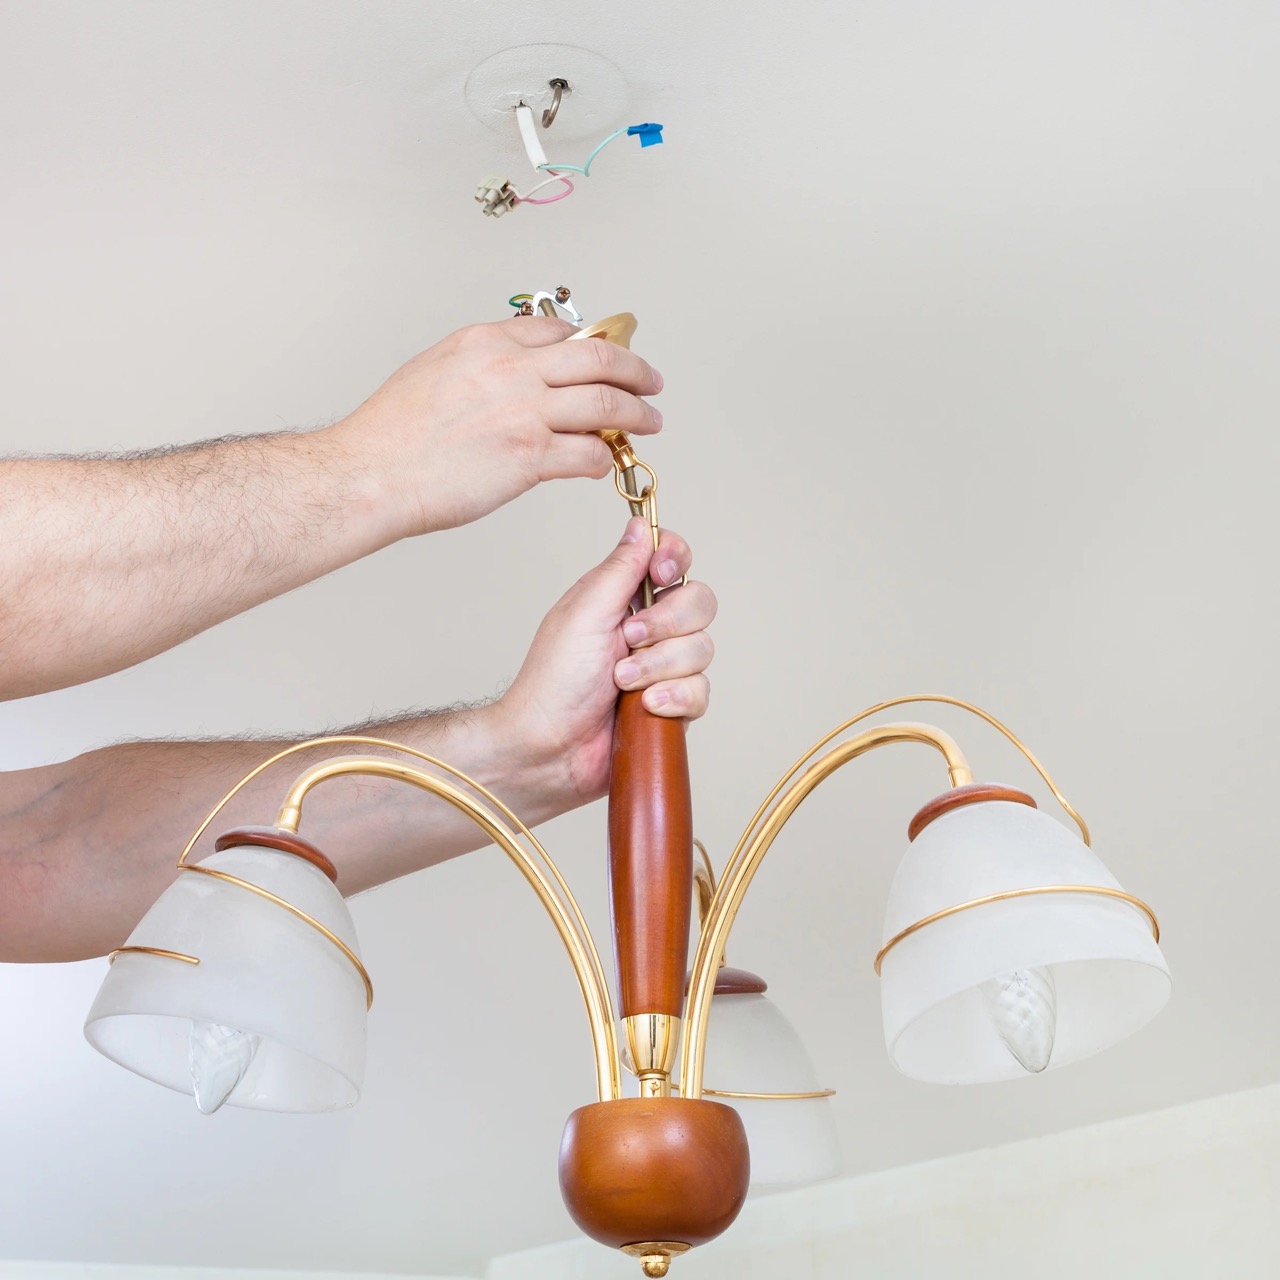
Position the Fixture: Carefully position the new light fixture at the designated mounting area on the ceiling. If the fixture is heavy, consider enlisting the help of a partner to hold it in place while you work on securing it.
-
Connect the Wires: Begin by connecting the fixture's wires to the corresponding wires in the ceiling box. Match the black (hot) wire from the fixture to the black wire in the ceiling, the white (neutral) wire from the fixture to the white wire in the ceiling, and the green or bare copper (ground) wire from the fixture to the grounding wire in the ceiling box. Use wire nuts to secure the connections, ensuring they are tight and insulated.
-
Secure the Fixture Base: Once the wires are connected, carefully lift the fixture base and align it with the mounting screws or bracket. Secure the base in place by tightening the mounting screws or fastening it to the bracket, following the manufacturer's instructions. Ensure that the fixture is level and firmly attached to the ceiling.
-
Attach the Decorative Elements: If your light fixture includes any decorative elements, such as a ceiling medallion, carefully attach them according to the manufacturer's guidelines. These elements can enhance the visual appeal of the fixture and provide a polished finishing touch to the installation.
-
Install Light Bulbs: With the fixture securely in place, insert the appropriate light bulbs into the sockets. Ensure that the bulbs are compatible with the fixture and align with the recommended wattage and type specified by the manufacturer.
-
Double-Check Connections: Before proceeding, double-check all the wire connections to ensure they are secure and properly insulated. It's essential to confirm that the wiring is correctly installed to prevent any electrical issues once the power is restored.
By following these steps, you'll successfully install the new light fixture, bringing illumination and style to your living space. With the fixture securely mounted and the wiring properly connected, you're one step closer to enjoying the enhanced ambiance and functionality that a well-installed ceiling light provides.
Step 4: Connect the Wiring
Connecting the wiring is a crucial step in the installation of a ceiling light fixture, as it ensures the safe and reliable operation of the new lighting element. Properly securing the electrical connections is essential for both functionality and safety. Here's a detailed guide on how to connect the wiring for your new ceiling light fixture:
-
Prepare the Wires: Begin by carefully stripping the insulation from the end of each wire to expose a sufficient length of conductor. Use a wire cutter/stripper to remove the insulation, taking care not to damage the actual wire strands. This step is vital for creating clean and secure connections.
-
Match the Wires: Identify the corresponding wires from the ceiling box and the light fixture. Typically, you will encounter three wires: black (hot), white (neutral), and green or bare copper (ground). Match the wires based on their functions, ensuring that the colors align correctly.
-
Secure the Connections: Once the wires are matched, twist the exposed ends of the wires together based on their functions. Twist the black wires together, followed by the white wires, and finally the ground wires. After twisting the wires together, place a wire nut over each connection and twist it clockwise until it is snugly secured. This step ensures that the wires are tightly connected and insulated, preventing any exposed conductors.
-
Insulate with Electrical Tape: To provide an additional layer of protection and insulation, wrap each wire nut and the connected wires with electrical tape. This further secures the wire nuts and prevents them from loosening over time. It also helps safeguard the connections from moisture and other environmental factors.
-
Check the Connections: After securing the wire nuts and insulating the connections, perform a visual inspection to ensure that all connections are properly made and insulated. Verify that there are no exposed conductors and that the wire nuts are securely in place.
By following these steps to connect the wiring, you'll establish reliable electrical connections for your new ceiling light fixture. It's essential to approach this process with precision and attention to detail to ensure the safe and effective operation of the lighting element. With the wiring securely connected, you're ready to proceed with the next steps of the installation process, bringing you closer to enjoying the enhanced illumination and ambiance in your living space.
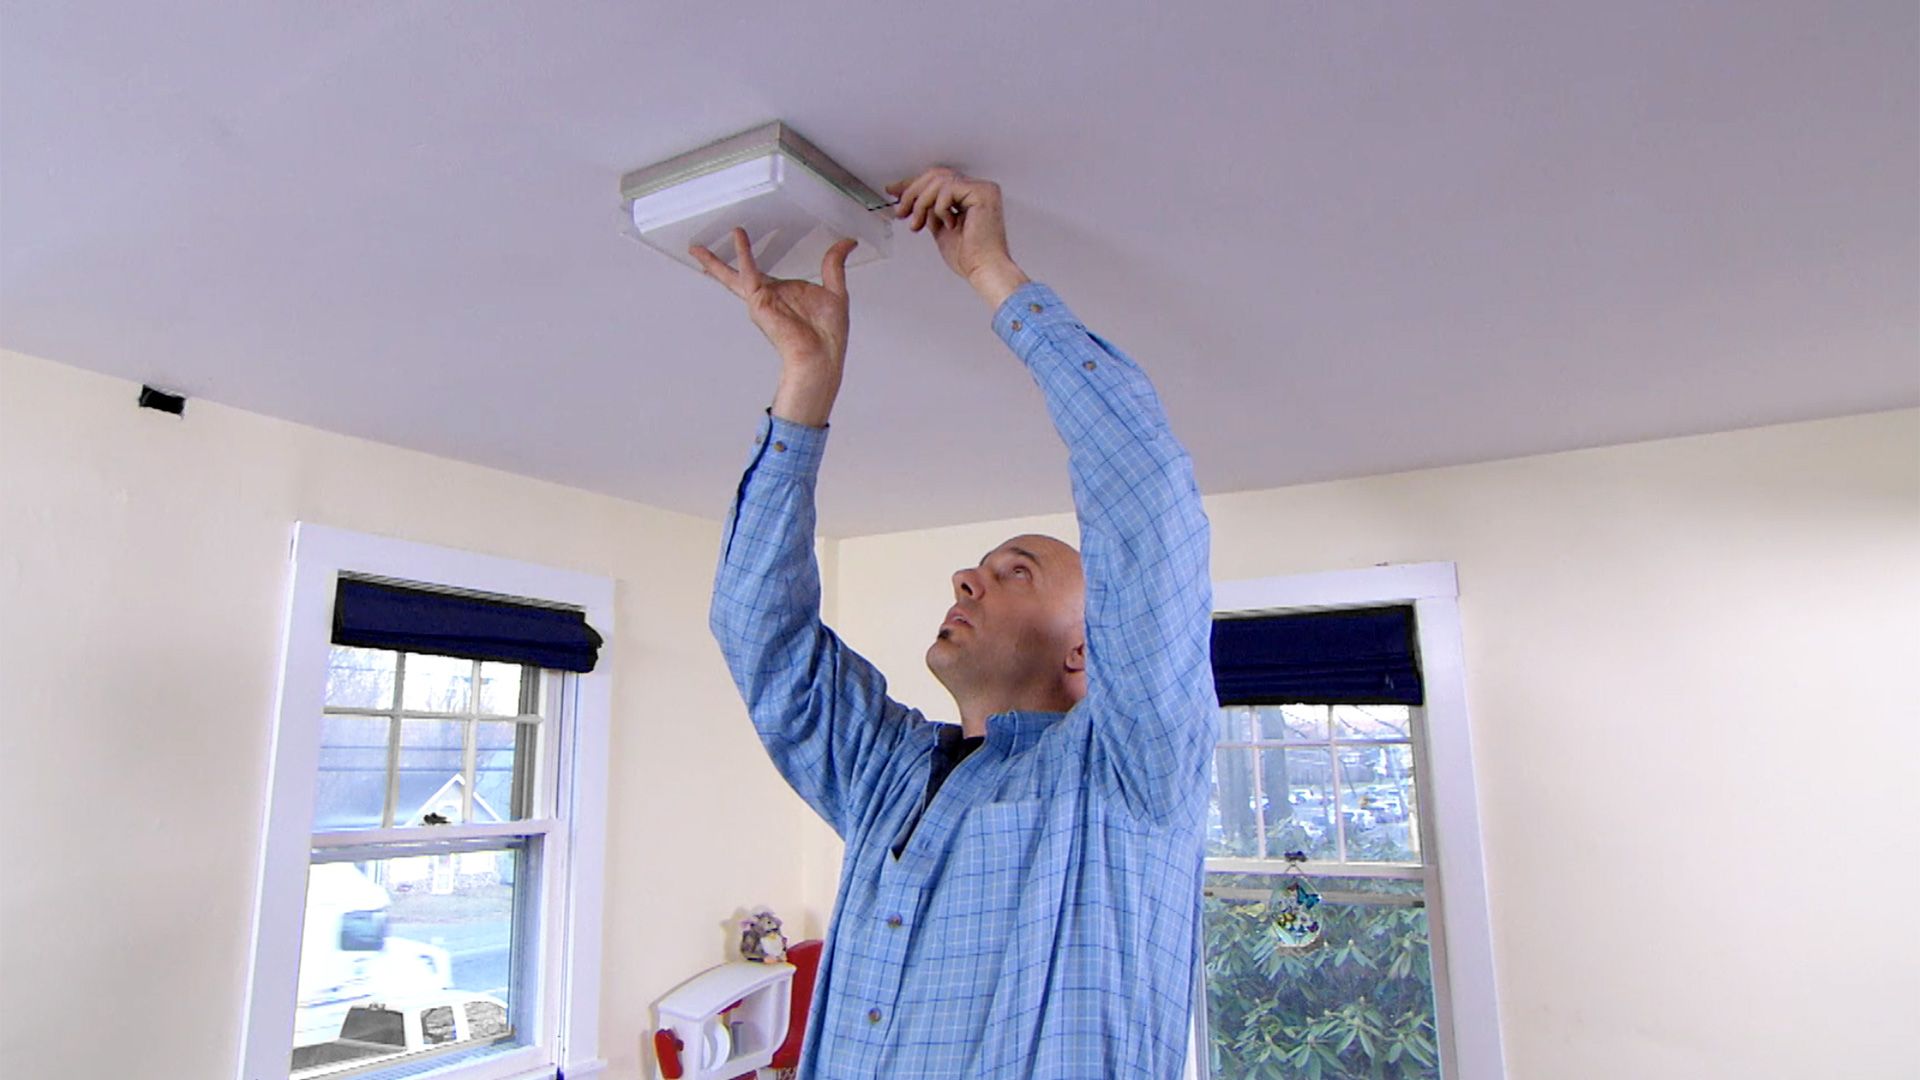
Step 5: Secure the Light Fixture
Securing the light fixture is a critical step in the installation process, as it ensures the stability and proper alignment of the fixture with the ceiling. By securely fastening the fixture in place, you not only enhance its aesthetic appeal but also contribute to the overall safety and functionality of the lighting element. Follow these detailed steps to effectively secure the light fixture:
Read more: How To Test A Ceiling Light
Align the Fixture
Before securing the fixture, ensure that it is properly aligned with the mounting screws or bracket on the ceiling. Take a moment to adjust its position, ensuring that it is level and centered according to your preferences. This initial alignment sets the foundation for a visually pleasing and well-balanced installation.
Tighten the Mounting Screws
If the fixture utilizes mounting screws to secure it to the ceiling, use a screwdriver to tighten the screws firmly. Ensure that the fixture base is snug against the ceiling, minimizing any potential movement or wobbling. By securely fastening the mounting screws, you establish a stable connection between the fixture and the ceiling, enhancing its overall durability.
Fasten the Fixture to the Bracket
In cases where a mounting bracket is employed for the installation, carefully fasten the fixture to the bracket according to the manufacturer's instructions. Utilize the provided hardware to secure the fixture in place, ensuring that it is firmly attached to the bracket. This step is crucial for maintaining the fixture's position and preventing any swaying or instability.
Verify Stability
Once the fixture is secured, perform a brief assessment of its stability. Gently nudge the fixture to confirm that it is firmly anchored and does not exhibit any excessive movement. This verification ensures that the fixture is securely fastened and ready for the next phase of the installation process.
By following these steps to secure the light fixture, you establish a solid and reliable mounting that enhances both the visual appeal and functionality of the ceiling light. With the fixture firmly in place, you're one step closer to completing the installation and enjoying the illuminating effects of your newly installed ceiling light.
Read more: How To Measure A Ceiling Light
Step 6: Test the Light
With the ceiling light fixture securely installed and the wiring connections completed, it's time to proceed with testing the functionality of the newly installed light. This critical step ensures that the fixture operates as intended and provides the desired illumination for your living space. Follow these essential guidelines to effectively test the light and confirm its proper operation:
-
Restore Power: Begin by returning to the circuit breaker or electrical panel and restoring power to the light fixture's circuit. Carefully switch the corresponding breaker back to the "on" position, allowing electricity to flow to the newly installed fixture.
-
Turn on the Light: Once the power is restored, switch on the light using the designated wall switch or control. Observe the fixture as it illuminates, taking note of the brightness, color temperature, and overall coverage of the light. Ensure that the light output aligns with your expectations and complements the room's ambiance.
-
Check for Proper Functionality: Assess the functionality of the light fixture by testing any additional features it may offer, such as dimming capabilities or adjustable settings. Verify that the fixture responds as intended to any control options available, ensuring a seamless and customizable lighting experience.
-
Inspect for Flickering or Issues: While the light is illuminated, carefully observe its performance for any signs of flickering, irregularities, or unusual behavior. Flickering lights or inconsistent operation may indicate wiring issues or compatibility issues with the bulbs. If any concerns arise, it's essential to address them promptly to ensure the fixture's optimal performance.
-
Evaluate the Light's Coverage: Walk around the room and assess the distribution of light provided by the fixture. Verify that the illumination adequately reaches all desired areas, providing functional and visually appealing lighting throughout the space. Adjust the positioning or direction of the fixture if necessary to optimize its coverage.
-
Confirm Switch Functionality: Test the wall switch or control associated with the light fixture to ensure that it effectively turns the light on and off. Verify that the switch operates smoothly and consistently, allowing for convenient control of the newly installed ceiling light.
By following these steps to test the light, you can confidently confirm the successful installation and operation of the ceiling light fixture. This thorough evaluation ensures that the fixture meets your lighting needs and enhances the ambiance of your living space, providing both functionality and visual appeal. With the light tested and functioning as intended, you can now bask in the well-lit and inviting atmosphere created by your newly installed ceiling light.
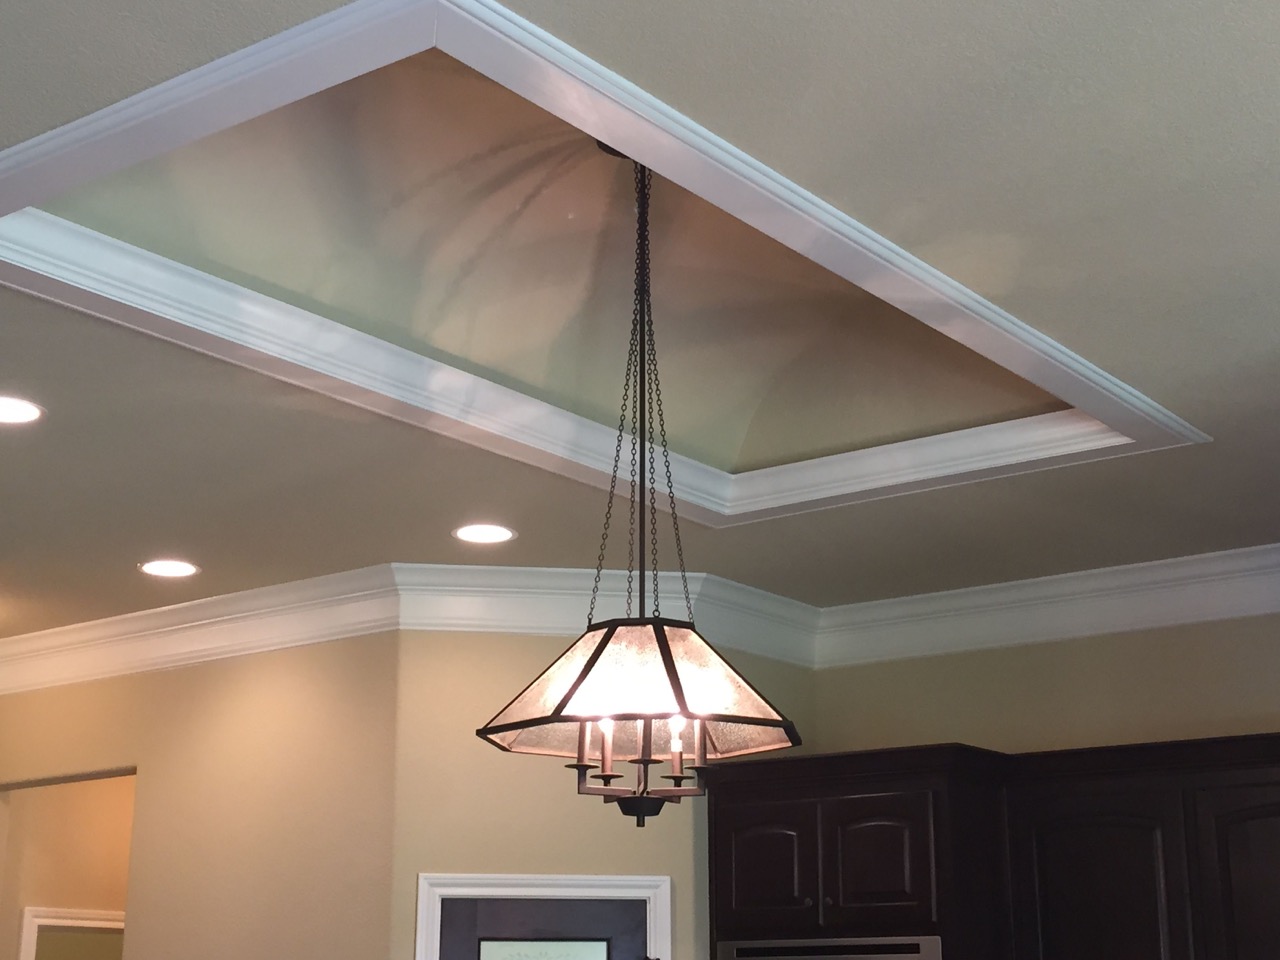
Conclusion
Congratulations on successfully installing your new ceiling light fixture! By following the comprehensive steps outlined in this guide, you've not only added a functional lighting element to your living space but also demonstrated your DIY prowess. As you wrap up this installation journey, take a moment to appreciate the transformative impact of a well-installed ceiling light.
The process began with gathering the necessary materials and tools, setting the stage for a smooth and organized installation. From selecting the perfect fixture to ensuring you had the essential tools at your disposal, your preparation laid the groundwork for a successful project.
Preparing the ceiling for the new fixture was a crucial step, emphasizing the importance of safety and meticulous assessment. By turning off the power, removing the existing fixture, and inspecting the wiring and mounting surface, you established a secure foundation for the upcoming installation.
Installing the light fixture itself was a pivotal moment, where you connected the wires, secured the fixture base, and added the finishing touches. Your attention to detail and precision during this phase ensured the proper functionality and visual appeal of the newly installed ceiling light.
Connecting the wiring and securing the light fixture were critical steps that contributed to the safety and reliability of the installation. By carefully matching, securing, and insulating the wires, as well as ensuring the stable attachment of the fixture, you established a solid and dependable lighting element in your home.
Finally, testing the light marked the culmination of your installation journey, allowing you to confirm the successful operation and performance of the fixture. By evaluating its functionality, coverage, and switch operation, you ensured that the new ceiling light met your expectations and enhanced the ambiance of your living space.
As you admire the warm glow and inviting atmosphere created by your newly installed ceiling light, take pride in the skills and knowledge you've gained throughout this process. Whether you're enjoying a cozy evening at home or hosting gatherings with friends and family, your well-lit space serves as a testament to your DIY capabilities and commitment to enhancing your living environment.
With your new ceiling light shining brightly, you've not only illuminated your home but also illuminated your DIY spirit. Embrace the enhanced ambiance and functionality that your new fixture brings, and revel in the satisfaction of a successful installation. Here's to the illuminating journey you've embarked on and the inviting atmosphere you've created in your living space. Well done!
Frequently Asked Questions about How To Make A Ceiling Light
Was this page helpful?
At Storables.com, we guarantee accurate and reliable information. Our content, validated by Expert Board Contributors, is crafted following stringent Editorial Policies. We're committed to providing you with well-researched, expert-backed insights for all your informational needs.


0 thoughts on “How To Make A Ceiling Light”