Home>Gardening & Outdoor>Outdoor Structures>How To Anchor A Shed To A Concrete Slab
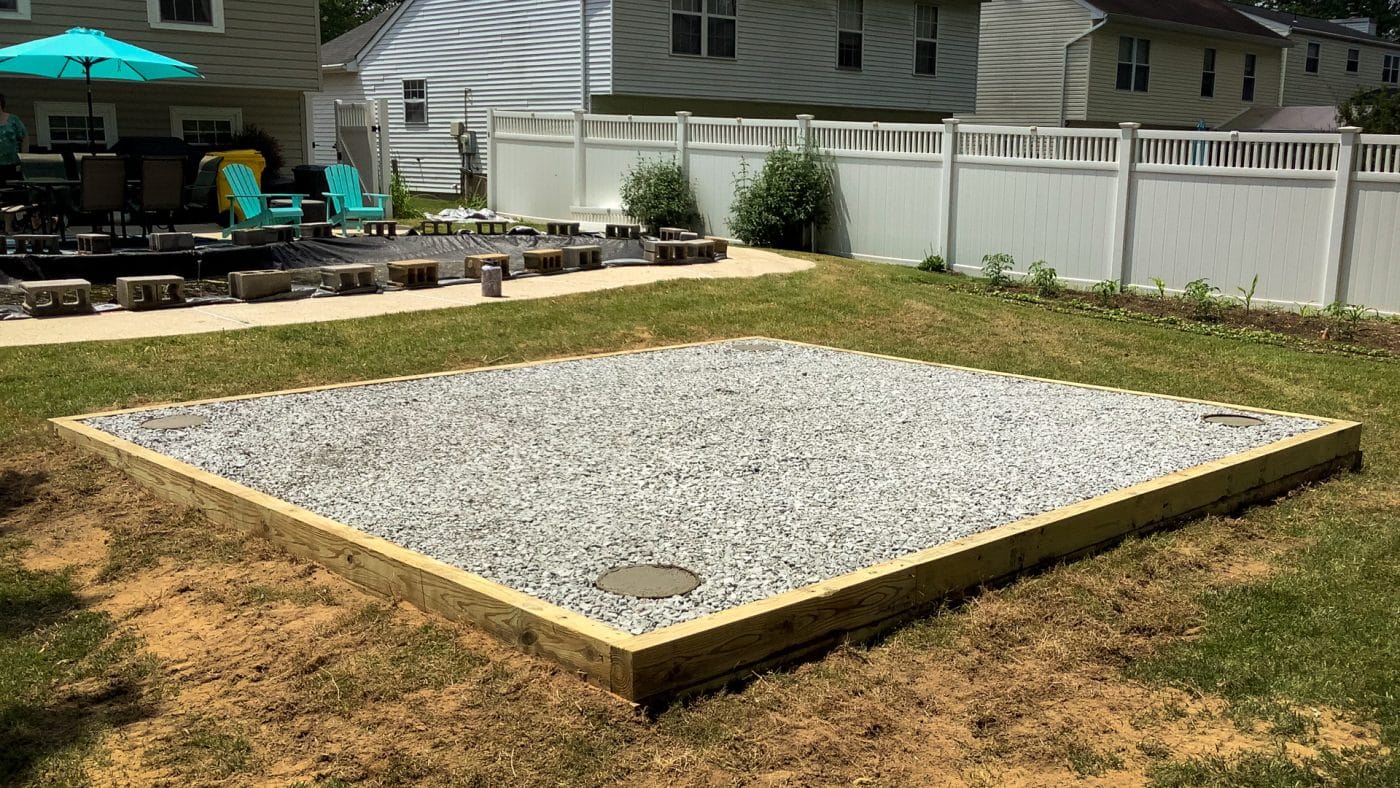

Outdoor Structures
How To Anchor A Shed To A Concrete Slab
Modified: August 28, 2024
Learn how to securely anchor your shed to a concrete slab for long-lasting stability and protection against outdoor elements. Expert tips and techniques for outdoor structures.
(Many of the links in this article redirect to a specific reviewed product. Your purchase of these products through affiliate links helps to generate commission for Storables.com, at no extra cost. Learn more)
**
Introduction
**
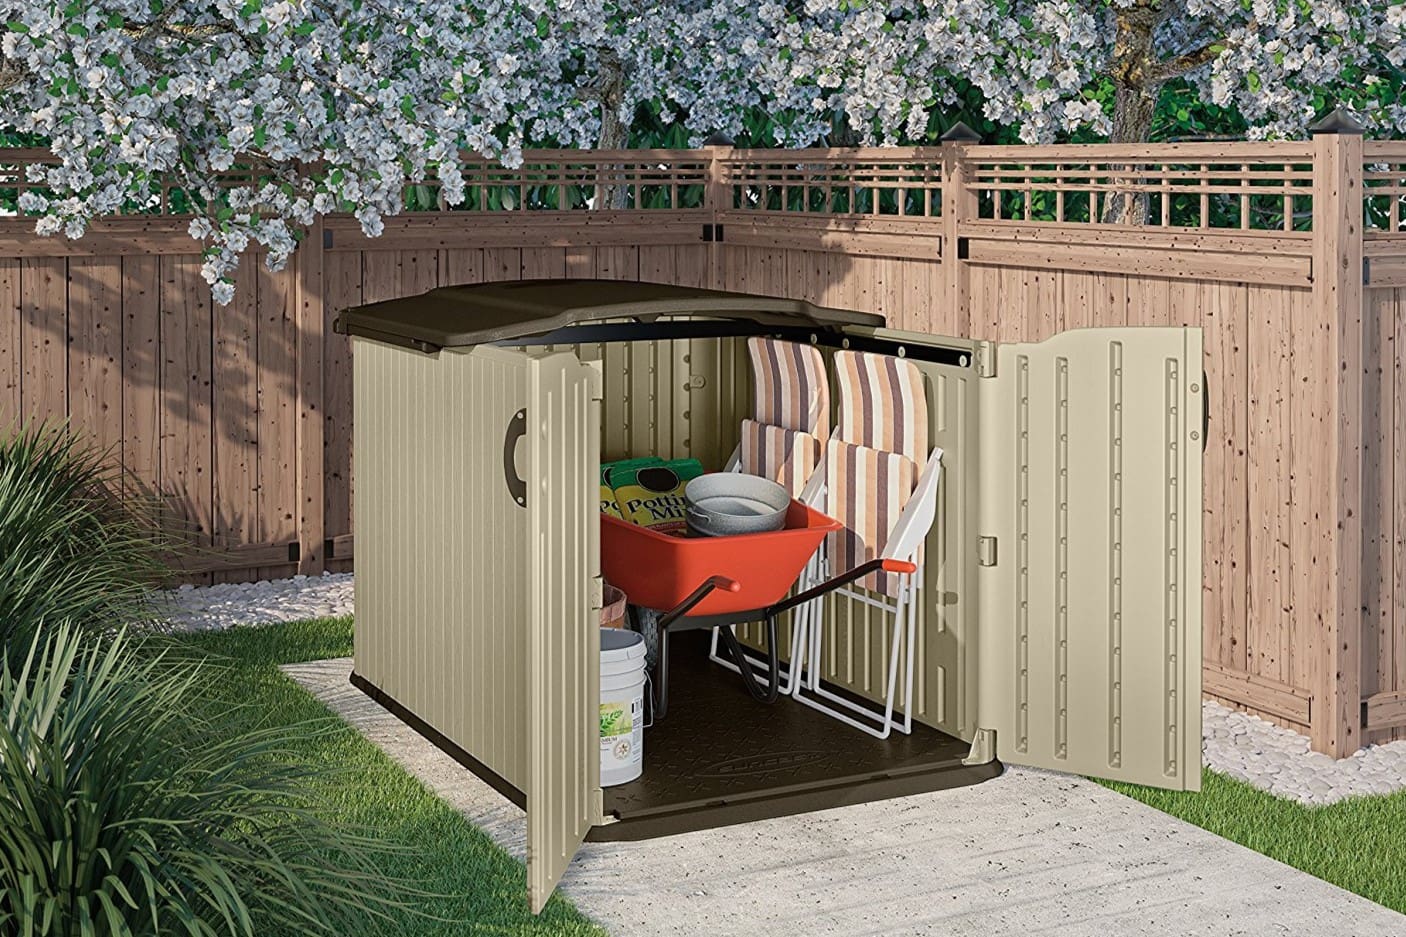
Are you contemplating adding a shed to your property? Whether it's for storing tools, housing your outdoor gear, or creating a workshop space, a shed is a valuable addition to any home. When it comes to securing your shed, anchoring it to a concrete slab is a robust and reliable method. Not only does this ensure stability and durability, but it also provides protection against strong winds and other environmental factors.
In this comprehensive guide, we will walk you through the process of anchoring a shed to a concrete slab, providing you with the knowledge and confidence to complete this project successfully. From the essential tools and materials required to the step-by-step process of preparation and anchoring, you'll gain valuable insights and practical tips to make this endeavor a seamless and rewarding experience.
So, roll up your sleeves, gather your tools, and let's dive into the world of shed anchoring to create a secure and resilient outdoor storage solution.
Key Takeaways:
- Anchoring a shed to a concrete slab provides stability and protection against strong winds and environmental factors, ensuring a durable and reliable outdoor storage solution.
- By meticulously preparing the concrete slab and securely anchoring the shed, you create a resilient foundation that enhances the safety, longevity, and value of your outdoor space.
Read more: How To Build A Shed On A Concrete Slab
Tools and Materials Required
Before embarking on the process of anchoring your shed to a concrete slab, it’s essential to gather the necessary tools and materials. Here’s a comprehensive list to ensure you’re well-equipped for the task:
Tools:
- Measuring tape
- Hammer
- Drill
- Masonry drill bit
- Wrench
- Level
- Adjustable wrench
- Chalk line
- Wrench or socket set
- Work gloves
- Safety goggles
- Dust mask
Materials:
- Concrete anchors
- Anchor bolts
- Pressure-treated lumber or metal brackets
- Shims
- Construction adhesive
- Sealant or caulk
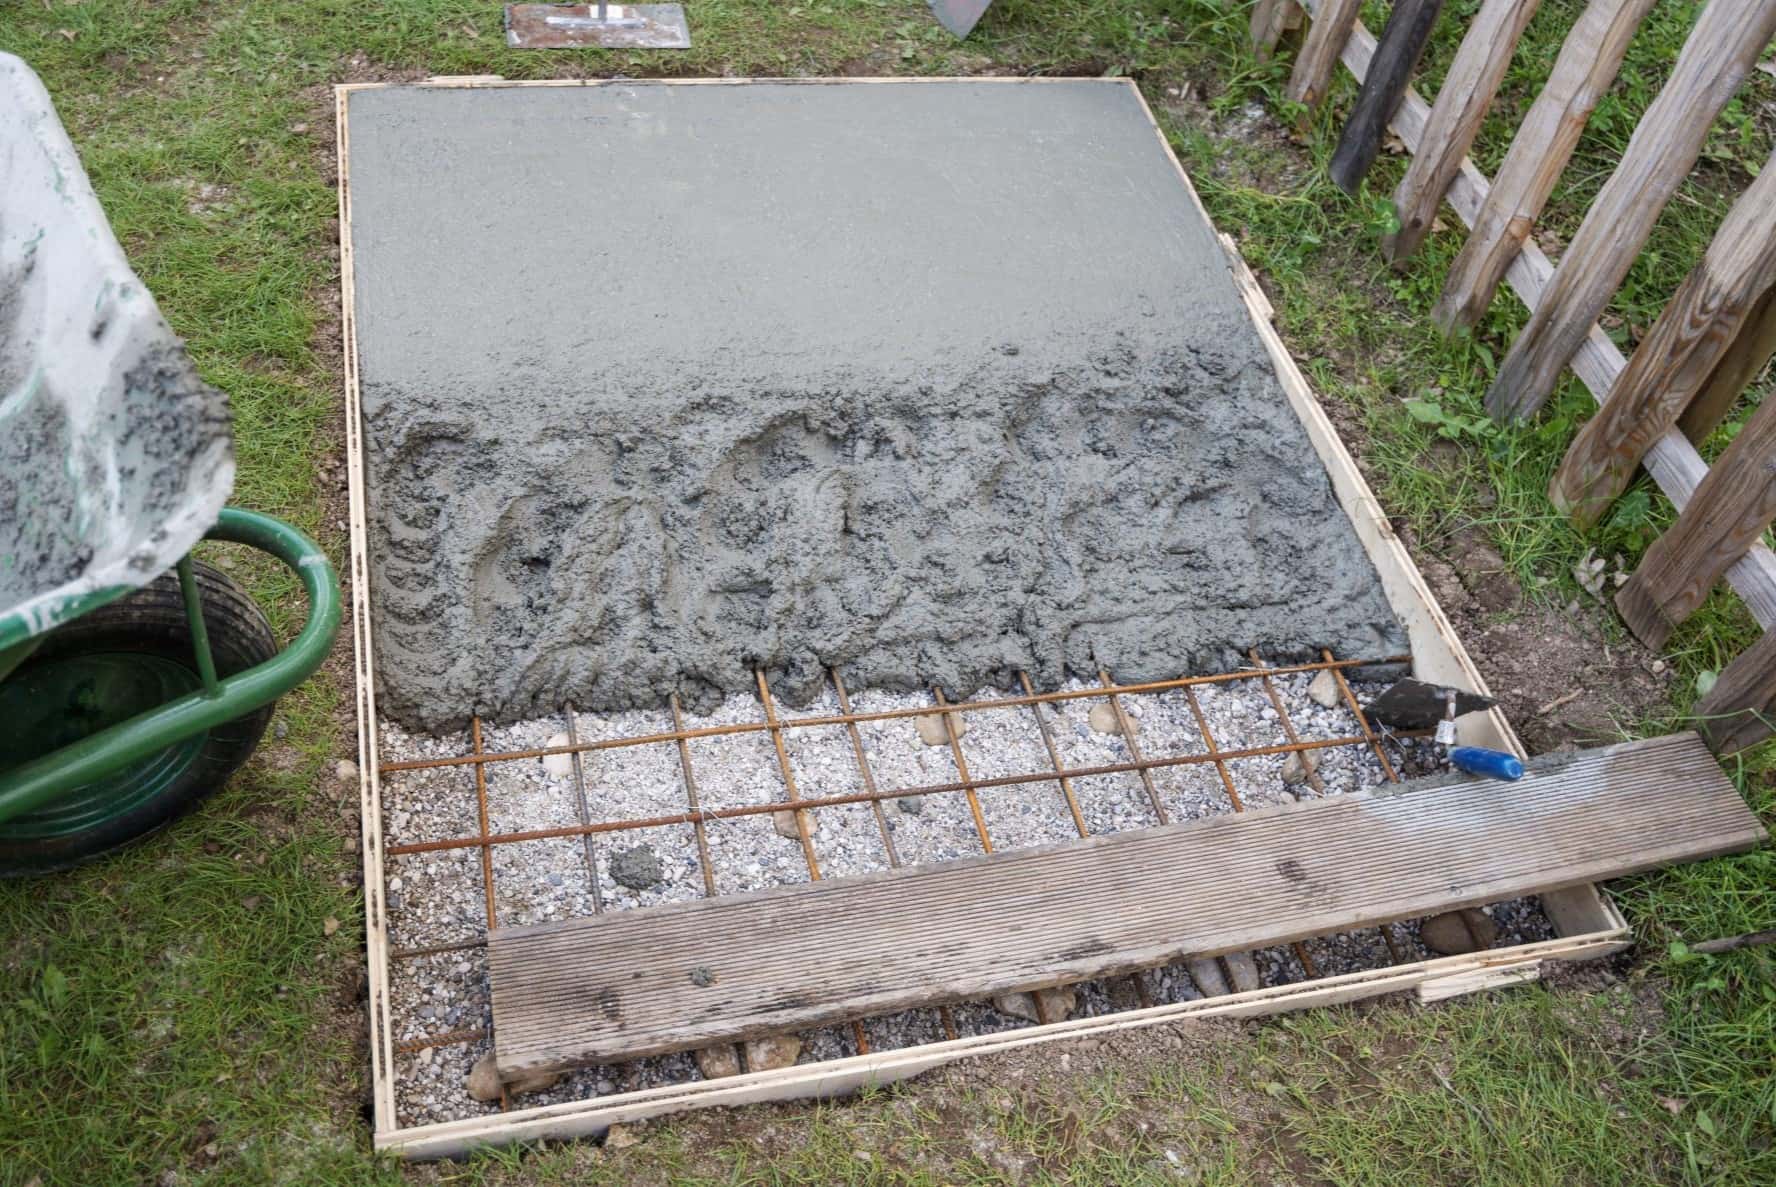
- Concrete mix
- Water
- Shovel
- Broom
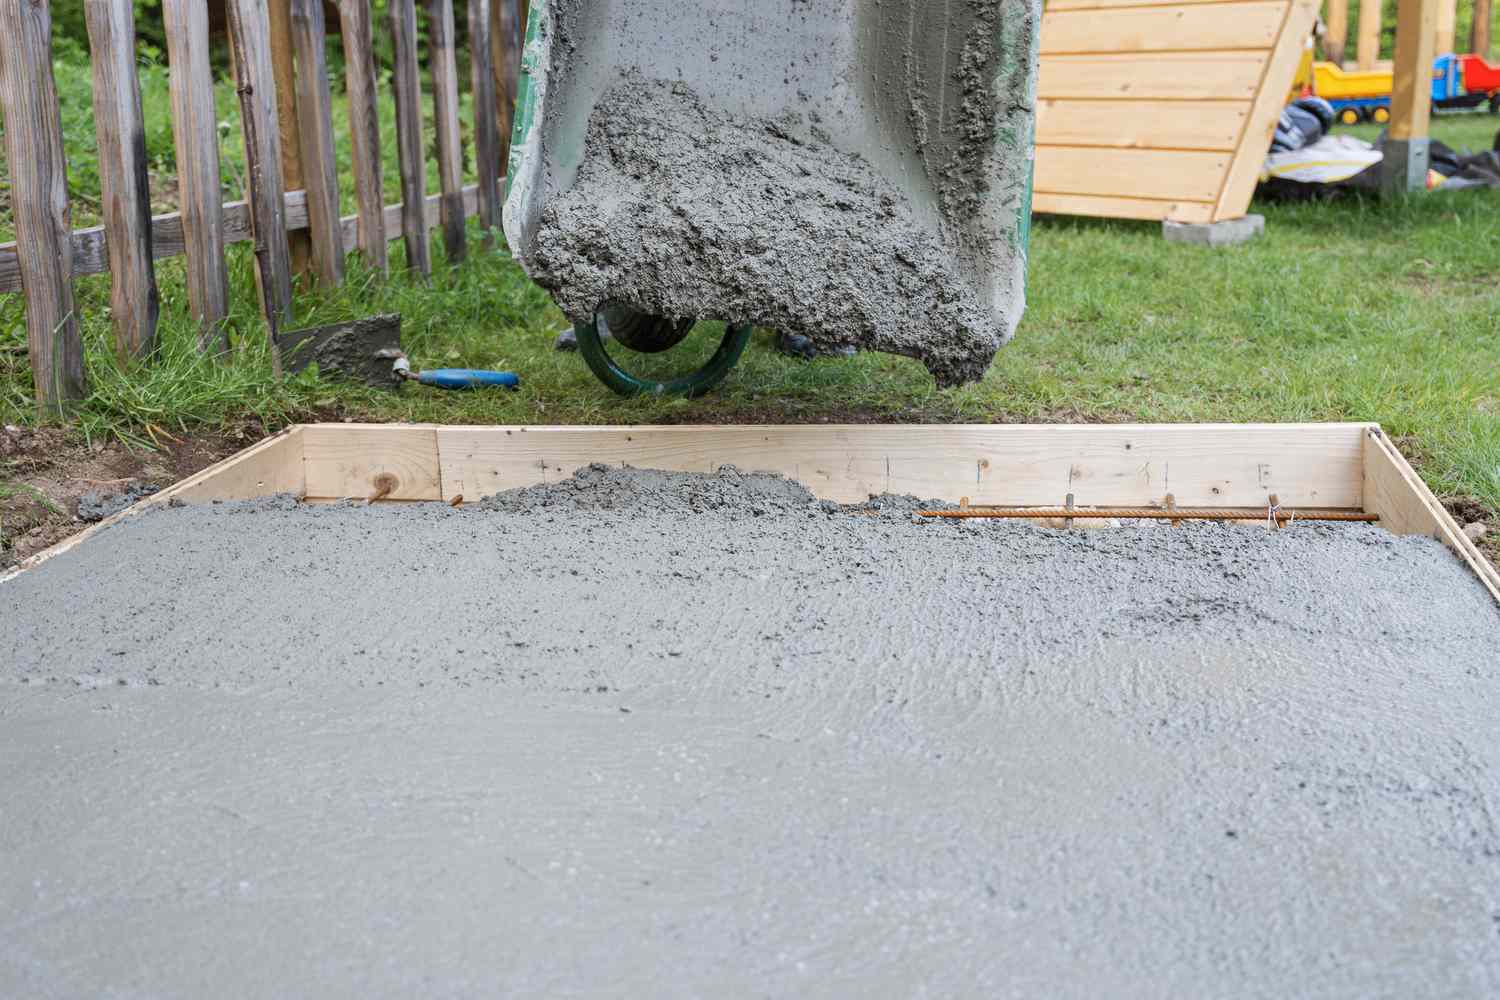
- Wheelbarrow
- Trowel
Having these tools and materials at your disposal will streamline the process and ensure that you’re prepared for any situation that may arise during the anchoring process. With everything in place, you’re ready to move on to the next steps of preparing the concrete slab and anchoring the shed.
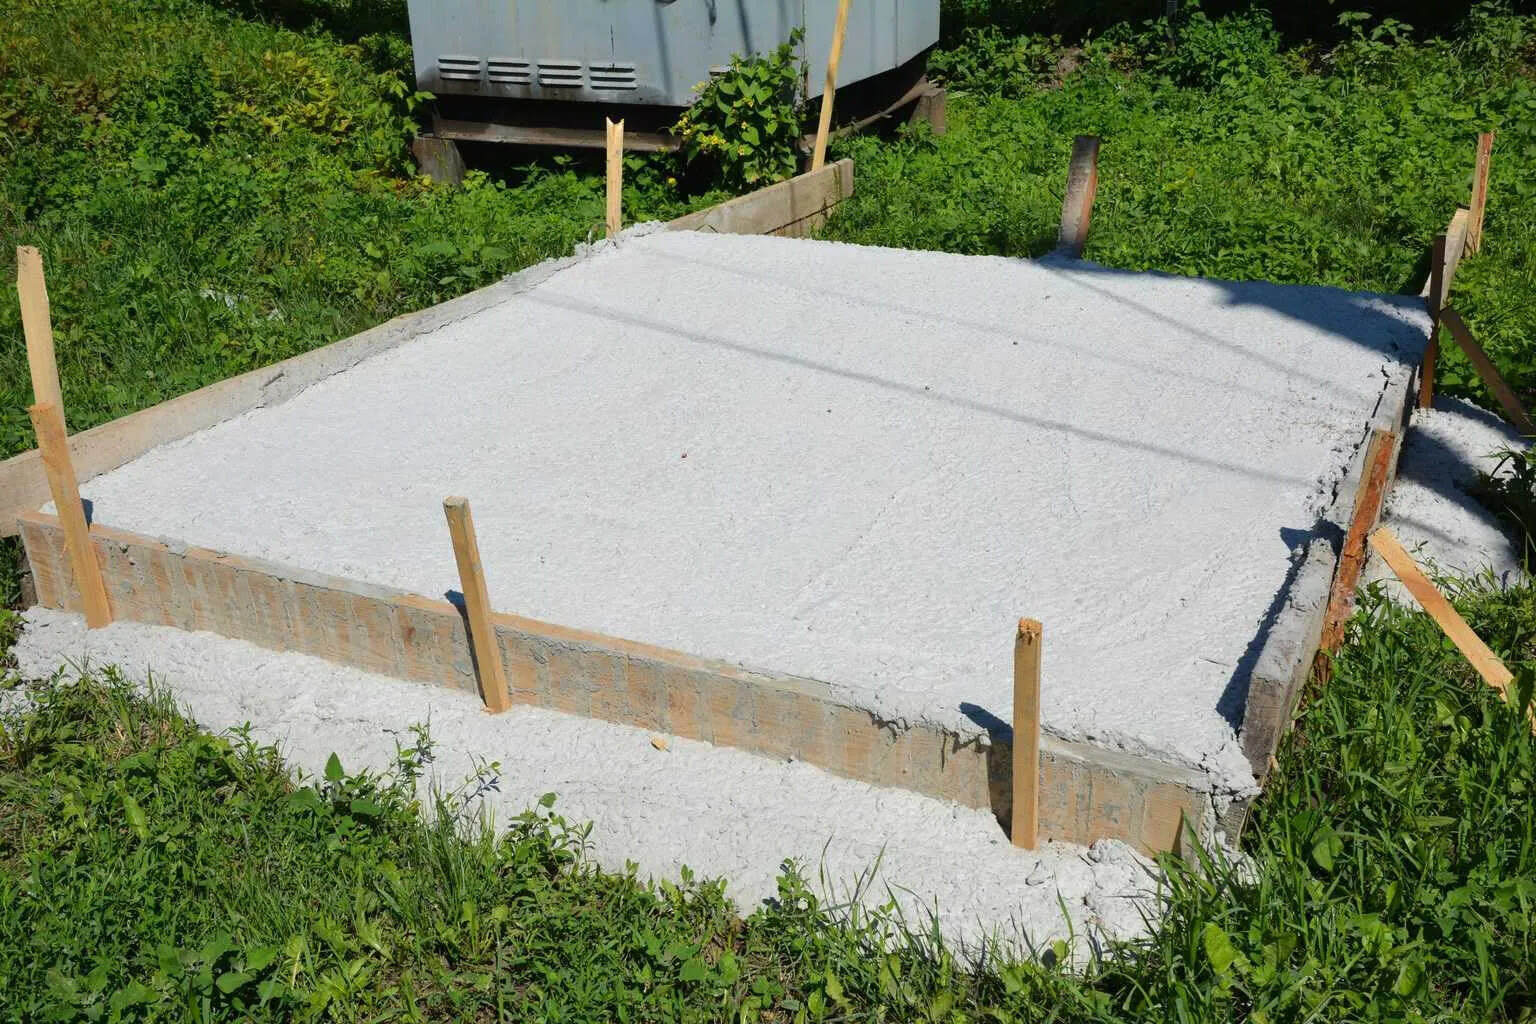
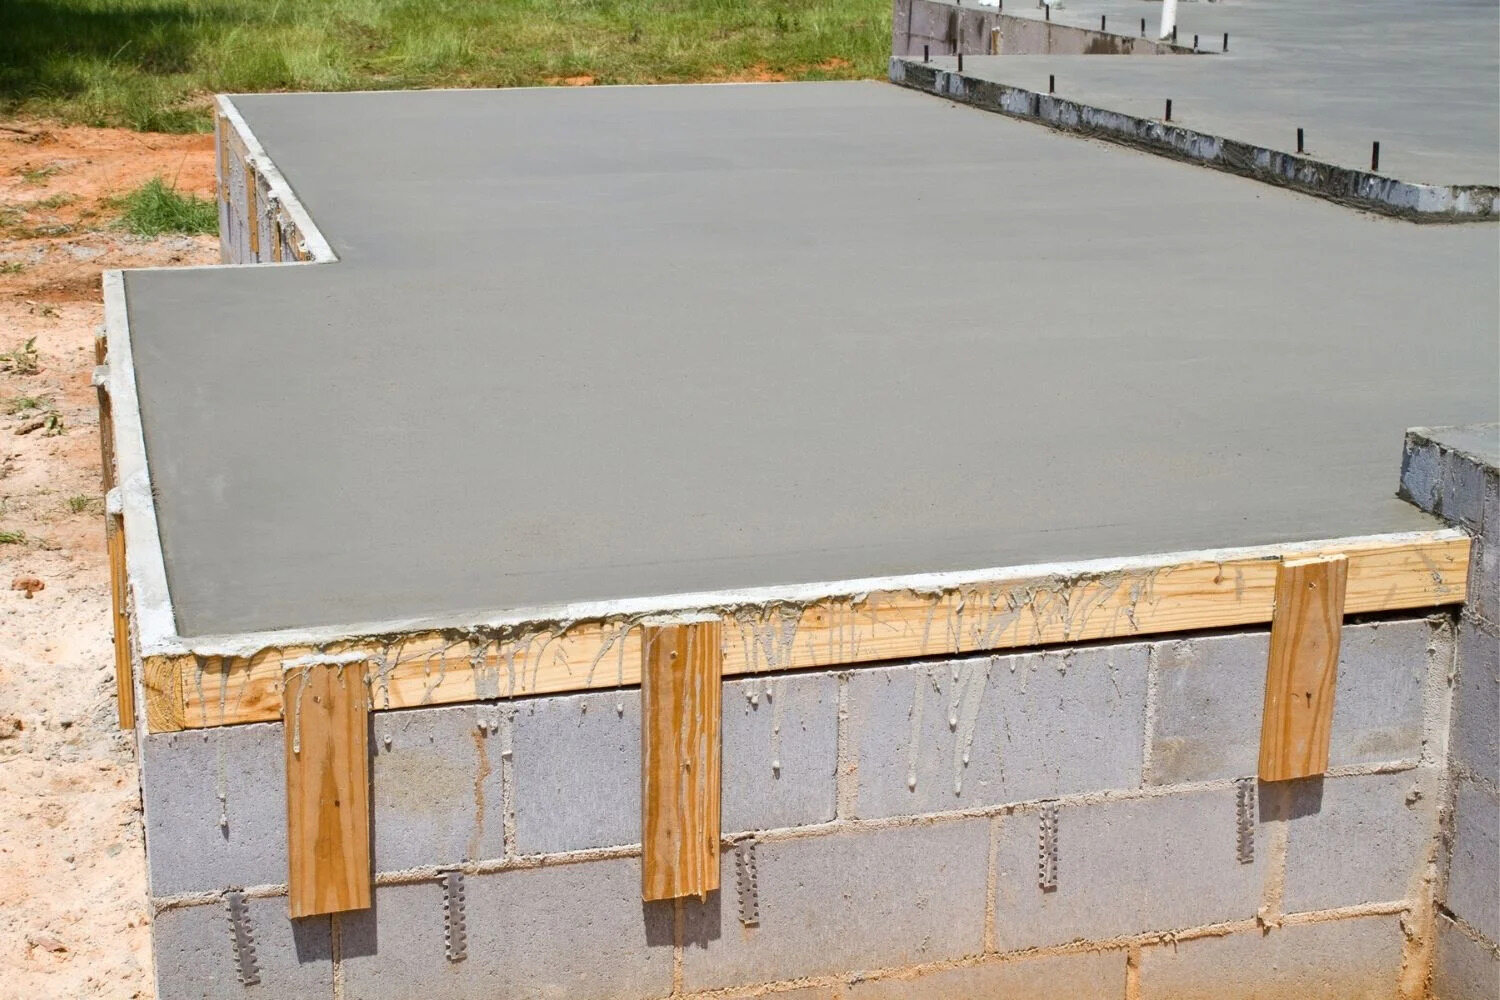
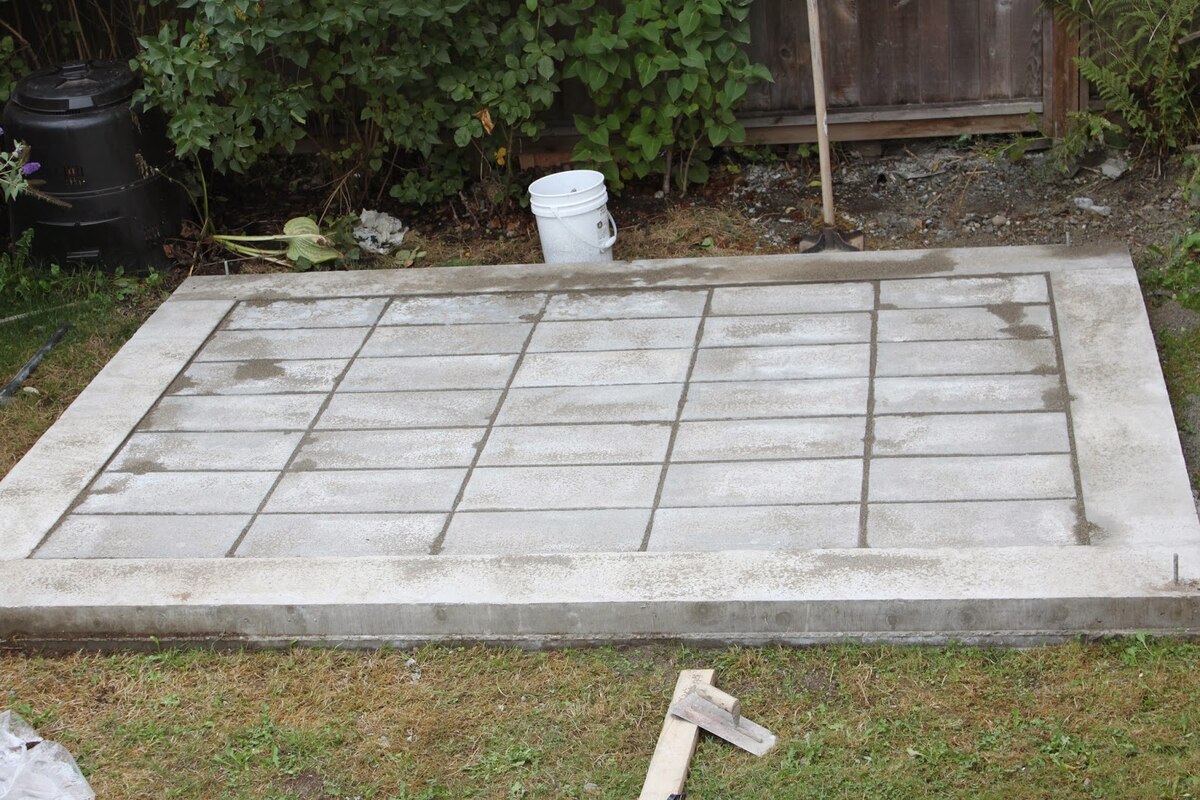
Preparing the Concrete Slab
Before anchoring your shed, it’s crucial to ensure that the concrete slab is in optimal condition to provide a sturdy foundation. Follow these steps to prepare the concrete slab for the anchoring process:
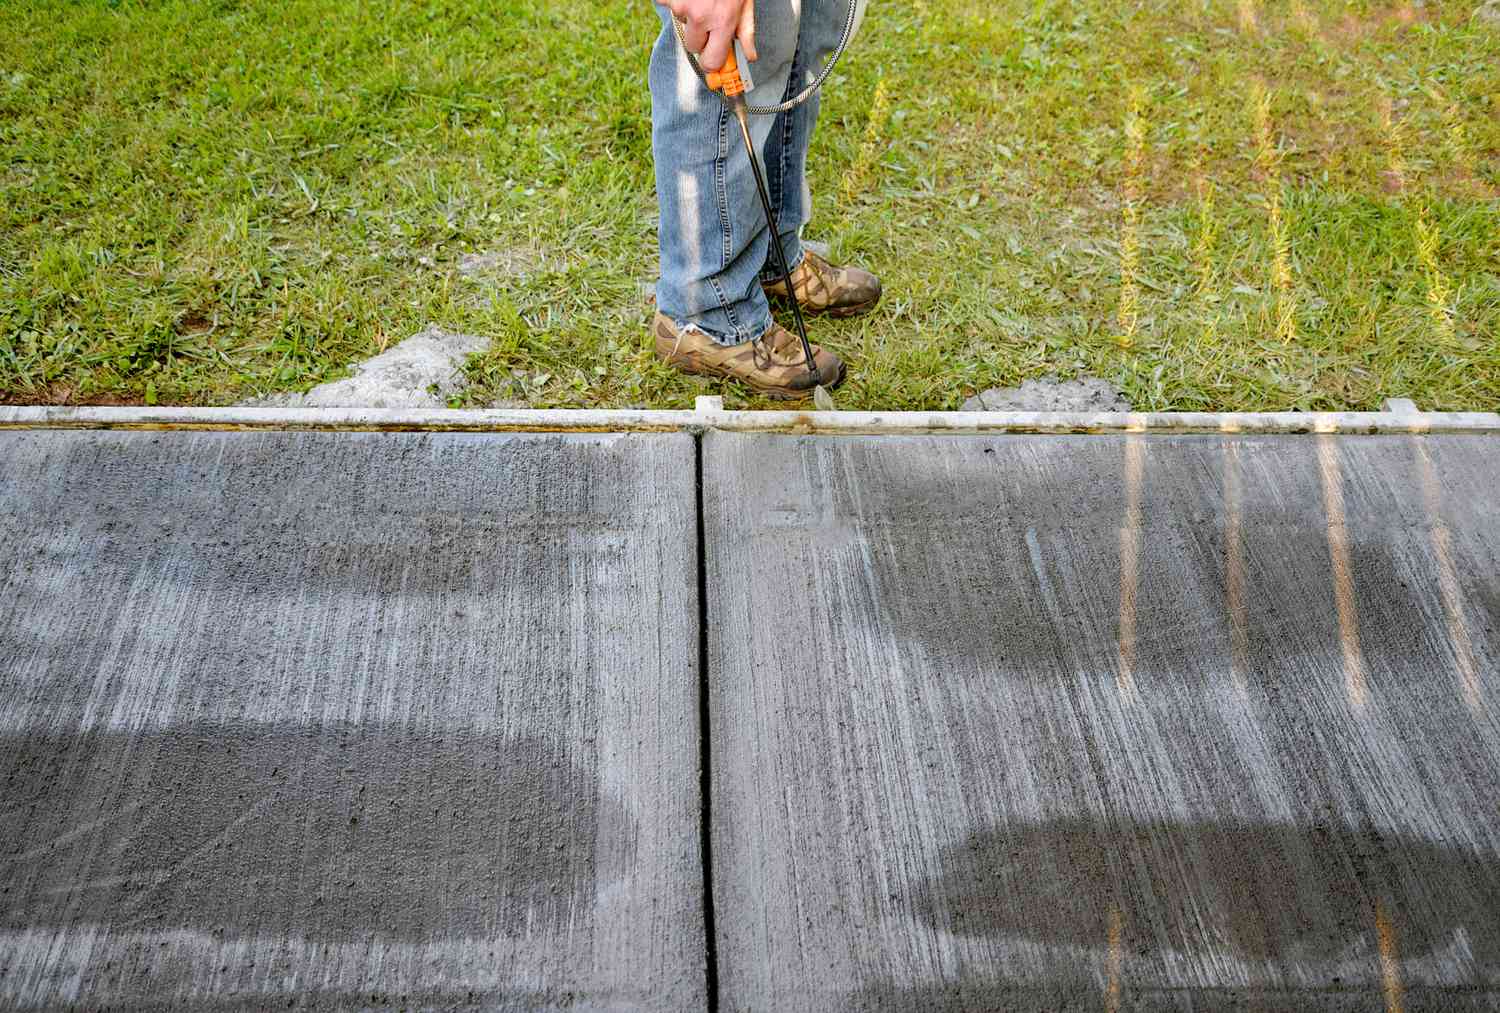
1. Clear the Area: Begin by removing any debris, dirt, or obstructions from the surface of the concrete slab. Use a broom to sweep away loose particles and ensure a clean working environment.
2. Mark Anchor Locations: Determine the precise locations where the shed will be anchored to the slab. Use a chalk line or marking tool to indicate these positions, ensuring that they align with the base of the shed.
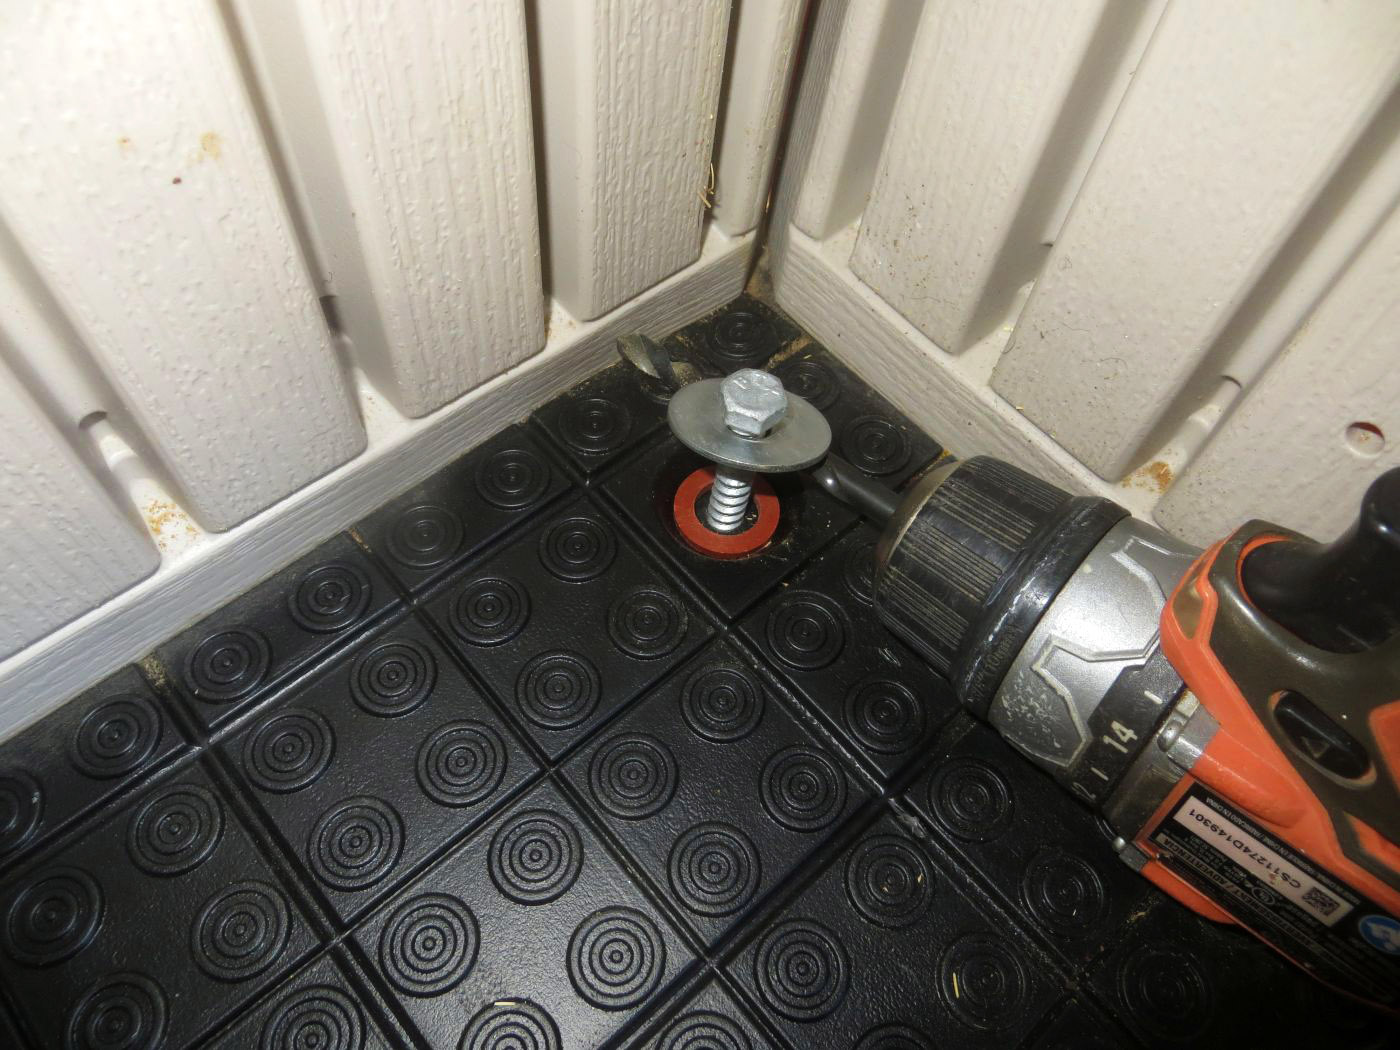
3. Drill Anchor Holes: With the aid of a masonry drill bit, carefully drill anchor holes at the marked locations. The diameter and depth of the holes should correspond to the specifications of the concrete anchors being used.
4. Insert Anchors: Place the concrete anchors into the drilled holes, ensuring a snug and secure fit. Depending on the type of anchors chosen, this may involve hammering them into place or using a wrench to tighten them securely.
5. Install Lumber or Brackets: If the shed requires additional support, such as pressure-treated lumber or metal brackets, position these elements on the slab according to the shed’s design and specifications. Secure them in place using appropriate fasteners and construction adhesive for added stability.
6. Leveling and Alignment: Utilize a level to ensure that the surface of the concrete slab and any supporting elements are perfectly level and aligned with the shed’s base. This step is crucial for the overall stability and structural integrity of the shed once it is anchored.
7. Seal the Gaps: Apply sealant or caulk around the anchor points and any gaps between the slab and additional support elements. This helps to prevent moisture infiltration and enhances the overall durability of the anchoring system.
By meticulously preparing the concrete slab in accordance with these steps, you’ll establish a solid foundation for anchoring the shed. With the groundwork laid, you’re now ready to proceed to the next phase: anchoring the shed to the slab.
Use anchor bolts to secure the shed to the concrete slab. Drill holes in the slab, insert the bolts, and tighten them with nuts and washers to prevent the shed from shifting or being lifted by strong winds.
Anchoring the Shed to the Slab
With the concrete slab meticulously prepared, it’s time to proceed with anchoring the shed, ensuring a secure and durable foundation. Follow these essential steps to anchor the shed to the concrete slab:
1. Position the Shed: Carefully maneuver the shed into position, aligning it with the previously marked anchor locations on the concrete slab. Enlist the assistance of others if necessary to ensure precise placement.
2. Secure the Shed Base: Once the shed is aligned with the anchor points, secure its base to the slab using appropriate fasteners. Depending on the shed’s design and construction, this may involve anchor bolts, brackets, or other specialized hardware.
3. Tighten the Anchors: With the shed securely positioned, proceed to tighten the concrete anchors within the drilled holes. Use a wrench or socket set to ensure that the anchors are firmly secured to the concrete slab, providing robust stability for the shed.
4. Check for Levelness: Utilize a level to confirm that the shed is positioned evenly and level on the concrete slab. Adjust the anchoring and support elements as needed to achieve optimal alignment and stability.
5. Add Shims if Necessary: In instances where the shed base requires additional support or leveling, use shims to fill any gaps between the shed and the concrete slab. This step ensures uniform weight distribution and further enhances the structural integrity of the anchoring system.
6. Apply Construction Adhesive: For an added layer of security, consider applying construction adhesive between the shed base and the concrete slab. This helps to reinforce the connection and mitigate any potential movement or shifting over time.
7. Final Inspections: Once the shed is anchored to the concrete slab, perform a thorough inspection of the anchoring system, ensuring that all fasteners are securely tightened, and the shed is firmly positioned. Additionally, check for any signs of misalignment or instability that may require further adjustments.
By diligently following these steps, you’ll effectively anchor your shed to the concrete slab, creating a resilient and dependable storage or work space. With the anchoring process completed, you can now enjoy the peace of mind that comes with a securely anchored shed, ready to withstand the elements and serve its intended purpose.
Conclusion
As you wrap up the process of anchoring your shed to a concrete slab, you’ve accomplished a significant feat in enhancing the stability and longevity of your outdoor structure. By meticulously preparing the concrete slab, positioning the shed, and securely anchoring it, you’ve created a resilient foundation that will withstand the test of time and environmental factors.
With the shed now firmly anchored, you can enjoy the peace of mind that comes with knowing your belongings, tools, or workspace are housed within a secure and stable structure. The anchoring process ensures that your shed is well-equipped to endure strong winds, inclement weather, and other external forces, providing reliable protection for its contents.
Moreover, the meticulous attention to detail and adherence to best practices in shed anchoring contribute to the overall safety and structural integrity of your property. The secure foundation established through the anchoring process not only safeguards the shed but also enhances the value and functionality of your outdoor space.
As you reflect on the journey of anchoring your shed to the concrete slab, take pride in the craftsmanship and dedication invested in this project. Your commitment to creating a secure and resilient outdoor storage solution has not only fortified the shed but also deepened your connection to your property and the practical aspects of home improvement.
Whether you’re using the shed for storage, hobbies, or as a workshop, the anchoring process ensures that it remains a reliable and steadfast asset on your property. With the shed securely anchored to the concrete slab, you can confidently embrace the versatility and convenience it offers, knowing that it is firmly rooted and prepared for the rigors of outdoor living.
By following the steps outlined in this guide and infusing your efforts with care and precision, you’ve successfully anchored your shed to a concrete slab, creating a durable and resilient space that will serve you well for years to come.
Congratulations on completing this essential project, and may your securely anchored shed bring you countless benefits and satisfaction in the years ahead.
Frequently Asked Questions about How To Anchor A Shed To A Concrete Slab
Was this page helpful?
At Storables.com, we guarantee accurate and reliable information. Our content, validated by Expert Board Contributors, is crafted following stringent Editorial Policies. We're committed to providing you with well-researched, expert-backed insights for all your informational needs.





0 thoughts on “How To Anchor A Shed To A Concrete Slab”