Home>Gardening & Outdoor>Outdoor Structures>How To Build A Shed On A Concrete Slab
Outdoor Structures
How To Build A Shed On A Concrete Slab
Modified: August 28, 2024
Learn how to build a sturdy shed on a concrete slab with our expert guide. Discover essential tips and techniques for constructing outdoor structures.
(Many of the links in this article redirect to a specific reviewed product. Your purchase of these products through affiliate links helps to generate commission for Storables.com, at no extra cost. Learn more)
Introduction
Building a shed can be a rewarding and practical endeavor, providing valuable storage space and enhancing the aesthetics of your outdoor area. When constructing a shed on a concrete slab, careful planning and meticulous execution are essential for ensuring a durable and stable structure. In this comprehensive guide, we will explore the step-by-step process of building a shed on a concrete slab, from initial planning to the finishing touches.
Whether you intend to use the shed for storing gardening tools, outdoor equipment, or as a workshop, starting with a solid concrete foundation is crucial for longevity and structural integrity. By following the detailed instructions and tips provided in this guide, you can embark on this project with confidence, knowing that you are equipped with the knowledge to create a functional and visually appealing outdoor structure.
Throughout this article, we will delve into the essential considerations for planning and preparing the site, gathering the necessary materials and tools, and constructing the concrete slab. Additionally, we will outline the process of assembling the shed itself and adding the finishing touches to complete the project.
Embarking on the journey of building a shed on a concrete slab is an opportunity to exercise your creativity and craftsmanship while adding value to your property. So, roll up your sleeves, gather your tools, and let's dive into the exciting world of shed construction.
Key Takeaways:
- Building a shed on a concrete slab requires careful planning, precise site preparation, and meticulous construction. By following the step-by-step process, you can create a durable and visually appealing outdoor structure.
- From gathering materials and tools to adding finishing touches, each phase of shed construction demands attention to detail and craftsmanship. The shed on a concrete slab serves as a valuable and versatile addition to your property.
Read more: How To Anchor A Shed To A Concrete Slab
Planning and Preparing
Before diving into the physical aspects of building a shed on a concrete slab, it is crucial to engage in thorough planning and preparation. Start by determining the purpose of the shed and envisioning its design and layout. Consider factors such as the shed’s size, the items it will store, and any additional features you may want to incorporate.
Next, assess the local building codes and regulations in your area to ensure compliance with any necessary permits or restrictions. Consulting with local authorities or a professional contractor can provide valuable insights into the legal requirements for constructing a shed on your property.
Once you have a clear vision and understanding of the regulatory aspects, it’s time to map out the dimensions and layout of the shed. Consider the placement of doors, windows, and any desired amenities, keeping in mind the functionality and aesthetic appeal of the structure.
Additionally, it is essential to carefully measure and mark the area where the shed will be situated. This step is crucial for ensuring that the concrete slab will be accurately sized and positioned. Use stakes and string to outline the perimeter of the shed, allowing for a clear visual representation of the future structure.
Furthermore, take into account the environmental factors that may impact the shed, such as sunlight exposure, drainage, and proximity to trees or other structures. Adequate ventilation and natural light are important considerations for creating a comfortable and functional interior space.
Lastly, consider the accessibility of the shed, ensuring that it is conveniently located and easily reachable from your home or other relevant areas. This thoughtful planning will contribute to the shed’s practicality and usability once it is completed.
By investing time in meticulous planning and thorough preparation, you can set the stage for a successful and satisfying shed-building project. With a clear vision, adherence to regulations, and attention to detail, you are ready to move on to the next phase of gathering materials and tools.
Gathering Materials and Tools
As you progress from the planning phase to the practical execution of building a shed on a concrete slab, assembling the necessary materials and tools is a critical step. By ensuring that you have all the required items at your disposal, you can streamline the construction process and minimize disruptions.
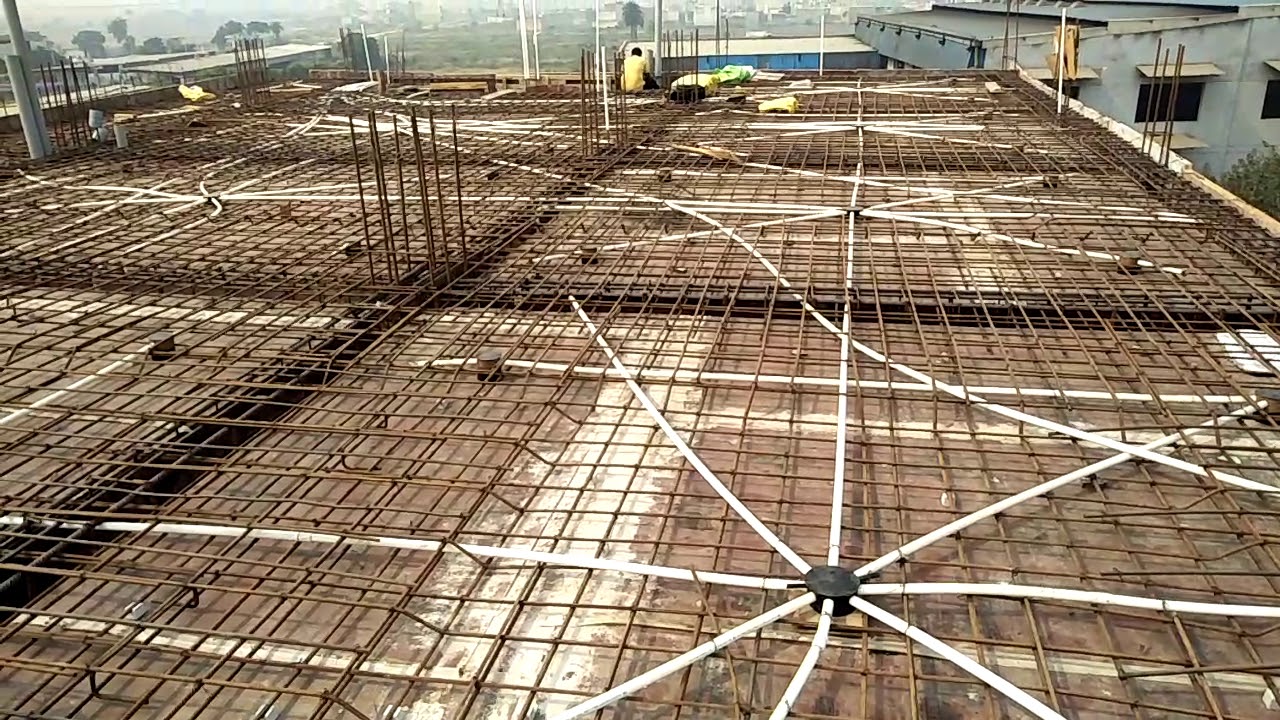
First and foremost, you will need to acquire the materials for constructing the concrete slab. This typically includes concrete mix, gravel, sand, and reinforcement materials such as rebar or wire mesh. Additionally, you will need wooden or metal forms to contain the concrete during the pouring and curing process.
For the shed itself, gather the building materials based on your chosen design and specifications. This may involve purchasing lumber, plywood, roofing materials, siding, fasteners, and any additional components such as windows, doors, or insulation. Consider the climate and environmental conditions in your area when selecting these materials to ensure durability and longevity.
Equally important is the collection of tools required for both the concrete work and the shed construction. Essential tools for working with concrete include a wheelbarrow, shovel, concrete mixer (if applicable), trowels, and a level. For building the shed, a circular saw, hammer, nails, screws, measuring tape, and a power drill are among the fundamental tools you will need.
It is also advisable to invest in personal protective equipment, including gloves, safety goggles, and a dust mask, to ensure safety and comfort during the construction process. Additionally, consider renting or purchasing specialized equipment such as a concrete vibrator to facilitate the proper placement and consolidation of the concrete.
Before commencing the project, double-check your inventory of materials and tools to confirm that nothing essential is overlooked. This proactive approach will help you avoid delays and interruptions once construction is underway.
By diligently gathering the required materials and tools, you are taking a proactive step towards a smooth and efficient shed-building process. With these essentials in place, you are prepared to move forward to the next phase of preparing the site for construction.
Preparing the Site
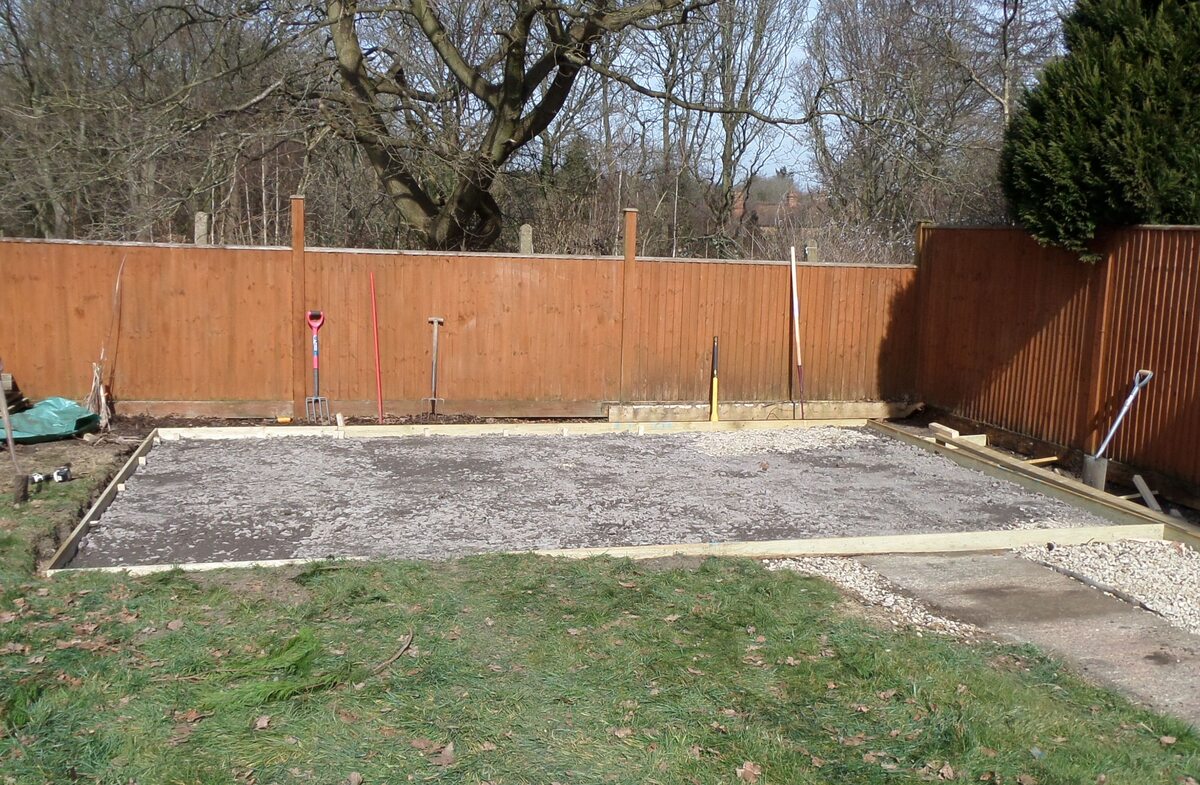
With the materials and tools in hand, the next crucial step in building a shed on a concrete slab is preparing the site where the structure will be located. This phase involves a series of tasks to ensure that the ground is adequately leveled, cleared of debris, and ready to accommodate the concrete slab and subsequent shed construction.
Begin by clearing the designated area of any vegetation, rocks, or other obstructions that could interfere with the placement of the concrete slab. Use a shovel, rake, or a small excavator if necessary to remove debris and create a clean, level surface.
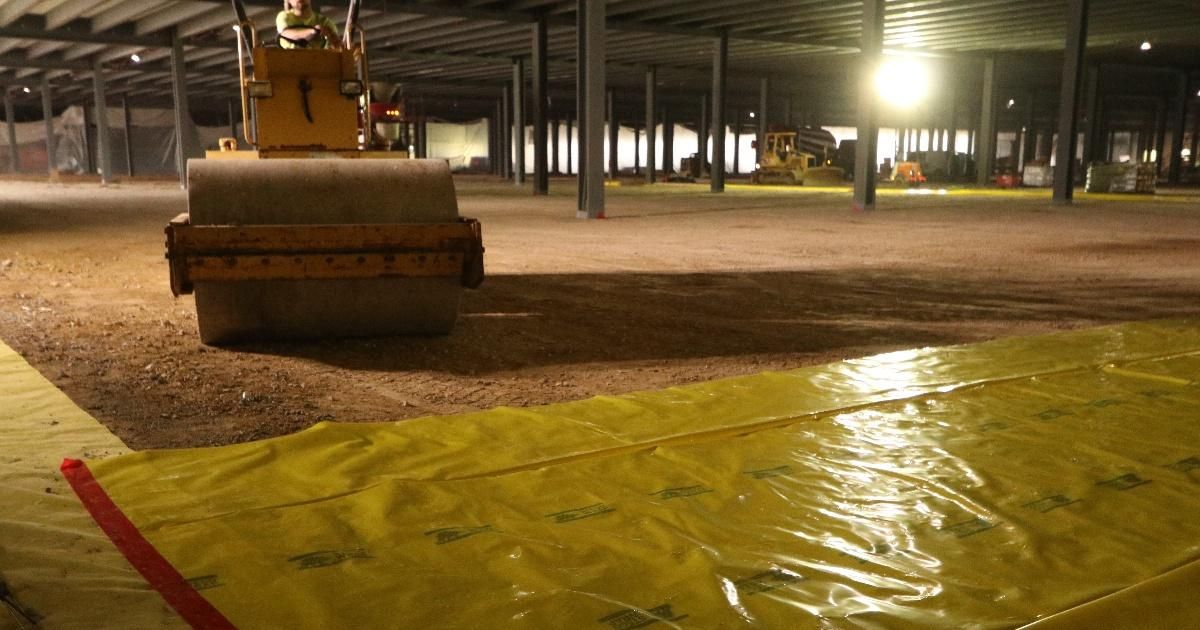
Following the clearing process, it is essential to assess the soil conditions and make any necessary adjustments to ensure proper drainage and stability. If the soil is particularly soft or prone to water accumulation, you may need to add a layer of compacted gravel to create a stable base for the concrete slab.
Once the ground is cleared and appropriately prepared, it’s time to mark the perimeter of the concrete slab using stakes and string. This step will provide a visual guideline for the accurate placement of the forms and the subsequent pouring of the concrete.
Furthermore, ensure that the marked area is precisely leveled, using a long straightedge or a laser level to identify any discrepancies in the ground’s elevation. A uniformly level surface is crucial for the proper installation and stability of the concrete slab.
As part of the site preparation, consider the accessibility of the area for transporting materials and equipment. Ensure that there is sufficient space for maneuvering and unloading the concrete mix, as well as for transporting the shed components to the construction site.
Lastly, take into account any additional site-specific considerations, such as underground utilities or proximity to trees, that may impact the construction process. Addressing these factors in the preparatory phase will contribute to a smoother and more efficient shed-building experience.
By diligently preparing the site for the concrete slab and shed construction, you are laying the groundwork for a successful and structurally sound outdoor structure. With the site ready and the necessary groundwork complete, you are now poised to move on to the pivotal phase of building the concrete slab.
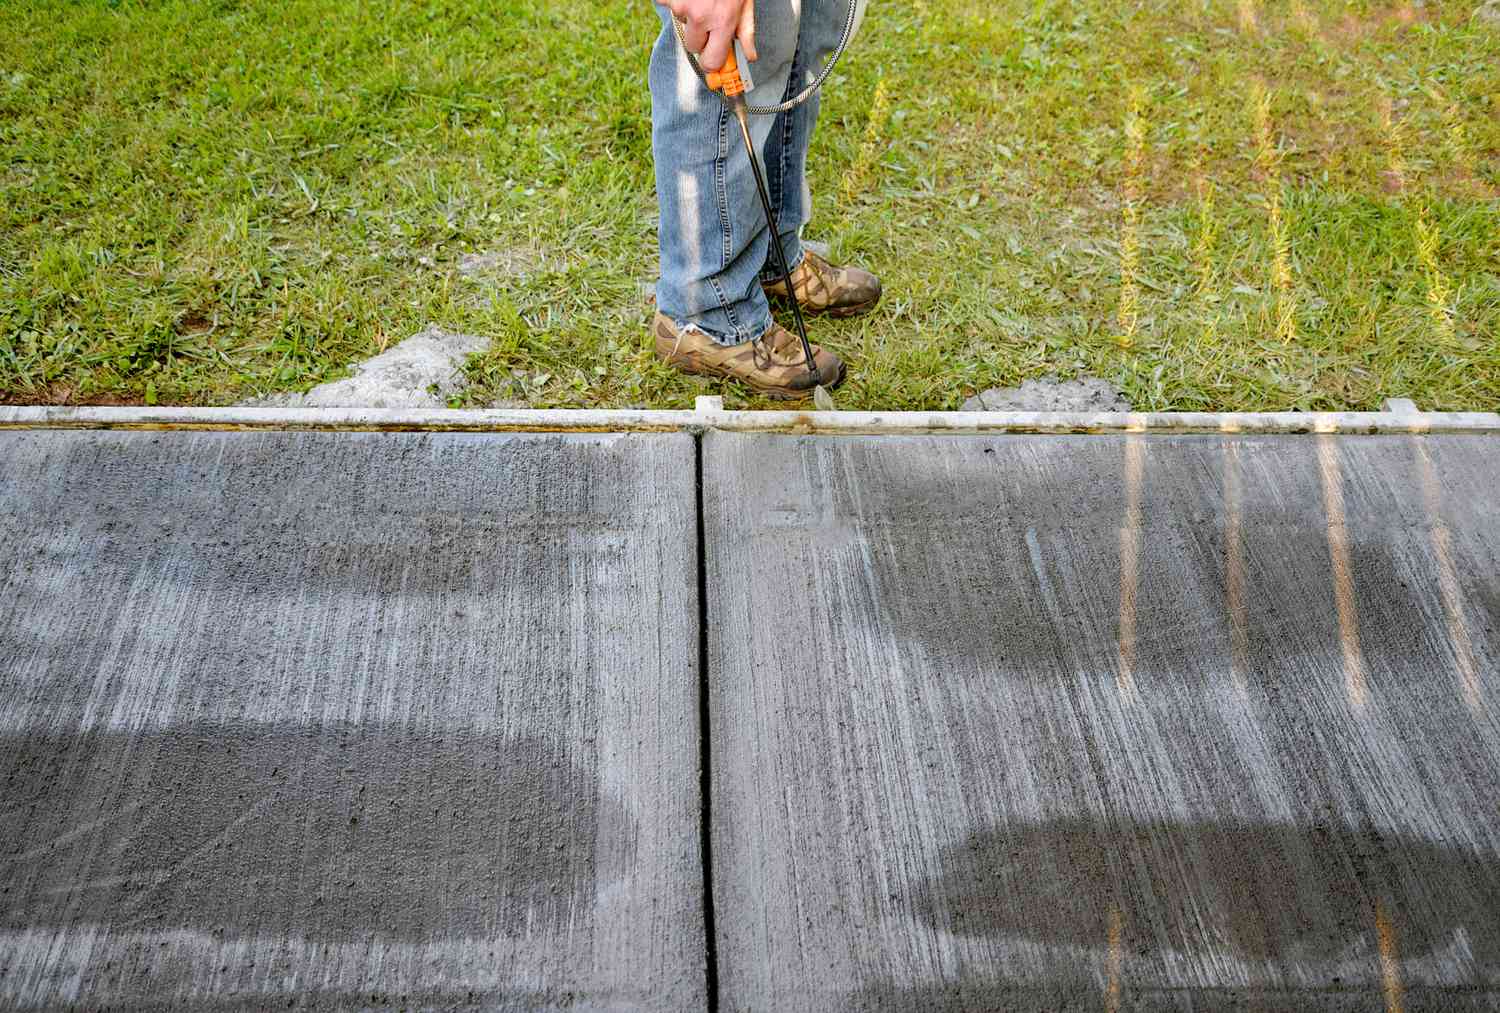
Before pouring the concrete slab, make sure to properly level the ground and install a moisture barrier to prevent water damage. This will ensure a stable foundation for your shed.
Building the Concrete Slab
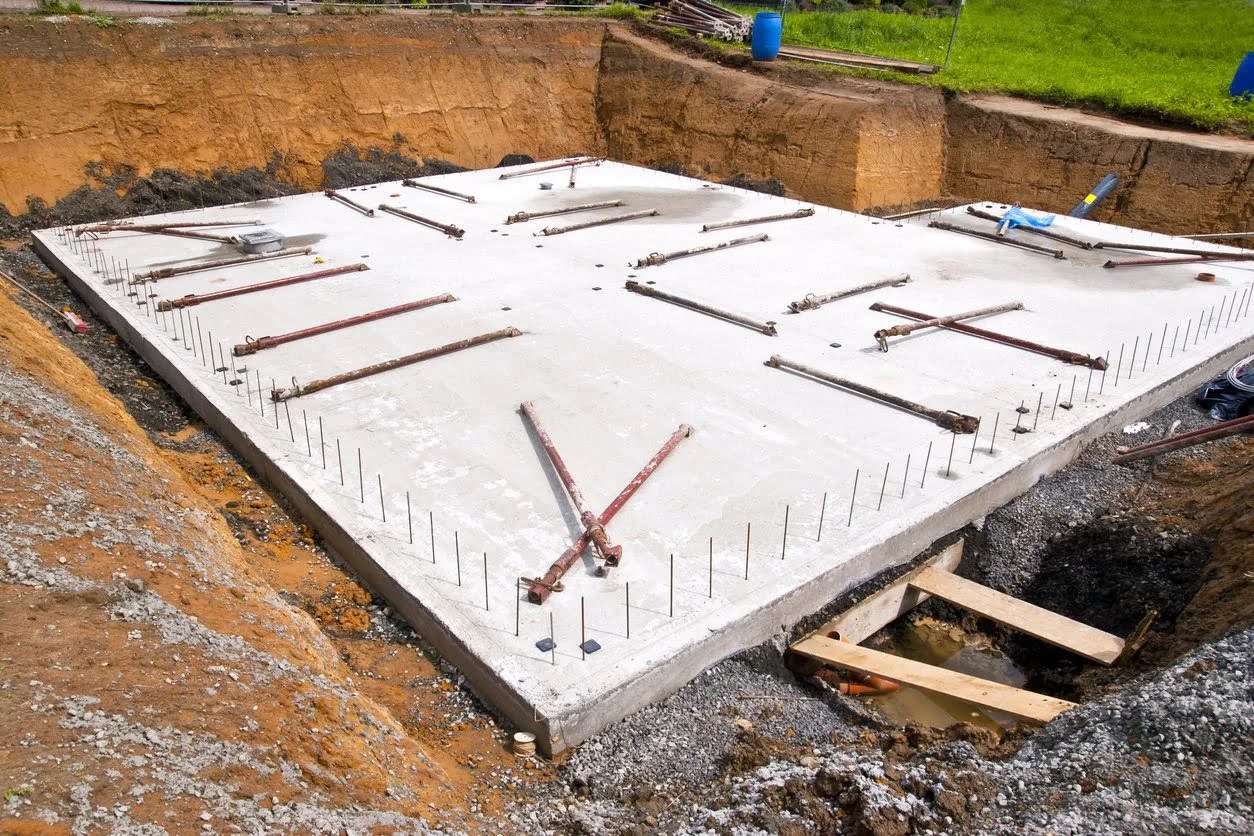
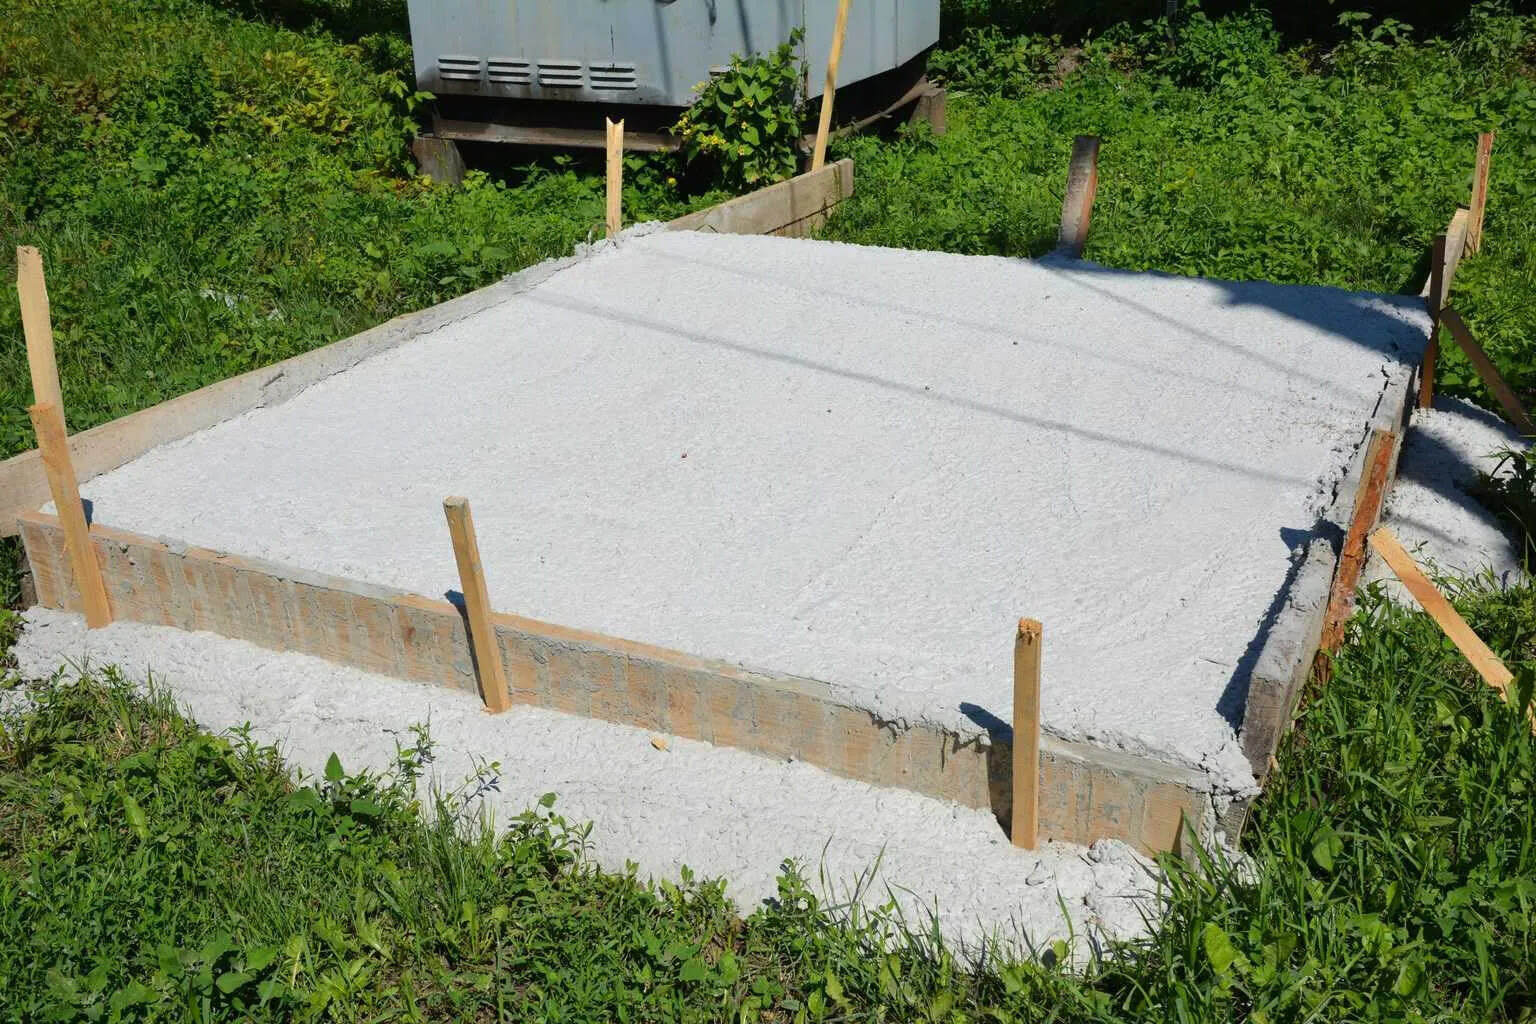
Constructing a sturdy and level concrete slab forms the foundation upon which your shed will stand, providing essential support and stability. This phase of the project requires precision and attention to detail to ensure that the concrete slab meets the necessary structural requirements.
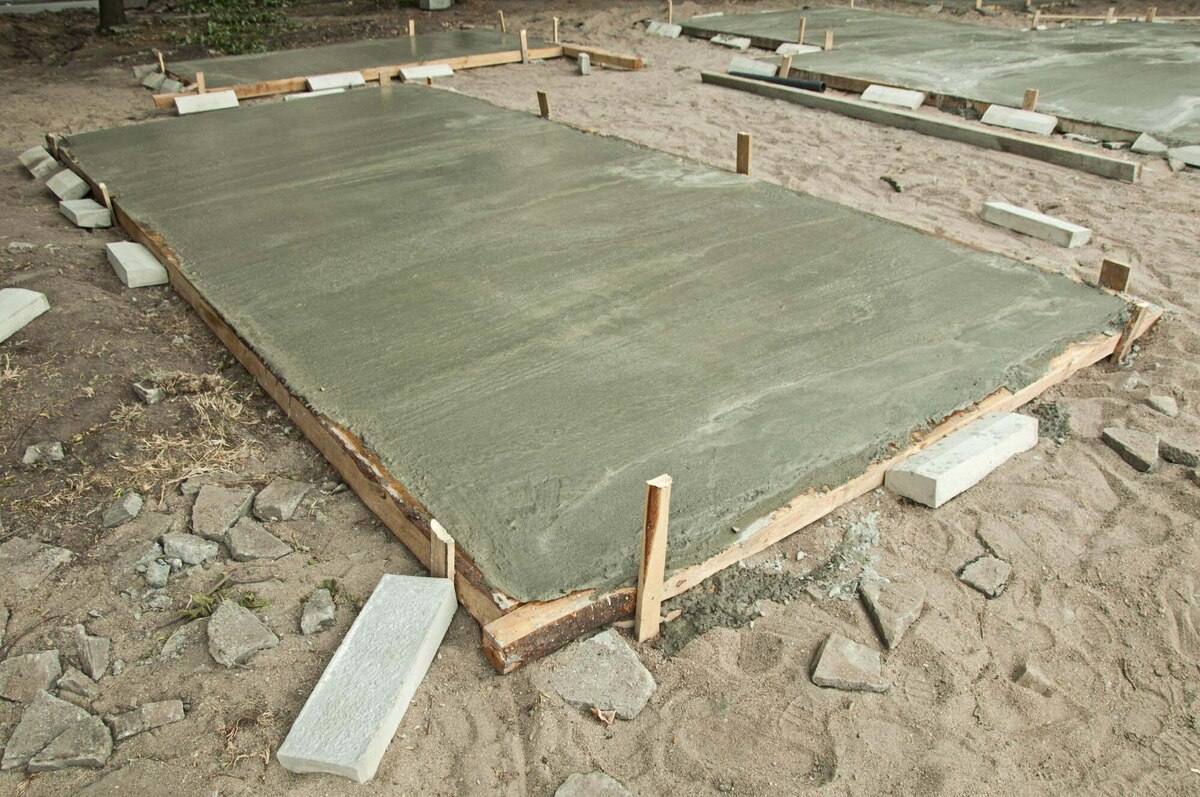
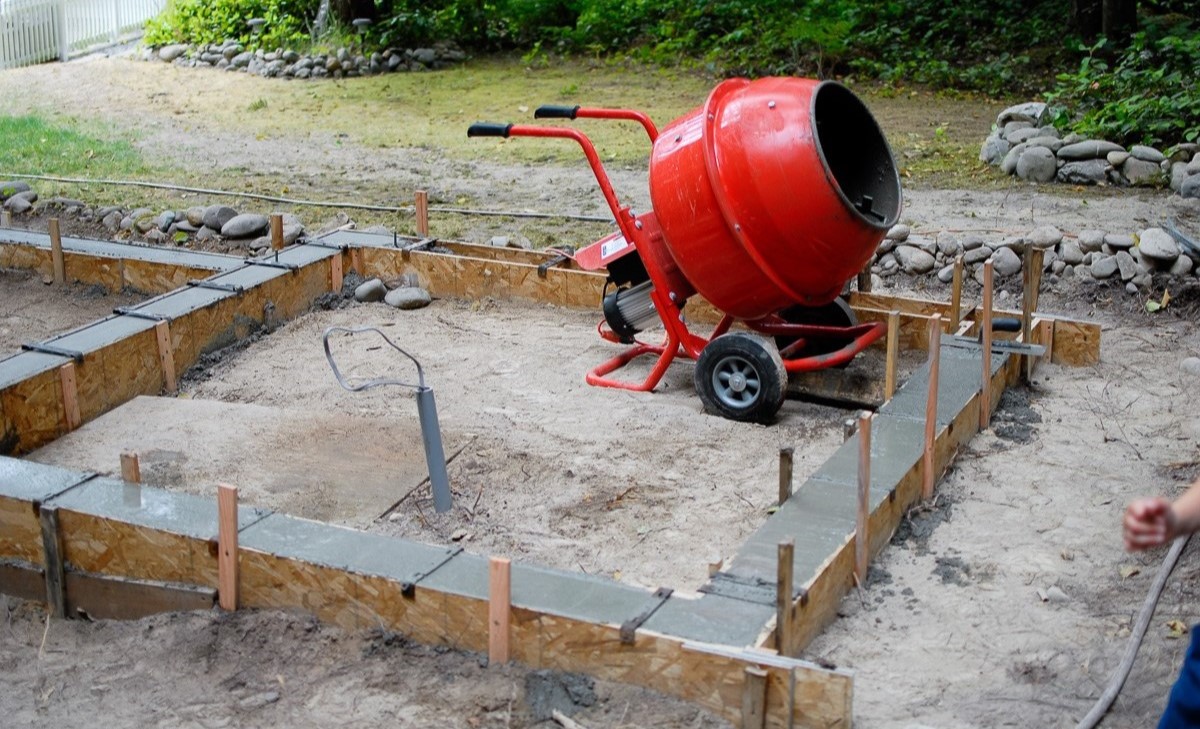
Begin by setting up the forms that will contain the concrete during the pouring and curing process. These forms, typically made of wood or metal, should be meticulously aligned with the marked perimeter of the slab and secured in place to prevent shifting during concrete placement.
Next, it’s time to prepare the concrete mix according to the manufacturer’s instructions, ensuring the correct ratio of cement, sand, and gravel for optimal strength and consistency. If necessary, consider renting a concrete mixer to streamline the mixing process and ensure uniformity of the concrete mixture.
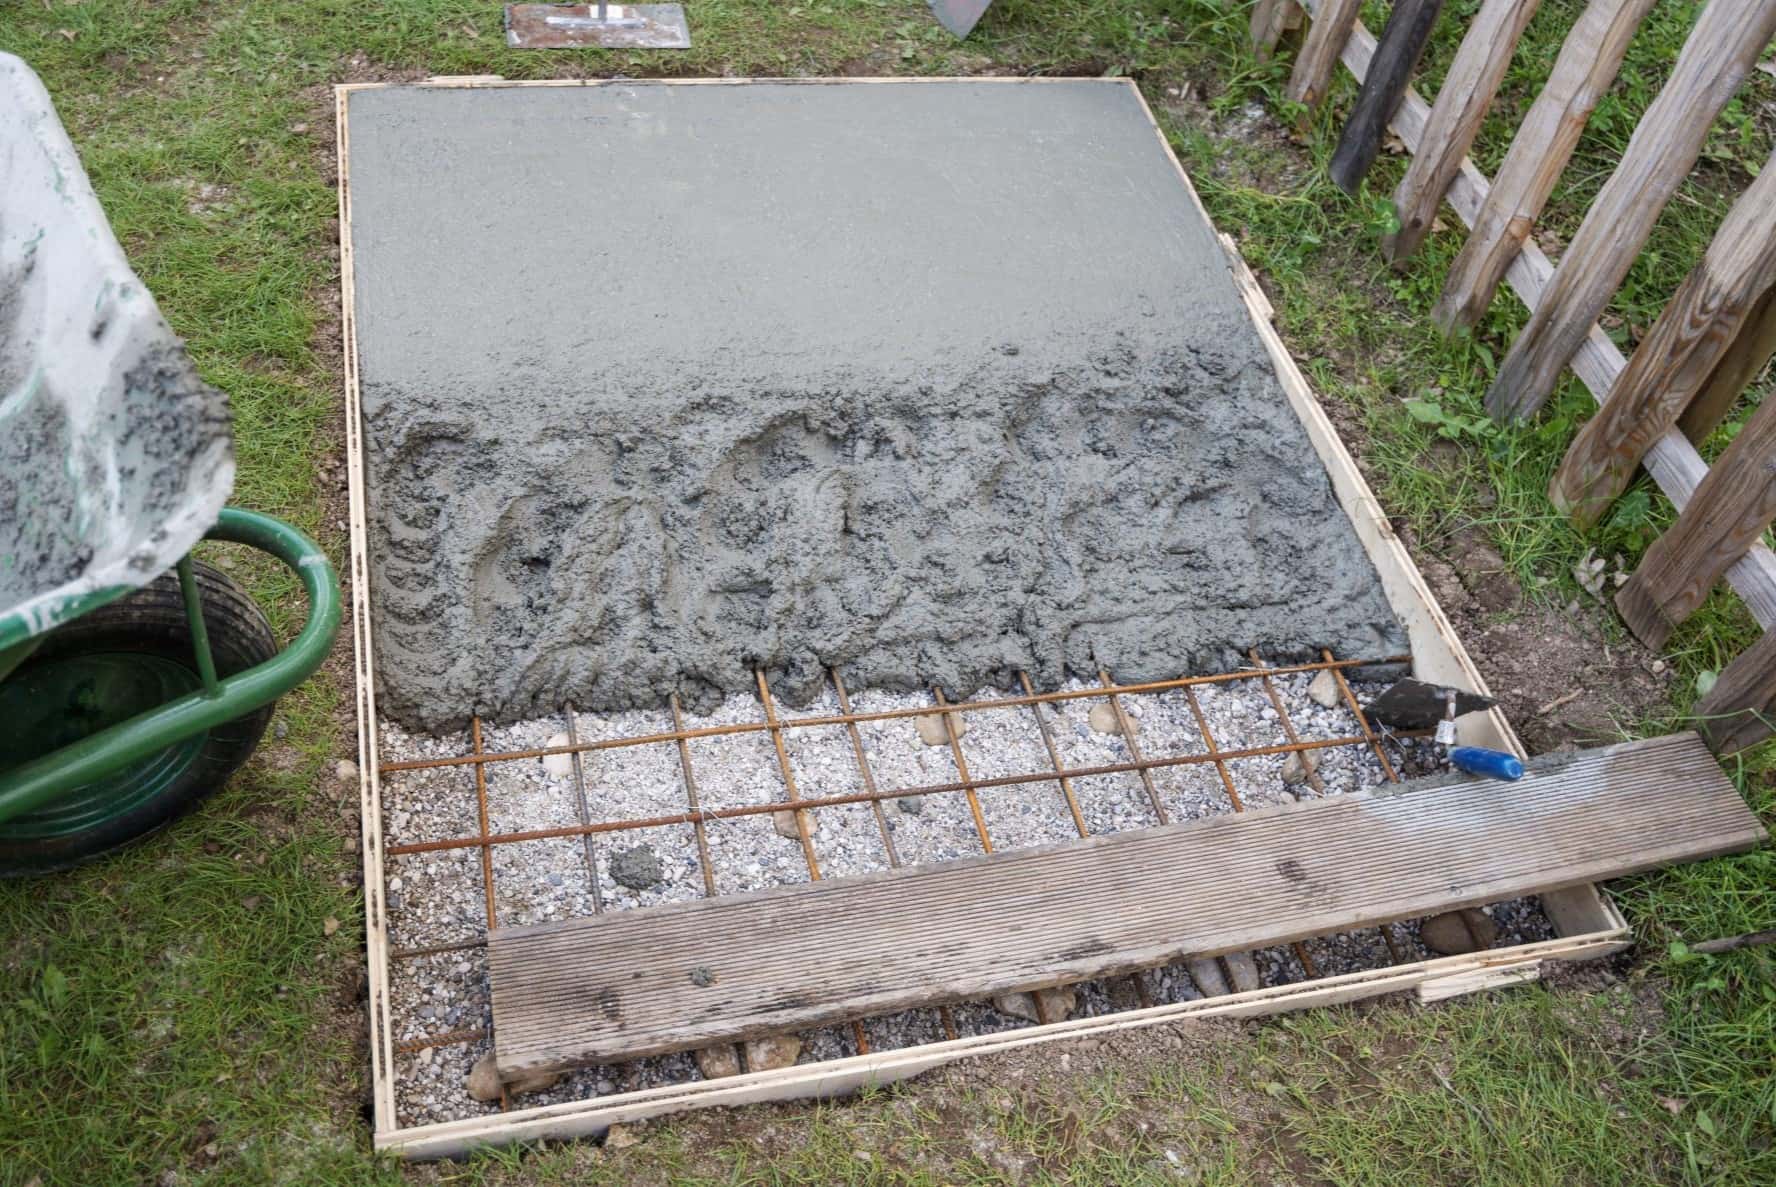
As you pour the concrete into the forms, use a shovel or a trowel to distribute the mixture evenly, filling the entire area of the slab. To eliminate air pockets and achieve proper consolidation, consider using a concrete vibrator, which can enhance the density and strength of the concrete.
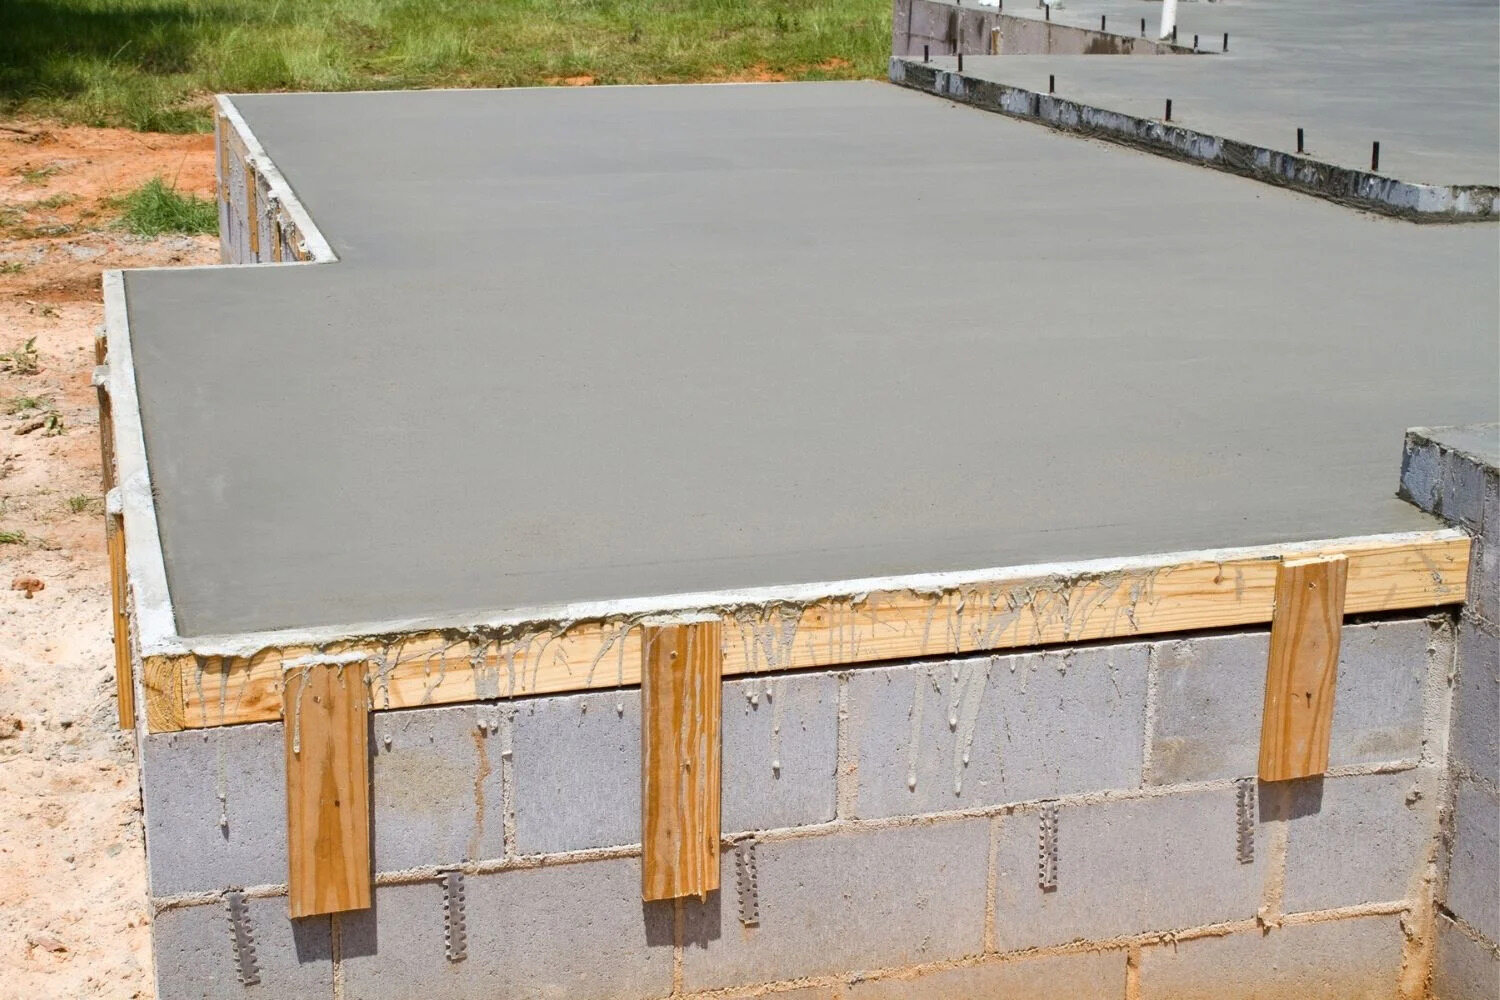
Following the pouring process, use a screed board or a long, straight piece of lumber to level the concrete, smoothing it to the height of the forms. This step is critical for achieving a uniformly flat surface that will serve as the base for the shed’s construction.
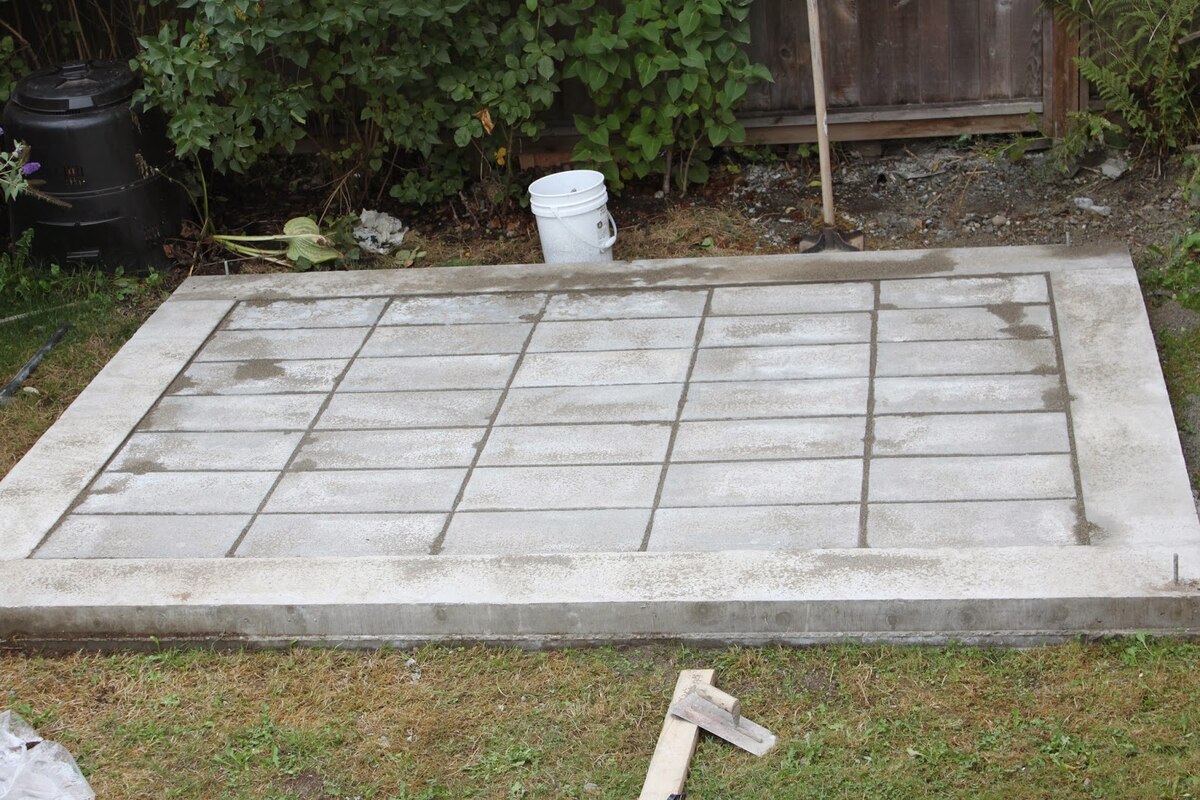
After leveling the concrete, use a float to smooth the surface and eliminate any imperfections or irregularities. Additionally, consider incorporating control joints into the concrete slab to minimize the risk of cracking as the material cures and settles.
Once the concrete is in place and appropriately leveled, cover it with a plastic sheet or a curing compound to facilitate proper hydration and curing. This crucial step contributes to the concrete’s strength and durability, ensuring a solid foundation for the shed.
Allow the concrete to cure for the recommended period, typically several days, before removing the forms and proceeding with the construction of the shed. This curing time is essential for allowing the concrete to achieve its full strength and stability.
By meticulously executing the process of building the concrete slab, you are establishing a robust and reliable foundation for your shed. With the concrete slab in place and fully cured, you are now prepared to transition to the exciting phase of constructing the shed itself.
Read more: How To Pour A Concrete Slab For A Shed
Constructing the Shed
With the solid foundation of the concrete slab in place, the focus now shifts to the construction of the shed itself. This phase of the project involves assembling the pre-cut components, framing the structure, and adding the necessary finishing touches to create a functional and visually appealing outdoor storage space.
Start by organizing the pre-cut lumber, siding, and roofing materials in a clear and accessible area near the construction site. Take inventory of the components to ensure that all necessary parts are accounted for before commencing the assembly process.
Begin by framing the shed walls, following the design and layout specified in the building plans. Use a level to ensure that the walls are plumb and square, providing a solid framework for the structure. Once the walls are in place, secure them together using nails or screws, creating a stable enclosure for the shed.
Next, install the roof trusses or rafters, carefully positioning and securing them to the top plates of the walls. Properly aligned and securely fastened trusses are essential for the structural integrity and load-bearing capacity of the shed’s roof.
Following the installation of the roof framework, proceed to add the exterior siding and roofing materials, weatherproofing the shed and enhancing its durability. Whether using traditional wooden siding, vinyl panels, or another material, ensure that the exterior cladding is securely attached and properly sealed to protect the shed from the elements.
As the exterior of the shed takes shape, consider adding windows and doors to facilitate ventilation and accessibility. Install these components according to the manufacturer’s instructions, ensuring that they are securely fitted and properly sealed to prevent air and water infiltration.
Finally, add the finishing touches to the shed, such as trim, paint, or protective coatings, to enhance its visual appeal and longevity. Consider incorporating additional features such as shelving, storage racks, or workbenches to maximize the shed’s functionality and utility.
Throughout the construction process, prioritize safety and precision, paying attention to detail and following best practices for working with tools and materials. By approaching each step with care and craftsmanship, you can create a sturdy and attractive shed that meets your storage and functional needs.
With the shed fully constructed and ready for use, you have successfully transformed the concrete slab into a practical and valuable outdoor structure. As you add the final flourishes to the shed, you are one step closer to completing this rewarding and fulfilling project.
Finishing Touches
As the construction of the shed nears completion, attention turns to the essential finishing touches that will enhance the functionality, aesthetics, and longevity of the structure. These final details add character and practicality to the shed, elevating it from a simple storage space to a valuable and versatile outdoor asset.
One of the crucial finishing touches is to apply a protective finish to the exterior surfaces of the shed. Depending on the material used for the siding, this may involve painting, staining, or sealing to safeguard the wood from moisture, UV exposure, and other environmental factors. A high-quality finish not only enhances the shed’s visual appeal but also contributes to its resilience against the elements.
Consider adding gutters and downspouts to the shed to manage rainwater and prevent erosion around the structure. Proper drainage is essential for preserving the integrity of the concrete slab and protecting the surrounding landscape from water damage.
Furthermore, focus on interior details that will optimize the shed’s functionality. Install shelving, hooks, and storage solutions to organize tools, equipment, and other items, maximizing the usable space within the shed. A well-organized interior enhances accessibility and makes it easier to maintain a tidy and efficient storage area.
Addressing ventilation and insulation is another important aspect of the finishing touches. Proper airflow and insulation contribute to a comfortable and climate-controlled interior, protecting stored items from extreme temperatures and humidity. Consider adding vents or insulation as needed to create a pleasant and practical environment within the shed.
Additionally, evaluate the lighting needs of the shed and install adequate illumination to ensure visibility and safety, especially during evening hours. This may involve incorporating windows for natural light, as well as installing electrical fixtures for artificial lighting, depending on the shed’s proximity to a power source.
Finally, consider landscaping and exterior enhancements to integrate the shed seamlessly into its surroundings. Planting shrubs, flowers, or creating a pathway to the shed can enhance its visual appeal and create an inviting outdoor space.
By focusing on these finishing touches, you can transform the shed into a well-appointed and functional structure that complements your outdoor environment. As you add the final details and prepare to put the shed to use, take pride in the craftsmanship and attention to detail that have culminated in a valuable addition to your property.
Conclusion
Embarking on the journey of building a shed on a concrete slab is a testament to your creativity, craftsmanship, and commitment to enhancing your outdoor space. Throughout this comprehensive guide, we have explored the step-by-step process of transforming a bare concrete slab into a functional and visually appealing shed, replete with practical storage space and aesthetic charm.
From the initial stages of planning and site preparation to the meticulous construction of the concrete slab and the assembly of the shed, each phase of the project has been a testament to your dedication and attention to detail. By adhering to best practices and incorporating thoughtful design elements, you have created a durable and attractive outdoor structure that adds value to your property.
As you put the finishing touches on the shed, consider the potential applications and benefits of this versatile space. Whether utilized for storing gardening tools, outdoor equipment, or as a workshop, the shed stands as a testament to your ingenuity and resourcefulness.
Beyond its practical utility, the shed serves as a focal point in your outdoor environment, contributing to the visual appeal and functionality of your property. Its presence enhances the landscape, providing a dedicated space for organization and storage while reflecting your personal style and craftsmanship.
As you reflect on the completion of this project, take pride in the skills and knowledge you have acquired throughout the shed-building process. Your dedication to creating a structurally sound and aesthetically pleasing outdoor structure has not only added value to your property but has also enriched your experience as a homeowner and DIY enthusiast.
In the end, the shed on the concrete slab stands as a testament to your vision and determination, a tangible embodiment of your ability to transform raw materials into a functional and cherished asset. As you enjoy the fruits of your labor and make use of the newly constructed shed, may it serve as a constant reminder of your creativity, perseverance, and the satisfaction that comes with bringing a project to fruition.
Congratulations on completing this rewarding and fulfilling endeavor, and may your shed continue to serve you well for years to come.
Frequently Asked Questions about How To Build A Shed On A Concrete Slab
Was this page helpful?
At Storables.com, we guarantee accurate and reliable information. Our content, validated by Expert Board Contributors, is crafted following stringent Editorial Policies. We're committed to providing you with well-researched, expert-backed insights for all your informational needs.


0 thoughts on “How To Build A Shed On A Concrete Slab”