Home>Garden Essentials>How To Infill A Truck Well With Concrete Slab
Garden Essentials
How To Infill A Truck Well With Concrete Slab
Modified: March 7, 2024
Learn how to create a sturdy and attractive garden by infilling a truck well with a concrete slab. Transform your outdoor space with this simple technique.
(Many of the links in this article redirect to a specific reviewed product. Your purchase of these products through affiliate links helps to generate commission for Storables.com, at no extra cost. Learn more)
Introduction
Welcome to our comprehensive guide on how to infill a truck well with a concrete slab. Whether you are looking to create a sturdy foundation for a parking area or a platform for loading and unloading, infilling a truck well with a concrete slab is a great solution. In this article, we will take you through a step-by-step process to help you achieve professional results.
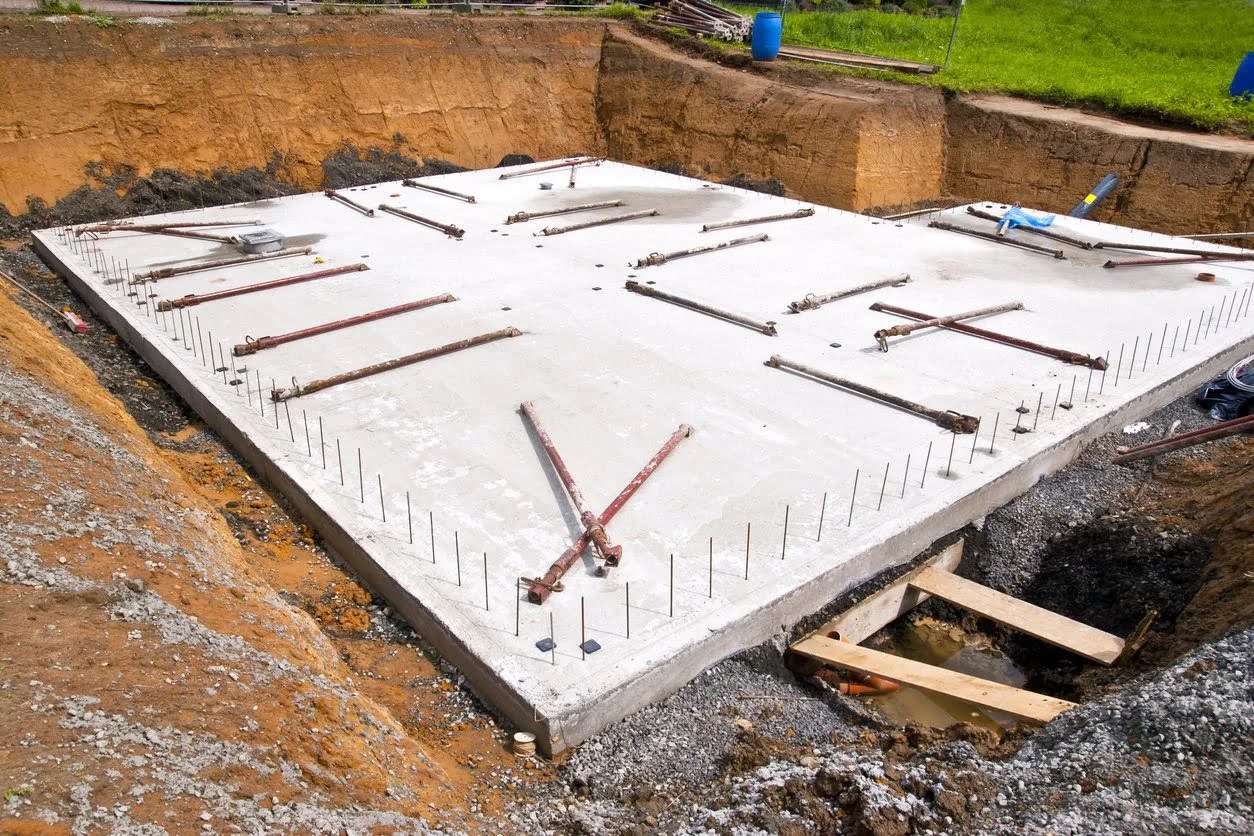
Before we dive into the details, let’s briefly discuss what a truck well is and why infilling it with a concrete slab is beneficial. A truck well, also known as a loading dock or a pit, is a recessed area in the ground that allows for easy access between a loading truck and a building. It provides a level surface for loading and unloading operations, ensuring efficiency and safety.
By infilling a truck well with a concrete slab, you create a durable and long-lasting platform that can withstand heavy loads and constant use. Concrete is known for its strength and durability, making it the ideal material for this application. Additionally, a properly constructed concrete slab can provide a smooth and level surface for seamless truck movement and improved efficiency.
Now that we understand the purpose and benefits of infilling a truck well with a concrete slab, let’s move on to the step-by-step process. We will cover everything from preparing the truck well to pouring and finishing the concrete, ensuring that you have all the knowledge and guidance necessary to complete the project successfully.
Keep in mind that while this guide provides a general overview, it is important to consult local building codes and regulations before undertaking any construction project. Additionally, it is recommended to seek professional assistance if you are unsure about any aspect of the process or lack the necessary experience and skills.
Ready to transform your truck well into a solid and functional space? Let’s get started with the first step: preparing the truck well.
Key Takeaways:
- Transform a truck well into a sturdy space by infilling it with a concrete slab. Follow the step-by-step guide to prepare, pour, and finish the concrete for a durable and functional loading area.
- Prioritize safety and consult local regulations when infilling a truck well with concrete. Create a smooth and efficient space that can withstand heavy loads and provide long-term functionality.
Read more: How To Lay Concrete Slabs On Grass
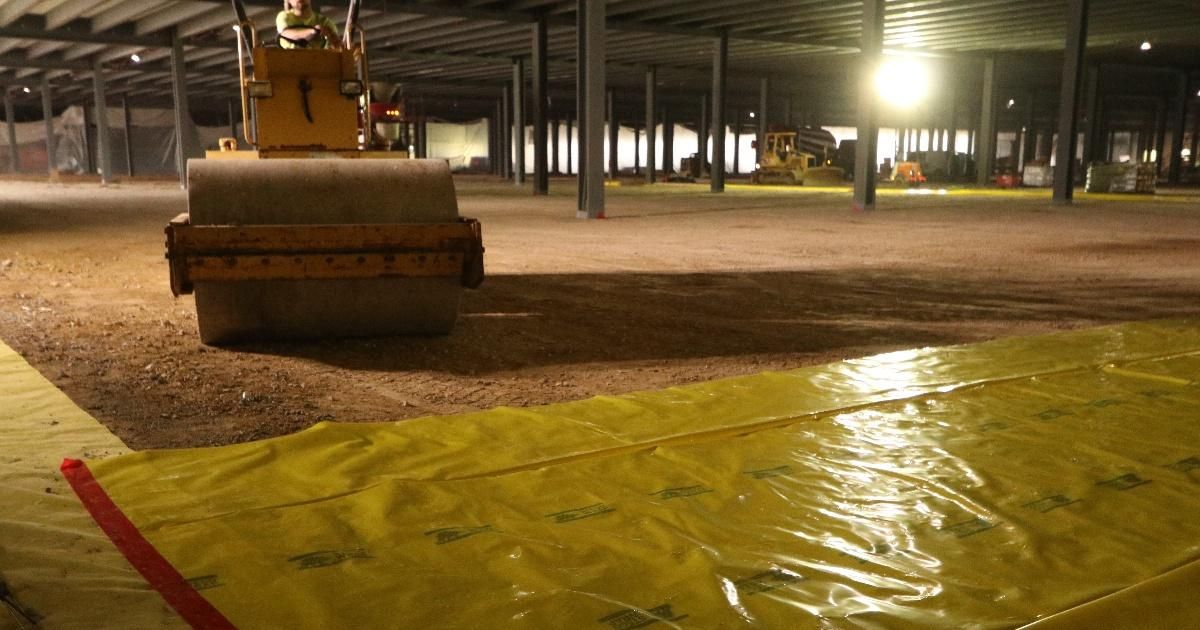
Step 1: Prepare the truck well
Before you can start infilling the truck well with a concrete slab, it is crucial to ensure that the area is properly prepared. This involves cleaning the truck well, removing any debris or loose material, and filling any cracks or holes. By taking these steps, you will create a clean and stable foundation for the concrete slab.
The first task is to thoroughly clean the truck well. Remove any dirt, dust, or other debris using a broom or a brush. It is important to clear the area of any loose particles that could interfere with the integrity of the concrete. Pay extra attention to corners and edges, as these are often overlooked and can accumulate debris over time.
Next, inspect the truck well for any cracks or holes. If you come across any, it is crucial to address them before proceeding further. Small cracks can be repaired using a concrete patching compound. Simply apply the compound to the crack and smoothen the surface using a trowel. For larger cracks or holes, you may need to use additional materials, such as epoxy or mortar. Follow the manufacturer’s instructions for the specific product you are using.
After patching any cracks or holes, give the truck well some time to dry. This will ensure that the repair is fully set and ready to withstand the weight of the concrete. Depending on the weather conditions, this may take a few hours or a couple of days.
Once the truck well is clean and free of cracks or holes, it is time to move on to the next step: building the formwork. Formwork is a temporary structure that will contain the concrete during the pouring and curing process, ensuring that it takes the desired shape. In the following step, we will guide you through the process of measuring and building the formwork for the truck well.
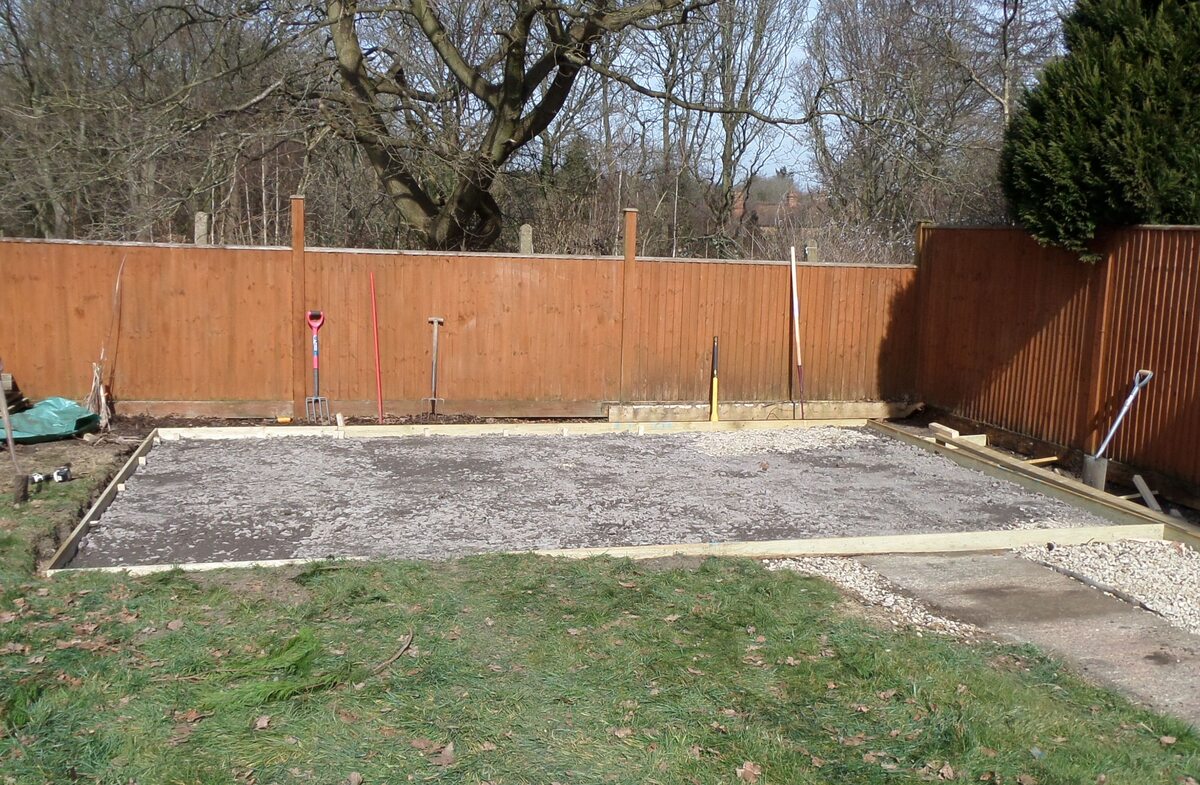
Step 2: Build formwork
In this step, we will guide you through the process of building formwork for the truck well. Formwork is an essential part of the construction process as it provides shape and support to the concrete until it is fully cured. By following these steps, you will be able to accurately measure, build, and secure the formwork in place.
The first task is to measure and mark the dimensions of the truck well on the ground. Use a tape measure to determine the length, width, and depth of the desired concrete slab. Mark these measurements using chalk or other suitable marking tools. It is important to ensure that the formwork aligns perfectly with the truck well dimensions to achieve a precise and accurate result.
Next, gather the necessary materials to build the formwork. Wooden boards, typically made of plywood or timber, are commonly used for this purpose. The thickness of the boards will depend on the depth of the truck well and the desired height of the concrete slab. Make sure the boards are in good condition and free from any defects.
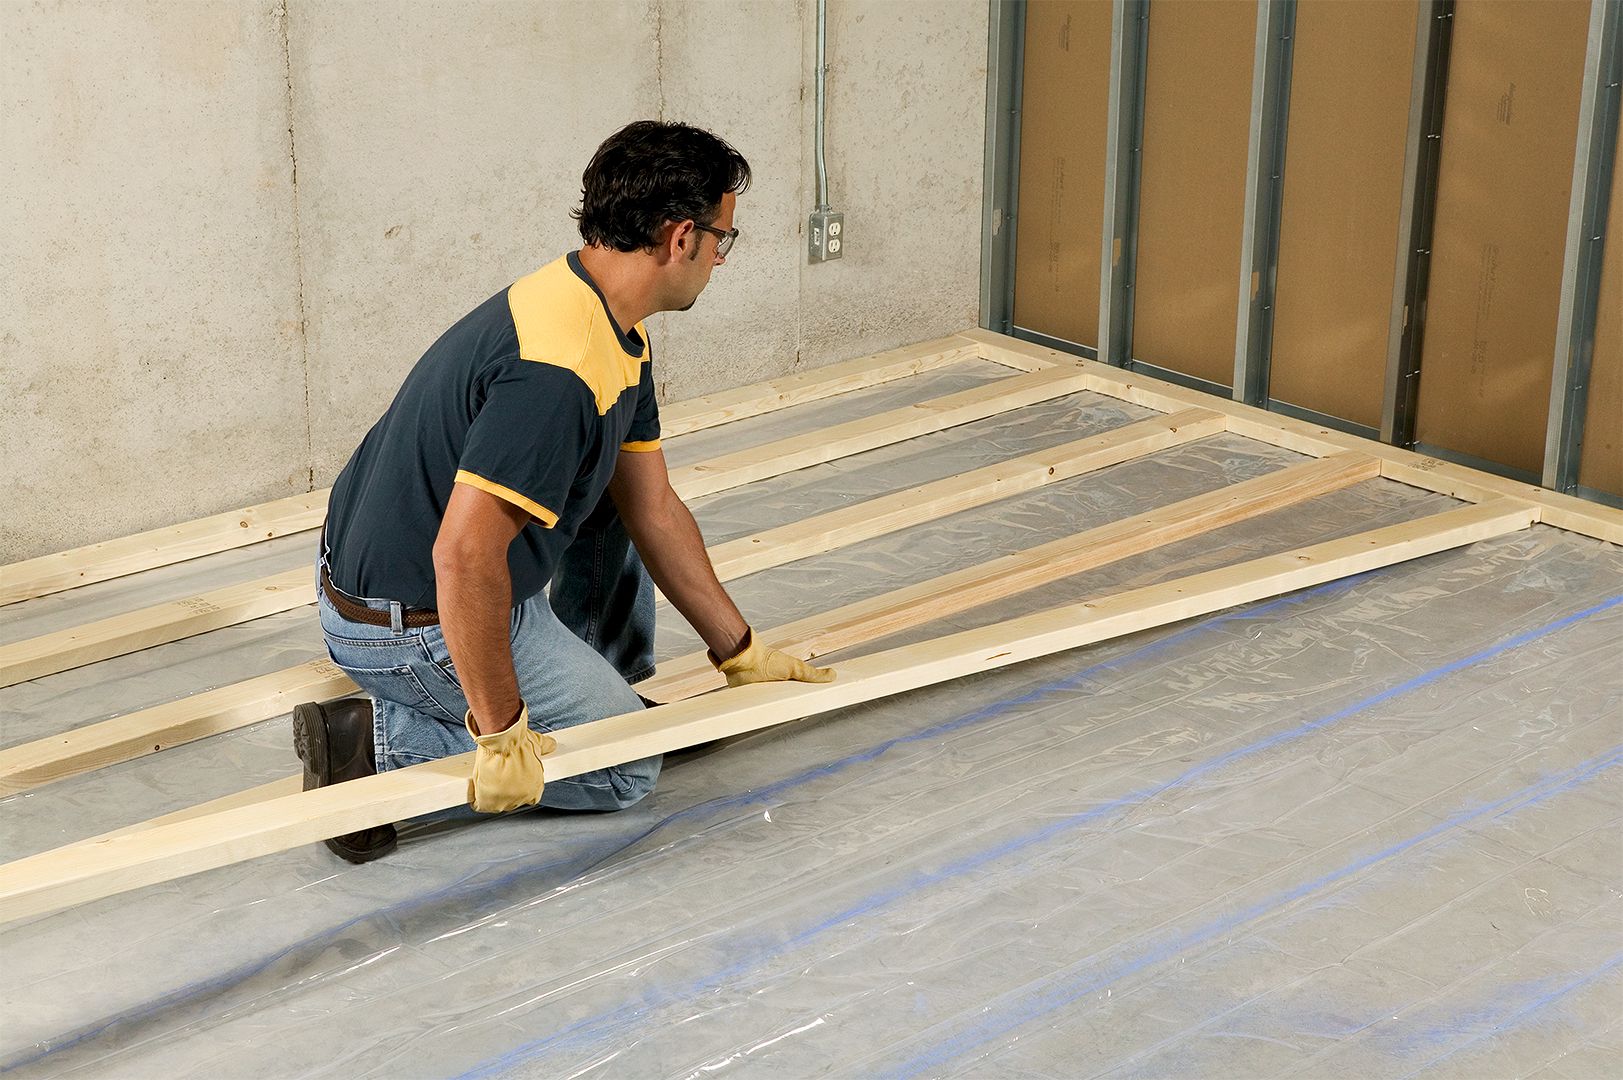
Start by placing the boards along the marked lines, creating the outline of the truck well. Use a saw or a suitable cutting tool to trim the boards to the correct length. Additionally, angle cuts may be required for corners or curved sections. Ensure that the boards fit tightly together and are level with the ground. This will help maintain the integrity of the concrete and prevent leakage during the pouring process.
Once the formwork is in place, it is important to secure it to the ground. This can be done using wooden stakes or metal rebar. Space the stakes or rebar at regular intervals along the outside of the formwork, ensuring they are firmly anchored in the ground. Use a hammer or a mallet to drive them securely into the soil. Additionally, it is important to place stakes or rebar inside the formwork to prevent the boards from bowing outward due to the pressure of the concrete.
It is crucial to check the alignment and stability of the formwork before proceeding to the next step. Ensure that the boards are straight, level, and securely fastened. Take the time to make any adjustments or reinforcements if necessary. This will help ensure a smooth and successful pouring process.
With the formwork securely in place, you are now ready to move on to the next step: reinforcing the truck well. This step involves adding steel reinforcement bars, providing additional strength and stability to the concrete slab.
Step 3: Reinforce the truck well
In this step, we will guide you through the process of reinforcing the truck well. Reinforcement bars, also known as rebar, are used to provide additional strength and stability to the concrete slab. By following these steps, you will be able to effectively place the reinforcement bars, ensure proper spacing and coverage, and secure them in place.
The first task is to prepare the reinforcement bars. Measure and cut the bars to the required length using a hacksaw or a cutting tool suitable for rebar. It is important to ensure that the bars fit within the formwork and provide adequate coverage throughout the concrete slab. Depending on the size and load-bearing requirements, consult with an engineer or refer to local building codes for the appropriate bar diameter and spacing.
Once the bars are prepared, place them within the formwork. Lay them parallel to each other, evenly spaced, and perpendicular to the length of the truck well. It is crucial to ensure that the bars are properly positioned to provide maximum reinforcement. If multiple layers of rebar are required, stagger the bars between layers to distribute the load evenly.
To ensure proper spacing and coverage, use rebar spacers or blocks. These are small plastic or metal devices that help maintain the correct distance between the bars and ensure they remain centered within the concrete slab. Place the spacers at regular intervals along the length of the bars, ensuring they are evenly distributed.
After placing the reinforcement bars and spacers, secure them in place. This can be done using wire, rebar ties, or clips. Wrap the wire or tie around the bars and twist it tight to hold them together. Alternatively, use clips designed for rebar reinforcement to securely fasten the bars. Ensure that the bars are held firmly in place to prevent them from shifting during the concrete pouring process.
It is crucial to double-check the alignment and spacing of the reinforcement bars before pouring the concrete. Ensure that they are straight, evenly spaced, and securely fastened. Take the time to make any necessary adjustments or reinforcements if needed. This will help ensure a strong and durable concrete slab that can withstand the load and provide long-term stability to the truck well.
With the reinforcement bars in place, you are now ready to move on to the next step: mixing and pouring the concrete. This step involves preparing the concrete mix and pouring it into the truck well to create the desired slab.
Before pouring concrete into a truck well, make sure to properly prepare the area by cleaning and leveling it. Use a concrete mix with the right strength and consistency for the job. Also, consider using rebar or wire mesh for added strength.
Step 4: Mix and pour the concrete
In this step, we will guide you through the process of mixing and pouring the concrete into the truck well. By following these steps, you will be able to prepare the concrete mix, calculate the amount of concrete needed, and pour it into the formwork to create the desired slab.
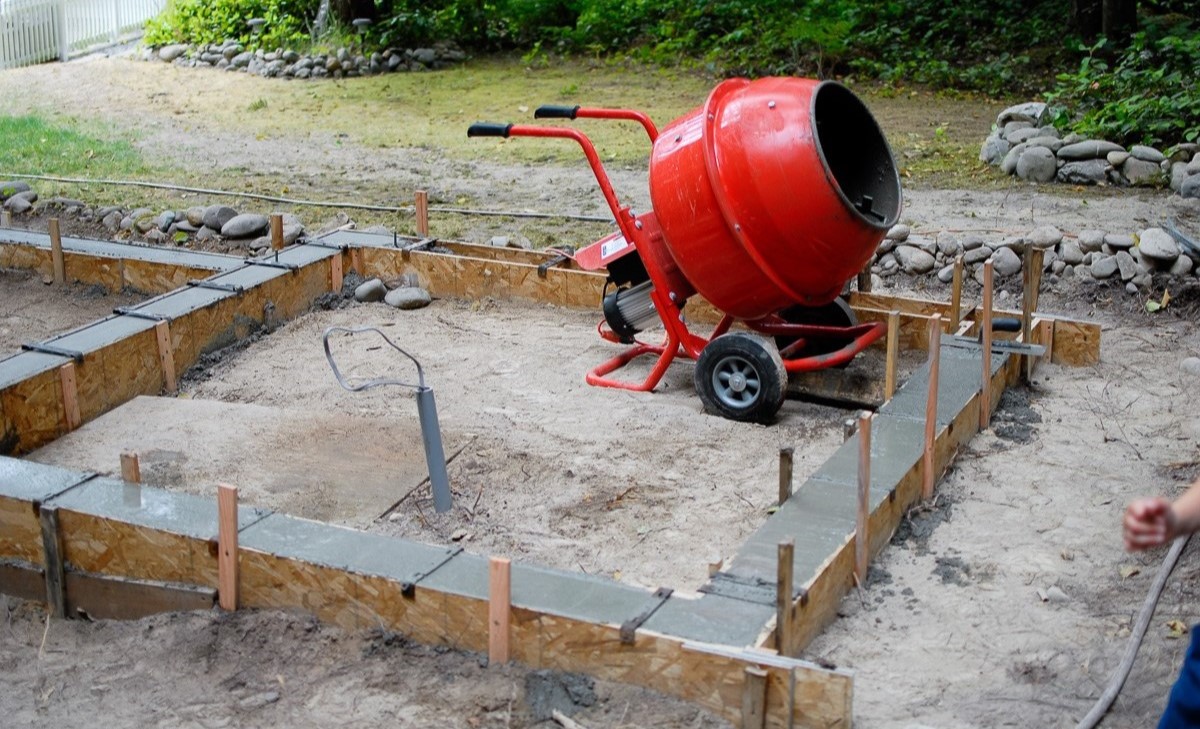
The first task is to prepare the concrete mix. Start by gathering the necessary materials, including cement, aggregates (such as sand and gravel), and water. The exact proportions will depend on the specific type of concrete mix you are using. Consult the manufacturer’s instructions or seek advice from a professional if you are unsure about the correct ratios.
In a large container or a concrete mixer, combine the cement and aggregates. Use a shovel or a mixing tool to blend the materials together until they are thoroughly mixed. Gradually add water while continuing to mix, ensuring that the consistency is workable but not too wet or sloppy. Aim for a mixture that can hold its shape and is easy to handle.
Once the concrete mix is ready, it is important to calculate the amount of concrete needed for the truck well. This will ensure that you have enough material to fill the space without any shortage or excess. Measure the length, width, and depth of the truck well and multiply these measurements together to determine the volume in cubic feet or cubic meters. Consult a concrete calculator or refer to industry standards to determine the amount of concrete required for the calculated volume.
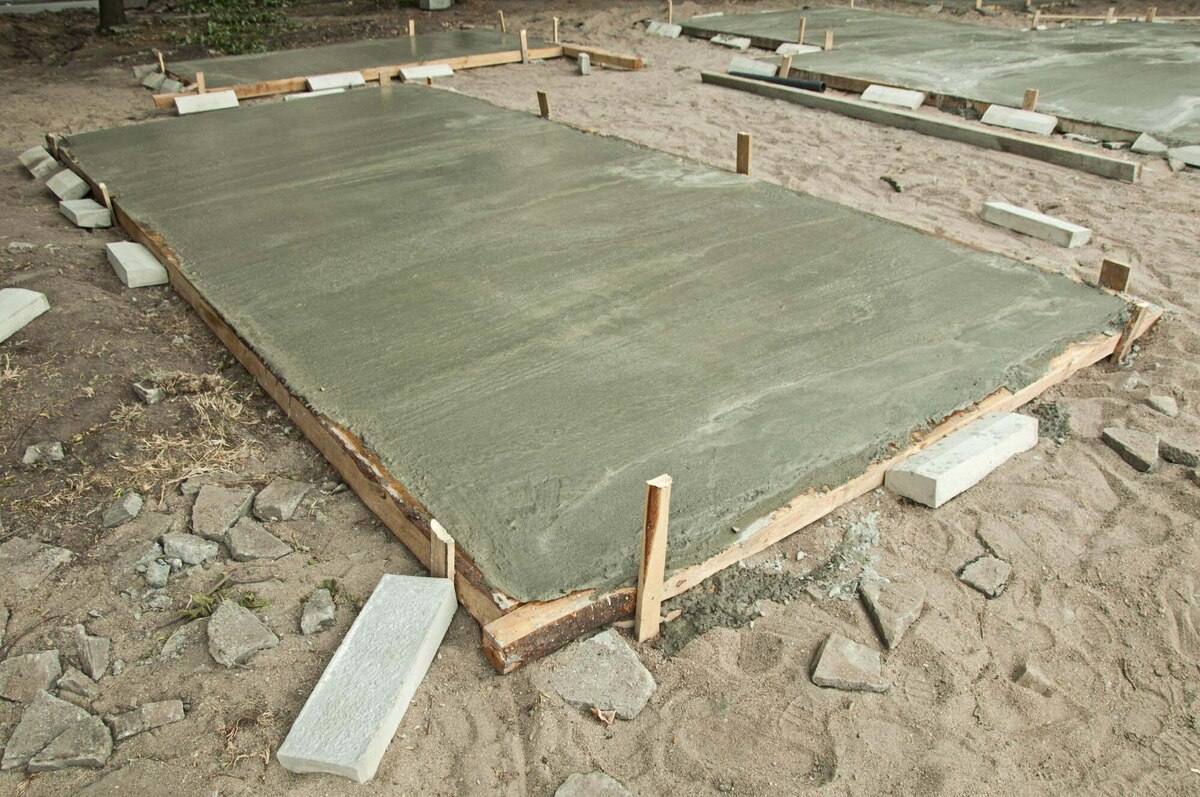
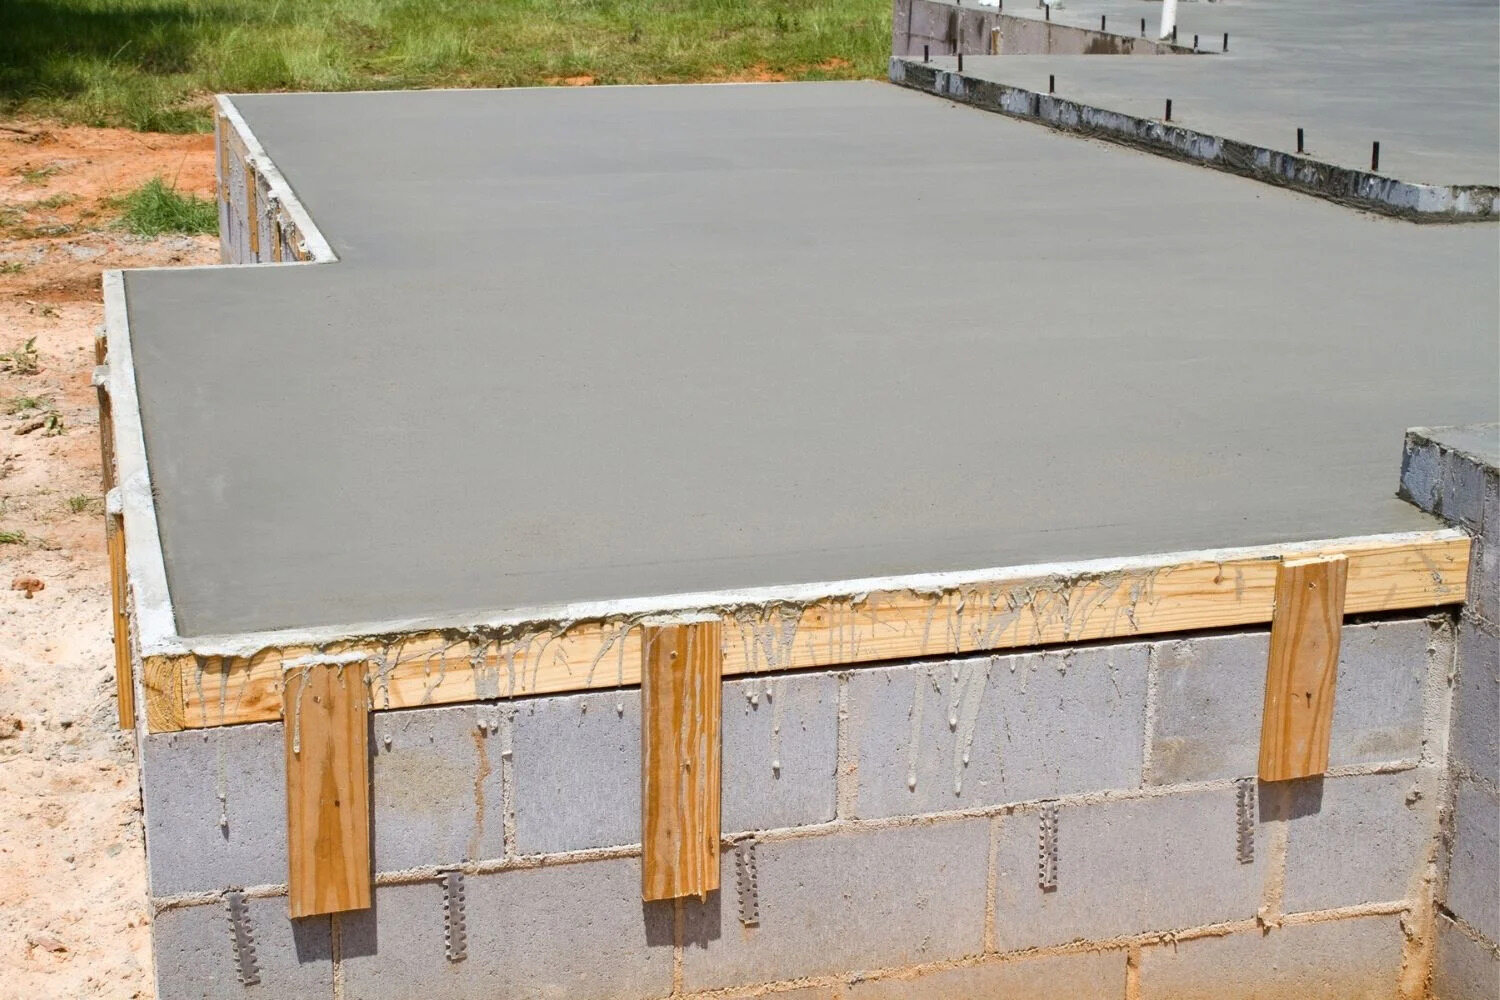
With the concrete mix prepared and the required amount calculated, it is time to pour the concrete into the truck well. Start by evenly distributing the mixture within the formwork, ensuring that it fills all corners and edges. Use a shovel or a rake to spread the concrete and a trowel to level and smooth the surface. Work quickly but carefully to avoid any delays that could cause inconsistencies in the finish.
If the truck well is large, it may be necessary to pour the concrete in sections to prevent it from drying too quickly. When pouring in sections, make sure to create proper joints that allow for expansion and contraction. Use a screed board or a straight edge to level the concrete and create a smooth surface throughout the entire area.
Once the concrete is poured and leveled, carefully remove any excess material from the formwork. Use a trowel or a float to smooth the surface, eliminating any air pockets or uneven areas. It is also a good idea to add control joints to the concrete slab, providing relief points that help prevent cracks from forming as the concrete cures.
With the concrete poured into the truck well, you have completed this step. Now, let’s move on to the next one: finishing the concrete slab for a polished and professional look.
Read more: How To Anchor A Shed To A Concrete Slab
Step 5: Finishing the concrete slab
In this step, we will guide you through the process of finishing the concrete slab in the truck well. By following these steps, you will be able to achieve a smooth surface, eliminate air bubbles or imperfections, and add a non-slip finish if desired.
The first task is to smooth the surface of the concrete. After pouring and leveling the concrete, use a float or a trowel to work the surface. Start at one end and move in a back-and-forth motion, ensuring that the tool is in contact with the concrete at all times. This process helps compact the concrete and remove any excess material or air pockets.
Continue smoothing the surface until it is uniformly textured and free from any irregularities. Pay extra attention to areas where the concrete may be thicker or thinner, ensuring a consistent finish throughout. The goal is to create a smooth and level surface that is aesthetically pleasing and functional.
While smoothing the surface, be on the lookout for any air bubbles or imperfections. If you notice any, use the edge of a float or a trowel to gently tap or twist the tool against the concrete. This action helps release trapped air and allows the concrete to settle properly. Smooth out any resulting depressions or unevenness to maintain a uniform finish.
If you desire a non-slip finish for added safety, this is the time to incorporate it. There are various methods to achieve a non-slip surface, depending on your preference and the intended use of the truck well. One option is to broadcast a non-slip additive, such as fine aggregate or silica sand, onto the wet surface of the concrete. This creates a textured surface that enhances traction and reduces the risk of slipping, particularly in wet or icy conditions.
Alternatively, you can consider applying a coating or sealer with added non-slip properties. These products are specifically designed to improve traction while also protecting the concrete from stains, wear, and weathering. Consult with a professional or refer to the manufacturer’s instructions for the recommended application method and drying time.
By finishing the concrete slab with a smooth surface and incorporating a non-slip finish if desired, you will ensure that the truck well is not only visually appealing but also safe and functional. With the finishing complete, it is time to move on to the final step: curing and drying the concrete.
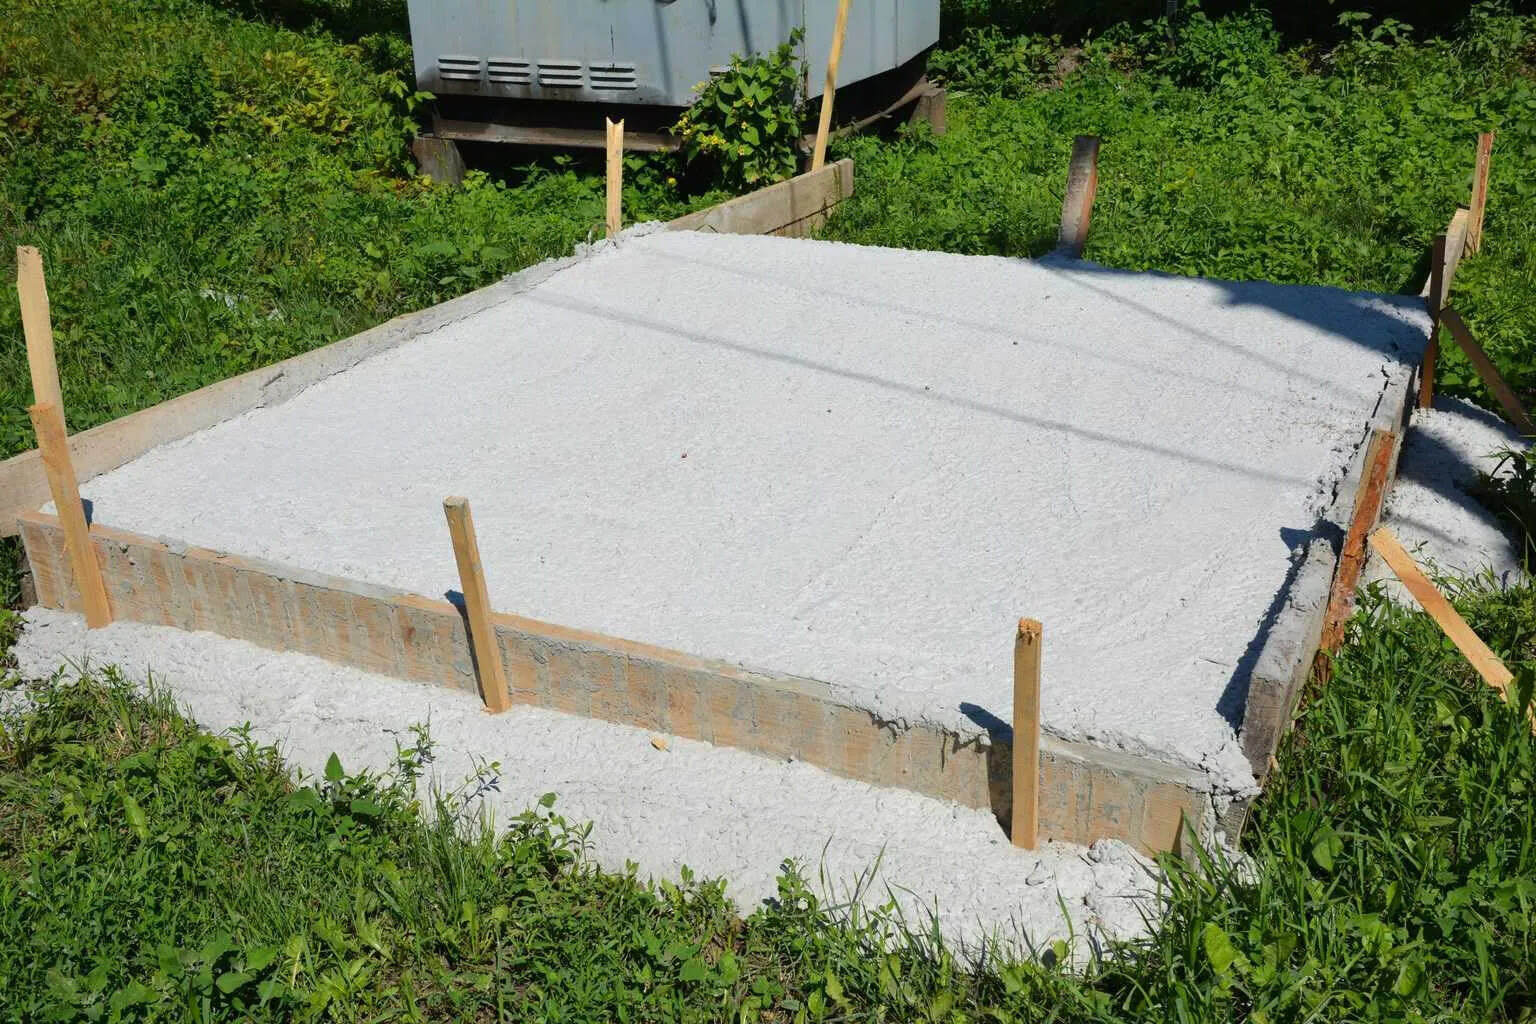
Step 6: Curing and drying
In this final step, we will guide you through the process of curing and drying the concrete slab in the truck well. Proper curing and drying are essential for achieving maximum strength and durability. By following these steps, you will ensure that the concrete cures effectively and attains its full potential.
The first task is to allow the concrete to cure for the recommended time. Curing is the process of maintaining the moisture content of the concrete to allow it to harden and develop its strength. The duration of curing depends on various factors, such as the type of cement used, weather conditions, and the size of the concrete slab. Consult with a professional or refer to the manufacturer’s instructions for the specific curing time required.
During the curing process, it is important to protect the concrete from excessive moisture or temperature changes. Cover the freshly poured concrete with a curing compound or a plastic sheet to prevent moisture loss due to evaporation. This helps keep the concrete adequately moist for proper hydration and strength development. Additionally, avoid exposing the concrete to extreme temperatures or direct sunlight, as this can lead to rapid drying and potential cracking.
Monitor the drying process regularly to ensure that the concrete is curing properly. Check the moisture level and adjust the covering if needed. It is also important to inspect the concrete for any signs of cracks or damage. If you notice any issues, contact a professional for guidance on how to proceed.
As the concrete continues to cure and dry, avoid placing heavy loads or subjecting it to excessive stress. Allow sufficient time for the concrete to gain its full strength before using the truck well for its intended purpose. This duration may vary depending on the specific concrete mix and curing conditions. Again, consult with a professional or refer to the manufacturer’s instructions for the recommended waiting period.
By following the proper curing and drying process, you will ensure that the concrete slab in the truck well reaches its maximum strength and durability. This contributes to the long-term functionality and longevity of the structure.
Congratulations! You have now completed all the steps involved in infilling a truck well with a concrete slab. By following this comprehensive guide, you have transformed a recessed area into a solid and functional space ready to withstand heavy loads and constant use. Remember to consult local building codes, seek professional advice when needed, and prioritize safety throughout the project. Enjoy the benefits of your hard work and the enhanced functionality of your truck well.
Conclusion
Congratulations on completing the process of infilling a truck well with a concrete slab! By following the steps outlined in this comprehensive guide, you have transformed a recessed area into a sturdy and functional space that can withstand heavy loads and provide a level surface for loading and unloading operations.
Throughout the process, you have learned how to properly prepare the truck well by cleaning it, removing debris, and filling cracks or holes. You have also discovered the importance of building formwork accurately to shape the concrete and reinforce the truck well to provide additional strength and stability.
Mixing and pouring the concrete was a crucial step, where you learned to prepare the concrete mix, calculate the required amount, and pour it into the formwork. Finishing the concrete slab was equally important, as it allowed you to create a smooth surface, eliminate air pockets and imperfections, and add a non-slip finish for added safety.
Lastly, the curing and drying process played a vital role in ensuring that the concrete achieved maximum strength and durability. By following recommended curing times, protecting the concrete from moisture loss and temperature changes, and monitoring the drying process, you have set the foundation for a long-lasting and functional truck well.
Remember, it is essential to consult local building codes and regulations before starting any construction project. Safety should always be prioritized, and seeking professional guidance when unsure is highly recommended.
Now, enjoy the benefits of your hard work and the transformed truck well. Whether it is creating a smooth and efficient loading area or providing a stable platform for various operations, your newly infilled truck well with a concrete slab will serve you well for years to come.
Thank you for following this guide, and we wish you success in all your future construction endeavors!
Frequently Asked Questions about How To Infill A Truck Well With Concrete Slab
Was this page helpful?
At Storables.com, we guarantee accurate and reliable information. Our content, validated by Expert Board Contributors, is crafted following stringent Editorial Policies. We're committed to providing you with well-researched, expert-backed insights for all your informational needs.


0 thoughts on “How To Infill A Truck Well With Concrete Slab”