Home>Articles>How To Install A Floor Drain In A Concrete Slab
Articles
How To Install A Floor Drain In A Concrete Slab
Modified: October 20, 2024
Learn how to install a floor drain in a concrete slab with our informative articles. Discover expert tips and step-by-step instructions to ensure a successful installation.
(Many of the links in this article redirect to a specific reviewed product. Your purchase of these products through affiliate links helps to generate commission for Storables.com, at no extra cost. Learn more)
Introduction
Installing a floor drain in a concrete slab can be a crucial addition to any space that may experience water or moisture buildup. Whether it’s for a basement, garage, or outdoor area, a floor drain helps to prevent flooding and water damage by providing an outlet for excess water to drain away. In this article, we will guide you through the step-by-step process of installing a floor drain in a concrete slab, ensuring that the job is done correctly and efficiently.
Before we begin, it’s important to gather the necessary tools and materials for this project. You will need the following:
- Measuring tape
- Chalk or marking pencil
- Concrete saw or angle grinder
- Jackhammer or masonry chisel
- Shovel
- PVC drain pipes and fittings
- Floor drain assembly
- Drainage gravel
- Concrete mix
- Trowel
- Plastic sheeting
- Safety goggles
- Gloves
Now that we have our tools and materials ready, let’s move on to the step-by-step process of installing a floor drain in a concrete slab.
Key Takeaways:
- Proper planning and preparation are essential for installing a floor drain in a concrete slab. From assessing the area to checking local regulations, taking these steps ensures a successful and compliant installation process.
- The installation of a floor drain in a concrete slab requires precision and attention to detail, from cutting the opening in the concrete to connecting the drain pipe and mounting the floor drain. Following each step meticulously results in a reliable and effective drainage system.
Tools and Materials Needed
Before you start installing a floor drain in a concrete slab, it’s essential to gather all the necessary tools and materials. Here’s a list of what you’ll need:
- Measuring tape: Used to accurately measure and mark the location of the floor drain.
- Chalk or marking pencil: Used to mark the cutting line on the concrete slab.
- Concrete saw or angle grinder: Necessary for cutting through the concrete to create an opening for the floor drain.
- Jackhammer or masonry chisel: In case you encounter any difficulties while cutting through the concrete, these tools will help you remove stubborn sections.
- Shovel: Used to dig the trench for the drain pipe leading away from the floor drain.
- PVC drain pipes and fittings: These will be used to connect the floor drain to the drainage system.
- Floor drain assembly: Includes the drain body, grate, and any necessary screws or attachment components.
- Drainage gravel: Placed around the drain pipe for proper water flow and drainage.
- Concrete mix: Used to fill in the gaps and secure the floor drain assembly in place.
- Trowel: Necessary for smoothing out the concrete mix and achieving a level surface.
- Plastic sheeting: Helps protect the surrounding area from debris and dust during the installation process.
- Safety goggles: Protects your eyes from any flying debris or dust while cutting or drilling into the concrete.
- Gloves: Provides hand protection from sharp edges and potential injuries.
By having all the necessary tools and materials prepared in advance, you can streamline the floor drain installation process and ensure a successful outcome.
Step 1: Planning and Preparation
Before diving into the process of installing a floor drain in a concrete slab, it’s crucial to spend some time on planning and preparation. This step will help ensure that you have a clear understanding of the project and set you up for success. Follow these steps to properly plan and prepare:
- Assess the area: Take a careful look at the area where you plan to install the floor drain. Consider factors such as the water source, drainage requirements, and the layout of the space. This evaluation will help you determine the ideal location for the floor drain.
- Check local regulations: Before starting any plumbing-related project, it’s essential to check local building codes and regulations. Ensure that you comply with any permits, restrictions, or guidelines related to floor drain installations. Consulting with a professional plumber is always recommended to ensure compliance and the best possible outcome.
- Create a floor plan: Measure the dimensions of the area and sketch a floor plan. This plan will help you visualize the placement of the floor drain, the drain pipe route, and any other necessary components.
- Mark the location: Using a measuring tape, mark the precise location of the floor drain on the concrete slab. Use a chalk or marking pencil to draw the outline of the drain opening. Double-check the measurements to ensure accuracy.
- Prepare the work area: Clear the surrounding area of any obstacles or items that may impede your work. Cover nearby furniture or belongings with plastic sheeting to protect them from dust and debris. Consider wearing protective clothing, such as old clothes and closed-toe shoes, as you may encounter gritty surfaces and concrete dust during the installation process.
This initial planning and preparation stage is vital for a successful floor drain installation. By taking the time to evaluate the area, understand regulations, and create a plan, you’ll be well-prepared to move forward with confidence.
Step 2: Identify the Location for the Floor Drain
Once the planning and preparation stage is complete, the next step in installing a floor drain in a concrete slab is to identify the precise location for the drain. Here’s how to do it:
- Refer to your floor plan: Take out the floor plan you created during the planning stage. Use it as a reference to locate the marked spot for the floor drain.
- Consider water flow: Evaluate the water source in the space and how water naturally flows. Look for areas where water tends to accumulate or drain poorly. These areas may be the most appropriate spots for the floor drain.
- Avoid obstructions: Ensure that there are no obstructions, such as utility lines, plumbing pipes, or structural elements, in the chosen location for the floor drain. If there are any potential obstructions, consider adjusting the floor drain placement accordingly.
- Accessibility: Consider the accessibility of the floor drain. Ideally, it should be easily accessible for cleaning and maintenance purposes. If the chosen location is in a concealed area, ensure that there is sufficient space for a removable access panel or cover.
- Placement on the slope: If you are installing the floor drain in an area prone to water accumulation, ensure that the drain is positioned on a slight slope to allow proper water flow towards the floor drain.
By taking these factors into account, you can identify the optimal location for the floor drain. Once you have determined the best spot, you can proceed to the next step of cutting the opening in the concrete slab.
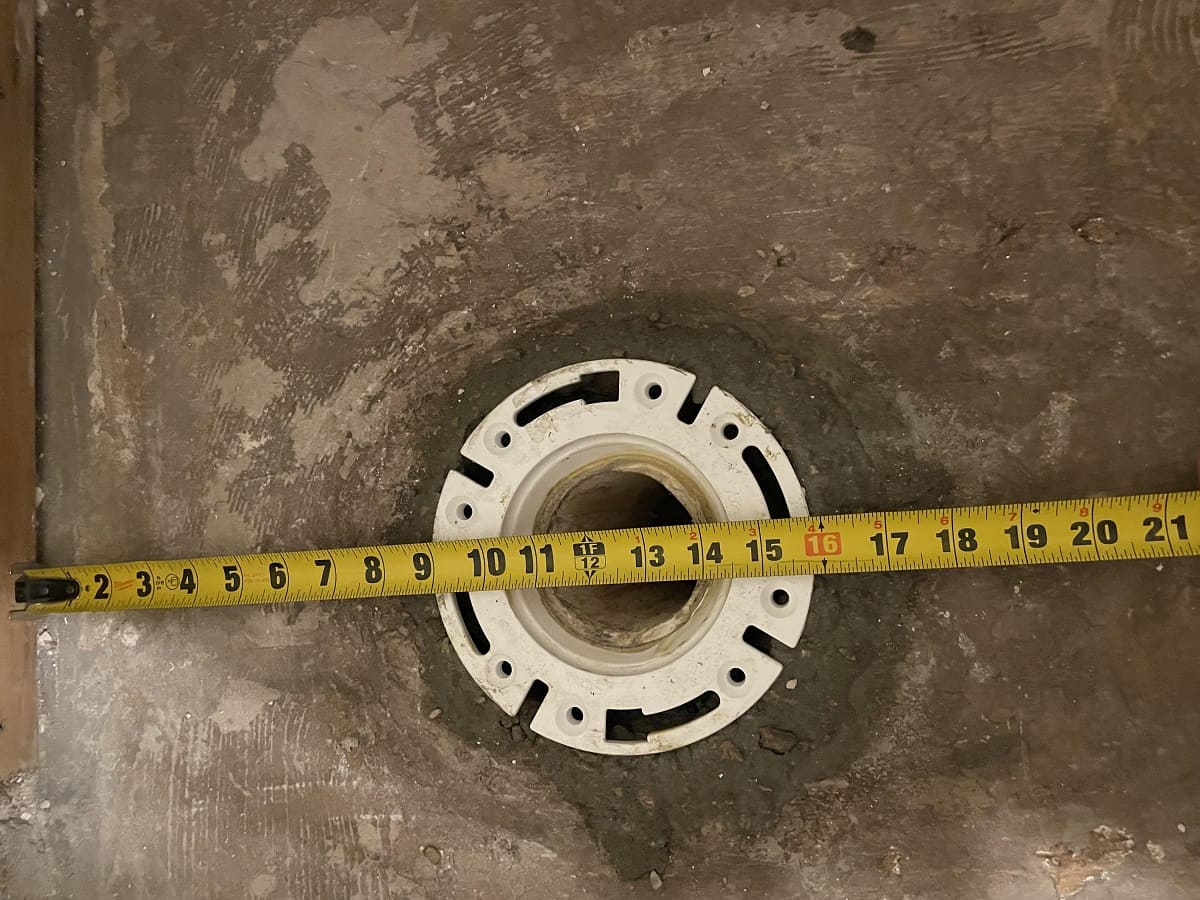
Step 3: Cutting the Opening in the Concrete Slab
With the location of the floor drain identified, it’s time to cut the opening in the concrete slab. This step requires precision and patience to ensure a clean and accurate cut. Follow these steps to cut the opening:
- Put on safety gear: Before you begin, put on safety goggles and gloves to protect yourself from any flying debris or sharp edges.
- Prepare the concrete saw or angle grinder: Depending on the tool you’re using, prepare it according to the manufacturer’s instructions. Ensure that the blade is suitable for cutting through concrete.
- Mark the cutting line: Use a chalk or marking pencil to mark the outline of the floor drain opening on the concrete slab. Double-check the measurements to ensure accuracy.
- Start cutting: If you’re using a concrete saw, carefully guide the blade along the marked line, applying steady pressure. If you’re using an angle grinder, make small cuts along the marked line until you have a groove, then deepen the groove until the concrete can be easily removed.
- Remove the concrete: Use a jackhammer or masonry chisel to break away the concrete within the marked outline. Take your time and work carefully to avoid damaging the surrounding area.
- Smooth the edges: After removing the bulk of the concrete, use the angle grinder or a chisel to smooth and level the edges of the opening.
- Clean up the debris: Sweep or vacuum up any concrete dust and debris from the area to ensure a clean working surface.
Remember to work slowly and carefully while cutting the opening, as precision is key. Take breaks if necessary to avoid fatigue and maintain focus. Once the opening is cut and cleaned, you can proceed to the next step of digging the trench for the drain pipe.
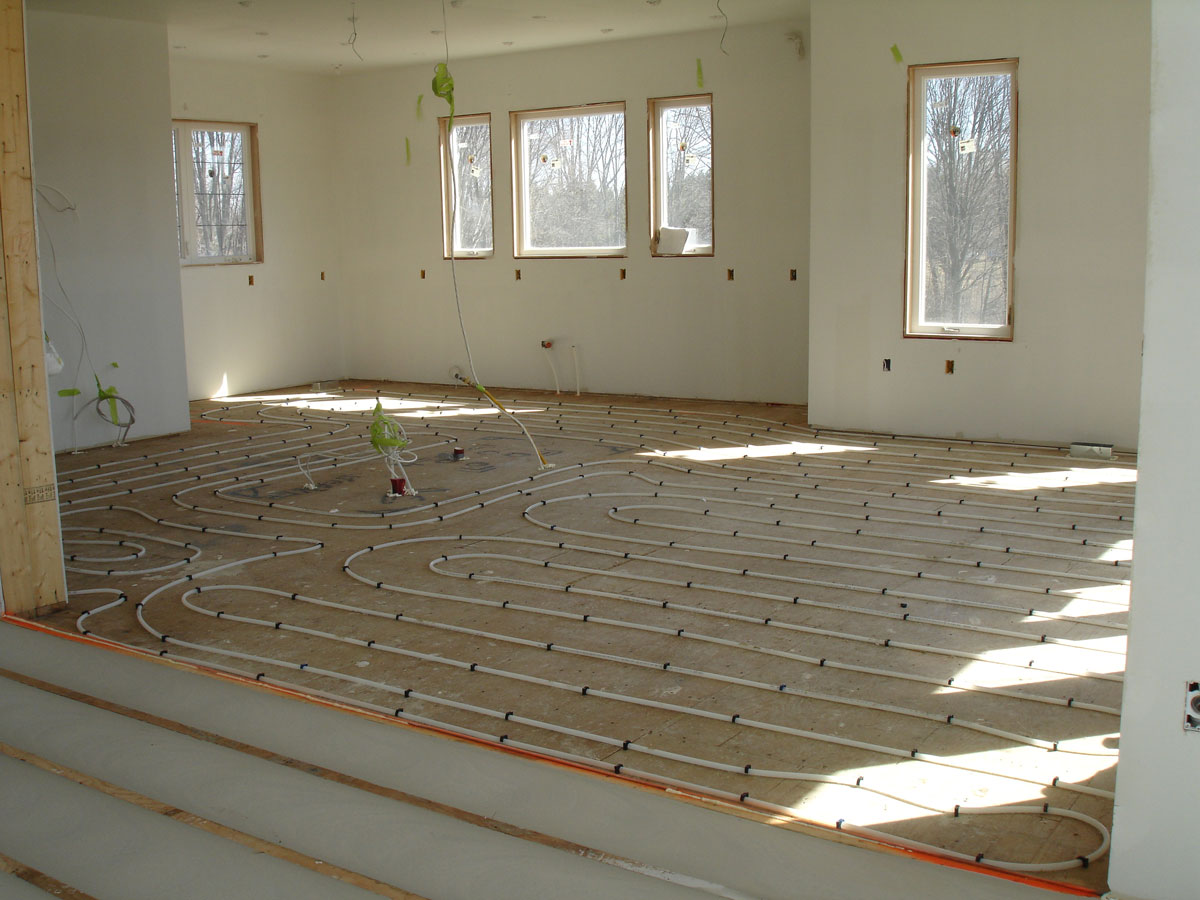
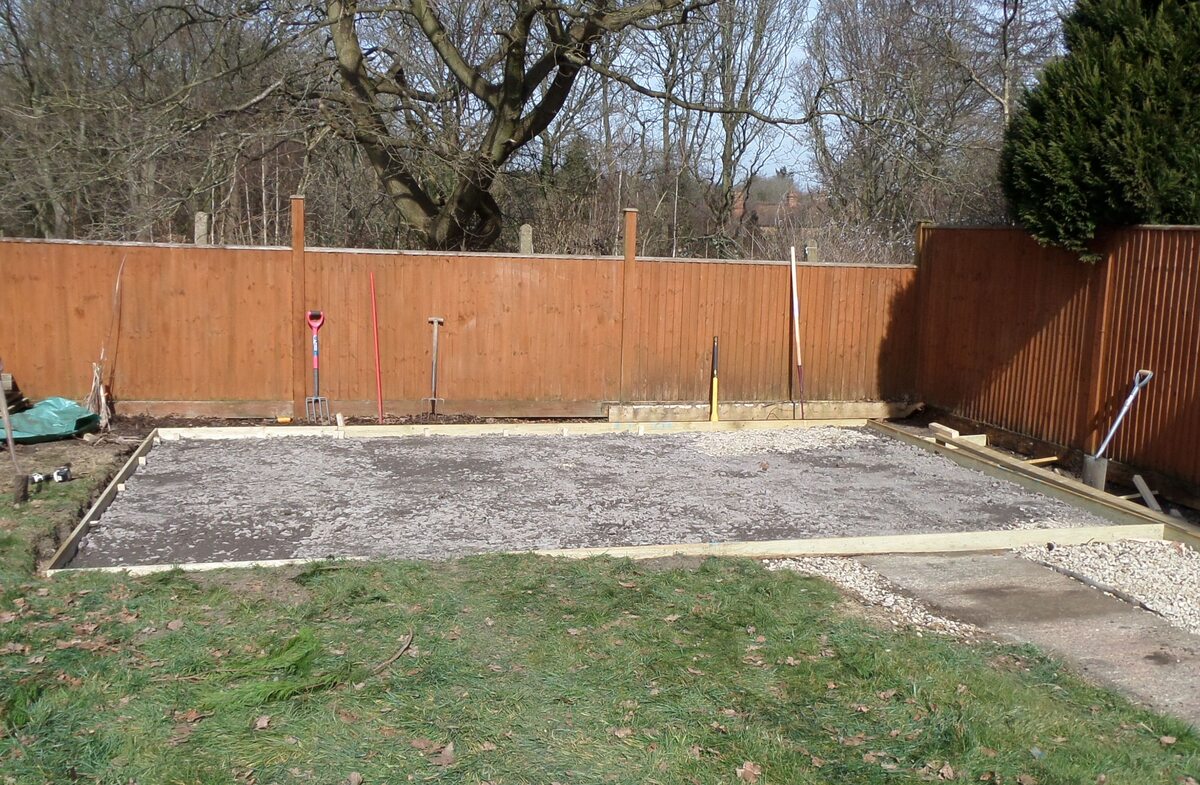
Step 4: Digging the Trench for the Drain Pipe
After cutting the opening for the floor drain, the next step is to dig a trench to accommodate the drain pipe. This trench will allow the pipe to connect the floor drain to the drainage system. Follow these steps to dig the trench:
- Gather your tools: Grab a shovel and prepare for some digging.
- Determine the length and depth of the trench: Measure the distance from the floor drain opening to the location where the drain pipe will connect to the main drainage system. Also, consider the required slope for proper water flow.
- Mark the trench lines: Use chalk or marking paint to mark the trench lines on the floor surface.
- Start digging: Begin digging the trench along the marked lines. Take care to dig to the specified depth and maintain a slope toward the main drain if required.
- Clear any obstacles: Remove any rocks, roots, or debris that may hinder the installation of the drain pipe. Make sure the trench is clear and smooth.
- Measure and adjust: As you dig, periodically measure the trench depth and adjust the slope if needed. Take the time to ensure proper alignment and gradient for effective drainage.
Remember, the goal is to create a trench that will accommodate the drain pipe and allow for proper water flow. Take your time and pay attention to the measurements and slope. Once you have finished digging the trench, you can move on to the next step: installing the drain pipe.
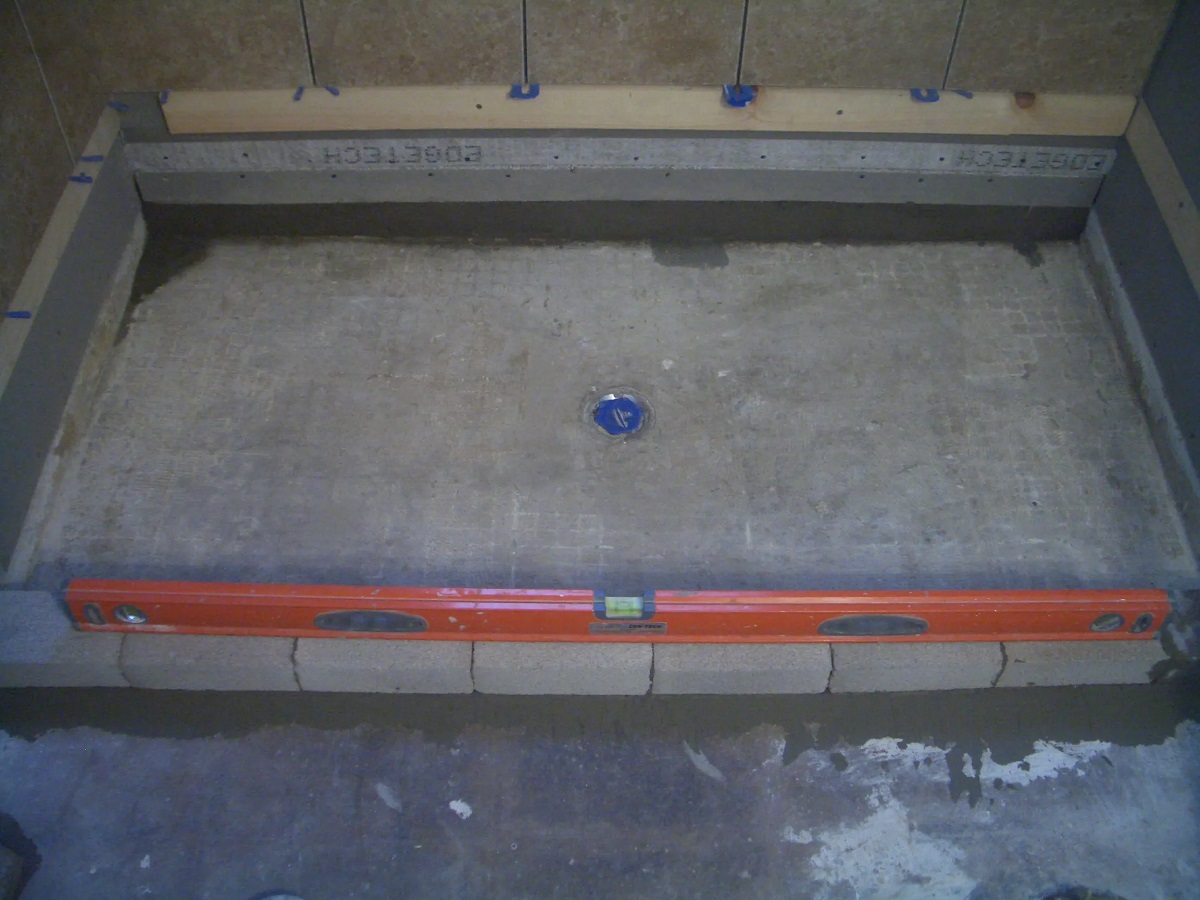
Make sure to properly slope the concrete slab towards the floor drain to ensure proper drainage. Use a string level to check the slope before the concrete sets.
Step 5: Installing the Drain Pipe
Installing the drain pipe is a crucial step in the process of installing a floor drain in a concrete slab. The drain pipe connects the floor drain to the main drainage system and ensures proper water flow and drainage. Follow these steps to install the drain pipe:
- Gather your materials: Ensure you have all the necessary PVC drain pipes and fittings to complete the installation.
- Measure and cut the drain pipe: Measure the distance from the floor drain to the main drainage system connection point. Using a saw or PVC pipe cutter, cut the drain pipe to the appropriate length.
- Attach fittings: Install the necessary fittings, such as elbows, tees, and couplings, to connect the drain pipe sections. Apply PVC primer and cement to the pipe ends and fittings, then firmly push and twist them together to create a secure connection.
- Place the drain pipe in the trench: Carefully lower the drain pipe into the trench, ensuring it follows the designated slope if required. Attach the pipe sections together using the fittings.
- Secure the drain pipe: Use stakes or clamps to secure the drain pipe in place, preventing movement or shifting during the backfilling process.
- Test the position and alignment: Double-check that the drain pipe is properly aligned and positioned within the trench. Make any necessary adjustments before proceeding.
During this step, it’s essential to be mindful of the proper alignment and slope of the drain pipe. This will ensure efficient water flow and prevent any potential drainage issues in the future. Once the drain pipe is securely in place, you are ready to move on to the next step: connecting the drain pipe to the floor drain.
Step 6: Connecting the Drain Pipe to the Floor Drain
Now that the drain pipe is securely installed in the trench, the next step is to connect it to the floor drain. This connection will enable water to flow from the floor drain into the drain pipe and ultimately into the main drainage system. Follow these steps to connect the drain pipe to the floor drain:
- Gather your materials: Ensure you have the floor drain assembly, including the drain body, grate, and any necessary screws or attachment components.
- Prepare the floor drain assembly: Refer to the manufacturer’s instructions to assemble the floor drain components if they are not pre-assembled. Ensure that all parts are in place and securely fastened.
- Apply PVC primer and cement: Apply PVC primer to the inside of the drain pipe and the outside of the section where it will connect to the floor drain. Follow up by applying PVC cement to both surfaces.
- Attach the drain pipe to the floor drain: Insert the primed and cemented end of the drain pipe into the designated opening on the floor drain assembly. Apply firm pressure to ensure a secure connection.
- Tighten the clamp or screws: If your floor drain assembly includes a clamp or screws for additional stability, tighten them to keep the drain pipe securely in place.
It’s important to ensure a tight and secure connection between the drain pipe and the floor drain to prevent any leaks or dislodging. Take your time to properly align and fasten the components, following the manufacturer’s instructions if available. Once the drain pipe is successfully connected to the floor drain, you can proceed to the next step: mounting the floor drain in the concrete slab.
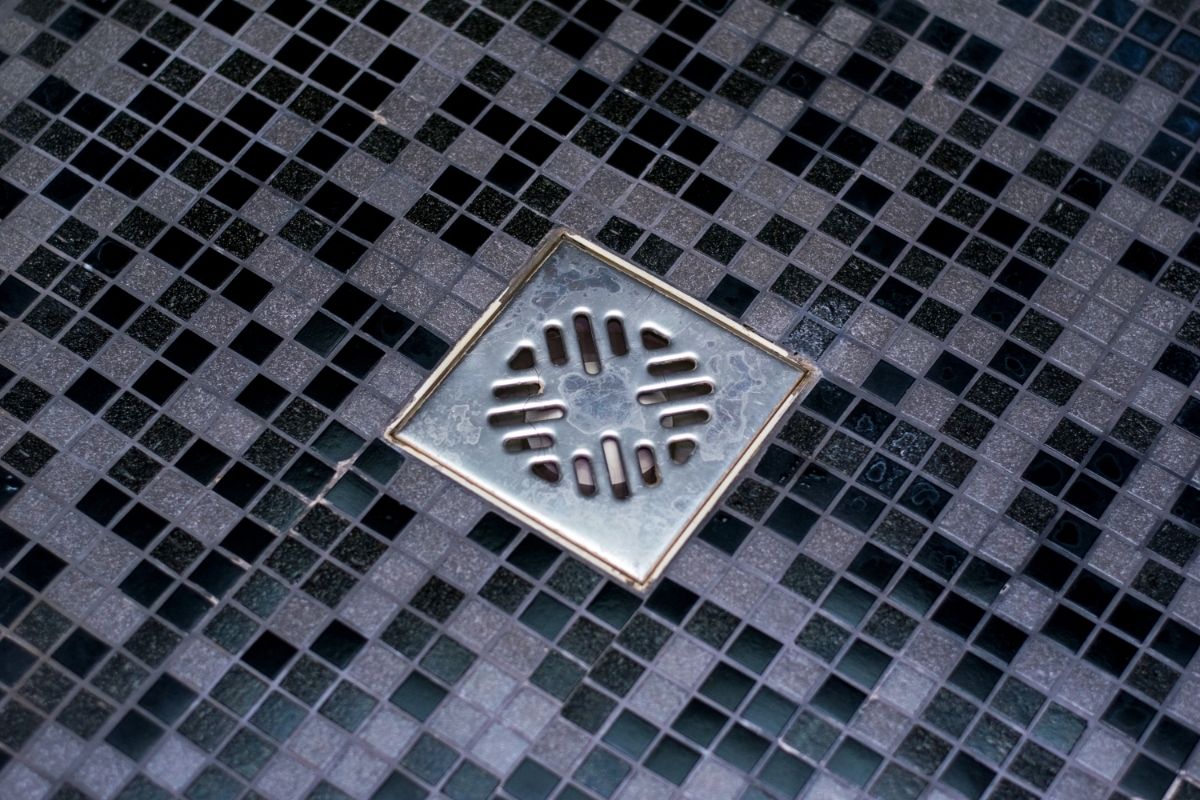
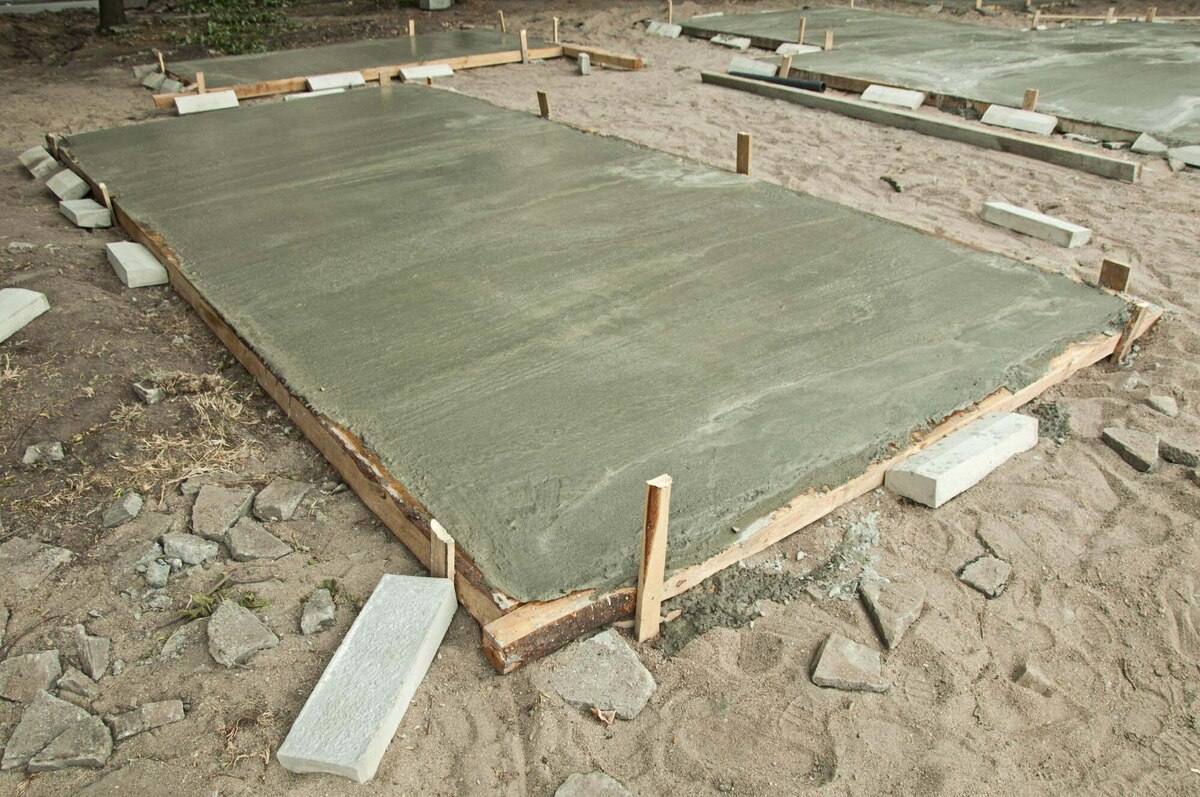
Step 7: Mounting the Floor Drain in the Concrete Slab
With the drain pipe connected to the floor drain, the next step is to mount the floor drain in the concrete slab. This step ensures that the floor drain is securely anchored in place and ready to effectively drain water. Follow these steps to mount the floor drain:
- Prepare the concrete mix: Mix the concrete according to the manufacturer’s instructions. Ensure that you achieve the desired consistency, which should be thick enough to hold its shape but still workable.
- Position the floor drain: Place the floor drain assembly into the opening in the concrete slab. Ensure that it is level and aligned with the surrounding floor surface.
- Secure the floor drain: Pour the prepared concrete mix around the edges of the floor drain assembly, gradually filling in the gap between the drain and the concrete slab. Use a trowel to smooth and level the concrete around the drain.
- Check for proper alignment: Double-check that the floor drain is still level and aligned with the surrounding floor. Make any necessary adjustments immediately before the concrete sets.
- Allow the concrete to cure: Follow the manufacturer’s instructions for the recommended curing time of the concrete. This typically involves waiting for a specified period for the concrete to harden and set properly.
During this step, it’s important to work efficiently while pouring and leveling the concrete around the floor drain. This will ensure that the drain is securely mounted in place and prevent any potential stability issues. Once the concrete has cured and hardened, you can move on to the final step: sealing and finishing the floor drain installation.
Read more: How To Install Conduit In Concrete Slab
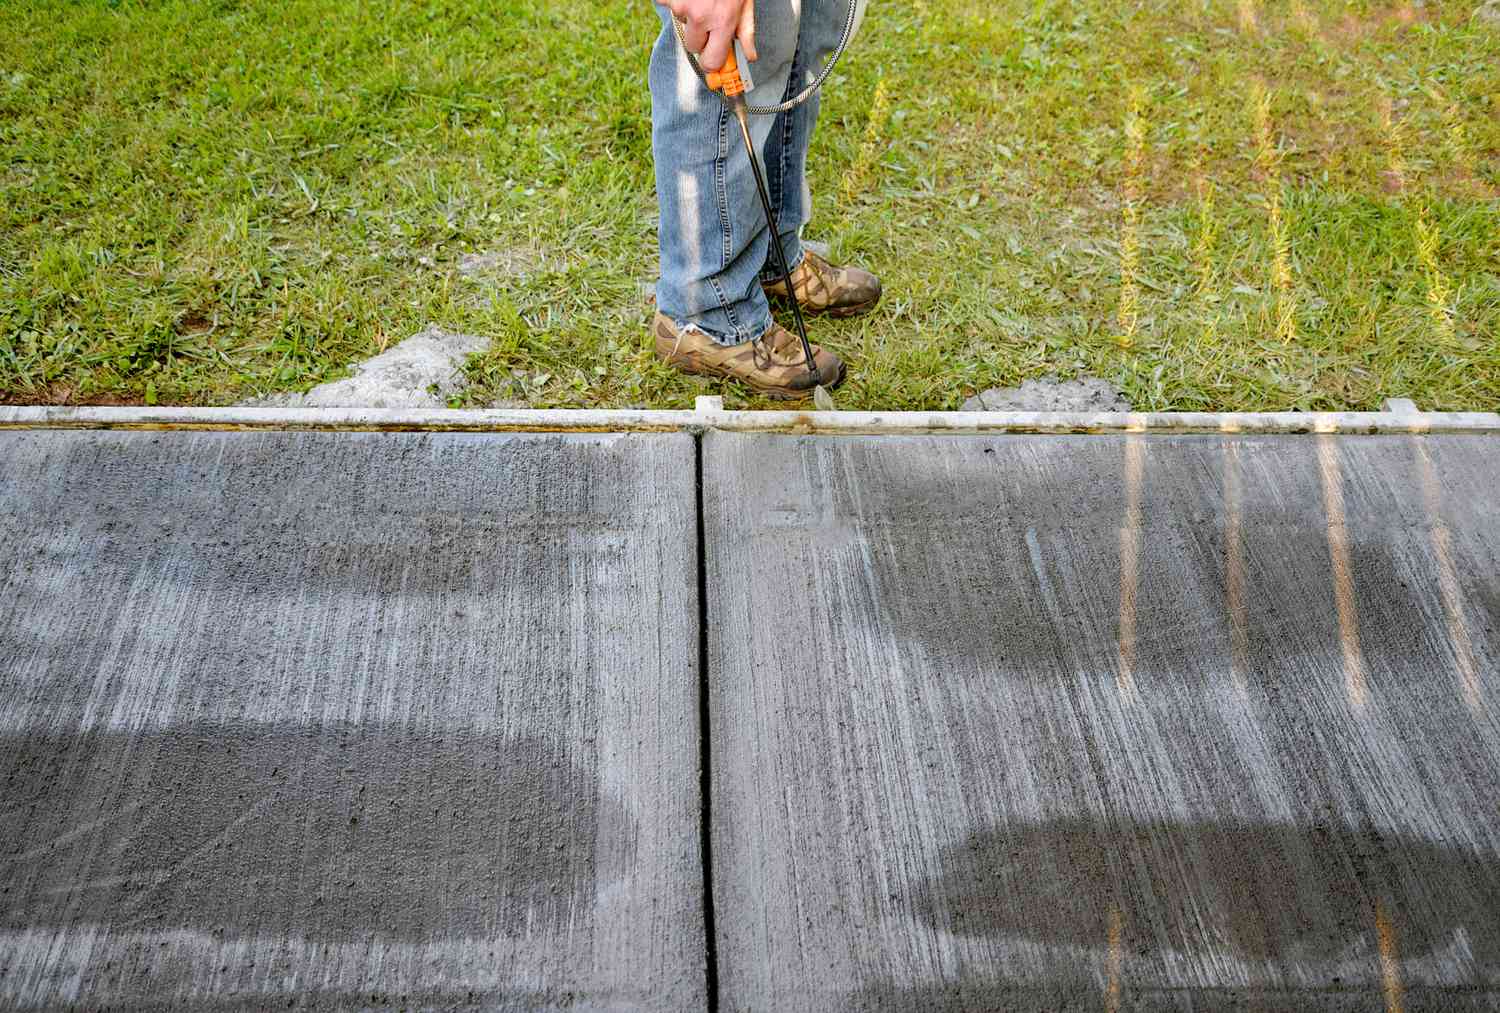
Step 8: Sealing and Finishing the Floor Drain Installation
The final step in installing a floor drain in a concrete slab is to seal and finish the installation. This step ensures that the floor drain is watertight, protected from potential leaks, and visually appealing. Follow these steps to seal and finish the floor drain installation:
- Clean the area: Remove any debris or residue around the floor drain and ensure the surrounding area is clean and dry.
- Apply waterproof sealant: Use a waterproof sealant specifically designed for concrete to seal around the edges of the floor drain. This will help prevent any potential water leaks or seepage.
- Smooth the sealant: Use a putty knife or your finger to smooth the sealant around the floor drain, ensuring a neat and clean finish.
- Apply floor finish: If desired, you can apply a floor finish or epoxy coating to the concrete slab. This will enhance the appearance of the area and provide added protection against moisture and stains.
- Allow the sealant and floor finish to dry: Follow the manufacturer’s instructions for the recommended drying and curing time of the sealant and floor finish. This will ensure that they properly adhere and provide effective protection.
By sealing and finishing the floor drain installation, you not only ensure its functionality but also enhance the overall aesthetics of the space. The sealant and floor finish provide additional protection and add a polished look to your floor drain.
Once the sealant and floor finish are completely dried and cured, you have completed the installation of the floor drain in the concrete slab. Take a moment to inspect your work for any visible imperfections or areas that may require touch-ups. The floor drain is now ready to effectively drain any excess water or moisture, keeping your space safe and dry.
Always follow any local regulations and guidelines related to plumbing and drainage installations. If you have any concerns or lack the necessary expertise, it is advisable to consult with a professional plumber for assistance.
Conclusion
Installing a floor drain in a concrete slab is a valuable addition to any space prone to water or moisture buildup. By following the step-by-step process outlined in this guide, you can successfully install a floor drain and ensure effective water drainage, preventing potential flooding and water damage.
From the initial planning and preparation stage to the final sealing and finishing steps, each phase of the installation is crucial for a successful outcome. By carefully identifying the location, cutting the opening in the concrete slab, digging the trench for the drain pipe, and connecting the drain pipe to the floor drain, you have set the foundation for a reliable drainage system.
Mounting the floor drain into the concrete slab and sealing the installation with waterproof sealant not only ensures the functionality of the floor drain but also enhances the visual appeal of the space. The finishing touches, such as applying a floor finish or epoxy coating, provide additional protection and a polished look to the floor drain area.
Remember to adhere to local regulations and guidelines throughout the installation process. If you have any doubts or lack the necessary expertise, consulting with a professional plumber is highly recommended to ensure compliance and the best possible outcome.
By installing a floor drain in a concrete slab, you have taken an important step in protecting your space from water-related issues. Whether it’s in a basement, garage, or outdoor area, a properly installed floor drain provides peace of mind and helps maintain a safe and dry environment.
With this comprehensive guide in hand, you are ready to tackle the installation of a floor drain in a concrete slab successfully. Enjoy the benefits of a well-drained space, free from the worries of water accumulation and damage.
Frequently Asked Questions about How To Install A Floor Drain In A Concrete Slab
Was this page helpful?
At Storables.com, we guarantee accurate and reliable information. Our content, validated by Expert Board Contributors, is crafted following stringent Editorial Policies. We're committed to providing you with well-researched, expert-backed insights for all your informational needs.


0 thoughts on “How To Install A Floor Drain In A Concrete Slab”