Home>Gardening & Outdoor>Outdoor Structures>How To Build A Shed Base With Paving Slabs
Outdoor Structures
How To Build A Shed Base With Paving Slabs
Modified: August 28, 2024
Learn how to create a sturdy shed base using paving slabs for your outdoor structures. Follow our step-by-step guide for a durable and long-lasting foundation.
(Many of the links in this article redirect to a specific reviewed product. Your purchase of these products through affiliate links helps to generate commission for Storables.com, at no extra cost. Learn more)
Introduction
So, you've decided to add a shed to your property. Whether it's for storage, a workshop, or a cozy retreat, a shed can be a valuable addition to your outdoor space. One of the crucial steps in this process is creating a solid foundation for your shed. Building a shed base with paving slabs is a popular and effective method that not only provides a sturdy footing for your shed but also enhances the aesthetics of your outdoor area.
In this comprehensive guide, we will walk you through the step-by-step process of building a shed base using paving slabs. From gathering the necessary materials and tools to laying the slabs and securing them, we'll cover everything you need to know to complete this project successfully. Additionally, we'll discuss the importance of a well-constructed shed base and the benefits of using paving slabs for this purpose.
By the end of this guide, you'll have the knowledge and confidence to tackle this project and create a durable and visually appealing base for your shed. So, roll up your sleeves, gather your tools, and let's get started on building the perfect foundation for your new shed!
Key Takeaways:
- Building a shed base with paving slabs provides a sturdy and visually appealing foundation for your shed, enhancing both functionality and aesthetics of your outdoor space.
- By meticulously preparing the ground, laying the paving slabs with precision, and securing them effectively, you’ll create a durable and enduring base for your shed, ensuring its stability and longevity.
Read more: How To Build A Base For A Shed
Step 1: Gather Materials and Tools
Before embarking on the journey of building a shed base with paving slabs, it’s essential to gather all the necessary materials and tools. Having everything at hand will streamline the process and ensure that you can proceed without interruptions. Here’s a list of the items you’ll need:
- Paving Slabs: These will form the foundation of your shed base. Choose durable, high-quality slabs that can withstand the weight of the shed and provide long-term stability.
- Gravel: A layer of gravel will be used to create a stable and well-draining base for the paving slabs. Opt for a suitable grade of gravel that promotes proper drainage.
- Sand: You’ll need sand for leveling the ground and providing a base for the paving slabs. Coarse sand is typically recommended for this purpose.
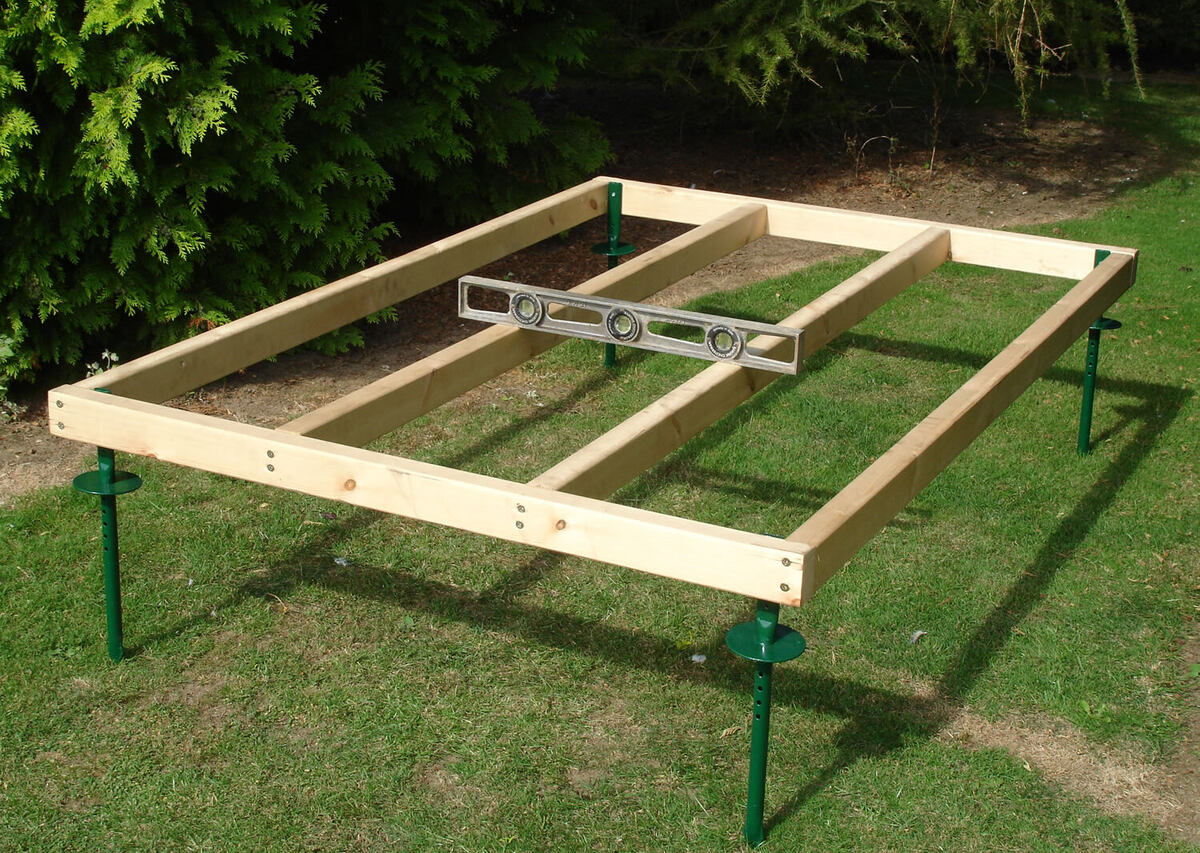
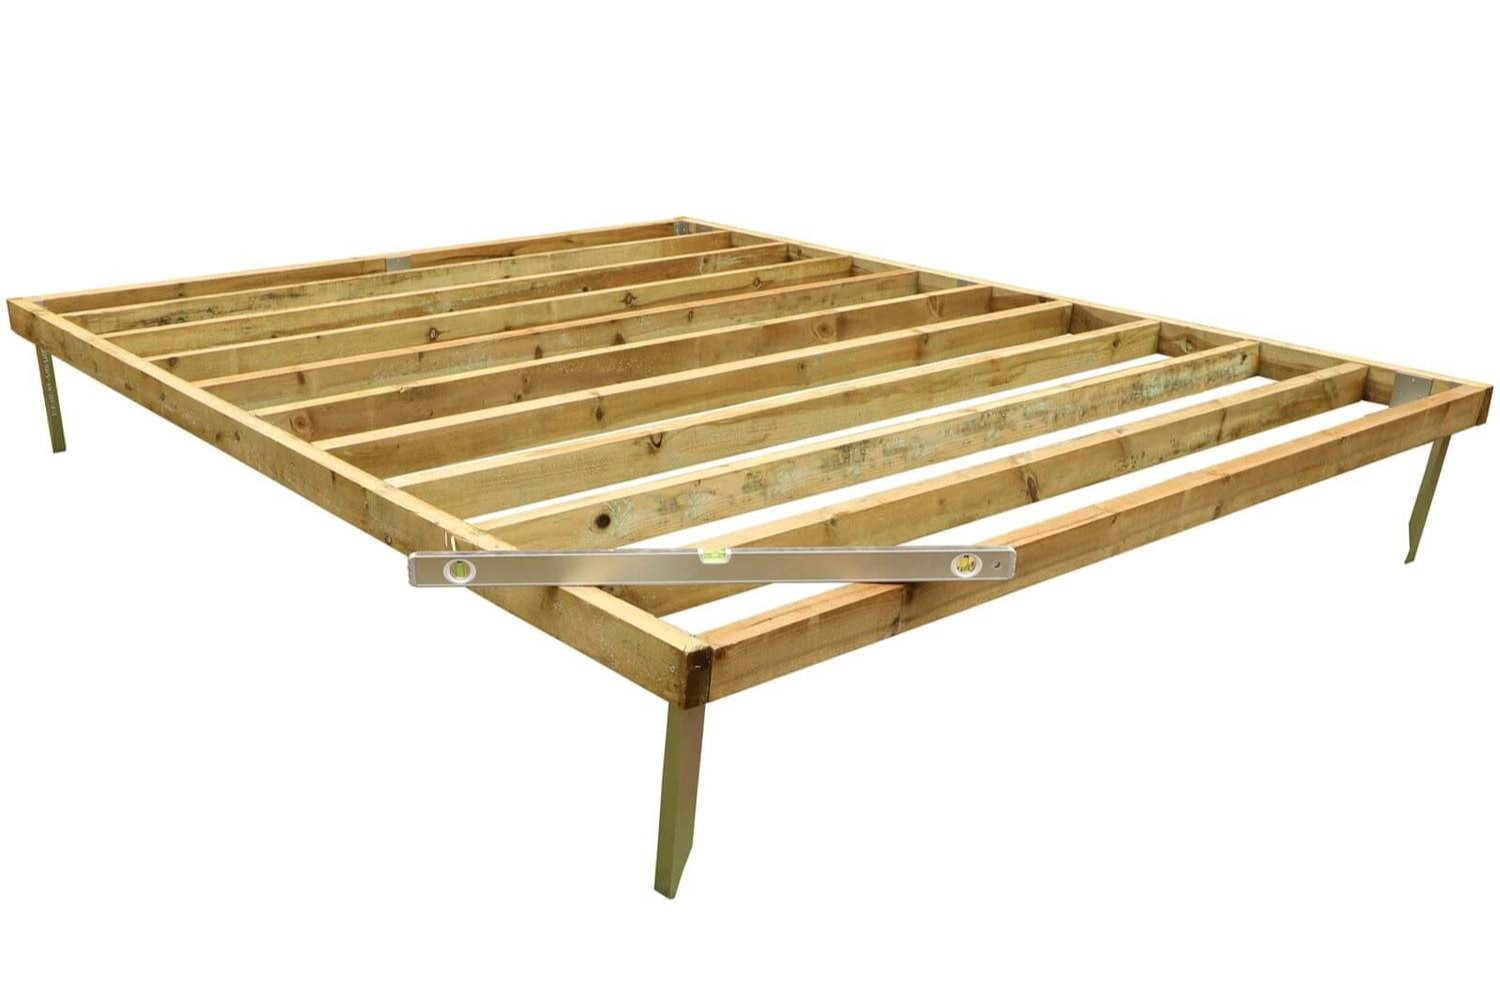
- Pressure-Treated Wooden Sleepers: These will be used to create a border for the shed base, providing support and containment for the paving slabs.
- Spirit Level: Ensuring that the shed base is level is crucial for the stability of the structure. A spirit level will help you achieve an even surface.
- Tape Measure: Accurate measurements are essential for laying out the shed base and positioning the paving slabs correctly.
- Hammer: A hammer will be needed for securing the wooden sleepers in place and making adjustments during the construction process.
- Protective Gear: Safety should always be a priority. Equip yourself with gloves, safety goggles, and sturdy footwear to protect against potential hazards.
- Shovel: You’ll use a shovel for excavating the area, spreading gravel, and leveling the ground before laying the paving slabs.
- String and Pegs: These will be useful for marking out the area and ensuring that the shed base is constructed within the desired dimensions.
By gathering these materials and tools, you’ll be well-prepared to commence the construction of your shed base. With everything in place, you can proceed to the next step with confidence, knowing that you have everything you need to create a solid and enduring foundation for your shed.
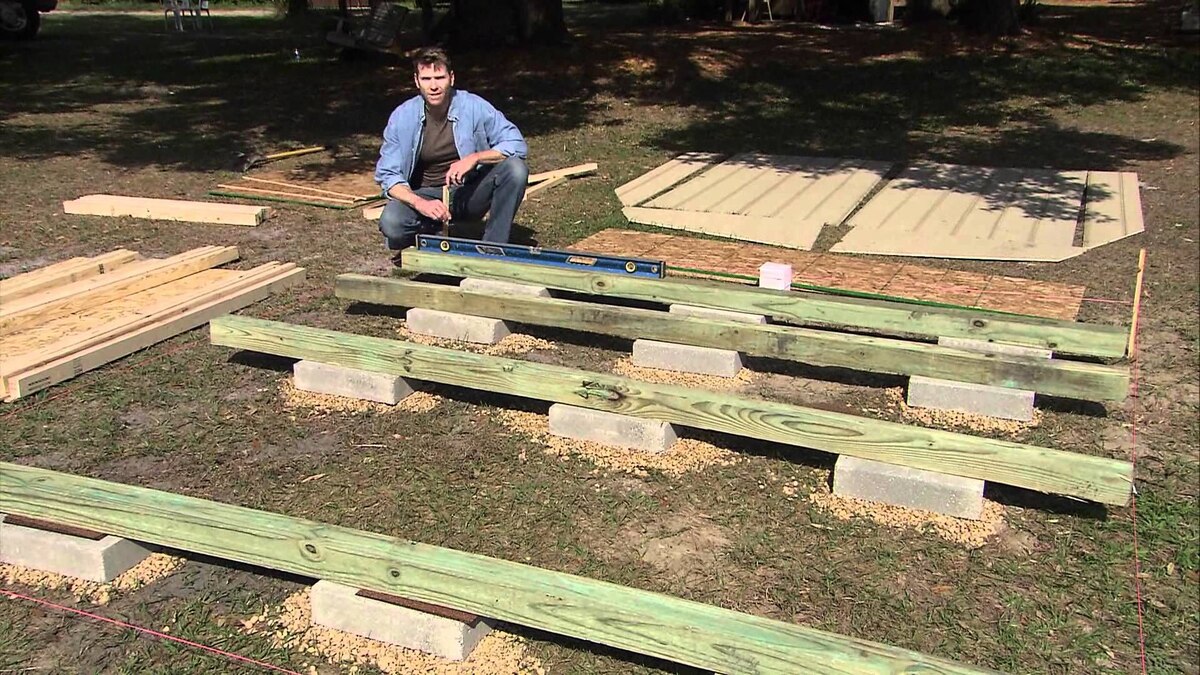
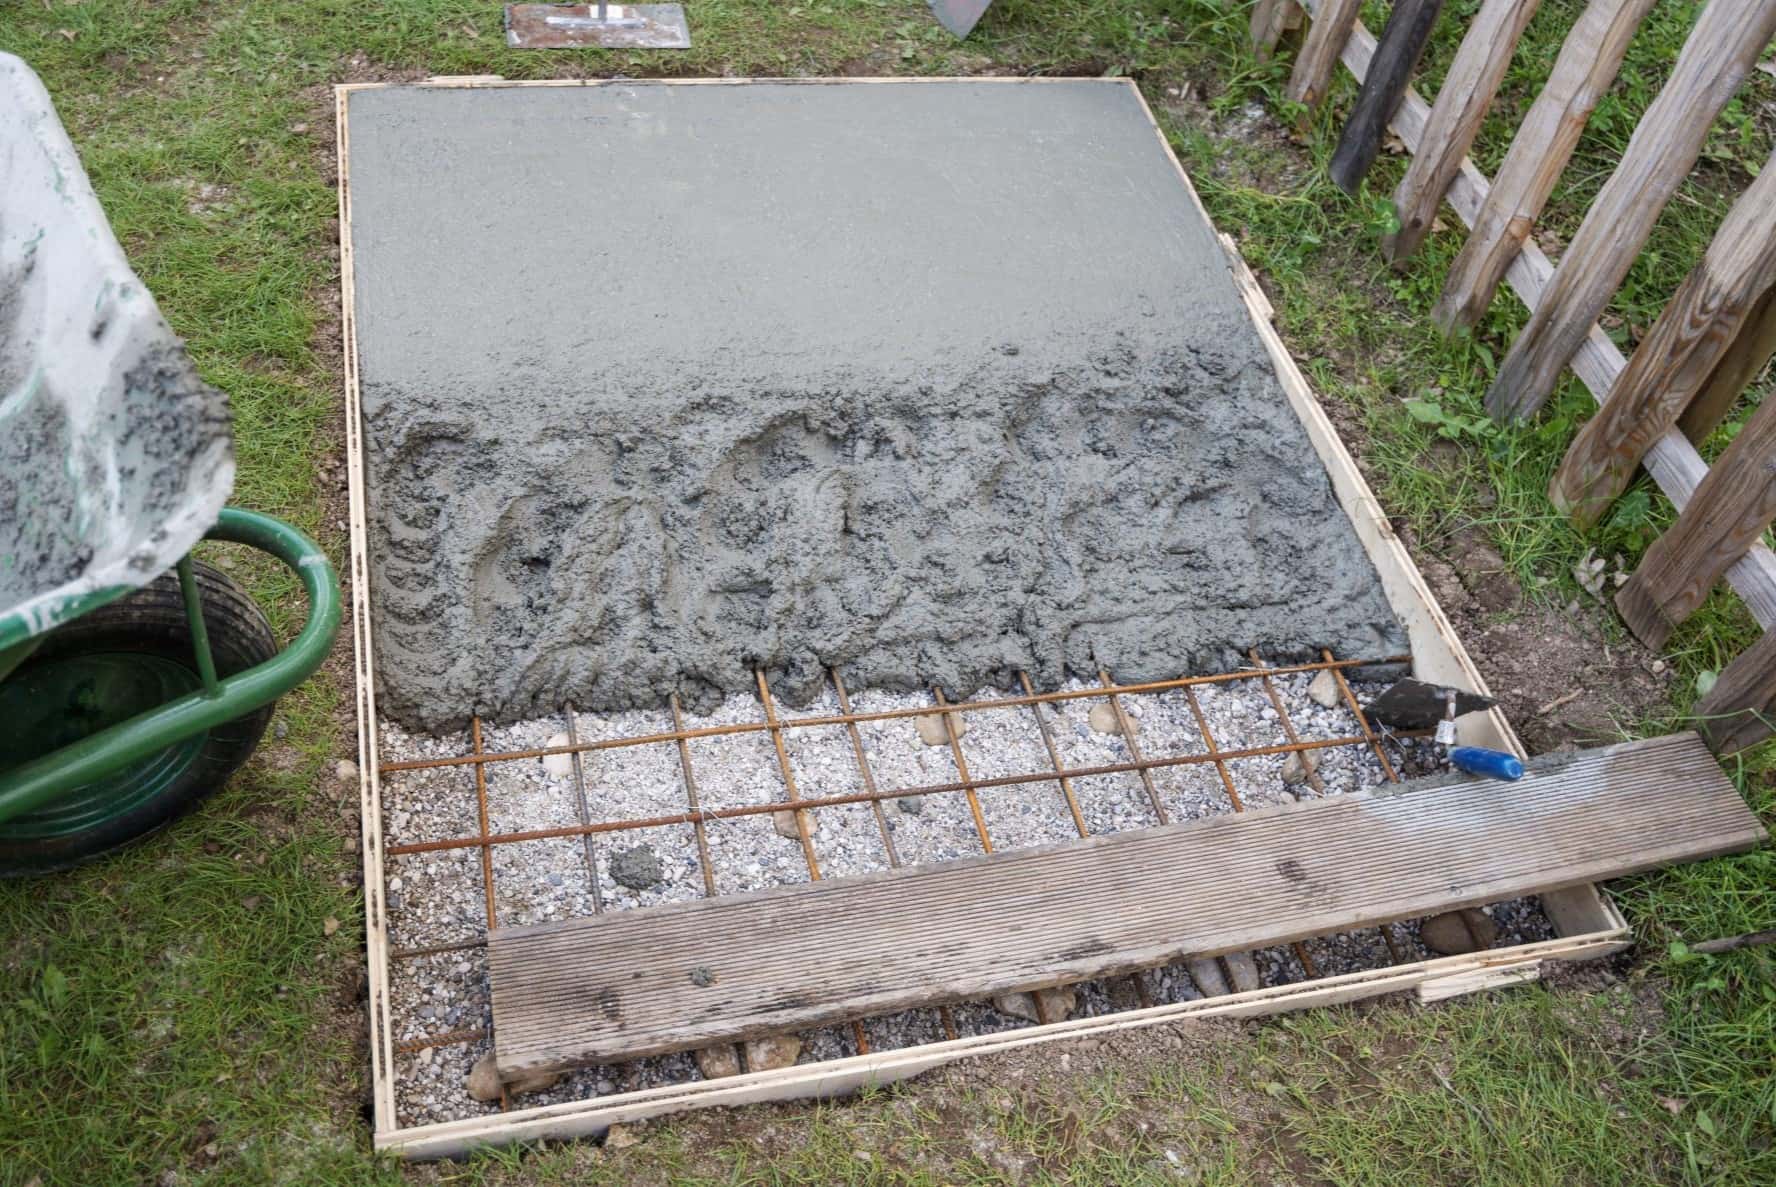
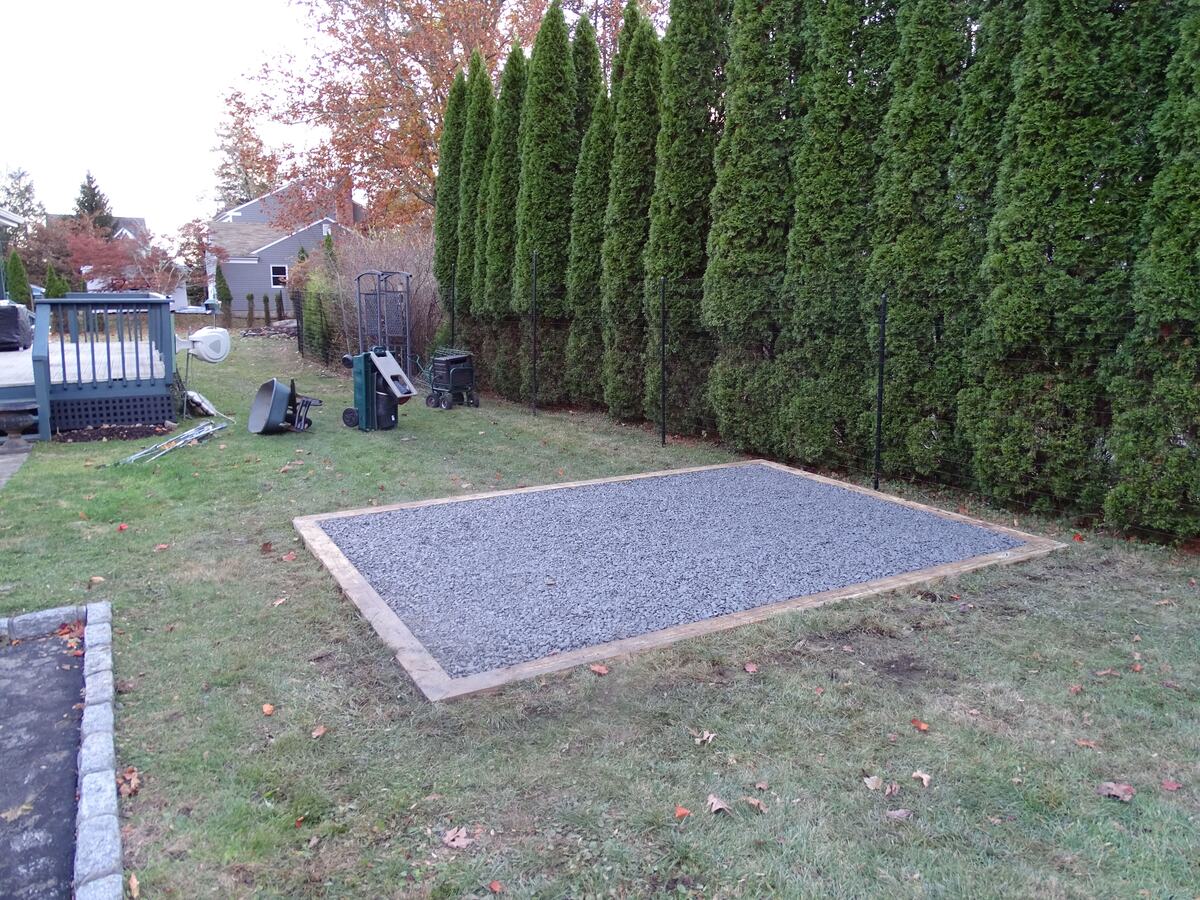
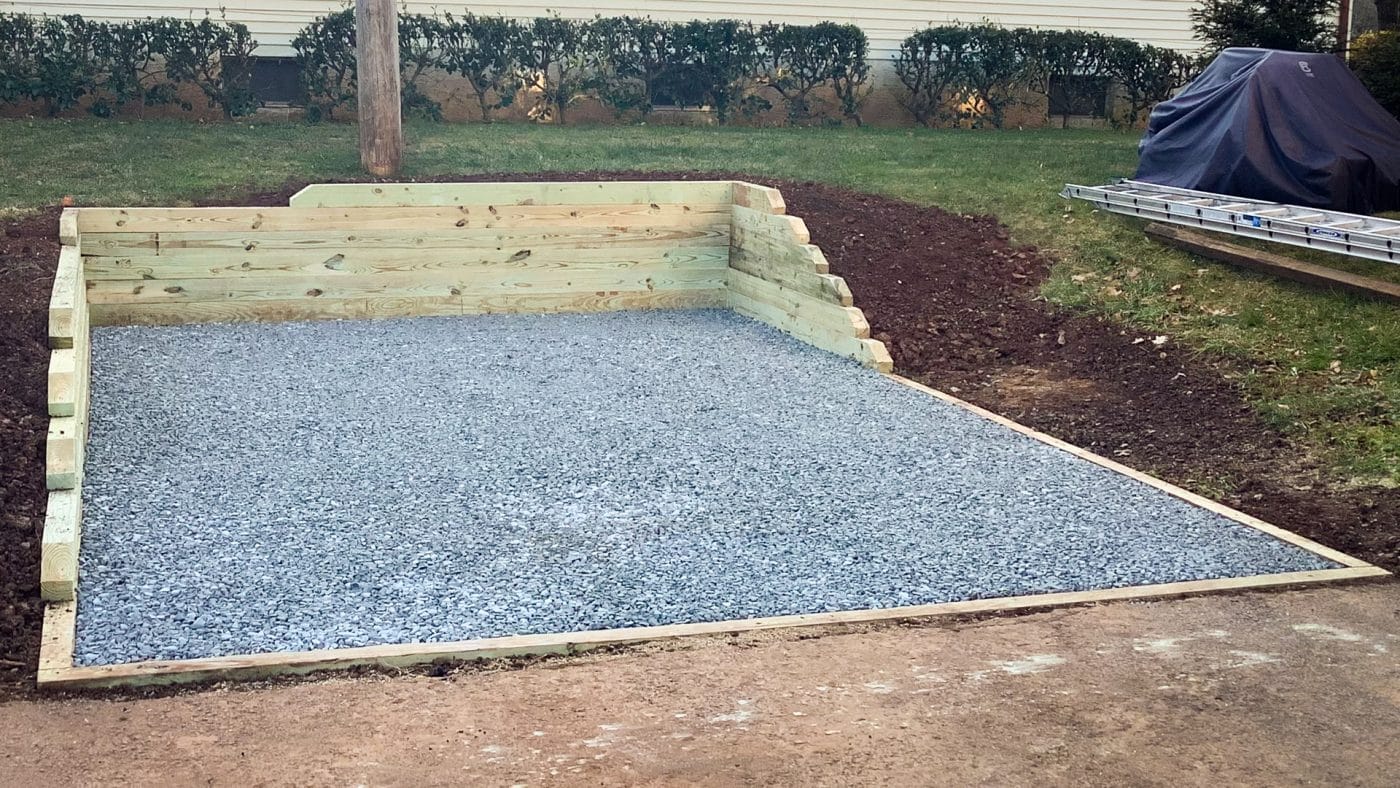
Step 2: Prepare the Ground
Preparing the ground for your shed base is a crucial step that sets the stage for the successful construction of your outdoor structure. Proper ground preparation ensures that the shed base will be stable, level, and capable of supporting the weight of the shed over time. Here’s a detailed guide on how to prepare the ground for your paving slab base:
- Clear the Area: Begin by clearing the designated area for your shed base. Remove any vegetation, rocks, or debris to create a clean and level surface. This step is essential for ensuring that the shed base rests on a stable foundation.
- Mark the Perimeter: Use string and pegs to mark out the perimeter of the shed base. This will define the exact area where the paving slabs and wooden sleepers will be positioned. Ensure that the dimensions are accurate and align with the size of your shed.
- Excavate the Ground: With the perimeter marked, use a shovel to excavate the ground within the designated area. The depth of the excavation will depend on the thickness of the paving slabs and the layer of gravel that will be added. Aim to create a level surface that allows for the proper installation of the shed base.
- Add a Layer of Gravel: Once the ground is excavated, add a layer of gravel to the area. The gravel will provide stability, aid in drainage, and prevent the paving slabs from sinking into the soil over time. Use a rake to spread the gravel evenly across the excavated area.
- Compact the Gravel: To ensure a solid and stable base, use a tamper or a compacting tool to firmly compact the layer of gravel. This step is essential for creating a firm foundation that will support the paving slabs and the shed structure.
- Level the Ground: Use a spirit level and a straight edge to ensure that the compacted gravel base is level and even. Making adjustments at this stage will contribute to the overall stability and durability of the shed base.
By meticulously preparing the ground according to these steps, you will establish a solid and well-draining foundation for your shed base. With the ground ready, you can proceed to the next phase of laying the paving slabs and constructing the framework that will support your shed.
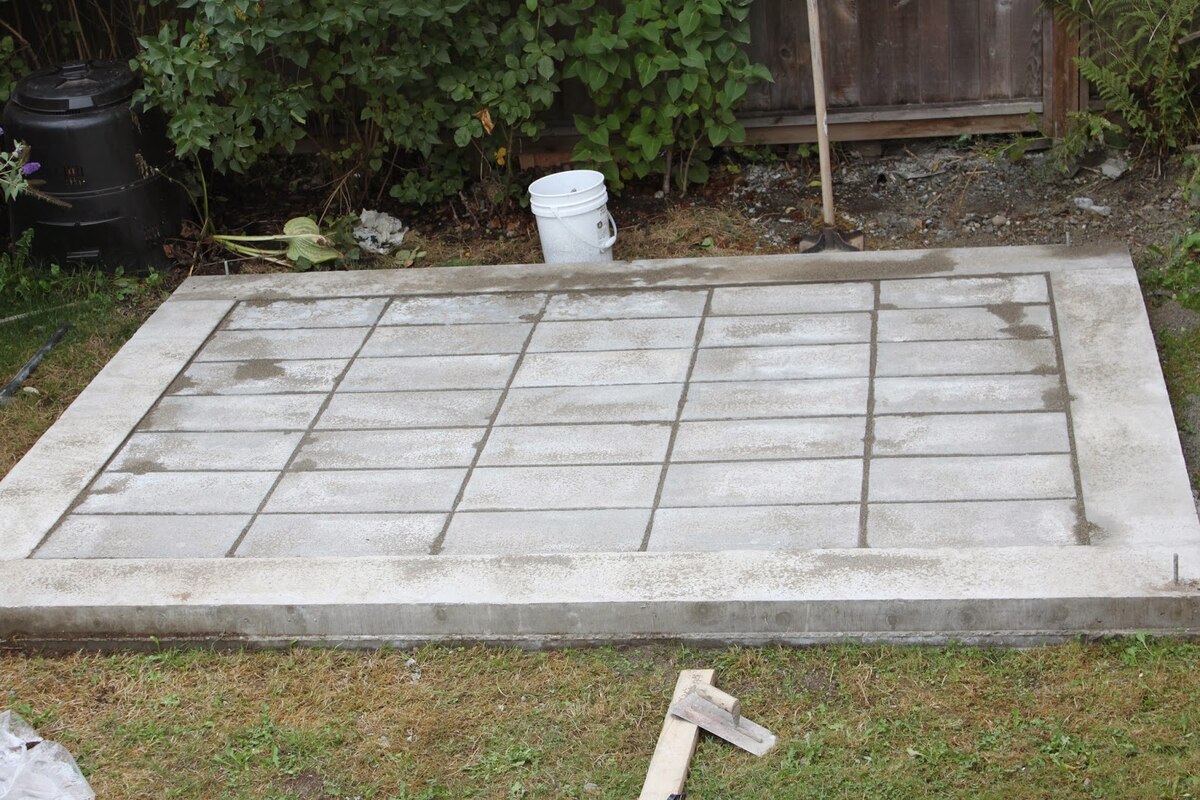
Step 3: Lay the Paving Slabs
With the ground meticulously prepared, it’s time to lay the paving slabs and begin constructing the foundation for your shed. This step requires precision and attention to detail to ensure that the paving slabs are positioned correctly and create a stable base for your outdoor structure. Here’s a comprehensive guide for laying the paving slabs:
- Begin at the Corner: Start at one corner of the prepared area. Position the first paving slab at the corner, ensuring that it is aligned with the markings and the surrounding space. Use a tape measure to verify that the slab is positioned accurately.
- Space the Slabs: Place spacers or small gaps between the paving slabs to allow for proper drainage and accommodate any minor adjustments. This spacing will also contribute to the overall stability of the shed base.
- Continue Laying the Slabs: Work methodically, laying the paving slabs one by one, ensuring that they are aligned and level. Use a spirit level to check the evenness of each slab and make adjustments as needed. Pay close attention to maintaining straight lines and consistent spacing between the slabs.
- Cutting Slabs: If necessary, use a suitable cutting tool to trim the paving slabs to fit the dimensions of the shed base. Precise cutting will ensure a snug and uniform fit, contributing to the overall integrity of the shed foundation.
- Check Alignment and Level: Periodically step back and assess the alignment and levelness of the laid paving slabs. Making adjustments as you progress will result in a well-constructed and visually appealing shed base.
- Double-Check Measurements: Before proceeding to the next step, double-check the measurements and alignment of the laid paving slabs to ensure that they correspond to the intended dimensions of the shed base. Accuracy at this stage is crucial for the structural integrity of the shed foundation.
By following these steps and taking the time to lay the paving slabs with precision and care, you will create a solid and level foundation for your shed. The next phase involves securing the paving slabs in place, further fortifying the base and preparing it for the construction of your shed.
When building a shed base with paving slabs, make sure to level the ground, use a weed membrane to prevent growth, and lay the slabs tightly together for a sturdy foundation.
Step 4: Secure the Paving Slabs
Securing the paving slabs is a critical step in the construction of your shed base, ensuring that the foundation remains stable and resilient over time. Properly securing the slabs will prevent shifting, settling, and potential damage, providing a reliable base for your shed. Here’s a detailed guide on how to secure the paving slabs effectively:
- Apply Jointing Compound: Once the paving slabs are laid and positioned to your satisfaction, it’s time to secure them in place. Apply a suitable jointing compound between the slabs, filling the gaps to enhance stability and prevent movement. The compound will also inhibit weed growth and help maintain the integrity of the shed base.
- Brush in the Compound: Use a stiff brush to work the jointing compound into the gaps between the paving slabs. Ensure that the compound fills the spaces completely, creating a solid bond that reinforces the entire base structure.
- Compact the Slabs: To further secure the paving slabs, gently compact them by tapping with a rubber mallet or a similar tool. This process will help the slabs settle into the jointing compound, promoting a firm and stable connection.
- Check for Uniformity: After compacting the slabs, inspect the entire base to ensure that the jointing compound is distributed uniformly and that the slabs are securely in place. Address any areas that may require additional compound or adjustment to achieve a consistent and durable foundation.
- Allow for Setting Time: Depending on the type of jointing compound used, allow sufficient time for it to set and cure. Following the manufacturer’s recommendations for setting time will ensure that the paving slabs are firmly secured and ready to support the weight of your shed.
- Revisit and Reinforce: Once the jointing compound has set, revisit the shed base to reinforce the security of the paving slabs. Check for any gaps or areas that may require additional compound, and address them to fortify the entire foundation.
By following these steps and taking the time to secure the paving slabs effectively, you will create a robust and enduring base for your shed. With the foundation in place, you can proceed to the final phase of building your shed on the solid and visually appealing base you’ve constructed.
Read more: How To Build A Shed On A Concrete Slab
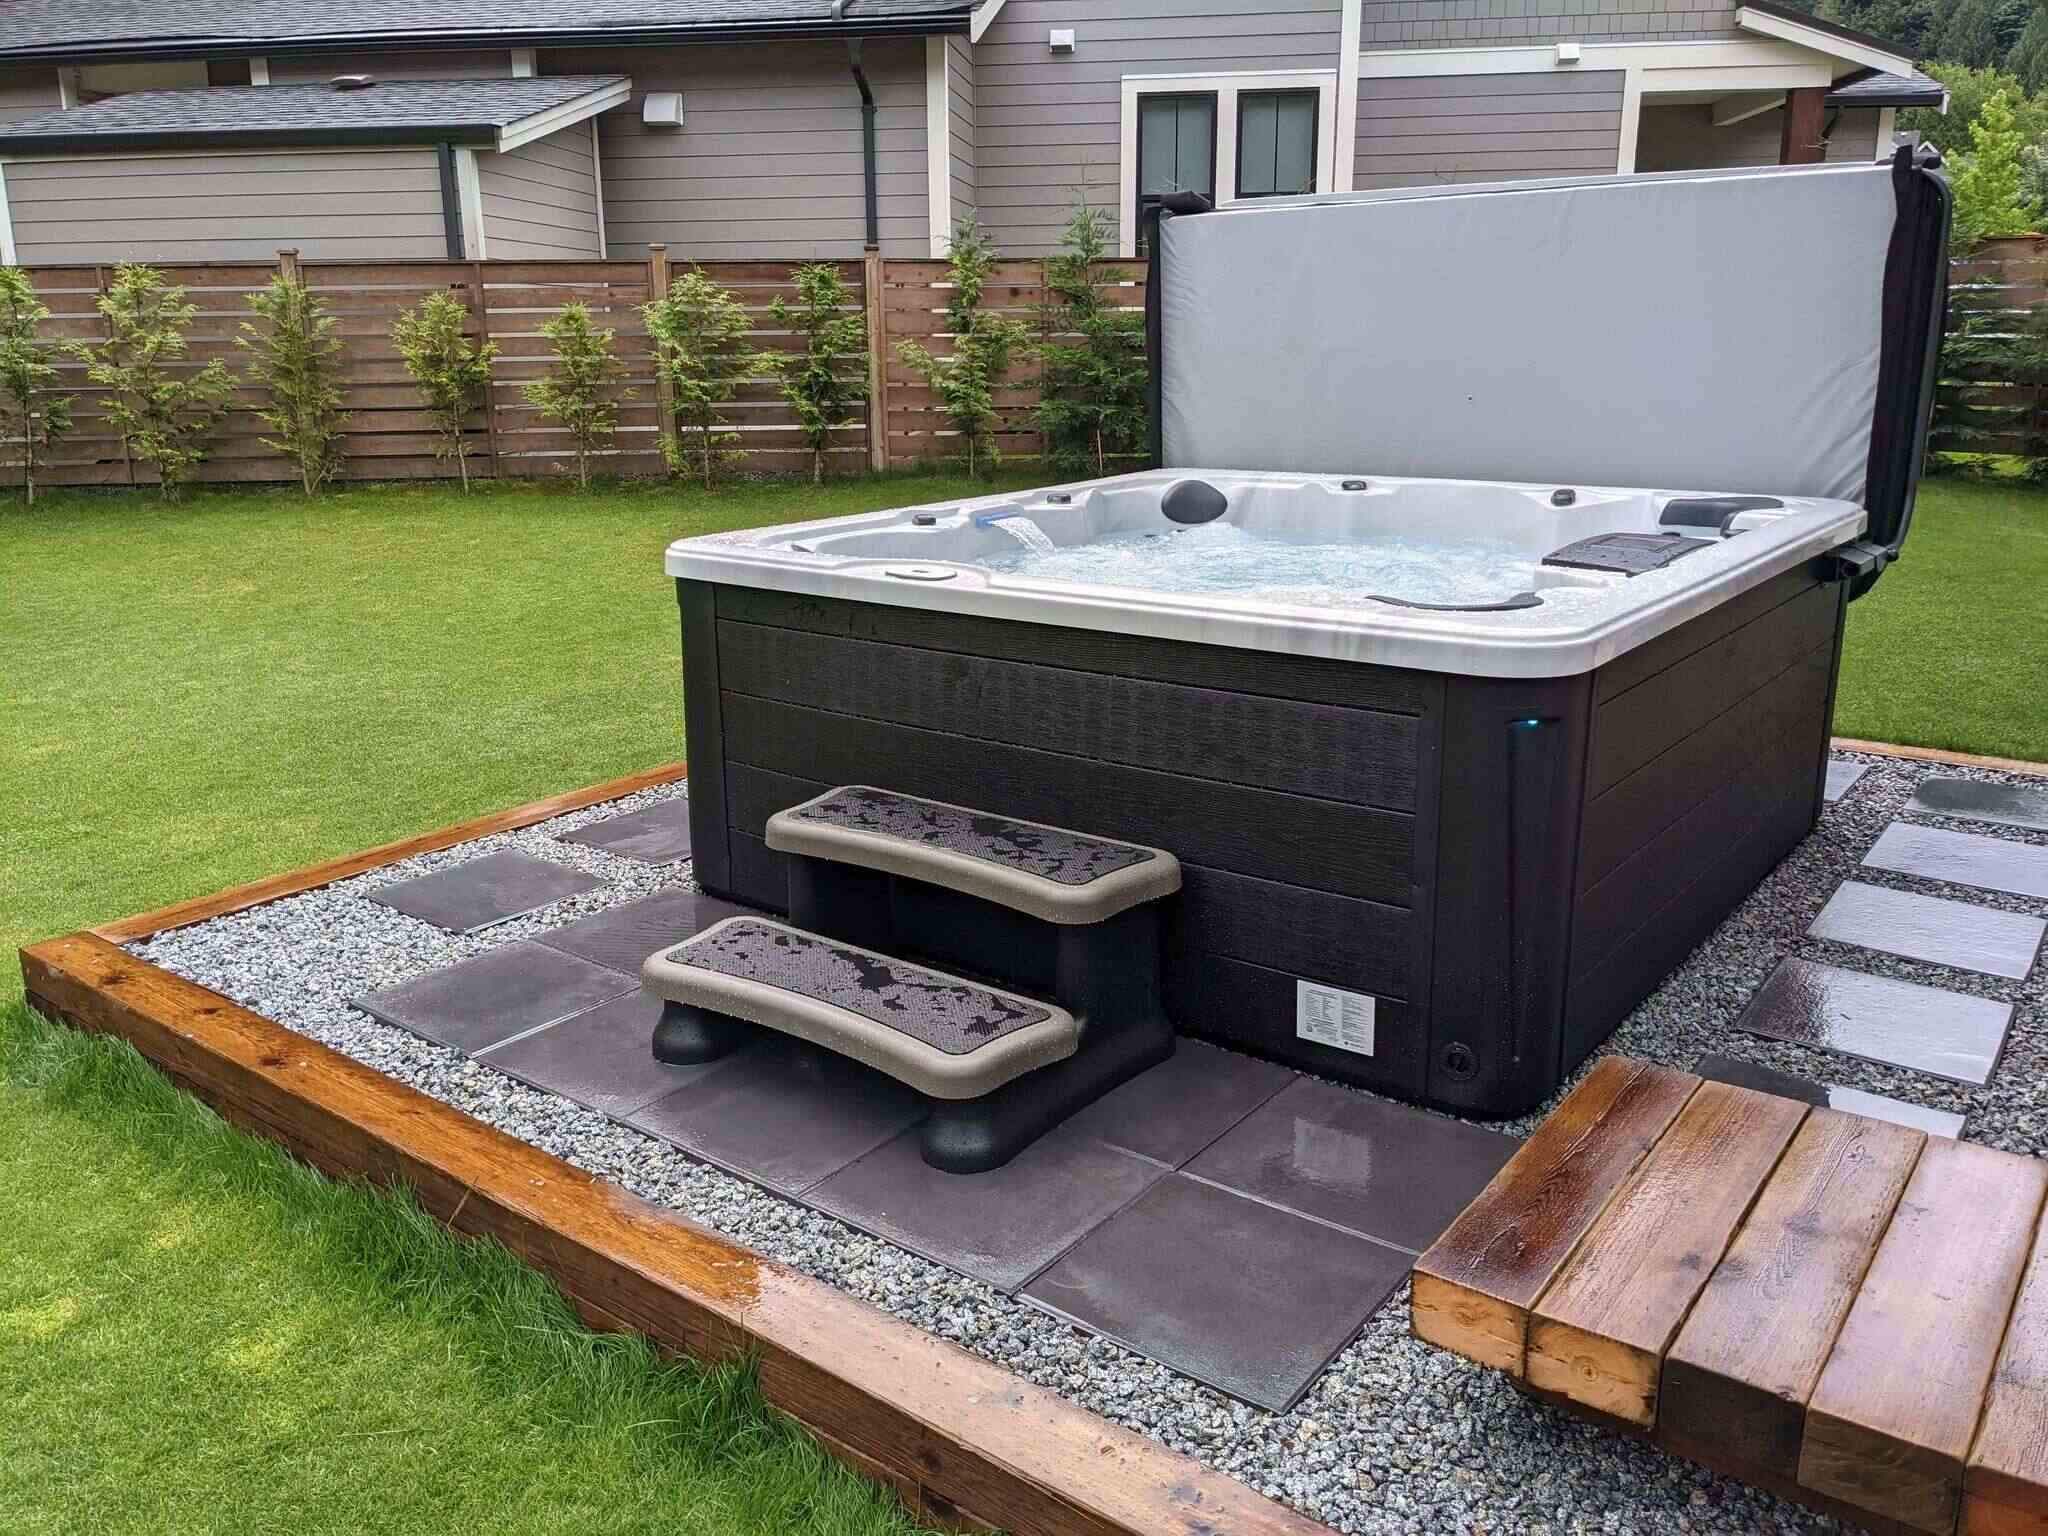
Step 5: Build the Shed on the Base
With the shed base meticulously constructed and the paving slabs securely in place, you are now ready to embark on the exciting phase of building your shed. This step involves assembling the shed on the prepared base, ensuring that it is level, stable, and well-supported by the foundation. Here’s a comprehensive guide to building the shed on the base:
- Position the Shed Components: Carefully position the prefabricated components of the shed on the prepared base, following the manufacturer’s instructions. Ensure that the shed is aligned with the paving slabs and that it sits squarely on the foundation.
- Assemble the Shed: Methodically assemble the shed components according to the provided instructions. This may involve attaching panels, securing the roof, and installing doors and windows, depending on the design of the shed. Take your time to ensure that each step is executed accurately.
- Level the Shed: Use a spirit level to verify that the shed is level and plumb as you progress through the assembly process. Making adjustments as needed will result in a structurally sound and visually appealing shed that sits securely on the base.
- Anchoring the Shed: Once the shed is fully assembled and positioned correctly, anchor it to the shed base according to the manufacturer’s recommendations. This may involve securing the shed to the wooden sleepers or using anchor kits to reinforce its stability.
- Inspect and Finalize: Conduct a thorough inspection of the assembled shed, ensuring that all components are securely fastened and that the structure is stable. Address any potential issues and make final adjustments to guarantee the integrity of the shed on the newly constructed base.
- Personalize and Utilize: With the shed securely in place, take the opportunity to personalize the interior and exterior to suit your preferences. Consider adding shelving, storage solutions, or decorative elements to make the shed a functional and inviting space for your intended use.
By following these steps and taking the time to build the shed on the meticulously prepared base, you will create a durable and functional outdoor structure that enhances your property. With the shed in place, you can look forward to enjoying its practical benefits and the satisfaction of completing a well-executed construction project.
Conclusion
Congratulations on successfully completing the construction of your shed base with paving slabs! By following the comprehensive steps outlined in this guide, you have laid a solid foundation for your outdoor structure, ensuring its stability, durability, and visual appeal. The shed base you’ve constructed will provide a reliable platform for your shed, offering a secure and long-lasting solution for your storage, workspace, or recreational needs.
Building a shed base with paving slabs not only enhances the functionality of your outdoor space but also contributes to the overall aesthetics of your property. The clean lines and uniformity of the paving slabs create a visually appealing foundation that complements the design of your shed and the surrounding landscape. Additionally, the use of paving slabs offers excellent load-bearing capabilities, ensuring that your shed is well-supported and protected from ground moisture.
As you move forward with the utilization of your shed, whether for storage, hobbies, or relaxation, you can take pride in the solid groundwork you’ve established. The meticulous preparation, precise laying of paving slabs, and secure anchoring of the shed have culminated in a well-constructed outdoor structure that will serve you well for years to come.
Remember to maintain the shed base and the surrounding area, keeping it free from debris, vegetation, and excess moisture to preserve its integrity. Regular inspections and maintenance will contribute to the longevity of your shed and its foundation, ensuring that it remains a valuable asset on your property.
With the completion of this project, you’ve not only built a shed base with paving slabs but also gained valuable experience in outdoor construction and craftsmanship. Whether you embark on future projects or share your knowledge with others, the skills and insights you’ve acquired will continue to benefit you in your endeavors.
Enjoy the fruits of your labor and the practical advantages of your new shed. May it bring convenience, organization, and inspiration to your outdoor living space, reflecting the care and attention to detail that went into its construction.
Ready to tackle more projects around your home? If you're feeling inspired after learning how to lay a sturdy shed base, why not delve into other DIY tasks? Our article on the joys and benefits of DIY projects offers insightful tips and creative ideas that will surely spark your interest. Similarly, if your green thumb is itching for a new challenge, check out our compilation of innovative garden fence ideas. These designs not only boost curb appeal but also enhance your outdoor space's functionality and style.
Frequently Asked Questions about How To Build A Shed Base With Paving Slabs
Was this page helpful?
At Storables.com, we guarantee accurate and reliable information. Our content, validated by Expert Board Contributors, is crafted following stringent Editorial Policies. We're committed to providing you with well-researched, expert-backed insights for all your informational needs.


0 thoughts on “How To Build A Shed Base With Paving Slabs”