Home>Gardening & Outdoor>Outdoor Structures>How To Attach Sun Shade To A Pergola
Outdoor Structures
How To Attach Sun Shade To A Pergola
Published: January 19, 2024
Learn how to properly attach a sun shade to your pergola for effective outdoor sun protection. Discover expert tips and techniques for securing outdoor structures.
(Many of the links in this article redirect to a specific reviewed product. Your purchase of these products through affiliate links helps to generate commission for Storables.com, at no extra cost. Learn more)
Introduction
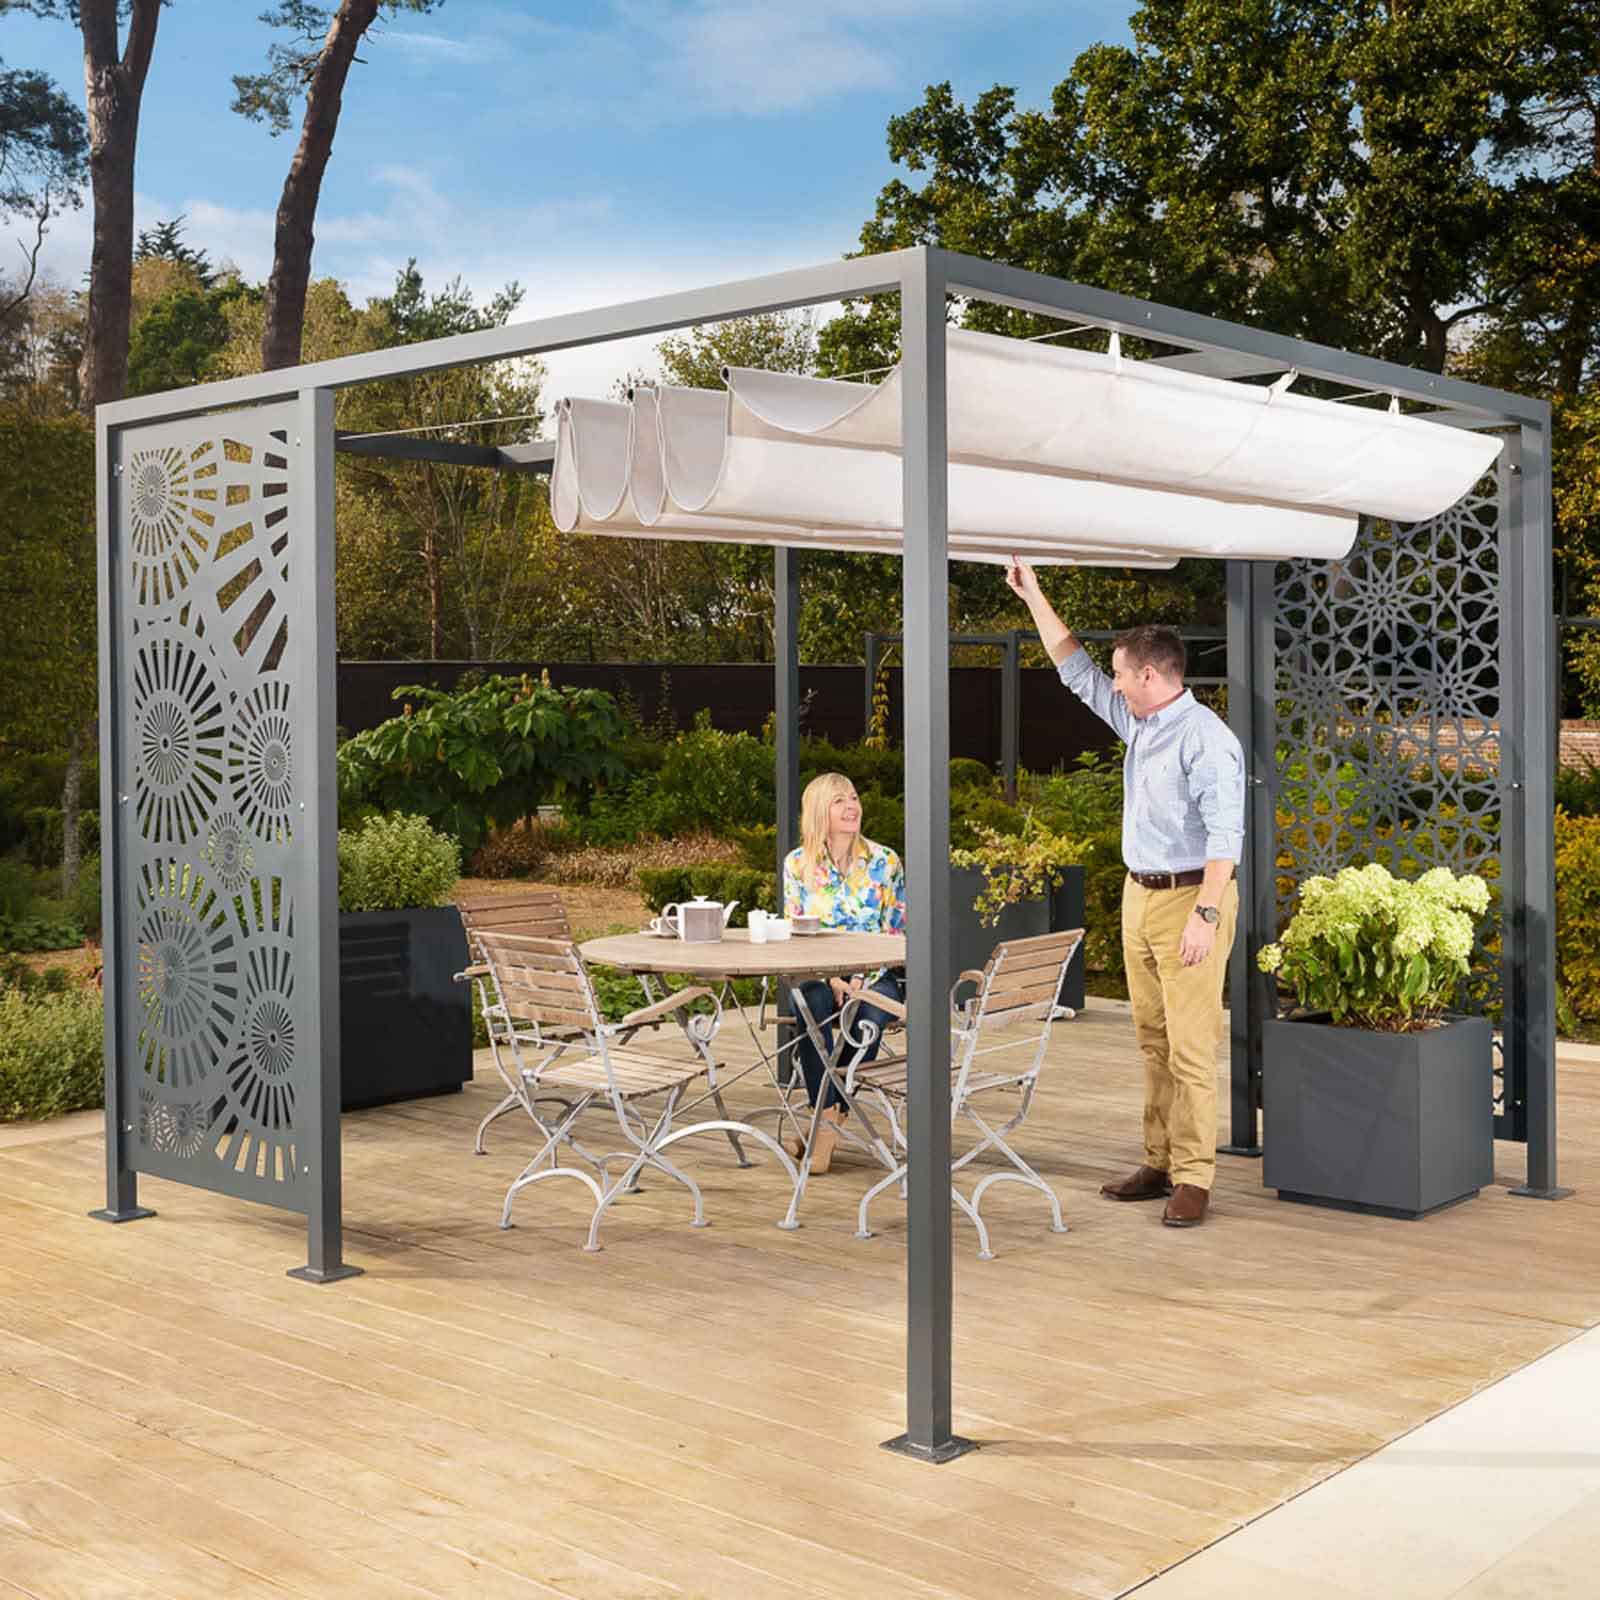
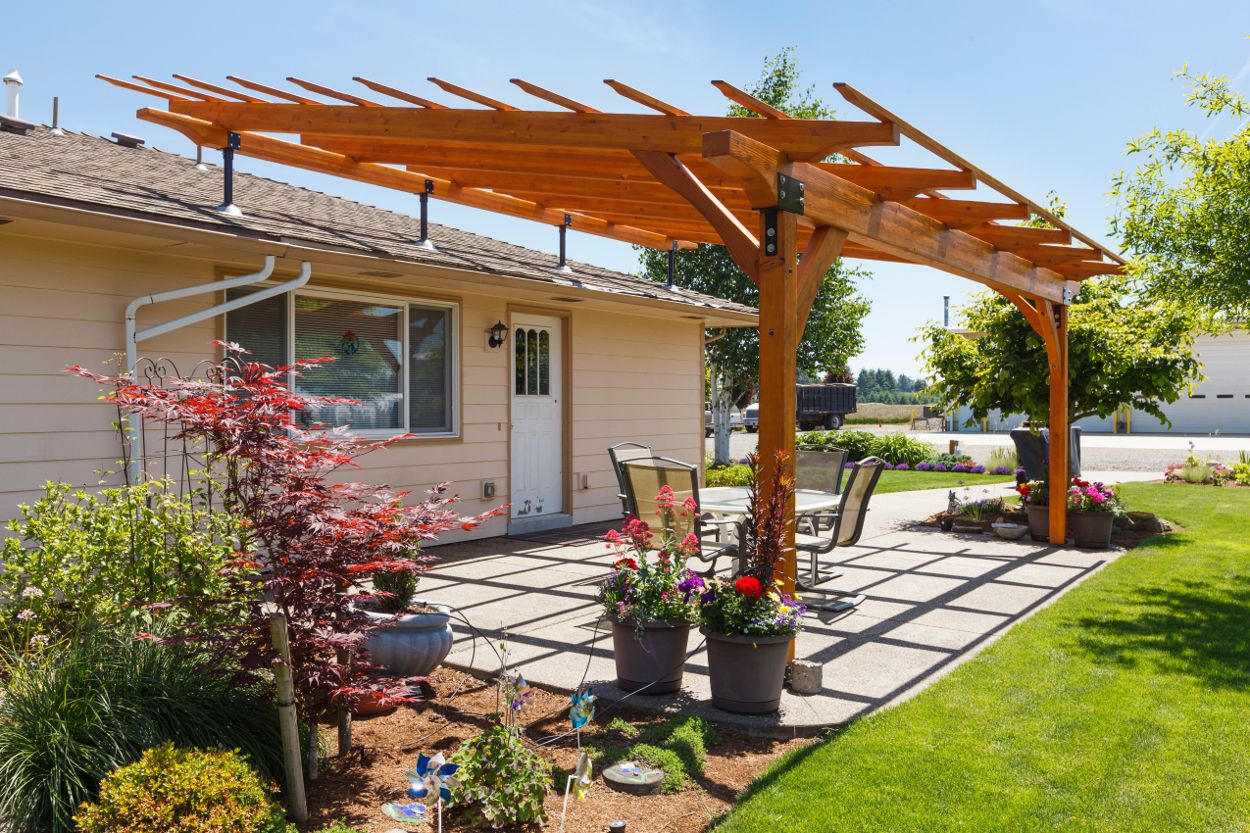
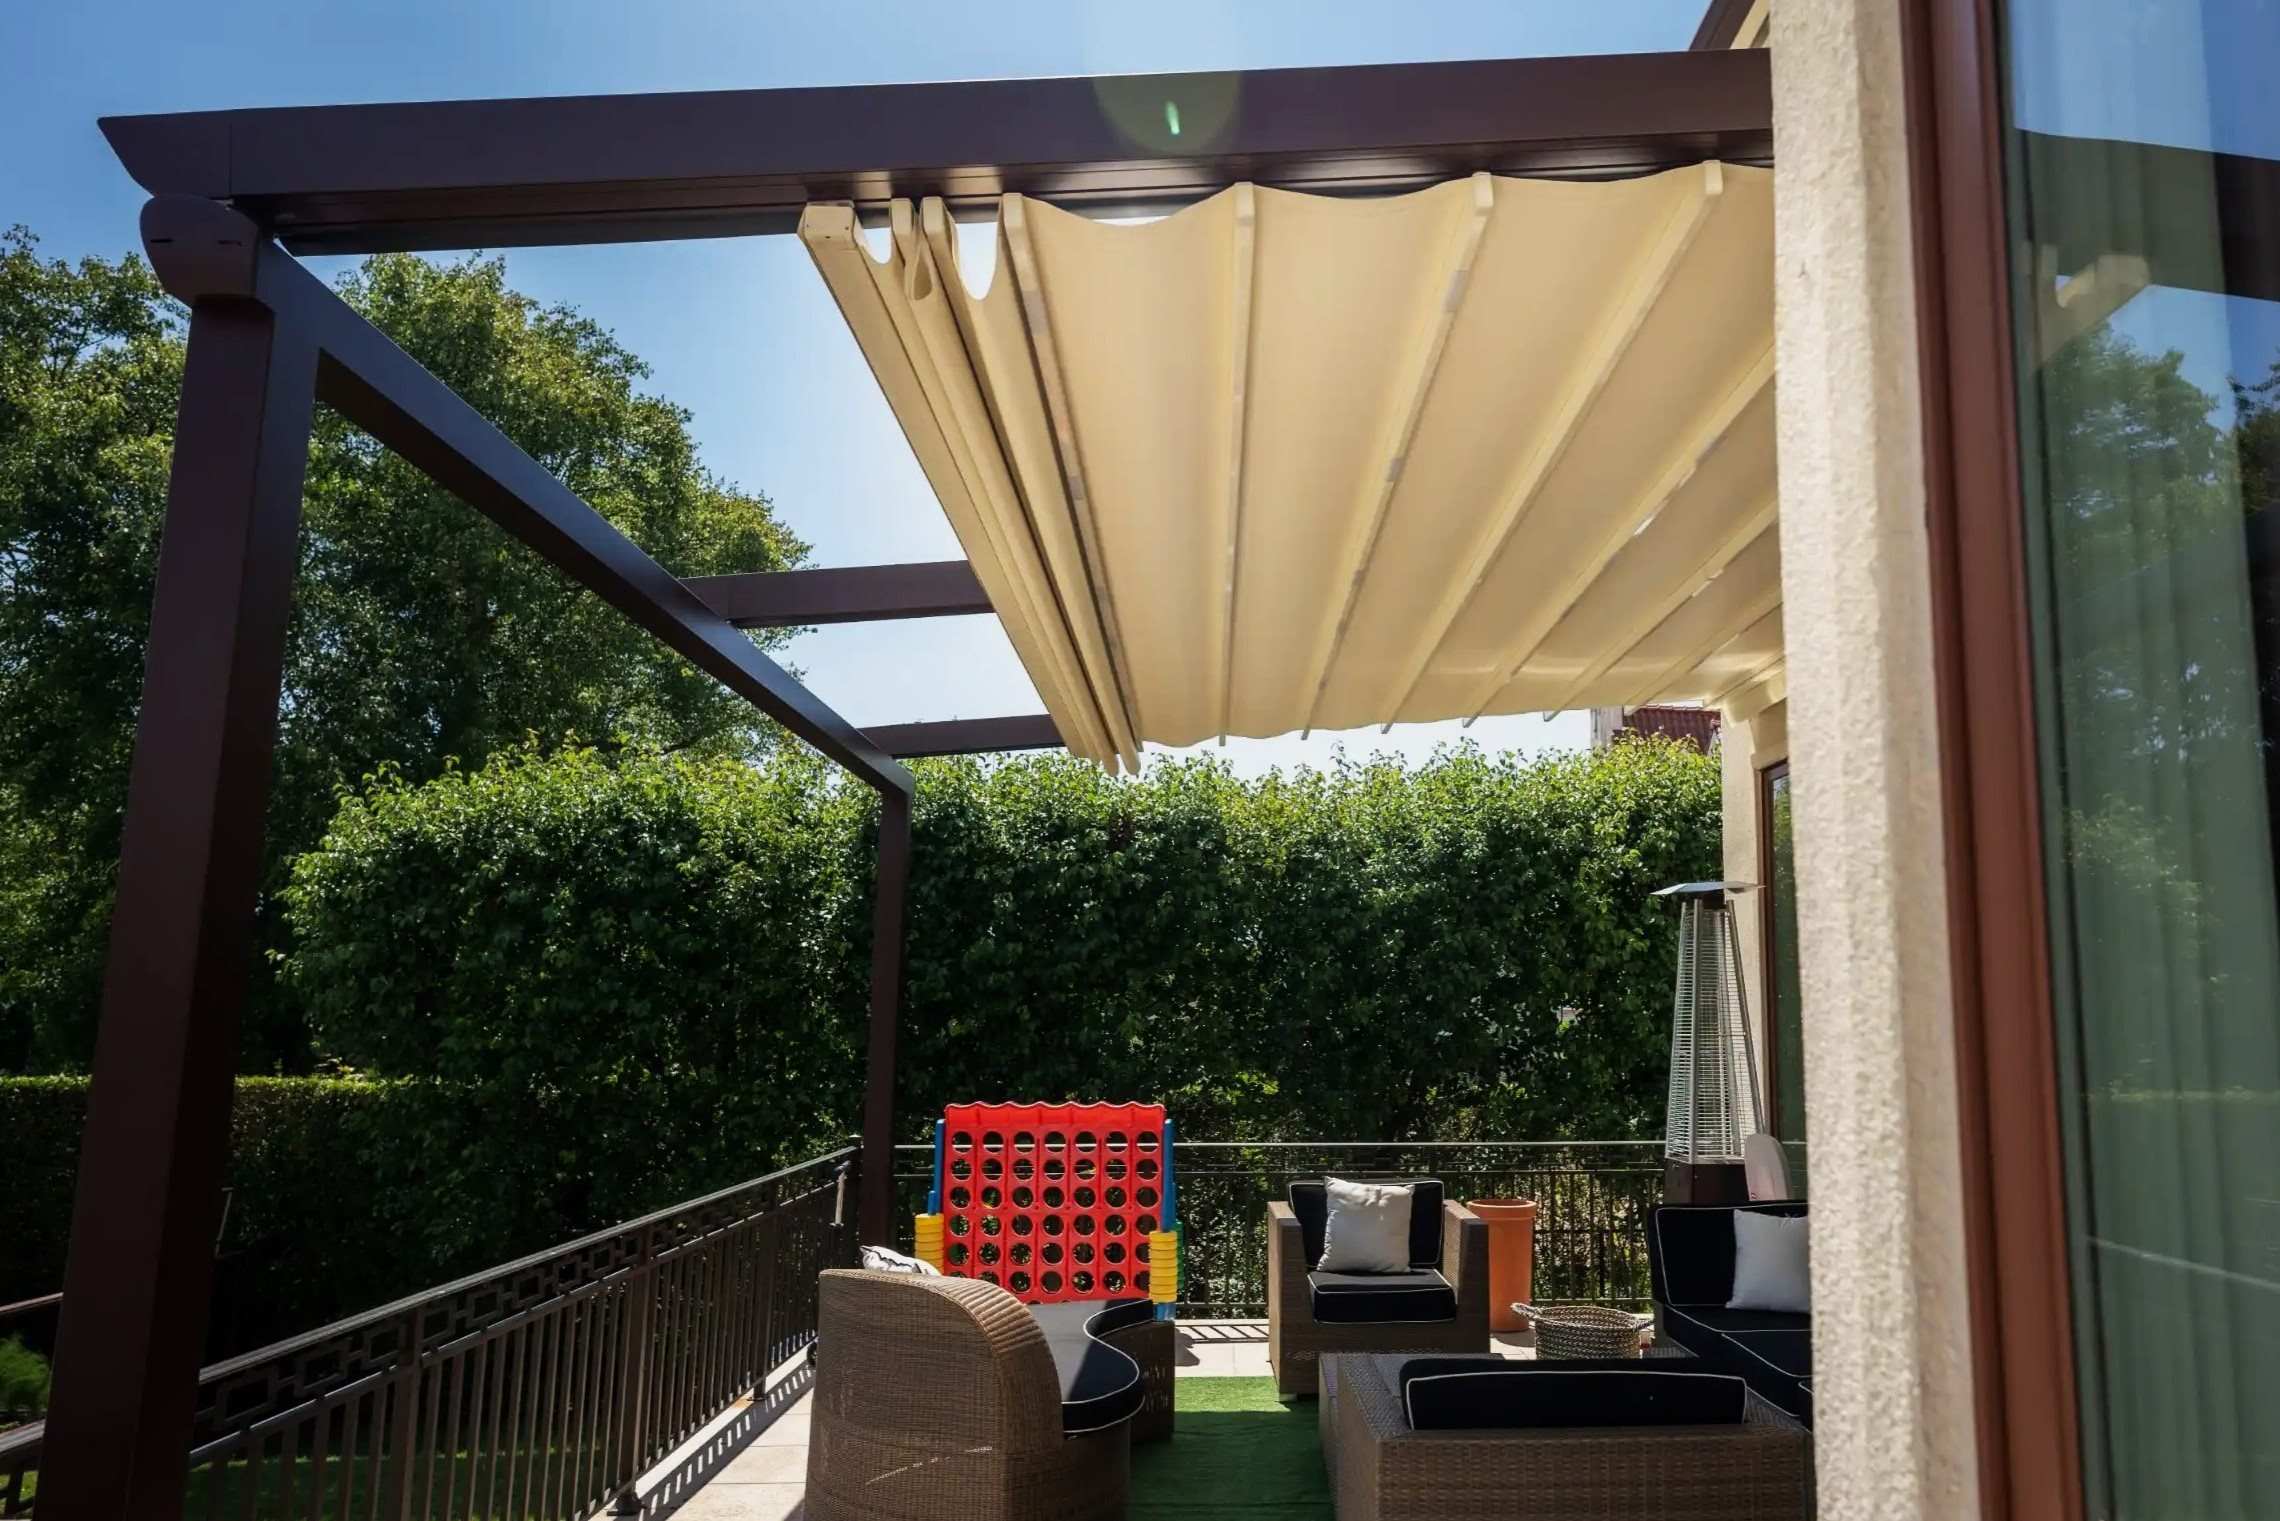
When it comes to creating a comfortable and inviting outdoor space, a pergola offers a perfect blend of form and function. This elegant outdoor structure not only provides shade and protection from the elements but also serves as a stylish focal point for your patio or garden. Adding a sun shade to your pergola can further enhance its utility, allowing you to enjoy the outdoors even on the hottest days.
In this guide, we will walk you through the process of attaching a sun shade to your pergola, transforming it into a cool and inviting retreat. Whether you're looking to create a cozy spot for al fresco dining or a tranquil oasis for relaxation, this simple addition can make a world of difference. With the right materials and a step-by-step approach, you can easily customize your pergola to suit your specific needs and preferences.
By following the instructions outlined in this article, you'll be able to install a sun shade with confidence, knowing that you've created a functional and aesthetically pleasing outdoor space. So, let's gather the materials and get ready to elevate your pergola to new heights of comfort and style.
Key Takeaways:
- Transform your pergola into a cool and inviting retreat by attaching a sun shade. Enjoy extended hours outdoors in shaded comfort, creating cherished memories with loved ones.
- Elevate your outdoor space with a sun shade, blending practicality with style. Embrace the shaded tranquility of your pergola and savor the simple pleasures of outdoor living.
Read more: How To Attach Sun Shade To Brick Wall
Materials Needed
Before embarking on the project of attaching a sun shade to your pergola, it’s essential to gather the necessary materials and tools. By ensuring that you have everything at hand, you can streamline the installation process and minimize interruptions. Here’s a list of the items you’ll need:
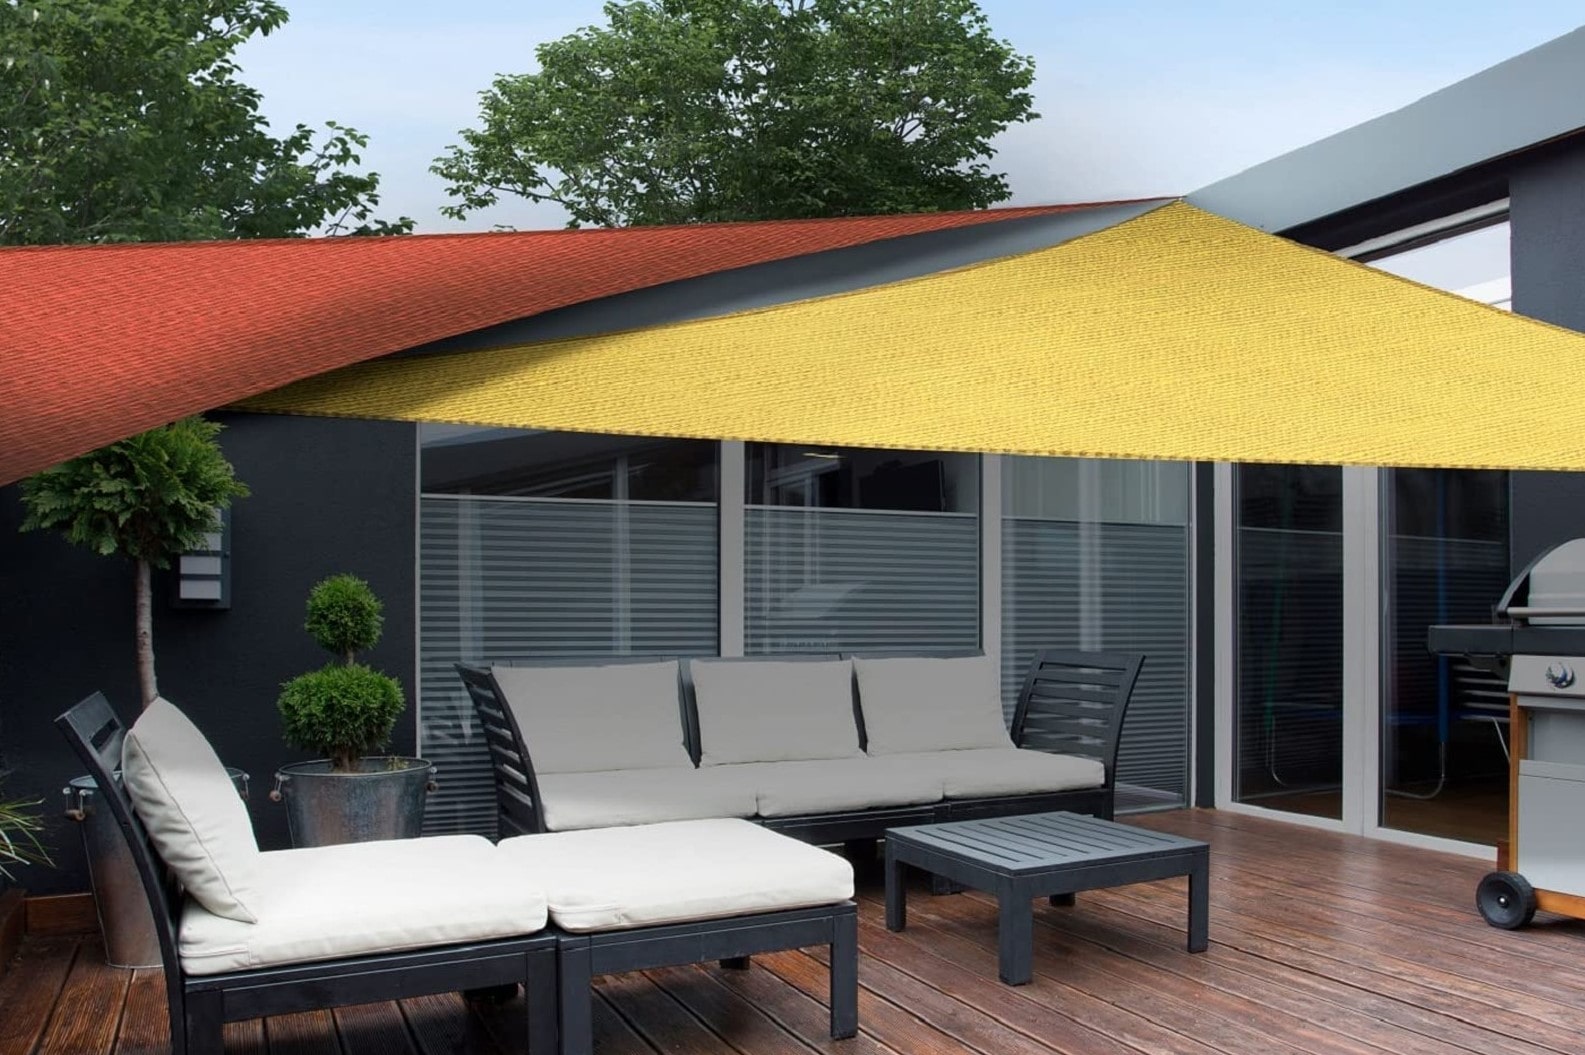
- Sun Shade: Select a high-quality sun shade that complements the design of your pergola and provides the desired level of sun protection. Consider the dimensions of your pergola and choose a shade that offers ample coverage.
- Eye Bolts: These sturdy bolts will serve as anchor points for attaching the sun shade. Opt for durable eye bolts that are suitable for outdoor use and can withstand the tension exerted by the shade.
- Turnbuckles: These adjustable metal fittings will allow you to tighten the sun shade and maintain the desired level of tautness. Ensure that the turnbuckles are of sufficient strength and corrosion-resistant for outdoor applications.
- Drill and Drill Bits: A power drill equipped with the appropriate drill bits will be essential for installing the eye bolts securely into the pergola’s structure.
- Measuring Tape and Marker: Accurate measurements are crucial for positioning the eye bolts correctly. A measuring tape and marker will help you mark the precise locations for drilling.
- Step Ladder: Depending on the height of your pergola, a sturdy step ladder may be necessary to reach the installation points safely.
- Protective Eyewear and Gloves: Safety should always be a priority during any DIY project. Wear protective eyewear and gloves to shield your eyes and hands while working with tools and materials.
By ensuring that you have these materials on hand, you’ll be well-prepared to proceed with the installation of the sun shade. With the right equipment and a systematic approach, you can transform your pergola into a shaded sanctuary that beckons you to unwind and savor the outdoors.
Step 1: Measure and Mark
Before installing the sun shade, it’s essential to take precise measurements and mark the locations where the eye bolts will be positioned. This initial step sets the foundation for a secure and visually appealing attachment of the shade to your pergola. Here’s how to proceed:
Begin by determining the area of the pergola where you intend to attach the sun shade. Consider the orientation of the sun and the desired coverage to establish the optimal placement. Using a measuring tape, carefully measure the length and width of the space where the shade will be installed. Take note of these dimensions as they will guide you in selecting an appropriately sized sun shade.
Next, identify the spots on the pergola’s framework where the eye bolts will be installed. These locations should align with the corners or edges of the sun shade to ensure even tension and a secure fit. Using a marker, make clear and visible markings on the framework to indicate the placement of the eye bolts. Double-check the accuracy of these markings to avoid any errors during the drilling process.
It’s important to maintain symmetry and balance in the positioning of the eye bolts to achieve a professional and polished look once the sun shade is in place. Take the time to verify that the marked spots are evenly spaced and aligned with the dimensions of the sun shade. This meticulous approach will contribute to a visually pleasing and structurally sound installation.
By meticulously measuring and marking the installation points, you’ll lay the groundwork for a seamless and effective attachment of the sun shade to your pergola. This attention to detail ensures that the shade will be positioned optimally, providing the desired level of shade and enhancing the overall appeal of your outdoor space.
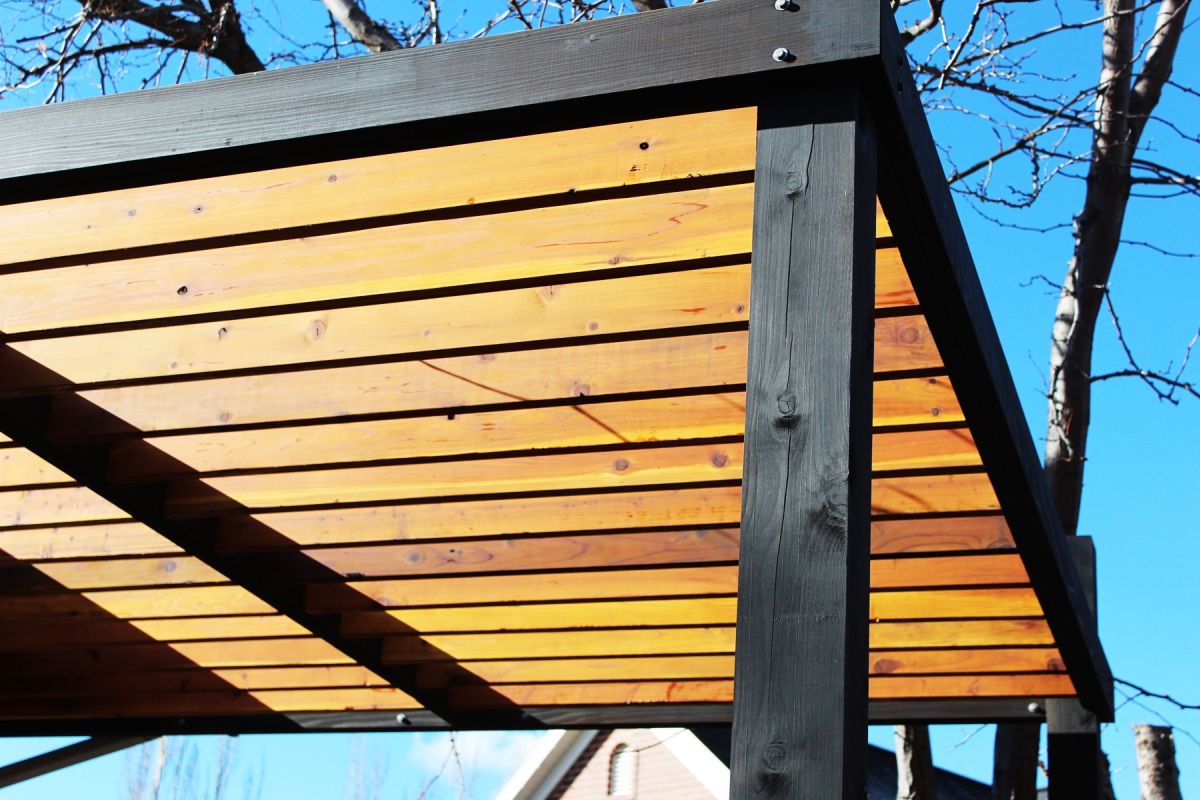
Step 2: Install Eye Bolts
With the measurements and markings in place, the next crucial step in attaching a sun shade to your pergola involves installing the eye bolts. These sturdy anchor points will provide the necessary support for securing the sun shade and maintaining its tension. Follow these steps to ensure a secure and reliable installation of the eye bolts:
Begin by selecting the appropriate drill bit for the eye bolts. The size of the drill bit should match the diameter of the eye bolts to ensure a snug and secure fit. With the drill and the selected bit in hand, carefully create pilot holes at the marked locations on the pergola’s framework. Exercise caution to maintain precision and avoid splintering or damaging the wood.
Once the pilot holes are in place, proceed to screw the eye bolts into the prepared openings. Use a wrench or pliers to tighten the eye bolts securely, ensuring that they are firmly anchored in the wood. It’s essential to exert sufficient force to seat the eye bolts firmly while being mindful not to overtighten and risk damaging the wood or the bolts themselves.
As you install the eye bolts, pay close attention to their alignment and orientation. The bolts should be positioned perpendicular to the surface of the pergola, allowing the sun shade to be attached and tensioned effectively. Verify that the eye bolts are uniformly positioned and securely fastened to provide a stable foundation for the sun shade attachment.
Throughout the installation process, prioritize the structural integrity of the eye bolts, as they will bear the tension and weight of the sun shade. By ensuring that the eye bolts are installed with precision and care, you’ll create a reliable and durable anchoring system for the sun shade, setting the stage for the final steps of the installation.
By methodically installing the eye bolts, you’ll establish a robust framework for attaching the sun shade to your pergola. This foundational element is essential for ensuring the stability and longevity of the sun shade installation, providing a secure and dependable structure for enjoying shaded outdoor moments.
Use zip ties or hooks to attach the sun shade to the top of the pergola. Make sure to pull the shade taut to prevent sagging and secure it tightly to withstand wind.
Step 3: Attach Turnbuckles
As you progress with the installation of a sun shade on your pergola, the next vital step involves attaching turnbuckles to facilitate the adjustment and tensioning of the shade. These adjustable fittings play a crucial role in fine-tuning the tautness of the sun shade, ensuring that it remains stable and resistant to wind and other environmental factors. Follow these steps to effectively attach the turnbuckles:
Begin by identifying the locations on the pergola’s framework where the turnbuckles will be affixed. These points should correspond to the corners or edges of the sun shade, allowing for even distribution of tension. Using a measuring tape and marker, mark the precise spots where the turnbuckles will be installed, ensuring that they align with the eye bolts and the dimensions of the shade.
Once the installation points are marked, proceed to attach the turnbuckles to the pergola. Depending on the design of your pergola and the specific configuration of the sun shade, you may opt to affix the turnbuckles directly to the framework or utilize additional hardware, such as hooks or brackets, for secure attachment. Ensure that the turnbuckles are positioned in a manner that allows for easy access and adjustment.
After securing the turnbuckles in place, connect one end of each turnbuckle to the eye bolts installed in the previous step. These connections should be made using appropriate hardware, such as S-hooks or carabiners, to ensure a reliable and stable linkage. Verify that the turnbuckles are securely fastened to the eye bolts, ready to accommodate the tensioning of the sun shade.
As you attach the turnbuckles, take care to position them in a manner that facilitates effortless adjustment of the sun shade’s tension. The turnbuckles should be accessible and operable, allowing you to tighten or loosen the shade as needed to achieve the desired level of tautness and coverage. This adjustability is essential for adapting to varying weather conditions and maintaining the sun shade’s stability.
By effectively attaching the turnbuckles, you’ll establish a mechanism for fine-tuning the tension of the sun shade, ensuring that it remains secure and resilient in the face of changing outdoor elements. This step brings you closer to completing the installation, setting the stage for the final attachment of the sun shade to your pergola.
Read more: How To Secure Outdoor Sun Shades
Step 4: Attach Sun Shade
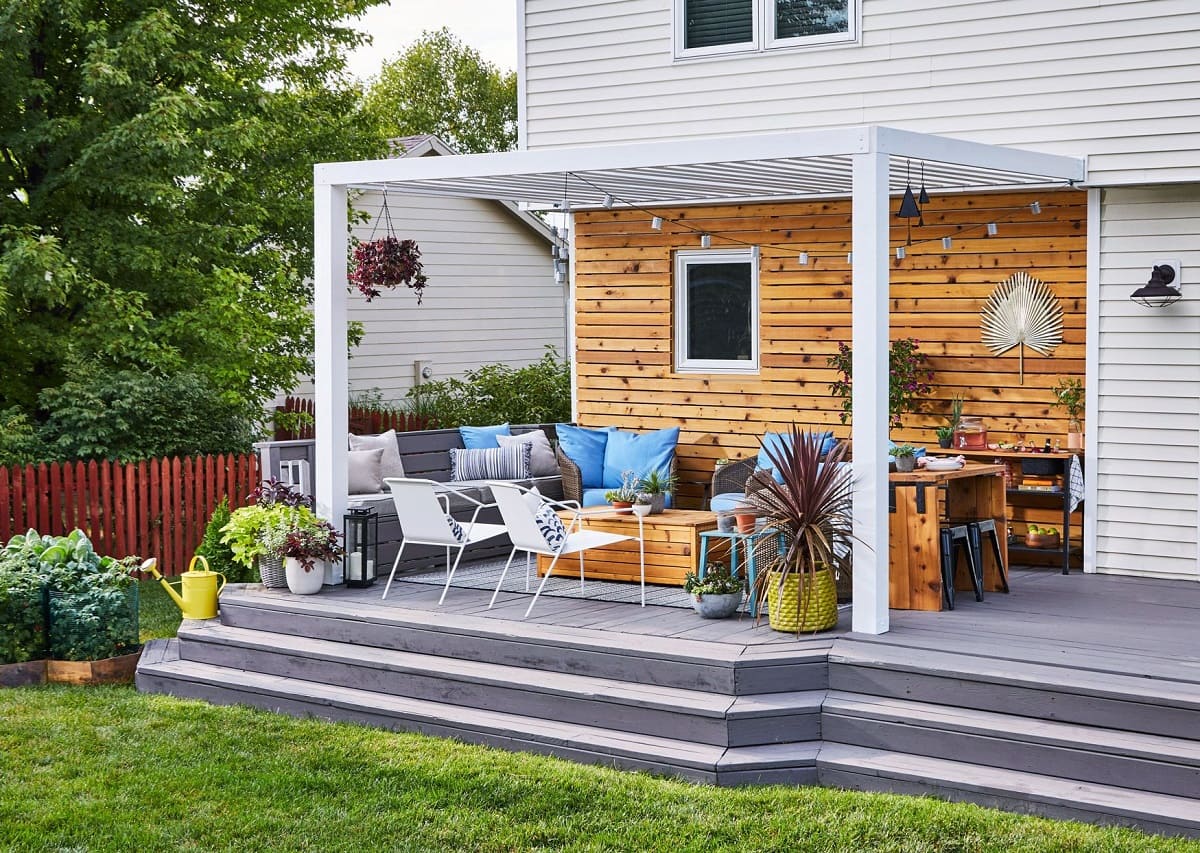
With the foundational elements in place, it’s time to proceed with the final step of attaching the sun shade to your pergola. This transformative addition will not only provide much-needed shade but also imbue your outdoor space with a touch of elegance and comfort. Follow these steps to seamlessly attach the sun shade and complete the installation:
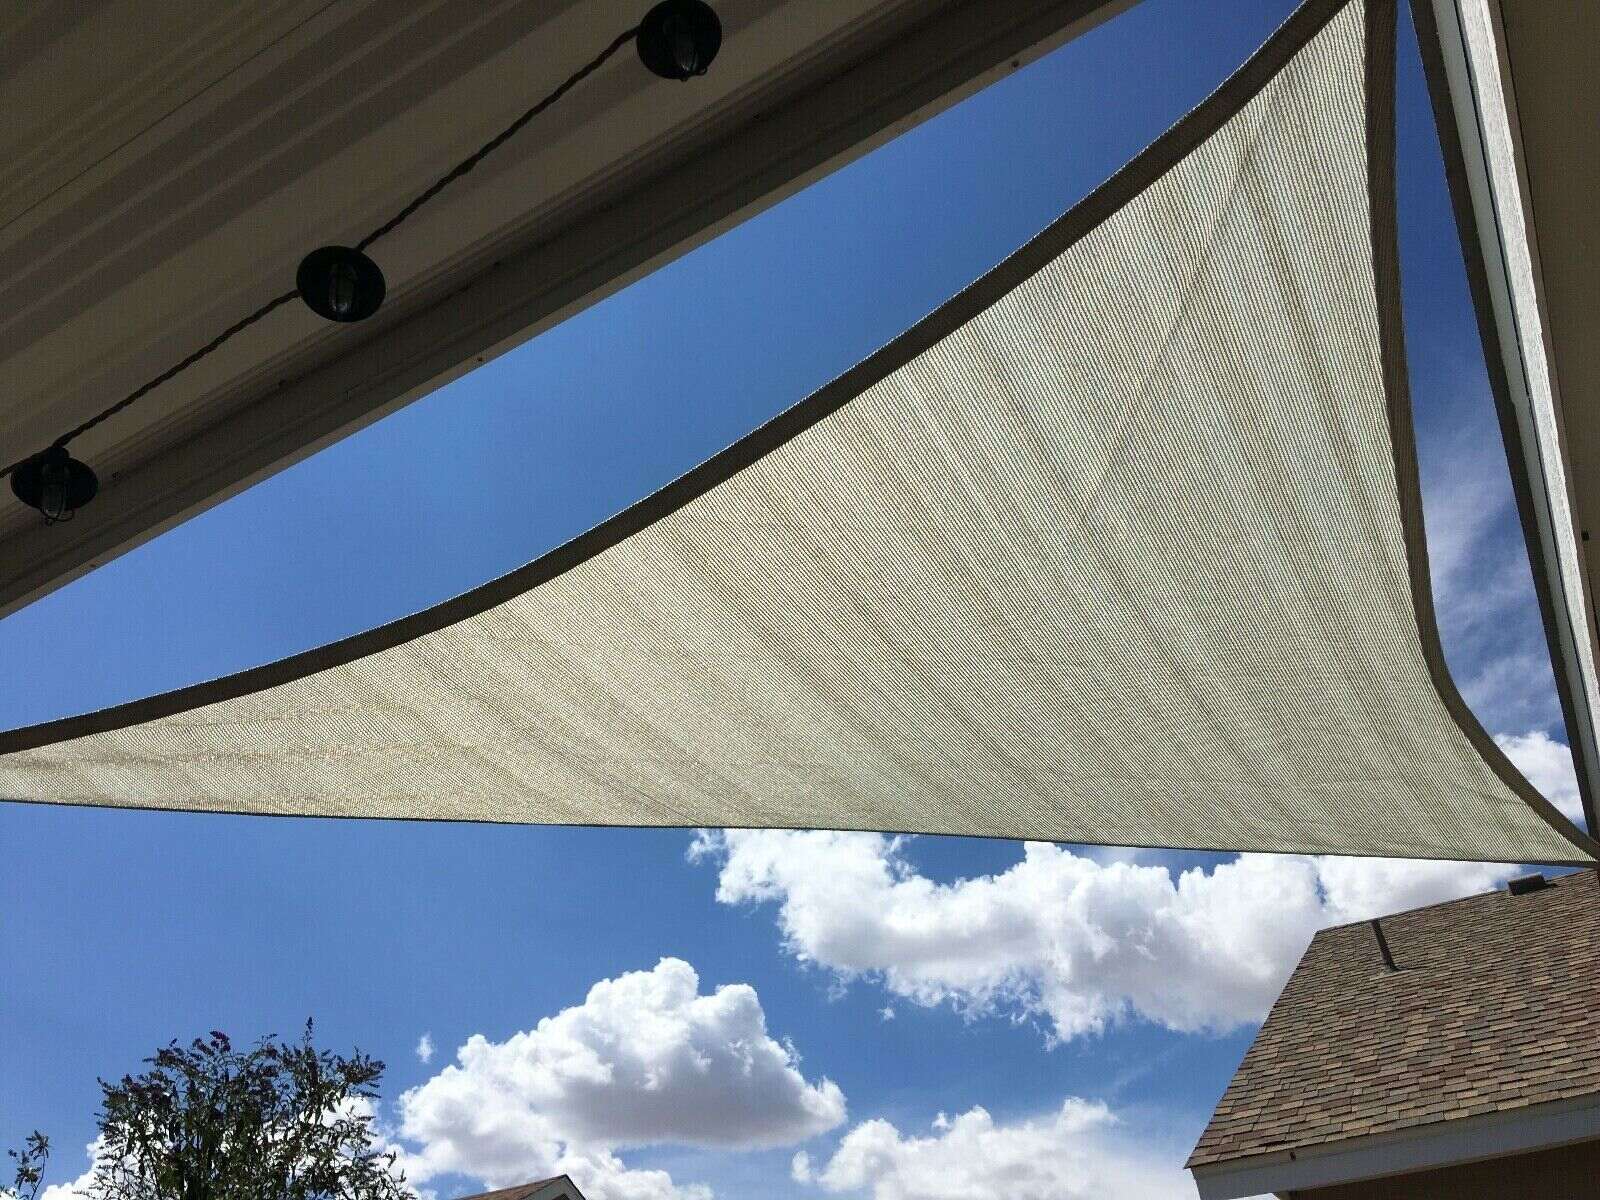
Begin by unfurling the sun shade and positioning it over the pergola in alignment with the installed eye bolts and turnbuckles. Ensure that the shade is centered and evenly distributed over the intended coverage area, allowing for an equal overhang on all sides. Take the time to adjust the position of the shade to achieve the desired orientation and coverage.
Once the sun shade is positioned correctly, proceed to connect the corners or edges of the shade to the installed eye bolts using appropriate hardware, such as carabiners or S-hooks. Securely fasten the connections, ensuring that the shade is taut but not overly stretched, as excessive tension can strain the fabric and compromise its longevity.
With the sun shade attached to the eye bolts, turn your attention to the turnbuckles. Use the adjustable fittings to fine-tune the tension of the shade, gradually tightening the turnbuckles to remove any slack and achieve a smooth, taut surface. Regularly assess the tension across the sun shade, making adjustments as necessary to maintain uniform tautness and stability.
As you adjust the turnbuckles, take note of the shade’s appearance and tension, ensuring that it remains visually appealing and functional. Strive for a balanced and symmetrical presentation, with the sun shade securely anchored and providing consistent coverage across the pergola. Periodically step back to evaluate the overall effect and make refinements as needed.
Upon achieving the desired level of tautness and coverage, your sun shade is successfully attached to the pergola, ready to provide a cool and inviting retreat in your outdoor space. Take a moment to admire the transformation and envision the countless enjoyable moments that await beneath the shelter of your newly installed sun shade.
By completing the attachment of the sun shade with precision and care, you’ve elevated your pergola into a shaded sanctuary that beckons you to unwind, relax, and savor the outdoors. The successful installation marks the culmination of your efforts, culminating in a space that seamlessly blends style and functionality.
Conclusion
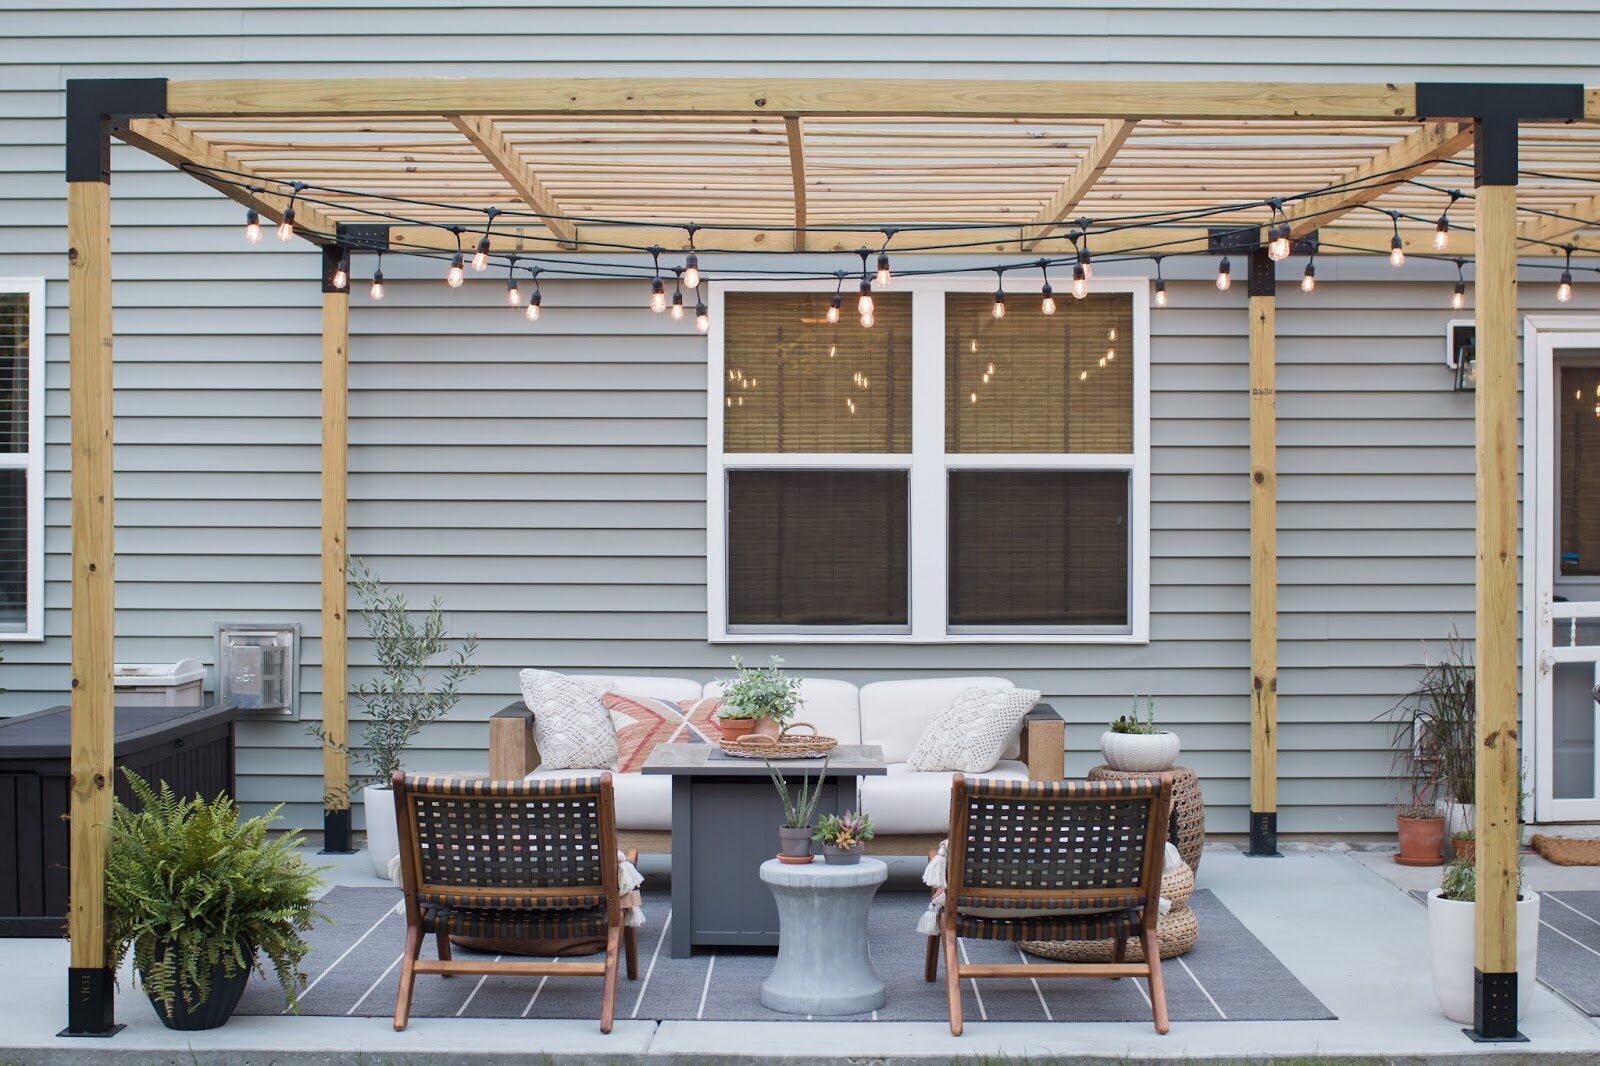
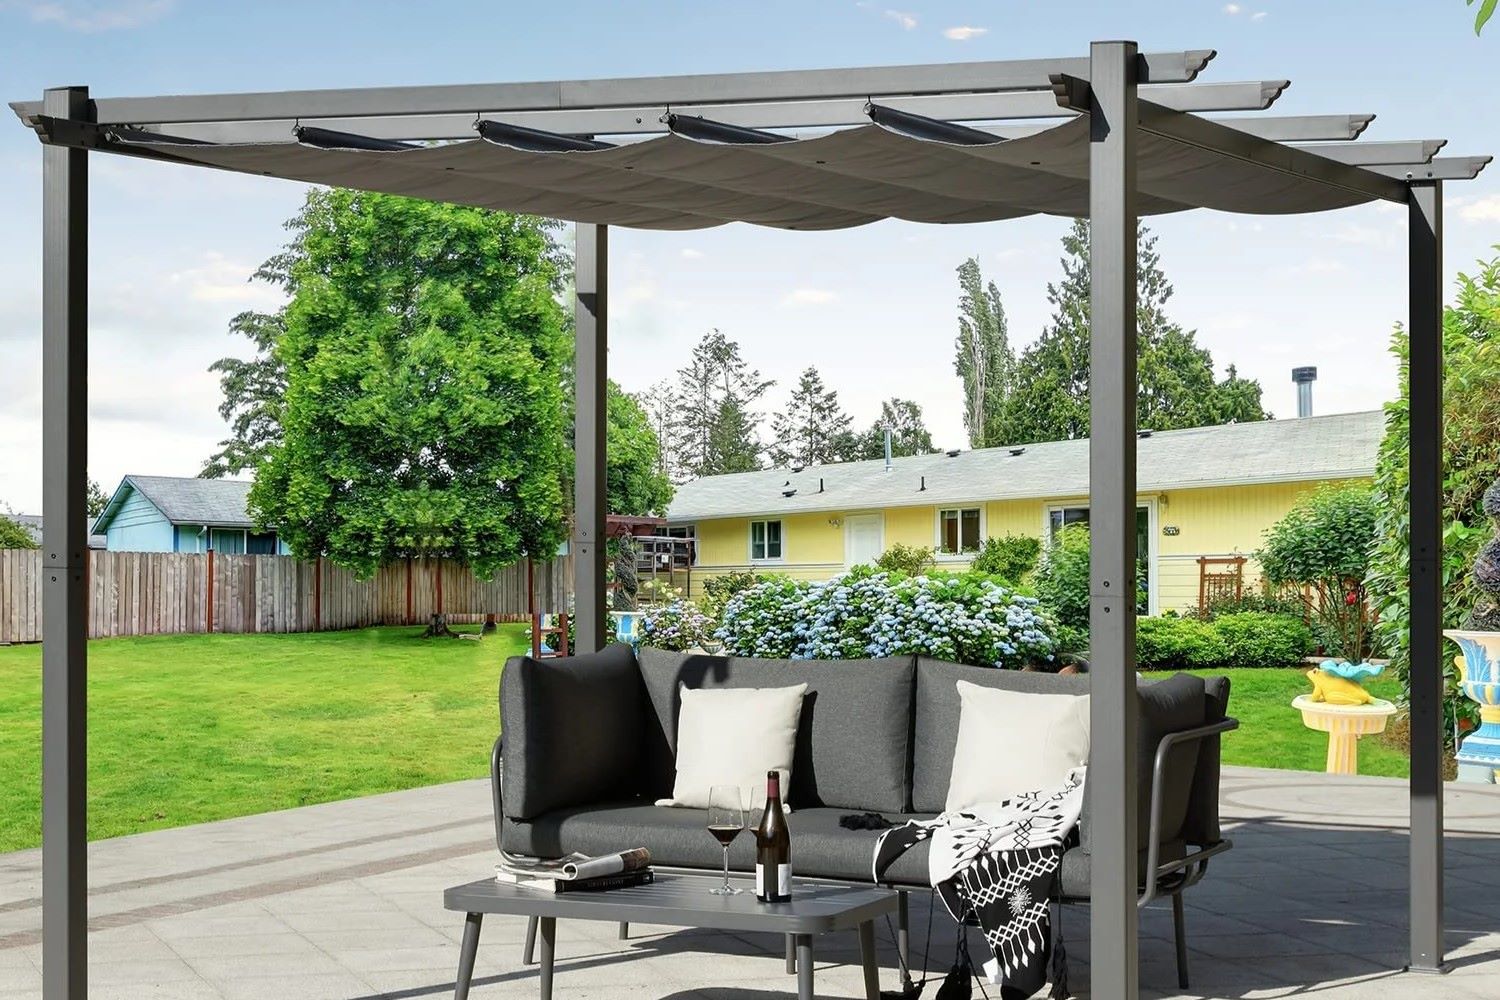
Congratulations on successfully attaching a sun shade to your pergola, enhancing its functionality and aesthetic appeal. By following the step-by-step process outlined in this guide, you’ve transformed your outdoor space into a cool and inviting retreat, ready to offer respite from the sun’s rays and create a comfortable environment for relaxation and entertainment.
The addition of a sun shade not only provides practical benefits, such as sun protection and temperature regulation, but also contributes to the visual allure of your pergola. The interplay of light and shadow, coupled with the graceful draping of the shade, imparts a sense of elegance and tranquility to your outdoor sanctuary.
As you bask in the shaded comfort of your pergola, take a moment to appreciate the craftsmanship and attention to detail that went into the installation. The careful measurement and marking, precise installation of eye bolts, strategic attachment of turnbuckles, and meticulous positioning of the sun shade have culminated in a seamless and visually appealing addition to your outdoor space.
With the sun shade in place, you’re now poised to enjoy extended hours outdoors, whether it’s a leisurely afternoon read, an alfresco meal with loved ones, or simply relishing the beauty of nature. The shaded haven you’ve created invites you to unwind and savor the simple pleasures of outdoor living, shielded from the intensity of the sun.
As you revel in the comfort and allure of your shaded pergola, take pride in the personalized touch you’ve added to your outdoor oasis. The thoughtful installation of the sun shade reflects your commitment to creating a space that seamlessly blends practicality with style, offering a retreat that beckons you to linger and create cherished memories.
By infusing your pergola with the cooling embrace of a sun shade, you’ve not only expanded its functionality but also imbued it with a sense of warmth and hospitality. Your outdoor space now stands as a testament to your creativity and vision, inviting you and your guests to savor the joys of outdoor living in a setting that is as inviting as it is practical.
Embrace the shaded tranquility of your pergola, and revel in the countless moments of relaxation and delight that await beneath the shelter of your newly installed sun shade. Your outdoor sanctuary is now primed to offer a haven of comfort and charm, beckoning you to unwind and savor the simple pleasures of outdoor living.
Frequently Asked Questions about How To Attach Sun Shade To A Pergola
Was this page helpful?
At Storables.com, we guarantee accurate and reliable information. Our content, validated by Expert Board Contributors, is crafted following stringent Editorial Policies. We're committed to providing you with well-researched, expert-backed insights for all your informational needs.


0 thoughts on “How To Attach Sun Shade To A Pergola”