Home>Gardening & Outdoor>Outdoor Structures>How To Attach A Pergola To A Roof
Outdoor Structures
How To Attach A Pergola To A Roof
Modified: May 6, 2024
Learn how to securely attach a pergola to a roof for a stunning outdoor structure. Our step-by-step guide will help you create the perfect addition to your home.
(Many of the links in this article redirect to a specific reviewed product. Your purchase of these products through affiliate links helps to generate commission for Storables.com, at no extra cost. Learn more)
Introduction
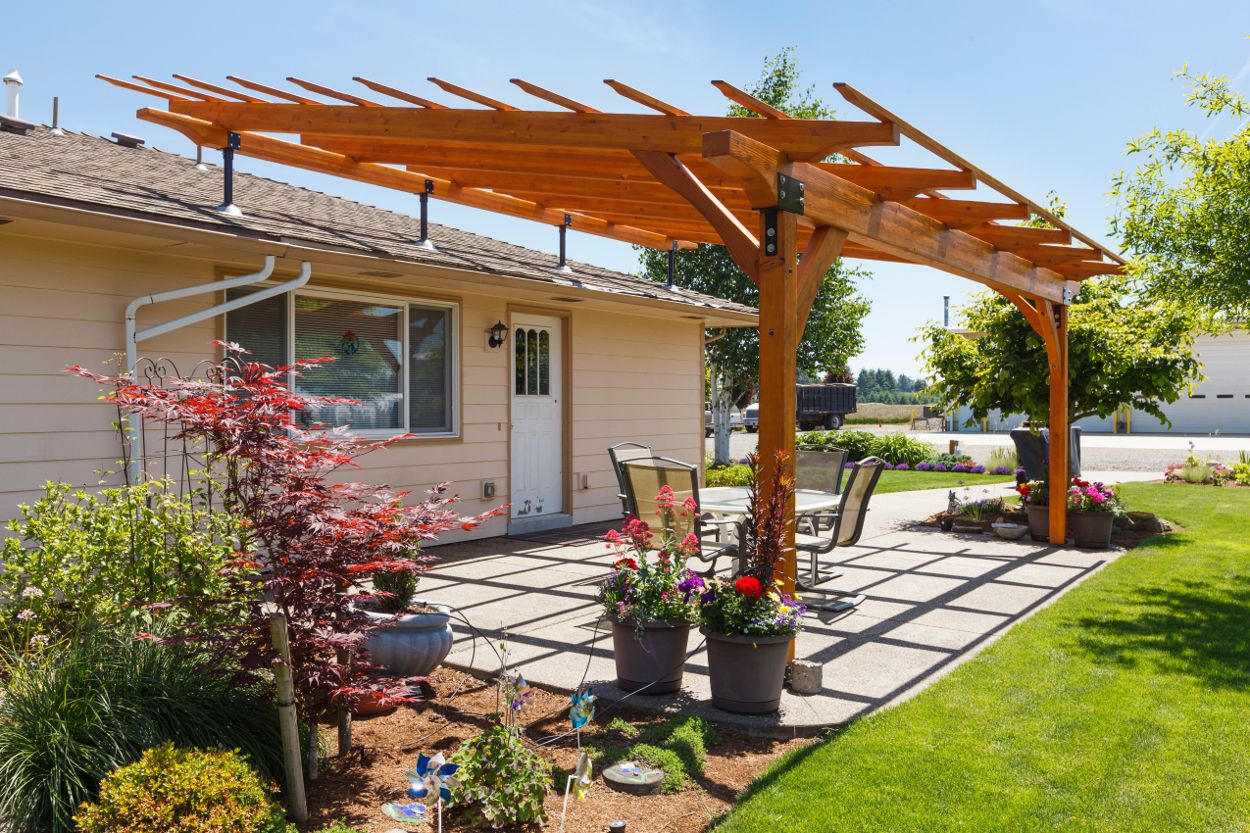
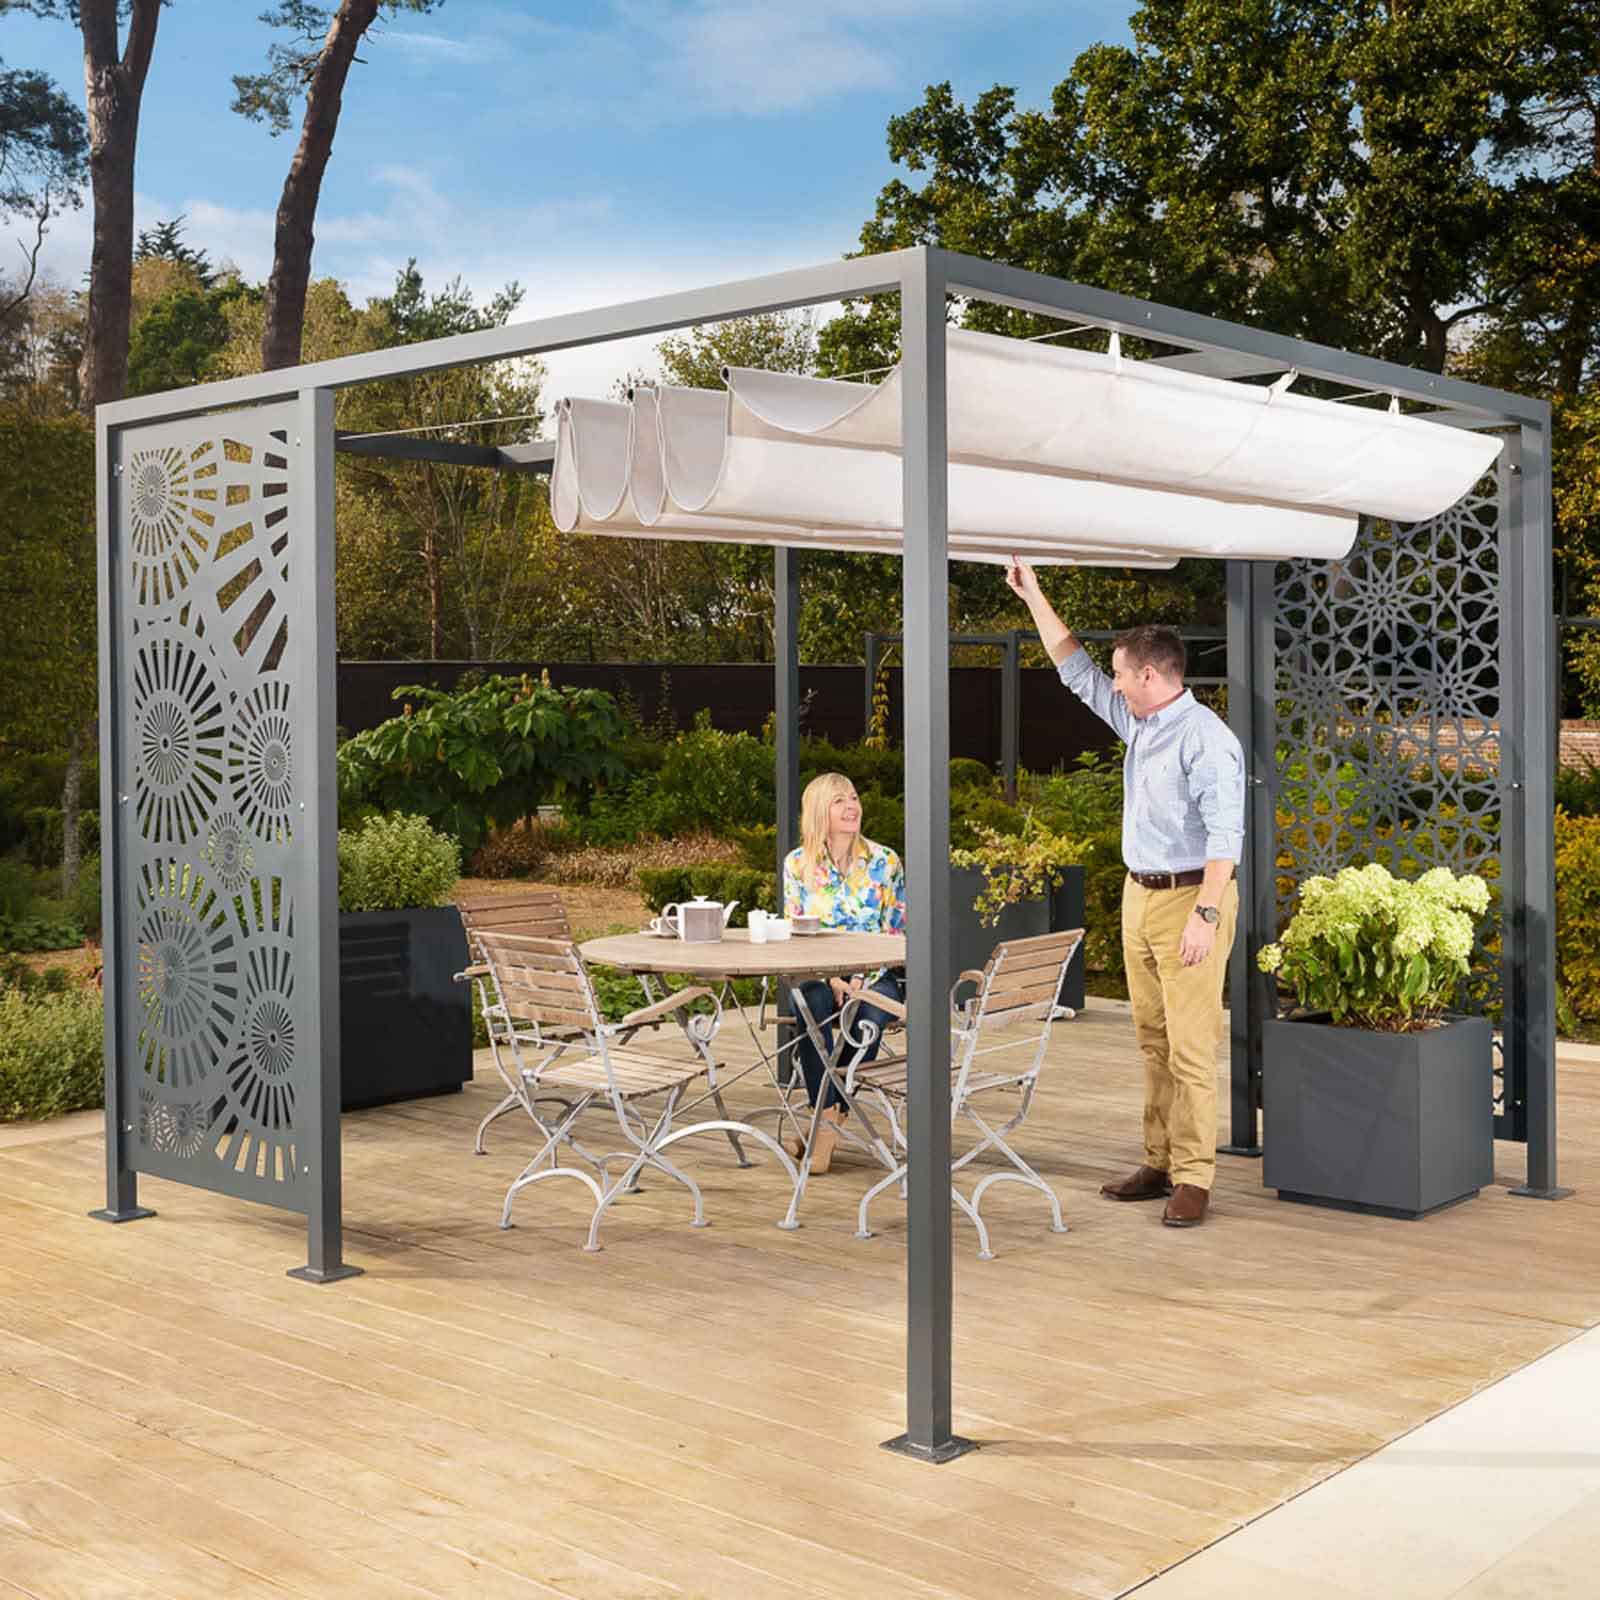
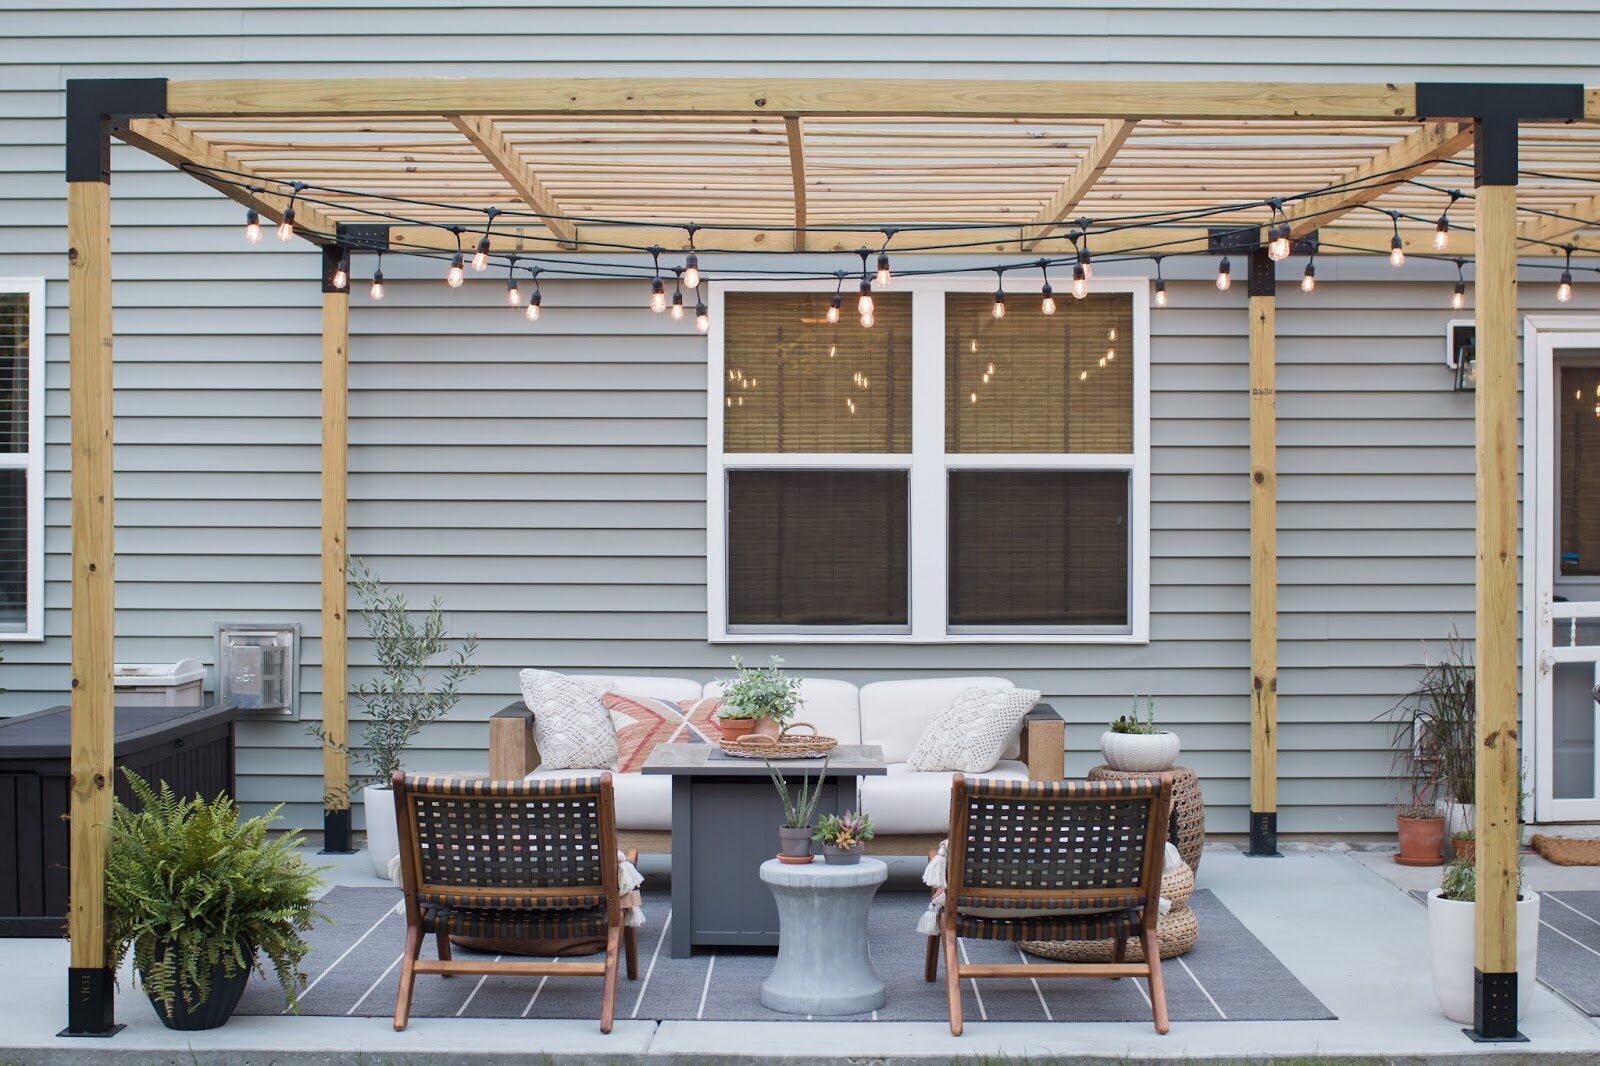
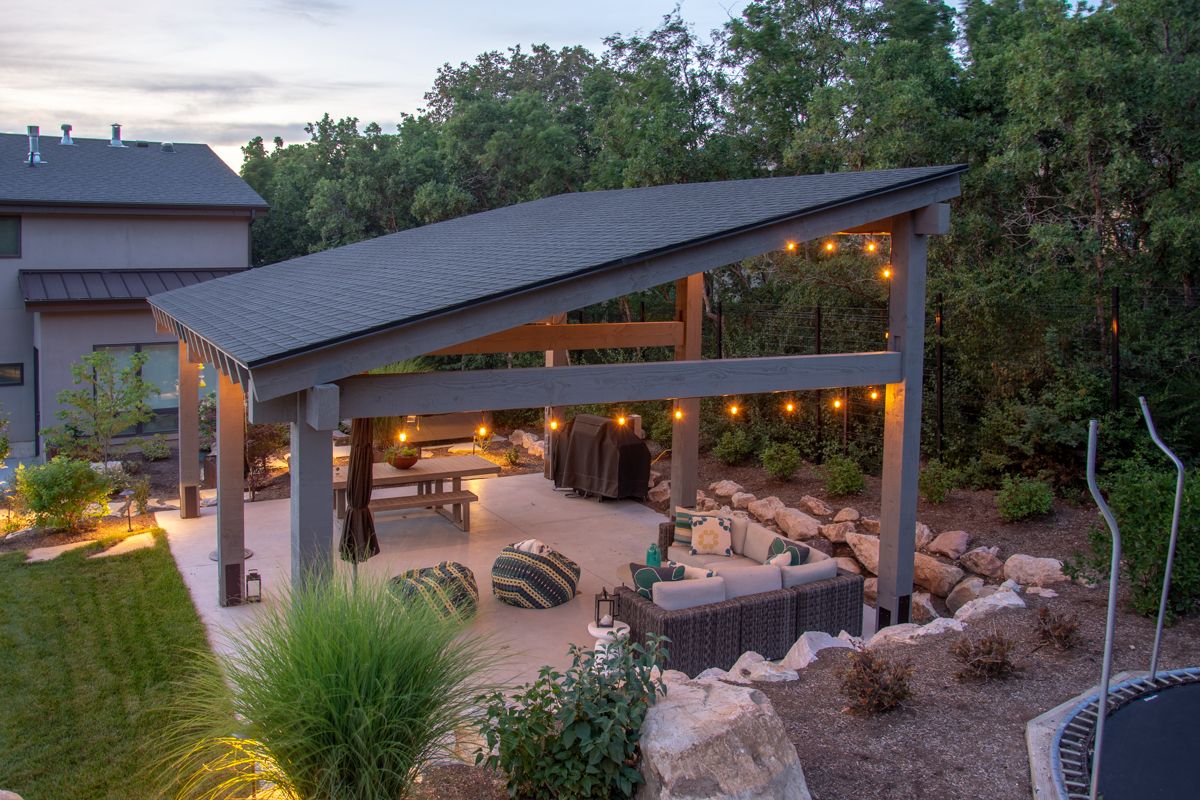
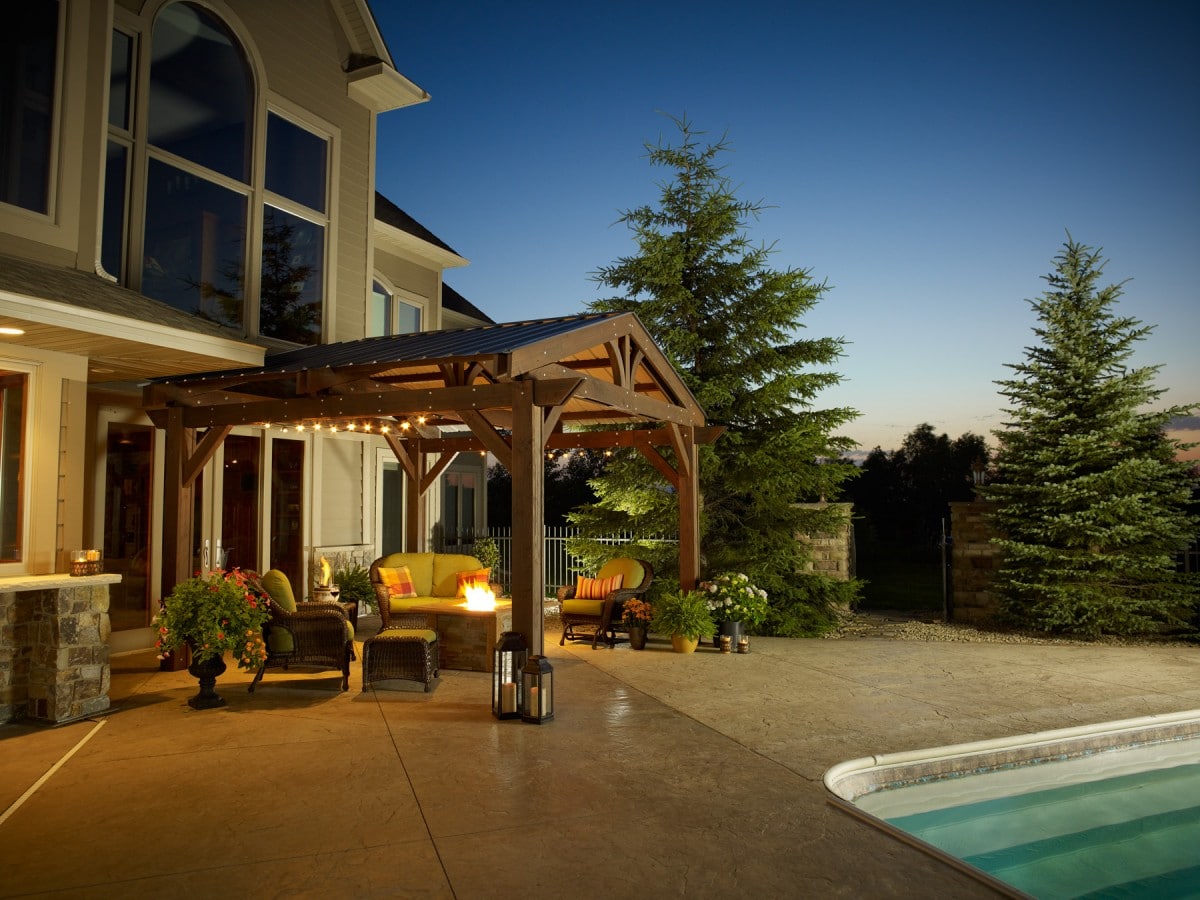
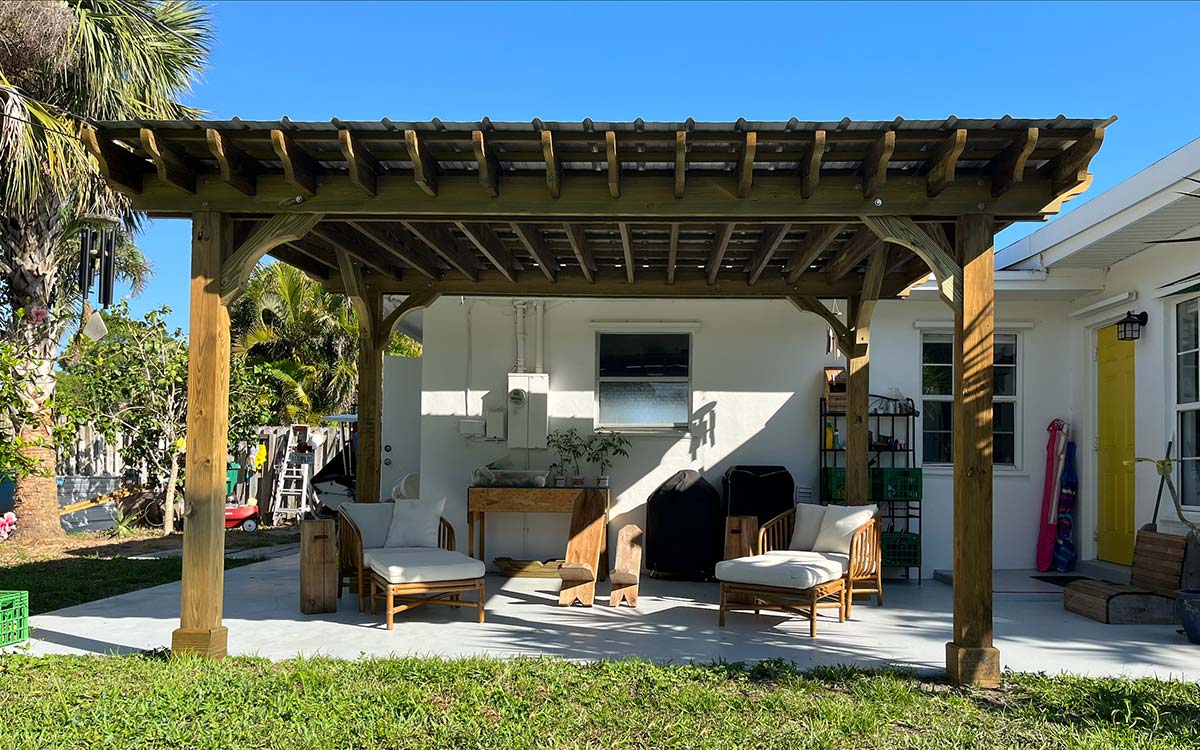
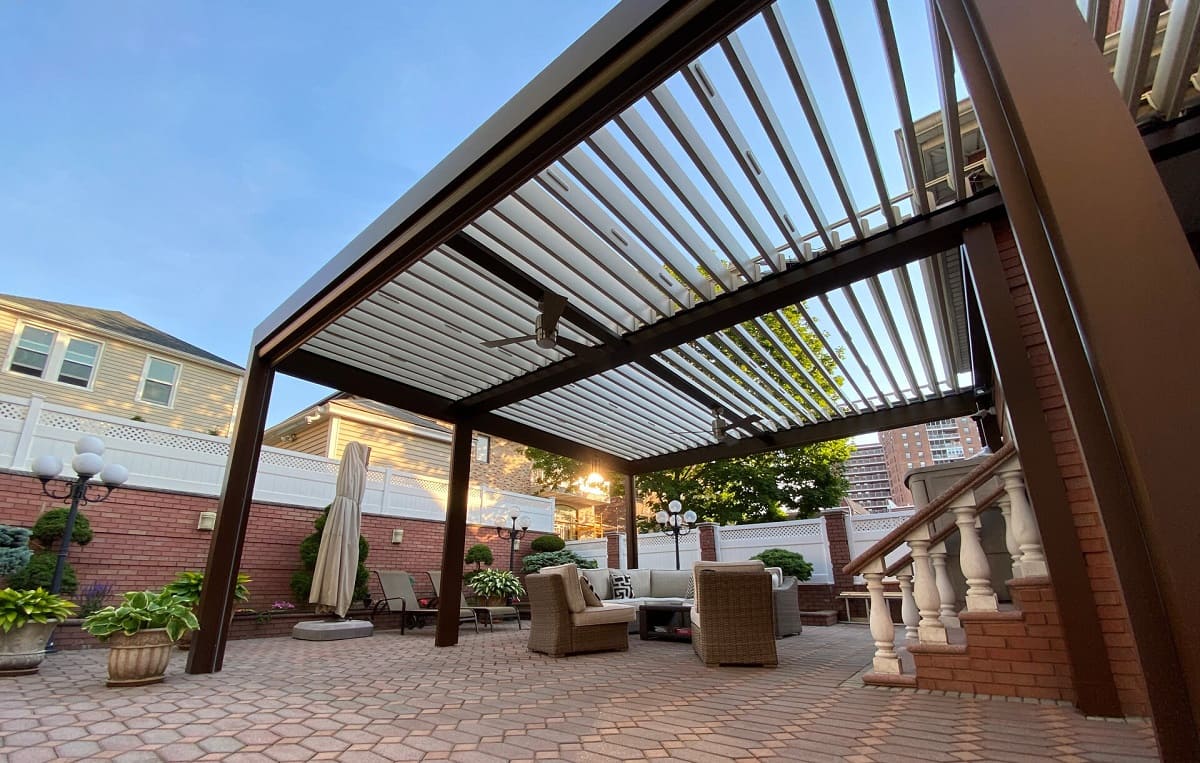
Adding a pergola to your outdoor space can elevate its charm and functionality. A pergola not only offers shade and a designated area for relaxation but also serves as an aesthetically pleasing structure that enhances the overall appeal of your property. When considering the addition of a pergola, attaching it to an existing roof can be a practical and visually appealing choice. However, this process requires careful planning and execution to ensure the safety and structural integrity of both the pergola and the roof.
In this comprehensive guide, we will explore the essential steps for attaching a pergola to a roof, covering everything from assessing the roof's suitability to securing the pergola in place. Whether you are a seasoned DIY enthusiast or enlisting the help of professionals, understanding the intricacies of this process is crucial for a successful and enduring pergola-roof attachment.
By the end of this article, you will have a clear understanding of the considerations involved in this project, empowering you to make informed decisions and undertake the necessary steps with confidence. Let's embark on this insightful journey to discover the art of attaching a pergola to a roof, creating a seamless and captivating outdoor space that harmoniously integrates with your existing architecture.
Key Takeaways:
- Attaching a pergola to a roof requires careful assessment of the roof’s material, pitch, and building codes. Choosing the right attachment method and thorough preparation are crucial for a successful and visually appealing installation.
- Securing the attached pergola through reinforcement, weather-resistant finishing, and regular maintenance ensures its longevity and resilience against environmental elements. This creates a captivating outdoor haven that seamlessly integrates with your property.
Read more: How To Attach A Pergola To A Deck
Assessing the Roof
Before delving into the process of attaching a pergola to a roof, it is essential to conduct a thorough assessment of the existing roof structure. This evaluation serves as the foundation for determining the feasibility and safety of attaching a pergola, ensuring that the roof can support the additional weight and stress.
Here are the key aspects to consider when assessing the roof:
- Roof Material and Strength: The type of material and strength of the roof are pivotal factors in determining its ability to support a pergola. For instance, a sturdy metal or reinforced concrete roof may be better equipped to handle the additional load compared to a lightweight shingle or polycarbonate roof. It is imperative to assess the load-bearing capacity of the roof material and its structural integrity.
- Roof Pitch and Orientation: The pitch and orientation of the roof can impact the attachment of the pergola. A steeply pitched roof may present challenges in securely fastening the pergola, while a flat or gently sloped roof can offer more flexibility in attachment options. Additionally, the orientation of the roof in relation to the sun and prevailing weather patterns should be considered to optimize the positioning of the pergola for shade and weather protection.
- Building Codes and Regulations: Familiarizing yourself with local building codes and regulations is crucial. These guidelines often specify the permissible modifications and attachments to existing structures, ensuring compliance with safety standards and structural requirements. Consulting with a qualified professional or local authorities can provide valuable insights into the specific regulations governing roof attachments in your area.
By meticulously evaluating these factors, you can gain a comprehensive understanding of the roof’s suitability for accommodating a pergola. This assessment forms the basis for determining the appropriate attachment method and ensuring that the structural integrity of the roof is preserved throughout the installation process.
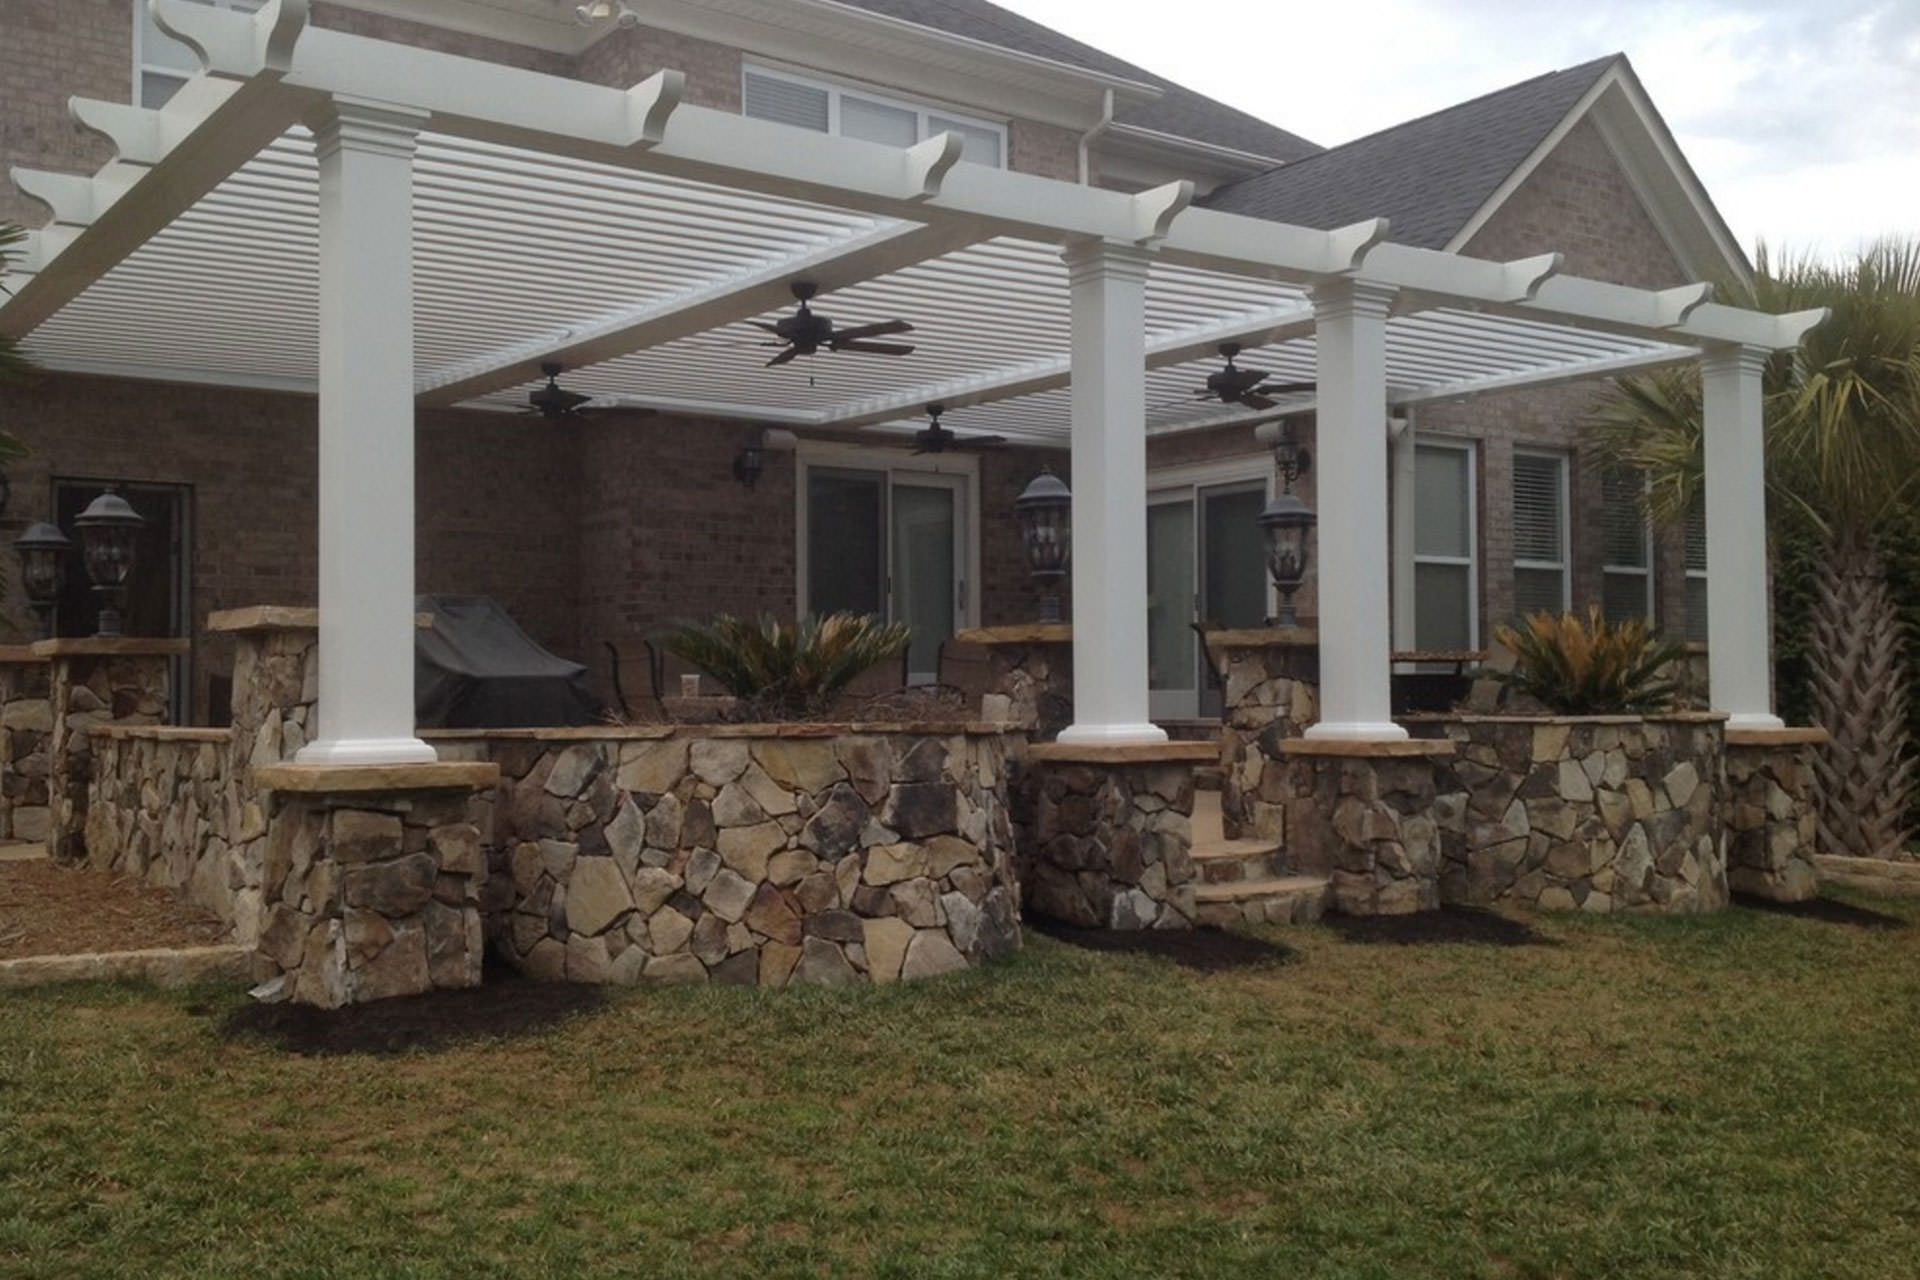
Choosing the Attachment Method
Once the roof assessment is complete, the next crucial step in attaching a pergola involves selecting the most suitable attachment method. The chosen method should not only ensure a secure connection between the pergola and the roof but also align with the structural characteristics of the existing roof. Here are several popular attachment methods to consider:
- Through-Bolting: This method involves drilling through the roof and securely fastening the pergola’s support posts to the underlying roof structure using bolts. Through-bolting provides exceptional stability and is ideal for roofs with substantial structural strength. It is essential to use weatherproof flashing and sealants to prevent water infiltration at the attachment points.
- Mounting Brackets: Utilizing mounting brackets offers a versatile and relatively straightforward attachment solution. These brackets are affixed to the roof, providing anchor points for connecting the pergola’s support posts. It is essential to select high-quality, corrosion-resistant brackets designed to withstand outdoor exposure and support the anticipated load of the pergola.
- Adjustable Post Bases: Adjustable post bases are designed to be attached to the roof surface, providing a secure and adjustable connection for the pergola’s support posts. This method is advantageous for accommodating variations in roof elevation and ensuring precise alignment of the pergola structure.
- Roof-Mounted Rafter Brackets: When attaching a pergola with rafters to a roof, roof-mounted rafter brackets offer a seamless integration. These brackets are affixed to the existing roof, providing a stable connection point for the pergola’s rafters. Careful consideration of the roof material and load distribution is essential when employing this method.
When choosing the attachment method, factors such as the roof’s material, pitch, and structural integrity should heavily influence the decision-making process. Additionally, considering the aesthetic impact and long-term maintenance of the attachment method can contribute to a well-informed choice that aligns with both practical and visual considerations.
By carefully evaluating these attachment methods in light of the roof assessment findings, you can select an approach that ensures a secure, durable, and visually appealing connection between the pergola and the roof, setting the stage for a successful installation.
Preparing the Roof and Pergola
Before proceeding with the attachment of the pergola to the roof, thorough preparation of both the roof and the pergola is essential to facilitate a seamless and structurally sound installation. This preparatory phase involves a series of meticulous steps to ensure that the roof and pergola are primed for a secure and enduring attachment.
Here are the key preparatory measures for the roof and pergola:
- Cleaning and Inspection: Begin by thoroughly cleaning the area of the roof where the pergola will be attached. Remove any debris, dirt, or obstructions that could hinder the attachment process. Additionally, conduct a detailed inspection of the roof surface to identify any existing damage, deterioration, or potential issues that may impact the attachment. Addressing these issues preemptively can prevent complications during installation.
- Weatherproofing and Sealing: Apply weatherproofing sealants and flashing to the areas of the roof where the attachment will occur. This crucial step helps prevent water infiltration and ensures a watertight seal between the roof and the pergola, safeguarding against potential water damage and leaks.
- Pergola Preparation: Similarly, prepare the pergola structure by inspecting its components for any defects, ensuring that all fasteners, brackets, and hardware are in optimal condition. If the pergola is constructed from wood, consider applying a protective sealant or weather-resistant finish to enhance its durability and longevity.
- Alignment and Marking: Accurately mark the precise locations for attaching the pergola to the roof, taking into account the predetermined attachment method. Careful alignment and marking are crucial for ensuring that the pergola is securely positioned and level upon installation.
By diligently preparing the roof and pergola, you can create an optimal foundation for the attachment process, mitigating potential challenges and ensuring a streamlined installation. This preparatory phase sets the stage for a successful and enduring connection between the pergola and the roof, laying the groundwork for a captivating outdoor space that seamlessly integrates with the existing architecture.
When attaching a pergola to a roof, make sure to use heavy-duty brackets or hardware to securely fasten the pergola to the existing structure. It’s important to follow local building codes and consult a professional if needed.
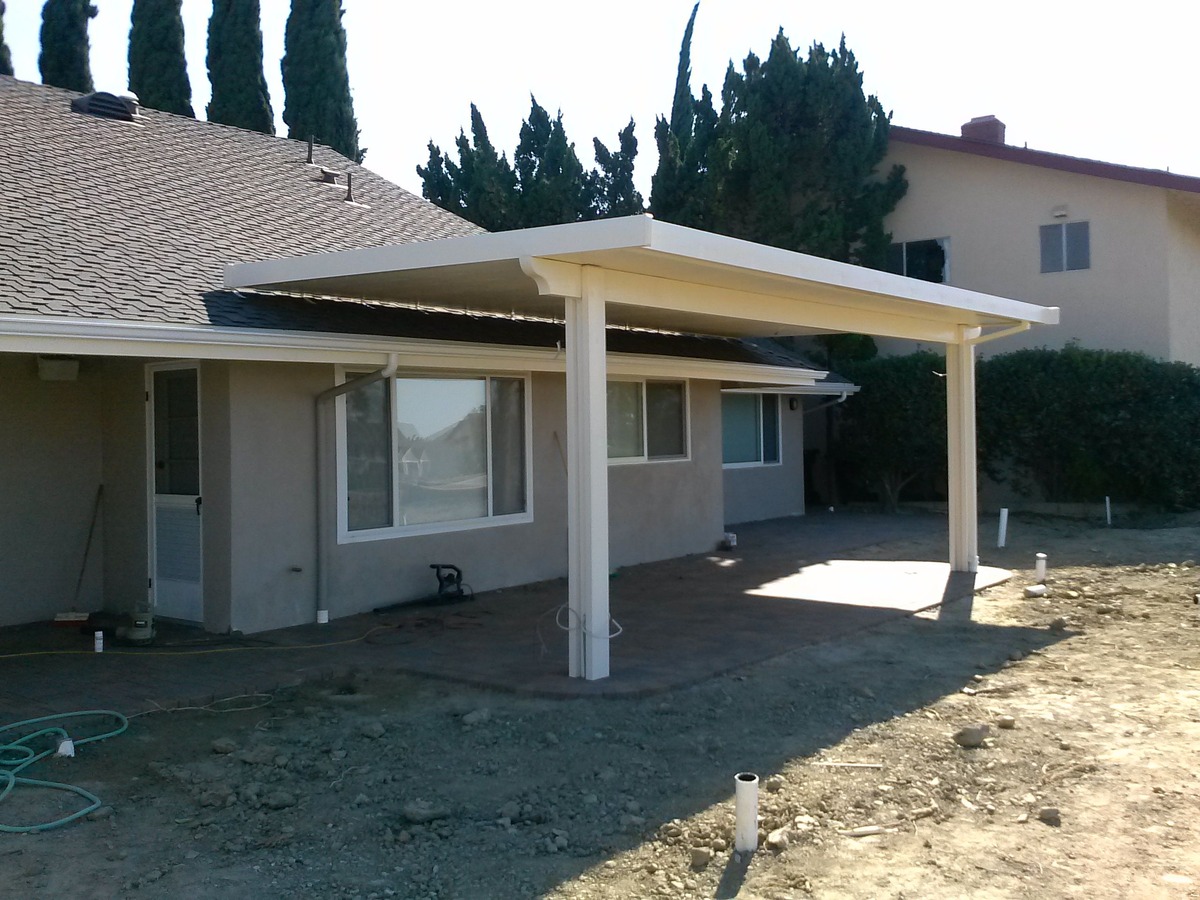
Attaching the Pergola to the Roof
With the roof and pergola meticulously prepared, the process of attaching the pergola to the roof can commence. This pivotal phase requires precision, attention to detail, and adherence to the selected attachment method. Whether you are engaging in a DIY endeavor or enlisting professional assistance, the following steps outline the essential procedures for securely connecting the pergola to the roof:
- Positioning and Alignment: Carefully position the pergola in accordance with the marked attachment points on the roof. Ensure that the pergola is precisely aligned and level, as this will influence the stability and visual appeal of the final installation.
- Drilling and Fastening: If the chosen attachment method involves drilling and fastening, proceed with precision drilling through the marked points on the roof surface. Use appropriate fasteners, such as bolts or screws, to securely connect the pergola’s support structure to the roof. Exercise caution to avoid damaging the roof material during this process.
- Mounting Brackets or Bases: If mounting brackets or adjustable post bases are employed, affix them to the designated attachment points on the roof, ensuring a secure and stable connection. Verify the integrity of the brackets or bases and their alignment with the pergola’s support structure.
- Sealing and Weatherproofing: Apply weatherproof sealants and flashing around the attachment points to create a watertight seal. This critical step safeguards the roof from potential water infiltration and ensures the longevity of the attachment by preventing moisture-related damage.
Throughout the attachment process, meticulous attention to detail and adherence to the manufacturer’s guidelines for the selected attachment method are paramount. Carefully following the prescribed procedures and utilizing high-quality materials and fasteners can contribute to a secure and enduring connection between the pergola and the roof.
By methodically executing these steps, you can achieve a seamless integration of the pergola with the existing roof, creating a visually striking and structurally sound outdoor space that harmoniously blends with the architectural elements of your property.
Read more: How To Build A Pergola Roof
Securing the Pergola
Once the pergola is successfully attached to the roof, securing the structure is essential to ensure its stability, longevity, and resistance to external forces. This phase encompasses a series of measures aimed at fortifying the pergola and safeguarding it against potential structural issues and environmental factors. Here are the key steps for securing the pergola:
- Structural Reinforcement: Evaluate the overall stability of the attached pergola and reinforce its structural integrity if necessary. This may involve additional bracing, cross-supports, or reinforcement of the attachment points to enhance the rigidity and resilience of the pergola.
- Weather-Resistant Finishing: If the pergola is constructed from wood or other susceptible materials, consider applying a weather-resistant finish or protective coating to shield it from the effects of moisture, UV exposure, and fluctuating weather conditions. This finishing not only enhances the aesthetic appeal of the pergola but also contributes to its long-term durability.
- Anchor Points and Tie-Downs: Depending on the geographical location and prevailing weather patterns, securing the pergola with anchor points and tie-downs can provide added stability and resistance to wind uplift. Anchor the pergola to the ground or an existing structural element, ensuring that it can withstand moderate to high wind loads without compromising its integrity.
- Regular Maintenance and Inspections: Implement a routine maintenance schedule to inspect the attached pergola, addressing any signs of wear, corrosion, or structural compromise promptly. Regular inspections and maintenance activities, such as tightening fasteners and assessing the condition of the attachment points, can prolong the lifespan of the pergola and minimize the risk of potential issues.
By diligently securing the attached pergola through structural reinforcement, weather-resistant finishing, and proactive maintenance, you can fortify its resilience and longevity, ensuring that it remains a captivating and enduring addition to your outdoor space.
With the pergola securely attached and fortified against external forces, you can relish in the creation of a captivating outdoor haven that seamlessly integrates with your existing architecture, providing a harmonious blend of aesthetics and functionality.
Conclusion
Embarking on the journey of attaching a pergola to a roof is a transformative endeavor that holds the potential to enrich your outdoor living space and elevate the visual appeal of your property. Throughout this comprehensive guide, we have delved into the essential considerations and steps involved in this process, equipping you with the knowledge and insights to undertake this project with confidence and precision.
From the initial assessment of the roof’s suitability to the meticulous preparation of both the roof and the pergola, each phase of this undertaking plays a pivotal role in ensuring a secure and visually captivating attachment. By carefully choosing the appropriate attachment method and methodically executing the installation process, you can achieve a seamless integration of the pergola with the existing roof, creating a harmonious and inviting outdoor sanctuary.
As the pergola becomes a captivating extension of your living space, securing its structural integrity and fortifying it against environmental elements form the final steps in this transformative journey. By implementing measures to reinforce the pergola, protect it from weather-related deterioration, and establish a proactive maintenance routine, you can ensure that it remains a resilient and enduring feature of your outdoor environment.
With the pergola securely attached and fortified against external forces, you can relish in the creation of a captivating outdoor haven that seamlessly integrates with your existing architecture, providing a harmonious blend of aesthetics and functionality.
Armed with the knowledge and insights gained from this guide, you are well-equipped to embark on the remarkable endeavor of attaching a pergola to a roof, transforming your outdoor space into a captivating retreat that reflects your unique style and enhances your lifestyle.
May this guide inspire and empower you to embark on this transformative journey, creating an outdoor sanctuary that beckons with its timeless charm and unparalleled allure.
Ready for more outdoor enhancements? If you're keen on transforming your deck into a vibrant space, check out our insights on adding colorful decor for optimal outdoor living. Or, if you're crafty and have a few weekends to spare, why not tackle building a DIY pergola with planters? Both articles are packed with practical tips to help elevate your exterior spaces effortlessly.
Frequently Asked Questions about How To Attach A Pergola To A Roof
Was this page helpful?
At Storables.com, we guarantee accurate and reliable information. Our content, validated by Expert Board Contributors, is crafted following stringent Editorial Policies. We're committed to providing you with well-researched, expert-backed insights for all your informational needs.


0 thoughts on “How To Attach A Pergola To A Roof”