Home>Gardening & Outdoor>Outdoor Structures>How To Make Curved Pergola Rafters
Outdoor Structures
How To Make Curved Pergola Rafters
Modified: May 6, 2024
Learn how to create beautifully curved pergola rafters for your outdoor structures with our step-by-step guide. Enhance your outdoor space today!
(Many of the links in this article redirect to a specific reviewed product. Your purchase of these products through affiliate links helps to generate commission for Storables.com, at no extra cost. Learn more)
Introduction
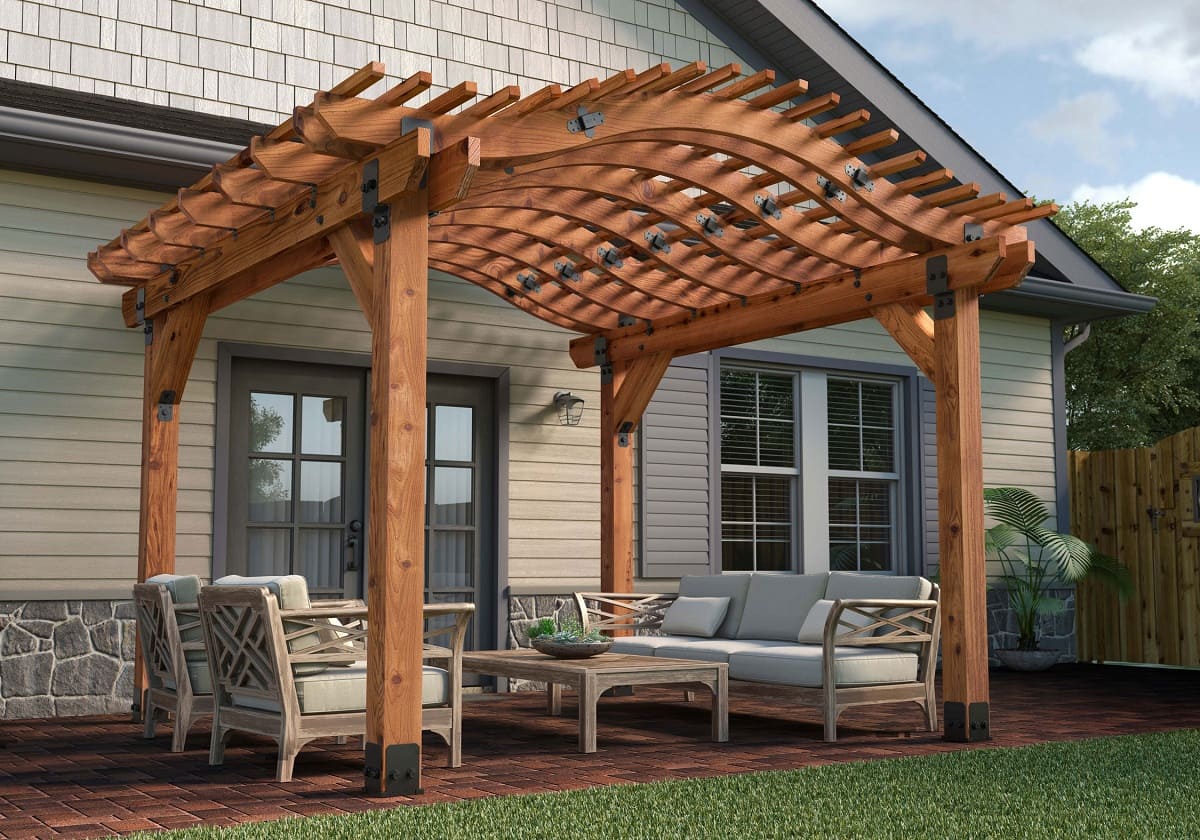
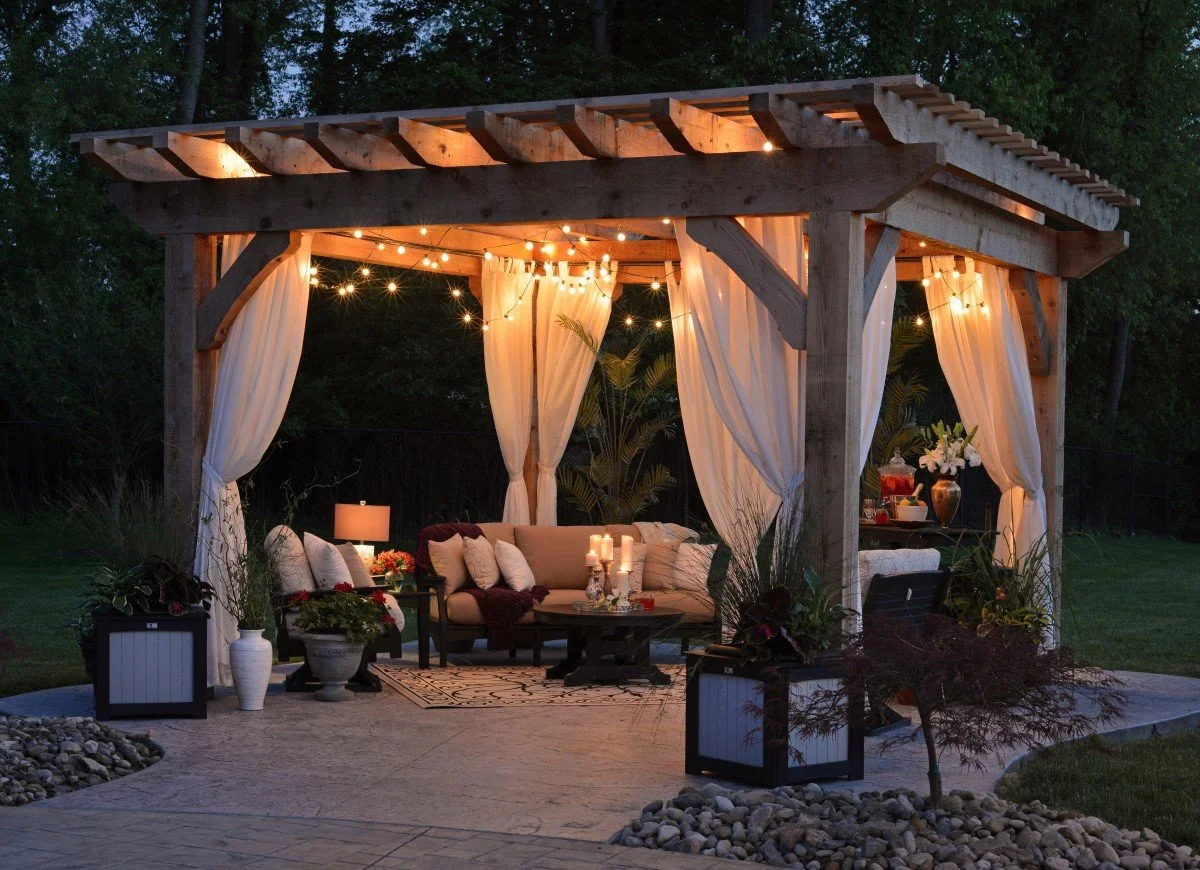
Creating a stunning outdoor space that seamlessly blends beauty and functionality is a dream for many homeowners. A pergola is a versatile and elegant addition to any outdoor area, providing a perfect balance of shade, style, and architectural interest. While traditional pergolas often feature straight lines and sharp angles, incorporating curved elements can elevate the structure to a new level of sophistication.
In this guide, we will delve into the art of crafting curved pergola rafters, a technique that adds a graceful and captivating dimension to your outdoor living space. Whether you are a seasoned DIY enthusiast or a novice looking to embark on a new project, mastering the process of making curved pergola rafters will empower you to infuse your outdoor oasis with a touch of timeless charm and allure.
Join us as we explore the materials and tools needed, the precise measurements and cuts required, and the step-by-step process of bending and assembling the curved pergola rafters. By the end of this journey, you will be equipped with the knowledge and confidence to transform your outdoor space into a captivating haven that beckons with its alluring curves and impeccable craftsmanship.
Key Takeaways:
- Crafting curved pergola rafters requires precision and patience, from measuring and cutting the lumber to bending and assembling the graceful curves. It’s a transformative journey that elevates outdoor spaces with timeless allure.
- The artful process of creating a curved pergola infuses outdoor sanctuaries with captivating elegance. Embracing craftsmanship and dedication, the allure of gracefully arched rafters transforms spaces into havens of timeless charm.
Read more: How To Attach Rafters To Beam On A Pergola
Materials and Tools
Before embarking on the endeavor to create curved pergola rafters, it’s essential to gather the necessary materials and tools to ensure a smooth and efficient construction process. Here’s a comprehensive list of what you’ll need:
Materials:
- Pressure-treated or cedar lumber: Select high-quality, durable wood that can withstand outdoor elements and resist decay.
- Wood preservative: To enhance the longevity of the lumber, a wood preservative can be applied before assembly.
- Wood adhesive: A strong, weather-resistant adhesive will be essential for securing joints and ensuring structural integrity.
- Fasteners: Stainless steel screws or galvanized nails are recommended to prevent rust and corrosion.
- Pergola hardware: Brackets, anchors, and other specialized hardware will be necessary for securing the rafters and posts.
- Clamps: Sturdy clamps will aid in holding the curved rafters in place during the bending process.
- Sandpaper: To smooth any rough edges and surfaces for a polished finish.
- Wood sealer or stain: Applying a protective sealant or stain will safeguard the wood from moisture and UV exposure, prolonging its lifespan and enhancing its aesthetic appeal.
Tools:
- Tape measure: An essential tool for accurate measurements during the planning and construction stages.
- Pencil or marker: For marking cut lines and layout points on the lumber.
- Circular saw or miter saw: To make precise cuts on the lumber according to the required dimensions.
- Jigsaw: This versatile tool will be used for cutting the curved profiles of the rafters.
- Power drill: For pre-drilling holes and driving fasteners into the wood.
- Claw hammer: Useful for tasks such as removing nails or adjusting components during assembly.
- Level: To ensure the pergola structure is perfectly aligned and balanced.
- Work gloves and safety goggles: Essential for personal protection during cutting, drilling, and assembly.
- Bending form: Constructing a bending form from sturdy materials such as plywood will be necessary for shaping the curved rafters.
By acquiring these materials and tools, you will be well-prepared to embark on the rewarding journey of creating captivating curved pergola rafters that will elevate the aesthetic appeal of your outdoor space.
Measuring and Cutting
Accurate measurements and precise cuts are fundamental to the successful construction of curved pergola rafters. Before initiating the cutting process, meticulous planning and attention to detail are crucial. Here’s a step-by-step guide to measuring and cutting the lumber for the curved rafters:
Read more: How Far Apart Should Pergola Rafters Be?
1. Planning and Design:
Begin by visualizing the desired curve of the pergola rafters and determining the radius of the curve. This will dictate the length and angle of the cuts required to achieve the desired curvature. Create a detailed plan that includes the dimensions, angles, and spacing of the rafters to ensure a cohesive and harmonious design.
2. Lumber Preparation:
Using the selected pressure-treated or cedar lumber, mark the precise locations for the cuts based on the planned dimensions. Ensure that the lumber is free from knots, cracks, or other imperfections that may compromise its structural integrity.
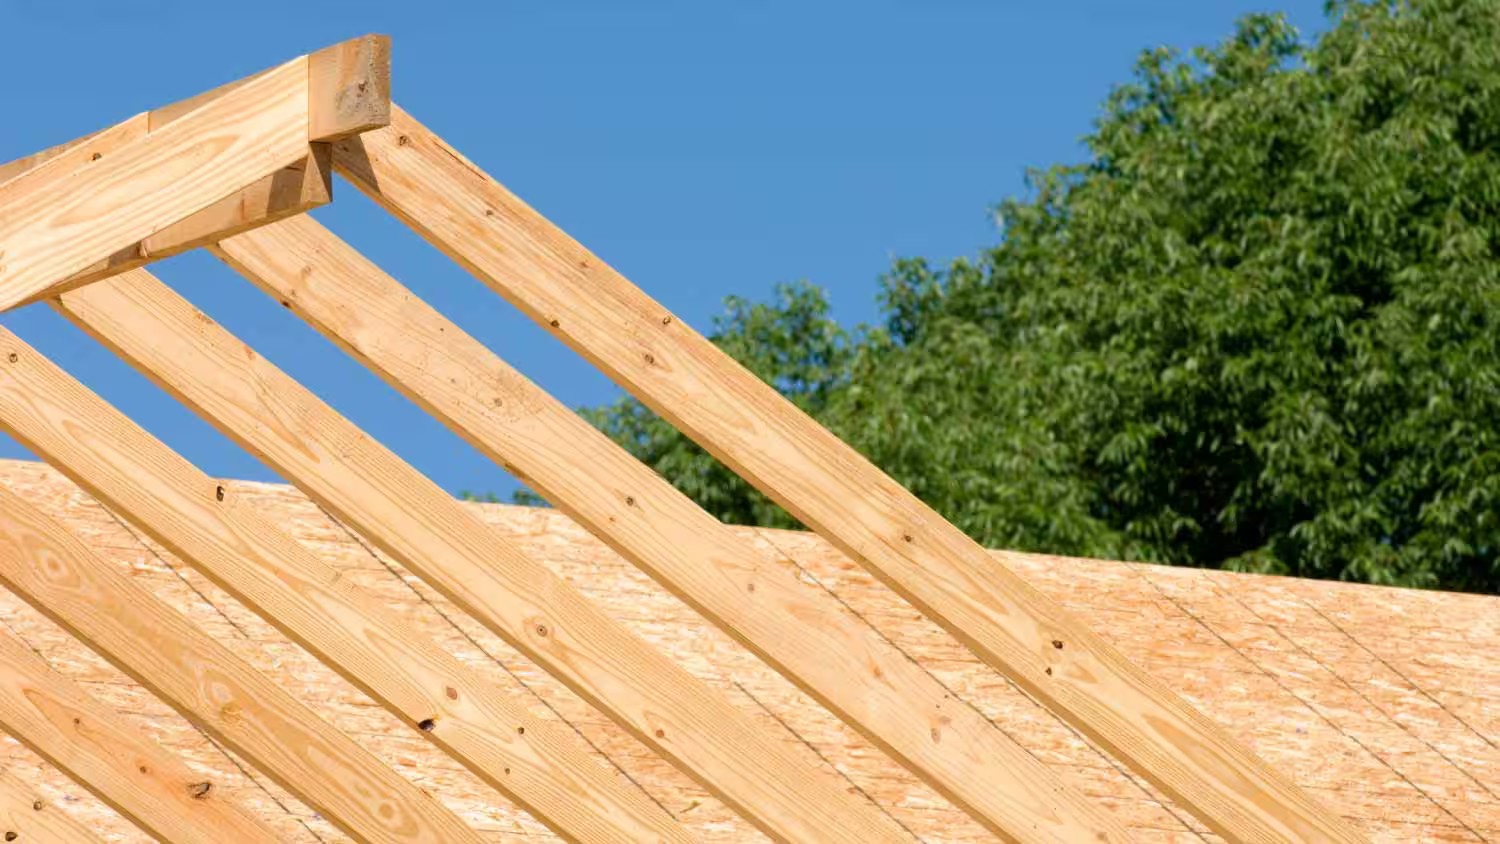
3. Cutting the Rafters:
Utilize a circular saw or miter saw to make the initial straight cuts on the lumber according to the measured dimensions. Exercise caution and precision to achieve clean and accurate cuts, as these will form the foundation for the curved profiles of the rafters.
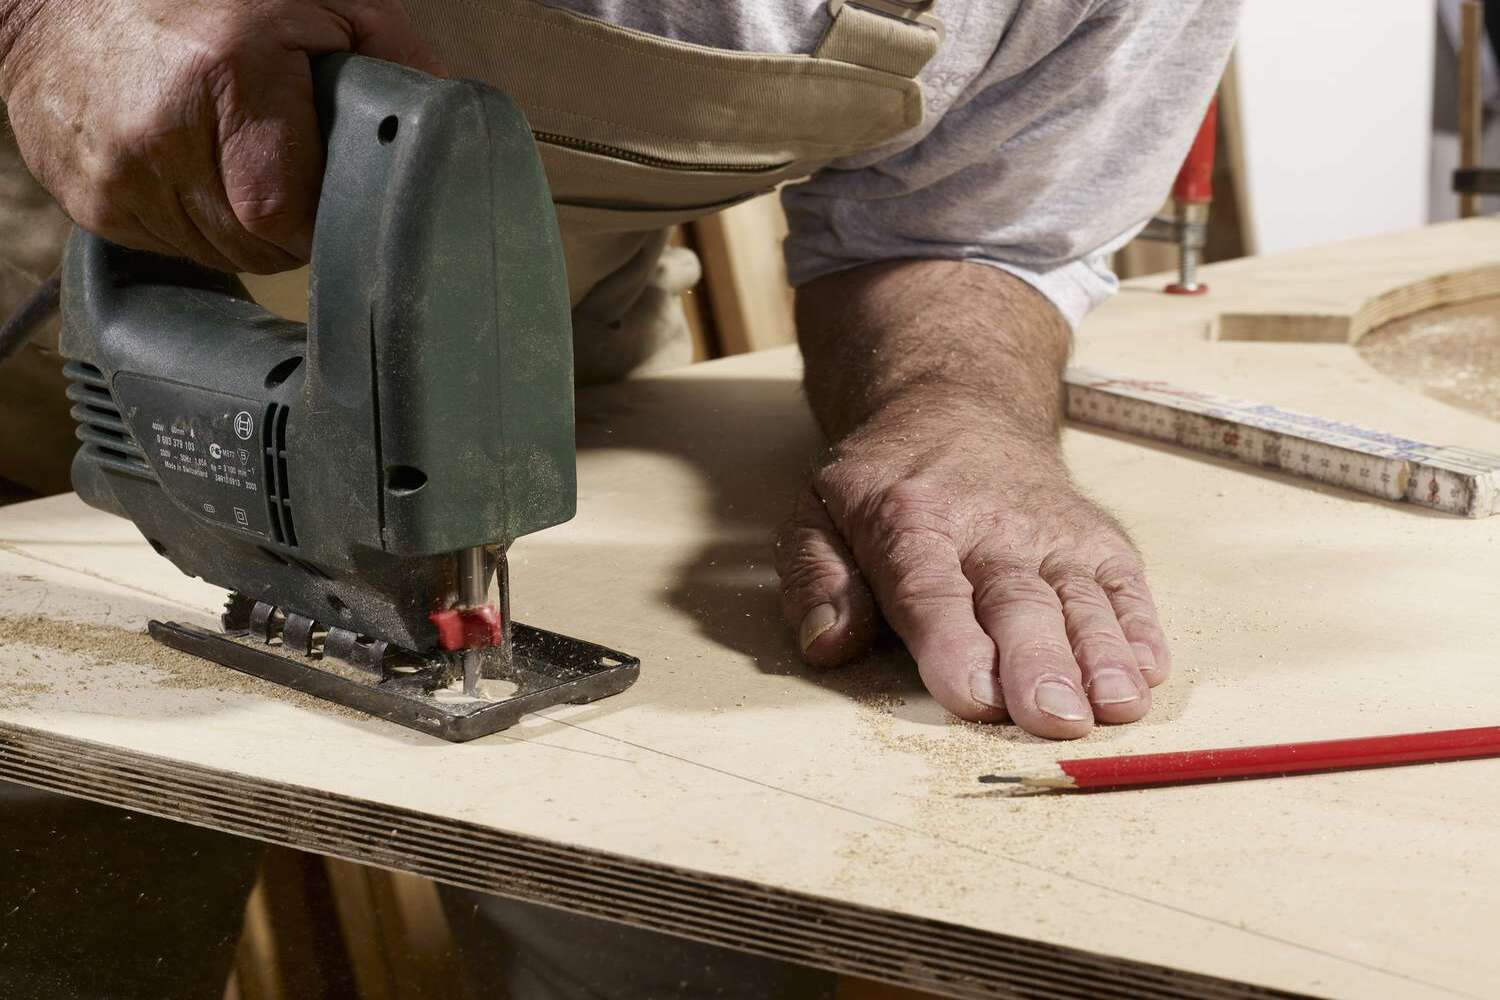
4. Creating the Curved Profiles:
With the straight cuts completed, use a jigsaw to carefully sculpt the curved profiles of the rafters. Follow the predetermined design and curve radius, making smooth and fluid cuts to achieve the desired shape. Take your time to ensure the curves are uniform and symmetrical, as this will contribute to the overall visual appeal of the pergola.
Read more: How To Make Pergola Plans
5. Sanding and Finishing:
Once the curved profiles are cut, use sandpaper to smooth any rough edges and surfaces, creating a refined and polished finish. This step is essential for both aesthetics and safety, as it minimizes the risk of splinters and enhances the tactile appeal of the rafters.
By meticulously following these steps and exercising precision throughout the measuring and cutting process, you will lay the groundwork for crafting curved pergola rafters that exude elegance and craftsmanship. The next phase of the construction journey will involve bending the rafters to achieve the graceful curves that will define the pergola’s allure.
Bending the Rafters
As you embark on the captivating process of bending the meticulously crafted rafters, precision and patience will be your allies in achieving the graceful curves that will define the pergola’s allure. Here’s a detailed guide to bending the rafters with finesse and expertise:
1. Constructing the Bending Form:
Begin by creating a bending form from sturdy materials such as plywood. The bending form should mirror the intended curve of the rafters and provide ample support during the bending process. Carefully shape the form to match the desired curvature, ensuring that it is robust enough to withstand the pressure exerted during bending.
2. Soaking the Rafters:
To enhance the flexibility of the lumber and minimize the risk of cracking or splintering during bending, soak the rafters in water for an extended period. This process, known as “steaming,” softens the wood fibers and facilitates the bending without compromising the structural integrity of the lumber.
Read more: How To Build Rafters For A Shed
3. Securing the Rafters in the Bending Form:
Once the rafters have been adequately soaked, carefully position them within the bending form, ensuring that they align with the predetermined curve. Utilize clamps to secure the rafters firmly in place, minimizing any potential shifting or misalignment during the bending process.
4. Gradual Bending:
Apply gradual and consistent pressure to the rafters within the bending form, coaxing the wood to conform to the desired curve. Exercise patience and attentiveness during this process, as rushing the bending can result in structural compromise or irregular curvature. Periodically check the progress of the bend to ensure uniformity and precision.
5. Drying and Setting:
Once the rafters have been successfully bent to the desired curvature, allow them to dry thoroughly within the bending form. This phase is crucial for setting the shape and ensuring that the curved profiles retain their graceful form. Depending on the climate and humidity, this drying period may vary, so exercise discretion and monitor the lumber closely.
6. Unveiling the Curved Rafters:
After the drying period, carefully release the clamps and unveil the exquisitely curved rafters from the bending form. Revel in the captivating transformation of the once straight lumber into gracefully arched elements that will adorn your pergola with timeless allure.
By meticulously following these steps and approaching the bending process with precision and care, you will master the art of crafting curved pergola rafters that elevate the aesthetic appeal of your outdoor space. The next phase will involve assembling the curved rafters to bring your vision of a captivating pergola to fruition.
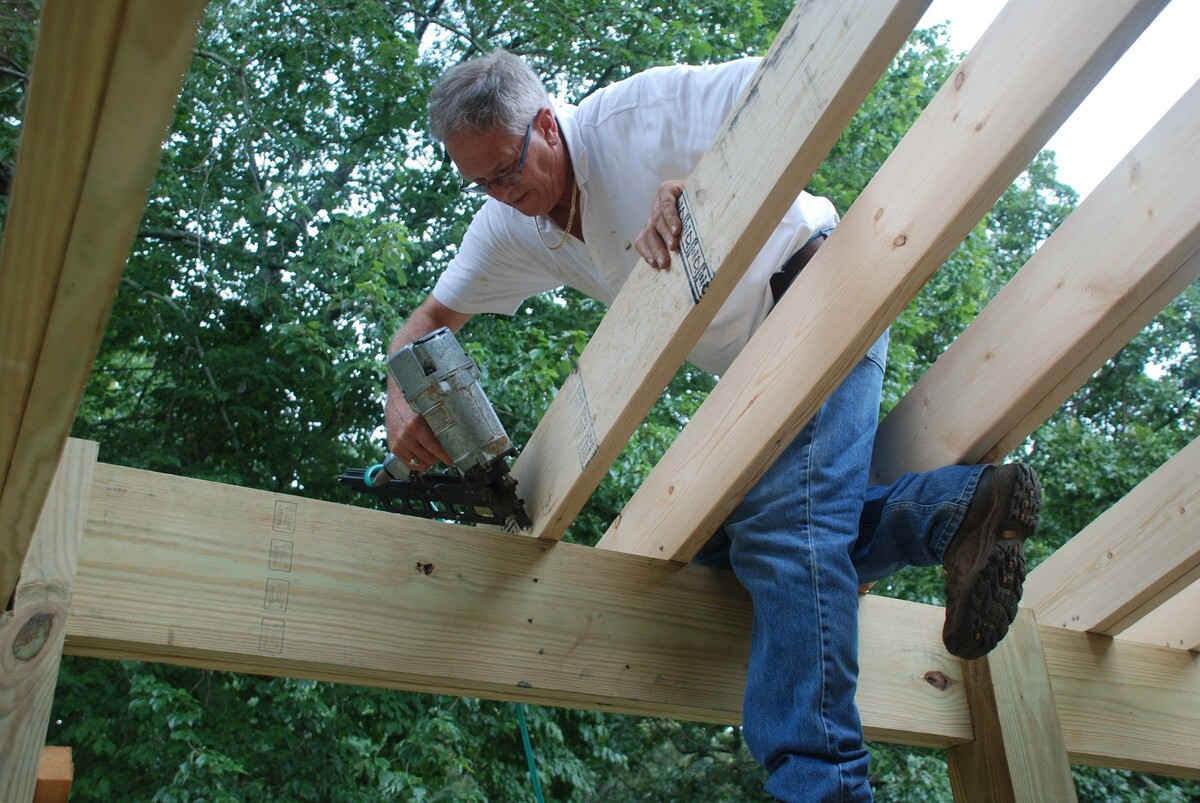
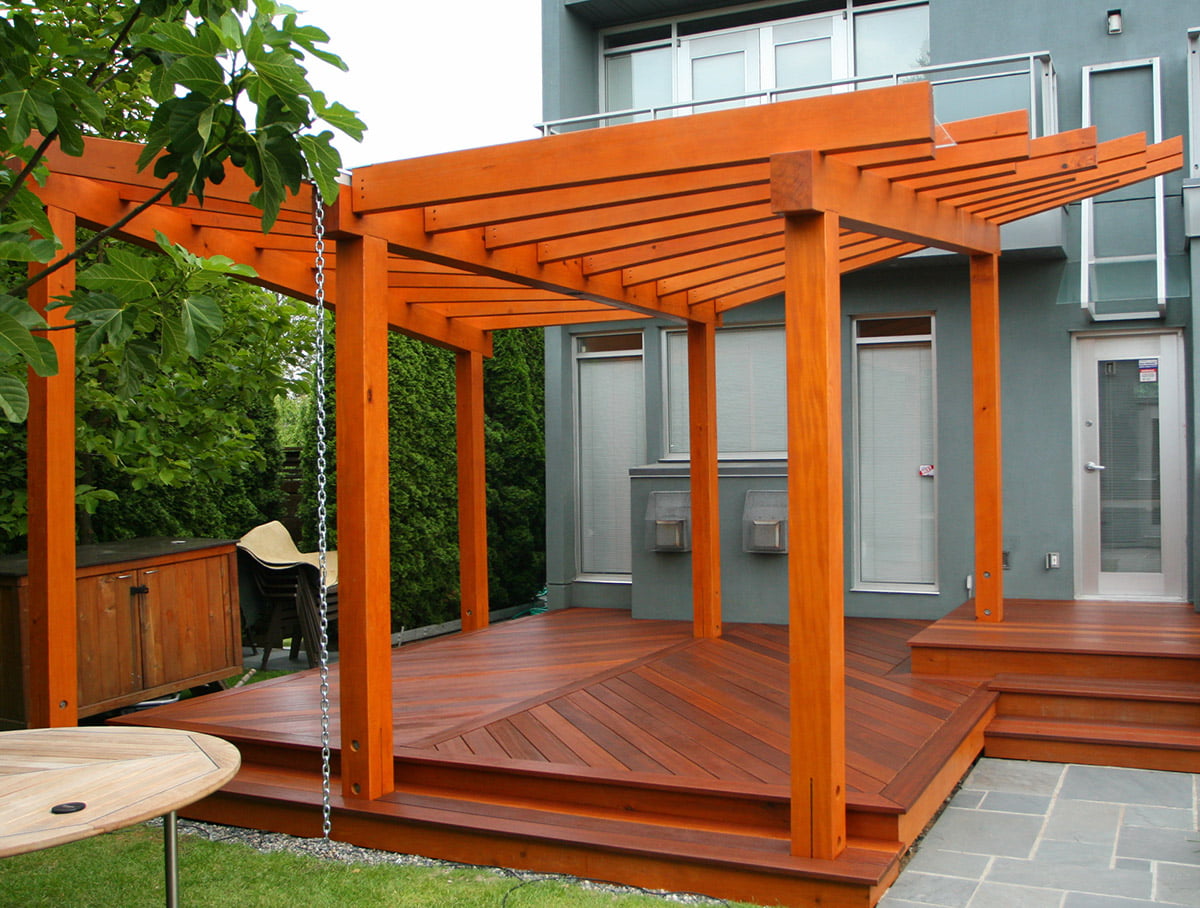
Assembling the Curved Pergola Rafters
With the meticulously crafted and gracefully curved rafters at your disposal, the time has come to embark on the exhilarating phase of assembling the curved pergola. This pivotal stage will bring your vision to life, culminating in a captivating outdoor space adorned with the allure of elegant curves and impeccable craftsmanship. Here’s a comprehensive guide to assembling the curved pergola rafters with finesse and precision:
1. Post Installation:
Begin by installing the supporting posts for the pergola in the designated locations, ensuring that they are securely anchored and aligned to accommodate the curved rafters. Utilize specialized pergola hardware and sturdy anchors to affix the posts firmly in place, establishing a stable foundation for the captivating structure.
2. Rafter Placement and Alignment:
Carefully position the curved rafters atop the installed posts, ensuring that they are evenly spaced and aligned according to the predetermined design. Utilize a level to guarantee that the rafters are perfectly horizontal and maintain a consistent elevation, contributing to the structural integrity and visual appeal of the pergola.
3. Securing the Rafters:
Utilize wood adhesive and fasteners such as stainless steel screws or galvanized nails to secure the curved rafters to the supporting posts. Exercise precision and attention to detail during this phase, ensuring that the connections are robust and enduring, capable of withstanding outdoor elements and the test of time.
Read more: What Is A Rafter In Construction
4. Bracing and Reinforcement:
Incorporate additional bracing and reinforcement as needed to fortify the connections between the curved rafters and the supporting posts. This step is pivotal for enhancing the structural stability of the pergola, safeguarding it against external forces and ensuring its longevity as a captivating outdoor feature.
5. Finishing Touches:
Apply a high-quality wood sealer or stain to the assembled curved pergola rafters, safeguarding the wood from moisture, UV exposure, and the effects of outdoor conditions. This finishing touch not only enhances the aesthetic appeal of the pergola but also prolongs the lifespan of the lumber, ensuring enduring beauty and functionality.
By meticulously following these steps and approaching the assembly process with meticulous care and precision, you will bring your vision of a captivating curved pergola to fruition. The allure of the gracefully arched rafters will transform your outdoor space into a haven of timeless elegance, beckoning with its captivating curves and impeccable craftsmanship.
Conclusion
Congratulations on mastering the art of crafting curved pergola rafters, a journey that has empowered you to infuse your outdoor space with timeless allure and captivating elegance. By embracing the meticulous process of measuring, cutting, bending, and assembling the gracefully curved elements, you have embarked on a transformative endeavor that elevates the aesthetic appeal of your outdoor oasis.
As the captivating pergola takes its place in your outdoor sanctuary, adorned with the allure of gracefully arched rafters, it becomes a testament to your dedication to craftsmanship and your unwavering pursuit of beauty and functionality. The gentle curves and impeccable construction of the pergola stand as a testament to your vision and expertise, beckoning all who encounter it to revel in its captivating charm.
Embrace the enchanting ambiance of your newly adorned outdoor space, where the interplay of light and shadow dances upon the gracefully arched rafters, creating a haven of tranquility and elegance. Whether it serves as a sheltered retreat for leisurely moments or a picturesque backdrop for gatherings and celebrations, the curved pergola stands as a testament to the artistry and ingenuity that have shaped your outdoor haven.
As the seasons unfold and the pergola weathers the elements with grace, its enduring allure will serve as a reminder of the transformative power of craftsmanship and the timeless beauty of curved structures. Your outdoor space has been elevated to a new realm of sophistication, where the artful interplay of curves and craftsmanship invites contemplation and appreciation.
May your curved pergola stand as a testament to the artistry and dedication that have shaped it, inspiring admiration and enchantment for years to come. Embrace the allure of timeless elegance, and revel in the captivating transformation that has imbued your outdoor sanctuary with enduring charm and allure.
Now that you've mastered crafting curved pergola rafters, why stop there? Dive into our guide on sprucing up your deck for seamless outdoor living. Discover innovative decor ideas and simple enhancements that transform any deck into a haven for relaxation and entertainment. For enthusiasts eager to take their skills further, our roundup of the best woodworking projects for 2024 offers exciting challenges. From beginner-friendly tasks to advanced undertakings, there's something to spark everyone's interest in crafting beautiful, functional items from wood.
Frequently Asked Questions about How To Make Curved Pergola Rafters
Was this page helpful?
At Storables.com, we guarantee accurate and reliable information. Our content, validated by Expert Board Contributors, is crafted following stringent Editorial Policies. We're committed to providing you with well-researched, expert-backed insights for all your informational needs.
0 thoughts on “How To Make Curved Pergola Rafters”