Home>Gardening & Outdoor>Outdoor Structures>How To Attach Rafters To Beam On A Pergola
Outdoor Structures
How To Attach Rafters To Beam On A Pergola
Published: January 19, 2024
Learn the best method for attaching rafters to a beam on your pergola for a sturdy outdoor structure. Get expert tips and advice on outdoor structures.
(Many of the links in this article redirect to a specific reviewed product. Your purchase of these products through affiliate links helps to generate commission for Storables.com, at no extra cost. Learn more)
Introduction
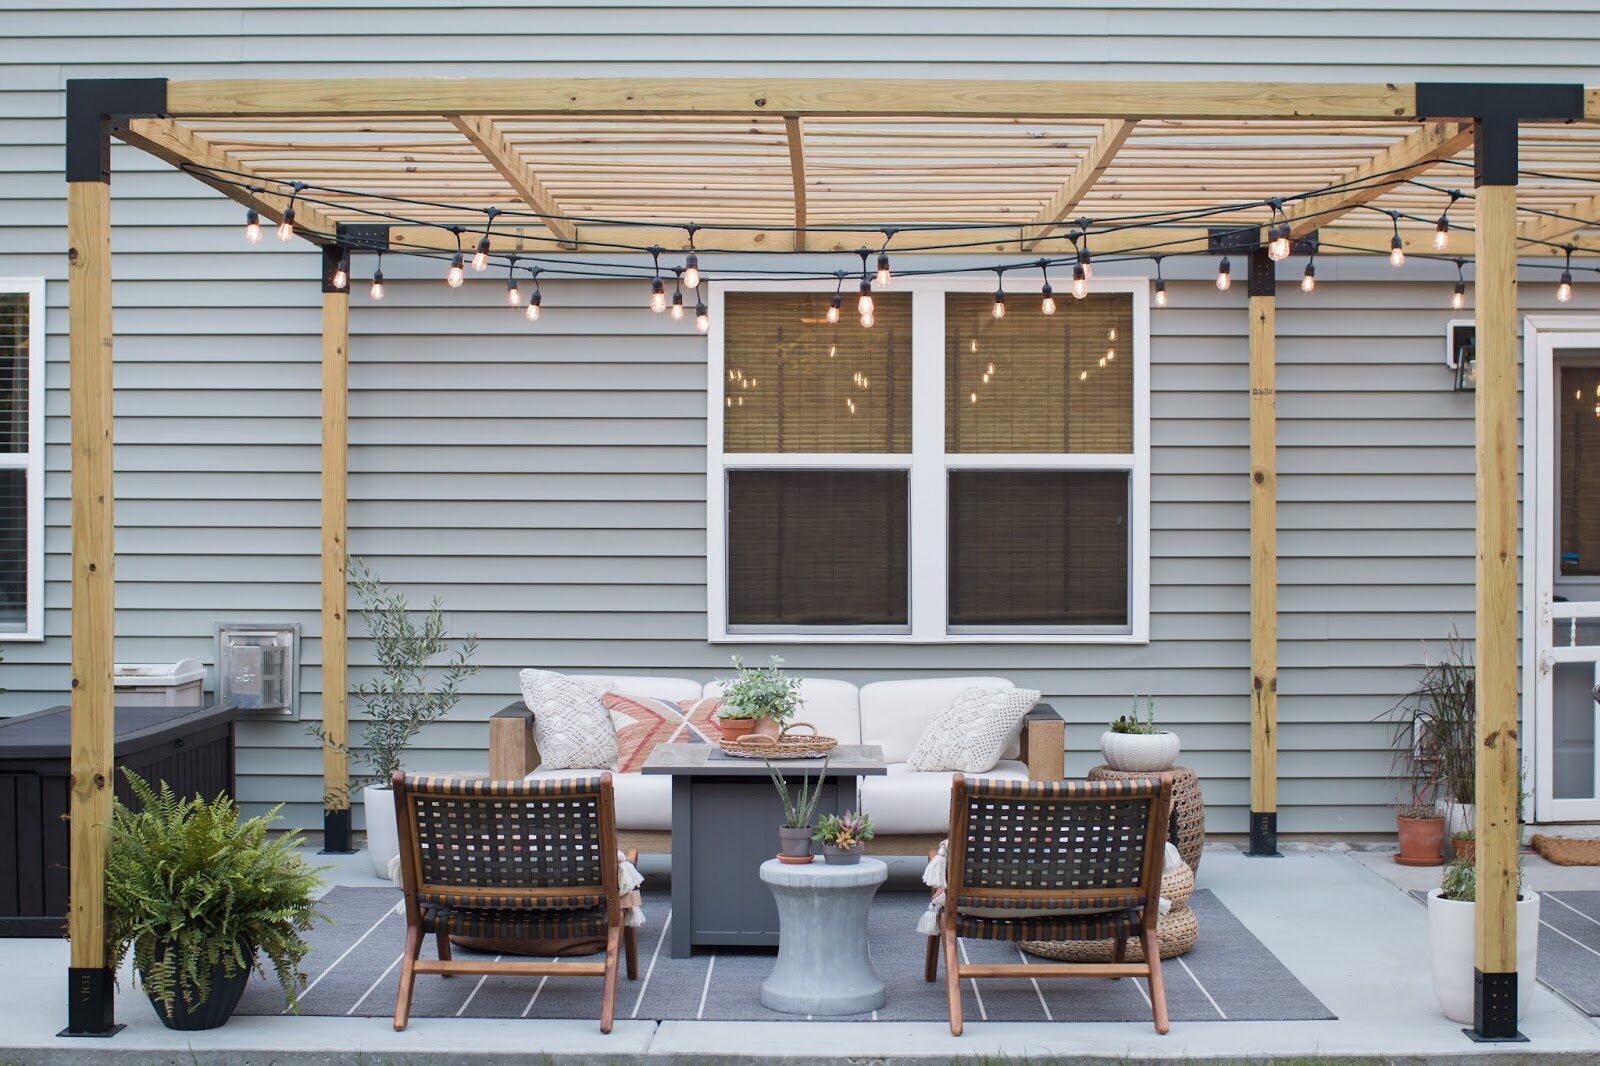
So, you've decided to add a pergola to your outdoor space to create a charming and functional area for relaxation and entertainment. One of the critical aspects of constructing a sturdy and visually appealing pergola is attaching the rafters to the beam. This process requires careful attention to detail and precision to ensure the structural integrity and aesthetic appeal of your pergola.
In this comprehensive guide, we will walk you through the essential steps to effectively attach the rafters to the beam on your pergola. Whether you're a seasoned DIY enthusiast or a novice looking to embark on your first outdoor construction project, this guide will equip you with the knowledge and confidence to tackle this crucial aspect of pergola construction.
By following these steps and utilizing the right tools and materials, you can ensure that the rafters are securely attached to the beam, creating a durable and visually stunning pergola that will enhance the beauty and functionality of your outdoor space for years to come. So, grab your tools and let's get started on this rewarding endeavor!
Key Takeaways:
- Securely attaching rafters to the beam on a pergola requires careful preparation, precise positioning, and reinforcement for stability, ensuring a durable and visually appealing outdoor structure.
- Prioritize safety, precision, and attention to detail when attaching rafters to the beam, creating a sturdy and enduring pergola that enhances the beauty and functionality of your outdoor space.
Read more: How To Make Curved Pergola Rafters
Tools and Materials Needed
Before you begin attaching the rafters to the beam on your pergola, it’s essential to gather the necessary tools and materials to ensure a smooth and efficient construction process. Here’s a list of items you’ll need:
Tools:
- Power drill
- Drill bits
- Measuring tape
- Level
- Clamps
- Screwdriver
- Adjustable wrench
- Hammer
- Safety goggles
- Work gloves
Materials:
- Pressure-treated wooden beam
- Pressure-treated wooden rafters
- Galvanized screws or carriage bolts
- Washers
- Wood adhesive
- Wood sealer or stain
- Paintbrush
- Sandpaper
- Concrete mix (if attaching the pergola to a concrete foundation)
Having these tools and materials on hand will streamline the construction process and ensure that you have everything you need to attach the rafters to the beam securely. Remember to prioritize safety by wearing protective gear, such as safety goggles and work gloves, throughout the construction process.
Preparing the Beam and Rafters
Before you can attach the rafters to the beam on your pergola, it’s crucial to properly prepare these structural components to ensure a secure and visually appealing connection. Here’s a step-by-step guide to preparing the beam and rafters:
Read more: How Far Apart Should Pergola Rafters Be?
1. Cut and Measure the Beam and Rafters:
Start by measuring and cutting the pressure-treated wooden beam to the desired length, ensuring that it matches the dimensions of your pergola design. Similarly, measure and cut the rafters to the appropriate length and angle, taking into account any specific design features or overhang requirements.
2. Sand and Seal the Wood:
Once the beam and rafters are cut to size, use sandpaper to smooth any rough edges and surfaces. This step is essential for creating a professional finish and reducing the risk of splinters. After sanding, apply a high-quality wood sealer or stain to protect the wood from moisture, UV exposure, and other outdoor elements. This will enhance the longevity and visual appeal of the pergola.
3. Pre-Drill Holes:
Using a power drill and the appropriate drill bit, pre-drill holes in the beam and rafters at strategic points where they will be connected. Pre-drilling helps prevent the wood from splitting when you insert screws or bolts, ensuring a secure and long-lasting attachment.
4. Apply Wood Adhesive (Optional):
If you want to reinforce the connection between the rafters and the beam, consider applying a high-strength wood adhesive to the contact surfaces before securing them together. This additional step can provide extra stability, especially in areas prone to high winds or heavy loads.
By meticulously preparing the beam and rafters, you’ll set the stage for a seamless and durable attachment process. Taking the time to cut, sand, seal, and pre-drill these components will contribute to the overall quality and longevity of your pergola structure.
Read more: How To Attach A Pergola To A Deck
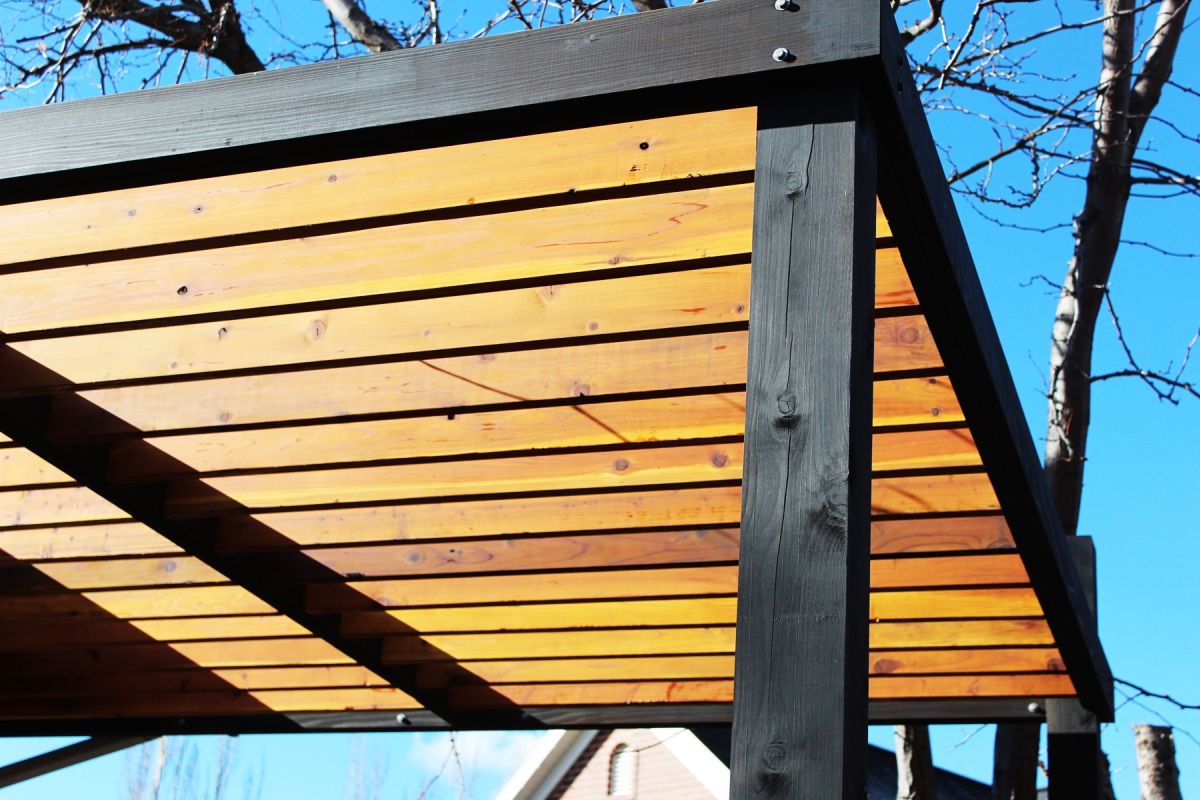
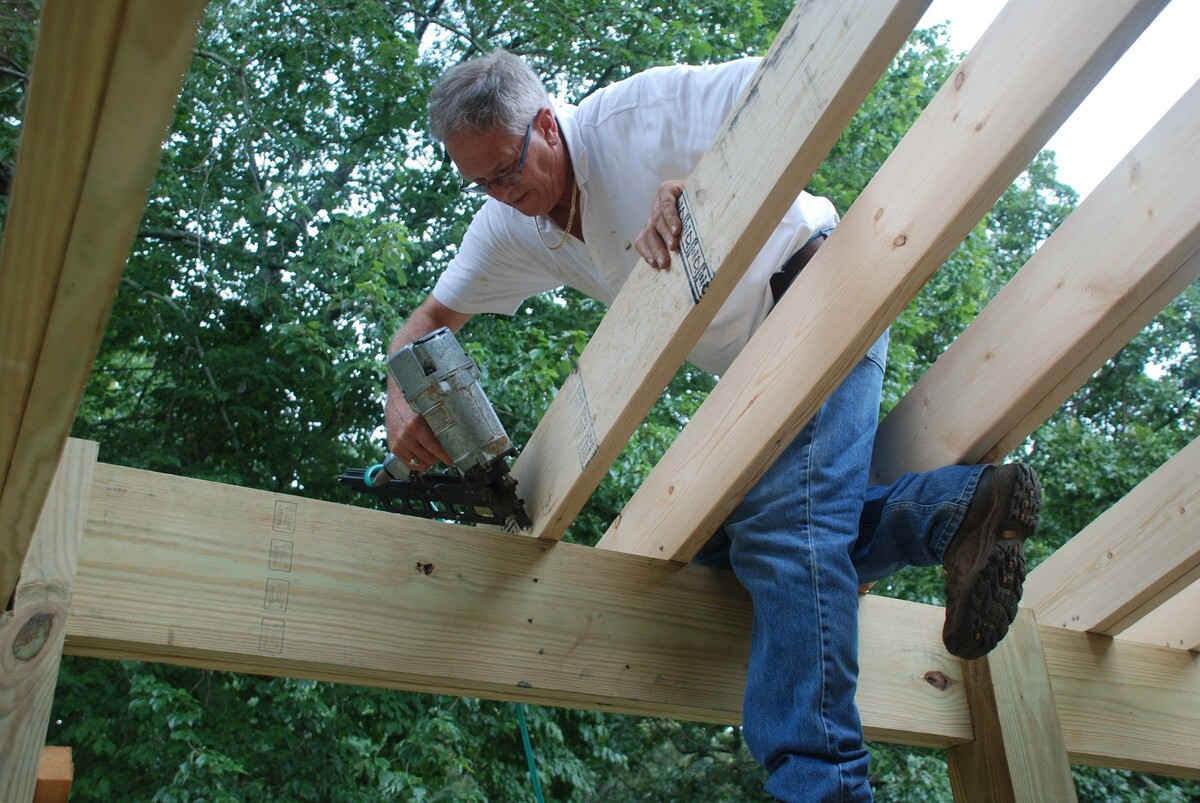
Attaching the Rafters to the Beam
Now that the beam and rafters are prepared, it’s time to proceed with the pivotal step of attaching the rafters to the beam on your pergola. This process requires precision and attention to detail to ensure a secure and visually appealing connection. Here’s a comprehensive guide to attaching the rafters to the beam:
1. Position the Rafters:
With the help of a friend or a sturdy support, position the rafters on the beam according to your pergola design. Use a level to ensure that the rafters are aligned correctly and that the overall structure will be even and balanced.
2. Secure the Rafters with Clamps:
Once the rafters are in position, use clamps to hold them firmly to the beam. This step is crucial for maintaining the alignment and stability of the rafters as you proceed with the attachment process.
3. Insert Screws or Bolts:
Using a power drill, insert galvanized screws or carriage bolts through the pre-drilled holes in the rafters and into the beam. Ensure that the fasteners are driven in securely, creating a tight connection between the rafters and the beam. It’s essential to space the screws or bolts evenly along the length of each rafter to distribute the load evenly and maximize stability.
Read more: How To Attach A Pergola To A Roof
4. Check for Alignment:
After securing the rafters to the beam, double-check the alignment and level of the entire structure. Make any necessary adjustments to ensure that the rafters are straight and evenly spaced, as this will contribute to the overall visual appeal and structural integrity of the pergola.
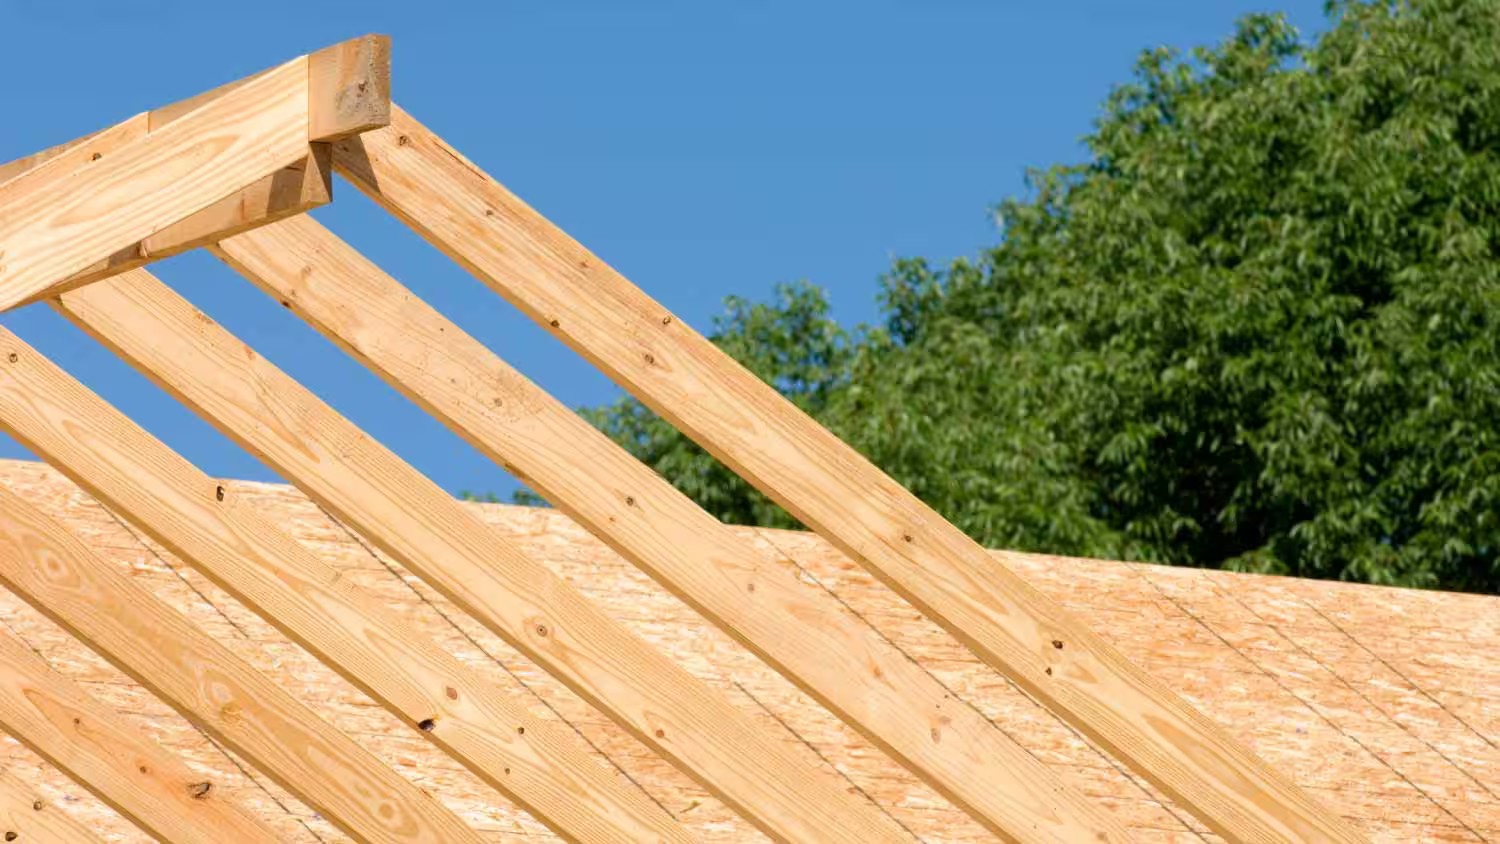
By following these steps, you’ll effectively attach the rafters to the beam, creating a robust and visually appealing framework for your pergola. The secure connection between the rafters and the beam is essential for the structural stability and longevity of the pergola, ensuring that it can withstand the elements and provide a beautiful outdoor space for years to come.
Securing the Rafters
Securing the rafters is a crucial step in the construction of a durable and visually appealing pergola. By ensuring that the rafters are firmly anchored to the beam and other structural elements, you enhance the overall stability and longevity of the pergola. Here’s a detailed guide to securing the rafters effectively:
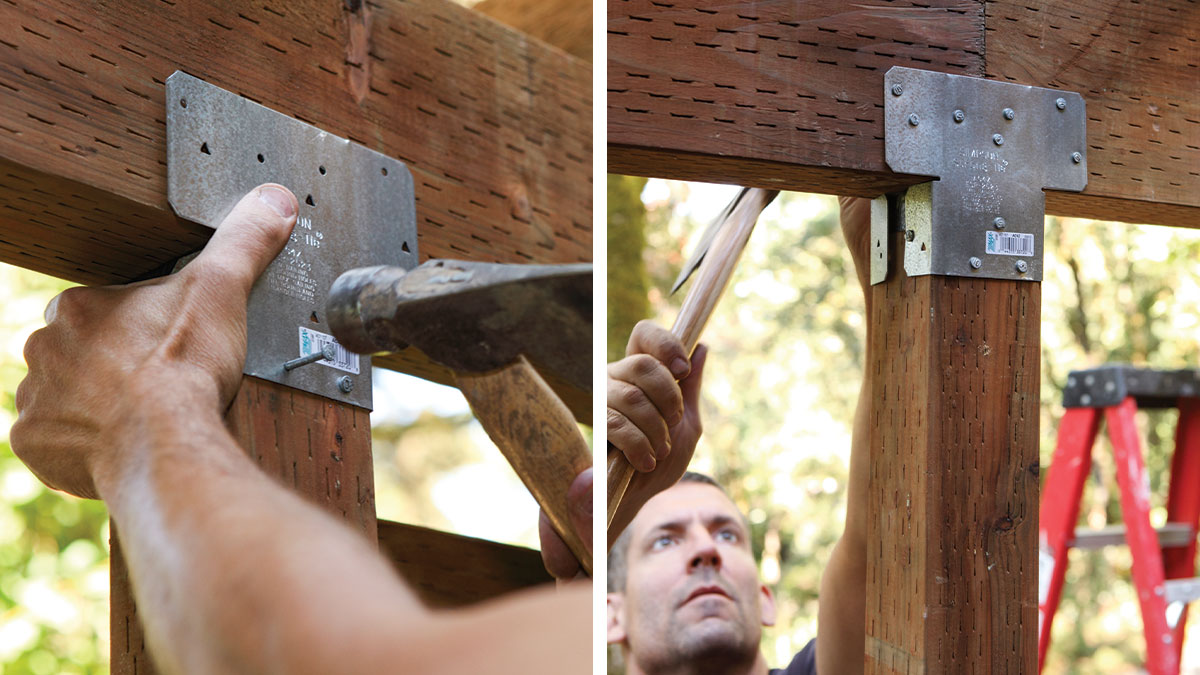
1. Reinforce with Additional Fasteners:
After initially attaching the rafters to the beam, consider reinforcing the connection with additional screws or bolts. This extra step can provide added strength and stability, especially in areas prone to high winds or heavy loads. Ensure that the fasteners are driven in securely, creating a tight and reliable connection.
2. Apply Wood Adhesive (Optional):
If you want to further fortify the attachment of the rafters to the beam, consider applying a high-strength wood adhesive to the contact surfaces before securing them together. This additional measure can contribute to the overall stability and longevity of the pergola structure, particularly in challenging environmental conditions.
3. Check for Lateral Stability:
Verify that the rafters are laterally stable by gently applying pressure to each rafter. They should remain firmly in place without excessive movement or flexing. If any rafter exhibits instability, consider adding additional fasteners or braces to reinforce its connection to the beam and ensure overall structural integrity.
4. Inspect for Uniformity:
Inspect the entire pergola structure to ensure that the rafters are uniformly secured to the beam and that there are no inconsistencies in the attachment process. Consistent and secure connections contribute to the overall visual appeal and structural soundness of the pergola.
By diligently securing the rafters to the beam and reinforcing the connections as needed, you’ll create a robust and enduring pergola structure that enhances the beauty and functionality of your outdoor space. Taking the time to ensure the stability and integrity of the rafters contributes to the overall quality and longevity of the pergola, providing a welcoming and reliable outdoor retreat for years to come.
Conclusion
Constructing a pergola and attaching the rafters to the beam is a rewarding endeavor that can transform your outdoor space into a captivating and functional retreat. By following the steps outlined in this guide and utilizing the right tools and materials, you can create a sturdy and visually stunning pergola that enhances the beauty and value of your property.
From meticulously preparing the beam and rafters to securely attaching and reinforcing the connections, each step plays a crucial role in ensuring the structural integrity and longevity of your pergola. By prioritizing precision and attention to detail throughout the construction process, you can create a pergola that withstands the elements and provides a welcoming outdoor haven for relaxation and entertainment.
Remember to prioritize safety by wearing protective gear and exercising caution when using power tools and handling construction materials. Additionally, consider enlisting the help of a friend or family member to assist with positioning and securing the rafters, making the construction process more manageable and enjoyable.
Upon completing the attachment of the rafters to the beam, take a moment to admire your handiwork and envision the countless enjoyable moments that await in your newly constructed pergola. Whether you plan to host outdoor gatherings, unwind with a good book, or simply bask in the beauty of your outdoor sanctuary, your meticulously crafted pergola will serve as a testament to your dedication and craftsmanship.
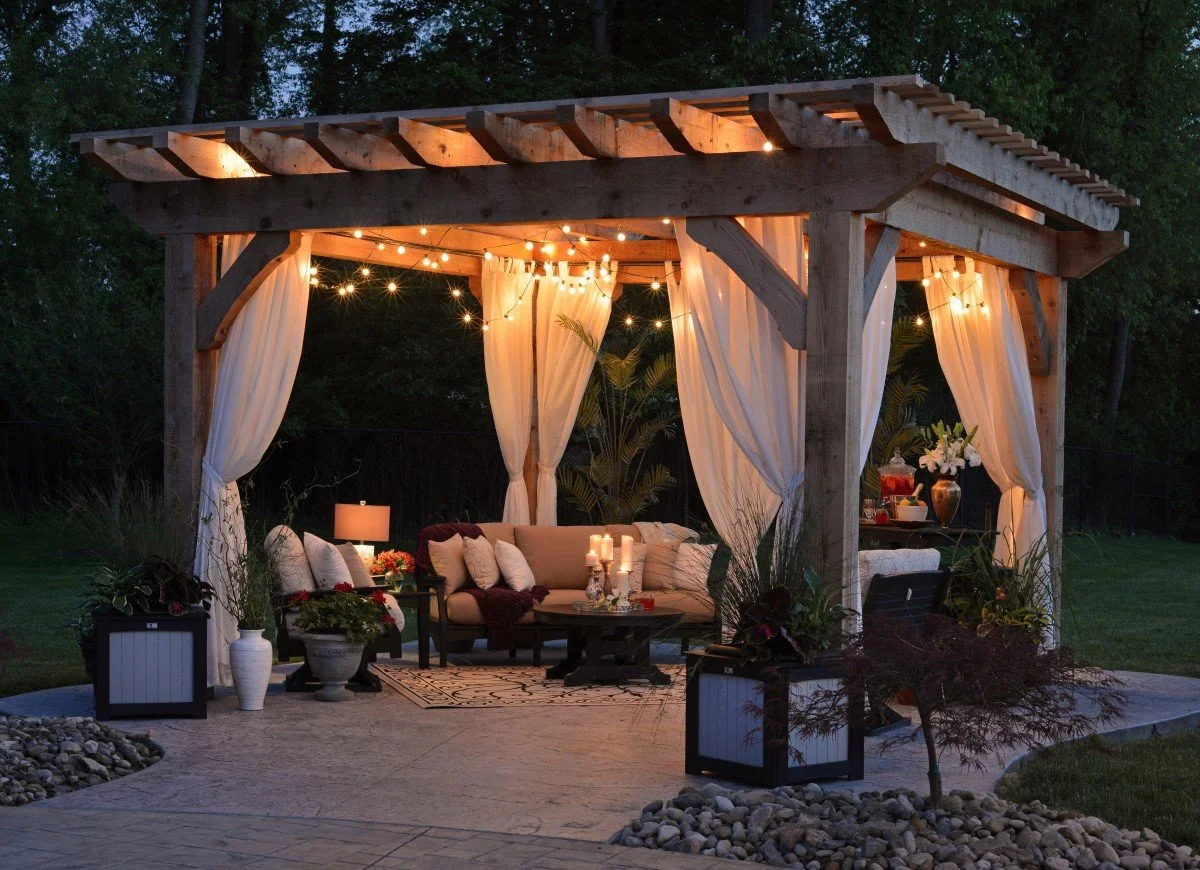
As you embark on this fulfilling construction journey, embrace the opportunity to personalize your pergola with decorative elements, such as climbing plants, outdoor lighting, and comfortable furnishings, to further enhance its allure and functionality.
With the knowledge and confidence gained from this guide, you are well-equipped to embark on the construction of a pergola that not only meets your practical needs but also elevates the aesthetic appeal of your outdoor living space. Embrace the process, enjoy the journey, and revel in the satisfaction of creating a captivating and enduring addition to your home.
Frequently Asked Questions about How To Attach Rafters To Beam On A Pergola
Was this page helpful?
At Storables.com, we guarantee accurate and reliable information. Our content, validated by Expert Board Contributors, is crafted following stringent Editorial Policies. We're committed to providing you with well-researched, expert-backed insights for all your informational needs.


0 thoughts on “How To Attach Rafters To Beam On A Pergola”