Home>Gardening & Outdoor>Outdoor Structures>How To Build A Run-In Shed For Horses

Outdoor Structures
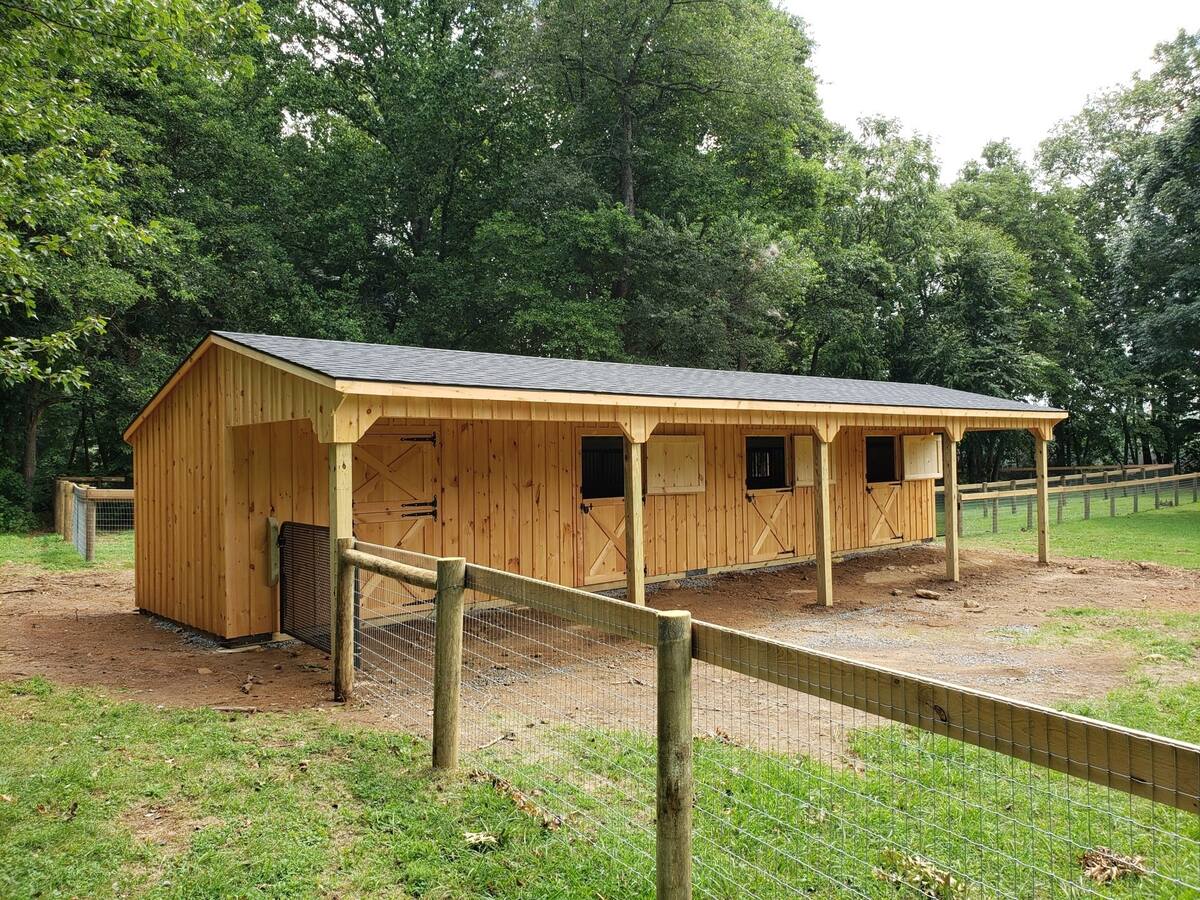
How To Build A Run-In Shed For Horses
Published: January 20, 2024
Learn how to construct a durable run-in shed for horses with our expert outdoor structures guide. Ensure your equine friends have a safe and comfortable shelter.
(Many of the links in this article redirect to a specific reviewed product. Your purchase of these products through affiliate links helps to generate commission for Storables.com, at no extra cost. Learn more)
Introduction
Welcome to the world of equine care and construction! Building a run-in shed for horses is a rewarding and practical endeavor that not only provides shelter for your beloved equine companions but also enhances the functionality and aesthetics of your property. Whether you are a seasoned equestrian or a passionate horse enthusiast, creating a safe and comfortable environment for your horses is paramount.
In this comprehensive guide, we will delve into the step-by-step process of constructing a run-in shed tailored to the specific needs of your horses. From selecting the ideal location to sourcing materials and executing the construction, each stage of this project plays a crucial role in ensuring the durability and functionality of the shelter.
As we embark on this journey, envision the tranquil scene of your horses seeking refuge from the elements, nestled within the secure confines of a well-crafted run-in shed. The satisfaction of witnessing your equine companions enjoying their new shelter will undoubtedly make the effort and dedication invested in this project worthwhile.
So, grab your work boots, roll up your sleeves, and let’s dive into the art of building a run-in shed that not only meets the practical requirements of your horses but also reflects your commitment to their well-being and comfort. With careful planning, attention to detail, and a touch of creativity, you can embark on this fulfilling construction project and create a haven that your horses will appreciate for years to come.
Key Takeaways:
- Building a run-in shed for horses involves choosing the right location, gathering materials and tools, building a solid foundation, and constructing the walls and roof with attention to detail.
- Adding finishing touches, such as flooring, interior features, protective coatings, gutters, and personalized touches, completes the construction of a functional and aesthetically pleasing run-in shed for horses.
Read more: How To Build Horse Fence
Step 1: Choosing the Right Location
Before embarking on the construction of a run-in shed for your horses, it is essential to carefully select the optimal location for this structure. The chosen site should not only provide adequate space for the shed but also offer a safe and comfortable environment for your equine companions.
Consider the following factors when choosing the location:
- Accessibility: Ensure that the site is easily accessible for both horses and caretakers. It should be conveniently located within the pasture or paddock, allowing horses to enter and exit the shed without obstacles.
- Drainage: Select a site with proper drainage to prevent water accumulation inside the shed during inclement weather. Ideally, the location should be on slightly elevated ground to facilitate natural drainage.
- Wind Direction: Take note of prevailing wind patterns in your area. Position the shed so that the open side faces away from the prevailing winds, providing horses with a sheltered space during windy conditions.
- Sun Exposure: Consider the orientation of the shed in relation to the sun. Providing adequate shade during hot weather is crucial, so positioning the shed to offer shade during the hottest parts of the day is beneficial for the comfort of the horses.
- Visibility: Choose a location that allows for easy visibility from the main house or barn. This ensures that horses can be easily monitored from a distance, promoting their safety and well-being.
By carefully assessing these factors, you can identify the most suitable location for your run-in shed. Once the ideal site is selected, you can proceed to the next steps of gathering materials and tools, laying the foundation, and ultimately bringing the vision of a secure and inviting shelter for your horses to fruition.
Step 2: Gathering Materials and Tools
With the location of the run-in shed determined, the next crucial step is to gather the necessary materials and tools for the construction process. Ensuring that you have all the required components and equipment at the outset will streamline the building process and minimize potential delays.
Here is a comprehensive list of materials and tools you will need:
Materials:
- Lumber: Select high-quality, pressure-treated lumber for the framework and structural components of the shed. This includes posts, beams, joists, and siding materials.
- Roofing Materials: Choose durable roofing materials such as metal panels or asphalt shingles to provide reliable protection from the elements.
- Fasteners: Stock up on galvanized nails, screws, and other fasteners required for securing the various components of the shed.
- Foundation Materials: Depending on the chosen foundation type, acquire concrete, gravel, or other foundation materials essential for stabilizing the structure.
- Hardware: Purchase hinges, latches, and any additional hardware needed for doors, windows, and ventilation openings.
- Protective Coatings: Consider applying wood preservatives or sealants to protect the lumber from moisture and decay, enhancing the longevity of the structure.
Tools:
- Power Tools: Equip yourself with a circular saw, drill/driver, and a nail gun to expedite the construction process.
- Hand Tools: Essential hand tools include a hammer, tape measure, level, framing square, and a post hole digger for precision and accuracy during assembly.
- Safety Gear: Prioritize safety by obtaining protective gear such as gloves, safety glasses, and a dust mask to safeguard yourself during construction.
By procuring these materials and tools in advance, you can approach the construction phase with confidence, knowing that you have everything necessary to bring your vision of a functional and durable run-in shed to life. With the stage set for construction, the subsequent steps of building the foundation, constructing the walls and roof, and adding finishing touches will seamlessly unfold, culminating in the creation of a welcoming shelter for your equine companions.
Read more: How To Run Plumbing To A Shed
Step 3: Building the Foundation
With the materials and tools at the ready, it is time to lay the groundwork for the construction of the run-in shed by building a solid and stable foundation. The foundation serves as the anchor of the structure, providing essential support and ensuring its long-term stability.
Follow these fundamental steps to create a reliable foundation for your run-in shed:
- Site Preparation: Clear the designated area of any debris, rocks, or obstructions that could impede the foundation construction process. Ensure that the site is level and properly graded to facilitate the foundation installation.
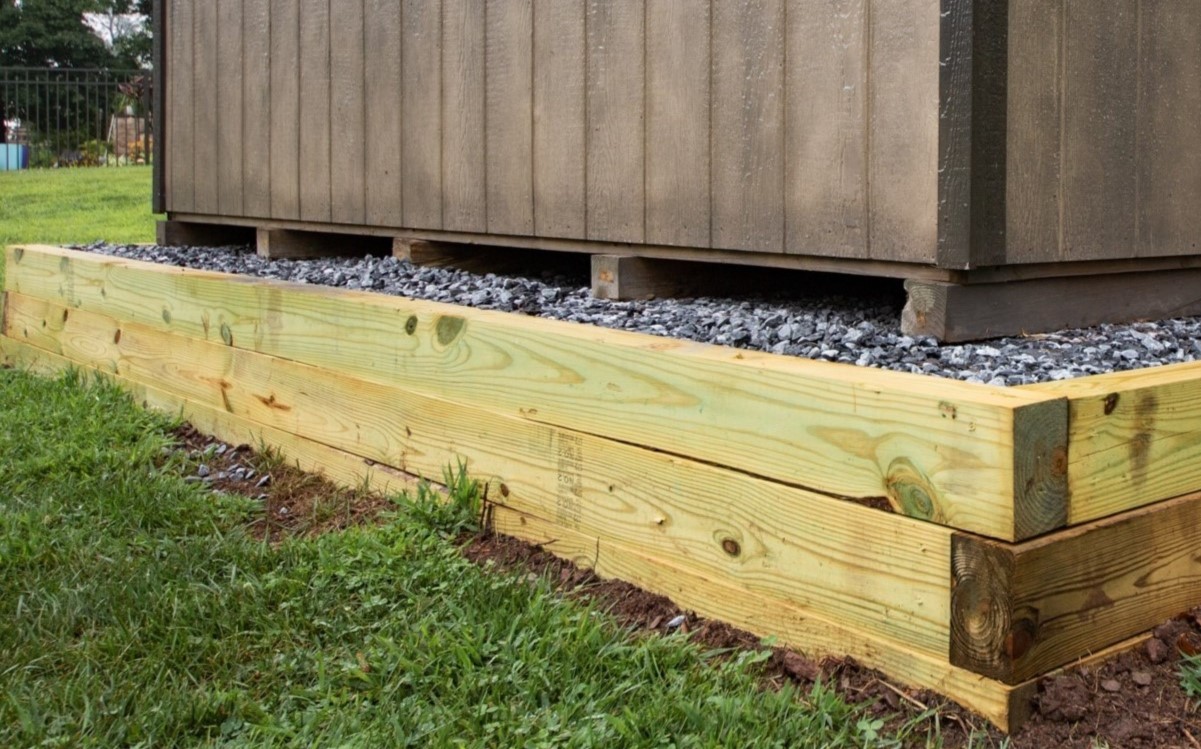
- Foundation Type: Choose the most suitable foundation type based on your specific requirements and local building codes. Common options include concrete piers, gravel pads, or pressure-treated skids, each offering distinct advantages in terms of cost, durability, and ease of installation.
- Marking and Layout: Use string lines and stakes to outline the dimensions of the foundation, ensuring precise measurements and a squared layout. This step is crucial for establishing the foundation’s footprint and guiding the subsequent construction stages.
- Excavation and Footings: If opting for concrete piers, excavate the designated spots for the footings, ensuring proper depth and alignment. Install formwork and pour concrete to create sturdy footings that will support the shed’s posts or skids.
- Skids or Piers Installation: Place pressure-treated skids directly on the prepared gravel pad, ensuring proper spacing and alignment. Alternatively, position precast concrete piers at designated intervals to support the shed’s framework.
By meticulously executing these steps, you will establish a robust foundation that forms the basis of the run-in shed’s structural integrity. The completion of this foundational stage sets the stage for the subsequent phases of constructing the walls and roof, culminating in the realization of a secure and functional shelter for your horses.
Step 4: Constructing the Walls and Roof
With the foundation securely in place, it’s time to elevate the structure by constructing the walls and roof of the run-in shed. This phase of the project marks a significant progression toward creating a protective and inviting shelter for your horses, combining functionality with thoughtful design.
Follow these essential steps to skillfully assemble the walls and roof of the run-in shed:
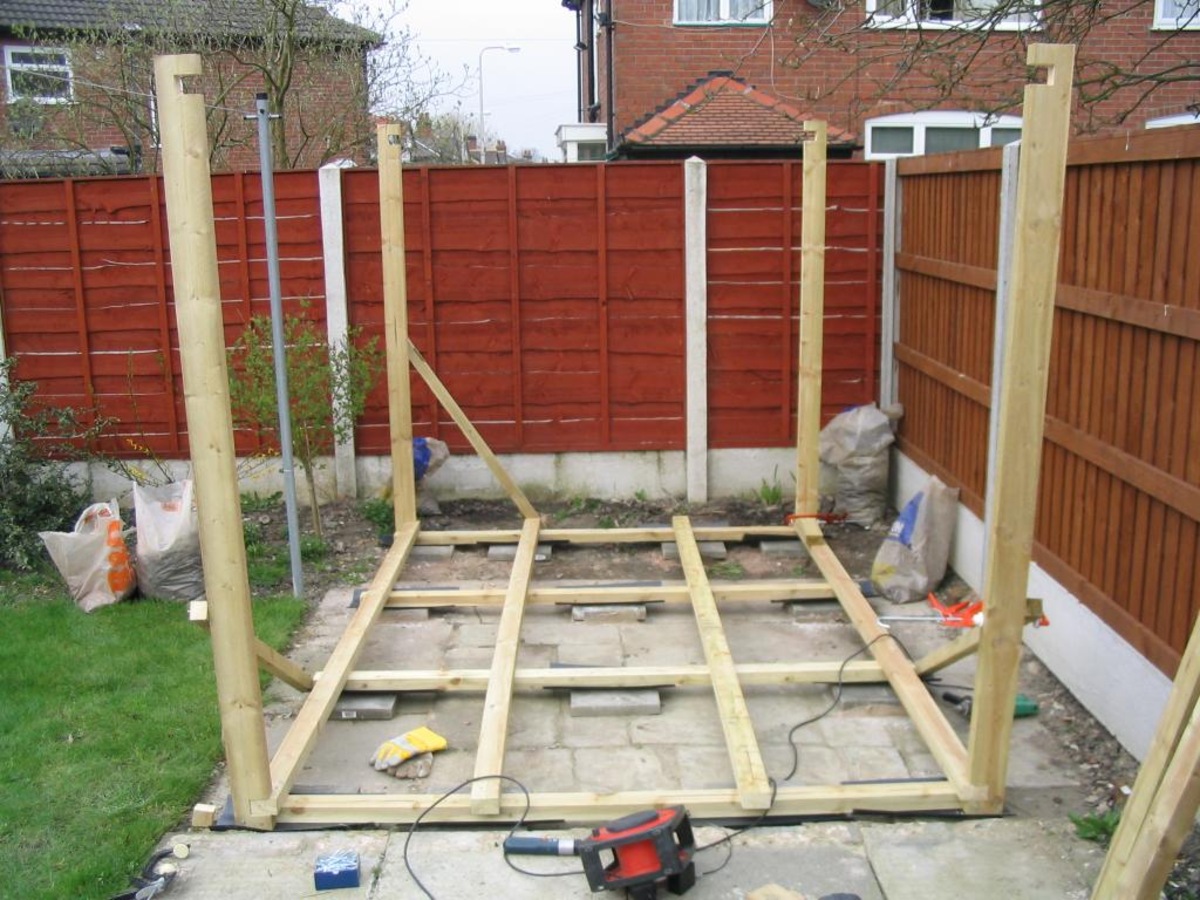
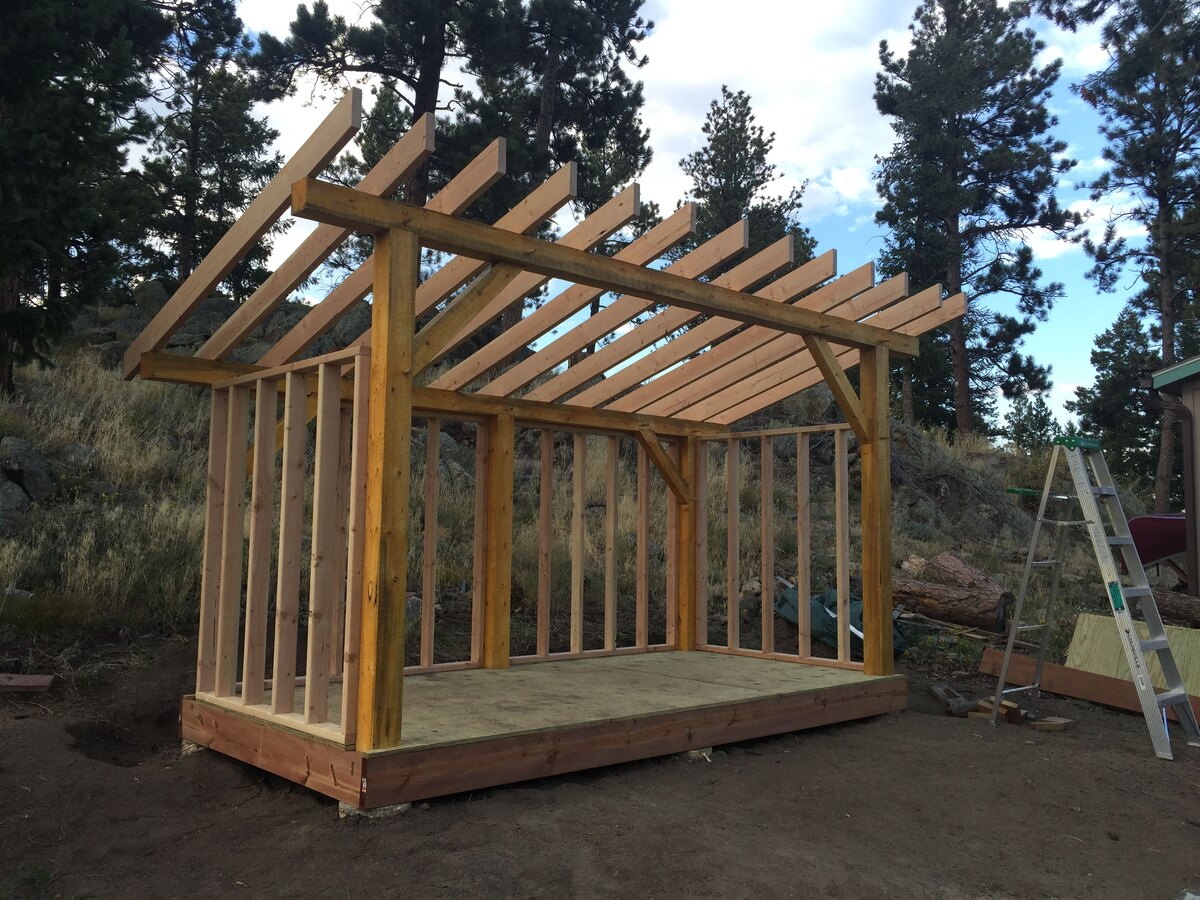
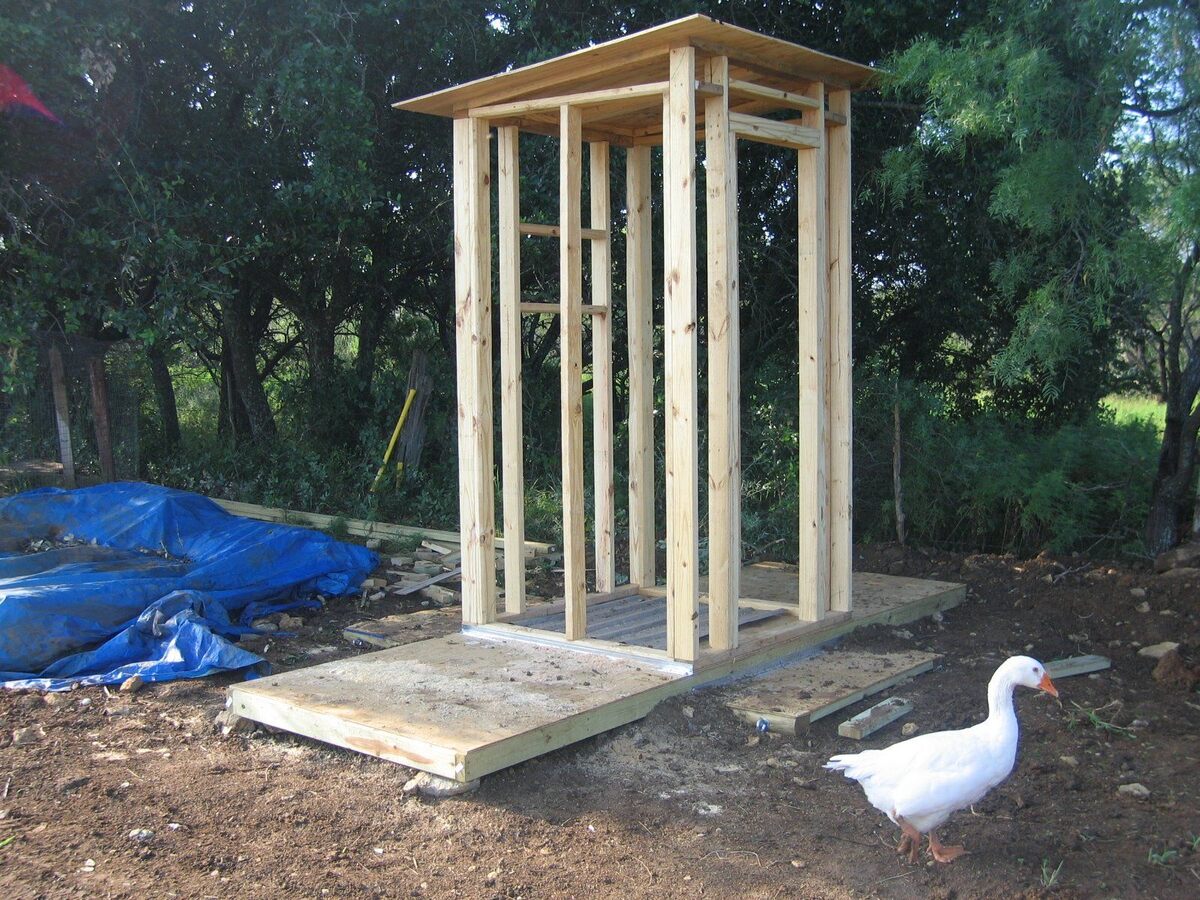
- Framework Assembly: Begin by constructing the framework of the shed using the pressure-treated lumber. This includes erecting the vertical posts, installing horizontal beams, and adding diagonal bracing for structural stability.
- Wall Construction: Once the framework is in place, attach the exterior siding materials to enclose the walls. Consider using durable and weather-resistant siding options such as wooden boards, metal panels, or composite materials to ensure longevity and protection from the elements.
- Roof Installation: Build and install the roof structure, ensuring proper slope and overhang to facilitate water runoff and provide adequate shade for the horses. Secure the roofing materials, whether metal panels or shingles, with precision to create a watertight and durable roof surface.
- Door and Ventilation: Cut openings for doors and ventilation windows as per your design specifications. Install sturdy doors that provide easy access for the horses and caretakers, and consider adding strategically positioned windows or vents to promote air circulation within the shed.
Throughout the construction of the walls and roof, prioritize precision and attention to detail to ensure a structurally sound and visually appealing result. By methodically following these steps, you will witness the gradual transformation of the shed from a skeletal framework to a fully enclosed and functional shelter that meets the needs of your equine companions.
As the walls and roof take shape, the next phase of adding finishing touches will further enhance the functionality and aesthetics of the run-in shed, bringing it closer to its final form as a secure and inviting haven for your horses.
When building a run-in shed for horses, make sure to use durable materials that can withstand weather and horse activity. Additionally, provide proper ventilation and drainage to keep the shed comfortable and safe for the horses.
Step 5: Adding Finishing Touches
As the construction of the run-in shed nears completion, it’s time to focus on the finishing touches that will elevate the functionality, comfort, and visual appeal of the structure. These final details add a personal touch to the shelter, creating a welcoming environment for your horses while enhancing the overall aesthetic of the property.
Consider the following key aspects when adding finishing touches to the run-in shed:
- Flooring: Choose a suitable flooring option for the interior of the shed, such as compacted gravel, rubber mats, or equine-friendly stall flooring. The flooring should provide a comfortable and slip-resistant surface for the horses while facilitating easy maintenance.
- Interior Features: Install feeders, water buckets, and secure hay storage within the shed to ensure that essential provisions are readily available to the horses. Consider incorporating hooks or racks for organizing grooming supplies and tack, promoting a tidy and organized space.
- Protective Coatings: Apply a protective coating or paint to the exterior surfaces of the shed to enhance durability and weather resistance. Opt for high-quality exterior paint or wood sealant to safeguard the structure from moisture, UV exposure, and the rigors of outdoor conditions.
- Gutters and Drainage: Install gutters and downspouts to efficiently channel rainwater away from the shed, preventing water accumulation around the foundation. Proper drainage safeguards the longevity of the structure and promotes a dry and stable environment for the horses.
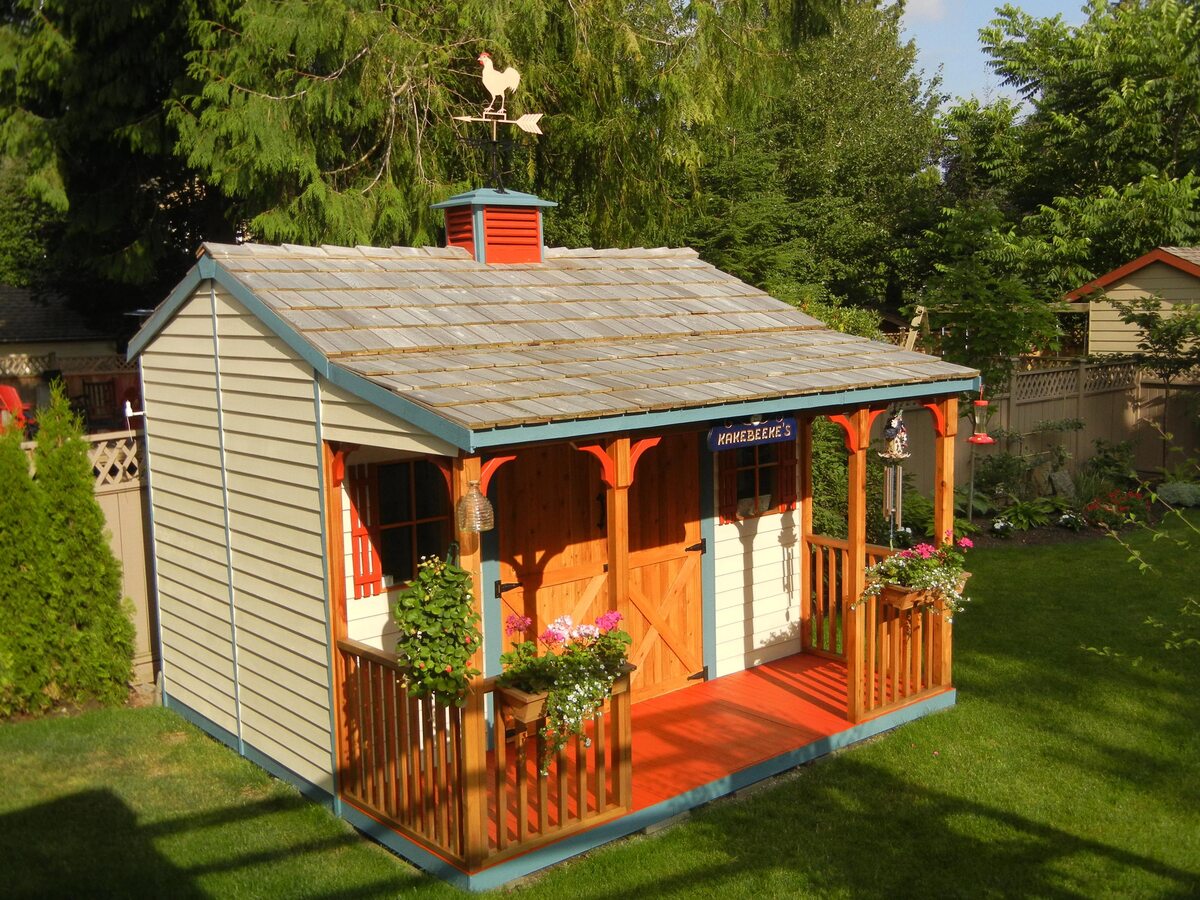
- Personalized Touches: Add personal flourishes to the shed, such as custom signage, decorative accents, or landscaping around the perimeter. These touches infuse character into the space and reflect your care and consideration for the well-being of your horses.
By attending to these finishing touches, you will transform the run-in shed into a thoughtfully designed and functional space that harmonizes with the natural landscape and caters to the needs of your horses. The culmination of these details not only enhances the practicality of the shelter but also contributes to the overall ambiance and appeal of your equestrian property.
With the finishing touches in place, the run-in shed stands as a testament to your dedication to providing a secure and comfortable haven for your equine companions, enriching their daily lives while complementing the beauty of your property.
Conclusion
Congratulations on embarking on the fulfilling journey of building a run-in shed for your horses. From the initial selection of the ideal location to the meticulous construction of the foundation, walls, and roof, and the thoughtful addition of finishing touches, this endeavor has been a testament to your commitment to the well-being of your equine companions.
As you stand back and admire the completed run-in shed, envision the countless moments of respite and protection it will provide to your horses during adverse weather conditions. The shelter stands as a testament to your dedication and care, offering a secure retreat where your horses can seek comfort and safety, reflecting the bond between humans and these majestic animals.
Furthermore, the construction of the run-in shed has not only fulfilled a practical need but has also contributed to the aesthetic appeal and functionality of your equestrian property. The shelter seamlessly integrates into the landscape, enhancing the overall ambiance and serving as a focal point that embodies the harmony between nature and human intervention.
As you witness your horses taking shelter within the newly constructed space, observe their contentment and sense of security, knowing that you have provided them with a haven that aligns with their natural inclinations and needs. The run-in shed stands as a testament to your thoughtful stewardship, enriching the lives of your equine companions while enriching your own connection to the equestrian world.
May this guide serve as a source of inspiration and guidance for fellow equestrians and enthusiasts who share your passion for creating a nurturing environment for horses. The construction of a run-in shed transcends the realm of practicality, embodying a profound commitment to the well-being of these remarkable animals and the preservation of the equestrian lifestyle.
As you continue to cherish the bond with your horses and cultivate a space that reflects your devotion, may the run-in shed stand as a symbol of the enduring connection between humans and horses, fostering a legacy of care, respect, and appreciation for these magnificent creatures.
Frequently Asked Questions about How To Build A Run-In Shed For Horses
Was this page helpful?
At Storables.com, we guarantee accurate and reliable information. Our content, validated by Expert Board Contributors, is crafted following stringent Editorial Policies. We're committed to providing you with well-researched, expert-backed insights for all your informational needs.


0 thoughts on “How To Build A Run-In Shed For Horses”