Home>Gardening & Outdoor>Outdoor Structures>How To Build A Pole Shed

Outdoor Structures
How To Build A Pole Shed
Published: January 19, 2024
Learn how to build a durable and cost-effective pole shed for your outdoor structures. Get step-by-step instructions and expert tips.
(Many of the links in this article redirect to a specific reviewed product. Your purchase of these products through affiliate links helps to generate commission for Storables.com, at no extra cost. Learn more)
Introduction
Welcome to the world of pole sheds, where practicality meets durability in creating a versatile outdoor structure. Whether you need a storage space for your tools, a shelter for your vehicles, or a workshop for your projects, building a pole shed can be a rewarding endeavor.
In this comprehensive guide, we will walk you through the step-by-step process of constructing a pole shed. From meticulous planning to the final finishing touches, you will gain the knowledge and confidence to undertake this project with ease.
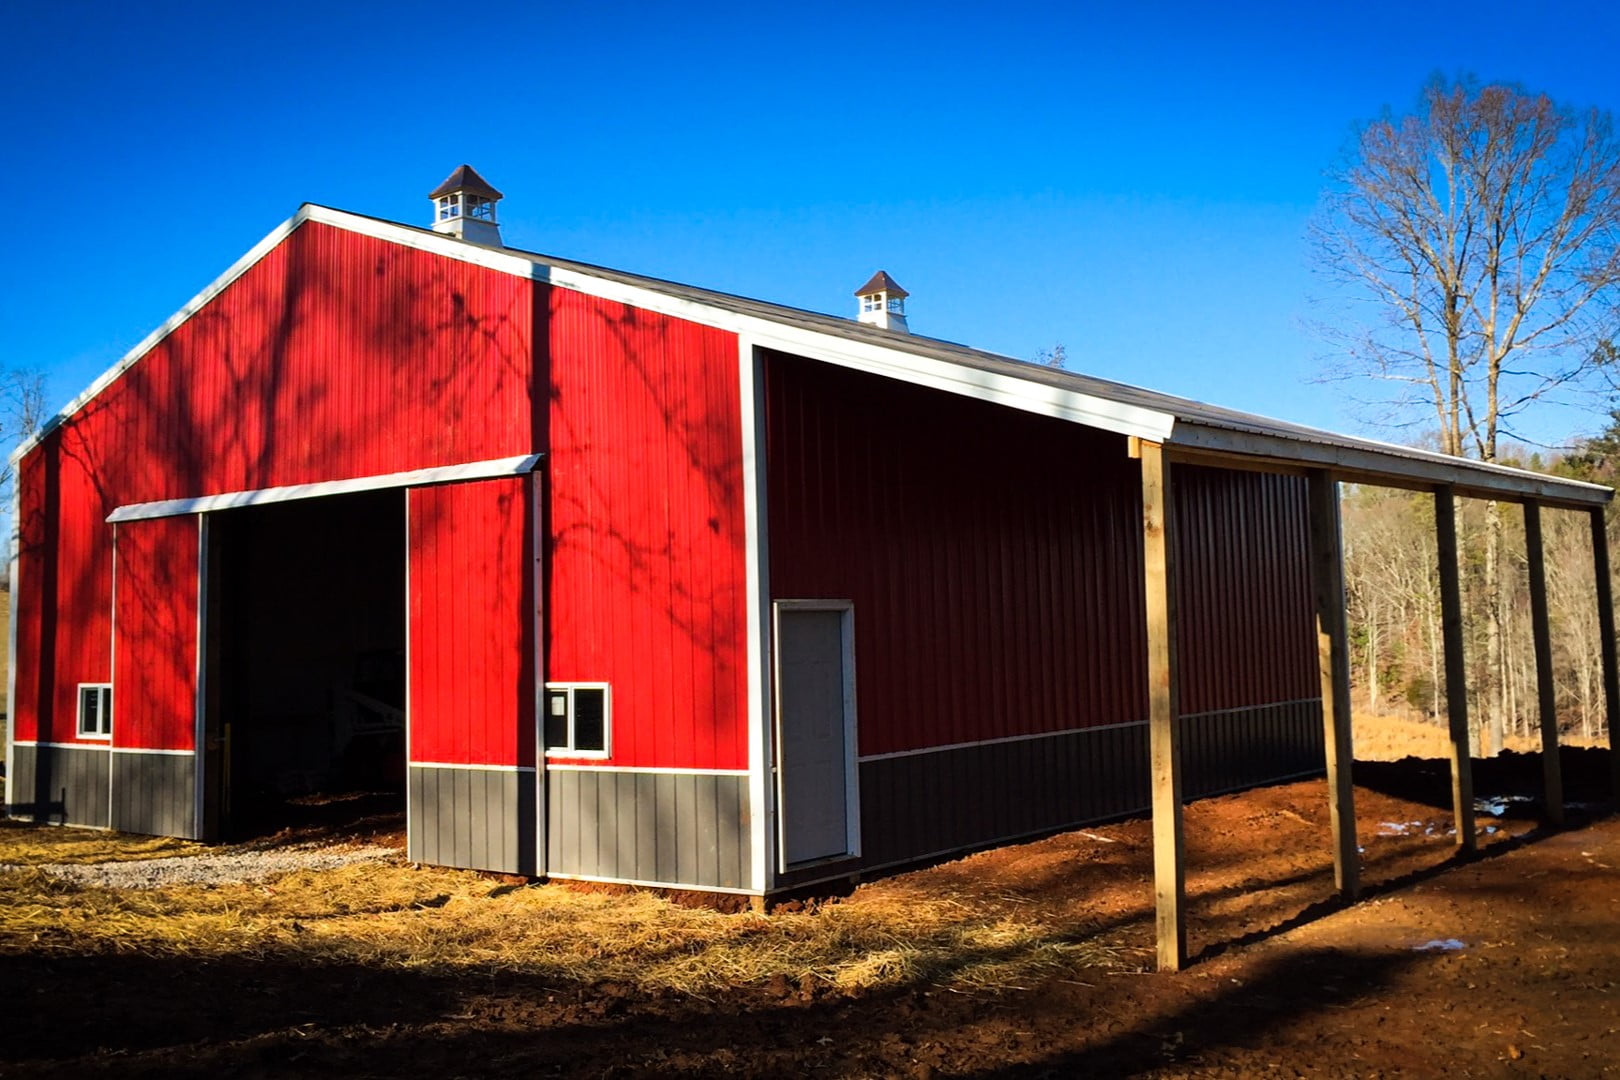
Pole sheds, also known as pole barns or post-frame buildings, are characterized by their simple yet robust construction. They typically feature a clear-span design, allowing for an open and unobstructed interior space. This makes them an ideal choice for a wide range of purposes, from agricultural use to residential storage.
With the right guidance and a dash of creativity, you can customize your pole shed to suit your specific needs and aesthetic preferences. So, roll up your sleeves and get ready to embark on a journey that will culminate in the creation of a functional and visually appealing outdoor structure.
Let's dive into the first step: Planning and Preparation.
Key Takeaways:
- Planning and preparation are crucial for building a pole shed. Consider the shed’s purpose, local regulations, site assessment, and material calculations to ensure a successful and rewarding construction process.
- Building a pole shed involves careful steps, from choosing the right location to adding roofing and siding. Attention to detail, maintenance, and adaptability are essential for creating a functional and visually appealing outdoor structure.
Read more: How To Build Pole Shed Plans
Step 1: Planning and Preparation
Before diving into the construction of your pole shed, meticulous planning is essential to ensure a smooth and successful building process. Here are the key aspects to consider during the planning and preparation phase:
- Determine the Purpose: Define the primary purpose of your pole shed. Will it serve as a storage space for equipment, a shelter for livestock, or a workshop for your hobbies? Understanding its intended use will guide the design and layout.
- Check Local Regulations: Research and comply with local building codes, zoning regulations, and permit requirements. Some areas may have specific guidelines for the construction of pole sheds, so it’s crucial to be well-informed before proceeding.
- Assess the Site: Select a suitable location for your pole shed, considering factors such as drainage, accessibility, and proximity to other structures. Ensure that the site is level and free from any obstructions.
- Design the Layout: Sketch a rough layout of your pole shed, determining the dimensions, door and window placements, and the internal configuration. This initial design will serve as a blueprint for the construction process.
- Calculate Material Requirements: Estimate the quantity of materials needed for the project, including lumber, roofing materials, siding, and concrete for the foundation. Accurate measurements and material calculations are crucial for budgeting and procurement.
- Set a Budget: Establish a realistic budget for your pole shed construction, factoring in material costs, equipment rentals, and any professional services required. Creating a detailed budget will help you manage expenses effectively.
- Arrange for Equipment and Assistance: Identify the tools and equipment needed for the construction process, such as post hole diggers, saws, and ladders. If necessary, enlist the help of family members or friends to assist with the building tasks.
By thoroughly planning and preparing for the construction of your pole shed, you lay a solid foundation for a successful and gratifying building experience. Once these crucial preliminary steps are completed, you can confidently move on to the next phase: Choosing the Right Location.
Step 2: Choosing the Right Location
When it comes to building a pole shed, selecting the optimal location is a critical decision that significantly impacts the functionality and longevity of the structure. Here’s a comprehensive guide to help you choose the right location for your pole shed:
- Assess Ground Stability: Ensure that the chosen site offers stable and well-drained ground. Avoid areas prone to standing water or excessive moisture, as these conditions can compromise the integrity of the foundation and the overall structure.
- Consider Accessibility: Evaluate the accessibility of the site, particularly in relation to transporting construction materials and accessing the completed pole shed. A location with convenient access can streamline the building process and future utilization of the structure.
- Account for Sunlight and Ventilation: Take into account the orientation of the pole shed in relation to sunlight exposure and natural ventilation. Positioning the structure to maximize natural light and airflow can enhance its interior environment and energy efficiency.
- Check Property Boundaries: Verify property boundaries and setbacks to ensure compliance with local regulations. Avoid encroaching on neighboring properties and maintain the required distances from fences, buildings, and easements.
- Evaluate Visual Impact: Consider the visual impact of the pole shed on your property and its surroundings. While functionality is paramount, integrating the structure harmoniously with the landscape can enhance its aesthetic appeal and overall property value.
- Assess Future Land Use: Anticipate future developments or changes on your property that may affect the pole shed’s location. Avoid placing the structure in areas earmarked for future expansions, landscaping, or utility installations.
- Consult with Utility Providers: Before finalizing the location, consult with local utility providers to identify the presence of underground utilities such as water lines, gas lines, and electrical cables. Avoid building over or near these utilities to prevent future complications.
By carefully considering these factors and selecting a well-suited location for your pole shed, you set the stage for a durable, functional, and aesthetically pleasing outdoor structure. With the location secured, you can proceed to the next step: Gathering Materials and Tools.
Step 3: Gather Materials and Tools
As you embark on the journey of building a pole shed, assembling the necessary materials and tools is a pivotal step that sets the stage for construction. Here’s a comprehensive guide to help you gather the essential components for your project:
- Lumber and Posts: The primary structural elements of a pole shed are the posts and framing lumber. Select high-quality pressure-treated or naturally durable lumber that is suitable for outdoor use and capable of withstanding environmental elements.
- Roofing Materials: Choose durable and weather-resistant roofing materials such as metal panels, asphalt shingles, or polycarbonate sheets. Consider the prevailing weather conditions in your area when selecting the appropriate roofing material.
- Siding and Cladding: Opt for siding materials that offer both aesthetic appeal and protection against the elements. Common options include metal siding, wood cladding, or vinyl panels, each with its unique visual and functional characteristics.
- Concrete and Anchoring Materials: Depending on the foundation design, procure the necessary concrete mix, anchor bolts, and post anchors. These components play a crucial role in securing the structural stability of the pole shed.
- Doors and Windows: Select suitable doors, windows, and hardware that align with the design and functional requirements of your pole shed. Consider factors such as security, natural lighting, and ventilation when choosing these components.
- Fasteners and Hardware: Stock up on a variety of fasteners, including nails, screws, bolts, and connectors. Having the right hardware on hand ensures efficient assembly and reinforces the structural integrity of the pole shed.
- Tools and Equipment: Gather a comprehensive set of tools for the construction process, including but not limited to saws, drills, levels, hammers, and post hole diggers. Additionally, consider renting or purchasing specialized equipment for specific tasks, such as a concrete mixer or a metal brake for bending roofing materials.
By procuring high-quality materials and assembling the necessary tools, you establish a solid foundation for the construction phase of your pole shed. With these essential components at your disposal, you are well-equipped to progress to the next step: Building the Foundation.
Step 4: Building the Foundation
The foundation serves as the anchor of your pole shed, providing stability and structural integrity. Here’s a comprehensive guide to help you navigate the process of building a solid and reliable foundation for your outdoor structure:
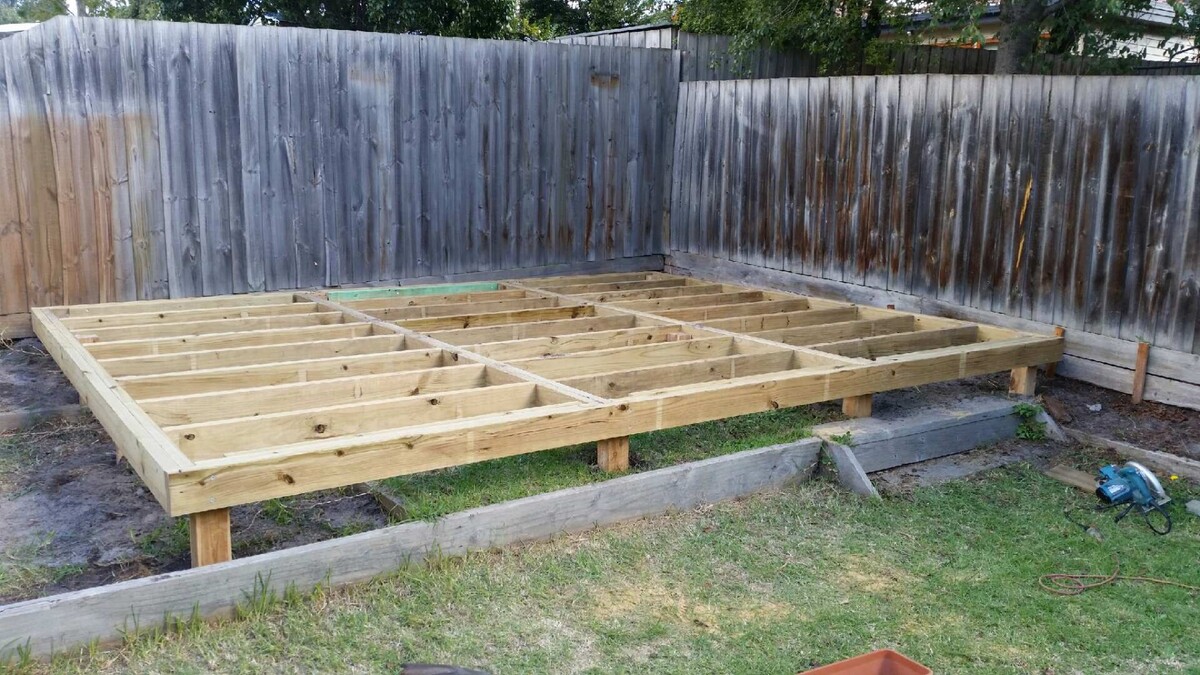
- Select the Foundation Type: Evaluate various foundation options, such as concrete piers, sonotubes, or concrete slabs, based on the soil conditions and local building requirements. Choose a foundation type that suits the specific needs of your pole shed.
- Site Preparation: Clear the designated area of vegetation, rocks, and debris. Ensure that the site is level and properly graded to accommodate the foundation construction. Mark the locations for the foundation supports based on your design specifications.
- Excavation and Footings: If using concrete piers or sonotubes, excavate the footing holes to the recommended depth and diameter. Install formwork and pour concrete to create stable footings that will support the vertical posts of the pole shed.
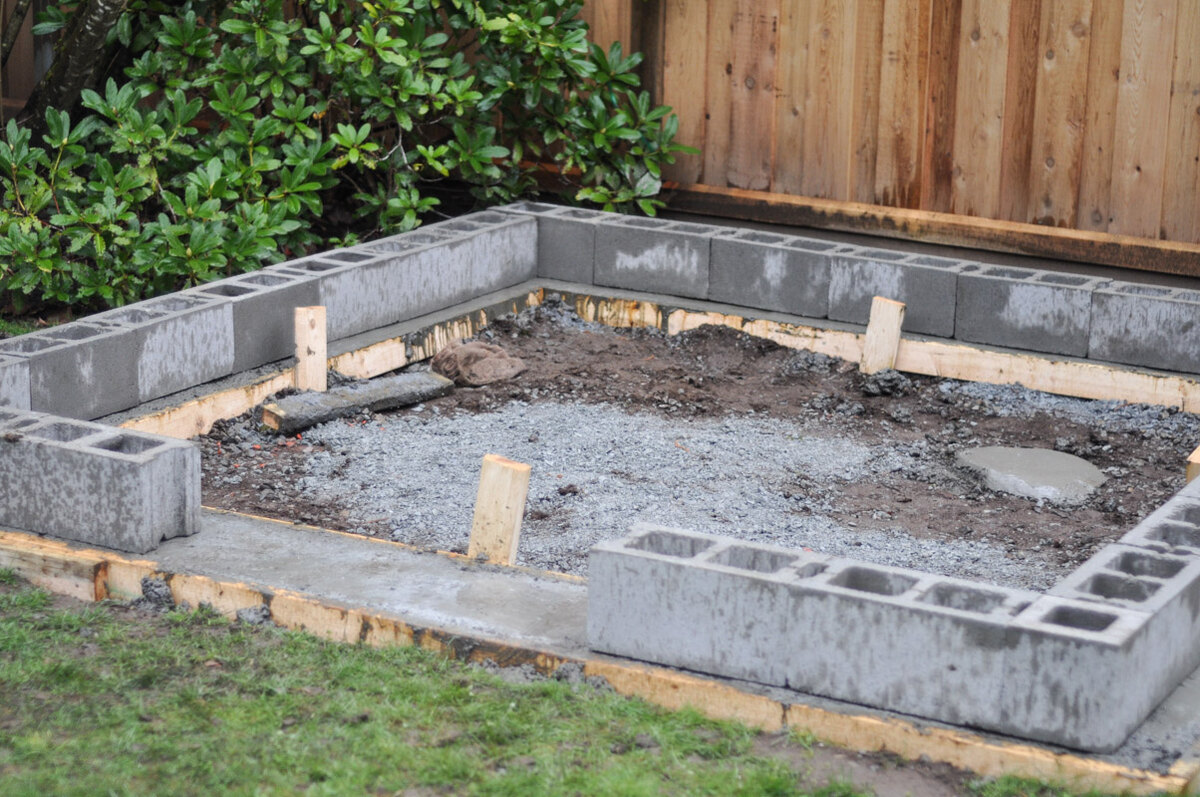
- Concrete Slab Construction: For a concrete slab foundation, prepare the site by compacting the soil, laying a gravel base, and constructing formwork to contain the concrete. Pour and level the concrete to create a smooth and level slab surface.
- Post Anchoring: Once the footings or slab are in place and cured, anchor the vertical posts securely to the foundation. Use appropriate post anchors or brackets to ensure a strong connection between the posts and the foundation elements.
- Leveling and Alignment: Verify that the foundation supports and posts are precisely aligned and leveled. Accurate positioning at this stage is crucial, as it forms the basis for the subsequent construction of the pole shed framework.
- Moisture Protection: Implement moisture protection measures, such as applying a vapor barrier or waterproofing treatment, to safeguard the foundation against water infiltration and moisture-related damage.
By meticulously executing the foundation construction process, you establish a stable and durable base for your pole shed, laying the groundwork for the subsequent phases of the building project. With the foundation in place, you can progress to the next step: Constructing the Pole Structure.
When building a pole shed, make sure to properly anchor the poles in the ground to provide stability and support for the structure. This will help prevent any potential shifting or leaning over time.
Read more: How Build A Shed
Step 5: Constructing the Pole Structure
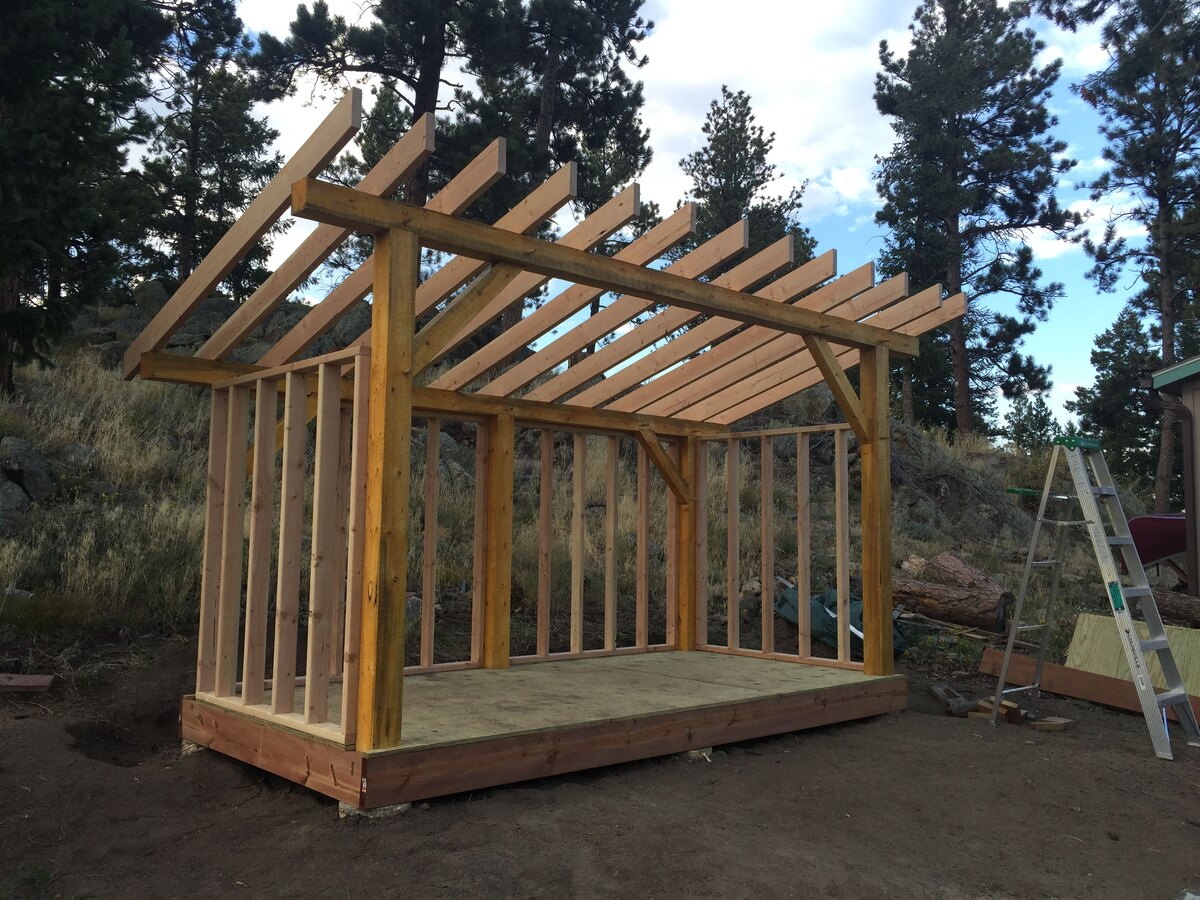
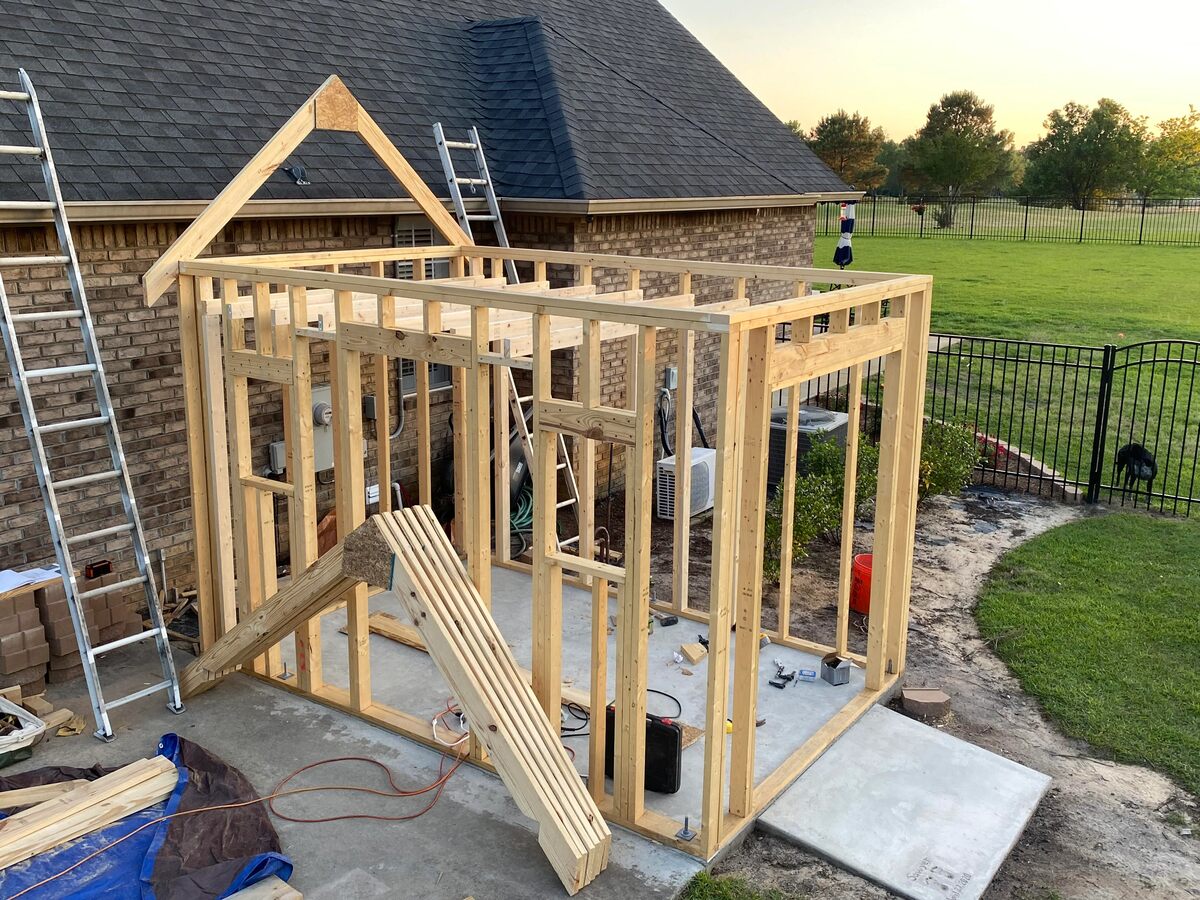
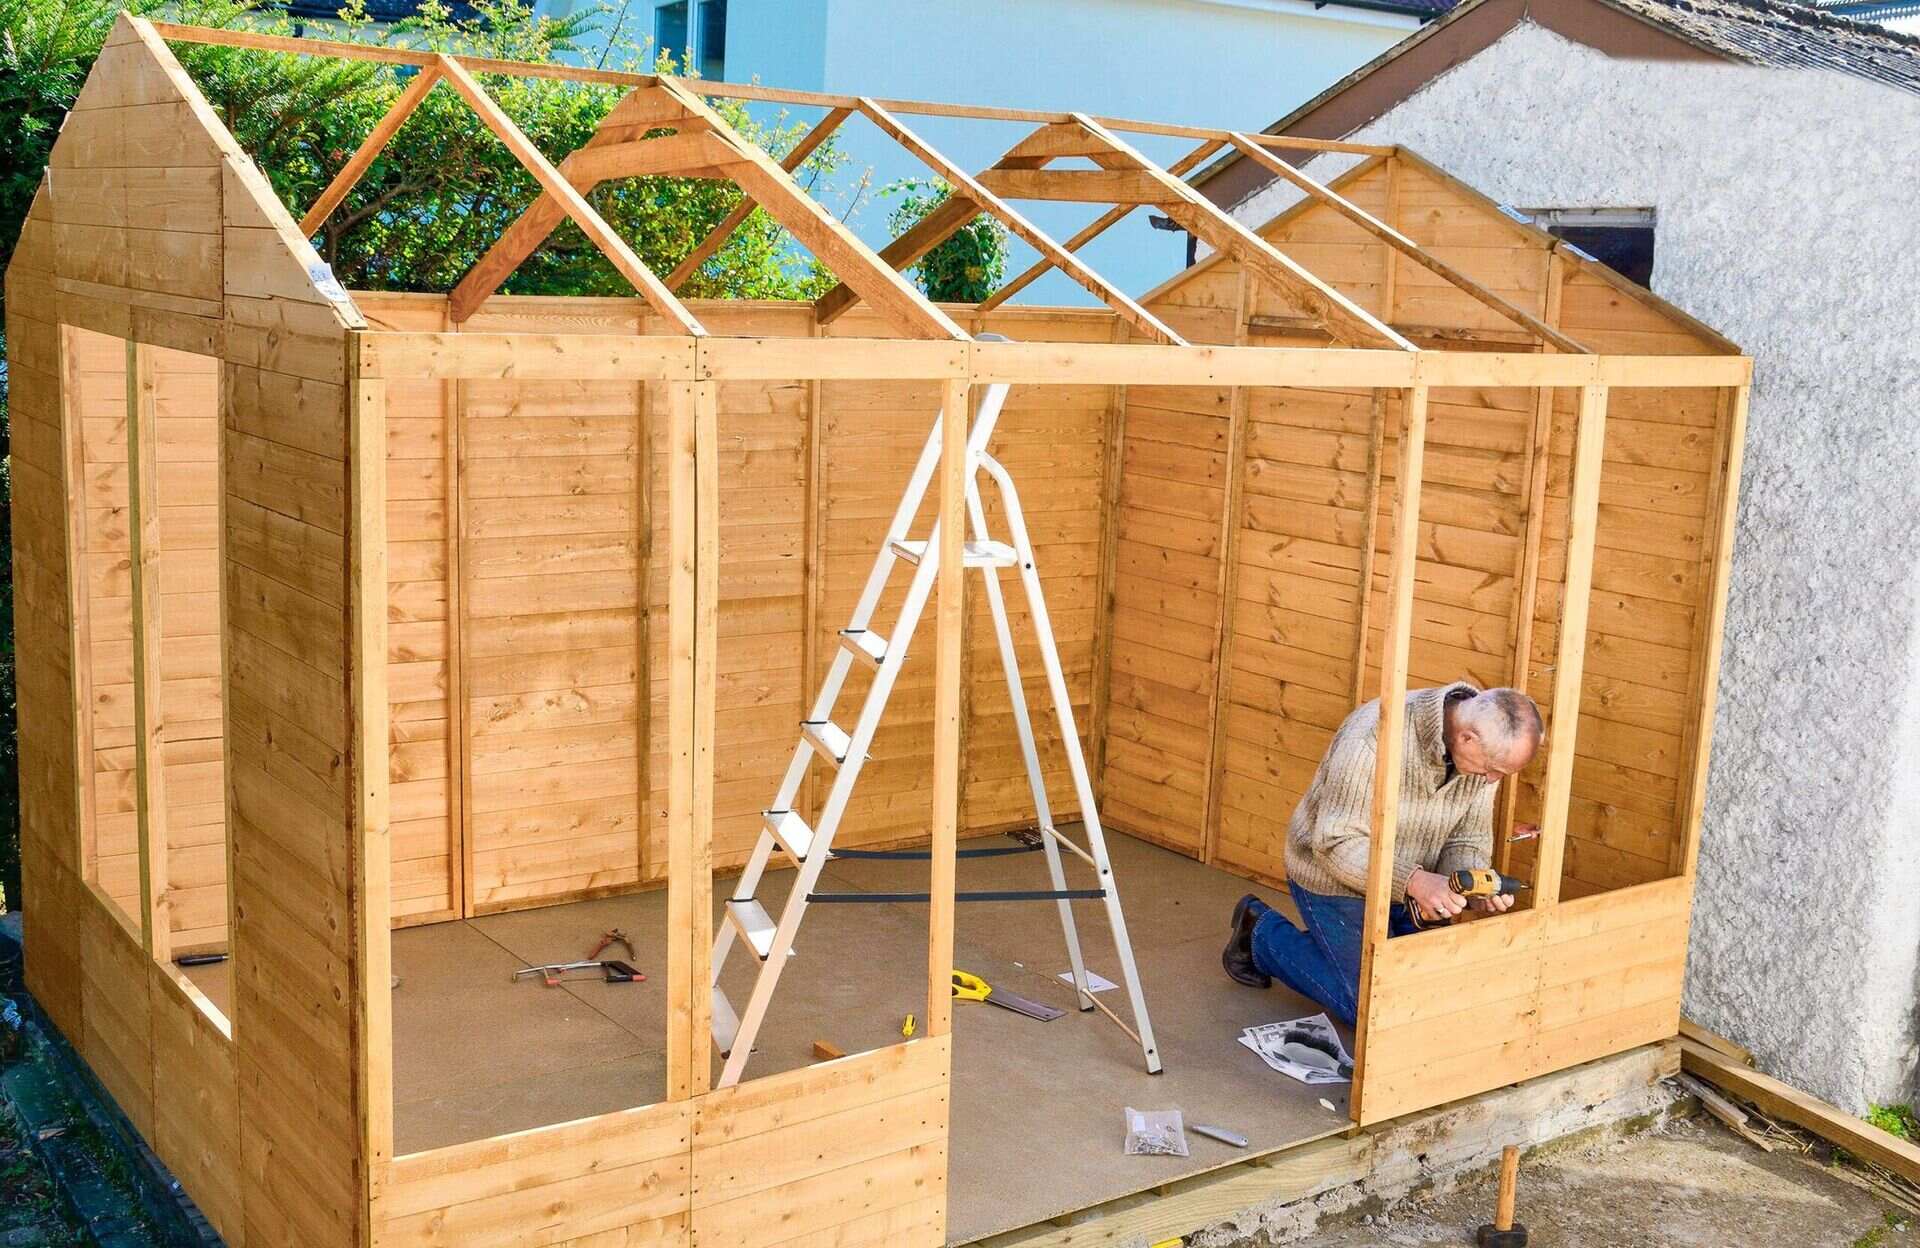
With the foundation set, it’s time to embark on the construction of the pole structure, which forms the framework of your shed. This phase involves erecting the vertical posts, installing the horizontal framing members, and creating the skeleton of the building. Here’s a comprehensive guide to help you navigate the process of constructing the pole structure:
- Post Installation: Place and secure the vertical posts in the designated locations, ensuring proper spacing and alignment according to your design layout. Use temporary bracing to stabilize the posts as you proceed with the construction process.
- Framing Assembly: Install the horizontal framing members, including girts and trusses, to connect and brace the vertical posts. Ensure that the framing components are accurately positioned and securely attached to create a rigid framework for the pole shed.
- Bracing and Reinforcement: Implement diagonal bracing and reinforcement techniques to enhance the structural stability of the pole structure. Diagonal braces help distribute wind and load forces, minimizing lateral movement and enhancing the overall resilience of the building.
- Door and Window Openings: Frame and reinforce openings for doors, windows, and any other entry points based on your design requirements. Properly configured openings facilitate seamless installation of doors and windows at a later stage.
- Roof Support Systems: Install trusses or purlins to provide the necessary support for the roof structure. Ensure that the roof support systems are securely fastened and aligned to accommodate the chosen roofing material and design specifications.
- Quality Assurance: Regularly inspect and measure the structural components to verify their alignment, levelness, and dimensional accuracy. Address any discrepancies or issues promptly to maintain the integrity of the pole structure.
- Consider Future Modifications: Anticipate potential future modifications or additions to the pole shed, such as mezzanine floors or interior partitions. Design the pole structure to accommodate these potential enhancements, allowing for flexibility and adaptability in the future.
By methodically constructing the pole structure with precision and attention to detail, you lay the groundwork for a robust and functional outdoor building. With the pole structure in place, you can proceed to the next step: Adding Roofing and Siding.
Step 6: Adding Roofing and Siding
As your pole shed takes shape, the addition of roofing and siding plays a pivotal role in providing protection from the elements and enhancing the visual appeal of the structure. Here’s a comprehensive guide to help you navigate the process of adding roofing and siding to your pole shed:
- Roofing Installation: Select and install the chosen roofing material, whether it’s metal panels, asphalt shingles, or another suitable option. Follow manufacturer guidelines and best practices to ensure proper installation and weatherproofing of the roof.
- Weatherproofing Measures: Implement weatherproofing techniques, such as flashing installation and sealing of roof penetrations, to prevent water intrusion and enhance the durability of the roofing system. Proper weatherproofing safeguards the interior of the pole shed from moisture-related issues.
- Siding Application: Affix the selected siding material to the exterior walls of the pole shed, ensuring secure attachment and uniform coverage. Whether using metal siding, wood cladding, or another type of siding, pay attention to proper alignment and overlapping for optimal weather resistance.
- Trim and Detailing: Install trim pieces, corner caps, and other detailing elements to provide a finished look and additional protection at the junctions of roofing and siding components. Well-executed trim work enhances the aesthetic appeal and weather resistance of the pole shed.
- Ventilation and Insulation: Incorporate ventilation features, such as ridge vents or soffit vents, to promote airflow and regulate temperature within the pole shed. Additionally, consider insulation options to enhance energy efficiency and climate control, especially if the shed will be used for human occupancy or sensitive storage.
- Visual Cohesion: Ensure that the roofing and siding choices align with the overall design aesthetic of your property and complement any existing structures. Cohesive visual integration enhances the appeal and value of the pole shed within its surroundings.
- Quality Assurance and Maintenance: Conduct a thorough inspection of the roofing and siding installation to verify proper alignment, fastening, and weatherproofing. Establish a maintenance plan for periodic inspections and upkeep to prolong the lifespan of the roofing and siding materials.
By skillfully adding roofing and siding to your pole shed, you not only fortify its resilience against the elements but also elevate its visual appeal and functionality. With the roofing and siding in place, you can proceed to the final step: Finishing Touches and Maintenance.
Step 7: Finishing Touches and Maintenance
As the construction of your pole shed nears completion, attention to finishing touches and ongoing maintenance ensures that the structure remains functional, visually appealing, and resilient in the long run. Here’s a comprehensive guide to help you navigate the final phase of your pole shed project:
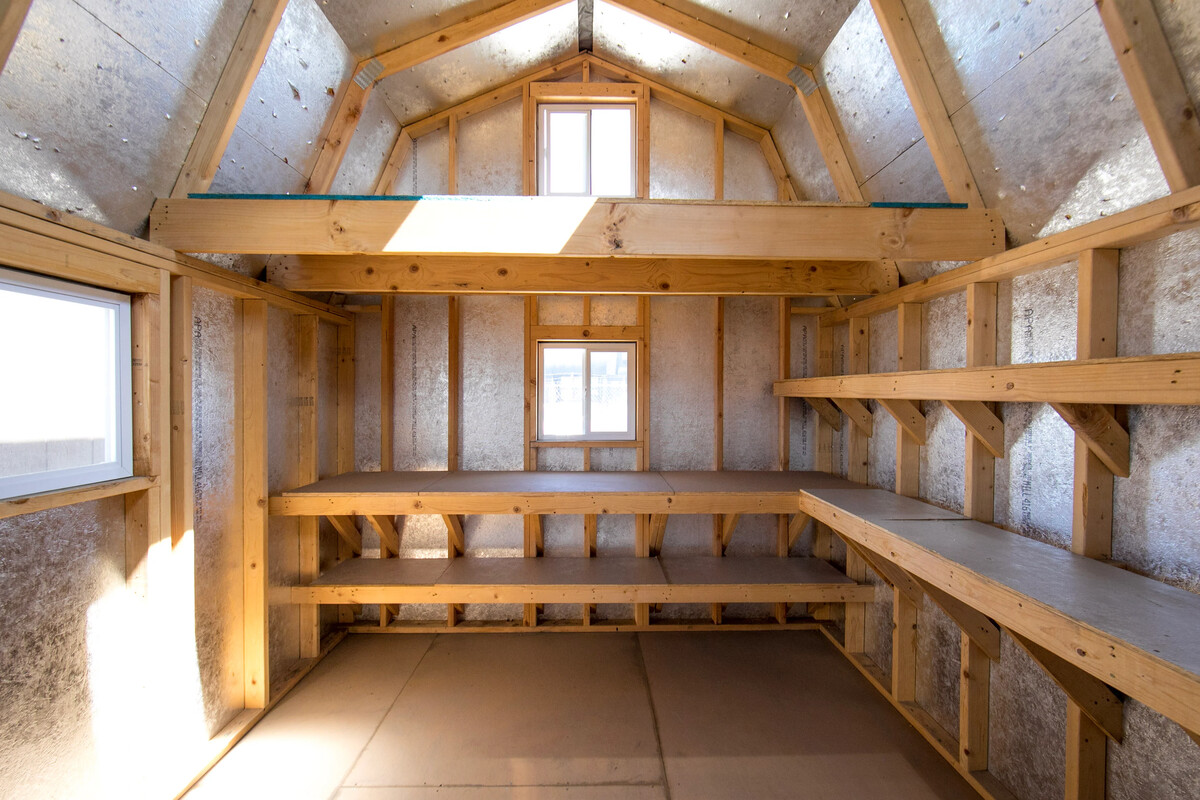
- Interior Customization: Tailor the interior space of the pole shed to suit its intended use, whether it’s organizing storage racks, installing workbenches, or configuring functional layouts for specific activities. Customizing the interior enhances the shed’s usability and efficiency.
- Painting and Sealing: Apply protective coatings, paints, or sealants to the exterior surfaces of the pole shed, including the siding and trim. Properly sealed and painted surfaces enhance weather resistance and prevent premature deterioration due to exposure to the elements.
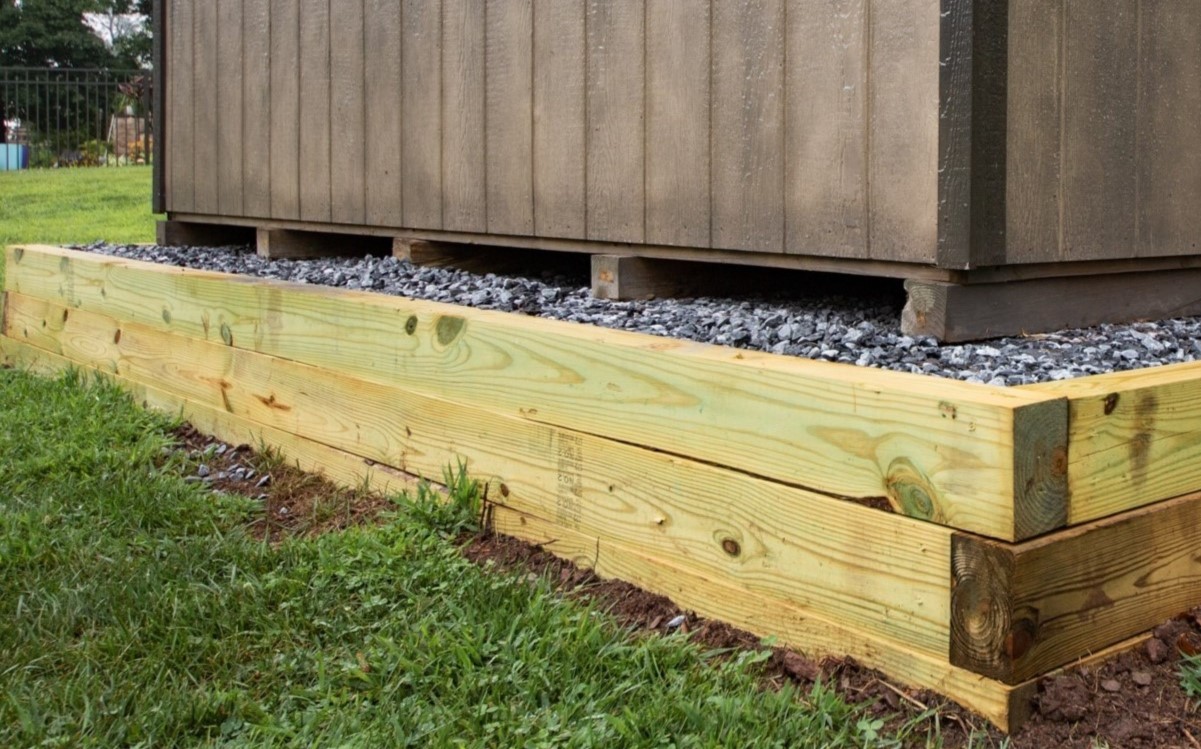
- Landscaping and Drainage: Consider landscaping around the pole shed to improve drainage, prevent soil erosion, and enhance the visual integration of the structure with its surroundings. Properly graded and landscaped areas contribute to the overall functionality and aesthetics of the property.
- Security and Access: Install secure locks, lighting, and access control measures to safeguard the contents of the pole shed and ensure safe usage. Adequate security measures protect valuable equipment and belongings stored within the shed.
- Maintenance Schedule: Establish a regular maintenance schedule for the pole shed, including inspections, cleaning, and upkeep of roofing, siding, and structural components. Routine maintenance prolongs the lifespan of the structure and prevents minor issues from escalating.
- Adaptable Design Features: Consider incorporating adaptable design features that allow for future modifications or expansions based on evolving needs. Flexibility in design ensures that the pole shed can accommodate changes over time without significant structural alterations.
- Safety Compliance: Ensure that the pole shed complies with relevant safety standards and regulations, especially if it will be used for commercial or public purposes. Implement safety measures such as fire extinguishers, emergency exits, and signage as applicable.
By attending to finishing touches and establishing a proactive maintenance approach, you enhance the functionality, durability, and visual appeal of your pole shed. With the completion of these final steps, your pole shed stands as a testament to meticulous craftsmanship and thoughtful design, ready to serve its intended purpose for years to come.
Congratulations on reaching this milestone in your pole shed construction journey!
Conclusion
Congratulations on completing the comprehensive guide to building a pole shed. Throughout this journey, you’ve delved into the intricate process of planning, preparing, and constructing a versatile outdoor structure that embodies functionality and durability.
Building a pole shed is not just about assembling materials and erecting a framework; it’s a testament to thoughtful design, meticulous craftsmanship, and the vision of creating a space that serves a specific purpose while harmonizing with its surroundings.
As you reflect on this transformative experience, remember that the journey doesn’t end with the completion of construction. Ongoing maintenance, thoughtful customization, and adaptability are key elements in ensuring that your pole shed remains a valuable asset for years to come.
Whether it’s a shelter for your vehicles, a haven for your hobbies, or a sanctuary for your tools, your pole shed stands as a testament to your dedication and creativity. Embrace the journey, cherish the memories of its creation, and revel in the countless possibilities that your new outdoor structure offers.
Thank you for embarking on this enriching adventure, and may your pole shed be a source of pride, utility, and inspiration in the days ahead.
Frequently Asked Questions about How To Build A Pole Shed
Was this page helpful?
At Storables.com, we guarantee accurate and reliable information. Our content, validated by Expert Board Contributors, is crafted following stringent Editorial Policies. We're committed to providing you with well-researched, expert-backed insights for all your informational needs.


0 thoughts on “How To Build A Pole Shed”