Home>Gardening & Outdoor>Outdoor Structures>How To Build A Motorcycle Shed
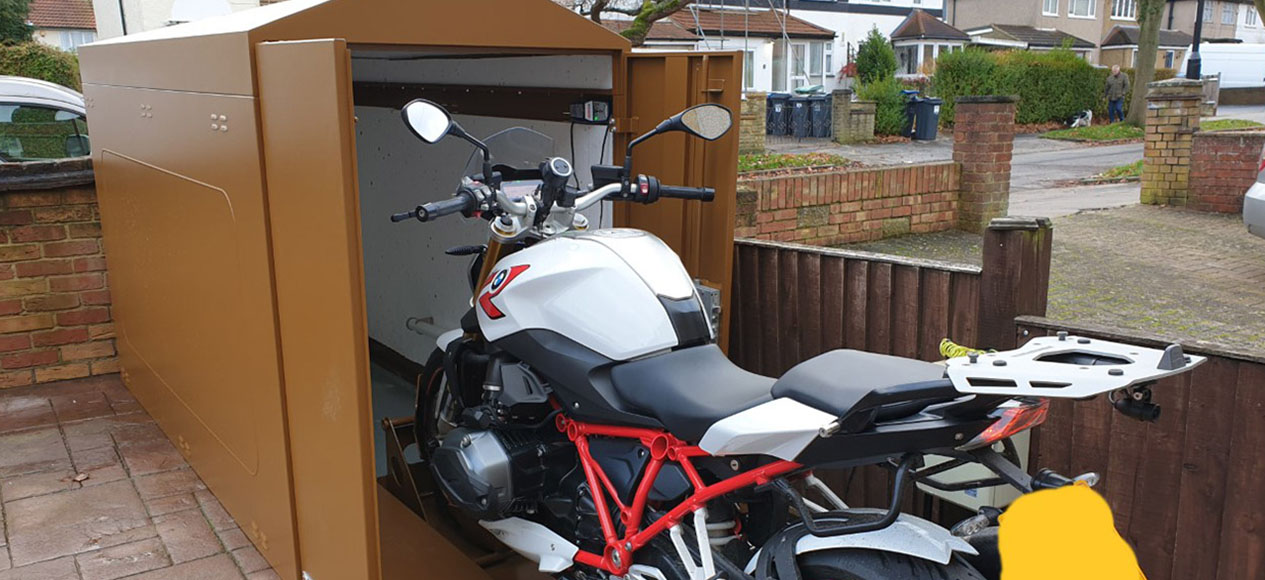

Outdoor Structures
How To Build A Motorcycle Shed
Modified: January 23, 2024
Learn how to build a durable and stylish motorcycle shed for your outdoor space. Our expert tips and guides will help you create the perfect outdoor structure.
(Many of the links in this article redirect to a specific reviewed product. Your purchase of these products through affiliate links helps to generate commission for Storables.com, at no extra cost. Learn more)
Introduction
So, you've got a sleek motorcycle that you love to ride, but you're worried about leaving it exposed to the elements when you're not out enjoying the open road. The solution? Building a sturdy and reliable motorcycle shed to keep your prized possession safe and secure.
A motorcycle shed is not just a practical addition to your property; it can also be a stylish and functional space that complements your home and provides a designated area for motorcycle maintenance and storage. Whether you're a seasoned DIY enthusiast or a novice looking to take on a new project, constructing a motorcycle shed can be a rewarding endeavor that adds value to your property while safeguarding your bike from the elements.
In this comprehensive guide, we'll walk you through the essential steps to build a motorcycle shed from the ground up. From choosing the ideal location and designing the layout to gathering the necessary materials and tools, we'll cover everything you need to know to bring your motorcycle shed vision to life. So, roll up your sleeves, grab your hard hat, and let's dive into the exciting world of motorcycle shed construction!
Key Takeaways:
- Building a motorcycle shed involves carefully choosing the location, planning the design, and constructing a sturdy foundation and walls to protect and showcase your prized motorcycle.
- The finishing touches, such as exterior siding, windows, doors, lighting, and custom storage solutions, add functionality and visual appeal to your motorcycle shed, creating a personalized and inviting space for your two-wheeled companion.
Read more: How Build A Shed
Choosing the Right Location
Before you start hammering and sawing, it’s crucial to carefully consider the location of your motorcycle shed. The ideal placement will not only provide convenient access to your bike but also ensure that the shed complements the overall aesthetics of your property.
First and foremost, assess the available space on your property and identify a location that offers sufficient room for the shed without overcrowding the area. Consider the layout of your yard or outdoor space, and visualize how the shed will fit into the existing environment. You’ll want to choose a spot that is easily accessible, allowing you to maneuver your motorcycle in and out of the shed with ease.
Additionally, take into account the local building codes and regulations in your area. Some municipalities may have specific requirements regarding the placement of outdoor structures, including setbacks from property lines and restrictions on building near utility lines. By familiarizing yourself with these regulations early in the planning process, you can avoid potential headaches and ensure that your motorcycle shed complies with local guidelines.
Another important consideration is the terrain and ground conditions. Look for a level area that provides a stable foundation for the shed. Avoid low-lying spots that are prone to pooling water, as excess moisture can compromise the structural integrity of the shed and potentially damage your motorcycle.
Furthermore, think about the surrounding landscape and how it can enhance the appeal of your motorcycle shed. Consider factors such as sunlight exposure, prevailing wind direction, and existing vegetation. Positioning the shed to take advantage of natural light and shielding it from harsh winds can contribute to a more functional and comfortable space for storing and working on your motorcycle.
By carefully selecting the right location for your motorcycle shed, you can set the stage for a successful and visually appealing addition to your property. With the location secured, you’ll be ready to move on to the next steps in the exciting journey of building your very own motorcycle shed.
Design and Planning
Now that you’ve identified the perfect location for your motorcycle shed, it’s time to delve into the design and planning phase. This stage is where you’ll bring your vision to life on paper and lay the groundwork for the construction process.
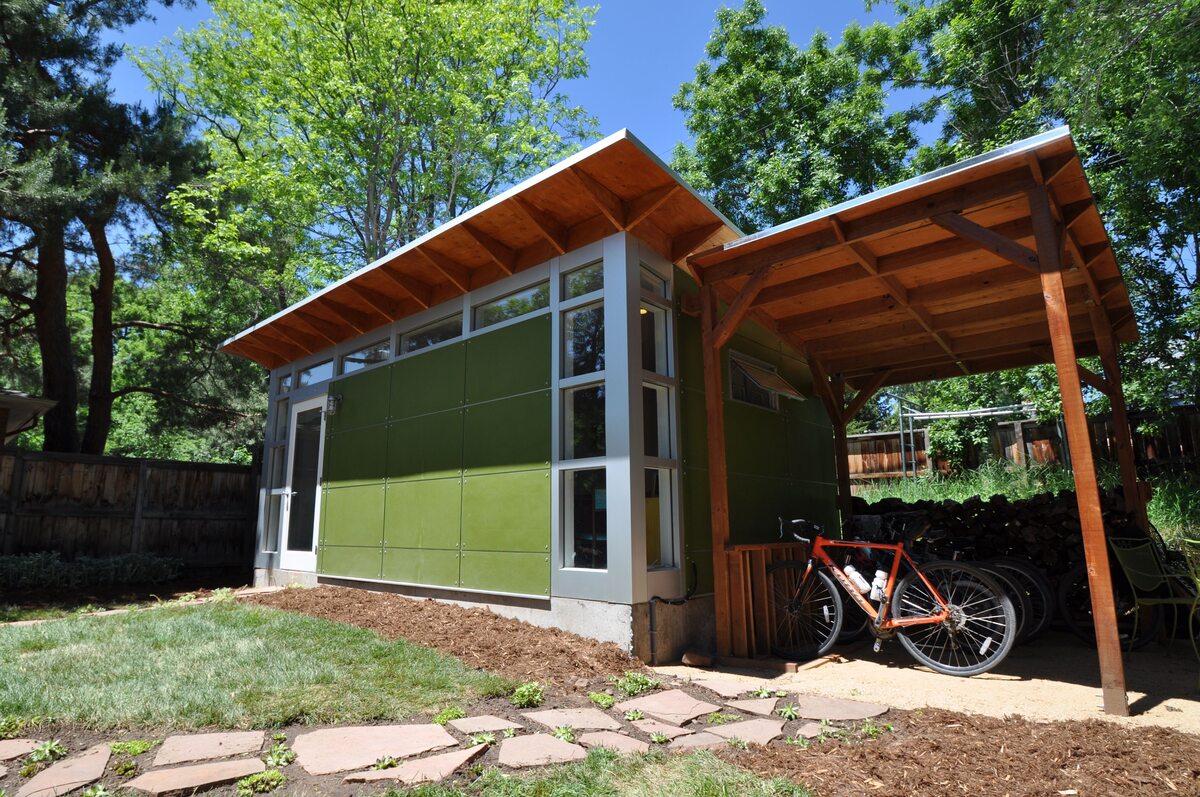
Begin by sketching out a rough layout of the shed, taking into account the dimensions of your motorcycle and any additional space you may want for storage or workspace. Consider the overall aesthetic you want to achieve, whether it’s a traditional barn-style shed, a sleek and modern design, or something that complements the architecture of your home. Your shed’s design should not only be functional but also harmonize with the existing elements of your property.
As you finalize the design, think about the materials you’ll use for the shed. Wood, metal, and vinyl are popular choices, each offering unique benefits in terms of durability, maintenance, and appearance. Factor in the climate of your region when selecting materials, as you’ll want to ensure that the shed can withstand the elements year-round.
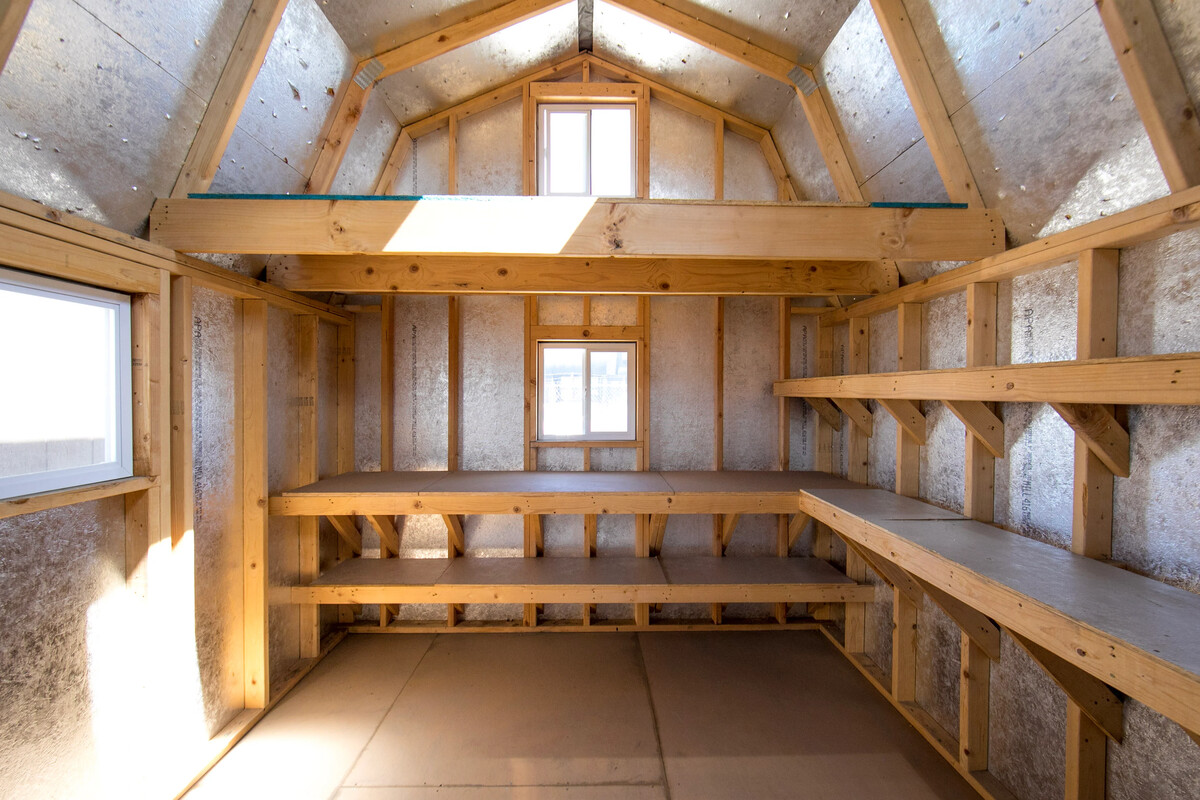
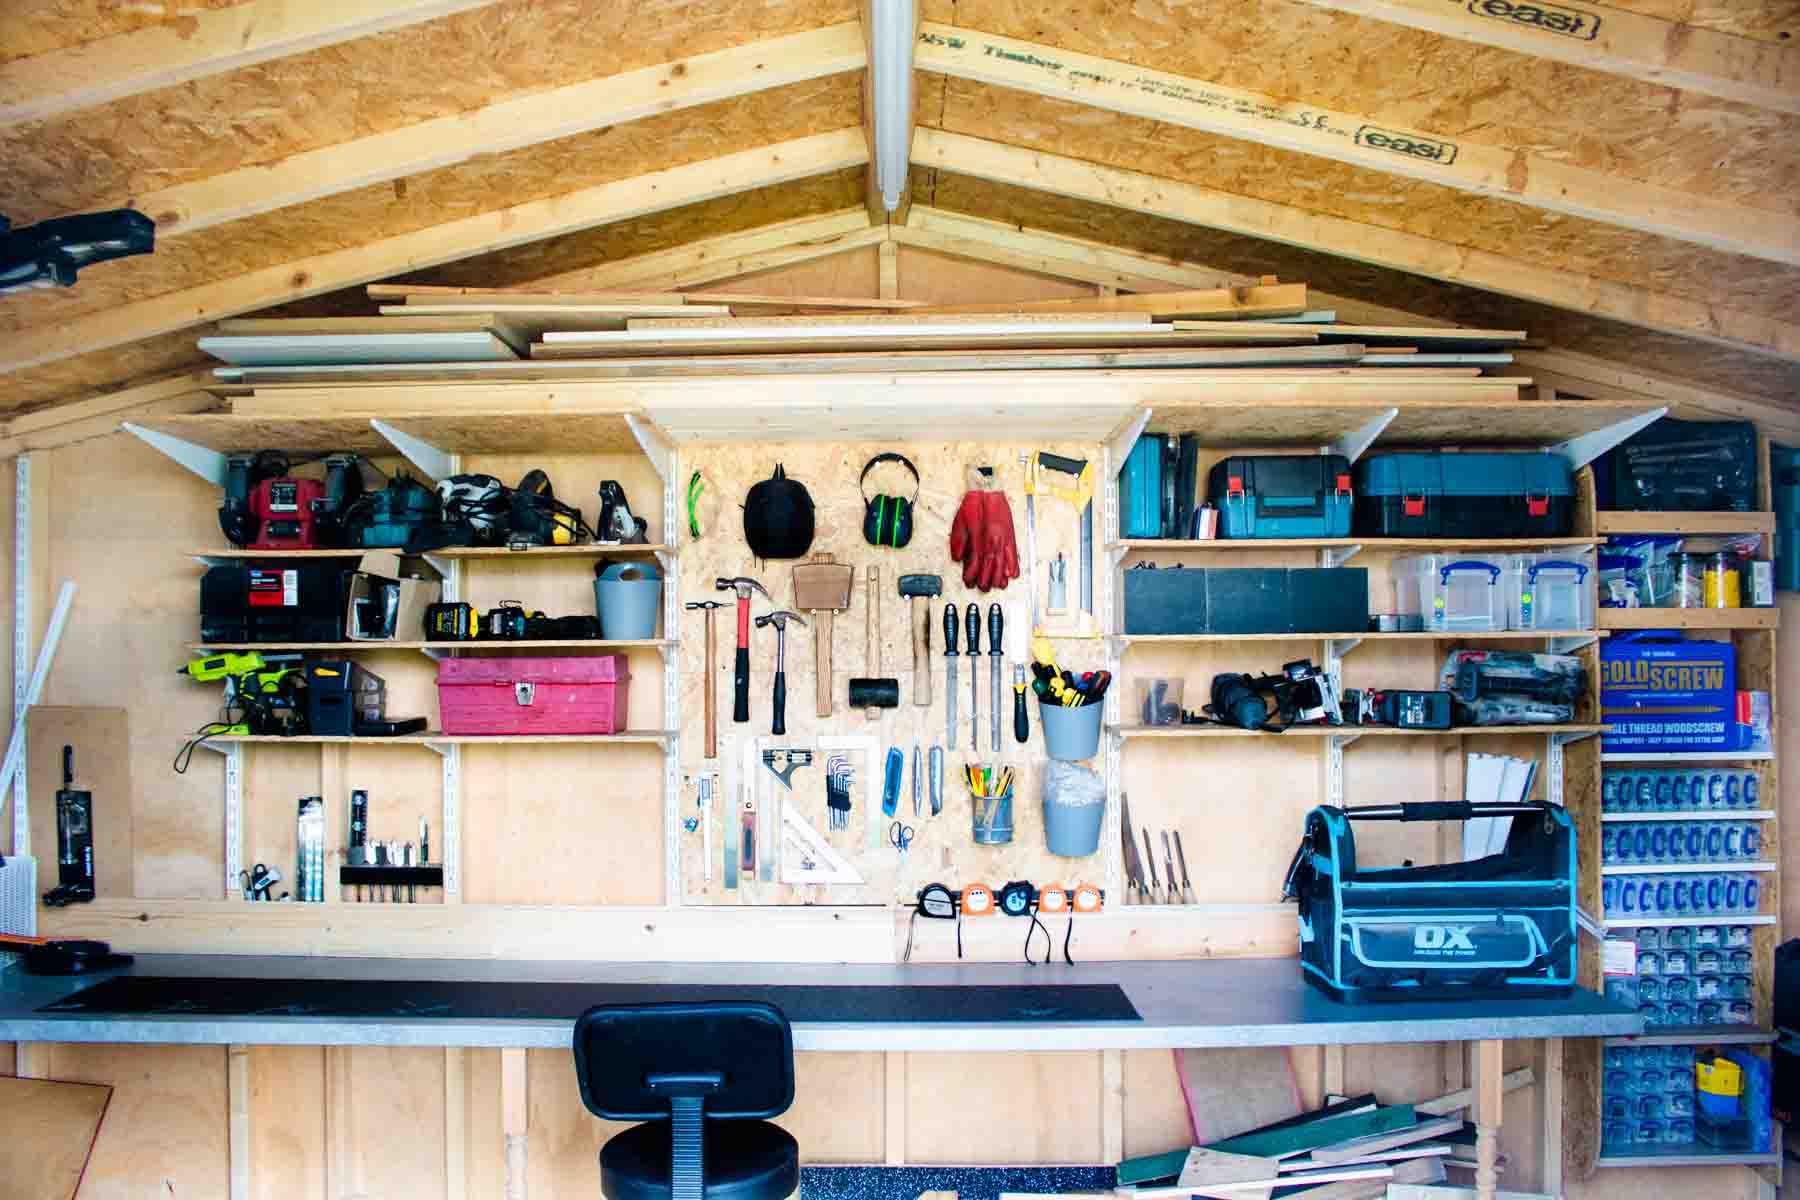
In addition to the shed’s structure, consider the interior layout and organization. Will you include built-in storage solutions, a workbench, or shelving for tools and accessories? Planning the interior space in advance will help you make the most of the shed’s functionality and create a tailored environment for your motorcycle-related activities.
Once you’ve finalized the design and layout, it’s time to create a detailed plan that outlines the construction process step by step. This plan should include a materials list, a timeline for each phase of construction, and any necessary permits or approvals required for the project. Taking the time to thoroughly plan the build will streamline the construction process and minimize unexpected challenges along the way.
By investing thought and effort into the design and planning of your motorcycle shed, you’ll establish a solid foundation for the construction phase and ensure that the end result meets your expectations in terms of both form and function. With the design and planning stage complete, you’re ready to roll up your sleeves and bring your motorcycle shed to life.
Gathering Materials and Tools
With the design and planning phase complete, it’s time to roll up your sleeves and start gathering the materials and tools needed to bring your motorcycle shed to fruition. Ensuring that you have all the necessary components on hand will streamline the construction process and prevent unnecessary delays.
Begin by creating a comprehensive list of materials based on your shed’s design and dimensions. This may include lumber, roofing materials, fasteners, siding, and any additional elements such as windows or doors. Consider the quality of the materials, opting for durable and weather-resistant options that will stand the test of time.
When selecting lumber, pay attention to factors such as pressure treatment and resistance to decay and insects, especially if your shed will be in direct contact with the ground. Quality lumber will form the backbone of your shed’s structure, so it’s worth investing in materials that offer longevity and strength.
In addition to materials, gather a set of high-quality tools that will facilitate the construction process. Essential tools may include a circular saw, a power drill, a level, a hammer, measuring tape, and safety equipment such as goggles and gloves. Having the right tools at your disposal will make the construction process more efficient and help achieve precise and professional results.
Depending on the complexity of your shed’s design, you may also need specialized tools for tasks such as roofing, siding installation, or window and door assembly. Consider renting or purchasing these tools if they are not already in your arsenal, as they will be instrumental in bringing your motorcycle shed to life.
Before diving into construction, take the time to organize your materials and tools in a designated workspace. Having a well-arranged setup will promote efficiency and safety throughout the building process, allowing you to focus on the task at hand without unnecessary distractions or delays.
By meticulously gathering the necessary materials and tools, you’ll set the stage for a smooth and productive construction phase, bringing you one step closer to enjoying your newly built motorcycle shed. With everything in place, you’re ready to embark on the exciting journey of transforming your vision into a tangible and functional outdoor structure.
Building the Foundation
As you embark on the construction of your motorcycle shed, laying a solid foundation is paramount to the structural integrity and longevity of the building. The foundation serves as the base upon which the entire shed will rest, providing stability and protection against ground moisture and shifting soil.
Before breaking ground, it’s essential to check with local building authorities to ensure compliance with any regulations pertaining to shed foundations. Depending on your location and the size of the shed, you may need to obtain permits or adhere to specific guidelines for foundation construction.
The type of foundation you choose will largely depend on the shed’s size, the soil composition, and your budget. Common options include concrete slab foundations, concrete footings, and pressure-treated wood skids. Each type offers distinct advantages in terms of durability and cost, so it’s important to weigh the pros and cons before making a decision.
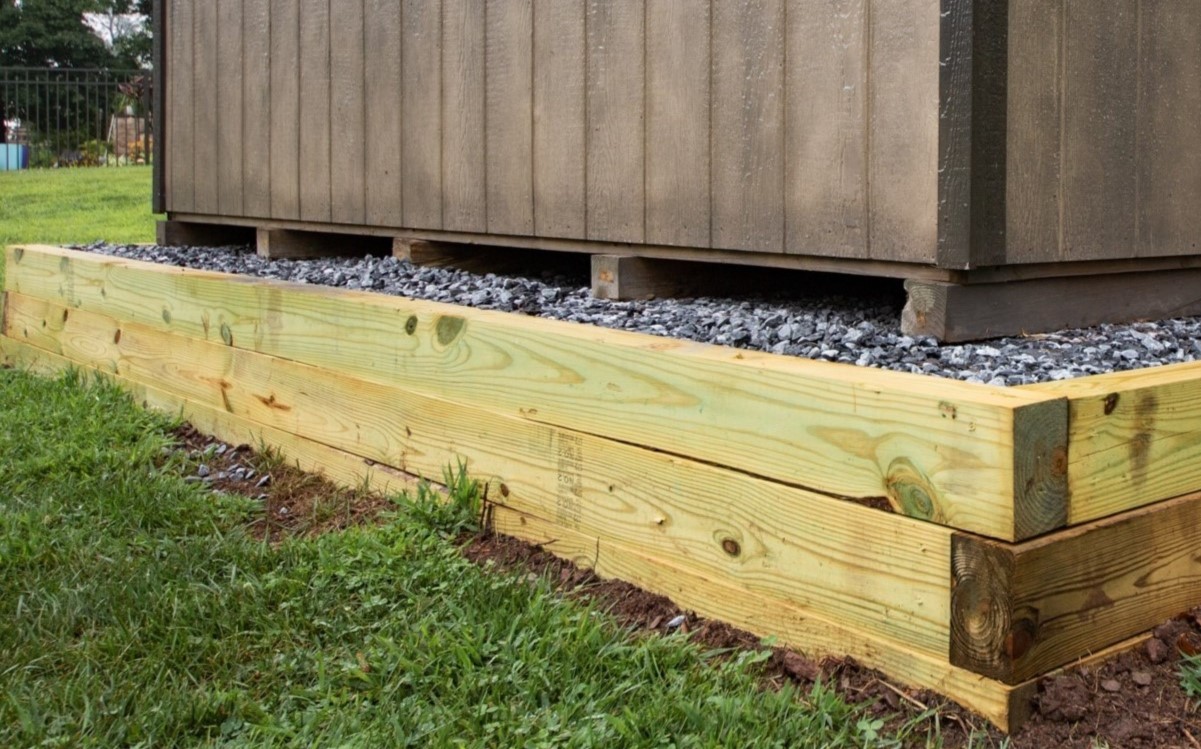
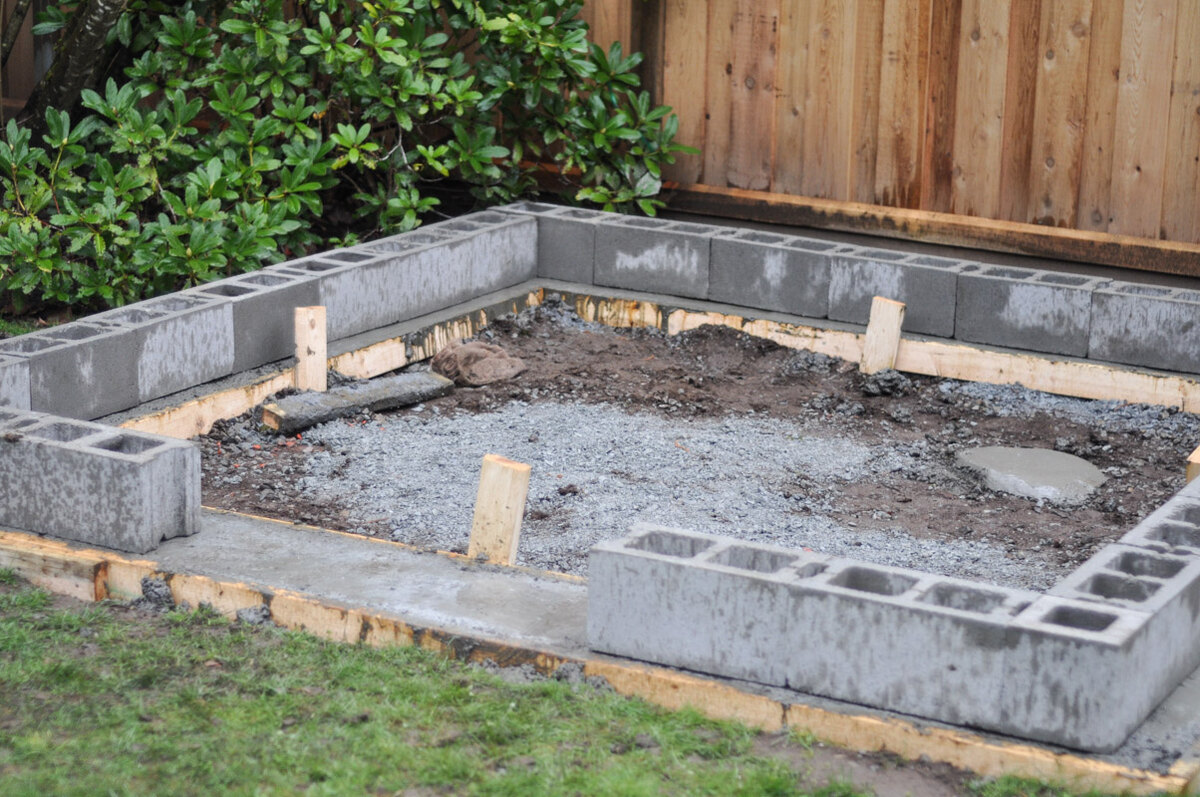
If you opt for a concrete slab foundation, the first step involves excavating the area to the required depth and pouring a level layer of gravel to promote drainage and prevent moisture buildup. Next, wooden forms are used to contain the concrete as it is poured and leveled to create a sturdy and level base for the shed.
For concrete footings, holes are dug at specified intervals along the shed’s perimeter, and concrete is poured into these holes to create stable support points for the structure. This method is particularly suitable for larger sheds and provides excellent resistance to soil movement and settling.
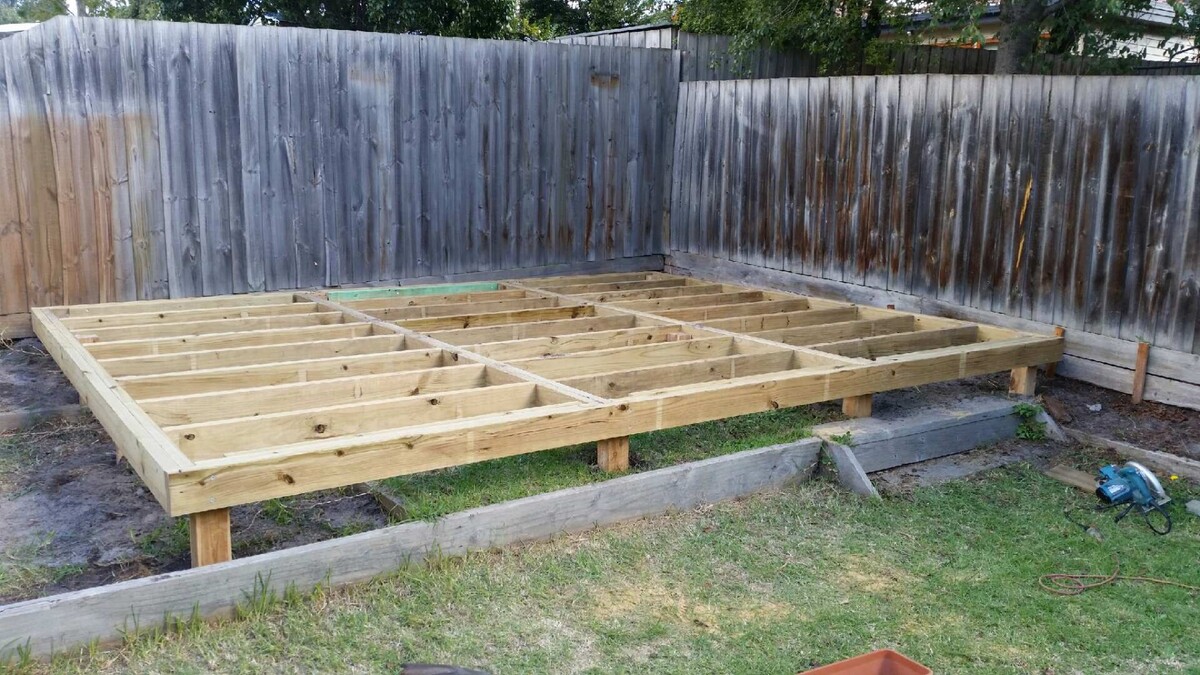
Alternatively, pressure-treated wood skids offer a cost-effective and straightforward foundation option. These beams are placed directly on the ground and serve as the base for the shed’s floor framing. While this method may be more susceptible to moisture and decay over time, proper installation and maintenance can mitigate these concerns.
Regardless of the foundation type, precise measurements and careful leveling are essential to ensure that the shed’s structure rests on a stable and even base. Taking the time to execute the foundation construction with precision will set the stage for a successful and resilient motorcycle shed that stands the test of time.
With the foundation in place, you’ll be ready to move on to the next exciting phase of construction, bringing your motorcycle shed one step closer to completion.
When building a motorcycle shed, make sure to choose a level and stable location for the shed. This will help ensure that the shed is sturdy and will last for a long time.
Read more: How To Build A Shed
Constructing the Walls
With the foundation set, it’s time to shift your focus to constructing the walls of your motorcycle shed. The walls form the framework of the structure, providing support, protection, and visual appeal. Whether you’re building with wood, metal, or another material, careful attention to detail during this phase will ensure a sturdy and reliable enclosure for your prized motorcycle.
Before you begin framing the walls, carefully review your shed’s design plans and ensure that you have all the necessary materials and tools at hand. This may include lumber for framing, sheathing for exterior surfaces, and fasteners to secure the components together.
Start by measuring and cutting the lumber to the specified dimensions, taking care to maintain accuracy to ensure the walls align properly during assembly. If your shed includes windows or doors, frame openings should be carefully calculated and framed to accommodate these features.
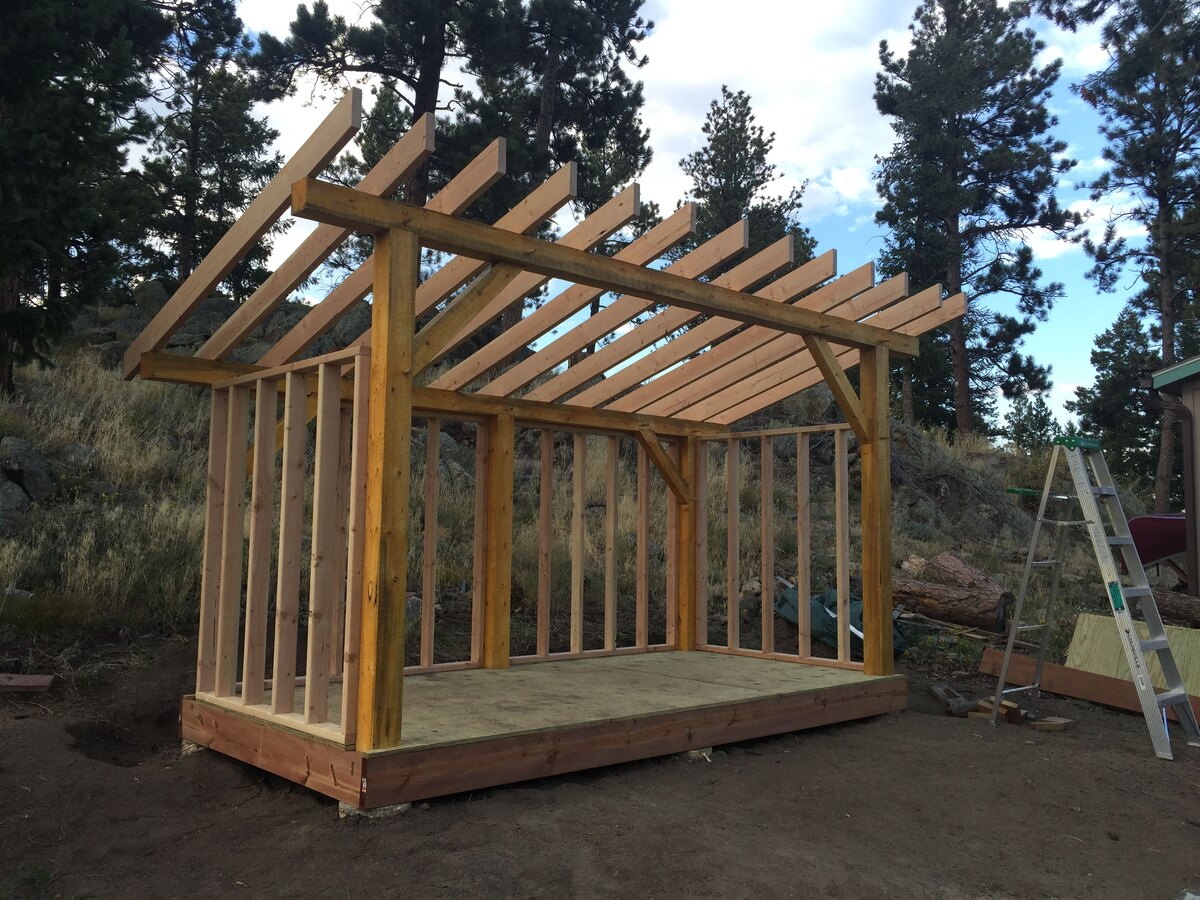
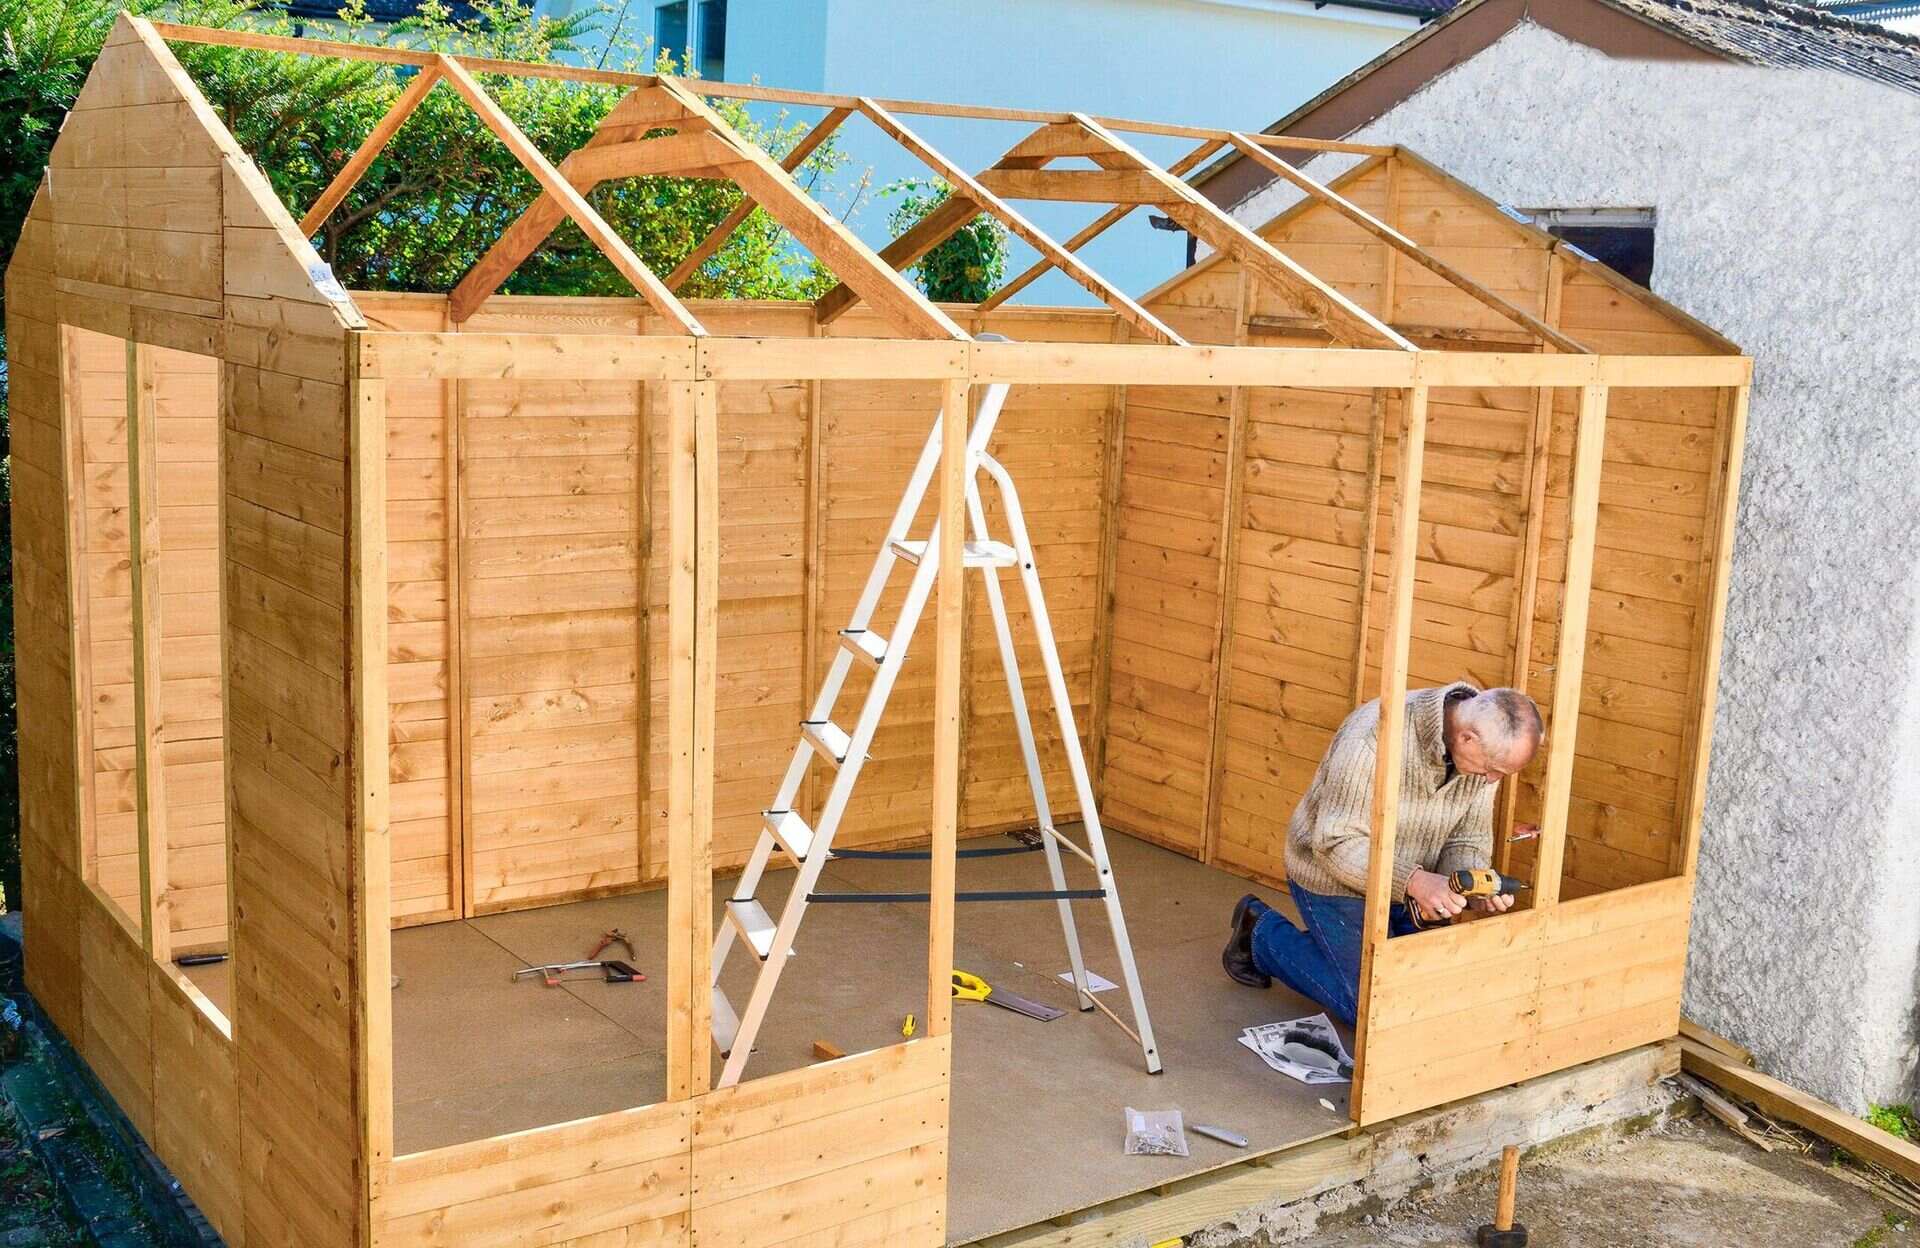
Once the individual wall sections are framed, it’s time to assemble them into a unified structure. This process may involve lifting and securing the walls into position on the foundation, ensuring that they are plumb and level. Temporary bracing can be used to stabilize the walls as they are assembled, promoting structural integrity during the construction process.
With the walls in place, the next step is to sheath the exterior surfaces to provide protection from the elements and enhance the shed’s visual appeal. Oriented strand board (OSB) or plywood are commonly used for sheathing, offering durability and stability when properly installed. Carefully measure and cut the sheathing to fit the wall surfaces, securing them with fasteners to create a solid and weather-resistant enclosure.
Depending on your shed’s design, you may also incorporate additional elements such as windows, vents, or decorative features into the wall construction. These details can enhance the functionality and aesthetics of the shed, creating a personalized and inviting space for your motorcycle and related activities.
As you progress through the wall construction phase, take the time to ensure that each element is securely fastened and aligned with precision. Attention to detail during this stage will contribute to the overall strength and visual appeal of your motorcycle shed, bringing you one step closer to enjoying a purpose-built space for your prized two-wheeled companion.
With the walls standing tall, you’re ready to advance to the next phase of construction, inching closer to the completion of your meticulously crafted motorcycle shed.
Installing the Roof
As your motorcycle shed takes shape, the installation of the roof marks a significant milestone in the construction process. The roof not only provides crucial protection from the elements but also contributes to the overall aesthetic and functionality of the structure. Whether you opt for a traditional gable roof, a modern flat roof, or another style, careful attention to detail during the installation will ensure a durable and weather-resistant covering for your prized motorcycle.
Prior to installing the roof, it’s essential to select the appropriate roofing materials based on your shed’s design, local climate, and personal preferences. Common options include asphalt shingles, metal roofing panels, and corrugated fiberglass sheets, each offering unique benefits in terms of durability, cost, and visual appeal.
Begin by preparing the roof framing to support the selected roofing material. This may involve installing roof trusses, rafters, or other structural components to create a stable and load-bearing framework for the roof. Properly securing the framing elements and ensuring they are aligned and level is crucial to the overall integrity of the roof structure.
Once the framing is in place, it’s time to apply the chosen roofing material according to the manufacturer’s guidelines. If you’re installing asphalt shingles, start at the lower edge of the roof and work your way upward, overlapping the shingles to create a watertight barrier. For metal roofing panels, carefully align and secure each panel, paying attention to proper fastening and sealing to prevent water infiltration.
As you install the roofing material, take care to incorporate appropriate flashing and edge details to ensure that the roof is sealed against moisture and wind-driven rain. Properly installed flashing around roof penetrations, such as vents or chimneys, is essential to preventing water intrusion and maintaining the shed’s interior dryness.
Depending on your shed’s design, you may also include features such as gutters and downspouts to manage water runoff and protect the shed’s foundation and surroundings from excessive moisture. Thoughtful consideration of these details will contribute to the long-term resilience and functionality of your motorcycle shed.
By meticulously installing the roof with precision and attention to detail, you’ll create a protective and visually appealing covering for your motorcycle shed, bringing you one step closer to enjoying a secure and stylish space for your prized two-wheeled companion.
With the roof securely in place, you’re poised to move forward to the final phases of construction, edging closer to the completion of your meticulously crafted motorcycle shed.
Adding Finishing Touches
As the construction of your motorcycle shed nears completion, the time has come to add the finishing touches that will elevate the functionality, aesthetics, and overall appeal of the structure. These final details not only contribute to the shed’s visual charm but also enhance its usability, creating a tailored space for storing, maintaining, and showcasing your prized motorcycle.
One of the most impactful finishing touches is the application of exterior siding or cladding to the shed’s walls. Whether you opt for wood siding, vinyl panels, or another material, the choice of cladding can significantly influence the shed’s appearance and its ability to withstand the elements. Properly installed siding provides an additional layer of protection and contributes to the shed’s overall visual appeal.
Consider incorporating windows into your shed’s design to introduce natural light and ventilation. Strategically placed windows not only brighten the interior space but also create a welcoming atmosphere for working on your motorcycle and enjoying the surrounding views. Choose window styles that complement the shed’s design and ensure proper sealing to prevent air and water infiltration.
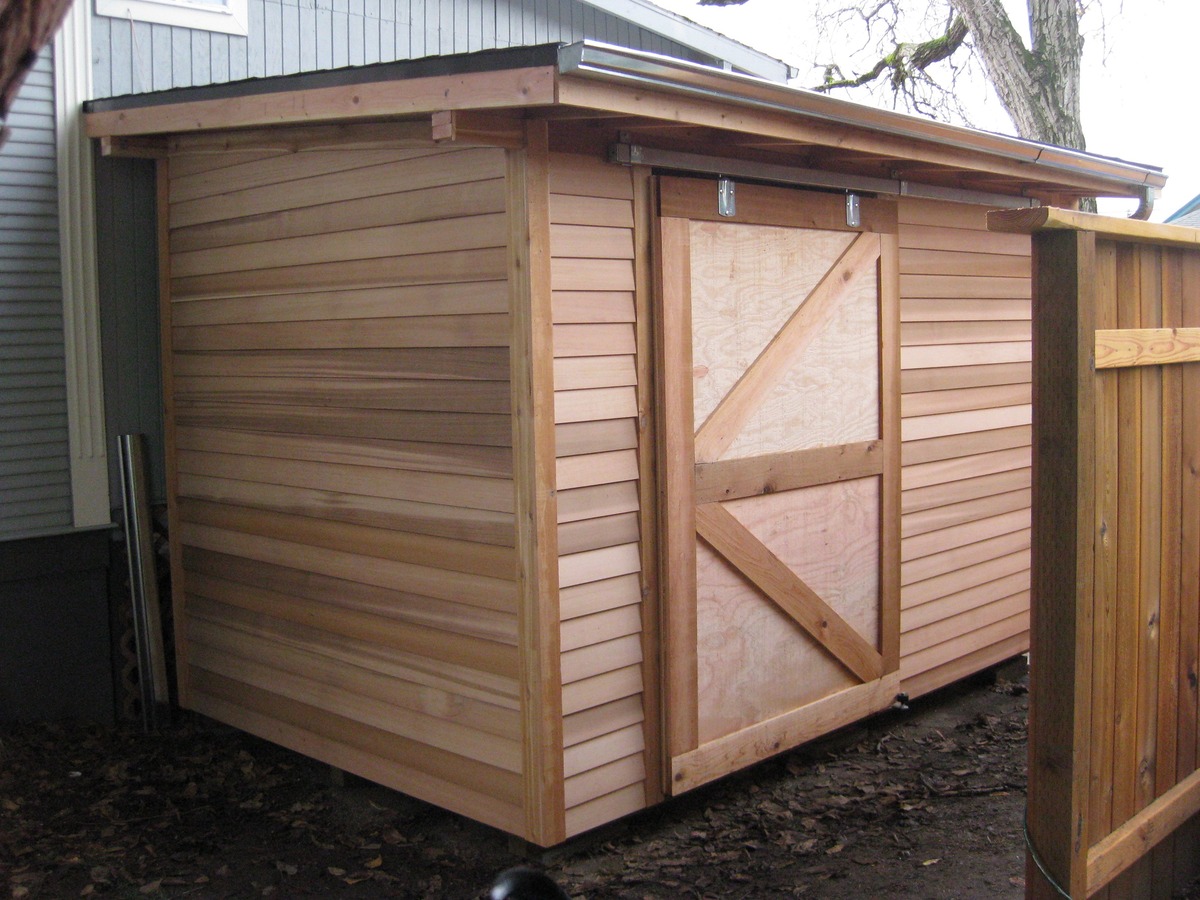
Additionally, outfitting the shed with a sturdy and secure door is essential for both functionality and security. Whether you prefer a traditional hinged door, a sliding barn-style door, or a roll-up door, select an option that aligns with the shed’s design and provides convenient access for your motorcycle while safeguarding the contents of the shed.
Lighting is another crucial consideration for enhancing the shed’s usability. Installing interior and exterior lighting fixtures can extend the shed’s functionality into the evening hours, allowing you to work on your motorcycle or access the shed’s contents after dark. Thoughtfully placed lighting can also accentuate the shed’s architectural features and create a welcoming ambiance.
To personalize your motorcycle shed, consider adding custom storage solutions, workbenches, and organization systems tailored to your specific needs. These elements can optimize the shed’s interior space, providing designated areas for tools, accessories, and maintenance equipment while creating a cohesive and efficient workspace.
Finally, consider landscaping and exterior enhancements to integrate the shed seamlessly into your property. Whether it’s adding a pathway, planting shrubs or flowers, or incorporating decorative elements, thoughtful landscaping can enhance the shed’s visual appeal and create a harmonious connection with the surrounding environment.
By attending to these finishing touches with care and consideration, you’ll transform your motorcycle shed into a functional, inviting, and visually striking space that complements your property and provides a secure and stylish home for your beloved motorcycle.
With the finishing touches complete, your meticulously crafted motorcycle shed is ready to take its place as a standout feature of your property, providing a dedicated and protective space for your cherished two-wheeled companion.
Conclusion
Congratulations on reaching the conclusion of your motorcycle shed construction journey! From the initial vision to the final finishing touches, you’ve embarked on a rewarding and transformative project that has resulted in a purpose-built space for safeguarding and enjoying your prized motorcycle.
Building a motorcycle shed is not just about creating a protective enclosure for your bike; it’s about crafting a space that reflects your passion for two-wheeled adventures and provides a functional and visually appealing addition to your property. Throughout the construction process, you’ve demonstrated dedication, creativity, and a commitment to quality, resulting in a motorcycle shed that stands as a testament to your craftsmanship and vision.
By carefully choosing the location, meticulously planning the design, and executing each construction phase with precision, you’ve brought to life a structure that not only shelters your motorcycle from the elements but also complements the aesthetic of your property. The attention to detail in selecting materials, framing walls, installing the roof, and adding finishing touches has culminated in a motorcycle shed that is as resilient as it is beautiful.
As you stand back and admire the completed motorcycle shed, envision the countless hours of enjoyment and maintenance that await within its walls. Whether it’s tinkering with your bike, embarking on new adventures, or simply reveling in the pride of ownership, your motorcycle shed stands ready to support and enhance your passion for all things motorcycle-related.
Furthermore, the construction of your motorcycle shed represents a journey of personal fulfillment and accomplishment. The skills you’ve honed, the challenges you’ve overcome, and the creativity you’ve infused into the project have not only resulted in a tangible structure but have also enriched your experience as a DIY enthusiast and homeowner.
As you move forward, make the most of your newly built motorcycle shed. Embrace the opportunities it presents for storage, maintenance, and leisure, and take pride in the fact that you’ve created a space that not only protects your motorcycle but also reflects your dedication to craftsmanship and the pursuit of your passions.
So, take a moment to savor the satisfaction of a job well done, and let your motorcycle shed stand as a testament to your ingenuity, perseverance, and love for the open road. As you embark on new adventures and create lasting memories with your motorcycle, may your shed serve as a steadfast companion, providing the protection and inspiration you need to continue embracing the thrill of the ride.
Congratulations once again on the completion of your motorcycle shed, and may it bring you many years of joy, pride, and the freedom of the open road.
Frequently Asked Questions about How To Build A Motorcycle Shed
Was this page helpful?
At Storables.com, we guarantee accurate and reliable information. Our content, validated by Expert Board Contributors, is crafted following stringent Editorial Policies. We're committed to providing you with well-researched, expert-backed insights for all your informational needs.


0 thoughts on “How To Build A Motorcycle Shed”