Home>Kitchen & Cooking>Kitchen Gadgets & Utensils>How To Convert A Keg Into A Brew Kettle
Kitchen Gadgets & Utensils
How To Convert A Keg Into A Brew Kettle
Modified: February 18, 2024
Learn how to convert a keg into a brew kettle with our comprehensive guide. Explore the best kitchen gadgets and utensils for your brewing needs.
(Many of the links in this article redirect to a specific reviewed product. Your purchase of these products through affiliate links helps to generate commission for Storables.com, at no extra cost. Learn more)
Introduction
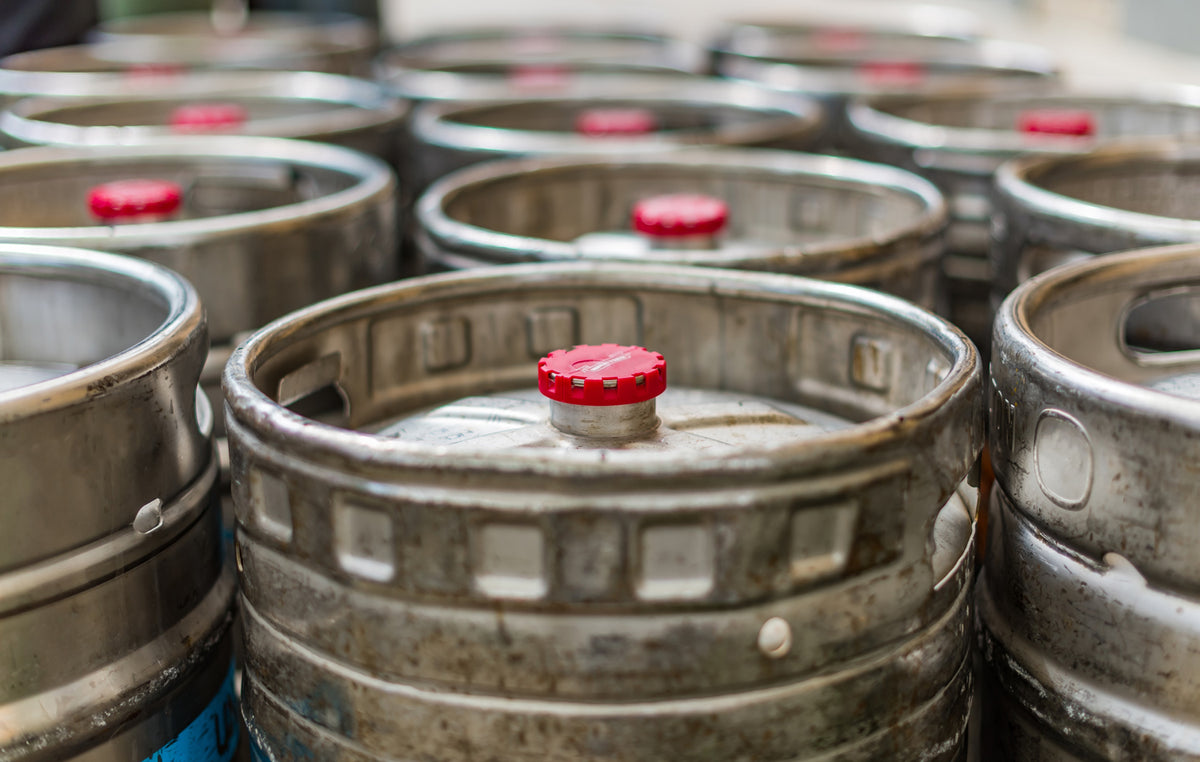
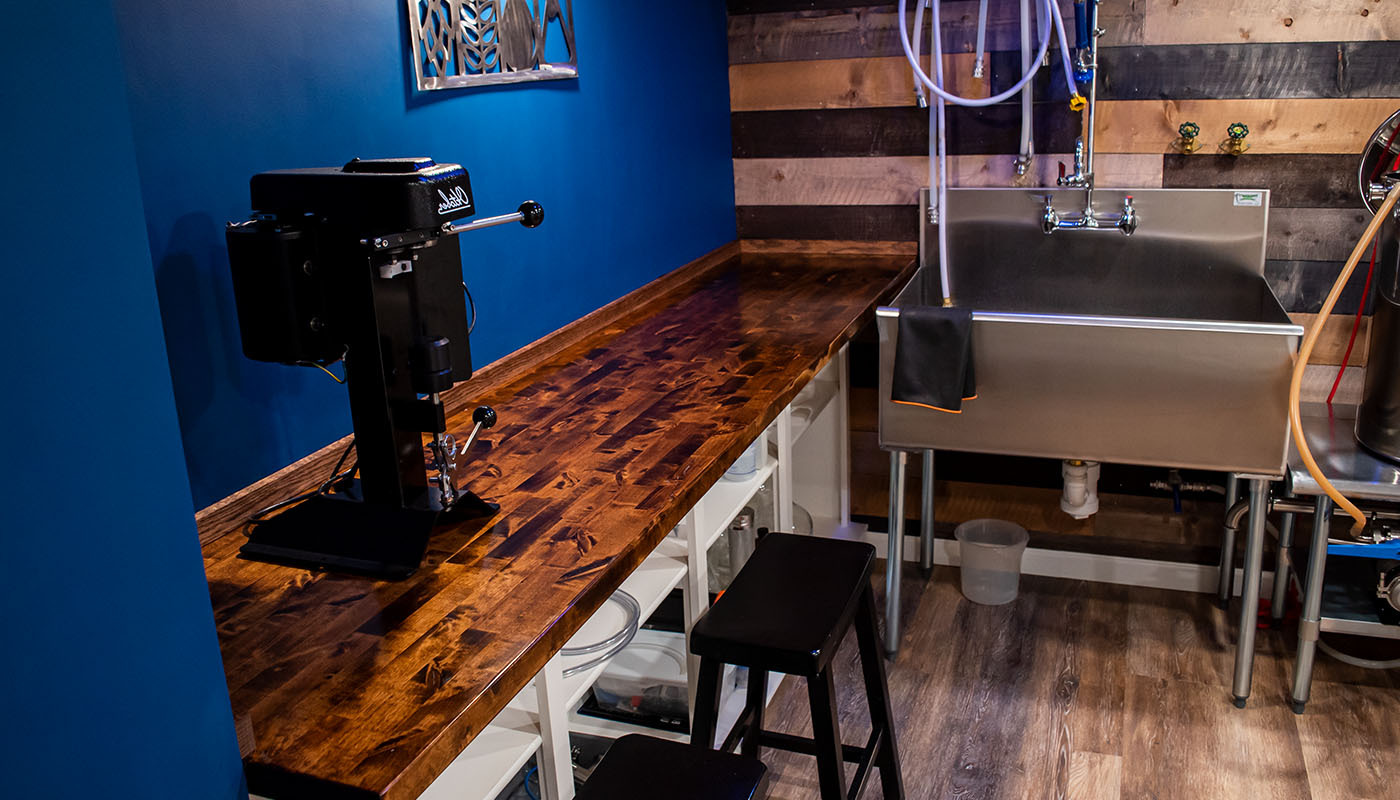
If you're an avid homebrewer, you know how crucial a brew kettle is for the beer-making process. While there are various options available for purchase, converting a keg into a brew kettle can be a cost-effective and rewarding alternative. Not only does it allow you to repurpose a keg that might otherwise go to waste, but it also provides you with a durable and efficient vessel for brewing your favorite concoctions.
In this comprehensive guide, we'll walk you through the process of transforming a keg into a fully functional brew kettle. From preparing the keg for modification to adding essential fittings and final touches, you'll learn the step-by-step procedure to create a custom brew kettle that suits your brewing needs.
So, gather your tools and let's embark on this exciting journey of converting a keg into a brew kettle that will elevate your homebrewing experience to new heights.
Key Takeaways:
- Transform a keg into a brew kettle by cleaning, drilling, and adding fittings. Enjoy the rewarding process of repurposing a keg into a custom brewing vessel for your homebrewing adventures.
- Elevate your homebrewing experience by converting a keg into a fully functional brew kettle. Embrace the art of brewing and unleash your creativity with a customized vessel that reflects your passion for crafting delicious beers.
Materials Needed
Before diving into the keg conversion process, it’s essential to gather the necessary materials and tools. Here’s a comprehensive list of what you’ll need:
- Stainless steel keg
- Angle grinder with a cutoff wheel
- Electric drill
- Step bit
- Marker or scribe
- Center punch
- Hammer
- File or deburring tool
- Stainless steel fittings (bulkhead, nipple, and lock nut)
- Teflon tape or thread sealant
- Ball valve
- Wrenches (adjustable and open-ended)
- Heat-resistant silicone tubing
- Thermometer
- Fire extinguisher (for safety)
These materials will provide you with the foundation to successfully convert a keg into a brew kettle. Additionally, ensure that you have a well-ventilated workspace and take necessary safety precautions when working with power tools and welding equipment.
Step 1: Preparing the Keg
Before you can start the conversion process, it’s crucial to thoroughly clean and prepare the keg for modification. Here’s a detailed breakdown of the preparatory steps:
1.1 Cleaning the Keg: Begin by ensuring that the keg is completely empty and free of any residual liquids or contaminants. Use a suitable cleaning solution and hot water to thoroughly wash the interior and exterior of the keg. This step is essential to eliminate any potential impurities that could affect the quality of your brew.
1.2 Removing the Spear: The spear, which is the central tube inside the keg, needs to be removed to create a wide opening for brewing. This process typically involves depressurizing the keg, unscrewing the retaining nut, and carefully extracting the spear. Be sure to follow the manufacturer’s guidelines for safe spear removal.
1.3 Marking the Cutout: Use a marker or scribe to outline the location where you’ll be cutting an opening in the keg. This marking will guide the drilling and cutting process, ensuring precision and accuracy.
1.4 Securing the Keg: To prevent the keg from rolling or shifting during the modification process, secure it in a stable position using clamps or a sturdy workbench. This will provide a safe and controlled environment for the subsequent steps.
By meticulously preparing the keg, you’ll lay the groundwork for a seamless and efficient conversion process. With the keg cleaned and prepped, you’re ready to move on to the next phase of transforming it into a fully functional brew kettle.
Step 2: Drilling Holes
Once the keg is prepared, the next critical step in the conversion process is drilling the necessary holes for fittings and accessories. This phase requires precision and careful execution to ensure that the keg retains its structural integrity while accommodating essential components. Here’s a detailed guide to drilling holes in the keg:
2.1 Marking Hole Locations: Using the previously outlined cutout marking as a reference, identify the specific locations where holes need to be drilled for fittings such as the ball valve, thermometer, and other accessories. Precision is key at this stage, so take your time to accurately mark the positions.
2.2 Selecting the Right Drill Bit: Depending on the fittings you’ll be installing, choose the appropriate drill bit size, preferably a step bit designed for metal. This specialized bit will allow you to create clean and accurately sized holes without causing damage to the keg’s surface.
2.3 Securing the Keg: Before drilling, ensure that the keg is securely clamped or anchored to prevent any movement during the drilling process. This stability is crucial for maintaining control and precision while operating the drill.
2.4 Drilling the Holes: With the keg firmly secured and the appropriate drill bit in place, carefully drill the marked holes at a steady pace, applying consistent pressure. Take caution to avoid excessive force, as the goal is to create clean, precise holes without compromising the integrity of the keg’s structure.
2.5 Deburring the Holes: After drilling, use a file or deburring tool to remove any rough edges or burrs around the newly created holes. This step is essential for ensuring a smooth and secure fit for the fittings, preventing leaks and maintaining a professional finish.
By following these meticulous steps, you’ll successfully drill the necessary holes in the keg, setting the stage for the seamless integration of fittings and accessories in the subsequent phases of the conversion process.
When converting a keg into a brew kettle, make sure to thoroughly clean and sanitize the keg before starting the conversion process. This will help ensure that your brew kettle is free from any contaminants that could affect the flavor of your beer.
Step 3: Adding Fittings
With the holes drilled, it’s time to focus on adding the essential fittings that will transform the keg into a fully functional brew kettle. The fittings play a critical role in facilitating the brewing process and ensuring seamless operation. Here’s a comprehensive guide to adding fittings to the keg:
3.1 Selecting Stainless Steel Fittings: When it comes to fittings for a brew kettle, stainless steel is the preferred material due to its durability and resistance to corrosion. Choose high-quality stainless steel bulkheads, nipples, and lock nuts that are specifically designed for brewing applications.
3.2 Applying Teflon Tape or Thread Sealant: Before installing the fittings, apply Teflon tape or thread sealant to the threaded areas. This step is crucial for creating a tight and leak-free seal, preventing any potential issues during the brewing process.
3.3 Installing the Bulkheads and Nipples: Begin by inserting the bulkheads and nipples into the drilled holes, ensuring a snug fit. Use wrenches to securely tighten the fittings, taking care not to overtighten and risk damaging the keg’s surface.
3.4 Securing the Lock Nuts: Once the bulkheads and nipples are in place, secure them from the inside of the keg using stainless steel lock nuts. Tighten the lock nuts with the appropriate wrenches to create a secure and watertight connection.
3.5 Checking for Leaks: After installing the fittings, perform a thorough inspection to check for any potential leaks. Fill the keg with water and pressurize it to test the integrity of the fittings, addressing any leaks or issues that may arise.
By meticulously adding the necessary fittings and ensuring a secure and leak-free installation, you’ll be one step closer to completing the conversion of the keg into a functional brew kettle. The next phase will involve incorporating a crucial component for controlling the flow of liquids during the brewing process.
Read more: How To Use Kegerator For Home Brew
Step 4: Adding a Ball Valve
Adding a ball valve to the brew kettle is a pivotal step that provides precise control over the flow of liquids during the brewing process. This essential component allows you to regulate the transfer of wort and facilitates efficient draining and transferring of liquids. Here’s a comprehensive guide to adding a ball valve to the keg:
4.1 Selecting a High-Quality Ball Valve: When choosing a ball valve, opt for a high-quality stainless steel or brass valve that is specifically designed for brewing applications. Ensure that it is compatible with the size and thread specifications of the fittings on your keg.
4.2 Positioning the Ball Valve: Determine the optimal location for installing the ball valve on the keg, typically near the bottom for efficient draining. Mark the precise spot where the ball valve will be mounted, ensuring that it aligns with the existing fittings and the intended use during brewing.
4.3 Drilling and Installing the Ball Valve: Using a suitable drill bit, carefully create a hole at the marked location for mounting the ball valve. Once the hole is drilled, insert the ball valve and secure it in place using the appropriate fittings and sealants. Ensure a tight and leak-free connection by applying Teflon tape or thread sealant as needed.
4.4 Attaching the Handle and Testing: After installing the ball valve, attach the handle to the valve mechanism, ensuring smooth and effortless operation. Test the functionality of the ball valve by regulating the flow of water or liquid through the keg, confirming that it operates smoothly and efficiently.
4.5 Ensuring a Secure Seal: Inspect the connection points of the ball valve to verify that it forms a secure seal with the keg. Address any potential leaks or irregularities to ensure that the ball valve functions flawlessly during the brewing process.
By adding a high-quality ball valve to the keg, you’ll enhance the functionality of the brew kettle, enabling precise control over liquid flow and contributing to a streamlined brewing experience. With the ball valve in place, the keg is ready for the final touches that will complete its transformation into a fully operational brew kettle.
Step 5: Final Touches
As you approach the completion of the keg conversion process, it’s time to focus on the final touches that will optimize the functionality and convenience of your newly transformed brew kettle. These finishing steps will ensure that the kettle is fully equipped to meet your brewing needs. Here’s a detailed guide to the final touches:
5.1 Installing a Thermometer: Adding a thermometer to the brew kettle provides crucial temperature monitoring during the brewing process. Select a high-quality thermometer designed for brewing applications and install it at a convenient location on the keg, typically near the top for accurate temperature readings.
5.2 Securing Heat-Resistant Silicone Tubing: Incorporate heat-resistant silicone tubing to facilitate efficient liquid transfer and circulation during brewing. Secure the tubing to the fittings on the keg, ensuring a tight and reliable connection that can withstand the brewing environment’s temperature and pressure.
5.3 Conducting Safety Checks: Before putting the brew kettle into use, perform comprehensive safety checks to ensure that all fittings, valves, and accessories are securely installed and free of leaks. Verify that the keg is structurally sound and capable of withstanding the brewing process’s demands.
5.4 Customizing for Efficiency: Consider additional customizations or accessories, such as sight gauges, hop filters, or custom dip tubes, to further enhance the functionality and efficiency of the brew kettle based on your brewing preferences and requirements.
5.5 Cleaning and Sanitizing: Prior to using the brew kettle for brewing, thoroughly clean and sanitize the interior to eliminate any contaminants or residues that may affect the quality of your brew. Maintain a strict cleaning regimen to ensure the kettle remains in optimal brewing condition.
By meticulously attending to these final touches, you’ll elevate the keg’s functionality and prepare it for seamless integration into your brewing setup. With the completion of these steps, your transformed brew kettle is ready to play a central role in crafting your favorite homebrewed creations.
Conclusion
Congratulations on successfully converting a keg into a fully functional brew kettle! The journey from a standard keg to a customized brewing vessel has been a rewarding and empowering experience, allowing you to repurpose a durable container for a new and exciting purpose. As you reflect on the comprehensive process of transforming the keg, it’s evident that attention to detail, precision, and a passion for homebrewing have driven this remarkable achievement.
Throughout the conversion process, you’ve meticulously prepared the keg, drilled precise holes, added essential fittings, integrated a ball valve for liquid control, and perfected the kettle with additional accessories and safety measures. Each step has contributed to the creation of a brew kettle that aligns with your brewing aspirations and elevates your homebrewing endeavors to new heights.
As you embark on future brewing adventures with your newly transformed kettle, remember the dedication and craftsmanship that have gone into its creation. Embrace the opportunity to experiment with various brewing techniques, recipes, and ingredients, knowing that your custom brew kettle stands ready to support and enhance your creative pursuits.
Whether you’re crafting classic ales, robust stouts, or innovative experimental brews, your brew kettle is a testament to your passion for homebrewing and your commitment to excellence. Embrace the artistry and science of brewing, and let your custom kettle be the cornerstone of your brewing journey, inspiring you to push the boundaries of flavor and craftsmanship.
With your keg transformed into a brew kettle, you’ve unlocked a world of brewing possibilities and set the stage for a fulfilling and enriching homebrewing experience. Embrace the art of brewing, savor the process, and raise a glass to the ingenuity and creativity that have brought your custom brew kettle to life.
Frequently Asked Questions about How To Convert A Keg Into A Brew Kettle
Was this page helpful?
At Storables.com, we guarantee accurate and reliable information. Our content, validated by Expert Board Contributors, is crafted following stringent Editorial Policies. We're committed to providing you with well-researched, expert-backed insights for all your informational needs.


0 thoughts on “How To Convert A Keg Into A Brew Kettle”