Home>diy>Architecture & Design>How To Convert CAD Drawing To PDF

Architecture & Design
How To Convert CAD Drawing To PDF
Modified: January 14, 2024
Learn how to convert CAD drawing files into PDF format using simple steps. Enhance your architecture design workflow with this helpful tutorial.
(Many of the links in this article redirect to a specific reviewed product. Your purchase of these products through affiliate links helps to generate commission for Storables.com, at no extra cost. Learn more)
Introduction
Converting CAD drawings to PDF format is a common task for architects, engineers, and designers. PDF files are widely used for sharing and archiving documents because they preserve the original layout and formatting across different devices and platforms. Whether you need to share your CAD drawing with clients, colleagues, or simply want to create a digital backup, converting it to PDF is a simple and effective solution.
In this article, we will guide you through the step-by-step process of converting a CAD drawing to PDF. We will cover the basic steps you need to take, as well as provide some helpful tips to ensure a smooth conversion process. So, let’s dive in!
Key Takeaways:
- Easily convert CAD drawings to PDF format for convenient sharing, archiving, and preservation of layout and formatting. Follow simple steps from opening the drawing to reviewing the PDF output for accuracy and adjustments.
- Benefit from the convenience and versatility of PDF files by effortlessly converting CAD drawings. Ensure compatibility and optimal performance by updating and maintaining CAD and PDF software.
Read more: How To Convert A PDF To CAD
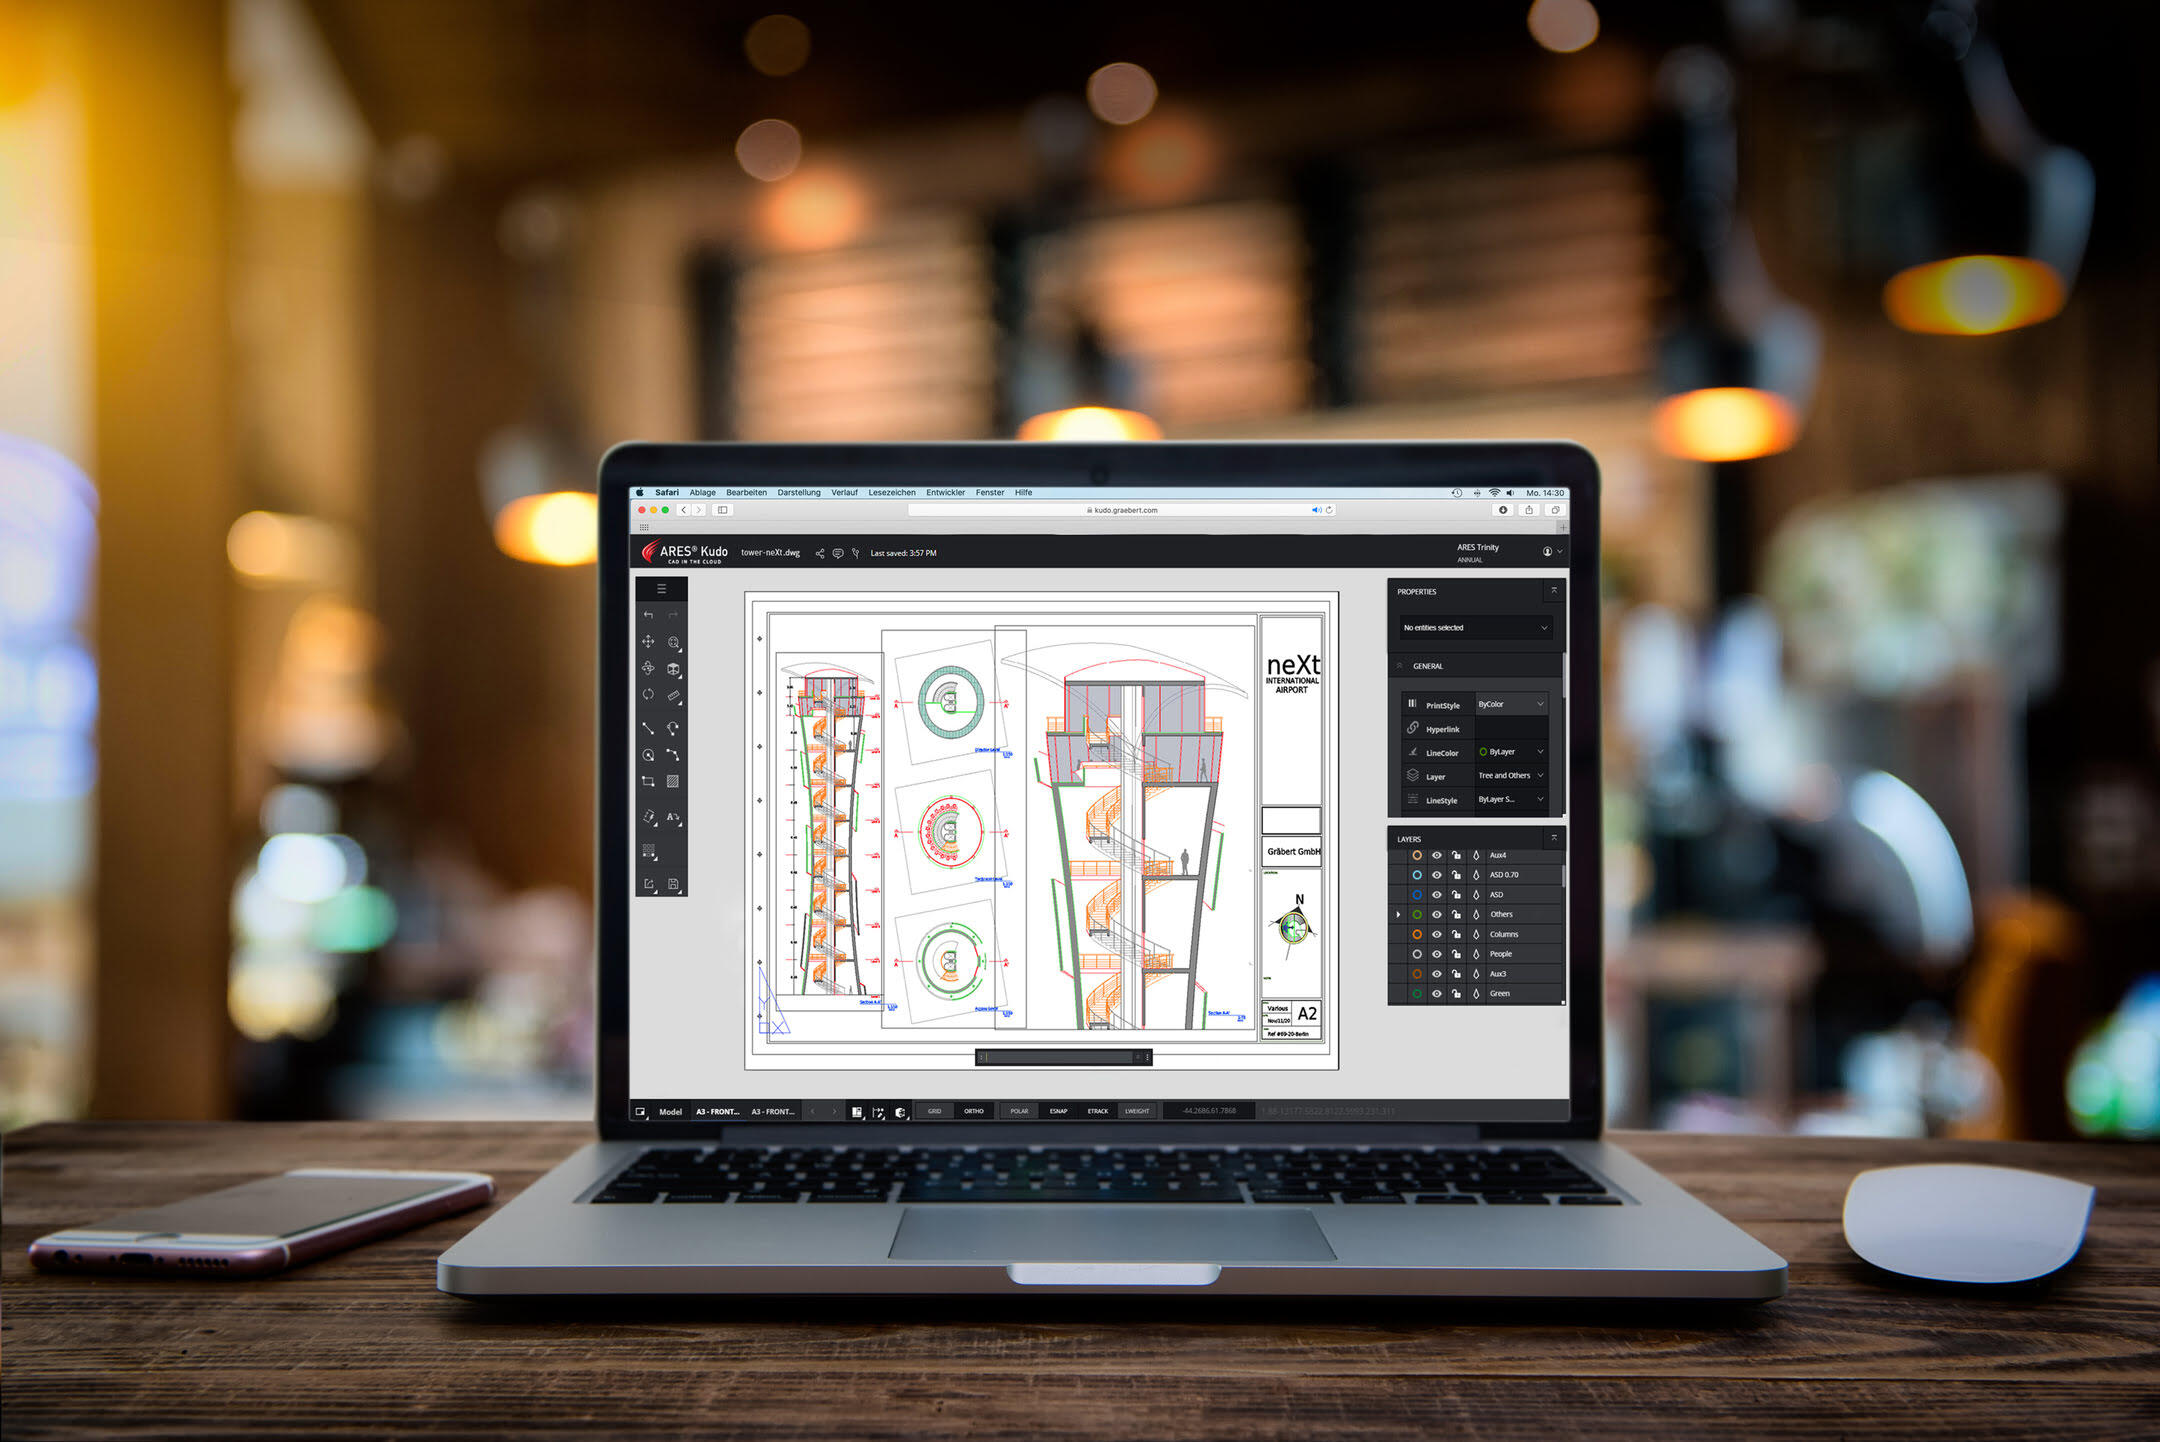
Step 1: Open the CAD drawing
The first step in converting a CAD drawing to PDF is to open the file in your CAD software. This software could be AutoCAD, SolidWorks, Revit, or any other CAD application that you use. Make sure you have the latest version of the software installed on your computer for optimal performance and compatibility.
To open the CAD drawing, launch the CAD software and locate the file. You can do this by navigating to the file location in your computer’s file explorer or by using the software’s built-in file browser.
Once you find the CAD drawing file, double-click on it or select it and click the “Open” button to open it in the CAD software. Depending on the size and complexity of the drawing, it may take a few moments to load.
It’s important to note that different CAD software may have slight variations in the steps to open a file. However, the general concept remains the same – locate the file and open it using your CAD software.
Now that you have successfully opened the CAD drawing, you are one step closer to converting it to PDF. The next step is to choose the print option, which we will cover in the next section.
Step 2: Choose the print option
Once you have opened the CAD drawing in your software, the next step is to choose the print option. This might sound counterintuitive since we are converting to PDF, but printing the drawing is actually the first step in the conversion process.
To choose the print option, navigate to the “File” or “Print” menu in your CAD software. The location and wording may vary slightly depending on the software you are using.
Click on the “Print” option to open the print settings dialog box. Here, you will be able to customize the print settings before converting the CAD drawing to PDF.
It’s worth noting that some CAD software may have a separate menu or option specifically for exporting or converting to PDF. If that’s the case, you can skip the print option and directly access the export or convert feature. However, in most cases, the print option serves as the gateway to the conversion process.
By choosing the print option, you are essentially telling the CAD software to treat the CAD drawing as if it were being printed on paper. This allows you to adjust various settings such as page size, layout, and print quality before converting it to PDF.
In the next step, we will discuss how to select the PDF printer, which is crucial for converting the CAD drawing to the PDF format.
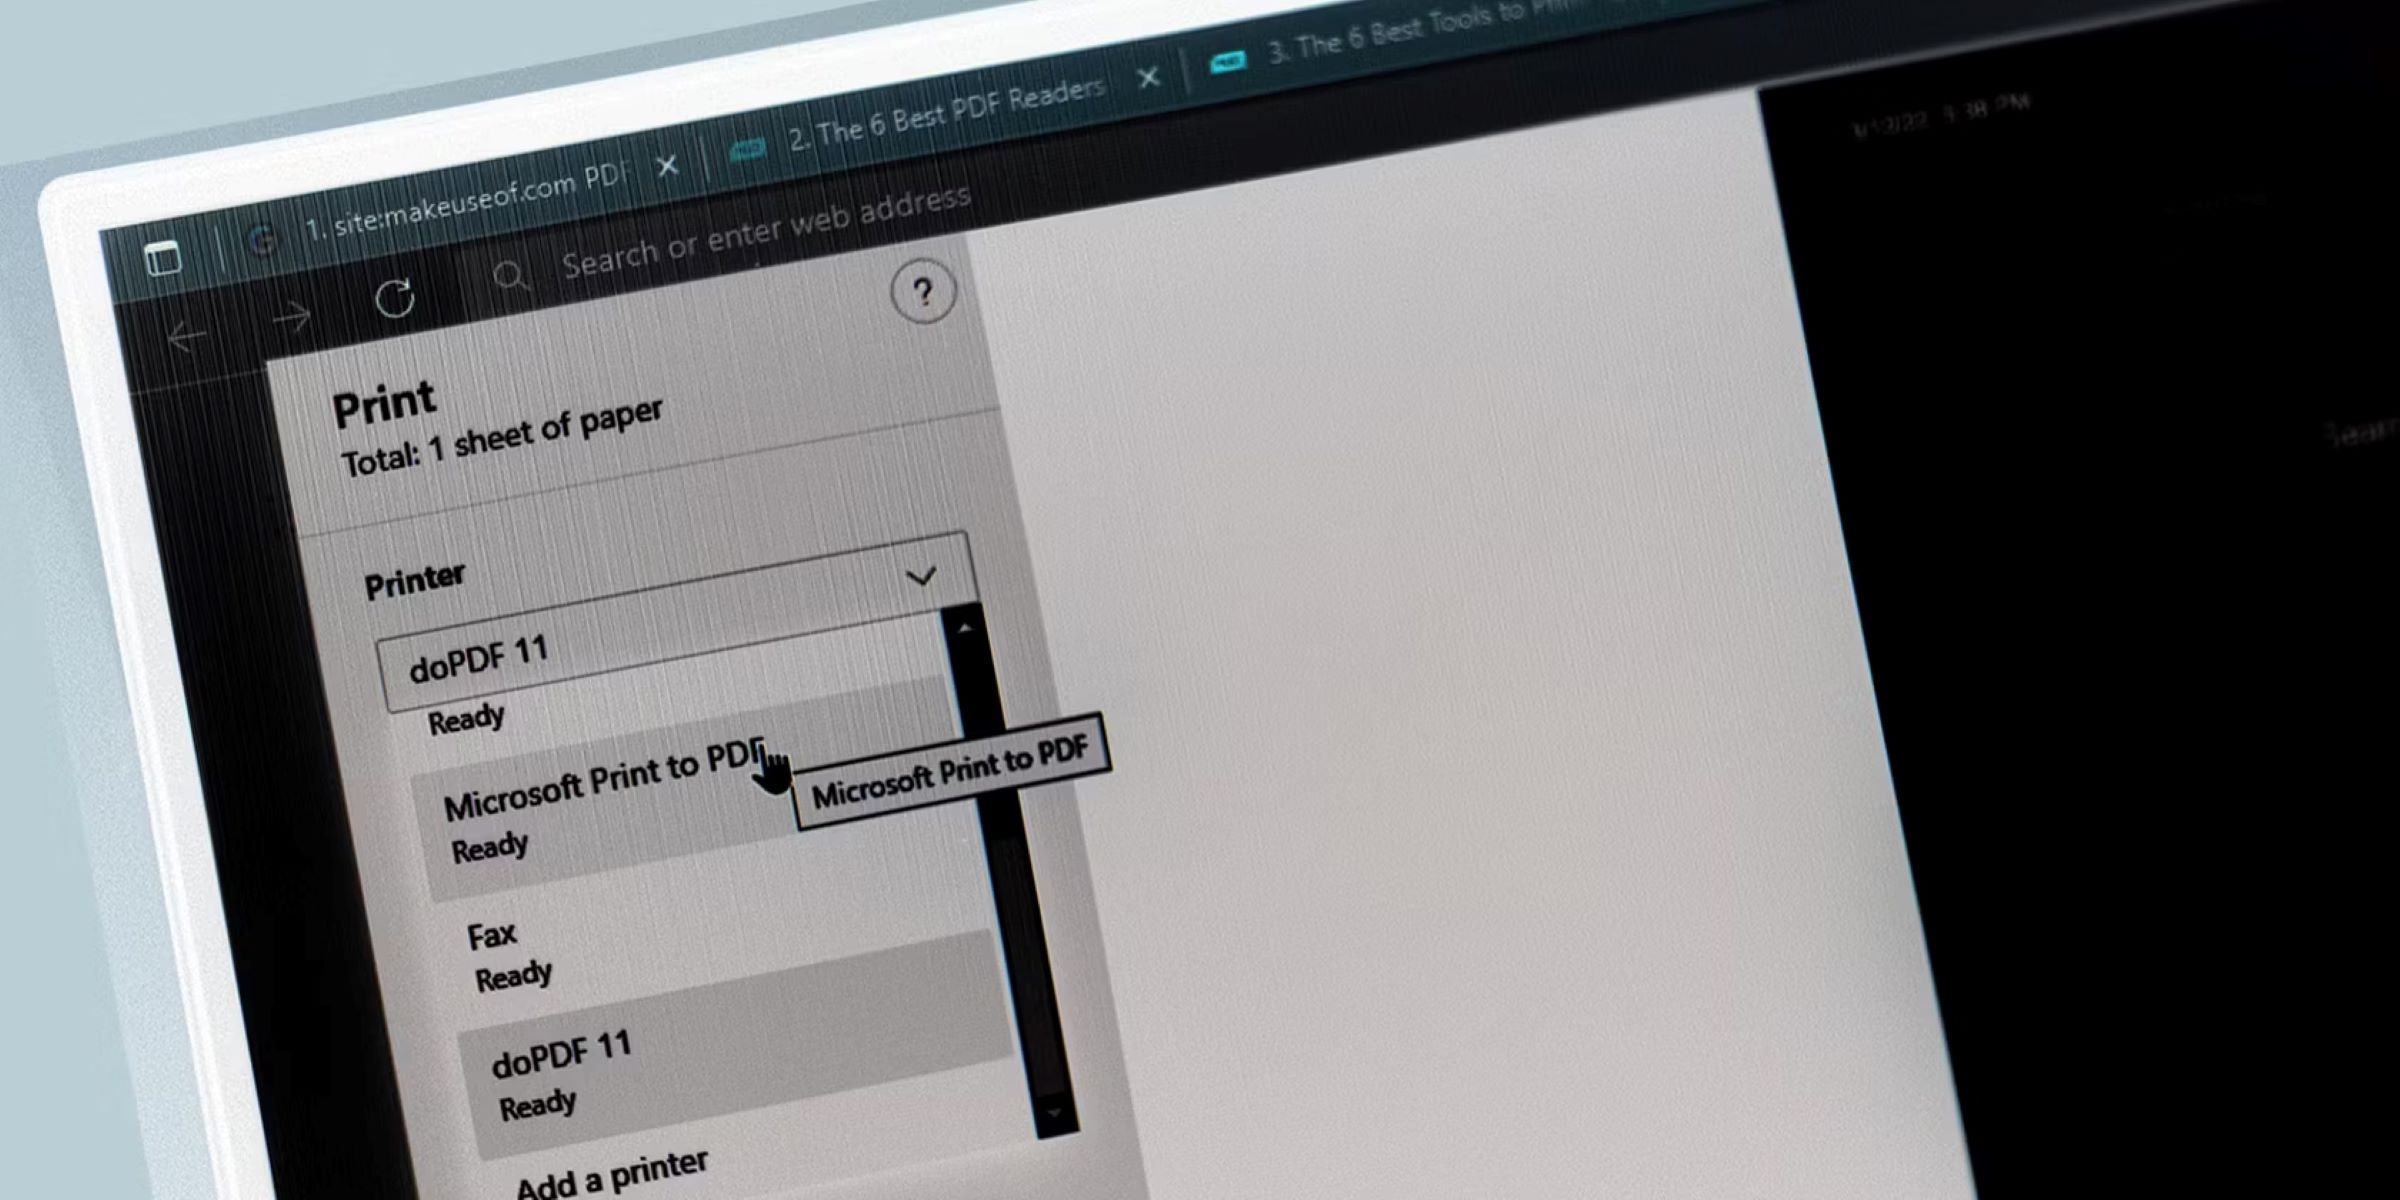
Step 3: Select the PDF printer
After choosing the print option in your CAD software, the next step is to select the PDF printer. A PDF printer is a virtual printer that allows you to save any document as a PDF file.
When you click on the print option, a dialog box will appear with a list of available printers. Scroll through the list and look for a printer with “PDF” or “Save as PDF” in its name. This is the PDF printer.
If you don’t see a PDF printer in the list, you may need to install one. There are several free PDF printer software options available online, such as Adobe Acrobat, CutePDF, or PrimoPDF. Download and install one of these software packages, and it will automatically add a PDF printer to your printer list.
Once you have selected the PDF printer, click on the “Print” or “OK” button to proceed. This will open the PDF settings dialog box, where you can customize the PDF conversion options.
Keep in mind that the options available in the PDF settings dialog box may vary depending on the PDF printer software you are using. However, the most common options include choosing the file format (PDF), specifying the file name and location, and adjusting the output quality.
Now that you have selected the PDF printer and accessed the PDF settings dialog box, you are ready to move on to the next step: setting the page size and layout for the PDF file.
Step 4: Set the page size and layout
Setting the page size and layout is an important step in converting a CAD drawing to PDF as it ensures that the PDF file accurately represents the original drawing’s dimensions and proportions. This step allows you to determine how the CAD drawing will be positioned and scaled within the PDF document.
In the PDF settings dialog box, you will find options to specify the page size and layout. The page size refers to the dimensions of the PDF document, while the layout determines how the CAD drawing will be positioned on the page.
When it comes to page size, you can usually choose from a pre-defined list of standard paper sizes, such as Letter, A4, or Legal. Select the appropriate size that matches the dimensions of your CAD drawing.
Regarding the layout, you have a few options to consider:
- Fit to page: This option automatically scales the CAD drawing to fit within the boundaries of the PDF page. It ensures that the entire drawing is visible without any cropping, but it may result in a smaller scale compared to the original.
- Centered: With this option, the CAD drawing is positioned at the center of the PDF page without any scaling. This can be useful if you want the drawing to be represented in its original size, but it may result in cropping if the drawing exceeds the page boundaries.
- Custom: Some PDF printer software allows you to define custom page sizes and layouts. This option is useful when you need precise control over the positioning and scaling of the CAD drawing within the PDF document.
Choose the appropriate page size and layout options based on your requirements and preferences. Once you have made the selections, proceed to the next step to adjust the other printing settings before converting the CAD drawing to a PDF file.
You can convert a CAD drawing to a PDF by using the “Export” or “Save As” function in your CAD software and selecting PDF as the file format. This will create a PDF version of your drawing that can be easily shared and viewed.
Read more: How To Save CAD Drawing As PDF
Step 5: Adjust the other printing settings
After setting the page size and layout for your CAD drawing in the PDF settings dialog box, the next step is to adjust the other printing settings to ensure the desired output in the PDF file.
Depending on the PDF printer software you are using, you may have access to various options to customize the printing settings. Here are some common settings you may encounter:
- Print Quality: This option allows you to specify the resolution or image quality of the PDF file. Higher quality settings result in larger file sizes, so consider your needs when selecting the appropriate print quality.
- Paper Orientation: Choose whether you want the PDF document to be in portrait (vertical) or landscape (horizontal) orientation. Select the orientation that best represents your CAD drawing.
- Color and Line Weight: Determine whether you want the PDF file to be in color or grayscale. Additionally, you may have the option to adjust the line weight of the CAD drawing to ensure clarity and legibility in the PDF document.
- Scaling: Some PDF printer software allows you to further adjust the scaling of the CAD drawing within the PDF document. This can be useful if you need to increase or decrease the size of the drawing while maintaining the proportions.
Take your time to review and adjust these settings according to your preferences. Consider factors such as the purpose of the PDF file, the desired file size, and the level of detail you want to maintain in the CAD drawing.
Remember, the goal is to ensure that the PDF file accurately represents your CAD drawing while optimizing the file size and visual quality. Once you are satisfied with the printing settings, move on to the next step to specify the file name and save location for the converted PDF document.
Step 6: Specify the file name and save location
After adjusting the printing settings for your CAD drawing, the next step is to specify the file name and save location for the converted PDF document. This ensures that you can easily locate and access the PDF file after the conversion is complete.
In the PDF settings dialog box, you will find a field or option where you can enter the desired file name for the PDF document. It’s recommended to choose a descriptive and meaningful name that accurately represents the CAD drawing.
Additionally, you need to specify the save location for the PDF file. By default, the PDF printer software may suggest a default location, such as the “Documents” folder on your computer. However, you can choose a different folder or directory based on your organizational preferences.
Browsing through your computer’s file explorer, select the desired folder or create a new one to save the PDF file. Make sure to choose a location that is easily accessible and provides an organized structure for your files.
Once you have entered the file name and selected the save location, double-check the details to ensure accuracy. This step is crucial to avoid any potential confusion or difficulty in locating the converted PDF file later on.
When you are satisfied with the file name and save location, proceed to the next step to initiate the conversion process and generate the PDF file from your CAD drawing.
Step 7: Start the conversion process
After specifying the file name and save location for your PDF document, you are now ready to start the conversion process. This step involves initiating the conversion from the CAD drawing to the PDF format using the selected settings.
In the PDF settings dialog box, look for a button or option that says “Print” or “Start” to begin the conversion process. Click on this button to start the conversion.
Once you click the “Print” or “Start” button, the PDF printer software will process the CAD drawing and generate the corresponding PDF file based on the specified settings. Depending on the size and complexity of the drawing, the conversion process may take a few moments.
During the conversion process, you may see a progress bar or status indicator to track the completion of the conversion. Avoid interrupting or closing the PDF printer software until the conversion is complete.
It’s important to note that the process of converting the CAD drawing to PDF is essentially creating a digital snapshot of the drawing at the moment of conversion. Therefore, any changes or modifications made to the CAD drawing after the conversion will not be reflected in the PDF file.
Once the conversion process is finished, the PDF printer software will notify you of the successful completion and provide an option to open the newly created PDF file for review.
Now that you have successfully generated the PDF file from your CAD drawing, proceed to the next step to review and make any necessary adjustments if required.
Step 8: Review and make necessary adjustments
After the conversion process is complete and you have the PDF file of your CAD drawing, it is essential to review the output and make any necessary adjustments. This step ensures that the PDF accurately represents the original drawing and meets your requirements.
Open the generated PDF file using a PDF viewer or reader software. Take the time to carefully examine the PDF document and compare it with the original CAD drawing. Pay attention to details such as the layout, dimensions, text clarity, and image quality.
If you notice any discrepancies or issues, you can go back to your CAD software and make the necessary adjustments to the drawing. Once the changes are applied, repeat the conversion process by following the previous steps.
During the review process, you may also want to test the PDF document on different devices and platforms to ensure compatibility and readability. This is particularly important if you plan on sharing the PDF file with others or if it will be accessed on various devices.
Additionally, consider the file size of the PDF document. If the resulting file is too large, it may be challenging to share or open on certain devices. In such cases, you may need to adjust the printing settings, such as reducing the print quality or compressing the PDF file, to achieve a smaller file size without compromising the overall quality.
By carefully reviewing the PDF file and making any necessary adjustments, you can ensure that the converted CAD drawing is accurate, visually appealing, and meets your intended purposes.
Congratulations! You have successfully converted your CAD drawing to PDF format, making it easily accessible and shareable. Enjoy the convenience and versatility of the PDF file for future reference or collaboration.
Read more: How To Insert PDF Into CAD
Conclusion
Converting CAD drawings to PDF format offers numerous benefits, from easy sharing and archiving to preserving the original layout and formatting. In this article, we have walked you through a step-by-step process to convert your CAD drawings to PDF effortlessly.
Starting with opening the CAD drawing in your software, we guided you through choosing the print option and selecting the PDF printer. We then discussed setting the page size and layout, adjusting other printing settings, specifying the file name and save location, and initiating the conversion process.
Once the conversion is complete, we emphasized the importance of reviewing the PDF file for accuracy and making necessary adjustments if needed. This ensures that the PDF accurately represents the original CAD drawing and meets your requirements.
By following these steps, you can effortlessly convert your CAD drawings to PDF format and benefit from the convenience and versatility it offers. You’ll be able to easily share your drawings with clients, colleagues, and collaborators, and ensure that they can view and access the drawings accurately across different devices and platforms.
Remember to regularly update and maintain your CAD software and PDF printer software to ensure compatibility and optimal performance. Additionally, consider the file size of the PDF documents and make adjustments to optimize them as needed.
Now that you have the knowledge and understanding of the conversion process, you can confidently convert your CAD drawings to PDF format whenever the need arises. Enjoy the ease and efficiency of working with PDF files in your architectural, engineering, or design projects!
Frequently Asked Questions about How To Convert CAD Drawing To PDF
Was this page helpful?
At Storables.com, we guarantee accurate and reliable information. Our content, validated by Expert Board Contributors, is crafted following stringent Editorial Policies. We're committed to providing you with well-researched, expert-backed insights for all your informational needs.


0 thoughts on “How To Convert CAD Drawing To PDF”