Home>Furniture & Design>Bathroom Accessories>How To Convert An Old Bathtub Into A Shower
Bathroom Accessories
How To Convert An Old Bathtub Into A Shower
Modified: February 19, 2024
Learn how to transform your bathroom with ease by converting an old bathtub into a stylish and functional shower. Explore innovative bathroom accessories and design ideas.
(Many of the links in this article redirect to a specific reviewed product. Your purchase of these products through affiliate links helps to generate commission for Storables.com, at no extra cost. Learn more)
Introduction
Converting an old bathtub into a shower can breathe new life into your bathroom, transforming it into a more functional and modern space. Whether you're looking to create a more accessible bathing option or simply want to update the look and feel of your bathroom, this project can be a rewarding endeavor. By following a series of steps, you can successfully convert your old bathtub into a sleek and stylish shower that meets your specific needs and preferences.
This comprehensive guide will walk you through the process of transforming your bathtub into a shower, providing detailed instructions and valuable tips to ensure a successful outcome. From removing the old bathtub to installing the shower fixtures, each step is crucial in achieving a seamless and professional-looking shower conversion.
Embarking on this project requires careful planning, attention to detail, and a willingness to tackle various tasks. While it may seem daunting at first, the end result will be well worth the effort. By understanding the intricacies of each step and taking the time to execute them with precision, you can create a shower that not only enhances the functionality of your bathroom but also adds a touch of elegance to the space.
Throughout this guide, you will learn about the tools and materials needed for the project, as well as the specific techniques required to complete each phase of the conversion. Whether you're a seasoned DIY enthusiast or a novice looking to expand your home improvement skills, this guide will equip you with the knowledge and confidence to take on the challenge of converting your old bathtub into a stunning shower.
As you embark on this transformative journey, remember that patience and attention to detail are key. By following the steps outlined in this guide and approaching each task with care, you can turn your vision of a modern, functional shower into a reality. So, roll up your sleeves, gather your tools, and let's begin the exciting process of converting your old bathtub into a stylish and inviting shower space.
Key Takeaways:
- Converting an old bathtub into a shower involves careful planning, precise execution, and attention to detail. Each step, from removing the old bathtub to installing the shower fixtures, is crucial for creating a modern and functional shower space.
- The transformation process includes preparing the plumbing, installing the shower base, waterproofing the surrounding area, and adding finishing touches. By following the detailed steps and taking the time to complete each phase with care, you can achieve a stunning and inviting shower that enhances the overall ambiance and usability of your bathroom.
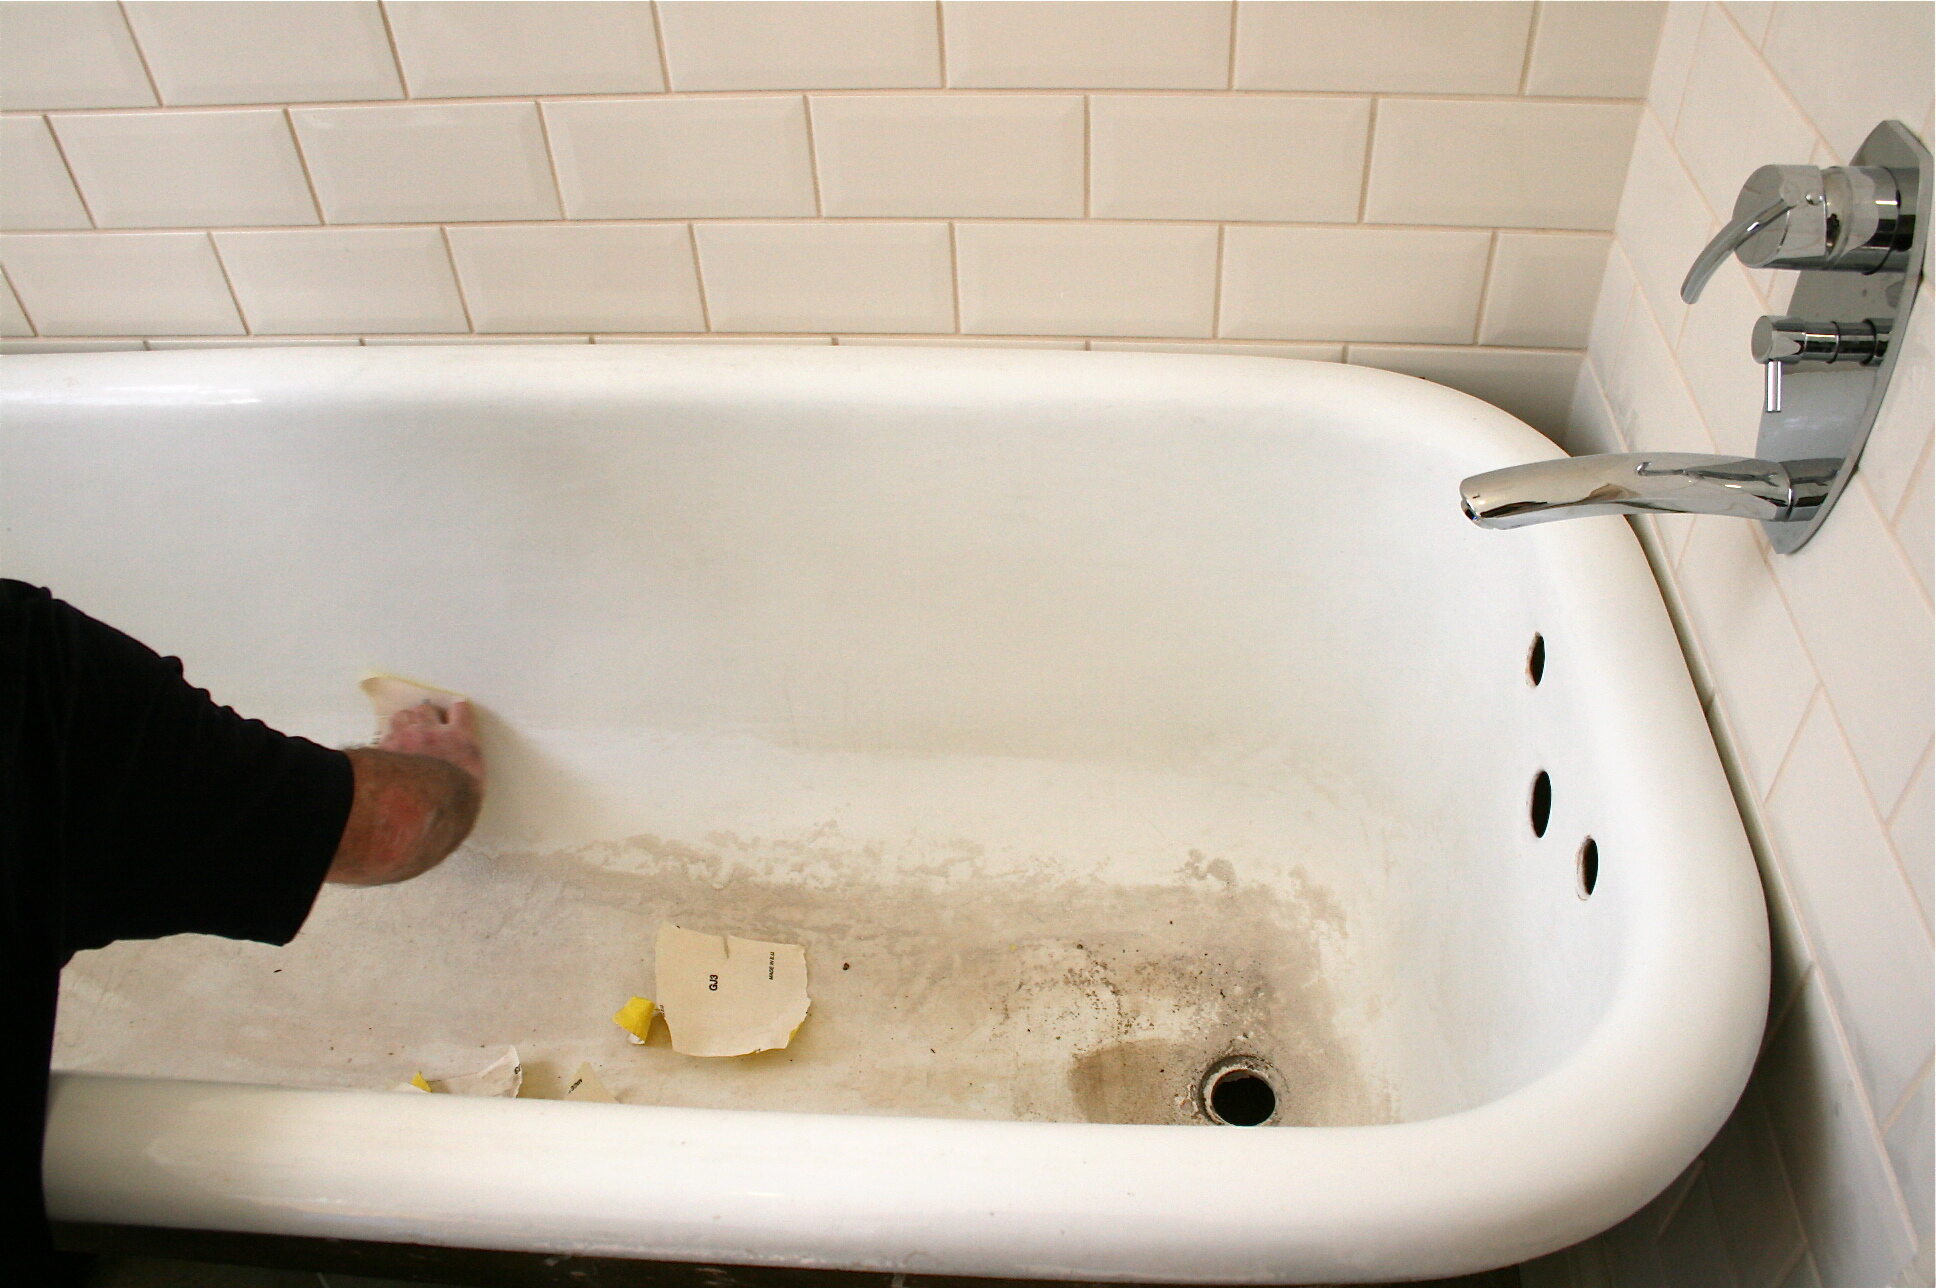
Step 1: Remove the Old Bathtub
Removing the old bathtub is the crucial first step in the process of converting it into a shower. This task requires careful planning and attention to detail to ensure a smooth transition to the next phases of the project. Here's a detailed breakdown of the steps involved in removing the old bathtub:
-
Prepare the Workspace: Before starting the removal process, clear the area around the bathtub and ensure there is ample space to work. Remove any accessories, such as shower curtains, rods, and shelves, to create a clear and unobstructed workspace.
-
Turn Off the Water Supply: Locate the shut-off valves for the bathtub's water supply and turn them off. It's essential to verify that the water supply is completely shut off before proceeding with the removal to avoid any potential leaks or water damage.
-
Disconnect the Plumbing: Carefully disconnect the plumbing fixtures connected to the bathtub, including the faucet, drain, and overflow assembly. Use appropriate tools to loosen and remove the connections, ensuring that all plumbing components are detached from the bathtub.
-
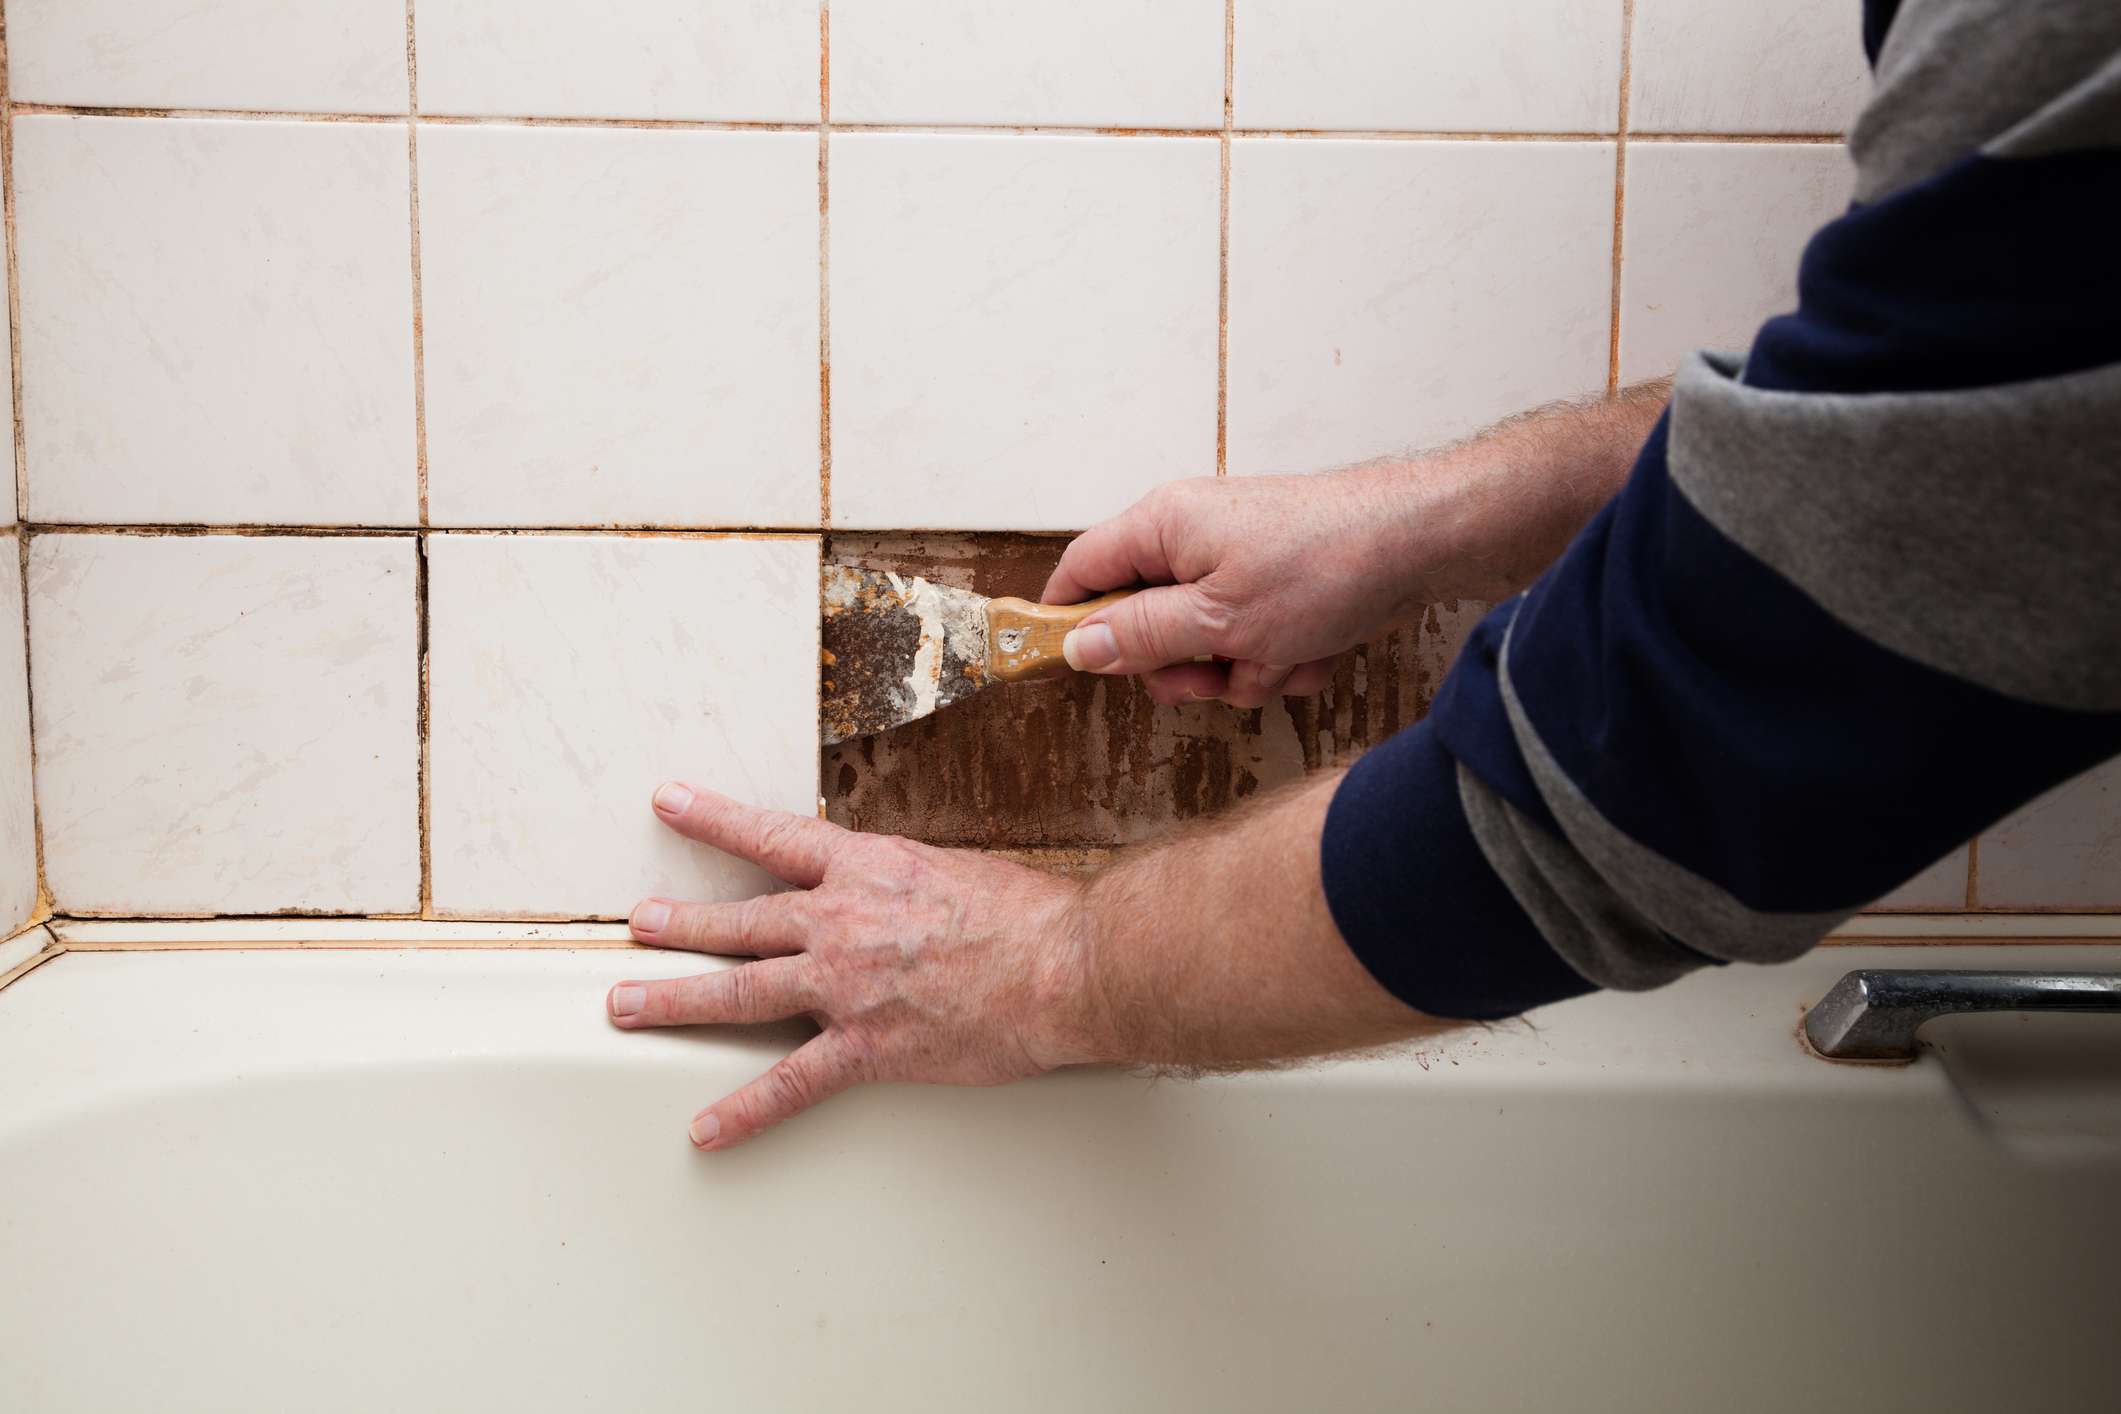
Remove Surrounding Tiles or Wall Coverings: If the bathtub is surrounded by tiles or other wall coverings, carefully remove them to expose the edges of the bathtub. Use a utility knife and pry bar to loosen and remove the tiles, taking care to avoid damaging the surrounding walls and surfaces.
-
Detach the Tub: With the plumbing disconnected and the surrounding area cleared, it's time to detach the bathtub from its position. Depending on the type of installation, this may involve unscrewing the bathtub from the wall studs or cutting through any adhesive or caulking securing the tub in place.
-
Lift and Remove the Bathtub: Enlist the help of others to carefully lift and remove the old bathtub from its alcove. Take caution to avoid damaging the surrounding walls and flooring during the removal process.
By following these detailed steps, you can effectively remove the old bathtub, setting the stage for the subsequent phases of the shower conversion project. With the bathtub successfully removed, you are ready to move on to the next step of preparing the plumbing for the installation of the new shower components.
Step 2: Prepare the Plumbing
Preparing the plumbing for the installation of the new shower components is a critical phase in the process of converting an old bathtub into a shower. This step involves assessing the existing plumbing configuration, making necessary adjustments, and ensuring that the plumbing infrastructure is compatible with the shower installation. Here's a detailed breakdown of the tasks involved in preparing the plumbing for the shower conversion:
-
Assess the Existing Plumbing: Begin by assessing the layout and condition of the existing plumbing. Determine the location of the water supply lines, drain, and any necessary venting. It's essential to ensure that the plumbing infrastructure can accommodate the installation of the new shower components.
-
Modify the Drain: In many cases, the location of the bathtub drain may need to be adjusted to align with the dimensions of the new shower base. This may involve relocating the drain, adjusting the drain pipe, or installing a new drain assembly designed for shower applications. Carefully measure and mark the new drain location, and make the necessary modifications to the plumbing.
-
Install the Shower Valve: If the shower will feature a new mixing valve or diverter, this is the time to install it. Ensure that the valve is positioned at the appropriate height and location for easy access and functionality. Connect the hot and cold water supply lines to the valve, following the manufacturer's specifications and local plumbing codes.
-
Consider Accessibility: If the shower conversion is part of a larger accessibility renovation, such as creating a barrier-free shower, consider the placement of grab bars, handheld showerheads, and other accessibility features. Plan the plumbing layout to accommodate these fixtures, ensuring that they are securely anchored and easily accessible.
-
Verify Compliance with Building Codes: Throughout the plumbing preparation process, it's crucial to verify that all modifications and installations comply with local building codes and regulations. This includes ensuring proper venting, adequate drainage, and adherence to plumbing standards for shower installations.
-
Test the Plumbing: Before proceeding to the next phase of the project, thoroughly test the modified plumbing to check for leaks, proper drainage, and optimal functionality. Run water through the new shower valve and drain to verify that the plumbing modifications are successful and free of any issues.
By meticulously preparing the plumbing for the shower conversion, you can lay the groundwork for a seamless and efficient installation of the new shower components. This phase sets the stage for the subsequent steps, ensuring that the plumbing infrastructure is ready to support the transformation of the old bathtub into a fully functional and stylish shower.
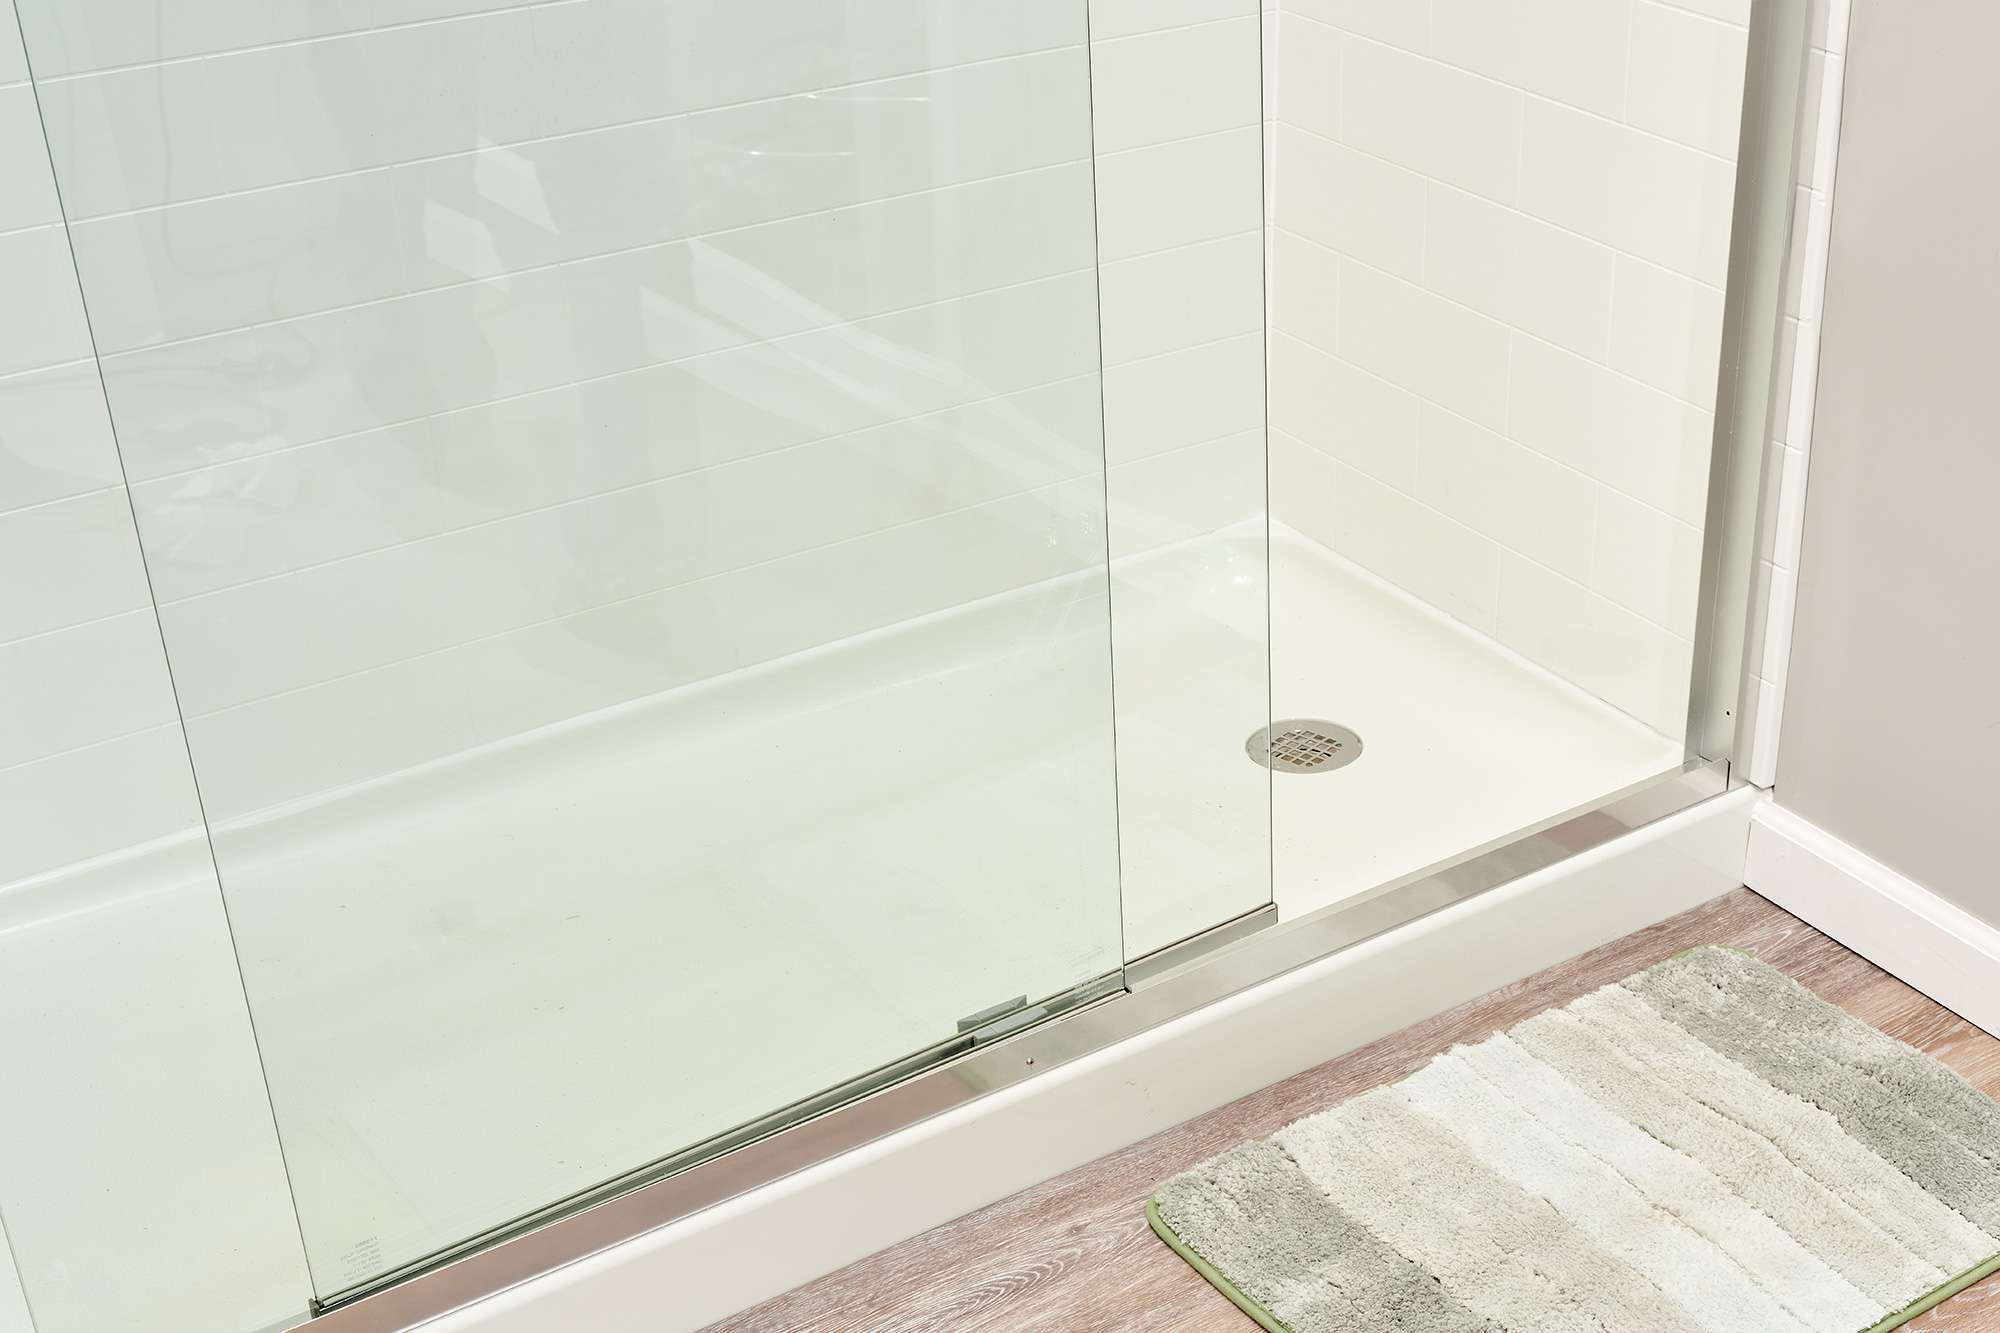
Step 3: Install the Shower Base
Installing the shower base is a pivotal step in the process of converting an old bathtub into a shower. The shower base, also known as a shower pan, serves as the foundation for the shower floor and provides a watertight surface for the shower enclosure. Proper installation of the shower base is essential to ensure structural integrity, water containment, and long-term durability. Here's a detailed guide on how to install the shower base effectively:
-
Prepare the Subfloor: Before installing the shower base, it's crucial to prepare the subfloor to provide a stable and level surface. Ensure that the subfloor is clean, dry, and free of any debris or obstructions. If necessary, make any adjustments to the subfloor to achieve a level and even foundation for the shower base.
-
Position the Shower Base: Carefully position the shower base in the designated location, ensuring that it aligns with the modified drain and plumbing connections. Verify that the shower base fits snugly against the walls and that it is level in all directions. Use a carpenter's level to check for evenness and make any necessary adjustments to achieve a perfectly level position.
-
Secure the Shower Base: Once the shower base is properly positioned, secure it in place according to the manufacturer's instructions. Depending on the type of shower base, this may involve anchoring it to the subfloor, wall studs, or other structural supports. Use the recommended fasteners and adhesives to ensure a secure and stable installation.
-
Connect the Drain: With the shower base in position, connect the drain assembly to the modified plumbing. Ensure a watertight connection between the drain and the shower base, using appropriate sealing materials and techniques to prevent leaks. Test the drain for proper functionality and water containment.
-
Waterproofing: Apply a waterproofing membrane or sealer to the seams and edges of the shower base to create a watertight barrier. This is essential for preventing water intrusion and protecting the underlying structure from moisture damage. Follow the manufacturer's guidelines for the application of the waterproofing material, ensuring thorough coverage and proper adhesion.
-
Verify Stability and Integrity: Once the shower base is installed and secured, verify its stability and structural integrity. Apply pressure to different areas of the base to check for any movement or flexing. Ensure that the base is solid and immovable, indicating a secure installation that can support the weight of the shower enclosure and occupants.
By following these detailed steps, you can effectively install the shower base, laying the groundwork for the subsequent phases of the shower conversion project. A properly installed shower base forms the basis for a watertight and durable shower enclosure, setting the stage for the installation of the shower walls and fixtures.
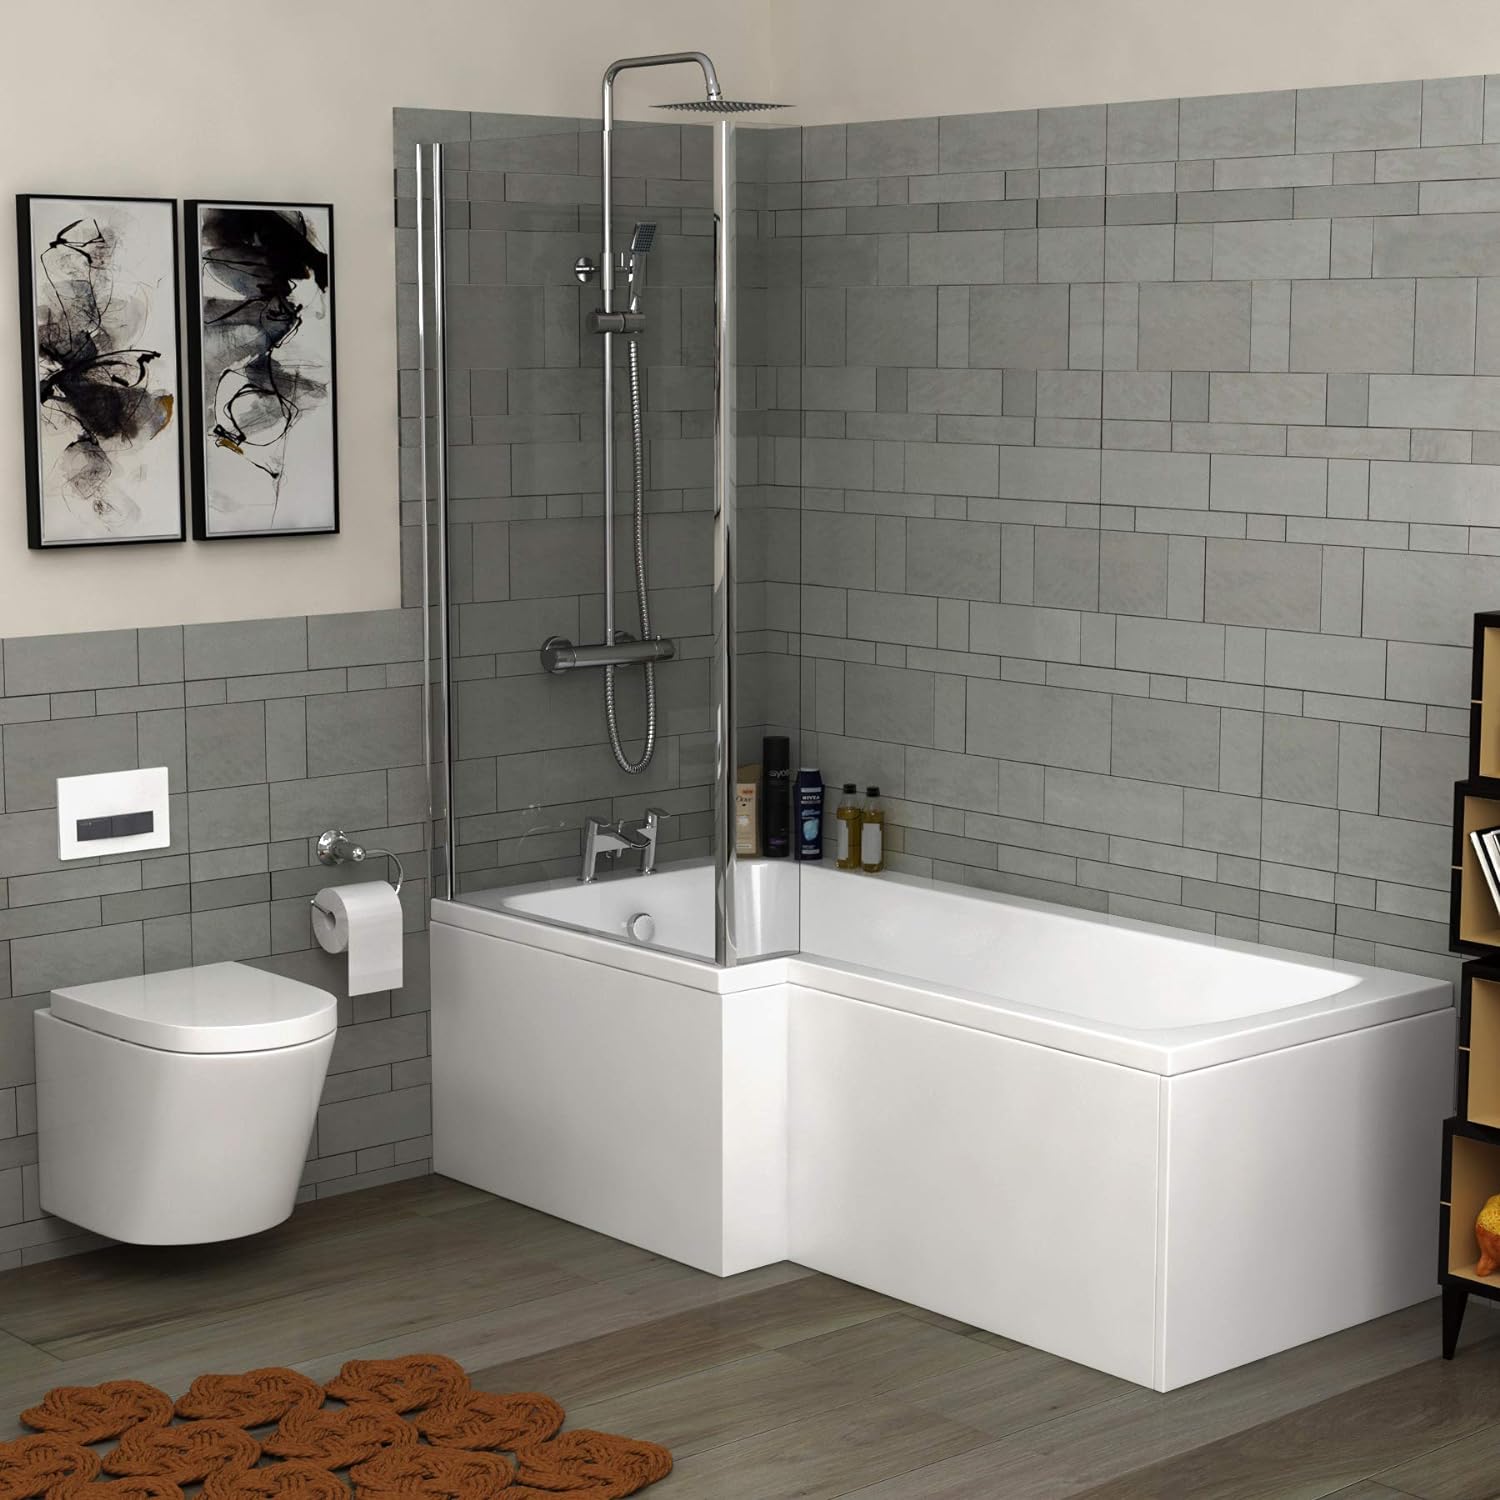
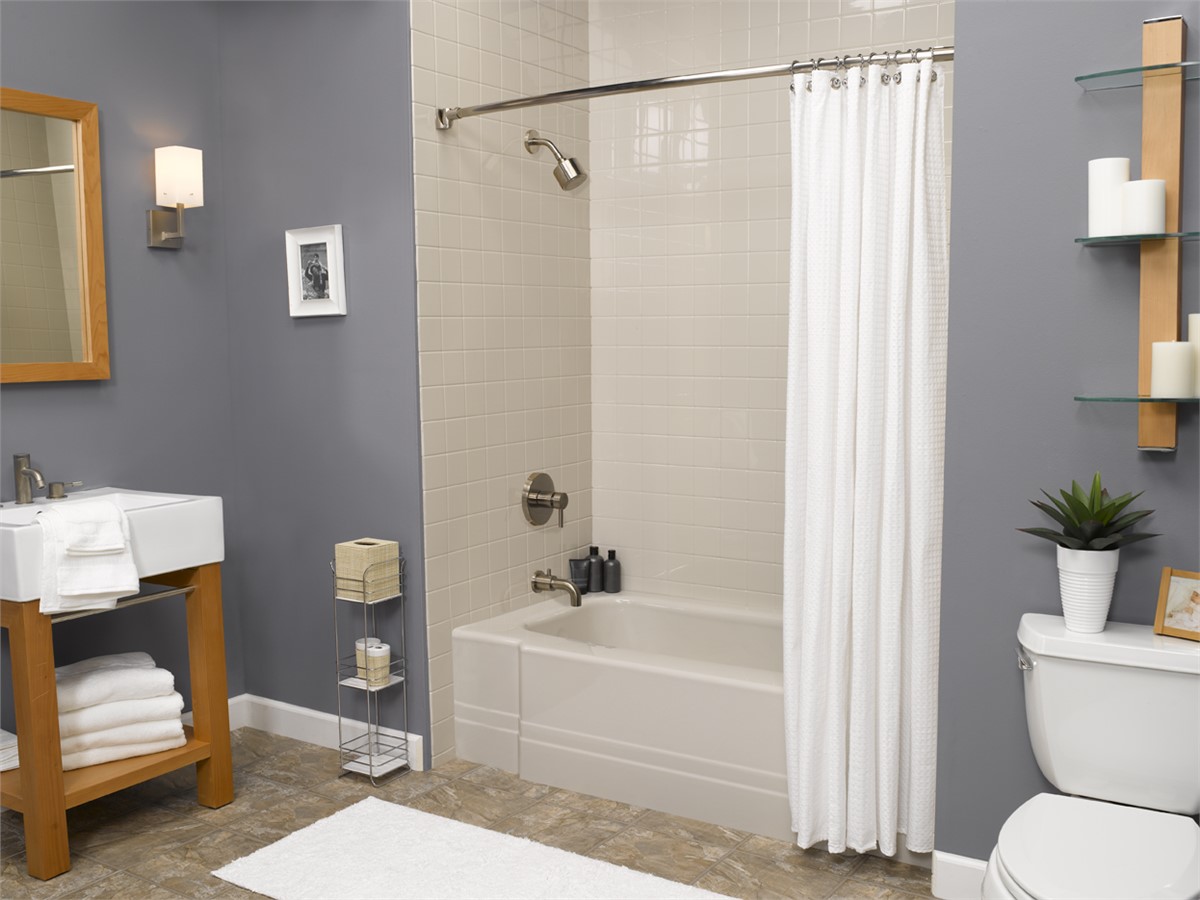
Consider installing a shower liner and surround over the old bathtub to create a new shower space. This can be a cost-effective and efficient way to convert your bathtub into a shower.
Step 4: Waterproof the Surrounding Area
Waterproofing the surrounding area of the shower is a critical step in the process of converting an old bathtub into a shower. Proper waterproofing is essential to prevent moisture damage, mold growth, and structural deterioration, ensuring the long-term integrity and functionality of the shower enclosure. Here's a detailed guide on how to effectively waterproof the surrounding area of the shower:
-
Prepare the Walls: Before applying waterproofing materials, prepare the walls surrounding the shower area. Ensure that the walls are clean, smooth, and free of any debris or protrusions. Repair any cracks or imperfections in the wall surfaces to create a uniform and stable foundation for the waterproofing materials.
-
Select Waterproofing Products: Choose high-quality waterproofing products designed specifically for shower installations. Options include waterproof membranes, waterproofing paint, or waterproofing sheets. Consider the specific requirements of your shower enclosure and select the appropriate waterproofing materials that offer superior moisture protection.
-
Apply the Waterproofing Material: Using a paintbrush, roller, or trowel, apply the selected waterproofing material to the walls surrounding the shower area. Ensure thorough coverage of the entire surface, including corners, seams, and any penetrations such as plumbing fixtures. Follow the manufacturer's guidelines for the application of the waterproofing material, ensuring proper thickness and uniformity.
-
Seal Joints and Corners: Pay special attention to joints, corners, and transitions in the wall surfaces. Apply additional layers of waterproofing material to these areas to create a seamless and watertight barrier. Use reinforcing fabric or waterproofing tape to reinforce critical junctions and enhance the durability of the waterproofing system.
-
Extend Waterproofing to the Floor: In addition to the walls, extend the waterproofing material to the floor of the shower area. Ensure that the entire surface, including the junction between the shower base and walls, is effectively waterproofed to prevent water infiltration and seepage into the underlying structure.
-
Allow Sufficient Drying Time: After applying the waterproofing material, allow sufficient time for it to dry and cure according to the manufacturer's recommendations. Proper drying and curing are essential to ensure the effectiveness and durability of the waterproofing system.
-
Inspect for Integrity: Once the waterproofing material has dried, inspect the entire surface for any imperfections or areas that may require additional attention. Verify that the waterproofing system forms a continuous and impenetrable barrier, ready to withstand the rigors of daily shower use.
By meticulously waterproofing the surrounding area of the shower, you can safeguard the walls and floor against moisture damage, ensuring a durable and long-lasting shower enclosure. This crucial step sets the stage for the installation of the shower walls, creating a secure and watertight environment for the next phases of the shower conversion project.
Read more: How To Shower In A Bathtub?
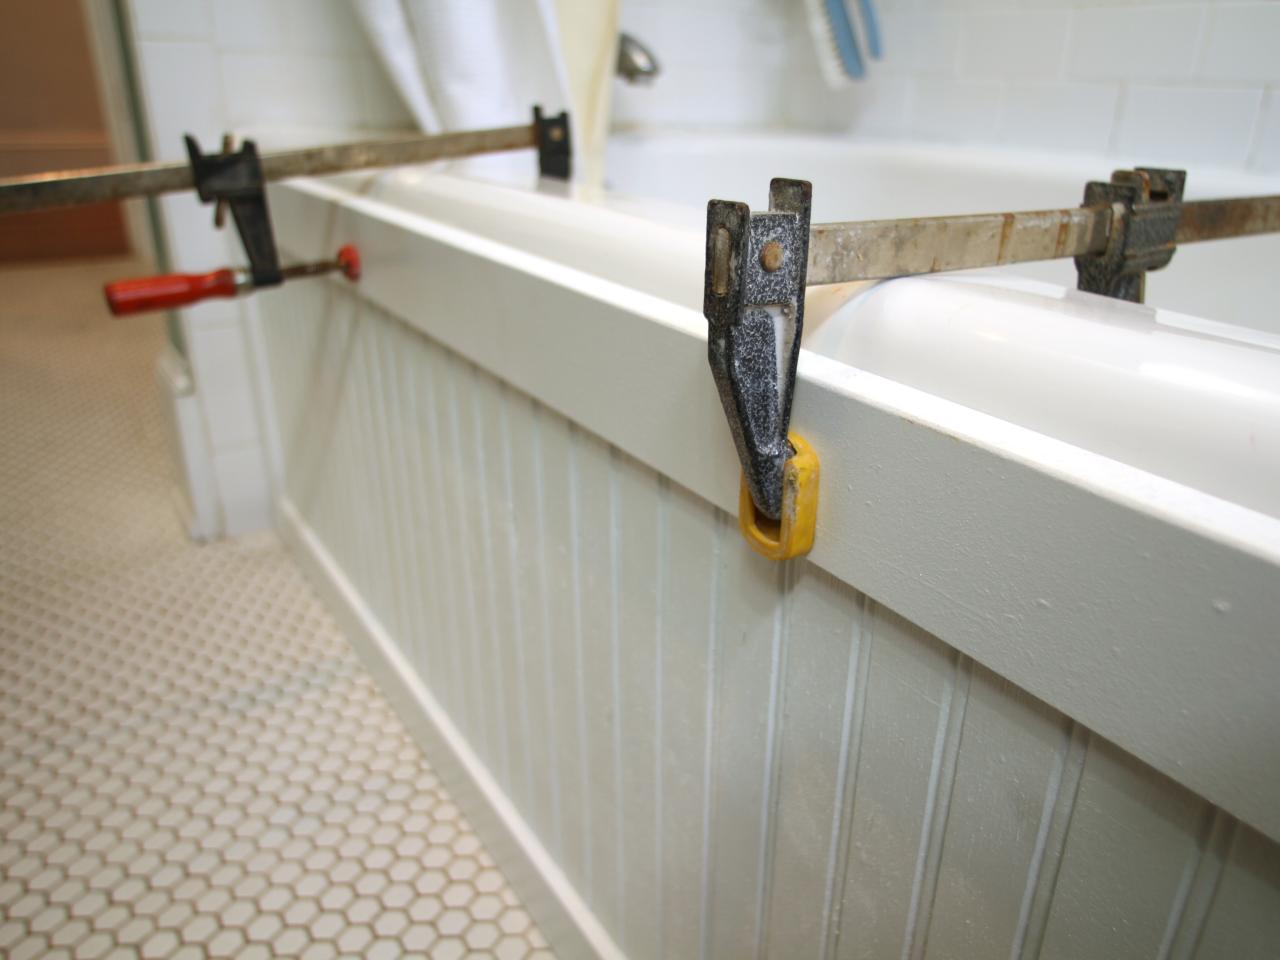
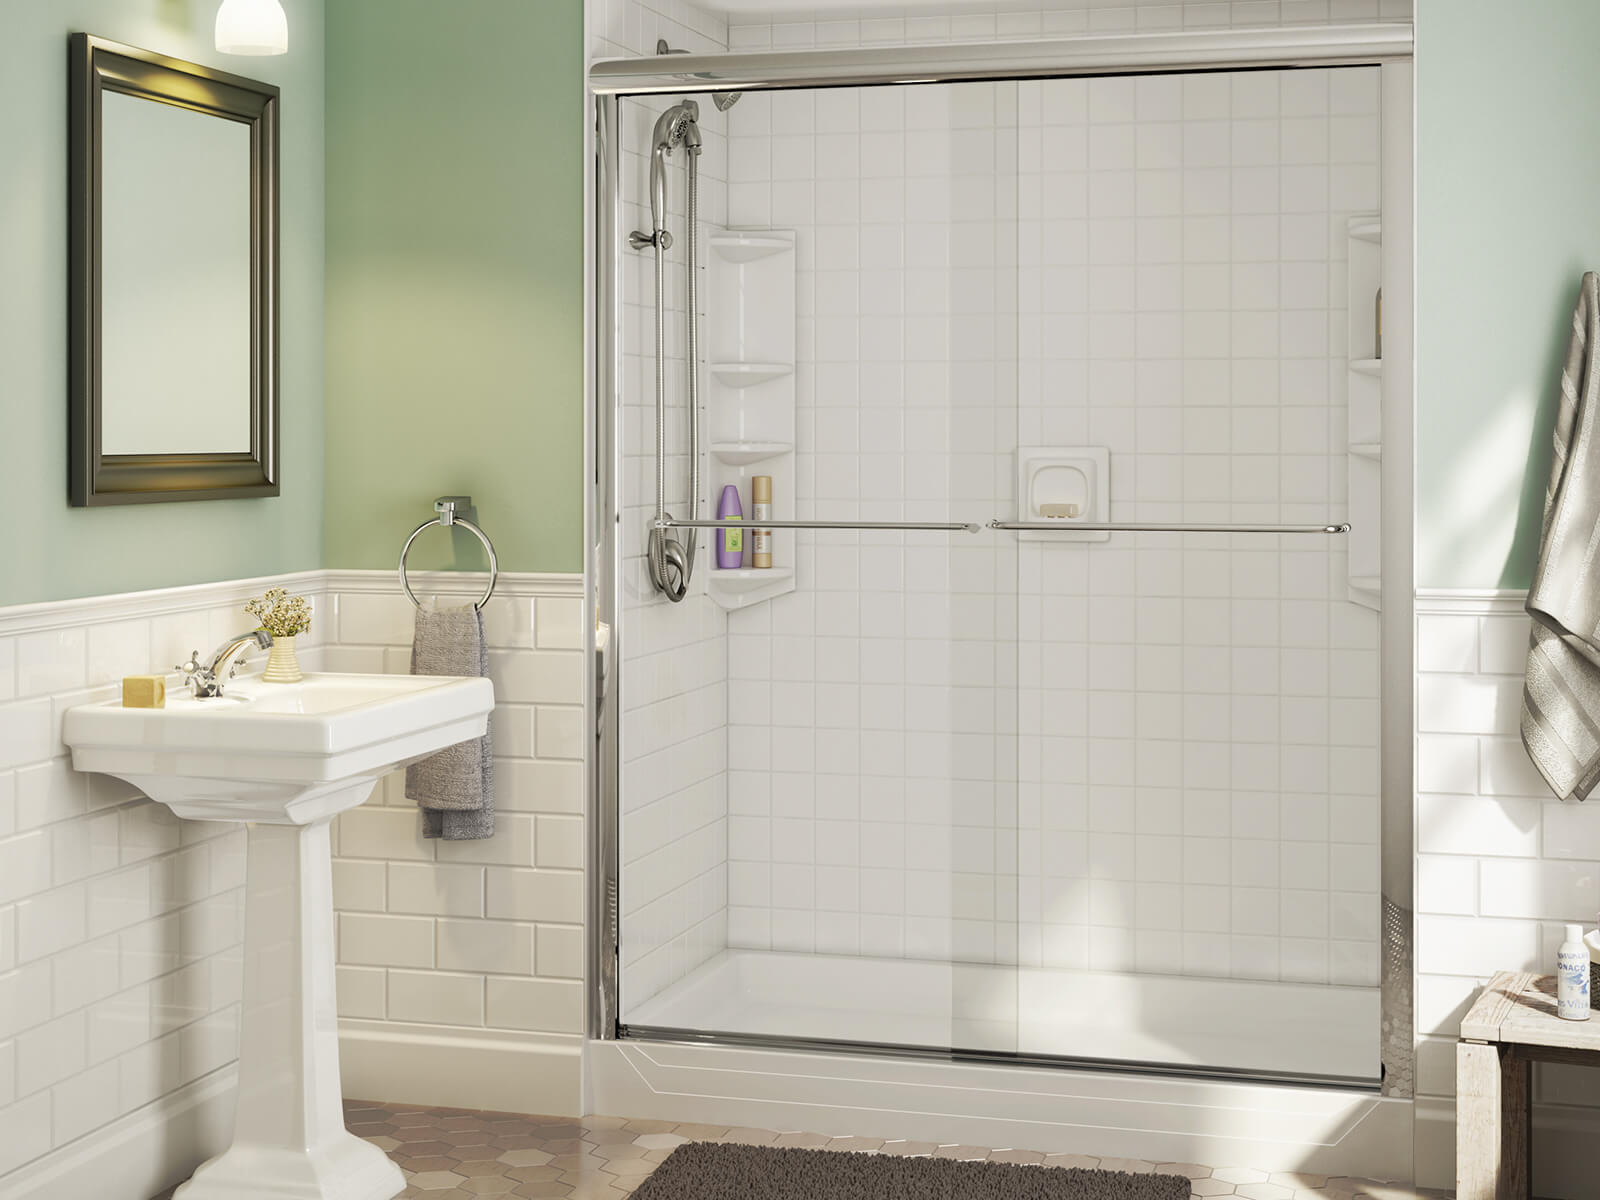
Step 5: Install the Shower Walls
Installing the shower walls is a pivotal phase in the process of converting an old bathtub into a shower. The shower walls, also known as the shower enclosure, not only define the visual aesthetic of the shower but also serve as a crucial barrier for containing water within the shower space. Proper installation of the shower walls is essential to ensure structural stability, water containment, and a visually appealing finish. Here's a detailed guide on how to effectively install the shower walls:
-
Select the Shower Wall Material: Choose the appropriate material for the shower walls based on your preferences, budget, and the overall design of the bathroom. Options include prefabricated acrylic or fiberglass panels, tile, natural stone, or solid surface materials. Consider factors such as durability, maintenance requirements, and aesthetic appeal when selecting the shower wall material.
-
Prepare the Wall Surfaces: Before installing the shower walls, ensure that the wall surfaces are clean, level, and free of any debris or imperfections. If using tile or natural stone, prepare the wall surfaces by applying a suitable backer board or waterproofing membrane to create a stable and moisture-resistant foundation for the wall materials.
-
Cut and Trim the Shower Wall Panels: If using prefabricated panels, carefully measure and cut the panels to fit the dimensions of the shower enclosure. Use a fine-toothed saw or specialized cutting tools to achieve precise cuts, ensuring that the panels align seamlessly and fit snugly against the shower base and adjacent walls.
-
Install the Shower Wall Panels: Begin by installing the back panel of the shower enclosure, securing it in place according to the manufacturer's instructions. Use appropriate adhesives, fasteners, or interlocking mechanisms to ensure a secure and watertight attachment. Proceed to install the side panels, ensuring that they align with the back panel and fit tightly against the shower base and adjacent walls.
-
Seal and Waterproof the Joints: Once the shower wall panels are in place, seal the joints, corners, and seams to create a watertight barrier. Use high-quality silicone caulk or specialized seam-sealing products to prevent water infiltration and ensure a durable and moisture-resistant enclosure. Pay special attention to areas where the panels meet the shower base and adjacent walls, ensuring a seamless and waterproof transition.
-
Allow for Proper Curing and Drying: After installing the shower wall panels and sealing the joints, allow sufficient time for adhesives, sealants, or grout to cure and dry. Proper curing is essential to ensure the integrity and longevity of the installation, providing a solid and watertight enclosure ready for the final phase of the shower conversion.
By following these detailed steps, you can effectively install the shower walls, creating a visually stunning, watertight, and durable enclosure for your newly converted shower. The installation of the shower walls marks a significant milestone in the transformation of your old bathtub into a modern and functional shower space, bringing you one step closer to enjoying the enhanced comfort and aesthetics of your revitalized bathroom.
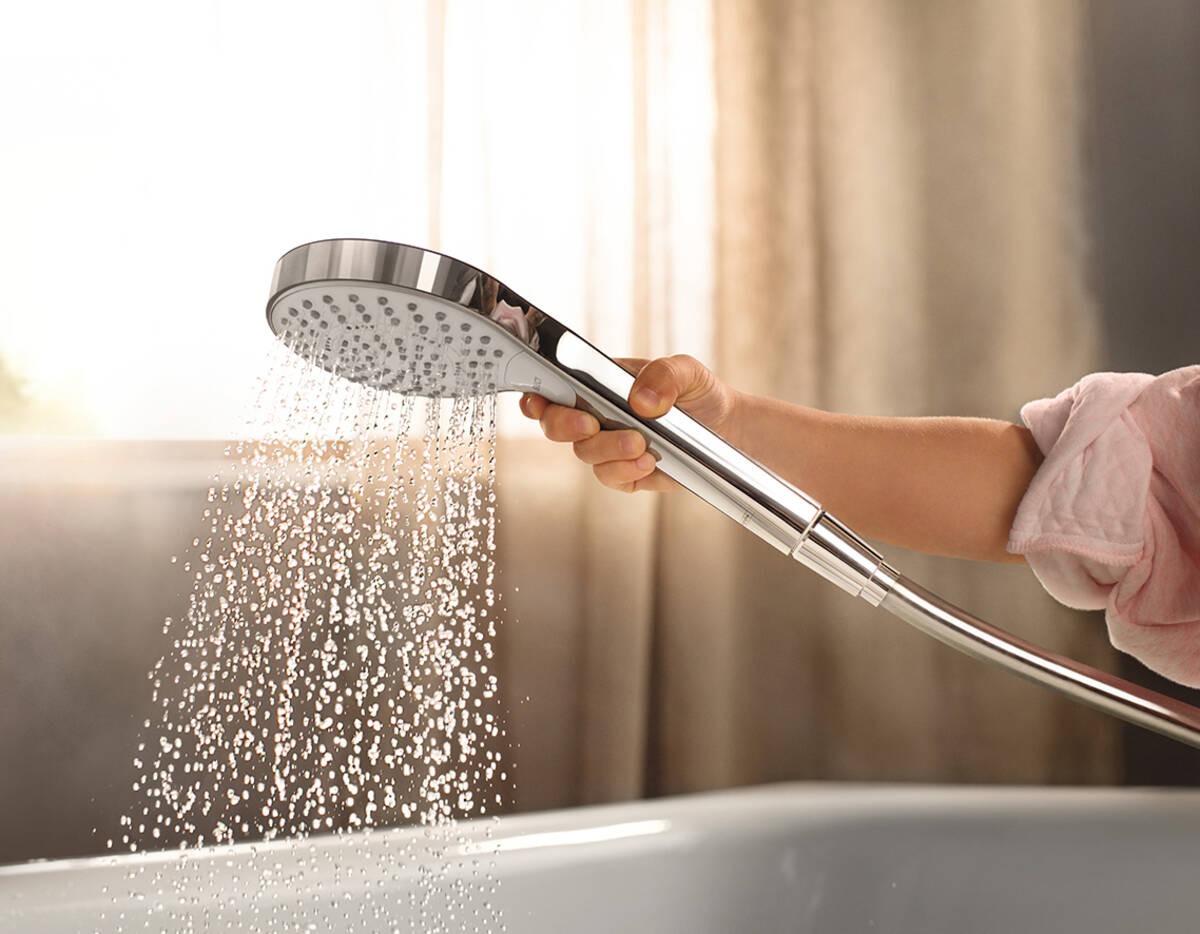
Step 6: Install the Shower Fixtures
Installing the shower fixtures is a pivotal phase in the process of converting an old bathtub into a shower. The shower fixtures, including the showerhead, controls, and any additional features, play a crucial role in defining the functionality and aesthetic appeal of the shower. Proper installation of the shower fixtures is essential to ensure optimal performance, user convenience, and a visually cohesive shower design. Here's a detailed guide on how to effectively install the shower fixtures:
-
Select the Shower Fixtures: Begin by selecting the appropriate shower fixtures based on your preferences, functional requirements, and the overall design of the shower. Options include wall-mounted or ceiling-mounted showerheads, handheld shower wands, thermostatic mixing valves, and various controls for water flow and temperature. Consider factors such as water pressure, style, and ease of use when choosing the shower fixtures.
-
Prepare the Shower Enclosure: Before installing the shower fixtures, ensure that the shower enclosure is clean, dry, and free of any debris or obstructions. If necessary, make any final adjustments to the shower walls and surrounding areas to accommodate the installation of the selected fixtures. Verify that the waterproofing and sealing of the shower enclosure are intact and ready to support the fixtures.
-
Position and Install the Showerhead: Carefully position the showerhead in the desired location within the shower enclosure. Use a suitable mounting bracket or arm to secure the showerhead to the wall or ceiling, ensuring a stable and level installation. If the showerhead requires additional connections or adjustments, follow the manufacturer's instructions to complete the installation.
-
Install the Shower Controls: If the shower features separate controls for water flow, temperature, or additional functions such as hand showers or body jets, install these controls in a convenient and accessible location. Ensure that the controls are securely mounted and properly connected to the plumbing infrastructure, allowing for easy operation and precise adjustment of the shower settings.
-
Connect the Plumbing: Once the shower fixtures are in position, connect the plumbing components to ensure proper functionality and water flow. Verify that the connections are secure, leak-free, and compatible with the selected fixtures. Test the operation of the shower fixtures to ensure that they deliver the expected performance and meet your specific preferences.
-
Finalize the Installation: Once the shower fixtures are installed and connected, make any final adjustments to ensure that they align with your desired shower experience. Verify that the showerhead provides adequate coverage and water pressure, and that the controls offer intuitive operation and precise adjustment. Take the time to fine-tune the positioning and functionality of the fixtures to achieve an optimal shower experience.
By following these detailed steps, you can effectively install the shower fixtures, enhancing the functionality and visual appeal of your newly converted shower. The installation of the shower fixtures marks the final phase of the transformation of your old bathtub into a modern and inviting shower space, bringing you one step closer to enjoying the enhanced comfort and convenience of your revitalized bathroom.
Step 7: Finishing Touches and Clean Up
As the shower conversion project nears its completion, the focus shifts to adding the finishing touches and ensuring a thorough clean-up to unveil the newly transformed space. This phase encompasses a series of meticulous tasks aimed at enhancing the aesthetics, functionality, and overall appeal of the newly converted shower. Here's a detailed breakdown of the essential steps involved in the finishing touches and clean-up process:
-
Grout and Sealant Application: If the shower walls feature tile or natural stone, apply grout to fill the joints between the tiles, creating a cohesive and polished appearance. Once the grout has cured, apply a high-quality sealant to protect the grout lines from moisture and staining, ensuring long-term durability and easy maintenance.
-
Trim and Edging Installation: Install trim pieces and edging materials to provide a clean and professional transition between the shower walls, floor, and surrounding surfaces. This step adds a refined and polished look to the shower enclosure, enhancing its visual appeal and structural integrity.
-
Caulking and Sealing: Inspect the entire shower enclosure for any gaps, seams, or junctions that require caulking and sealing. Apply silicone caulk to areas such as the base of the shower walls, around fixtures, and along the perimeter of the shower enclosure to create a watertight and seamless finish.
-
Hardware and Accessories Installation: Install any additional hardware and accessories, such as towel bars, shelves, or niche inserts, to complement the functionality and convenience of the newly converted shower. Ensure that these elements are securely anchored and strategically positioned to enhance the usability of the space.
-
Final Inspection and Testing: Conduct a comprehensive inspection of the entire shower enclosure, verifying that all components are installed correctly and functioning as intended. Test the operation of the shower fixtures, drainage, and waterproofing to ensure that the shower is ready for regular use.
-
Thorough Clean-Up: After completing the installation of finishing touches, embark on a thorough clean-up of the entire bathroom space. Remove any construction debris, dust, and residues resulting from the project, paying special attention to the shower enclosure, fixtures, and surrounding areas.
-
Polishing and Detailing: Take the time to polish and detail the surfaces of the shower enclosure, fixtures, and accessories, ensuring a pristine and inviting appearance. Wipe down the shower walls, glass panels, and hardware to remove any smudges or marks, leaving the space sparkling and ready for use.
By meticulously attending to the finishing touches and conducting a comprehensive clean-up, you can unveil a beautifully transformed shower space that exudes elegance, functionality, and a sense of rejuvenation. This final phase marks the culmination of the shower conversion project, presenting you with a stunning and inviting shower that elevates the overall ambiance and usability of your bathroom.
Frequently Asked Questions about How To Convert An Old Bathtub Into A Shower
Was this page helpful?
At Storables.com, we guarantee accurate and reliable information. Our content, validated by Expert Board Contributors, is crafted following stringent Editorial Policies. We're committed to providing you with well-researched, expert-backed insights for all your informational needs.


0 thoughts on “How To Convert An Old Bathtub Into A Shower”