Home>Home Appliances>Bathroom Appliances>How To Bend Plastic With Hair Dryer

Bathroom Appliances
How To Bend Plastic With Hair Dryer
Modified: August 17, 2024
Learn how to bend plastic using a hair dryer. Find out the best techniques for shaping plastic at home. Explore our guide for bathroom appliances.
(Many of the links in this article redirect to a specific reviewed product. Your purchase of these products through affiliate links helps to generate commission for Storables.com, at no extra cost. Learn more)
**
Introduction
**
So, you have a project that requires bending plastic to a specific shape, and you're wondering how to achieve this without specialized equipment. Well, you're in luck because with the help of a hair dryer, you can easily bend plastic to your desired form. This DIY method is not only cost-effective but also allows you to exercise your creativity without the need for industrial tools. In this guide, we'll walk you through the step-by-step process of bending plastic using a hair dryer, ensuring that you can tackle this task with confidence and achieve impressive results. Let's dive in and explore the exciting world of plastic bending!
Key Takeaways:
- Get creative and bend plastic with a hair dryer! Gather materials, mark, heat, and shape the plastic to bring your unique designs to life. Just remember safety first!
- With a hair dryer and some plastic sheets, you can craft custom enclosures, artistic displays, and functional components. Embrace the art of plastic bending and let your creativity soar!
Read more: How To Bend Plastic Electrical Conduit
Materials Needed
Before embarking on the plastic bending journey, it's essential to gather the necessary materials. Here's what you'll need:
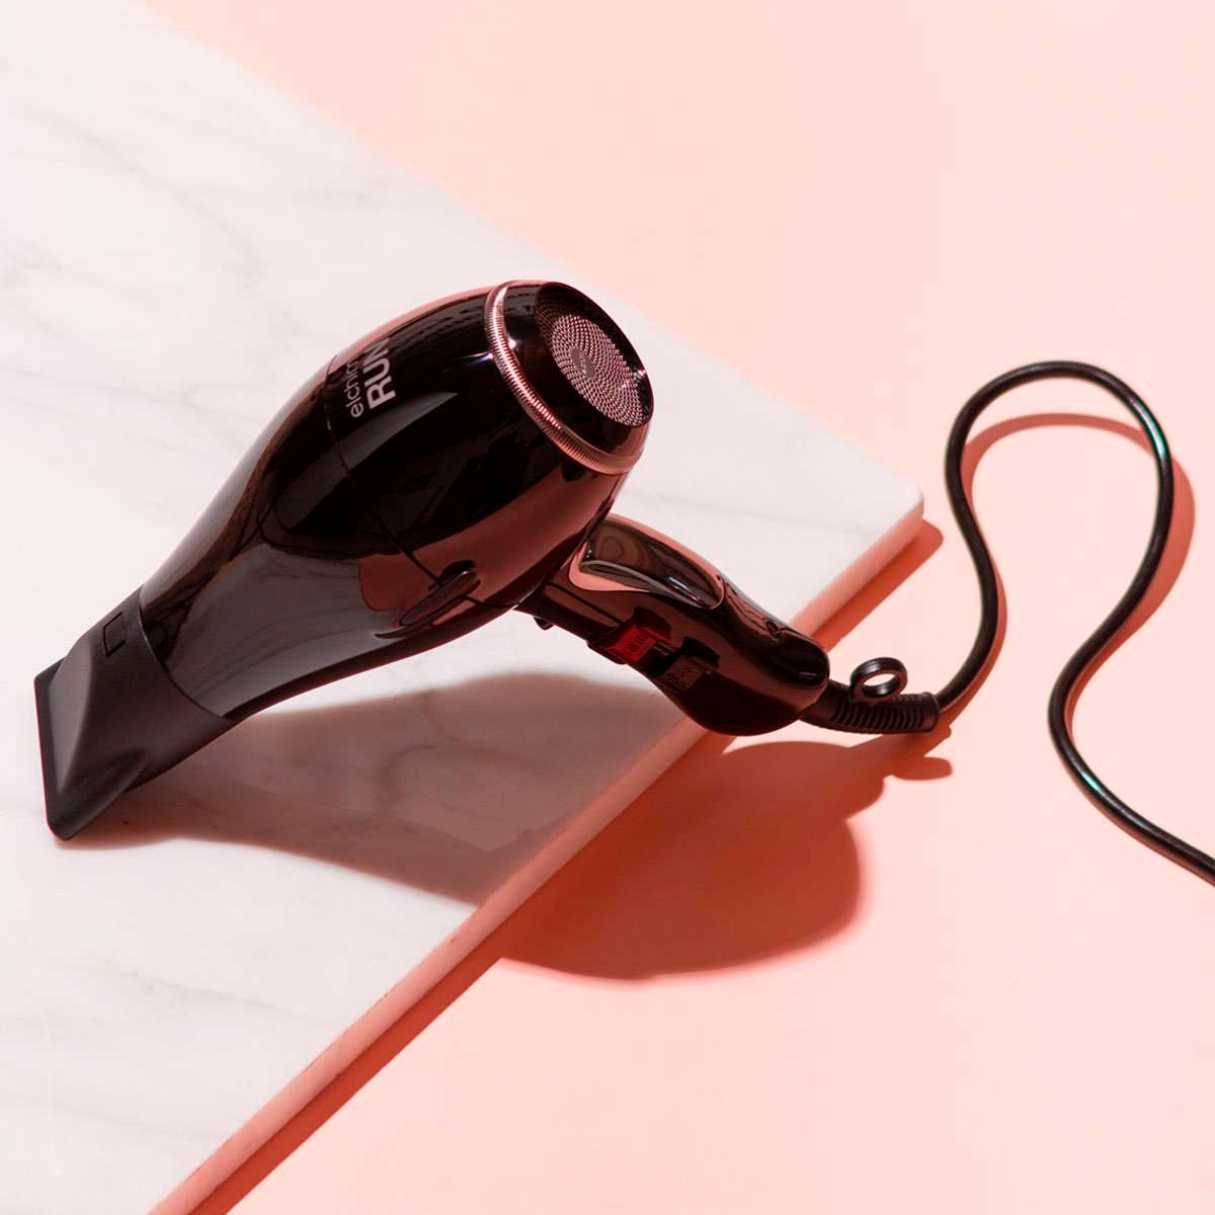
- A hair dryer: Opt for a high-heat hair dryer with multiple heat settings to provide flexibility during the bending process.
- Plastic sheet: Select a plastic sheet with the appropriate thickness for your project. Common options include acrylic, polycarbonate, or PVC sheets.
- Marker or pen: This will be used to mark the areas where the plastic needs to be bent, ensuring precision in the shaping process.
- Ruler or measuring tape: Accurate measurements are crucial for achieving the desired dimensions, so a ruler or measuring tape is essential.
- Heat-resistant gloves: Protect your hands from the heat generated during the plastic bending process by using heat-resistant gloves.
- Clamps (optional): Clamps can be used to secure the plastic sheet in place while applying heat, ensuring stability and uniform bending.
- Work surface: Choose a flat, heat-resistant work surface where you can safely carry out the plastic bending process.
- Safety goggles: Safeguard your eyes from potential debris or splinters by wearing safety goggles throughout the plastic bending procedure.
By having these materials on hand, you'll be well-prepared to embark on the plastic bending process with confidence and precision.
Preparing the Plastic
Before diving into the plastic bending process, it’s crucial to properly prepare the plastic sheet to ensure optimal results. Follow these steps to prepare the plastic for bending:
- Marking the Bending Lines: Begin by using a marker or pen to clearly outline the areas where the plastic sheet will be bent. Accurate markings are essential for achieving the desired shape, so take your time to ensure precision.
- Measuring and Marking: Utilize a ruler or measuring tape to measure and mark the specific dimensions and angles for the bends. This step is critical for ensuring that the plastic is bent to the exact specifications required for your project.
- Cleaning the Surface: Thoroughly clean the surface of the plastic sheet to remove any dust, debris, or residues that could affect the bending process. A clean surface promotes better adhesion and ensures a smooth, uniform bend.
- Securing the Plastic: If necessary, use clamps to secure the plastic sheet in place on your work surface. This prevents any movement during the heating and bending stages, allowing for more controlled and precise results.
By meticulously preparing the plastic sheet, you set the stage for a successful bending process, laying the groundwork for achieving the desired shape with accuracy and finesse.
Using the Hair Dryer
Now that the plastic sheet is meticulously prepared, it’s time to harness the power of the hair dryer to initiate the bending process. Follow these steps to effectively use the hair dryer for bending the plastic:
- Selecting the Heat Setting: Begin by choosing the appropriate heat setting on the hair dryer. For most plastic materials, a high heat setting is recommended to facilitate efficient bending. However, it’s essential to refer to the specific guidelines for the type of plastic being used to ensure the optimal heat setting.
- Maintaining Distance: Hold the hair dryer at a suitable distance from the plastic sheet, ensuring that the heat is evenly distributed across the marked bending lines. Moving the hair dryer back and forth along the marked areas helps to prevent overheating in a particular spot while promoting uniform heating.
- Applying Heat: Direct the airflow from the hair dryer onto the marked bending lines, maintaining a consistent motion to gradually heat the plastic. It’s crucial to avoid concentrating the heat in one area for too long, as this can lead to uneven bending or potential damage to the plastic.
- Observing the Plastic: As the plastic sheet heats up, observe the changes in its appearance and texture. The plastic will begin to soften and become more pliable, indicating that it is reaching the optimal temperature for bending.
By following these steps, you can effectively harness the heat from the hair dryer to prepare the plastic for the shaping process, setting the stage for the subsequent bending phase.
When bending plastic with a hair dryer, make sure to heat the plastic evenly by moving the hair dryer back and forth. Once the plastic becomes soft and pliable, gently bend it into the desired shape.
Shaping the Plastic
With the plastic sheet adequately heated and softened, it’s time to embark on the exciting phase of shaping the plastic to achieve the desired form. Follow these steps to effectively shape the plastic sheet:
- Bending the Plastic: Once the plastic reaches the optimal pliability, carefully and steadily bend it along the marked lines using gentle pressure. It’s essential to maintain a consistent and controlled motion to ensure that the plastic bends smoothly and evenly.
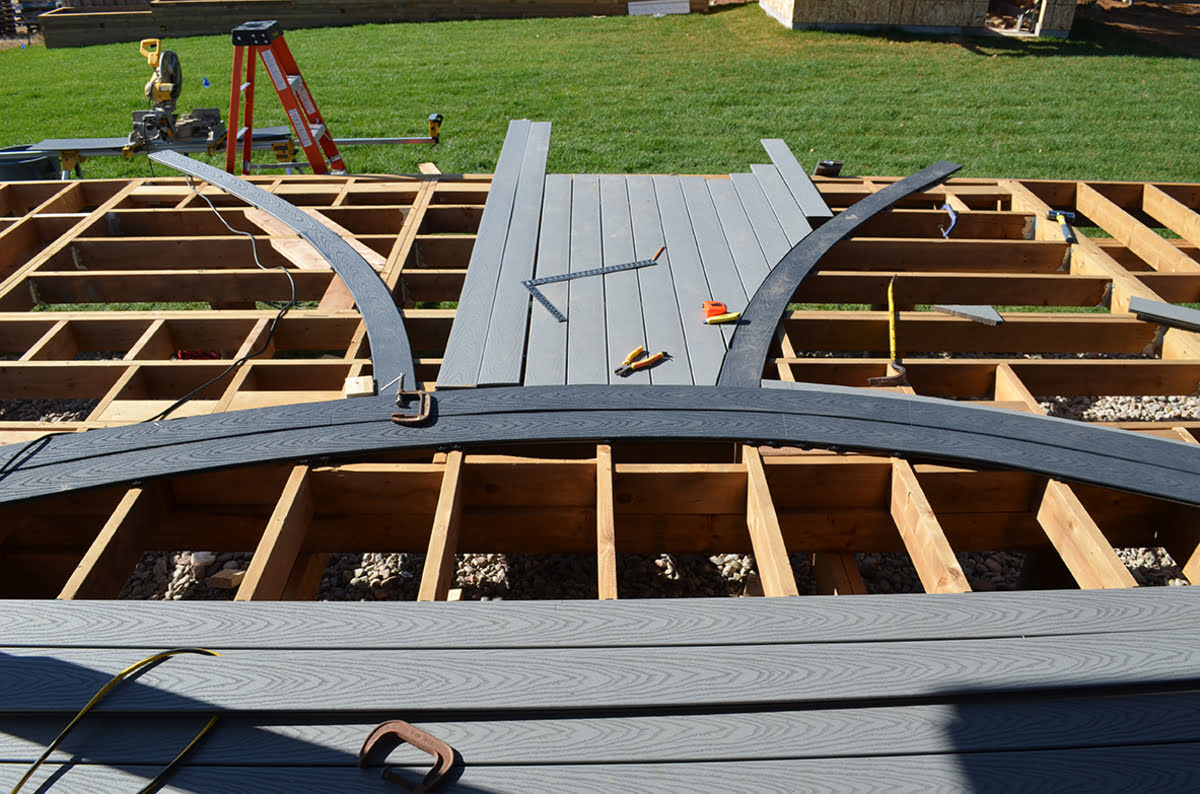
- Utilizing a Form or Mold (Optional): If your project requires a specific shape or curvature, consider using a pre-made form or mold to guide the bending process. By aligning the plastic with the form, you can achieve precise and uniform shaping, resulting in a professional finish.
- Adjusting the Angle: If your project necessitates multiple bends or adjustments to the angle of the plastic, take your time to carefully manipulate the softened plastic to attain the desired configuration. Patience and precision are key to achieving the perfect shape.
- Cooling and Setting: Once the plastic is shaped to your satisfaction, allow it to cool and set in the bent position. This cooling phase is crucial for solidifying the new form of the plastic, ensuring that it retains its shape and structure.
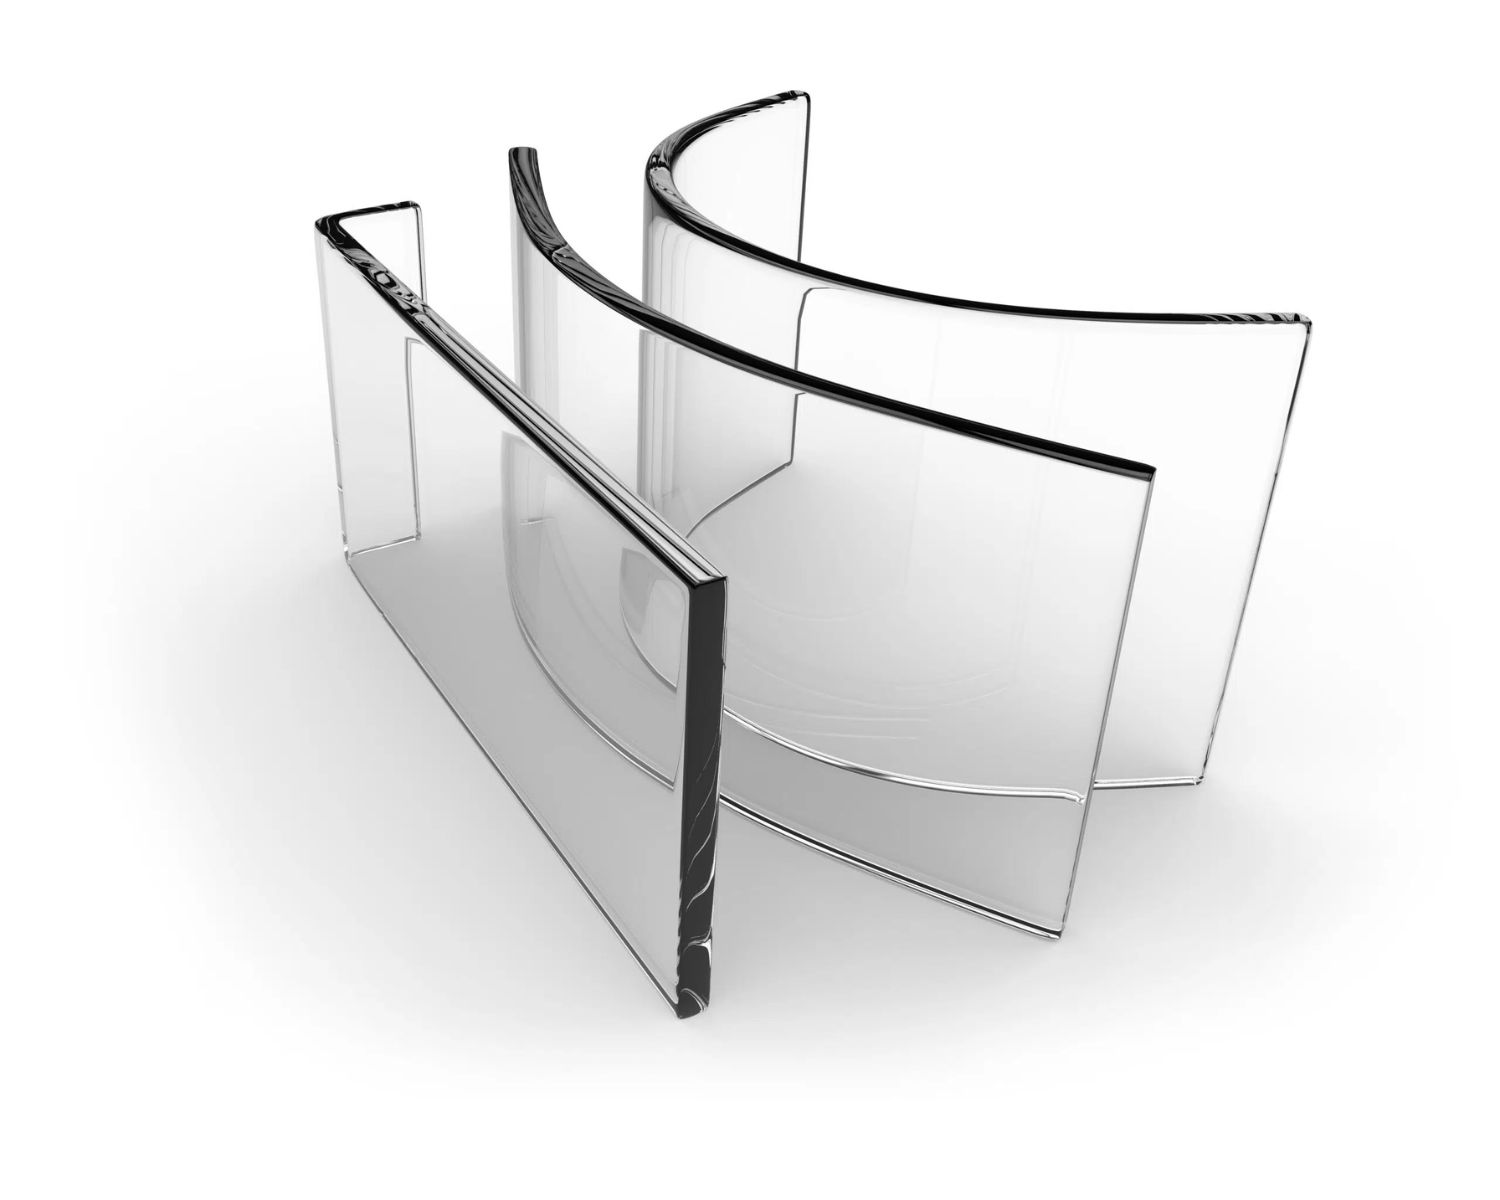
By following these steps, you can expertly shape the heated plastic sheet, bringing your envisioned design to life with precision and artistry. Whether you’re crafting a custom enclosure, artistic display, or functional component, mastering the art of shaping plastic opens up a world of creative possibilities.
Read more: How To Make Hair Fluffy With Hair Dryer
Safety Precautions
While the process of bending plastic with a hair dryer offers a versatile and accessible method for shaping plastic, it’s essential to prioritize safety throughout the entire procedure. By adhering to the following safety precautions, you can ensure a secure and risk-free plastic bending experience:
- Ventilation: Perform the plastic bending process in a well-ventilated area to prevent the accumulation of fumes or odors released during the heating of the plastic. Adequate ventilation helps maintain a healthy and comfortable work environment.
- Heat-Resistant Gloves: Prior to handling the heated plastic, don heat-resistant gloves to safeguard your hands from potential burns or discomfort. These gloves provide a protective barrier against the intense heat generated during the bending process.
- Eye Protection: Wear safety goggles to shield your eyes from any debris, splinters, or particles that may be released during the plastic bending process. Protecting your eyes is essential for preventing potential injuries or irritation.
- Mindful Handling: Exercise caution when using the hair dryer to heat the plastic, ensuring that the hot airflow is directed solely at the marked bending lines. Avoid contact with the heated sections of the plastic to prevent accidental burns or skin irritation.
- Cooling Period: Allow the plastic to cool thoroughly before handling the newly shaped form. Rushing the cooling process may result in accidental burns or deformation of the plastic, so exercise patience and allow sufficient time for cooling and setting.
By prioritizing safety measures and maintaining awareness throughout the plastic bending process, you can enjoy a secure and successful experience while achieving professional-quality results. Remember, safety should always be a top priority when engaging in DIY projects involving heat and materials.
Conclusion
Embarking on the journey of bending plastic with a hair dryer opens up a world of creative possibilities, allowing you to shape and mold plastic sheets to suit your unique projects and designs. By following the step-by-step process outlined in this guide, you’ve gained valuable insights into the art of plastic bending, empowering you to bring your creative visions to life with precision and artistry.
From meticulously preparing the plastic sheet to harnessing the heat of the hair dryer and expertly shaping the softened plastic, you’ve discovered the essential techniques for achieving professional-quality results. Additionally, by prioritizing safety precautions throughout the entire process, you’ve ensured a secure and risk-free plastic bending experience.
Whether you’re crafting custom enclosures, artistic displays, functional components, or innovative prototypes, mastering the skill of bending plastic with a hair dryer equips you with a versatile and accessible method for material manipulation. Embrace the opportunity to experiment, innovate, and unleash your creativity, knowing that you have the knowledge and expertise to bend plastic with confidence and finesse.
As you embark on your plastic bending endeavors, remember to explore different types of plastic sheets, experiment with various shapes and forms, and continue honing your skills to elevate your projects to new heights. With each successful bend and creation, you’ll further solidify your expertise in the art of plastic manipulation, setting the stage for an exciting and fulfilling journey in the world of DIY crafting and fabrication.
So, gather your materials, fire up your hair dryer, and let your imagination soar as you embark on the captivating adventure of bending plastic to bring your creative concepts to life!
Now that you've mastered bending plastic with a hair dryer, why not channel your crafty side even more? Our next feature offers a collection of elegant DIY crafts perfect for Easter. From delightful decorations to creative homemade gifts, these projects will keep your creativity flowing and brighten up any space. Dive into our easy-to-follow guide and start turning simple ideas into festive realities. Let your imagination run wild and bring a touch of handmade charm to this springtime celebration!
Frequently Asked Questions about How To Bend Plastic With Hair Dryer
Was this page helpful?
At Storables.com, we guarantee accurate and reliable information. Our content, validated by Expert Board Contributors, is crafted following stringent Editorial Policies. We're committed to providing you with well-researched, expert-backed insights for all your informational needs.


0 thoughts on “How To Bend Plastic With Hair Dryer”