Home>Home Appliances>Bathroom Appliances>How To Clean A Cordless Waterpik Water Flosser
Bathroom Appliances
How To Clean A Cordless Waterpik Water Flosser
Published: February 12, 2024
Learn how to properly clean your cordless Waterpik Water Flosser for optimal performance and hygiene. Follow these simple steps to maintain your bathroom appliance.
(Many of the links in this article redirect to a specific reviewed product. Your purchase of these products through affiliate links helps to generate commission for Storables.com, at no extra cost. Learn more)
Introduction
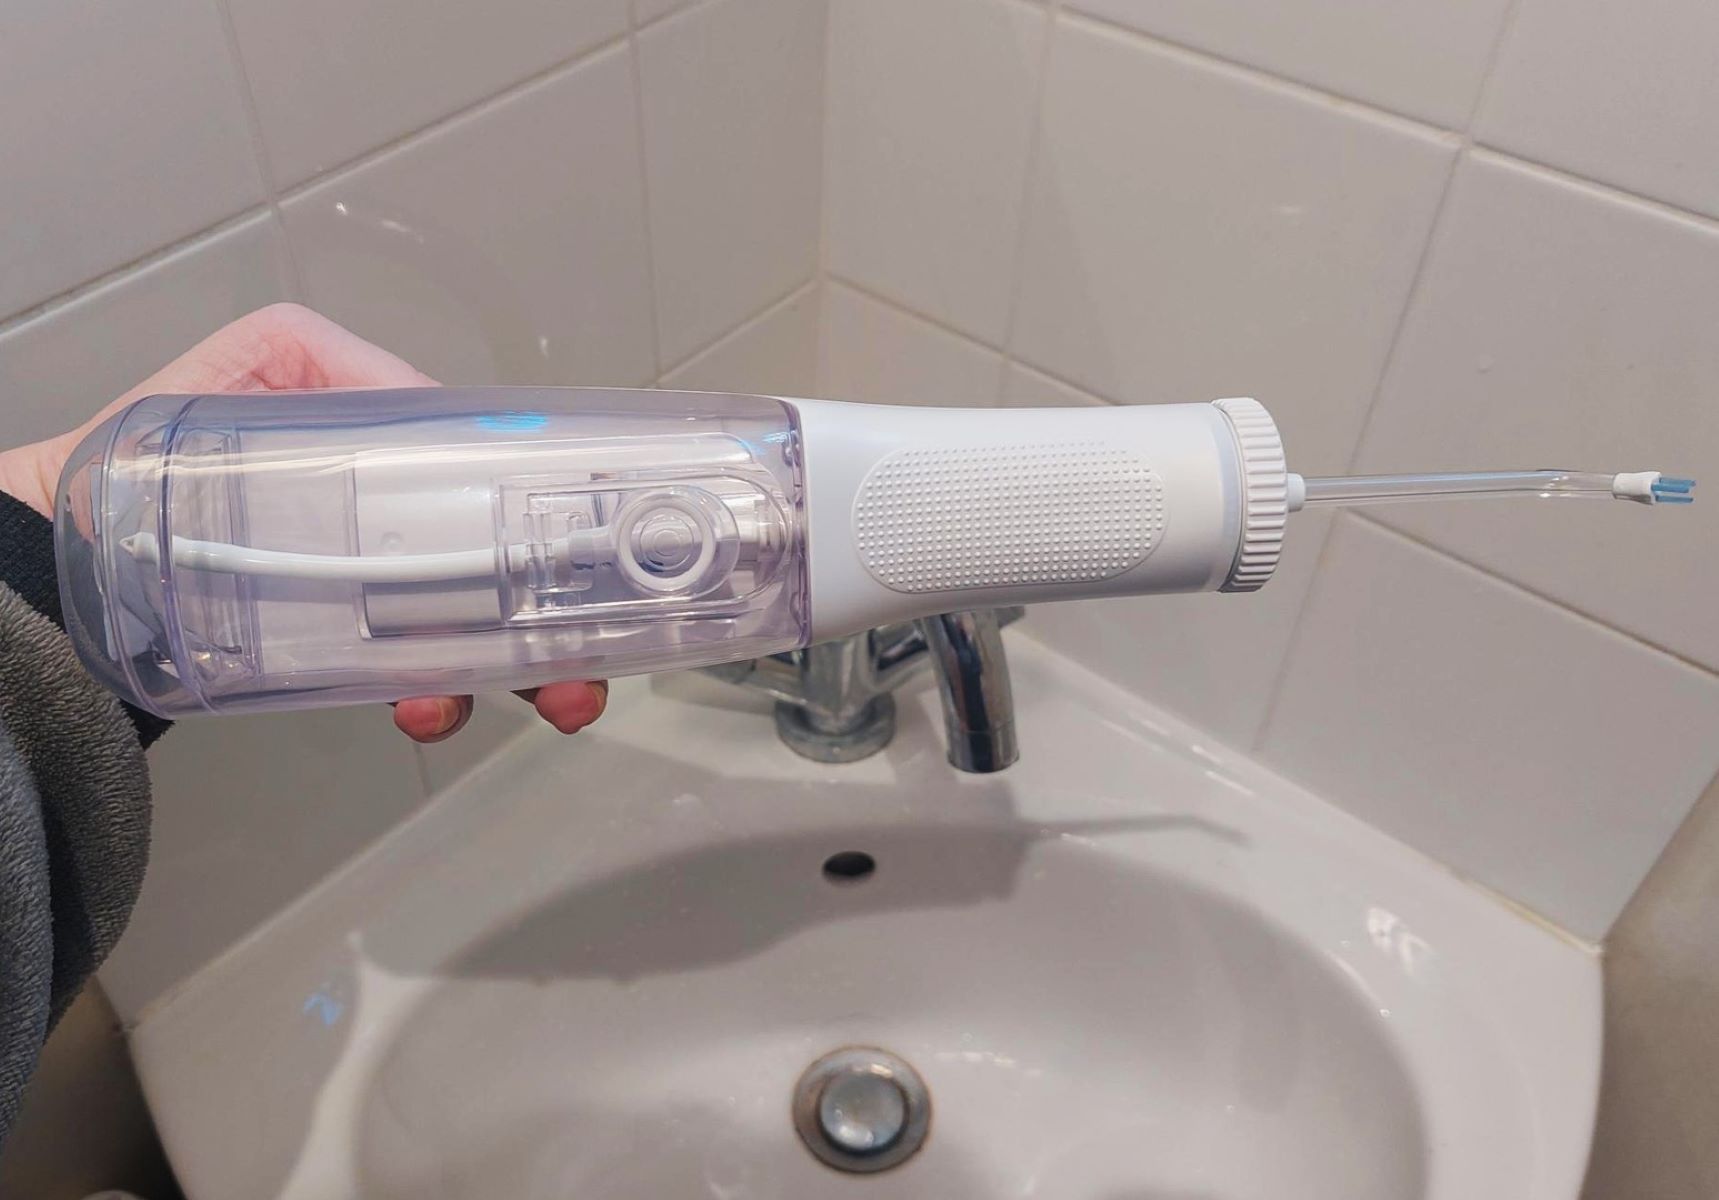
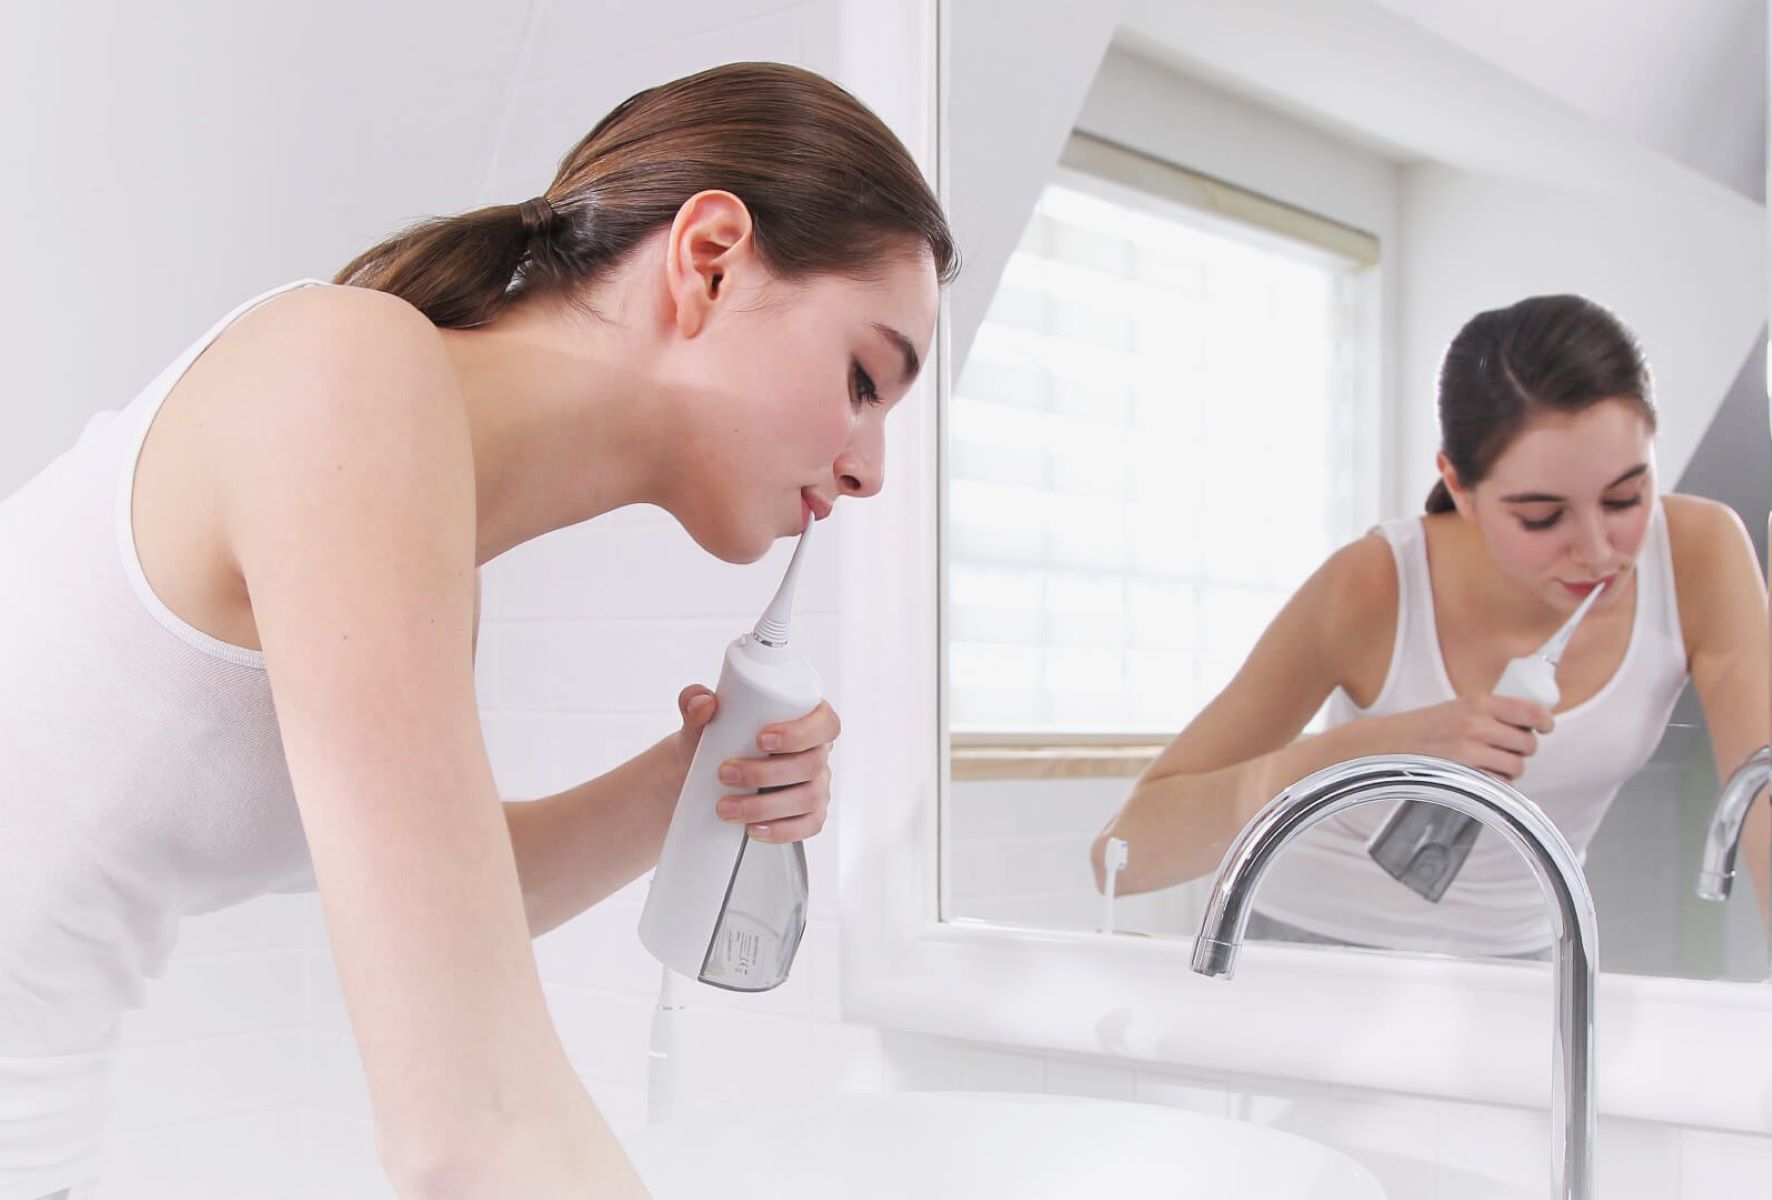
Maintaining proper hygiene is essential for overall health, and this includes oral care. The Cordless Waterpik Water Flosser is a convenient and effective tool for enhancing oral hygiene by removing plaque and debris from hard-to-reach areas between teeth and along the gumline. However, to ensure its optimal performance and longevity, regular cleaning and maintenance are crucial. In this comprehensive guide, you will learn the step-by-step process for cleaning a Cordless Waterpik Water Flosser, allowing you to maintain a hygienic and efficient oral care routine.
Cleaning your Cordless Waterpik Water Flosser regularly not only helps to prevent the buildup of bacteria and mold but also ensures that the device continues to function effectively. By following the recommended cleaning procedures, you can extend the lifespan of your water flosser and enjoy the benefits of a clean and healthy smile. Let's delve into the detailed steps for cleaning and maintaining your Cordless Waterpik Water Flosser to keep it in optimal condition for your oral care needs.
Key Takeaways:
- Regularly cleaning your Cordless Waterpik Water Flosser with warm water, vinegar, and a soft brush helps prevent bacteria buildup and ensures a healthy, long-lasting device.
- Disassembling, cleaning, and reassembling your water flosser, along with running a cleaning cycle, maintains its hygiene and performance for a confident, healthy smile.
Read more: How To Clean The Waterpik Water Flosser
Step 1: Gather the necessary supplies
Before embarking on the cleaning process for your Cordless Waterpik Water Flosser, it's essential to gather the necessary supplies to ensure a thorough and effective cleaning routine. Having the right tools at hand will streamline the process and help maintain the device in optimal condition. Here's a detailed list of the supplies you will need:
-
Warm Water: Prepare a bowl or container of warm water to use for rinsing and soaking the components of the water flosser. Warm water is effective in loosening debris and residue, facilitating a more thorough cleaning process.
-
Vinegar or Antibacterial Mouthwash: Both vinegar and antibacterial mouthwash are excellent cleaning agents that can help disinfect and remove stubborn buildup from the water flosser components. These solutions are particularly effective in combating bacteria and preventing mold growth.
-
Soft-bristled Brush or Toothbrush: A soft-bristled brush or toothbrush is essential for gently scrubbing and cleaning the flosser tip and other intricate parts of the device. It's important to use a soft brush to avoid damaging the delicate components of the water flosser.
-
Mild Dish Soap: Mild dish soap can be used to clean the water reservoir and other removable parts of the water flosser. Opt for a gentle, non-abrasive dish soap to ensure that no residue or harsh chemicals are left behind after cleaning.
-
Lint-free Cloth or Towel: A lint-free cloth or towel is ideal for drying the components of the water flosser after cleaning. It's important to use a lint-free material to prevent any fibers from sticking to the device, which could potentially affect its performance.
-
Optional: Replacement Flosser Tips: If your water flosser is due for a replacement flosser tip, it's advisable to have a new one on hand. Regularly replacing the flosser tip is essential for maintaining optimal oral hygiene and ensuring the effectiveness of the water flosser.
By ensuring that you have these supplies readily available, you can proceed with confidence through the subsequent steps of disassembling, cleaning, and reassembling your Cordless Waterpik Water Flosser, knowing that you have everything you need to maintain its cleanliness and functionality.
Step 2: Disassemble the water flosser
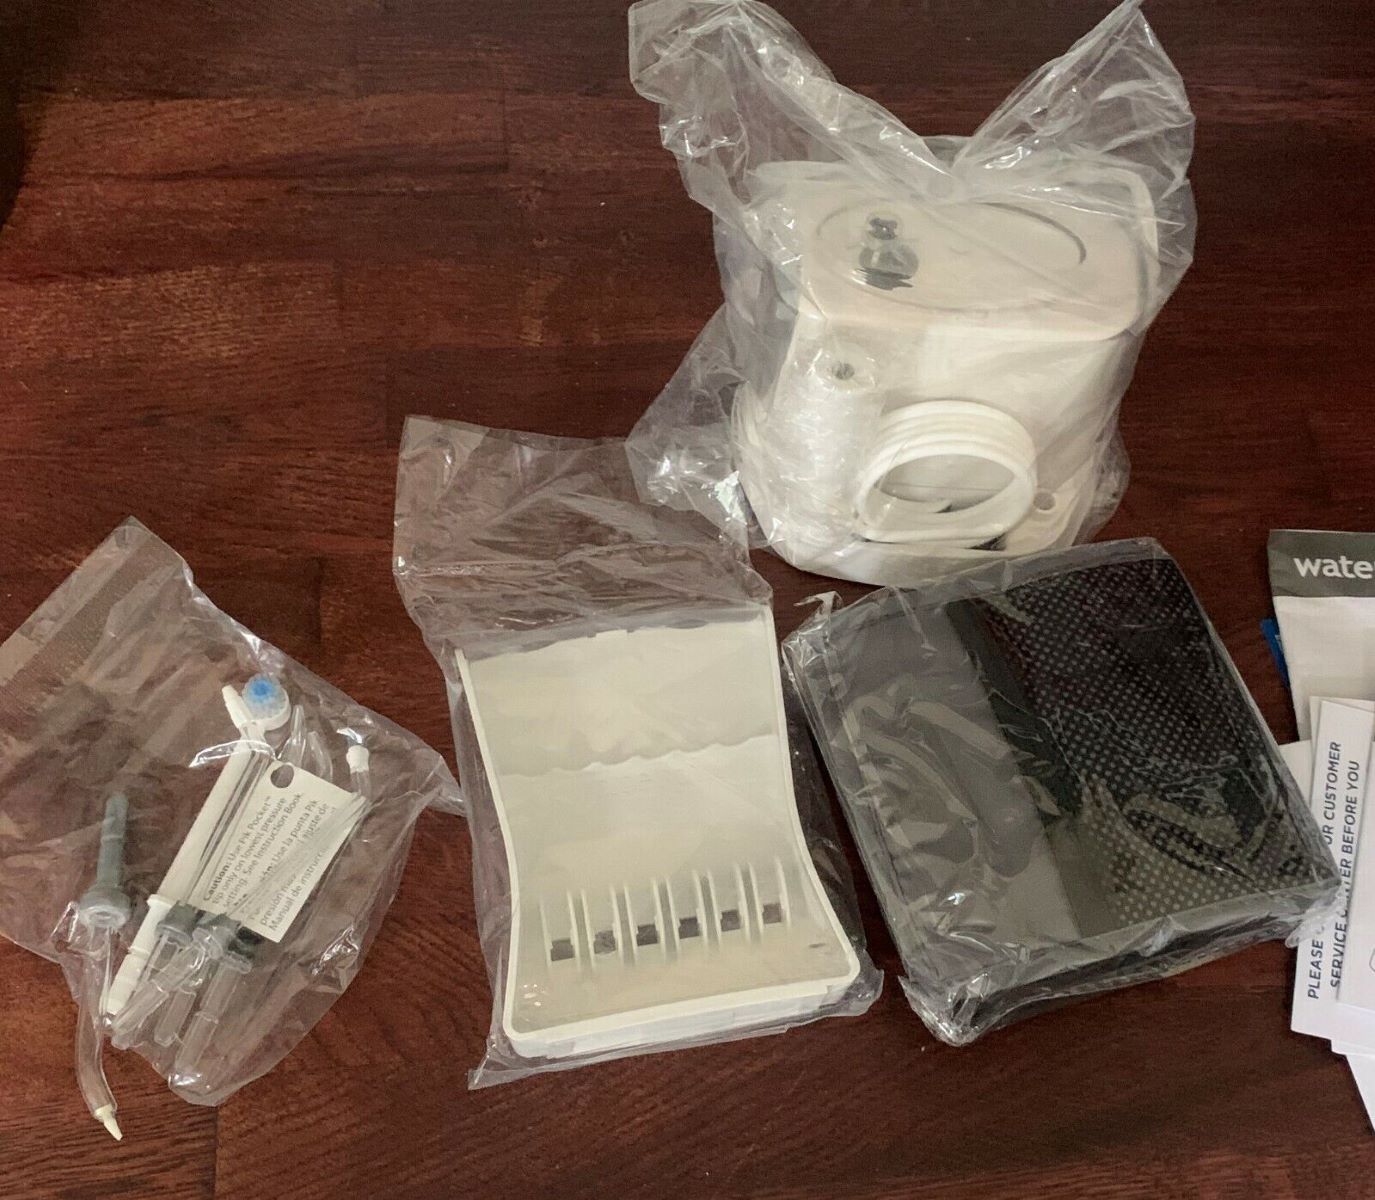
Disassembling your Cordless Waterpik Water Flosser is the first crucial step in the cleaning process. By carefully disassembling the device, you can access its individual components and ensure a thorough cleaning routine. Here's a detailed guide on how to disassemble the water flosser for effective cleaning:
-
Turn Off and Unplug: Before beginning the disassembly process, ensure that the water flosser is turned off and unplugged from the power source. This precautionary step is essential for safety and prevents any accidental activation of the device during cleaning.
-
Remove the Water Reservoir: Start by removing the water reservoir from the main unit of the water flosser. Depending on the model of your Cordless Waterpik Water Flosser, the water reservoir may be detachable or have a release mechanism. Carefully detach the reservoir and set it aside for cleaning.
-
Detach the Flosser Tip: The flosser tip, which is the component responsible for directing the water flow, should be detached from the handle of the water flosser. Follow the manufacturer's instructions for your specific model to safely remove the flosser tip without causing any damage.
-
Inspect for Debris: While disassembling the water flosser, take a moment to inspect each component for any visible debris or buildup. This visual inspection can help identify areas that require focused cleaning attention.
-
Separate Other Removable Parts: If your Cordless Waterpik Water Flosser has additional removable parts, such as a lid or valve, carefully separate these components from the main unit. Pay attention to any locking mechanisms or release buttons to avoid any mishandling.
By following these steps to disassemble your Cordless Waterpik Water Flosser, you can effectively prepare the individual components for thorough cleaning. This disassembly process sets the stage for the subsequent cleaning steps, ensuring that each part of the water flosser receives the attention it needs to maintain optimal hygiene and functionality.
Step 3: Clean the water reservoir
The water reservoir of your Cordless Waterpik Water Flosser plays a pivotal role in storing and delivering the water or mouthwash solution used during the flossing process. Over time, mineral deposits, bacteria, and other impurities can accumulate in the reservoir, potentially compromising the effectiveness and hygiene of the device. Therefore, thorough and regular cleaning of the water reservoir is essential to maintain optimal oral care and ensure the longevity of your water flosser.
Here's a detailed guide on how to effectively clean the water reservoir of your Cordless Waterpik Water Flosser:
-
Empty the Reservoir: Start by emptying any remaining water or mouthwash from the reservoir. Ensure that the flosser is turned off and unplugged before proceeding with this step.
-
Prepare a Cleaning Solution: In a bowl or container, mix a solution of warm water and either white vinegar or antibacterial mouthwash. The acidic properties of vinegar and the antibacterial nature of mouthwash make them effective in disinfecting and removing mineral deposits from the reservoir.
-
Soak the Reservoir: Submerge the water reservoir in the prepared cleaning solution and let it soak for approximately 5-10 minutes. This soaking period helps to loosen any buildup or residue inside the reservoir, making it easier to clean.
-
Scrub the Interior: Using a soft-bristled brush or toothbrush, gently scrub the interior of the reservoir to dislodge any remaining deposits. Pay particular attention to areas around the opening and the bottom of the reservoir, as these areas are prone to buildup.
-
Rinse Thoroughly: After scrubbing, thoroughly rinse the reservoir with clean, warm water to remove any traces of the cleaning solution. Ensure that all surfaces are free from residue before proceeding to the next step.
-
Dry the Reservoir: Use a lint-free cloth or towel to dry the water reservoir completely. It's important to ensure that no moisture is left behind, as residual moisture can promote the growth of mold or bacteria.
-
Reassemble the Flosser: Once the reservoir is clean and dry, reassemble it onto the main unit of the water flosser according to the manufacturer's instructions. Ensure that all components are securely attached to prevent any leaks during operation.
By following these steps, you can effectively clean the water reservoir of your Cordless Waterpik Water Flosser, maintaining its hygiene and ensuring that it continues to deliver optimal performance for your oral care needs. Regular cleaning of the water reservoir is an essential aspect of maintaining a clean and efficient water flosser, contributing to a healthy oral care routine.
To clean a cordless Waterpik Water Flosser, regularly remove the water reservoir and clean it with warm, soapy water. Use a soft brush to clean the inside of the flosser where water and debris can build up. Be sure to rinse thoroughly and let it air dry before using it again.
Step 4: Clean the flosser tip
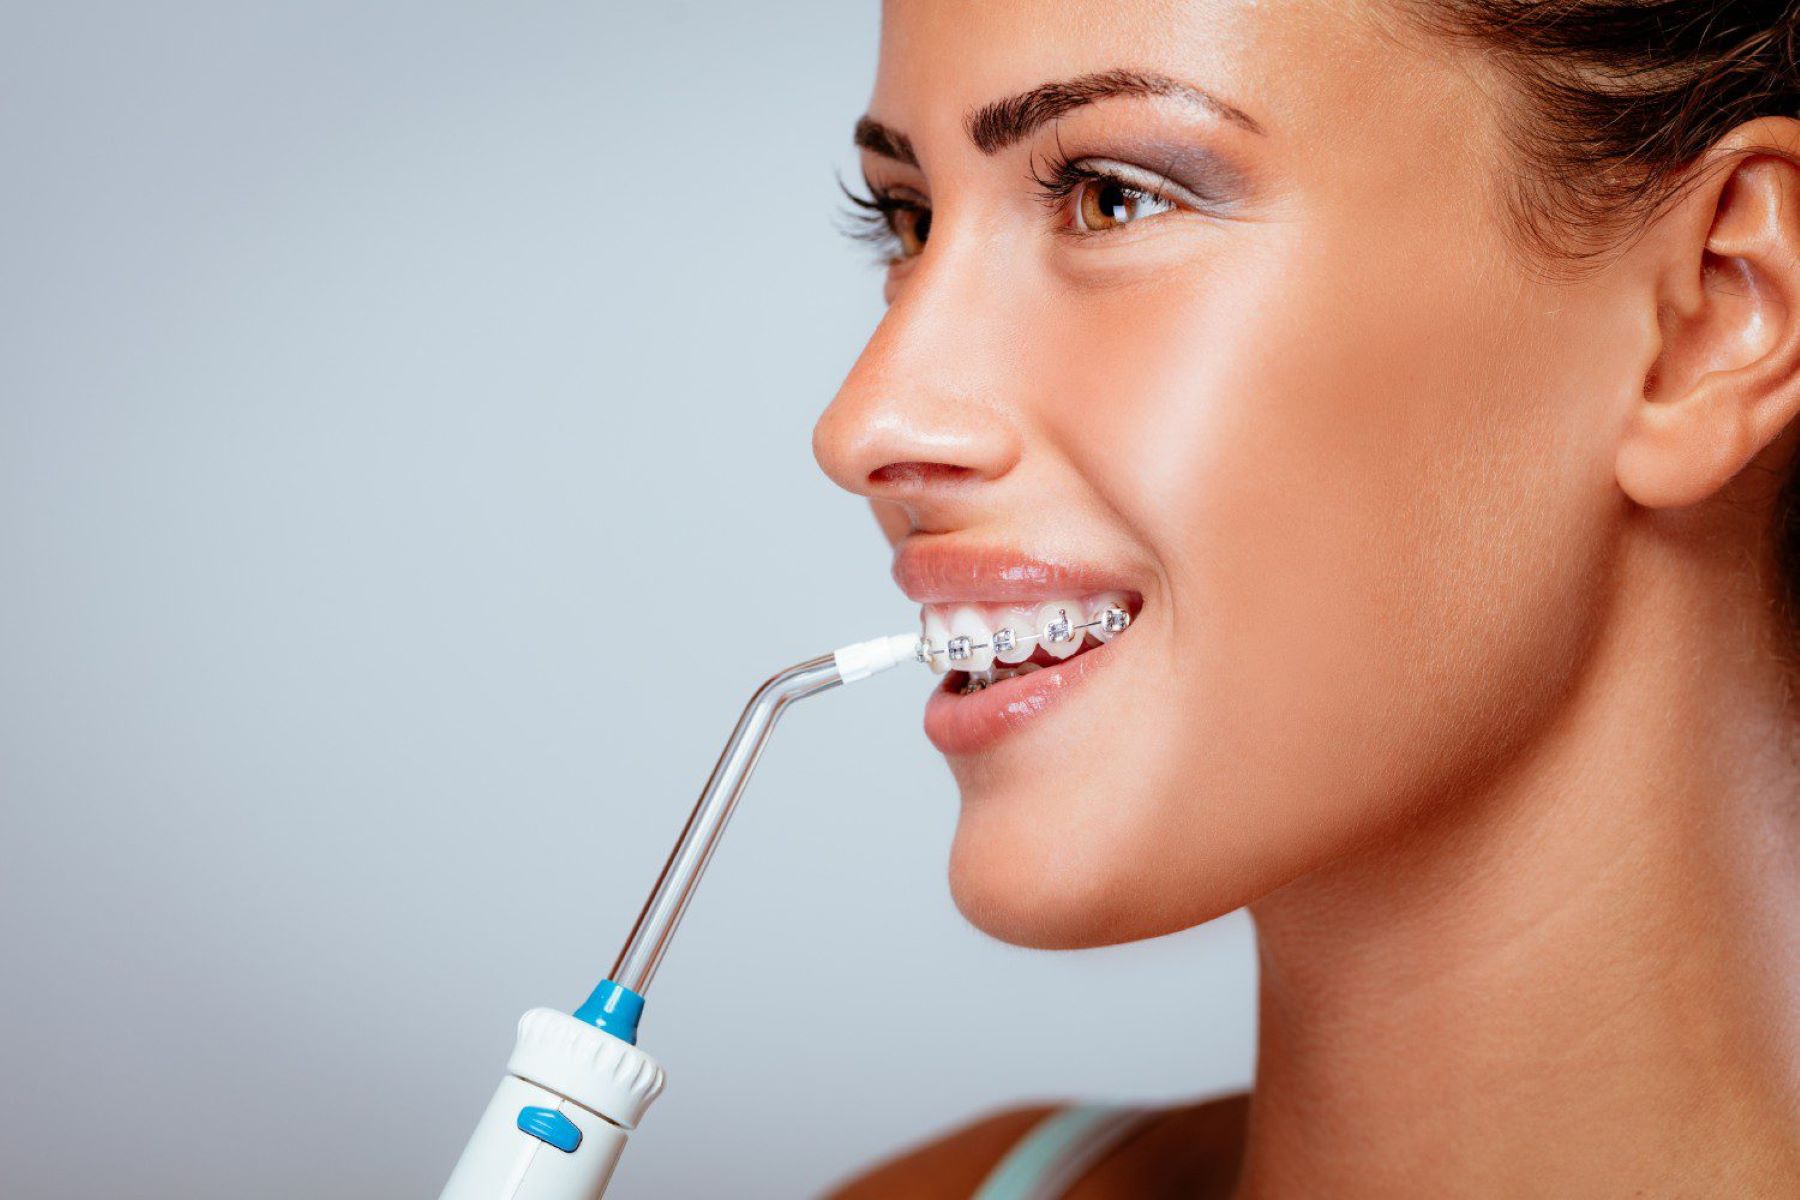
The flosser tip of your Cordless Waterpik Water Flosser is a critical component responsible for directing the water flow to effectively remove plaque and debris from between teeth and along the gumline. Over time, the flosser tip can accumulate residue and bacteria, potentially compromising its performance and hygiene. Therefore, regular cleaning of the flosser tip is essential to maintain optimal oral care and ensure the longevity of your water flosser.
Here's a detailed guide on how to effectively clean the flosser tip of your Cordless Waterpik Water Flosser:
-
Remove the Flosser Tip: Start by carefully detaching the flosser tip from the handle of the water flosser. Depending on the model of your Cordless Waterpik Water Flosser, the flosser tip may have a release mechanism or a simple twist-and-pull design for removal. Follow the manufacturer's instructions to ensure safe and proper detachment.
-
Rinse the Flosser Tip: Thoroughly rinse the flosser tip under warm running water to remove any visible debris or residual mouthwash. Gently swish the water through the tip to dislodge any particles that may be trapped inside.
-
Soak in Cleaning Solution: Prepare a solution of warm water and mild dish soap in a container. Submerge the flosser tip in the cleaning solution and let it soak for approximately 5-10 minutes. This soaking period helps to loosen any stubborn residue or buildup on the tip.
-
Scrub the Tip: After soaking, use a soft-bristled brush or toothbrush to gently scrub the flosser tip, paying close attention to the areas around the nozzle and the internal channels. Ensure that the bristles of the brush are soft to avoid damaging the delicate components of the flosser tip.
-
Rinse and Dry: Thoroughly rinse the flosser tip with clean, warm water to remove any traces of the cleaning solution. Once rinsed, use a lint-free cloth or towel to dry the flosser tip completely. It's important to ensure that no moisture is left behind to prevent the growth of bacteria or mold.
-
Inspect for Residue: After cleaning and drying the flosser tip, inspect it for any remaining residue or buildup. If necessary, repeat the cleaning process to ensure that the tip is completely clean and free from any impurities.
-
Reattach the Flosser Tip: Once the flosser tip is clean and dry, securely reattach it to the handle of the water flosser according to the manufacturer's instructions. Ensure that it is properly aligned and firmly attached to prevent any leaks during use.
By following these steps, you can effectively clean the flosser tip of your Cordless Waterpik Water Flosser, ensuring that it remains hygienic and functions optimally for your oral care routine. Regular cleaning of the flosser tip is crucial for maintaining the effectiveness and cleanliness of your water flosser, contributing to a healthy and vibrant smile.
Read more: What Is A Waterpik Water Flosser
Step 5: Reassemble the water flosser
After completing the thorough cleaning of the individual components of your Cordless Waterpik Water Flosser, the next crucial step is to reassemble the device to ensure its proper functionality and hygiene. Proper reassembly is essential for maintaining the integrity of the water flosser and ensuring that all components are securely attached to prevent any leaks or malfunctions during use.
Here's a detailed guide on how to effectively reassemble your Cordless Waterpik Water Flosser:
-
Handle and Flosser Tip: Begin by reattaching the flosser tip to the handle of the water flosser. Depending on the model of your water flosser, the flosser tip may have a specific alignment or attachment mechanism. Ensure that the flosser tip is securely and properly aligned with the handle to prevent any water leakage during operation.
-
Water Reservoir: Once the flosser tip is reattached, proceed to reassemble the water reservoir onto the main unit of the water flosser. Carefully align the reservoir with the designated connection point and securely attach it according to the manufacturer's instructions. Ensure that the reservoir is properly seated to prevent any potential leaks.
-
Additional Removable Parts: If your Cordless Waterpik Water Flosser has any additional removable parts, such as a lid or valve, carefully reattach these components to the main unit. Pay attention to any locking mechanisms or alignment features to ensure a secure and proper fit.
-
Inspect for Secure Attachment: After reassembling the water flosser, take a moment to inspect each component to ensure that it is securely attached and properly aligned. Gently wiggle the components to check for any loose fittings or potential areas of concern.
-
Test for Leaks: Before using the water flosser, perform a quick test to ensure that there are no leaks or malfunctions. Fill the reservoir with water and run a brief flossing cycle to verify that all components are functioning as intended and that there are no unexpected leaks.
By following these steps to reassemble your Cordless Waterpik Water Flosser, you can ensure that the device is ready for use, maintaining its cleanliness and optimal performance. Proper reassembly is a critical aspect of the cleaning process, contributing to the overall effectiveness and longevity of your water flosser for your oral care needs.
Step 6: Run a cleaning cycle
After reassembling your Cordless Waterpik Water Flosser, it's essential to perform a cleaning cycle to ensure that the internal components are thoroughly flushed and sanitized. Running a cleaning cycle not only helps to remove any remaining cleaning solution or debris but also contributes to the overall maintenance and hygiene of the water flosser.
Here's a detailed guide on how to run a cleaning cycle for your Cordless Waterpik Water Flosser:
-
Fill the Reservoir: Begin by filling the water reservoir with clean, warm water. Ensure that the reservoir is securely attached to the main unit of the water flosser and that the water level is sufficient for a complete cleaning cycle.
-
Select the Cleaning Mode: Depending on the model of your Cordless Waterpik Water Flosser, it may have a specific cleaning or maintenance mode. Select the appropriate setting as recommended by the manufacturer to initiate the cleaning cycle.
-
Activate the Flosser: Turn on the water flosser and allow the cleaning cycle to run for the specified duration. During this process, the water flosser will flush water through the internal components, including the pump and water delivery system, effectively rinsing away any residual cleaning solution and impurities.
-
Empty the Reservoir: Once the cleaning cycle is complete, empty the water reservoir and thoroughly rinse it with clean water to remove any remaining traces of the cleaning cycle. This step ensures that the reservoir is free from any residual solution or debris.
-
Inspect for Residue: After completing the cleaning cycle, inspect the water reservoir and flosser tip for any remaining residue or buildup. If necessary, repeat the cleaning process for specific components to ensure thorough cleanliness.
-
Dry the Components: Use a lint-free cloth or towel to dry the water reservoir and flosser tip completely. It's important to ensure that all components are free from moisture to prevent the growth of mold or bacteria.
By following these steps to run a cleaning cycle for your Cordless Waterpik Water Flosser, you can maintain its internal hygiene and ensure that it continues to function effectively for your oral care routine. Regularly running a cleaning cycle contributes to the overall maintenance and longevity of your water flosser, promoting a clean and healthy smile.
Conclusion
Maintaining a clean and hygienic Cordless Waterpik Water Flosser is essential for preserving its effectiveness and promoting optimal oral hygiene. By following the comprehensive cleaning and maintenance guide outlined above, you can ensure that your water flosser remains in top condition, providing reliable performance for your oral care routine.
Regular cleaning of the water reservoir, flosser tip, and other removable components not only prevents the buildup of bacteria, mold, and mineral deposits but also contributes to the longevity of the device. The step-by-step process of disassembling, cleaning, and reassembling the water flosser ensures that each component receives the attention it needs to maintain its cleanliness and functionality.
Furthermore, running a cleaning cycle after reassembly helps to flush and sanitize the internal components, ensuring that the water flosser is ready for use with optimal hygiene. This comprehensive approach to cleaning and maintenance empowers you to take proactive measures in preserving the performance and longevity of your Cordless Waterpik Water Flosser.
By incorporating these cleaning practices into your oral care routine, you can enjoy the benefits of a clean and efficient water flosser, contributing to a healthy and vibrant smile. Remember to gather the necessary supplies, such as warm water, vinegar or antibacterial mouthwash, a soft-bristled brush, mild dish soap, and a lint-free cloth, to facilitate a thorough cleaning process.
In conclusion, regular cleaning and maintenance of your Cordless Waterpik Water Flosser are integral to promoting optimal oral health and ensuring the device's longevity. By following the outlined steps and incorporating these practices into your oral care regimen, you can maintain a hygienic and effective water flosser, supporting your journey towards a confident and healthy smile.
Frequently Asked Questions about How To Clean A Cordless Waterpik Water Flosser
Was this page helpful?
At Storables.com, we guarantee accurate and reliable information. Our content, validated by Expert Board Contributors, is crafted following stringent Editorial Policies. We're committed to providing you with well-researched, expert-backed insights for all your informational needs.


0 thoughts on “How To Clean A Cordless Waterpik Water Flosser”