Home>Home Appliances>Bathroom Appliances>How To Clean A Burst Water Flosser
Bathroom Appliances
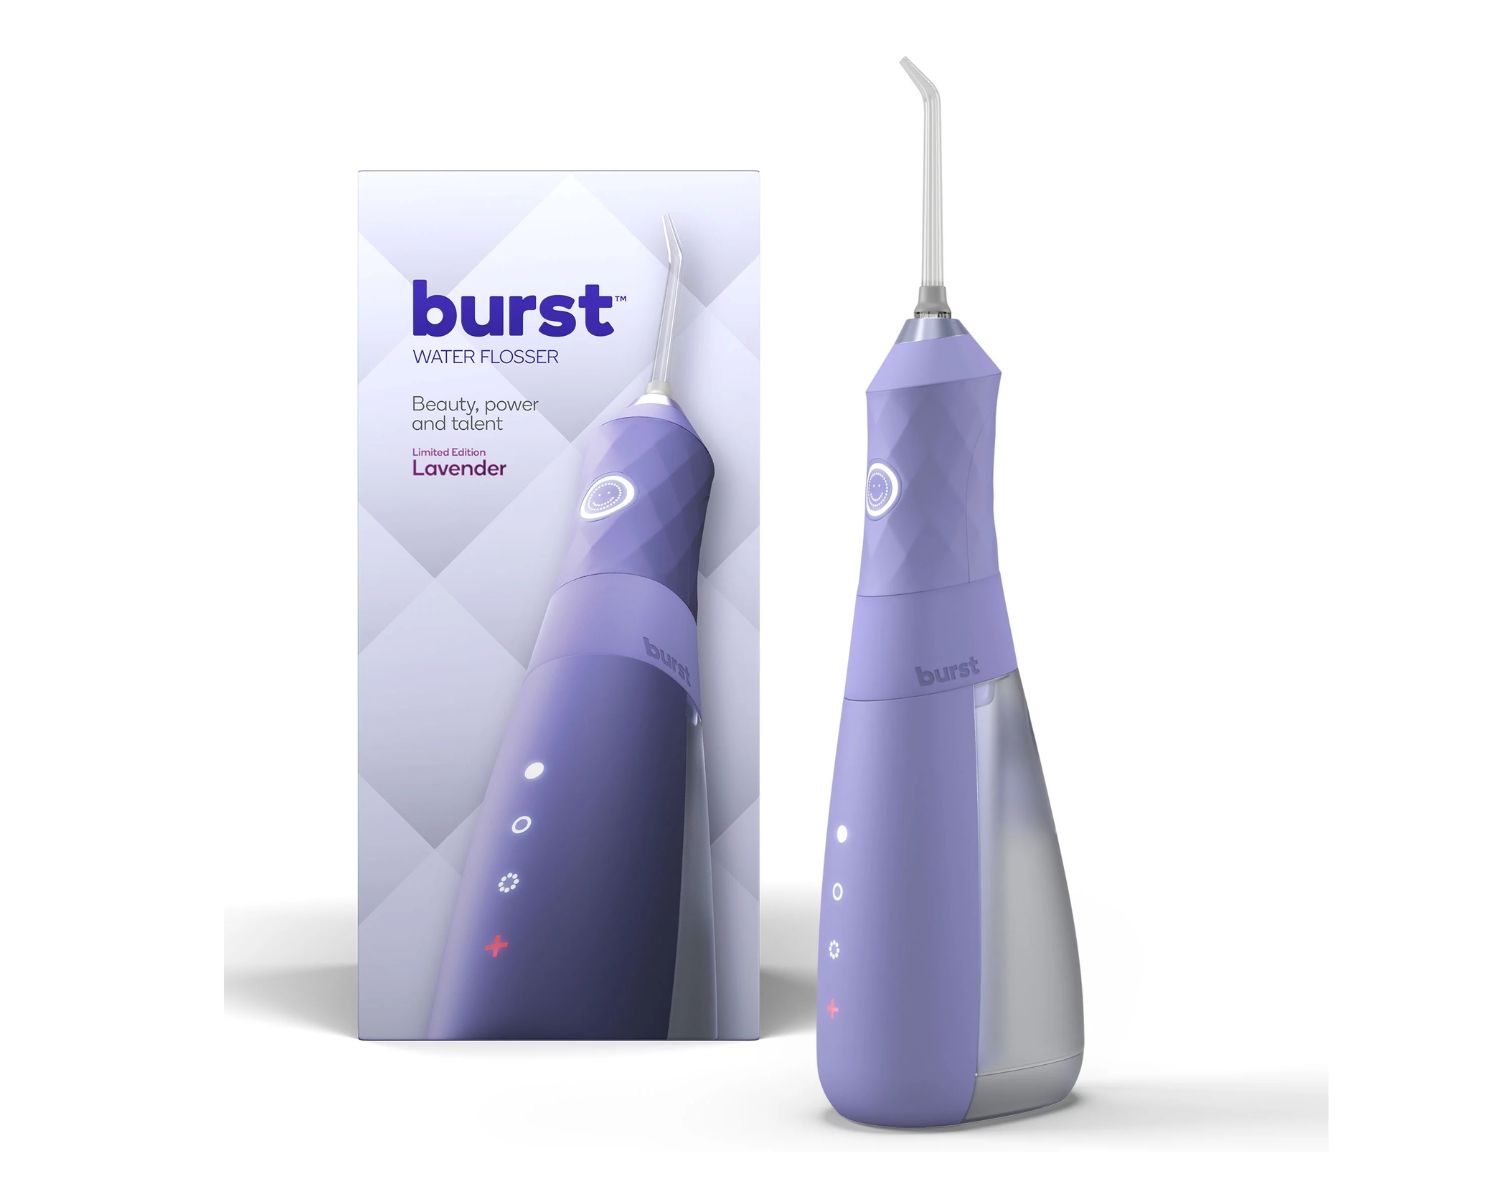
How To Clean A Burst Water Flosser
Modified: February 18, 2024
Learn how to properly clean and maintain your burst water flosser to keep it in top condition. Follow these simple steps to ensure your bathroom appliance stays in great shape.
(Many of the links in this article redirect to a specific reviewed product. Your purchase of these products through affiliate links helps to generate commission for Storables.com, at no extra cost. Learn more)
Introduction
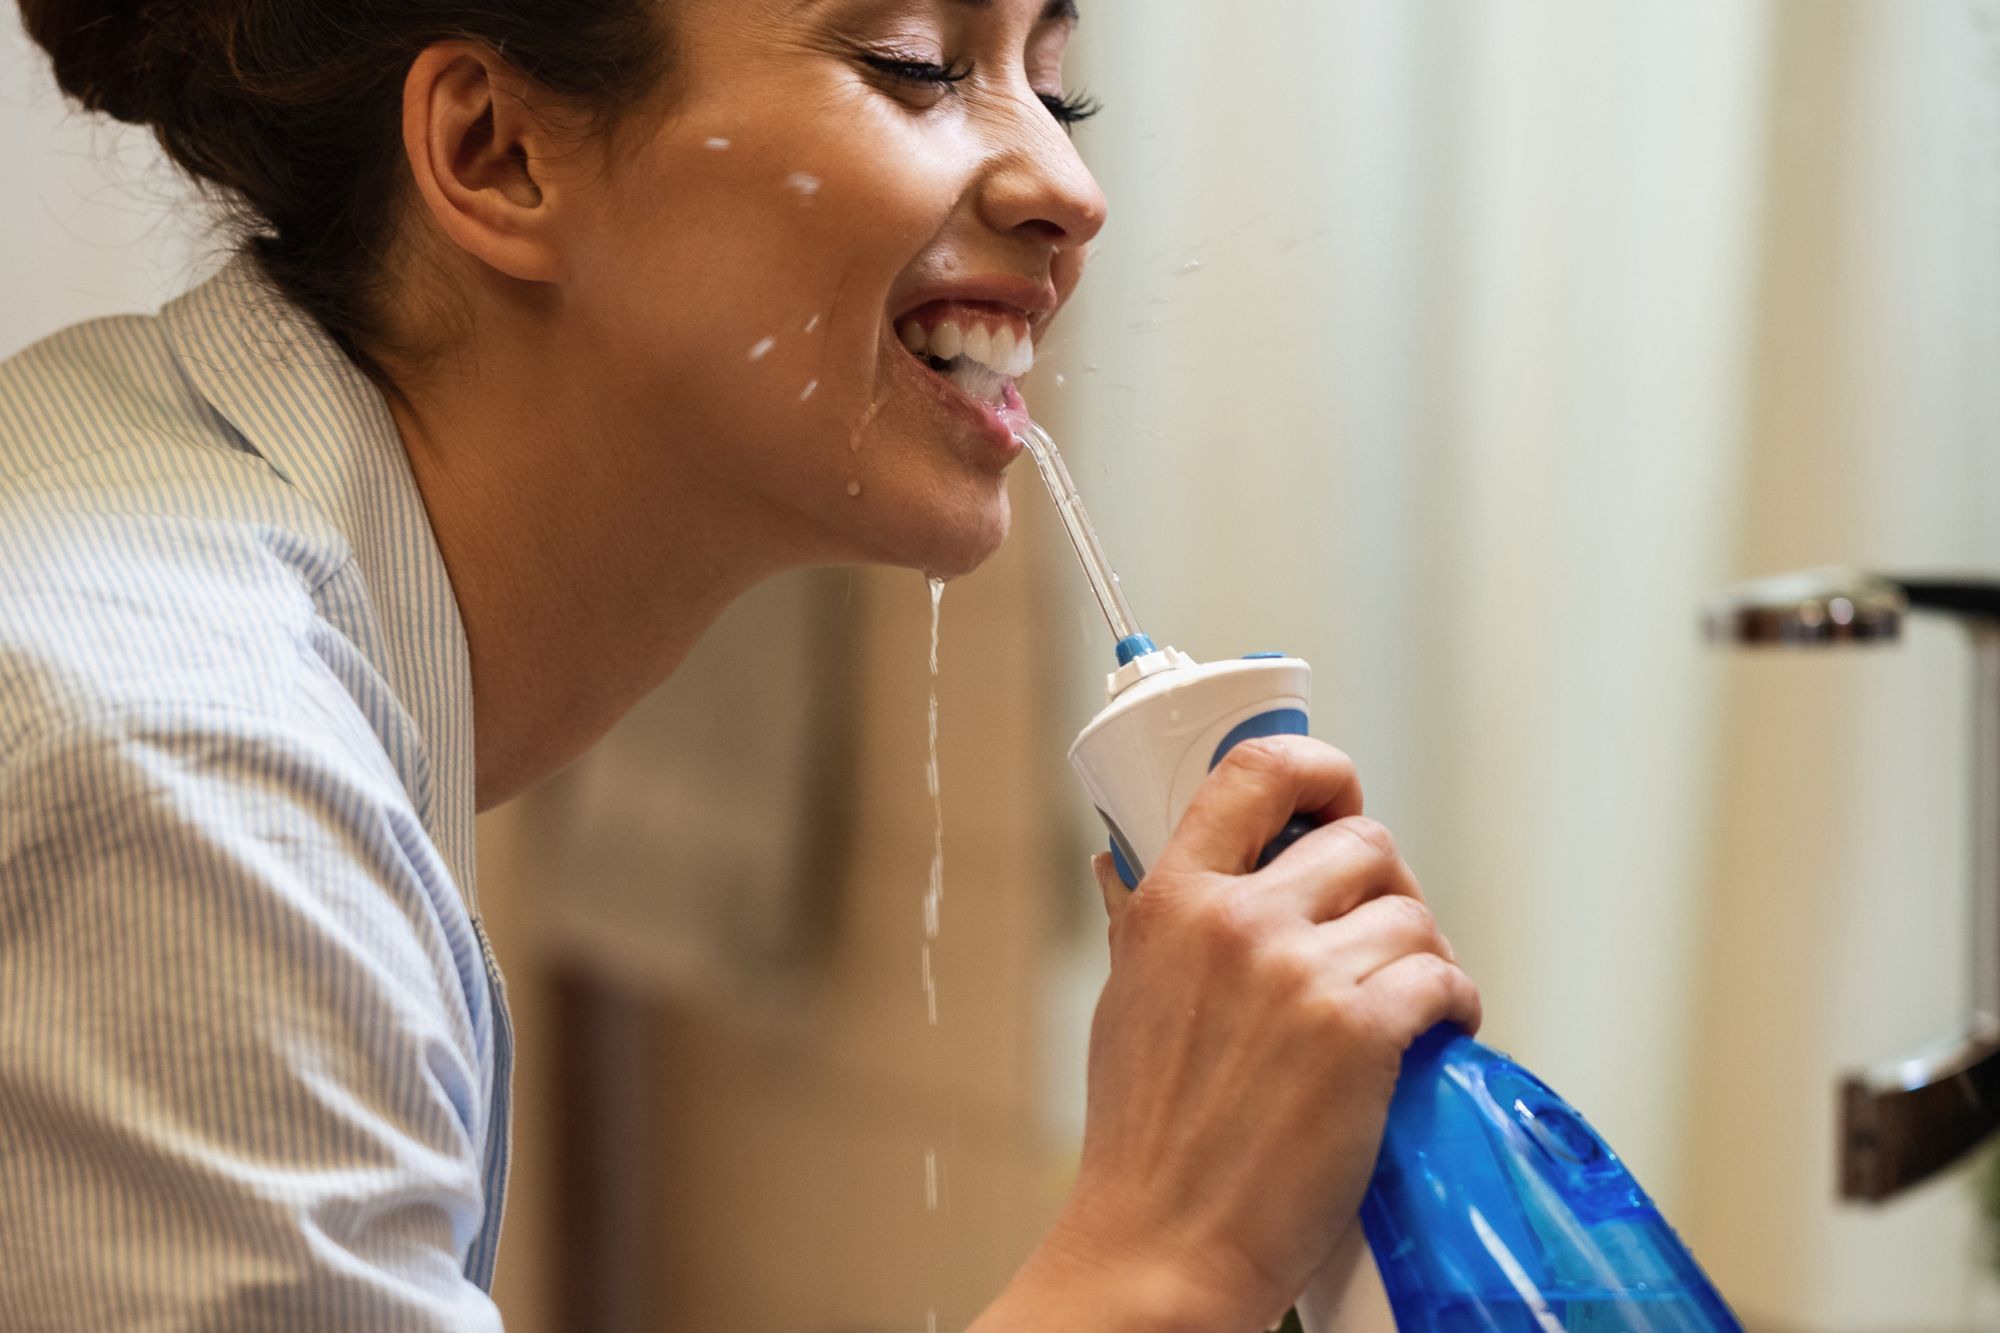
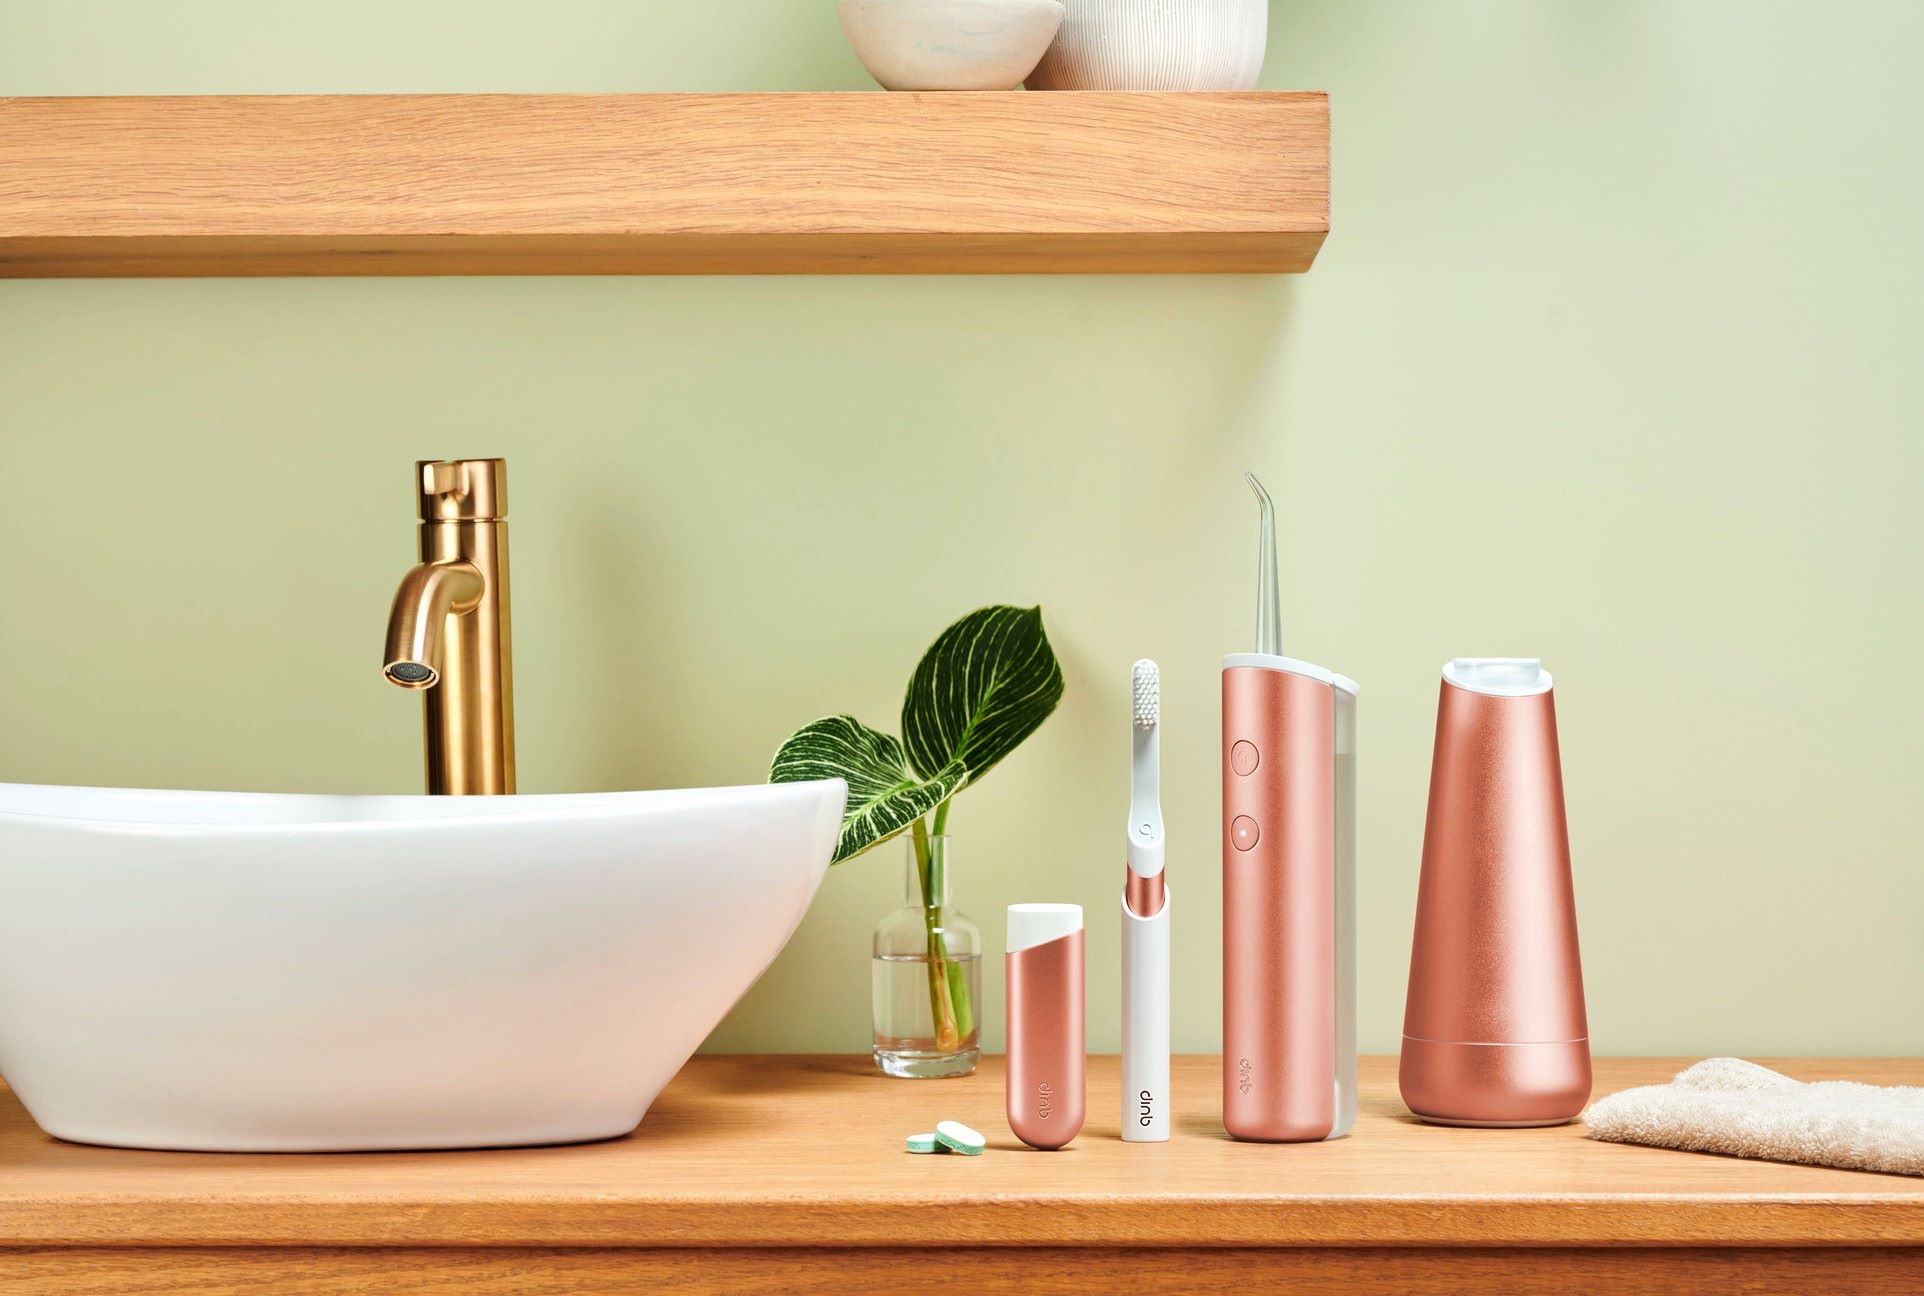
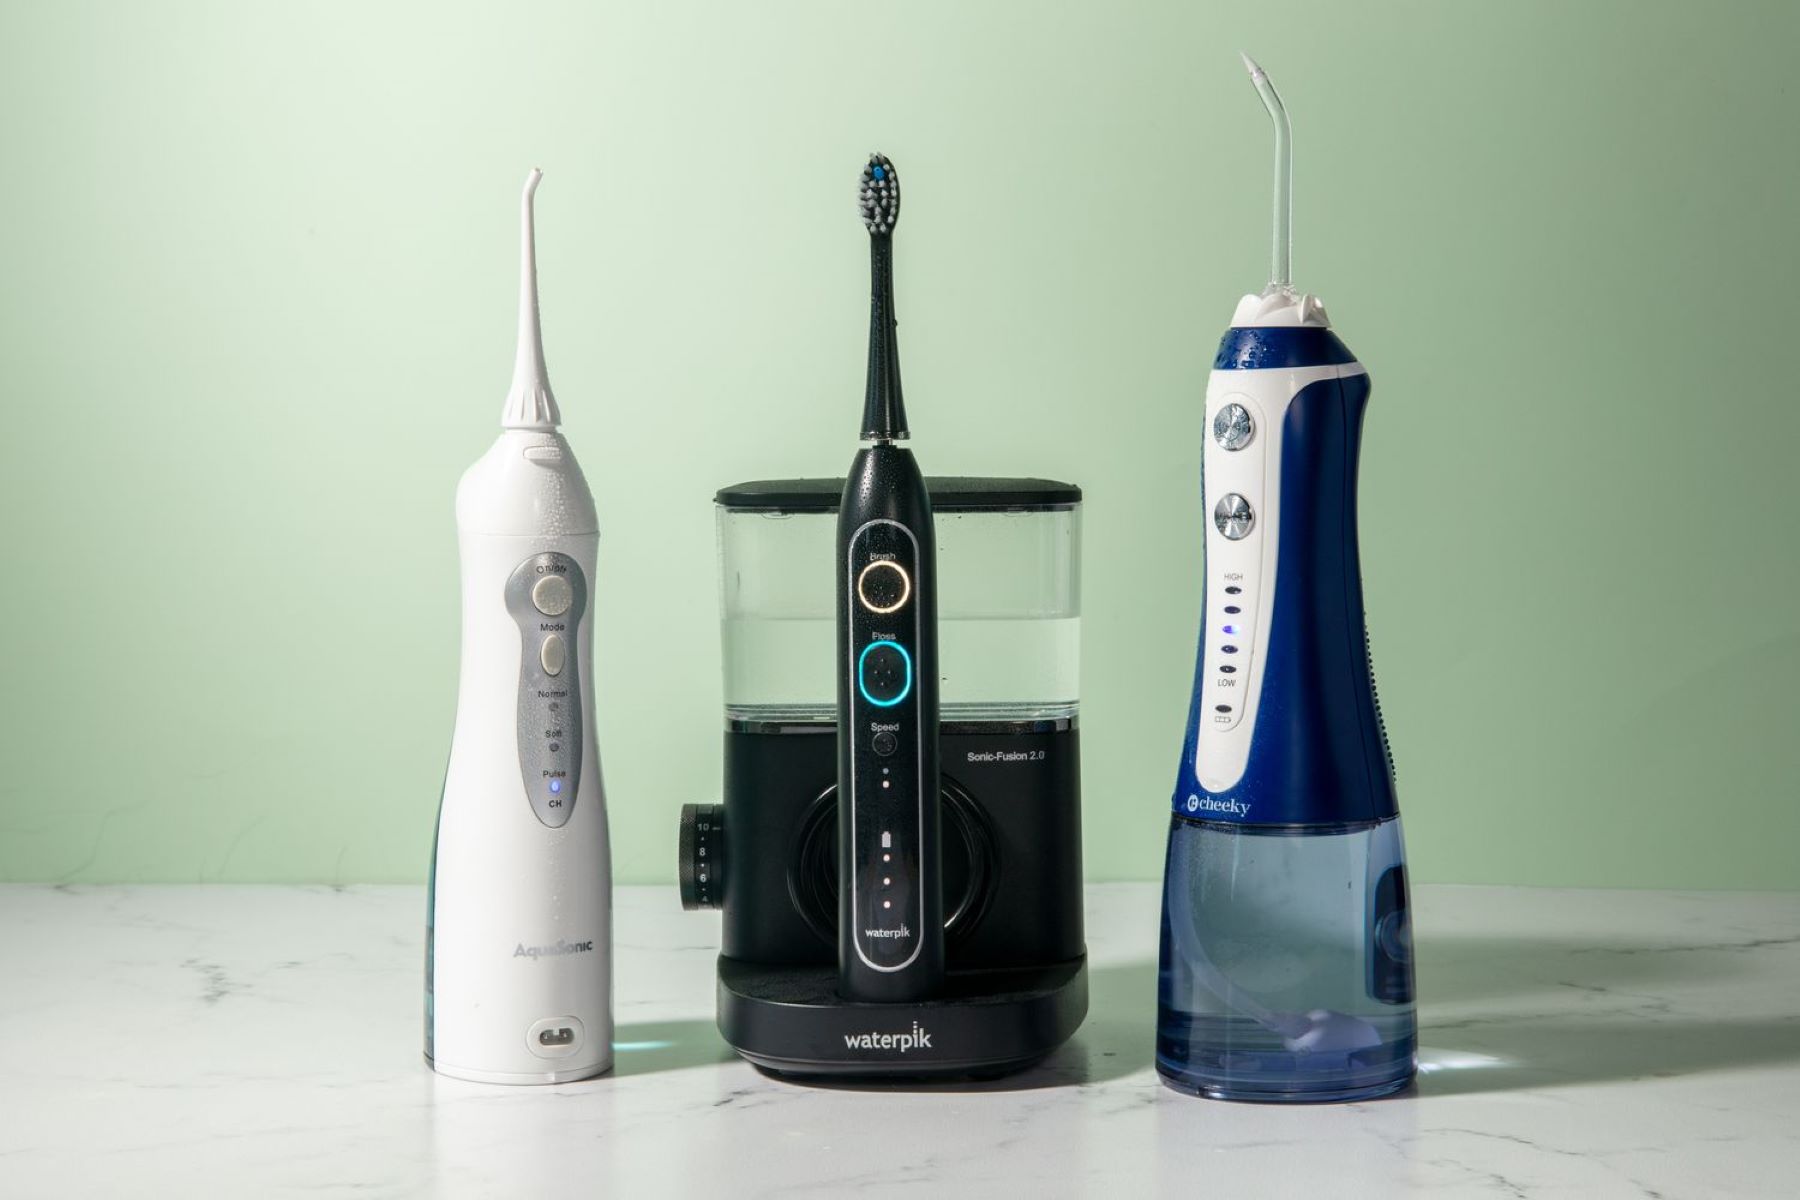
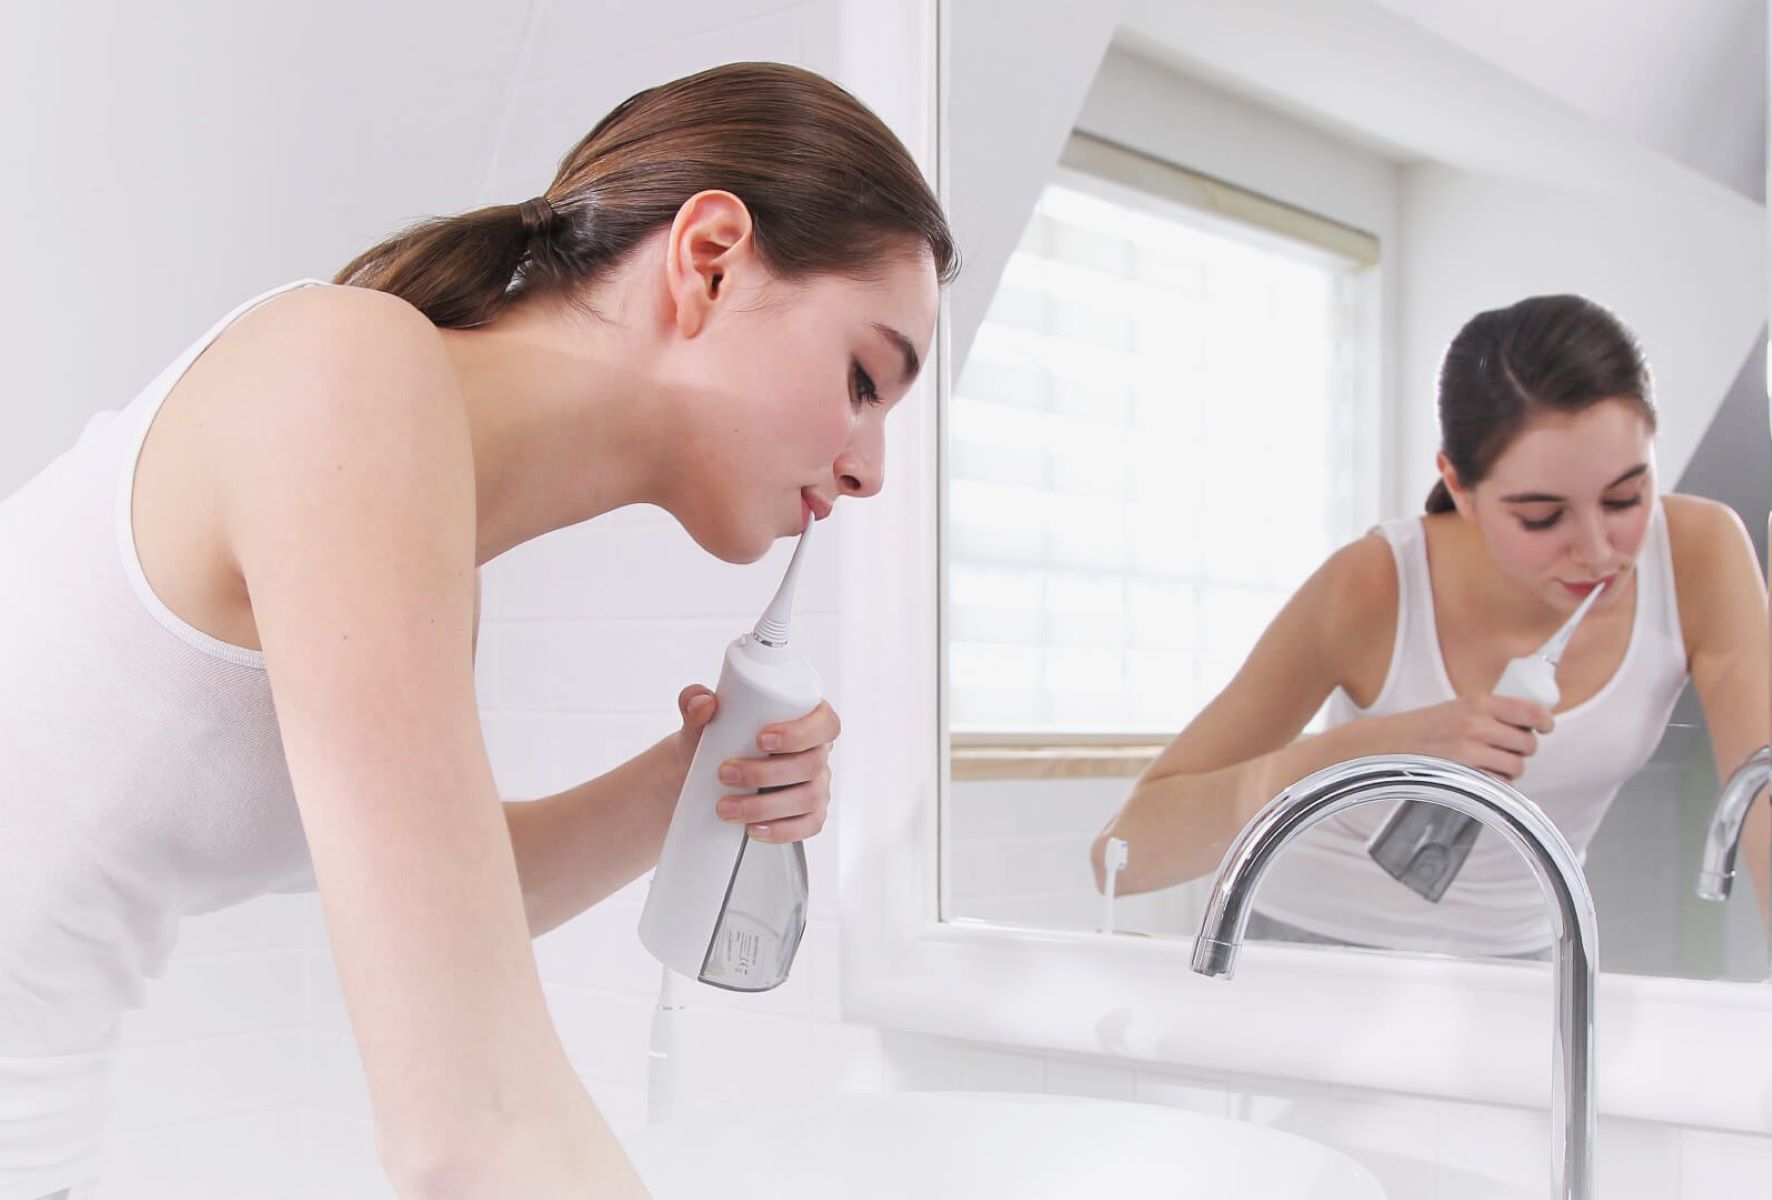
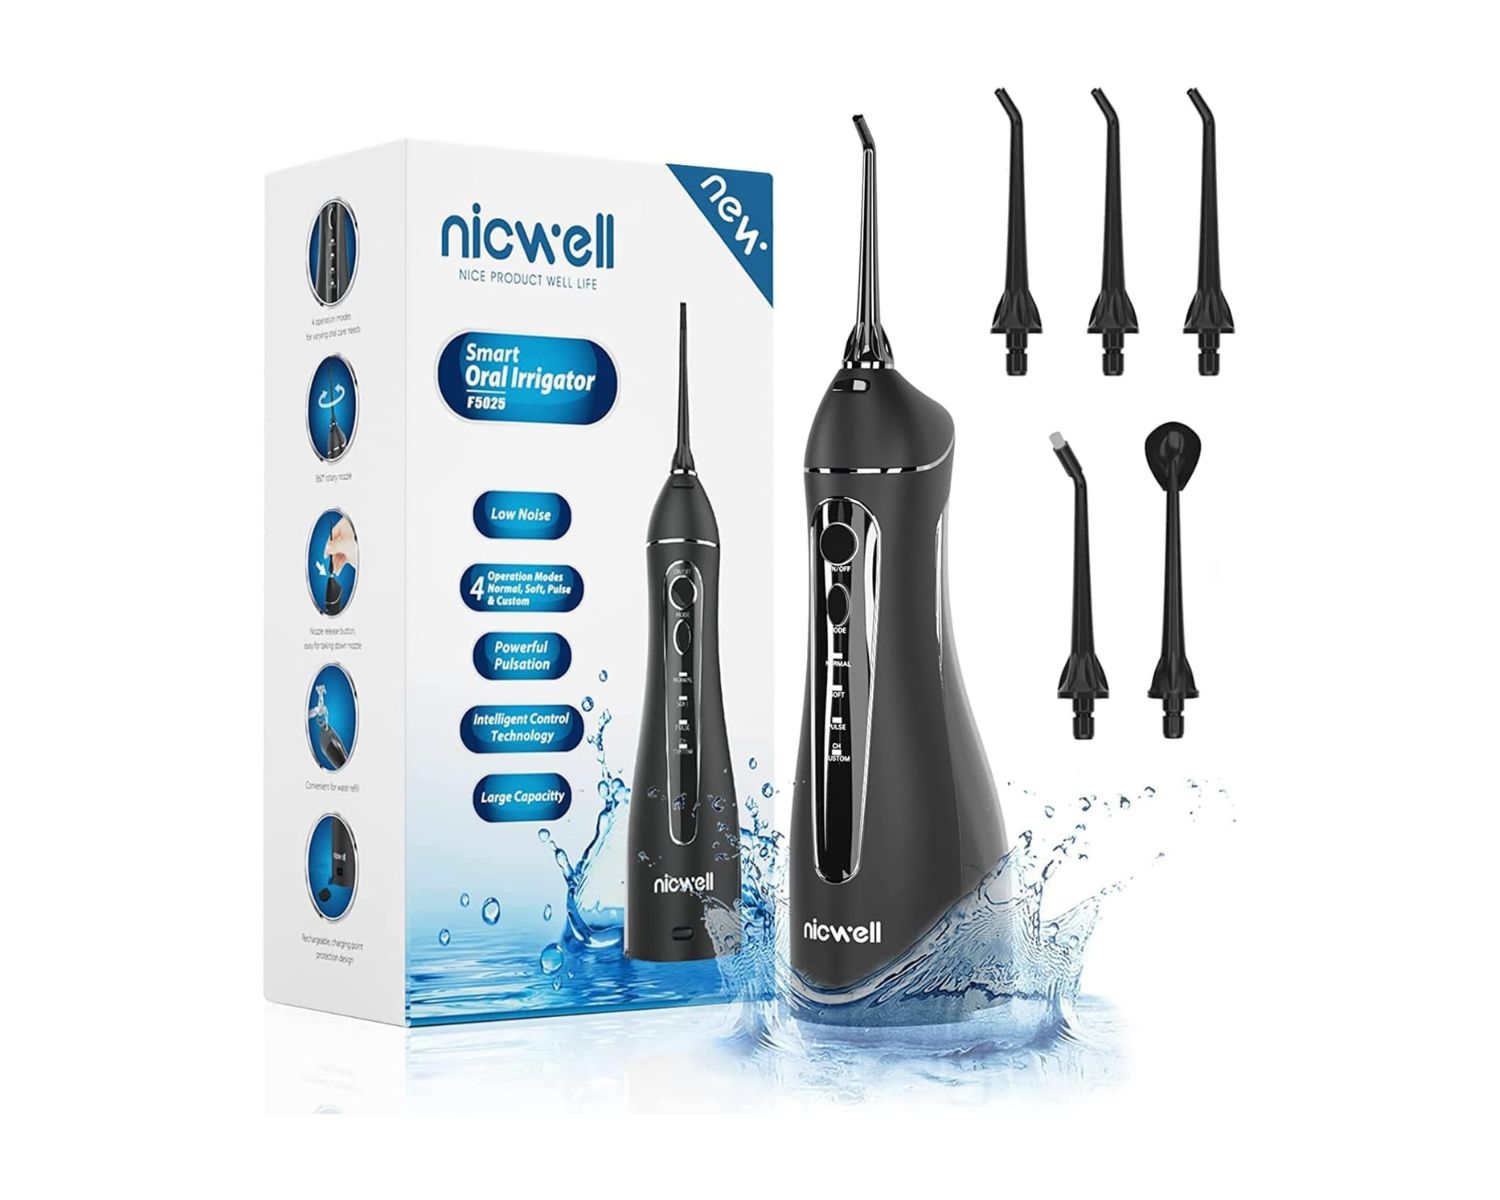
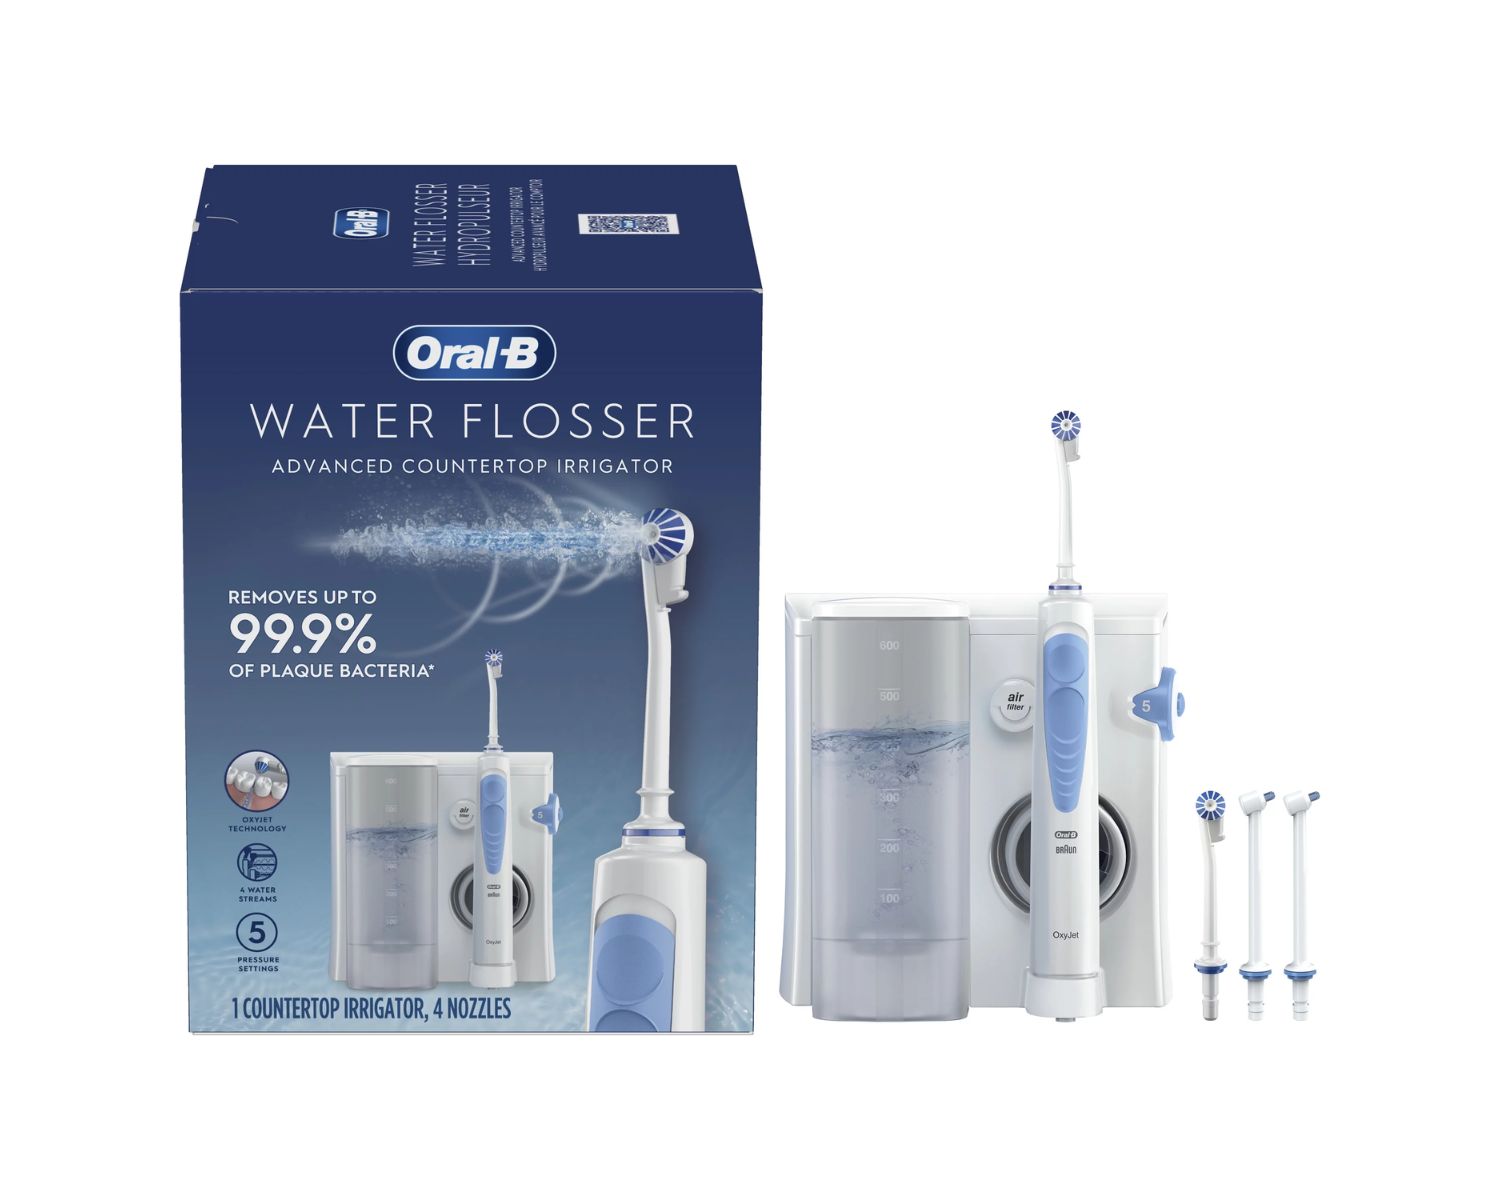
Cleaning a burst water flosser is an essential maintenance task that ensures the appliance functions optimally and maintains hygienic standards. A water flosser, also known as an oral irrigator, is a valuable tool for oral hygiene, effectively removing food particles and plaque from between teeth and along the gumline. However, when a water flosser bursts, it can lead to water leakage and potential damage to the device if not addressed promptly.
Regular cleaning of a burst water flosser not only restores its functionality but also prevents the buildup of bacteria and mold, which can compromise oral health. By following a few simple steps, you can effectively clean and restore a burst water flosser to its optimal condition.
In the following sections, we will delve into the step-by-step process of cleaning a burst water flosser, providing detailed instructions to ensure a thorough and effective cleaning routine. From disassembling the water flosser to cleaning the reservoir, tip, and exterior, each step is crucial in restoring the appliance to its pristine state.
By understanding the importance of proper maintenance and cleaning, you can prolong the lifespan of your water flosser and continue to enjoy the benefits of enhanced oral hygiene. Let's embark on this cleaning journey to revive your burst water flosser and maintain a healthy, radiant smile.
Key Takeaways:
- Regularly cleaning a burst water flosser is crucial for maintaining oral hygiene and appliance longevity. By following the step-by-step process, you can restore its functionality and prevent harmful bacteria buildup.
- Thoroughly cleaning the reservoir, tip, and exterior of the water flosser ensures efficient operation and visual appeal. Proper reassembly after cleaning is essential for a well-maintained appliance ready for daily use.
Read more: How To Charge A Burst Water Flosser
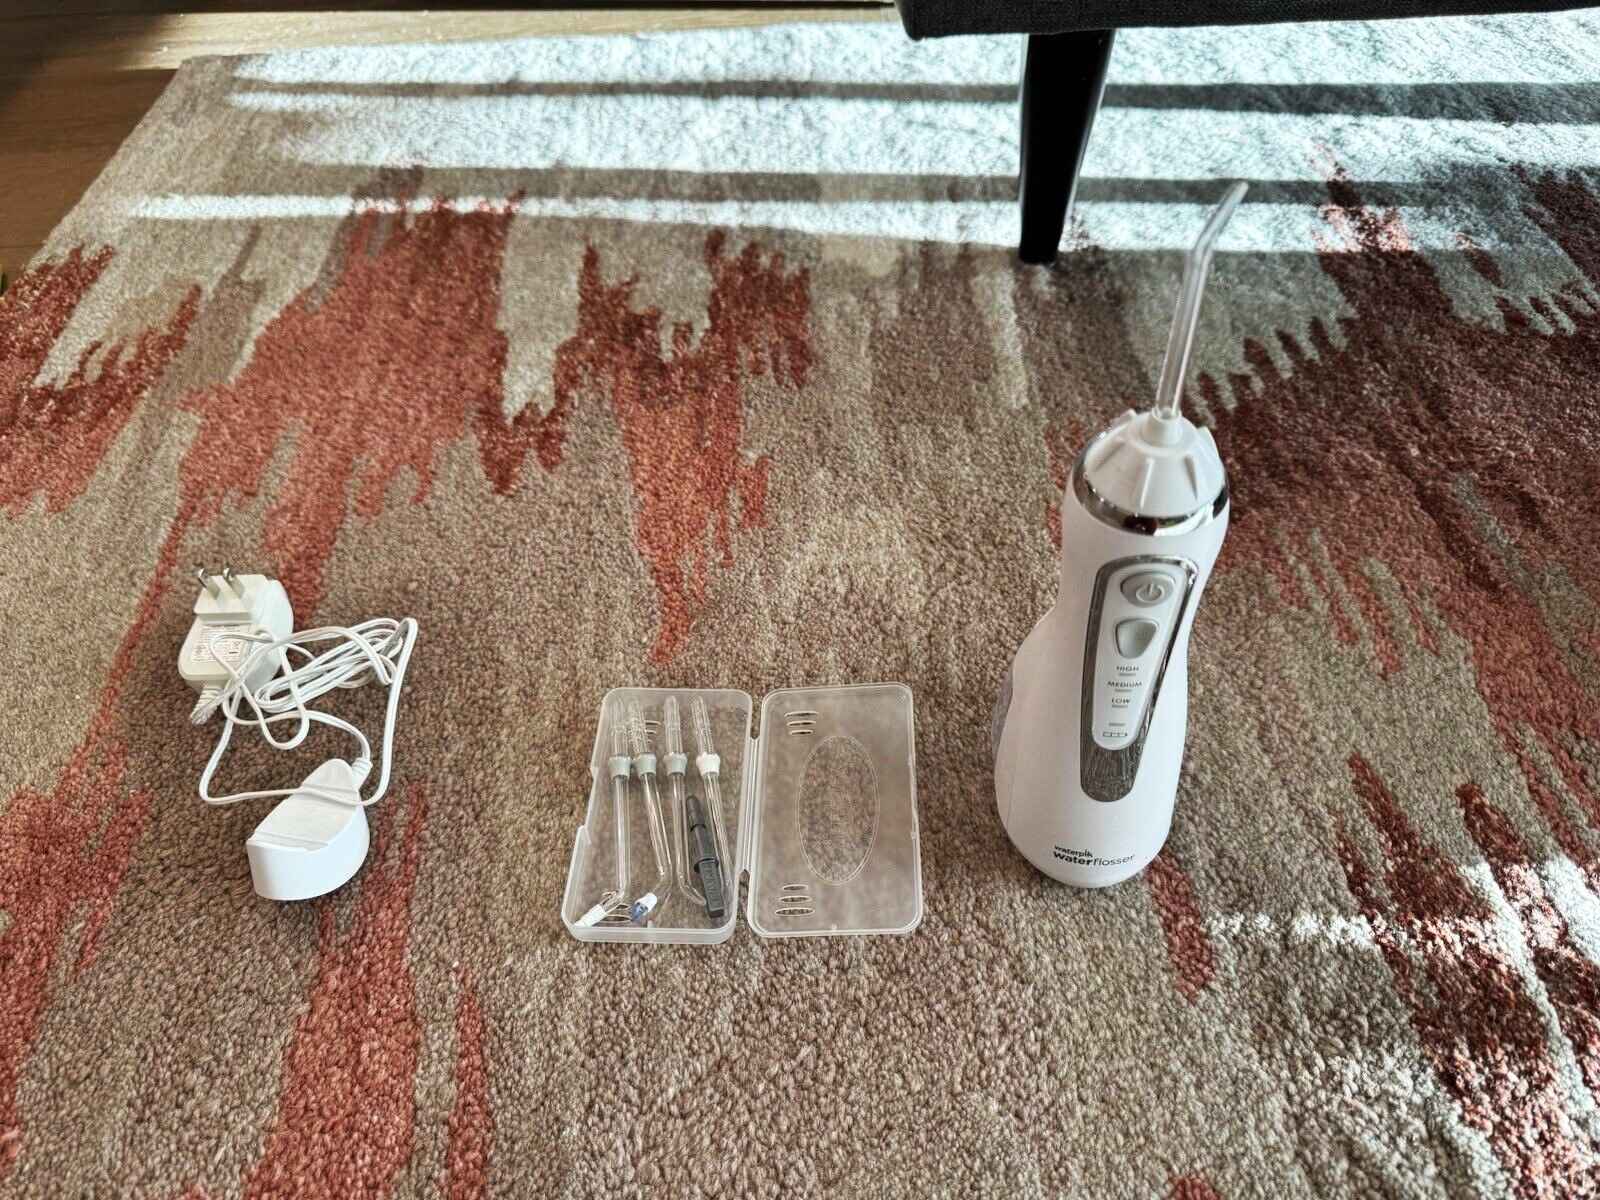
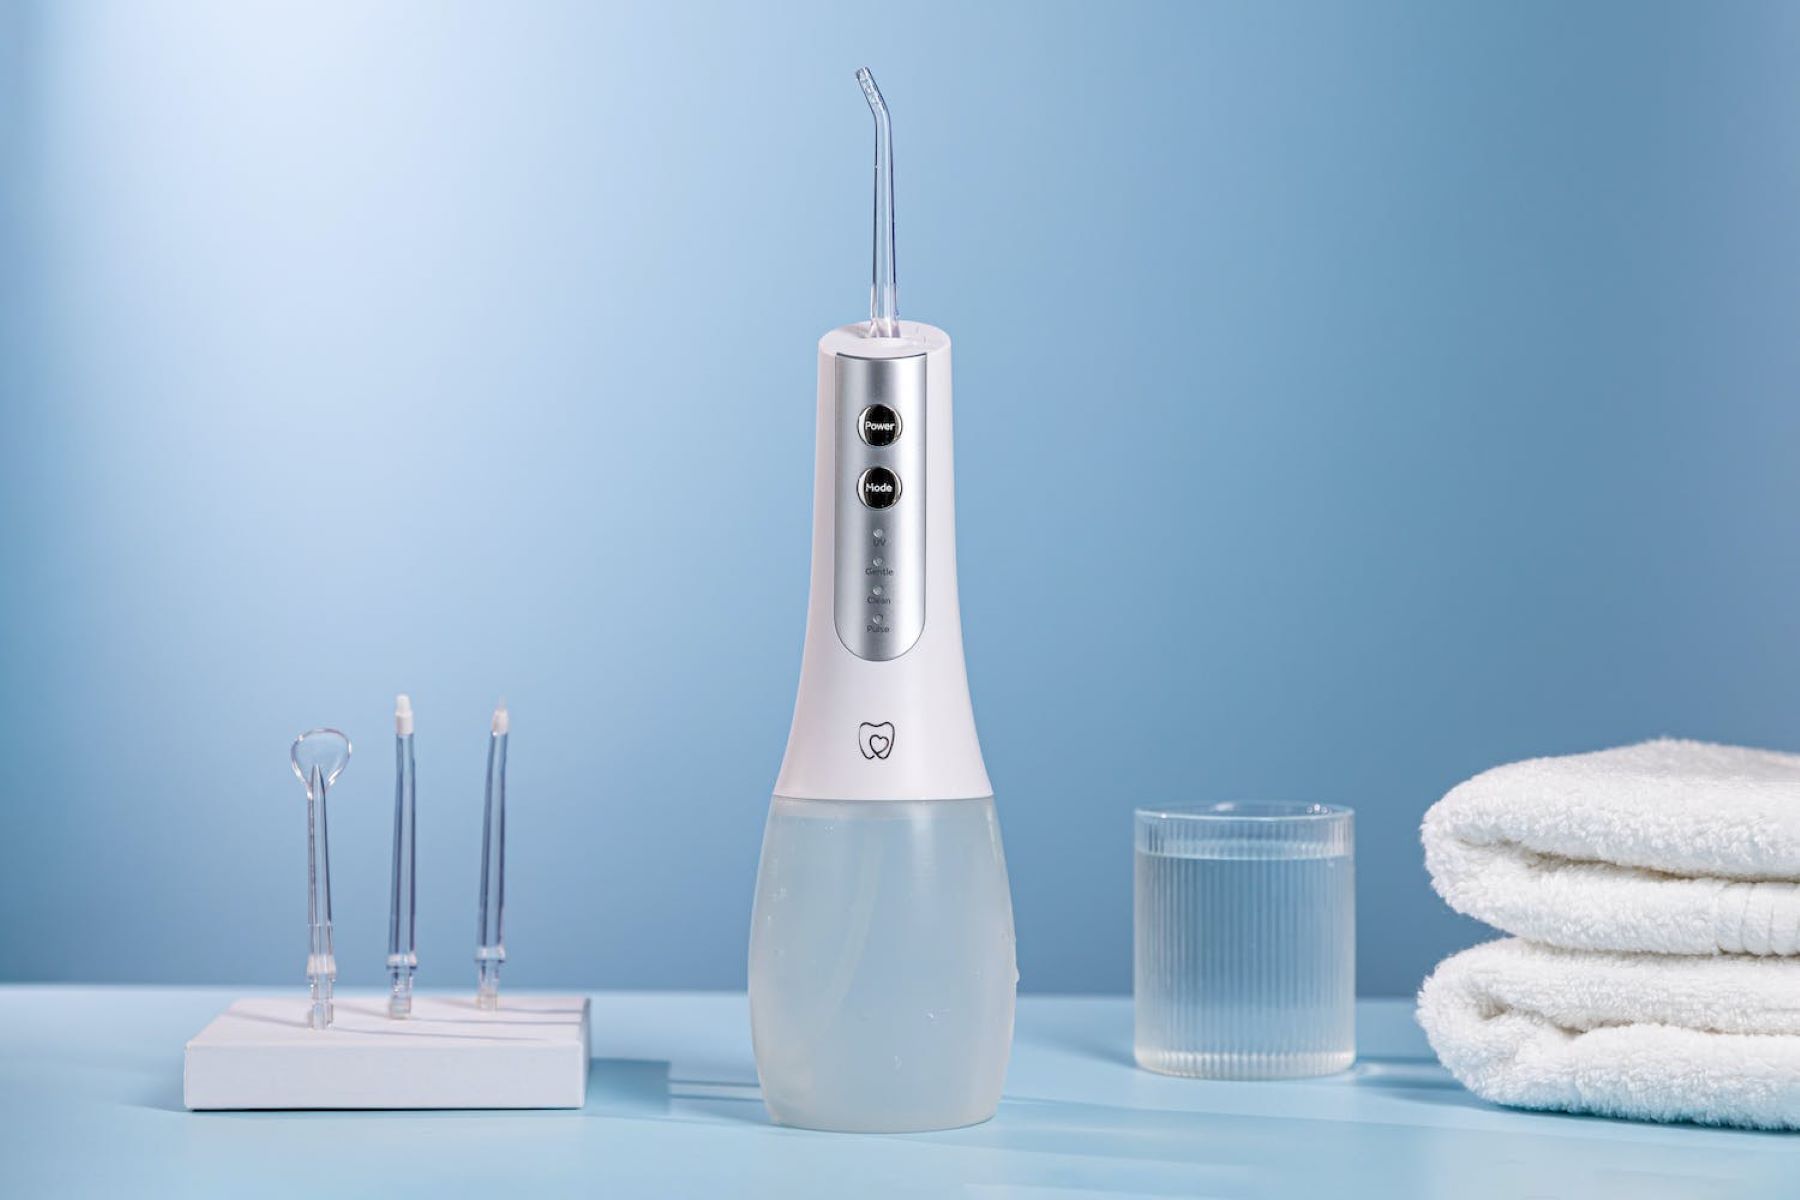
Step 1: Disassemble the Water Flosser
Disassembling the water flosser is the initial step in the cleaning process and is essential for thorough maintenance. Before beginning the disassembly, ensure that the water flosser is unplugged from the power source to prevent any mishaps. Here's a detailed guide on how to effectively disassemble the water flosser:
-
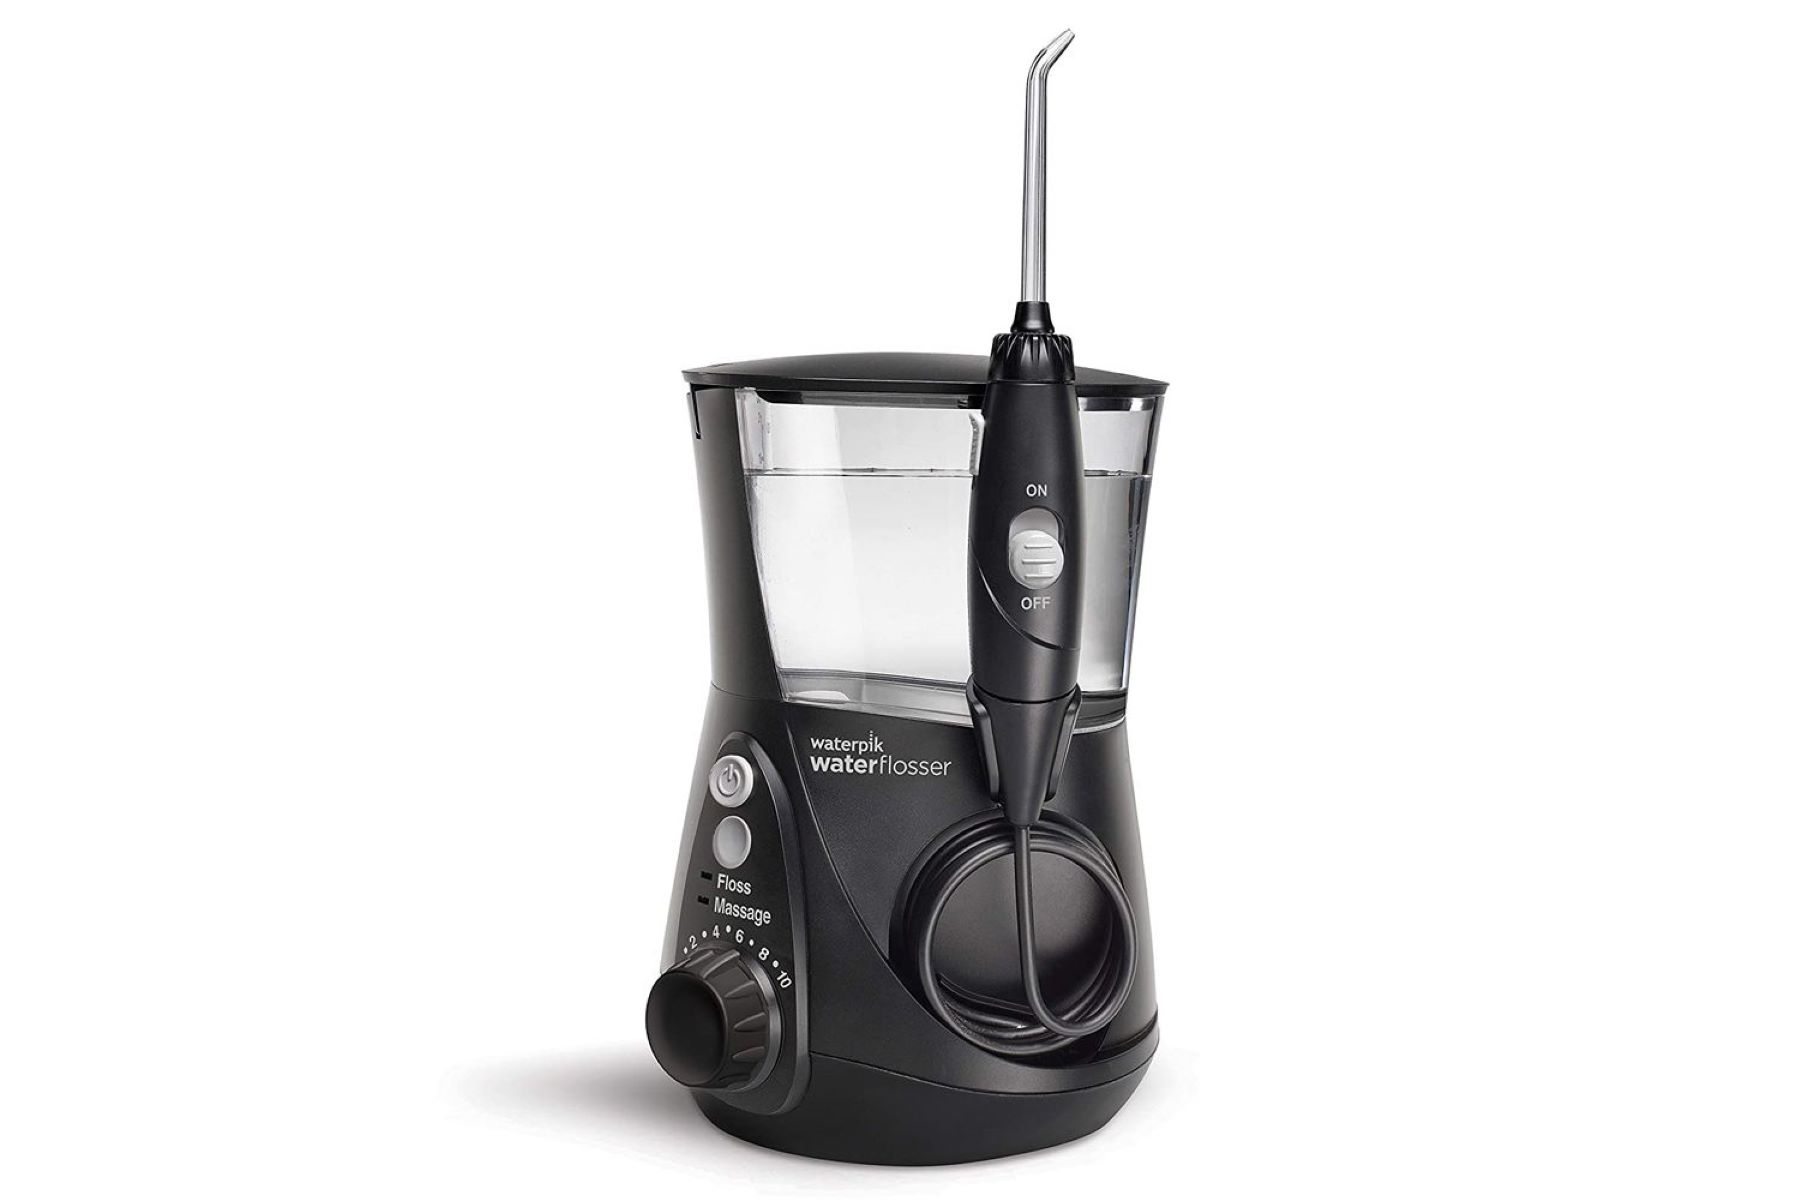
Remove the Reservoir: Start by detaching the reservoir from the main unit. Most water flossers have a detachable reservoir that can be easily lifted off. Hold the reservoir firmly and gently pull it away from the base of the flosser. Be cautious to avoid any spillage if the reservoir contains water or mouthwash.
-
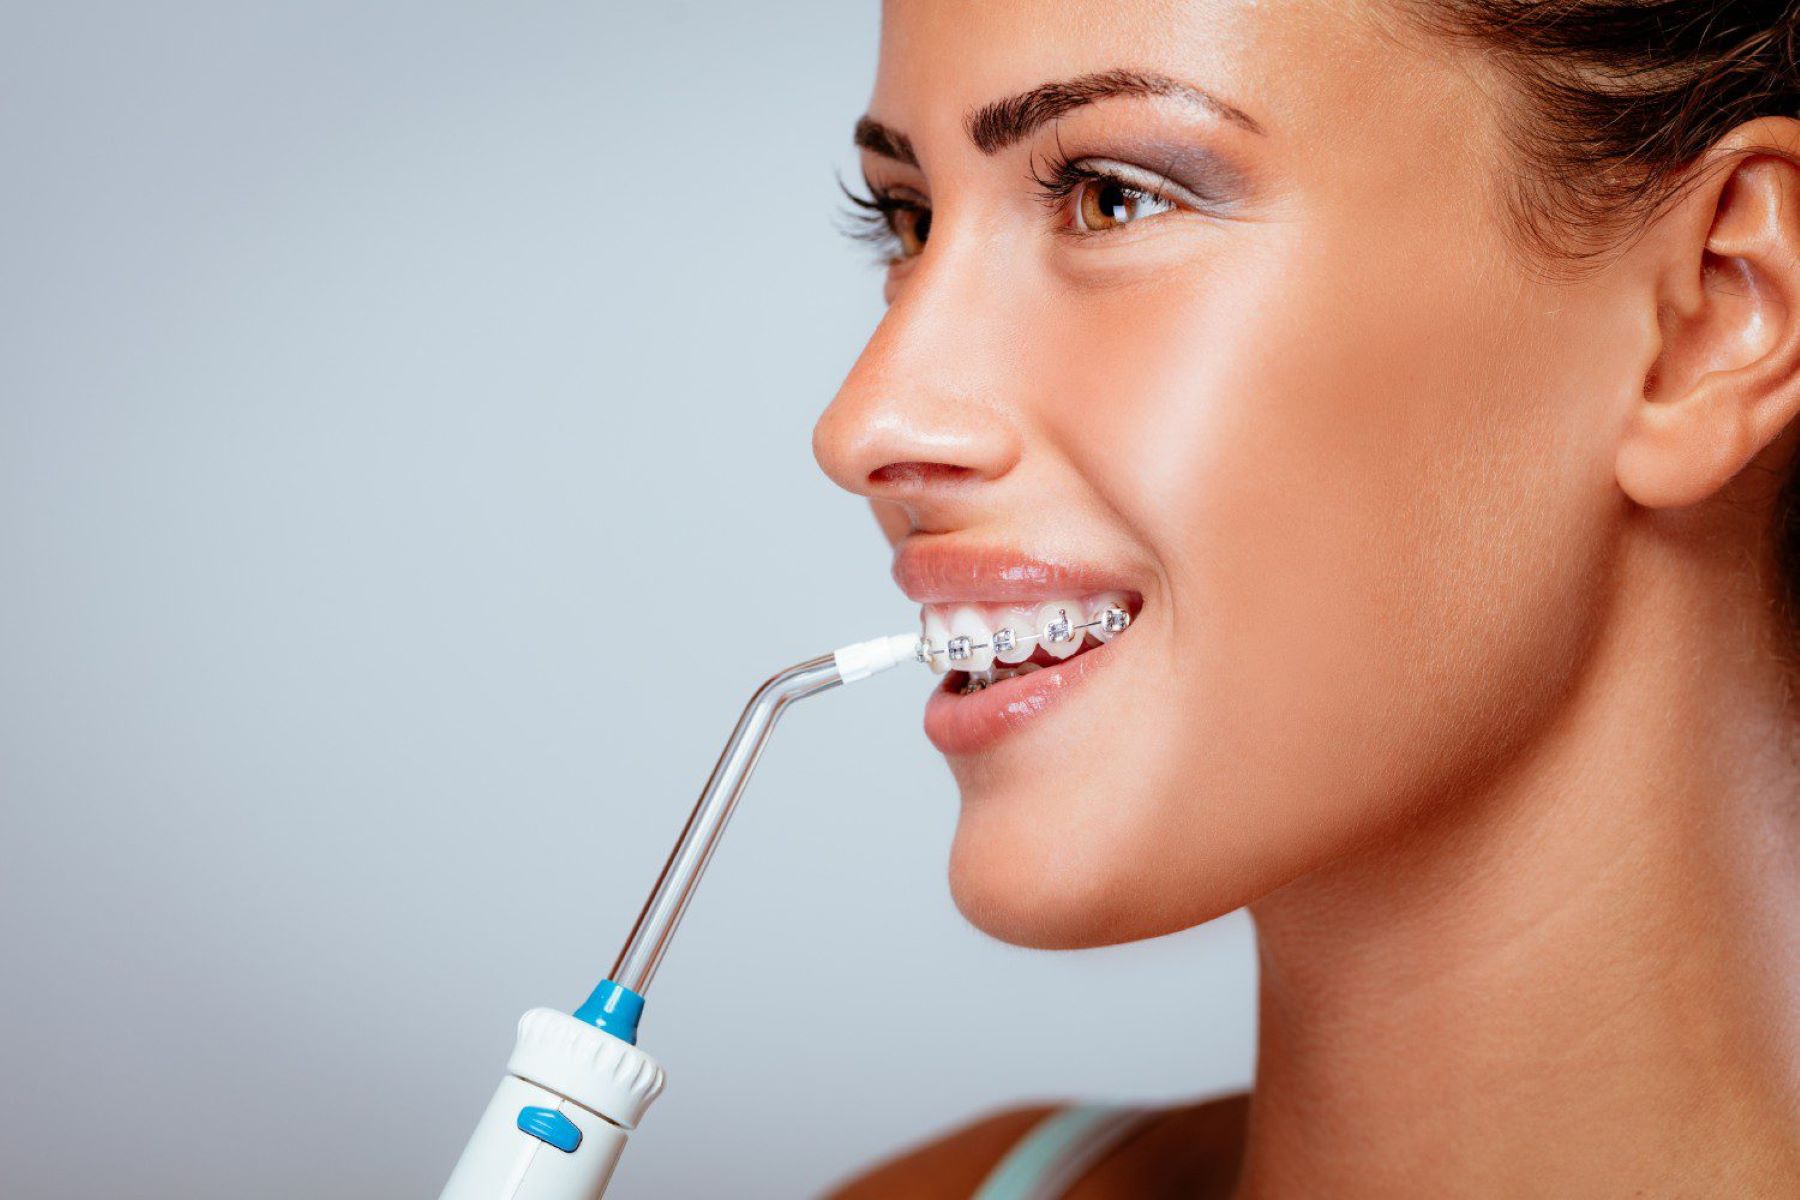
Detach the Nozzle or Tip: Next, remove the nozzle or tip from the handle of the water flosser. Depending on the model, the nozzle can be detached by twisting it counterclockwise or by pressing a release button. Once detached, inspect the nozzle for any debris or buildup that may hinder its functionality.
-
Unplug the Power Cord (if applicable): If your water flosser has a detachable power cord, unplug it from the main unit. This step is crucial for safety and ensures that the device is completely disconnected from any power source during the cleaning process.
-
Inspect and Clean Individual Components: After disassembling the main parts, take a moment to inspect each component for any visible debris, mineral deposits, or mold. This inspection will help identify areas that require thorough cleaning and maintenance.
By carefully disassembling the water flosser, you set the stage for a comprehensive cleaning process. This step allows for focused cleaning of individual components, ensuring that no area is overlooked. Once the disassembly is complete, you can proceed to the next step of cleaning the reservoir and tip, which is vital for maintaining the hygiene and functionality of the water flosser.
Step 2: Clean the Reservoir and Tip
Cleaning the reservoir and tip of a burst water flosser is a critical step in maintaining optimal oral hygiene and ensuring the efficient operation of the device. Over time, the reservoir can accumulate mineral deposits, bacteria, and mold, while the tip may harbor debris and plaque buildup. By following a systematic approach to cleaning these components, you can effectively restore the hygiene and functionality of your water flosser.
Cleaning the Reservoir:
-
Empty the Reservoir: Begin by emptying any remaining water or mouthwash from the reservoir. Ensure that the reservoir is completely drained before proceeding with the cleaning process.
-
Prepare a Cleaning Solution: Create a cleaning solution by mixing warm water with a mild antibacterial mouthwash or a vinegar solution. The antibacterial properties of the mouthwash or vinegar help eliminate bacteria and mold within the reservoir.
-
Soak and Scrub: Submerge the reservoir in the cleaning solution and let it soak for approximately 15-30 minutes. This allows the solution to penetrate and loosen any stubborn deposits or residue. After soaking, use a soft-bristled brush or a designated reservoir cleaning brush to gently scrub the interior surfaces, including the bottom and walls of the reservoir. Pay special attention to areas where mineral deposits or discoloration are present.
-
Rinse Thoroughly: Once the reservoir has been scrubbed, thoroughly rinse it with clean water to remove any residual cleaning solution and dislodged debris. Ensure that no cleaning solution remains in the reservoir, as it may affect the taste or safety of the water used during flossing.
Cleaning the Tip:
-
Inspect the Tip: Before cleaning the tip, inspect it for any visible debris, plaque, or discoloration. If the tip is clogged or shows signs of buildup, it may require more intensive cleaning.
-
Soak and Clean: Submerge the tip in the same cleaning solution used for the reservoir and let it soak for 15-20 minutes. After soaking, use a small brush or a specialized tip-cleaning tool to gently dislodge any debris or buildup within the tip. Ensure that all openings and channels within the tip are thoroughly cleaned to maintain optimal water flow and pressure.
-
Rinse and Reassemble: After cleaning, rinse the tip with clean water to remove any remaining residue. Once both the reservoir and tip are clean and thoroughly rinsed, allow them to air dry completely before reassembling the water flosser.
By diligently cleaning the reservoir and tip of your burst water flosser, you can ensure that the appliance operates at its best and contributes to your overall oral health. This thorough cleaning process helps prevent the accumulation of harmful bacteria, mold, and mineral deposits, allowing you to maintain a hygienic and efficient oral care routine.
Read more: How To Clean The Waterpik Water Flosser
Step 3: Clean the Exterior
Cleaning the exterior of a burst water flosser is essential not only for maintaining its aesthetic appeal but also for ensuring hygiene and longevity. The exterior surfaces of the water flosser, including the handle, buttons, and casing, can accumulate dirt, grime, and residue from regular use. By incorporating a systematic approach to cleaning the exterior, you can enhance the overall cleanliness and functionality of the appliance.
Cleaning the Handle and Buttons:
-
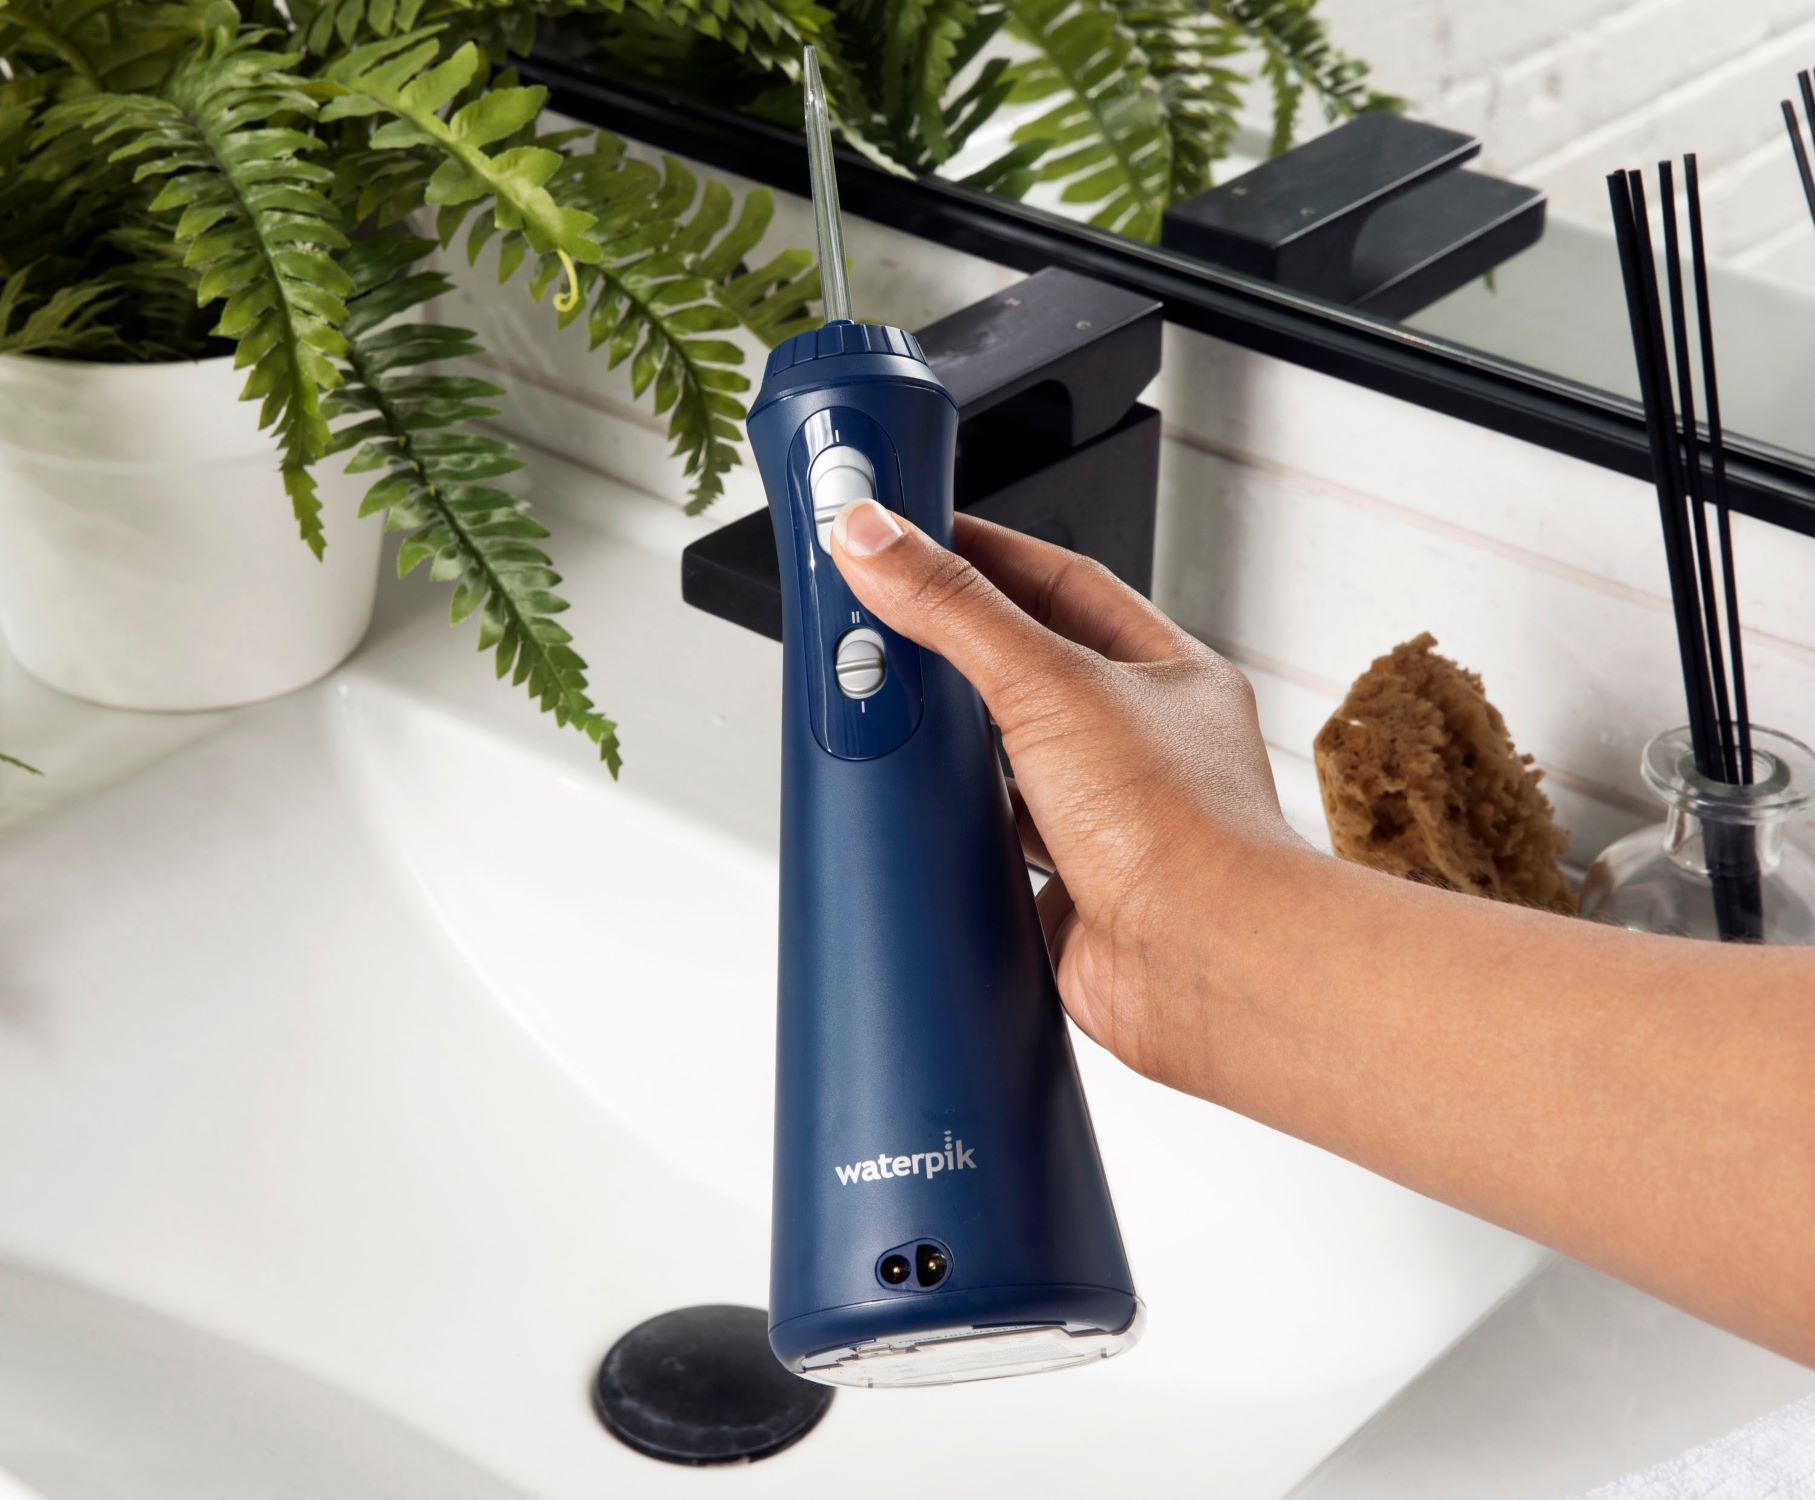
Unplug the Water Flosser: Before cleaning the exterior, ensure that the water flosser is unplugged from the power source to prevent any electrical mishaps.
-
Use a Damp Cloth: Start by wiping the handle and buttons of the water flosser with a damp, lint-free cloth. This helps remove surface-level dirt, fingerprints, and any residual substances that may have accumulated on the exterior.
-
Mild Soap Solution: If the handle and buttons exhibit stubborn stains or residue, dampen the cloth with a mild soap solution and gently wipe the surfaces. Avoid using abrasive cleaners or harsh chemicals, as they may damage the exterior finish of the water flosser.
-
Detail Cleaning: For hard-to-reach areas and crevices around the buttons, use a soft-bristled brush or a cotton swab dipped in the soap solution to gently clean and remove any trapped debris. Pay attention to the areas where the handle meets the main unit, as dirt and moisture can accumulate in these junctions.
-
Dry Thoroughly: Once the handle and buttons have been cleaned, use a dry cloth to thoroughly dry the surfaces, ensuring that no moisture remains. This step helps prevent water damage and maintains the integrity of the exterior components.
Cleaning the Casing and Base:
-
Wipe with a Damp Cloth: Similar to the handle and buttons, use a damp cloth to wipe the exterior casing and base of the water flosser. This removes dust, splashes, and any visible residue that may have accumulated over time.
-
Avoid Water Entry Points: When cleaning the casing and base, be mindful of the water entry points and ensure that excess moisture does not seep into these areas. Preventing water ingress is crucial for the longevity and safe operation of the water flosser.
-
Dry and Polish: After wiping the exterior surfaces, use a dry cloth to thoroughly dry and polish the casing and base. This final step adds a lustrous finish and ensures that the water flosser is free from streaks or water spots.
By meticulously cleaning the exterior of your burst water flosser, you not only maintain its visual appeal but also uphold hygiene and cleanliness. A well-maintained exterior contributes to the overall functionality and longevity of the appliance, reflecting your commitment to oral health and appliance care.
Step 4: Reassemble the Water Flosser
After completing the thorough cleaning process, reassembling the water flosser is the final step in restoring the appliance to its optimal condition. Proper reassembly ensures that all components are securely in place, allowing the water flosser to function efficiently and effectively during oral care routines. Here's a detailed guide on reassembling the water flosser:
-
Reservoir and Tip Attachment: Begin by reattaching the clean reservoir to the main unit of the water flosser. Ensure that the reservoir securely clicks or locks into place, forming a tight seal to prevent any leakage during operation. Next, attach the clean tip or nozzle to the handle, following the manufacturer's instructions for proper alignment and attachment. Confirm that the tip is firmly secured to maintain optimal water flow and pressure.
-
Power Cord Connection (if applicable): If your water flosser features a detachable power cord, carefully reconnect it to the main unit. Ensure that the power cord is securely plugged in to provide the necessary electrical supply for the appliance. Verify that the cord is free from any damage or fraying that may compromise safety.
-
Functional Check: Before using the water flosser, perform a quick functional check to ensure that all components are correctly reassembled. Turn on the water flosser and observe the reservoir, tip, and handle for any signs of leakage or misalignment. Run the water flosser for a few seconds to confirm that water flows smoothly through the tip without any irregularities.
-
Final Inspection: Once reassembled, conduct a final inspection of the water flosser to verify that all components are in place and functioning as intended. Check for any loose connections, unusual sounds, or indications of malfunction. Address any issues promptly to prevent potential damage or operational issues during use.
By meticulously reassembling the water flosser, you ensure that the appliance is ready for regular use and contributes to your oral hygiene routine effectively. Proper reassembly not only restores the functionality of the water flosser but also reflects your commitment to maintaining a clean and hygienic oral care environment. With the water flosser reassembled, you can confidently incorporate it into your daily oral care regimen, knowing that it has been thoroughly cleaned and restored to its optimal state.
To clean a burst water flosser, mix equal parts of white vinegar and water and run it through the flosser. Then, rinse with clean water to remove any residue. Do this regularly to keep the flosser clean and free from buildup.
Conclusion
In conclusion, the process of cleaning a burst water flosser is a vital aspect of maintaining optimal oral hygiene and ensuring the longevity of the appliance. By following the comprehensive steps outlined in this guide, you can effectively restore your water flosser to its pristine condition, ready to support your oral care routine.
Regular cleaning of the reservoir, tip, and exterior components not only removes debris, bacteria, and mineral deposits but also contributes to the efficient operation of the water flosser. The meticulous disassembly of the appliance allows for focused cleaning of individual components, ensuring that no area is overlooked. By cleaning the reservoir and tip with a suitable solution and gentle scrubbing, you can eliminate bacteria, mold, and plaque buildup, promoting a hygienic flossing experience.
Furthermore, the attention to detail in cleaning the exterior surfaces, including the handle, buttons, casing, and base, enhances the overall cleanliness and visual appeal of the water flosser. By using gentle cleaning methods and ensuring thorough drying, you can maintain the aesthetic integrity of the appliance while upholding hygiene standards.
Proper reassembly of the water flosser is the final step in the cleaning process, ensuring that all components are securely in place and ready for use. Conducting a functional check and a final inspection allows you to verify that the appliance is operating as intended, providing peace of mind as you incorporate it into your daily oral care routine.
By embracing the cleaning process as an integral part of appliance maintenance, you demonstrate a commitment to oral health and hygiene. A well-maintained water flosser not only supports effective plaque and debris removal but also contributes to a healthy and radiant smile.
Incorporating the cleaning routine outlined in this guide into your regular maintenance schedule will help you preserve the functionality and cleanliness of your burst water flosser, ensuring that it continues to be a valuable asset in your oral care regimen. With a clean and well-maintained water flosser, you can confidently prioritize your oral health, knowing that your appliance is in optimal condition to support your hygiene goals.
Frequently Asked Questions about How To Clean A Burst Water Flosser
Was this page helpful?
At Storables.com, we guarantee accurate and reliable information. Our content, validated by Expert Board Contributors, is crafted following stringent Editorial Policies. We're committed to providing you with well-researched, expert-backed insights for all your informational needs.


0 thoughts on “How To Clean A Burst Water Flosser”