Home>Home Appliances>Bathroom Appliances>How To Use A Water Flosser
Bathroom Appliances
How To Use A Water Flosser
Modified: February 18, 2024
Learn how to use a water flosser effectively for improved oral hygiene and gum health. Find the best techniques and tips for using this essential bathroom appliance.
(Many of the links in this article redirect to a specific reviewed product. Your purchase of these products through affiliate links helps to generate commission for Storables.com, at no extra cost. Learn more)
Introduction
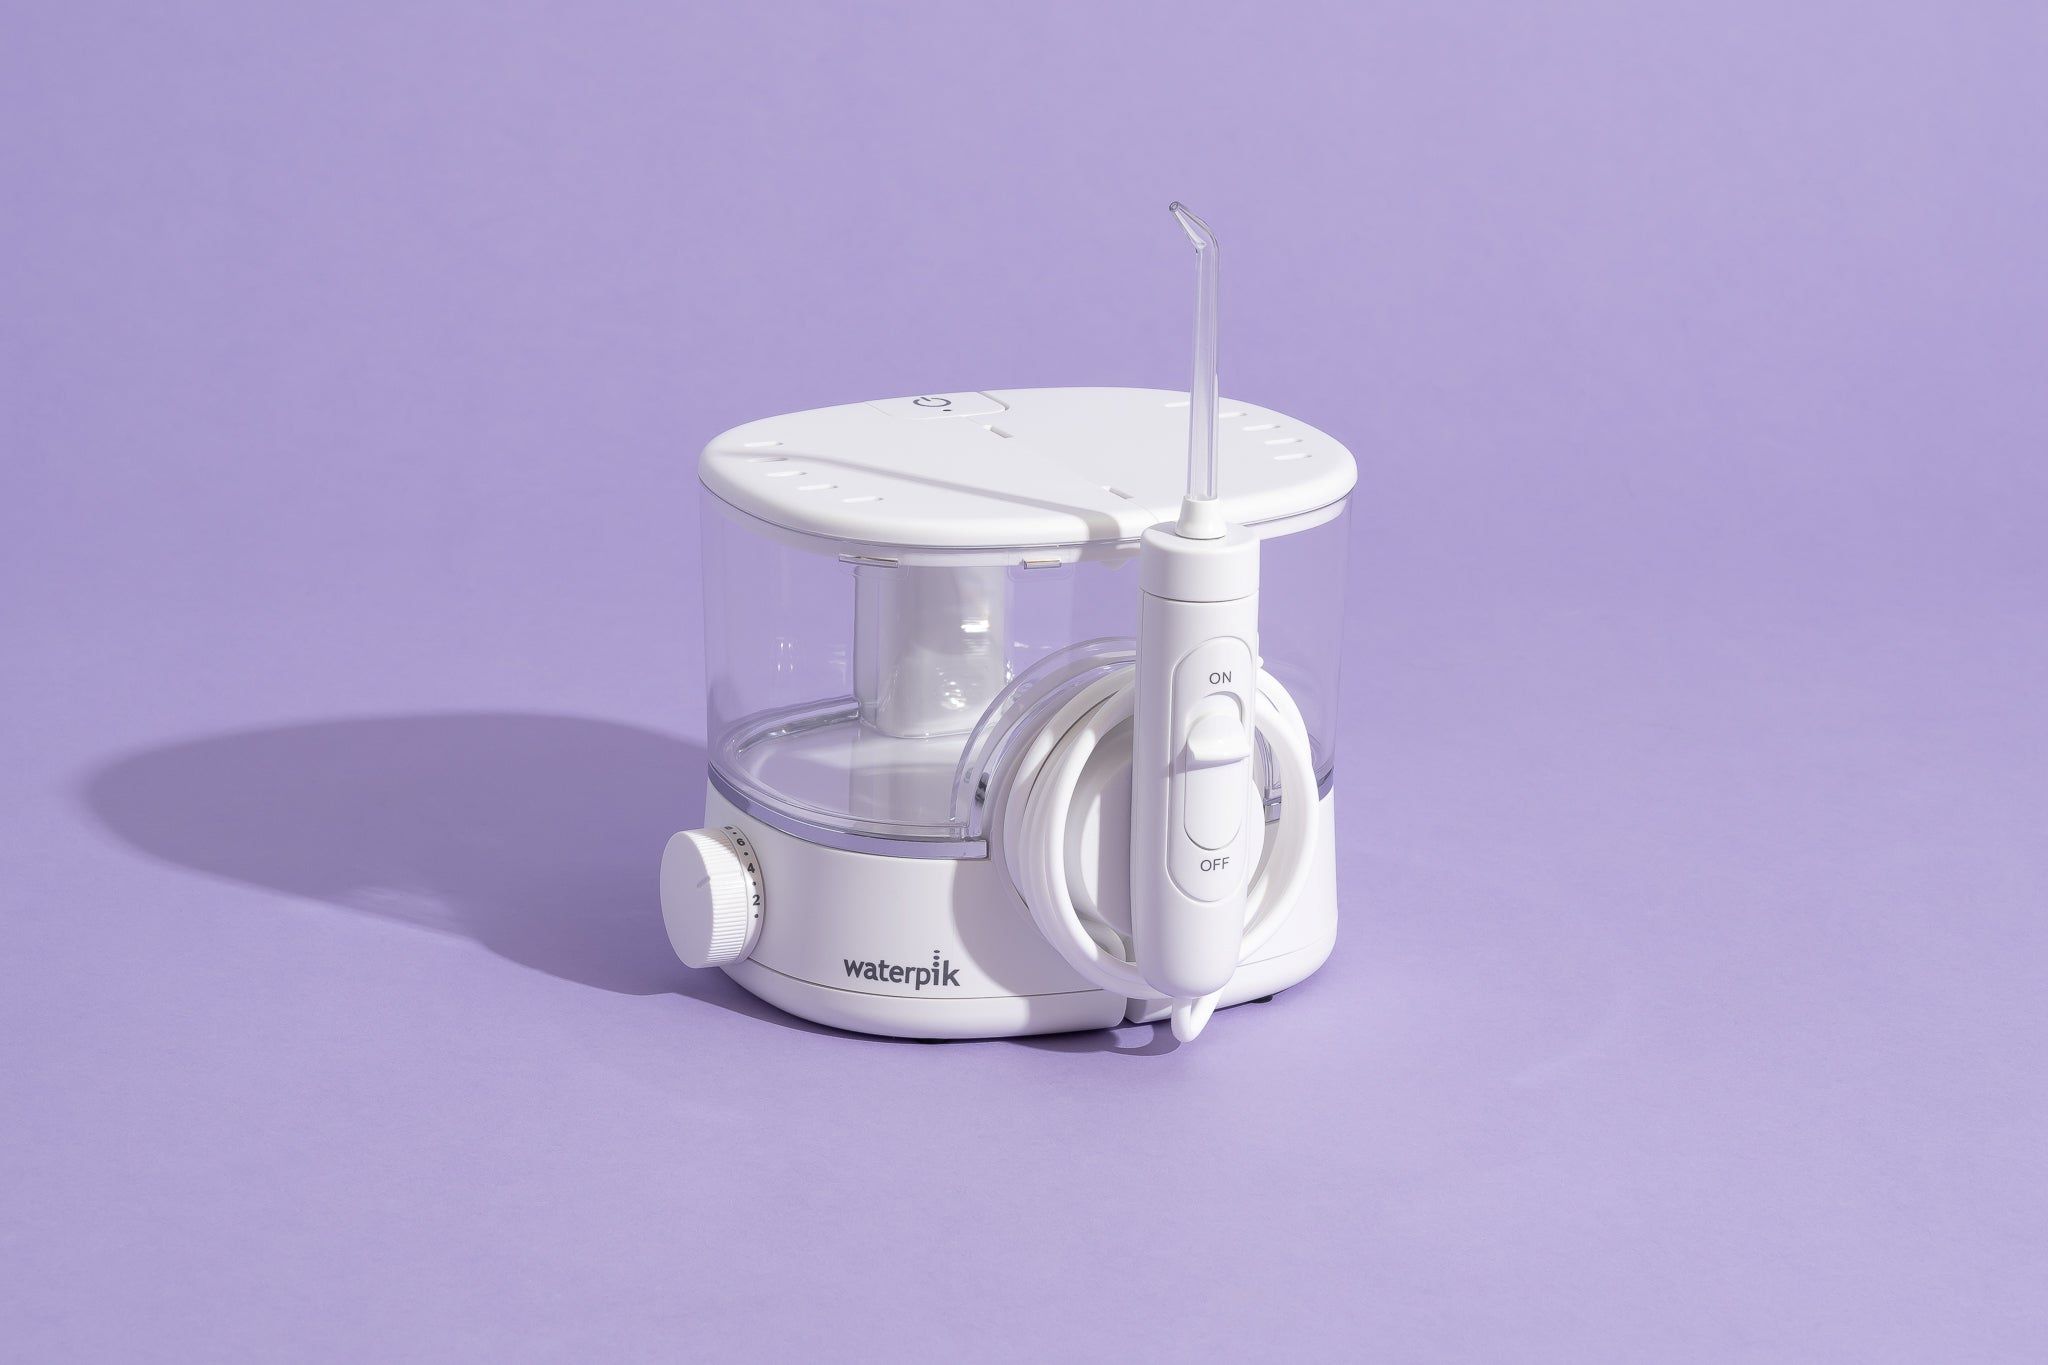
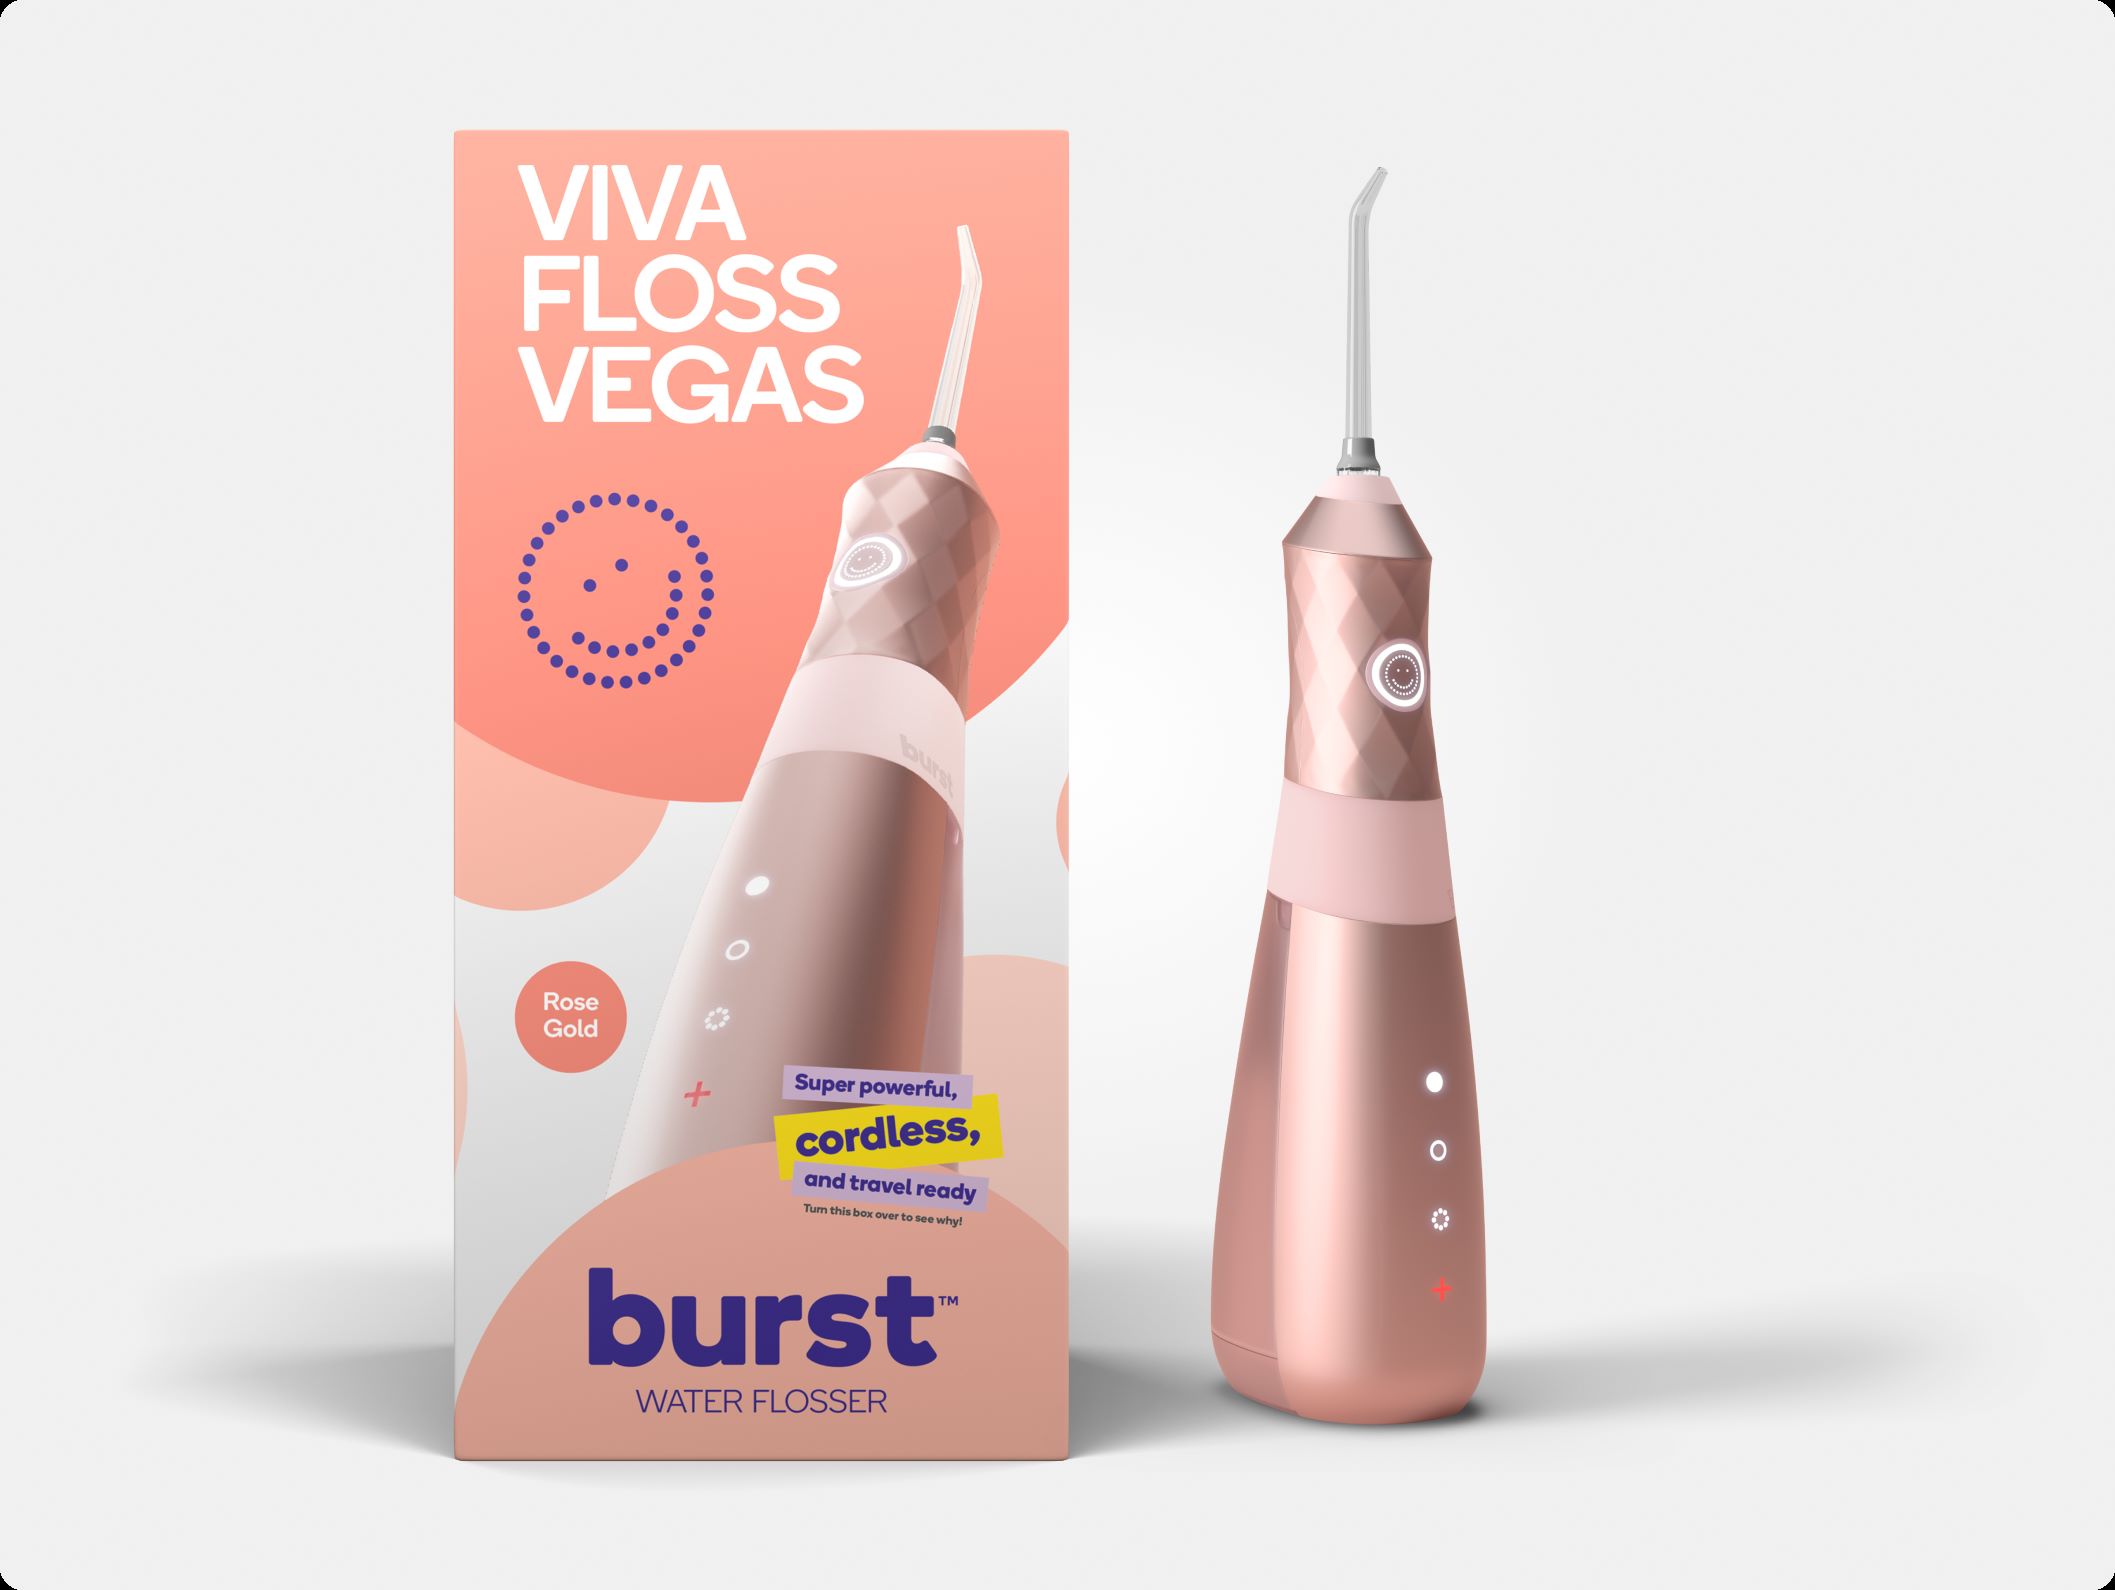
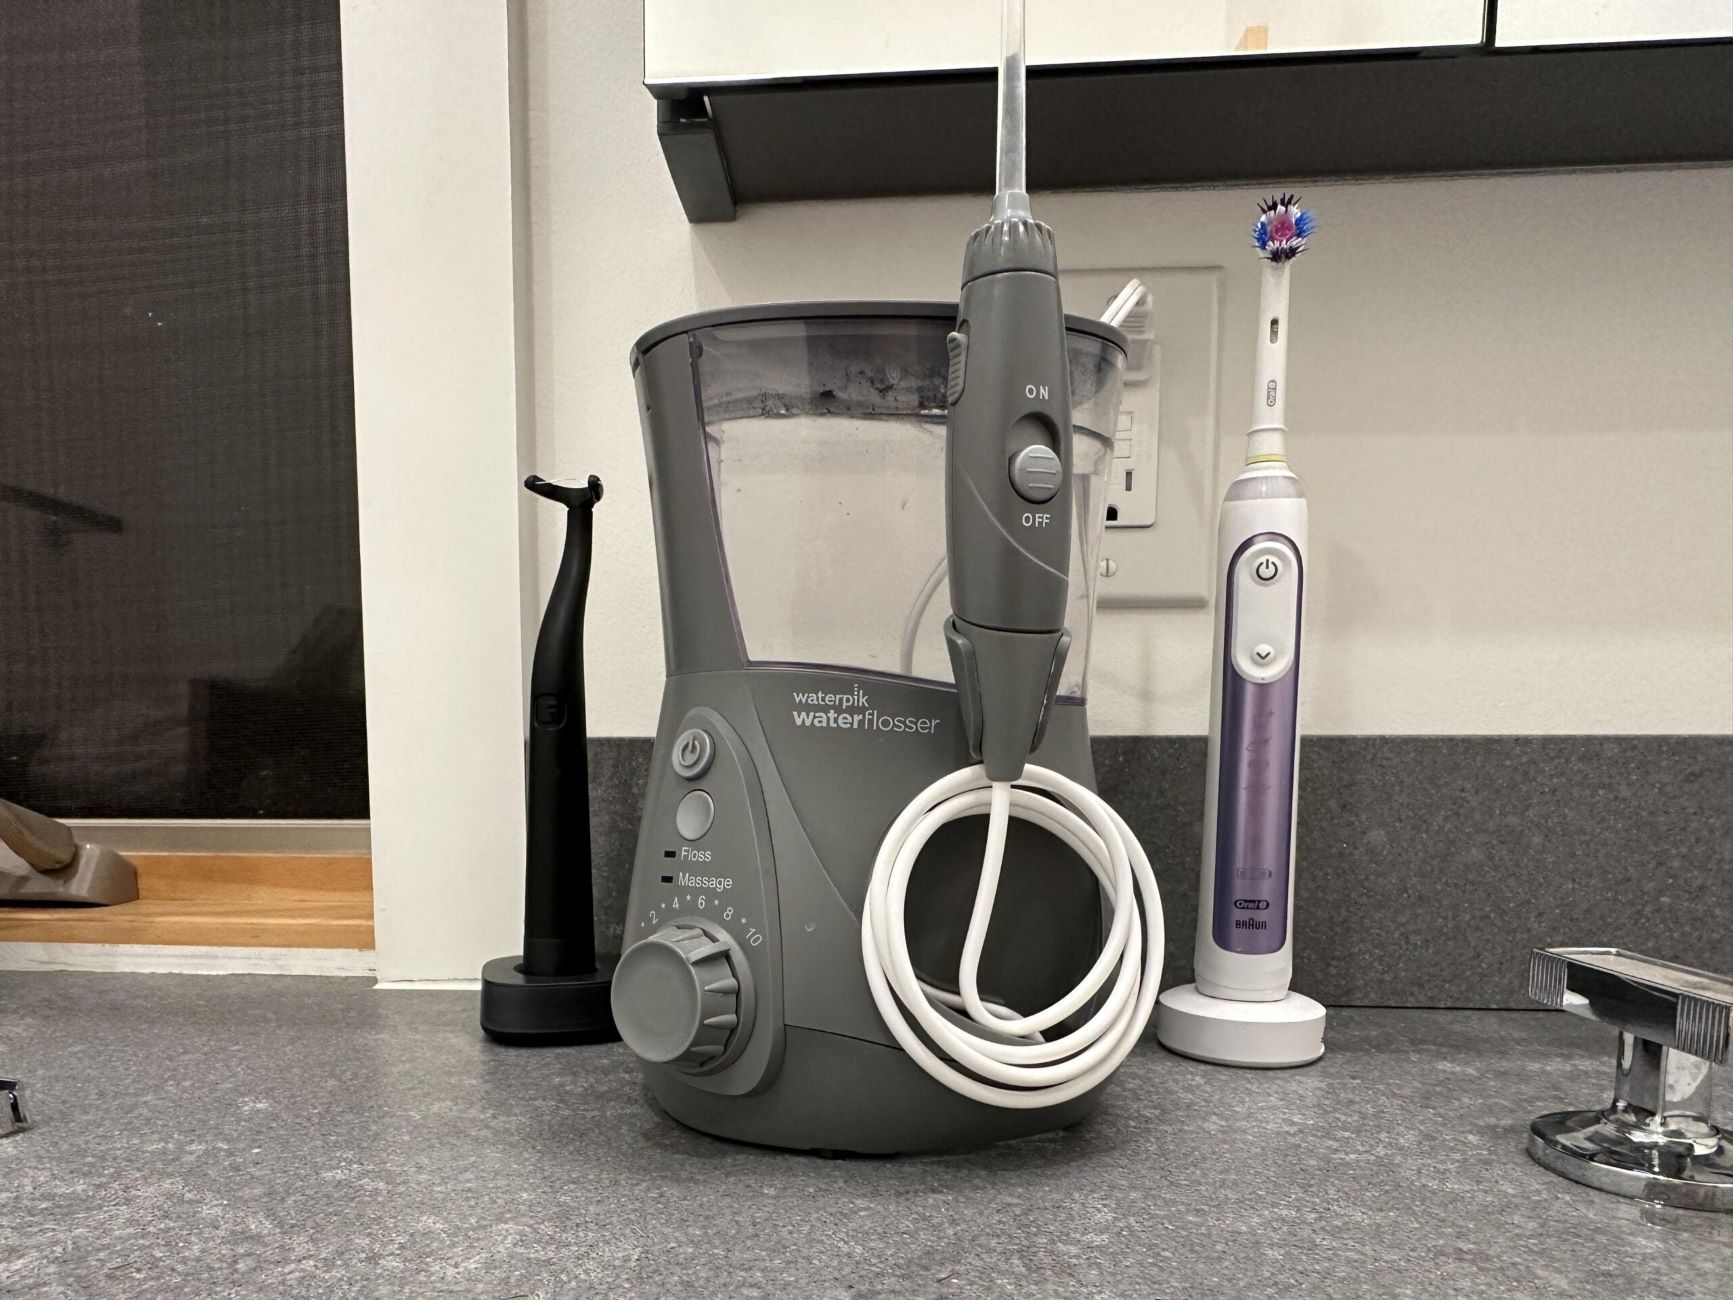
Water flossers, also known as oral irrigators, are powerful tools for maintaining optimal oral hygiene. These devices use a steady stream of water to remove food particles, plaque, and bacteria from between the teeth and along the gumline. Unlike traditional flossing methods, water flossers are gentle on the gums and can be particularly beneficial for individuals with braces, implants, or sensitive gums.
In this comprehensive guide, we will walk you through the step-by-step process of using a water flosser effectively. Whether you are new to water flossing or seeking to refine your technique, this article will provide you with the knowledge and confidence to make the most of this innovative oral care tool.
By following the instructions outlined in this guide, you will learn how to optimize the benefits of your water flosser, ensuring a thorough and comfortable flossing experience. From filling the water reservoir to cleaning and storing the device, each step is designed to help you achieve a superior level of oral cleanliness and health.
Now, let's delve into the details of using a water flosser to elevate your oral care routine and promote a radiant, healthy smile.
Key Takeaways:
- Keep your water flosser clean and charged for a sparkling smile. Empty the reservoir, clean the flosser tip, and store it in a dry place after each use to maintain oral hygiene.
- Customize your flossing experience by choosing the right tip and adjusting pressure settings. Target specific areas and maintain gum health for a radiant smile.
Read more: How To Use The Waterpik Water Flosser
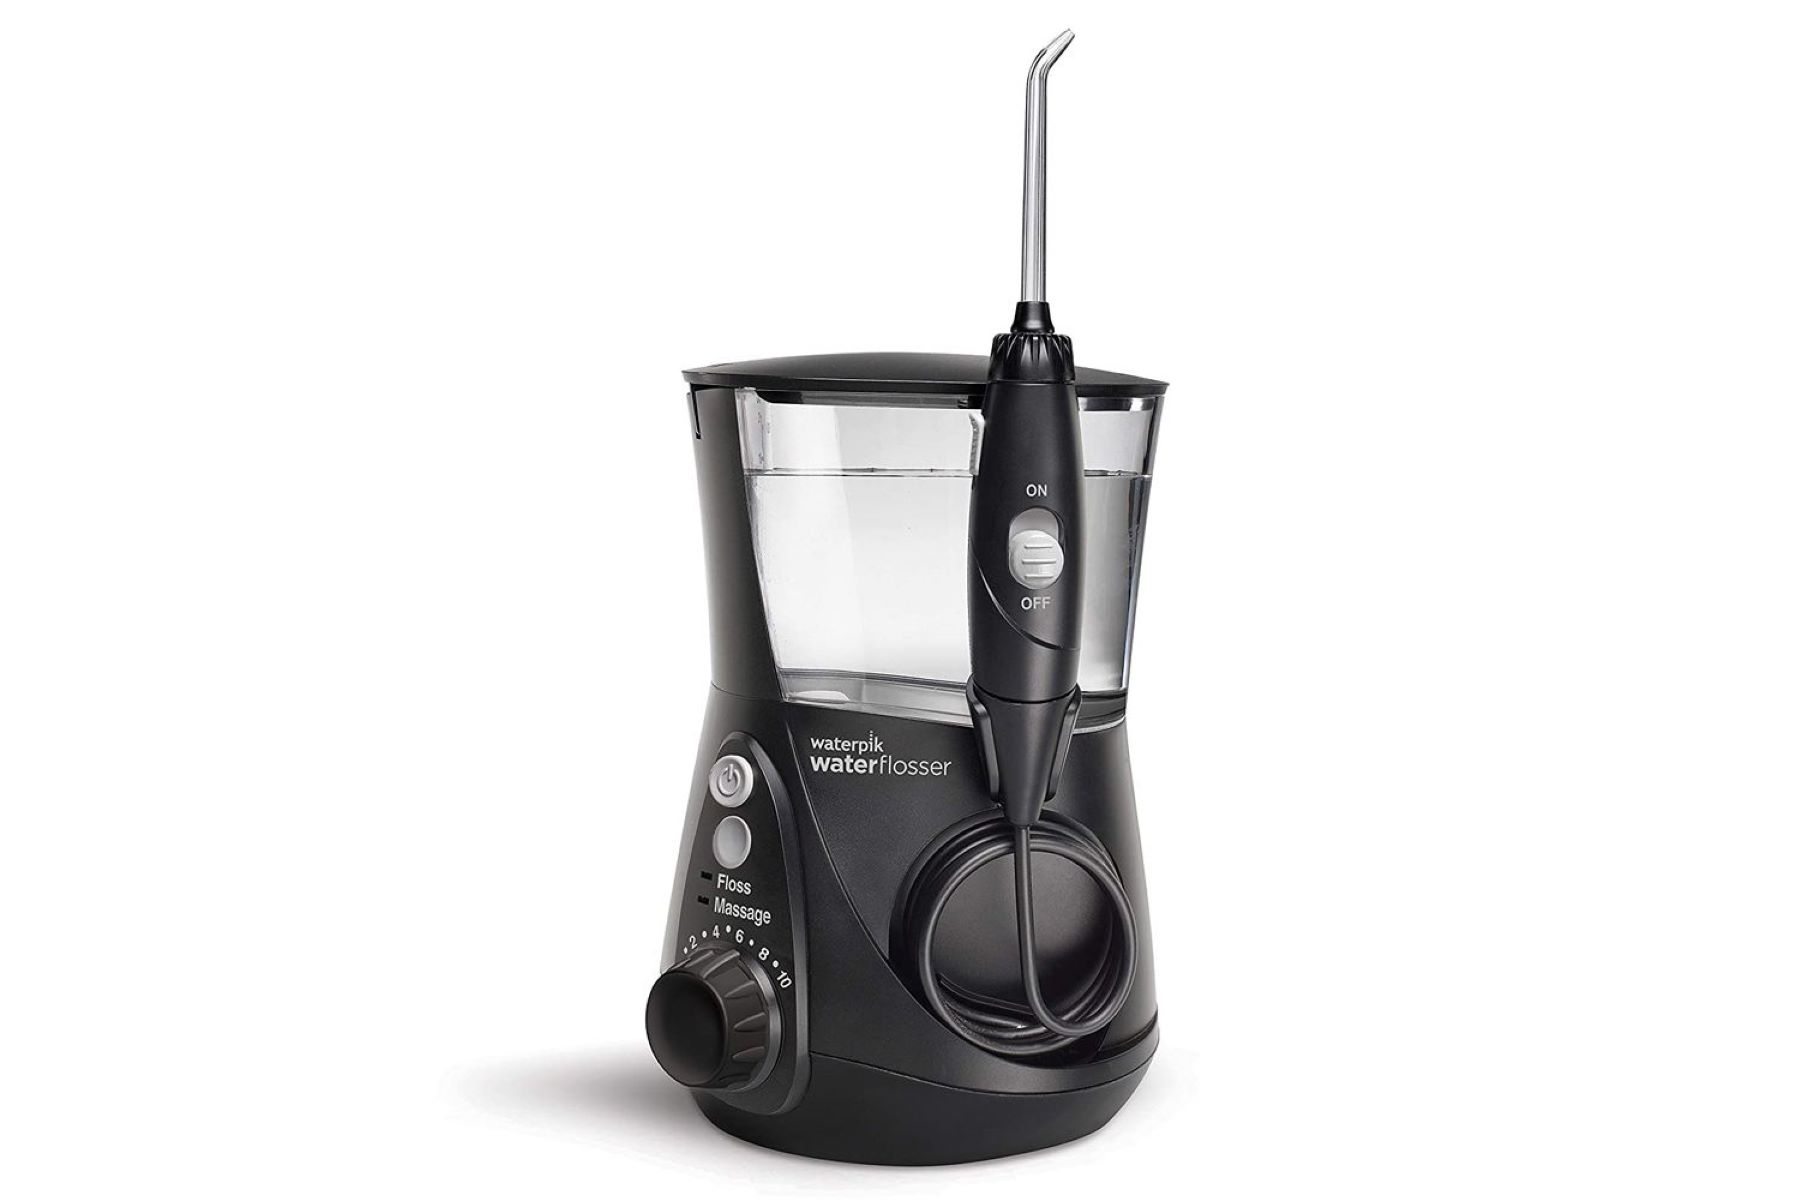
Step 1: Fill the Water Reservoir
Filling the water reservoir of your water flosser is the initial and crucial step in preparing the device for effective use. Here's a detailed guide on how to fill the water reservoir properly:
-
Prepare the Water: Start by ensuring that the water you use is at room temperature. It's essential to avoid using extremely cold or hot water, as it can cause discomfort during the flossing process.
-
Remove the Reservoir: Depending on the model of your water flosser, the reservoir may be detachable. Carefully detach the reservoir from the main unit by following the manufacturer's instructions.
-
Fill with Water: Once the reservoir is removed, unscrew the cap or lid to access the opening. Fill the reservoir with lukewarm water, taking care not to overfill it. Most water flossers have clear markings indicating the maximum water level, so be sure to adhere to these guidelines.
-
Add Mouthwash (Optional): Some individuals prefer to enhance their flossing experience by adding a small amount of mouthwash to the water reservoir. If you choose to do so, carefully pour the recommended amount of mouthwash into the reservoir before securing the cap or lid.
-
Reattach the Reservoir: After filling the reservoir with water (and optional mouthwash), securely reattach it to the main unit. Ensure that it is properly aligned and firmly in place to prevent any leakage during operation.
By following these steps, you can effectively fill the water reservoir of your water flosser, setting the stage for a thorough and refreshing flossing experience. Properly filled reservoir ensures that you have an uninterrupted flossing session, allowing the water flosser to efficiently dislodge debris and promote optimal oral health.
Remember, maintaining a consistent routine of filling the water reservoir with clean water before each use is essential for maximizing the benefits of your water flosser and achieving a sparkling clean smile.
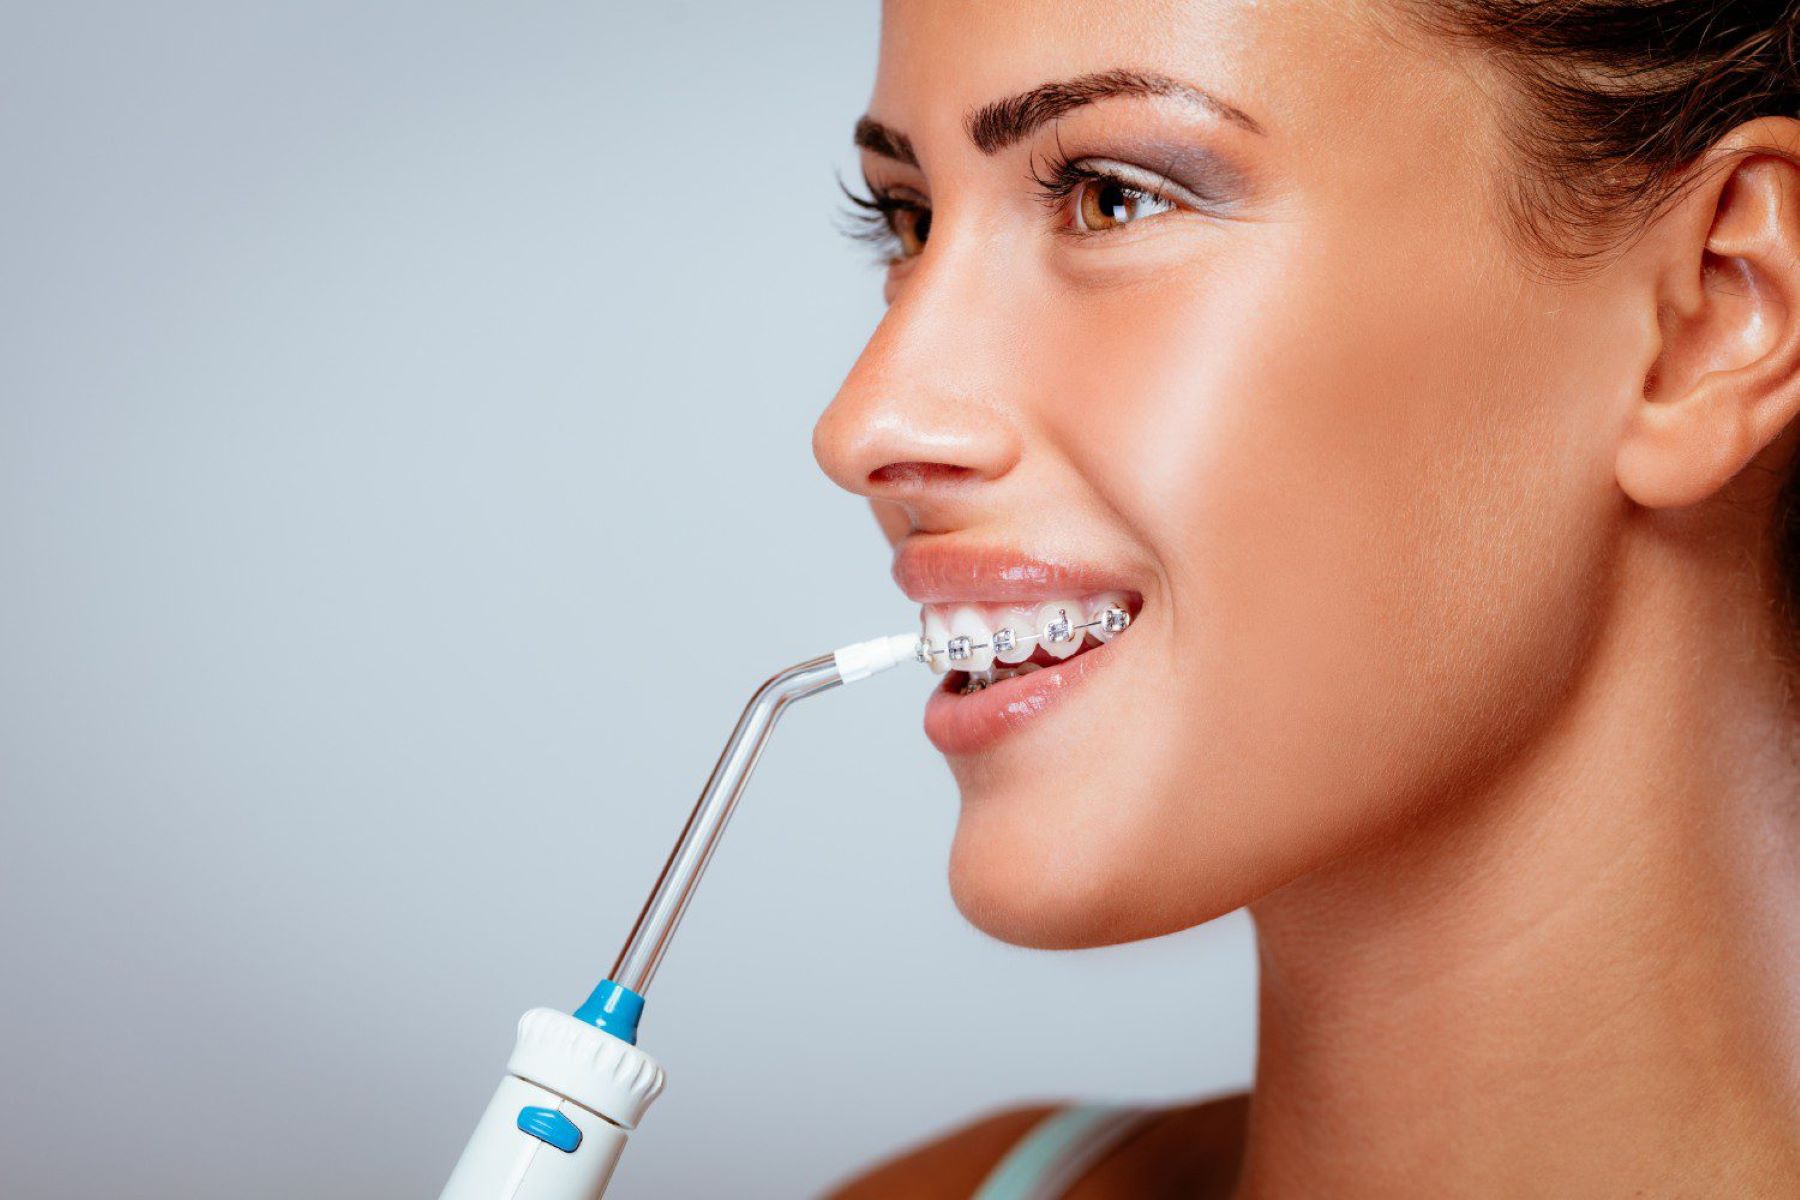
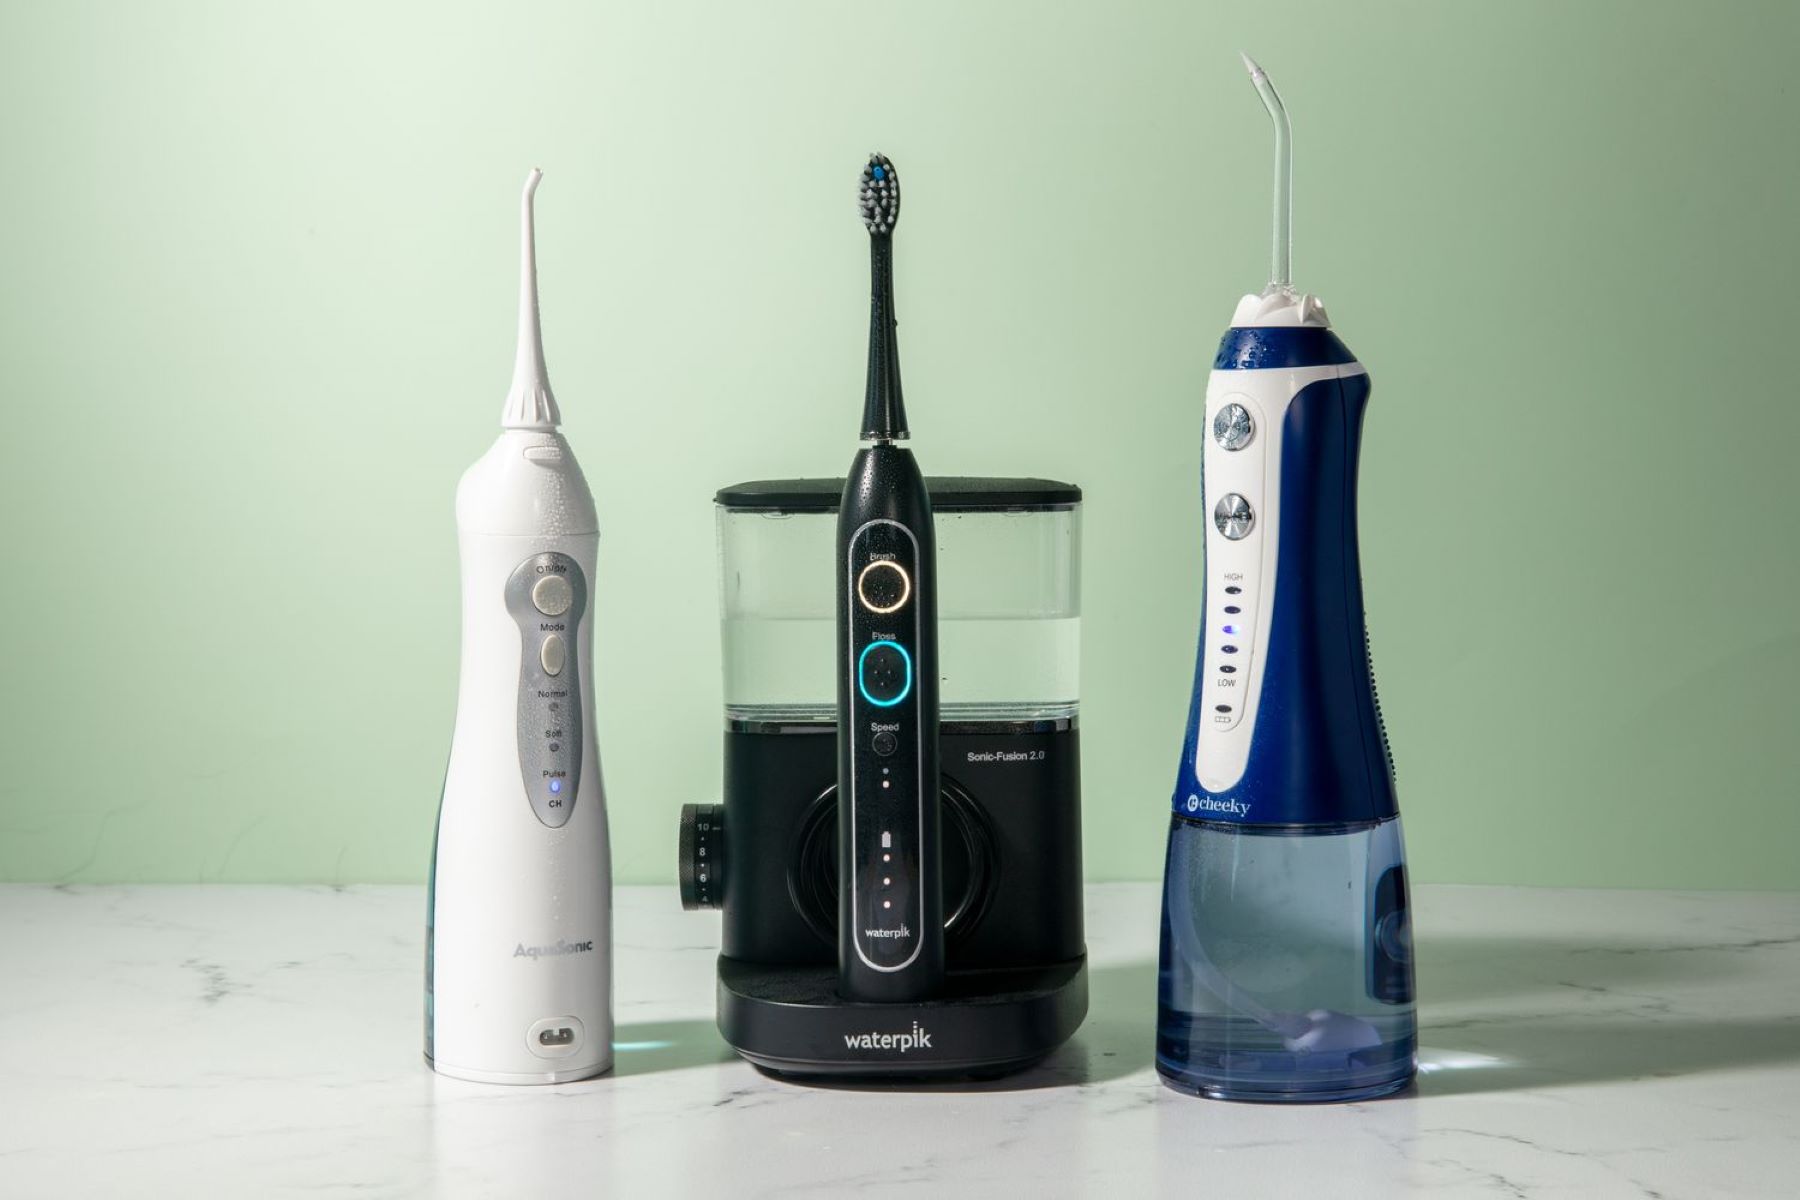
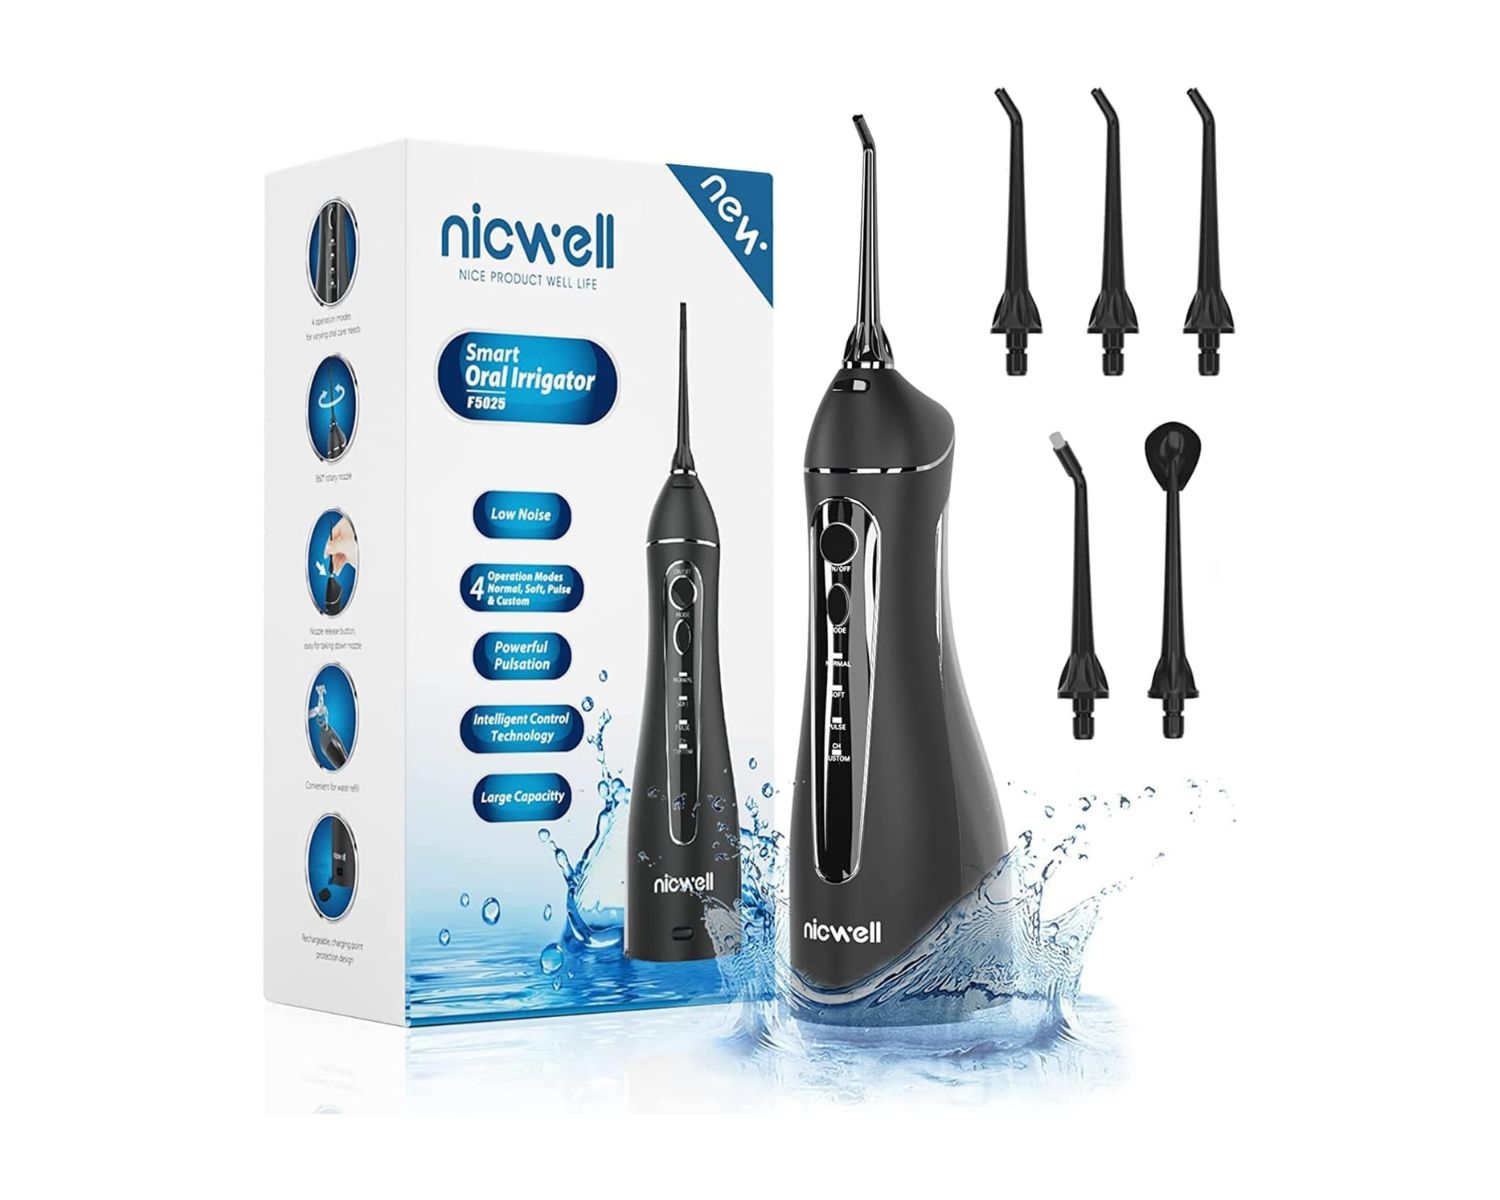
Step 2: Choose the Right Tip
Selecting the appropriate flossing tip for your water flosser is essential for targeting specific areas of your mouth and addressing individual oral care needs. Most water flossers come with a variety of interchangeable tips, each designed to serve a distinct purpose. By understanding the unique features of these tips, you can tailor your flossing experience to achieve optimal results.
-
Standard Jet Tip: This is the most commonly used tip and is suitable for everyday flossing. It effectively removes plaque and debris from between the teeth and along the gumline. The standard jet tip is ideal for maintaining overall oral hygiene and promoting gum health.
-
Orthodontic Tip: If you have braces, dental implants, or other orthodontic appliances, the orthodontic tip is specifically designed to navigate around brackets and wires, ensuring thorough cleaning in hard-to-reach areas. Its specialized design makes it gentle on sensitive areas while effectively removing plaque and food particles.
-
Plaque Seeker Tip: For targeted plaque removal, the plaque seeker tip is a valuable tool. Its unique tufted design allows for precise cleaning around dental work, crowns, bridges, and other dental restorations. This tip is particularly beneficial for individuals with extensive dental work or specific areas requiring focused attention.
-
Pik Pocket Tip: If you are prone to periodontal pockets or have undergone periodontal treatment, the pik pocket tip is designed to deliver antimicrobial solutions deep into periodontal pockets, promoting gum health and combating bacteria in hard-to-reach areas. Its gentle, low-pressure delivery makes it suitable for individuals with sensitive gums.
-
Tongue Cleaner Tip: In addition to flossing, maintaining tongue hygiene is crucial for overall oral health. The tongue cleaner tip effectively removes bacteria and debris from the surface of the tongue, reducing bad breath and enhancing oral freshness. It complements your flossing routine, promoting comprehensive oral cleanliness.
When choosing the right tip for your water flosser, consider your specific oral care needs and any dental conditions or treatments you may have. By selecting the appropriate tip, you can customize your flossing experience to target problem areas, promote gum health, and maintain a radiant smile.
By understanding the unique features of each tip and its benefits, you can make an informed decision when selecting the right tip for your water flosser, ensuring a personalized and effective flossing experience tailored to your individual oral care requirements.
Step 3: Adjust the Pressure Settings
Adjusting the pressure settings of your water flosser is a pivotal step in customizing your flossing experience to suit your individual oral care needs. Most water flossers offer a range of pressure settings, allowing you to select the intensity that feels most comfortable and effective for your gums and teeth. By understanding how to adjust the pressure settings, you can optimize the benefits of your water flosser and ensure a thorough and gentle flossing experience.
Here's a detailed guide on how to adjust the pressure settings of your water flosser:
-
Understand the Pressure Range: Familiarize yourself with the pressure settings available on your water flosser. Most models offer a spectrum of pressure levels, typically ranging from gentle to more powerful settings. These settings are often represented by numbers or descriptive labels, such as "low," "medium," and "high."
-
Start at a Low Setting: If you are new to using a water flosser or have sensitive gums, it is advisable to begin at the lowest pressure setting. This allows your gums to acclimate to the sensation of the water stream and helps prevent any discomfort during the flossing process.
-
Gradually Increase the Pressure: As you become more accustomed to using the water flosser, you can gradually increase the pressure to a level that effectively removes plaque and debris while remaining comfortable for your gums. Experiment with different pressure settings to find the optimal balance between thorough cleaning and gentle stimulation.
-
Consider Individual Sensitivities: It's important to consider any individual sensitivities or oral health conditions when adjusting the pressure settings. If you have gum disease, receding gums, or other oral concerns, it may be beneficial to consult with your dentist or oral healthcare professional to determine the most suitable pressure level for your specific needs.
-
Customize for Different Tips: Keep in mind that the pressure setting may need to be adjusted when using different flossing tips. For example, a lower pressure setting may be preferable when using the pik pocket tip to target periodontal pockets, while a slightly higher pressure setting may be suitable for the standard jet tip during regular flossing.
By following these steps, you can effectively adjust the pressure settings of your water flosser, ensuring a personalized and comfortable flossing experience tailored to your unique oral care requirements. Customizing the pressure settings allows you to maintain optimal oral hygiene while promoting gum health and overall oral freshness.
When using a water flosser, start with the lowest pressure setting and gradually increase as needed. Aim the tip at a 90-degree angle to your gumline and between your teeth for the best results.
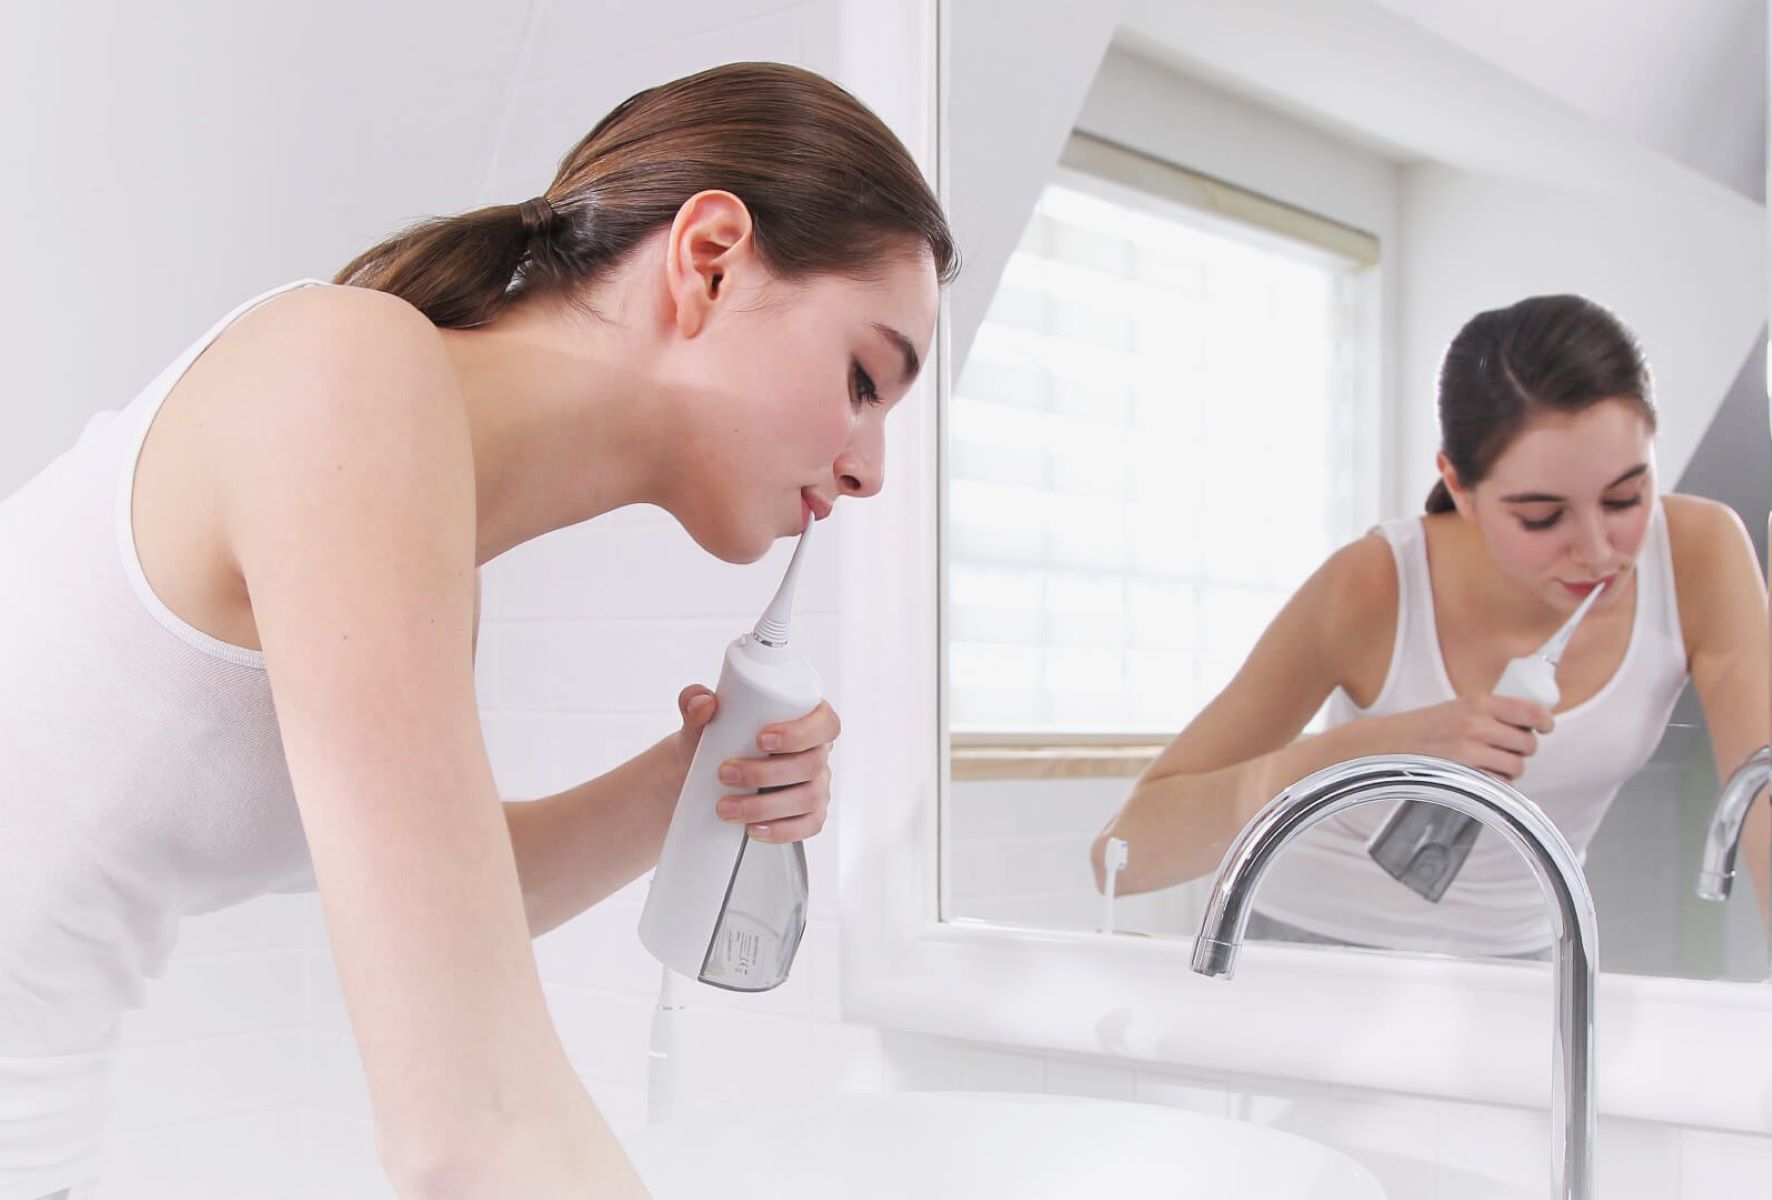
Step 4: Position the Flosser Tip
Proper positioning of the flosser tip is fundamental to maximizing the effectiveness of your water flosser and ensuring thorough plaque removal and gum stimulation. By understanding how to position the flosser tip correctly, you can target specific areas of your mouth with precision, promoting optimal oral hygiene and a refreshing flossing experience.
Here's a detailed guide on how to position the flosser tip for effective flossing:
-
Align the Tip: Before activating the water flosser, ensure that the flosser tip is securely attached to the handle and aligned at the appropriate angle. The tip should be positioned parallel to the gumline, allowing the water stream to reach between the teeth and along the contours of the gums.
-
Angle of Entry: When flossing between the teeth, angle the flosser tip slightly towards the gumline. This helps to direct the water stream along the base of the teeth, effectively dislodging plaque and debris from hard-to-reach areas. Maintaining a consistent angle of entry ensures comprehensive cleaning along the entire length of the teeth.
-
Focus on Each Tooth: As you move the flosser tip from tooth to tooth, take a moment to position it precisely between each tooth, targeting the spaces where plaque and food particles accumulate. By focusing on each tooth individually, you can ensure thorough cleaning and stimulate the gums for improved circulation.
-
Navigate Along the Gumline: In addition to targeting the spaces between the teeth, it's essential to navigate the flosser tip along the gumline, addressing potential plaque buildup and promoting gum health. Gently guide the flosser tip along the contours of the gums, allowing the water stream to massage and cleanse the soft tissues.
-
Adjust for Comfort: Pay attention to your comfort and adjust the positioning of the flosser tip as needed. If you experience any discomfort or sensitivity in a particular area, slightly reposition the tip to deliver the water stream with optimal effectiveness and minimal irritation.
By following these steps, you can effectively position the flosser tip for a precise and comfortable flossing experience. Proper alignment and angulation of the flosser tip allow you to target specific areas of your mouth with accuracy, promoting thorough plaque removal, gum stimulation, and overall oral freshness.
Mastering the art of positioning the flosser tip is key to harnessing the full potential of your water flosser, ensuring a comprehensive and invigorating flossing routine that contributes to your overall oral health and hygiene.
Read more: How To Use A Quip Water Flosser
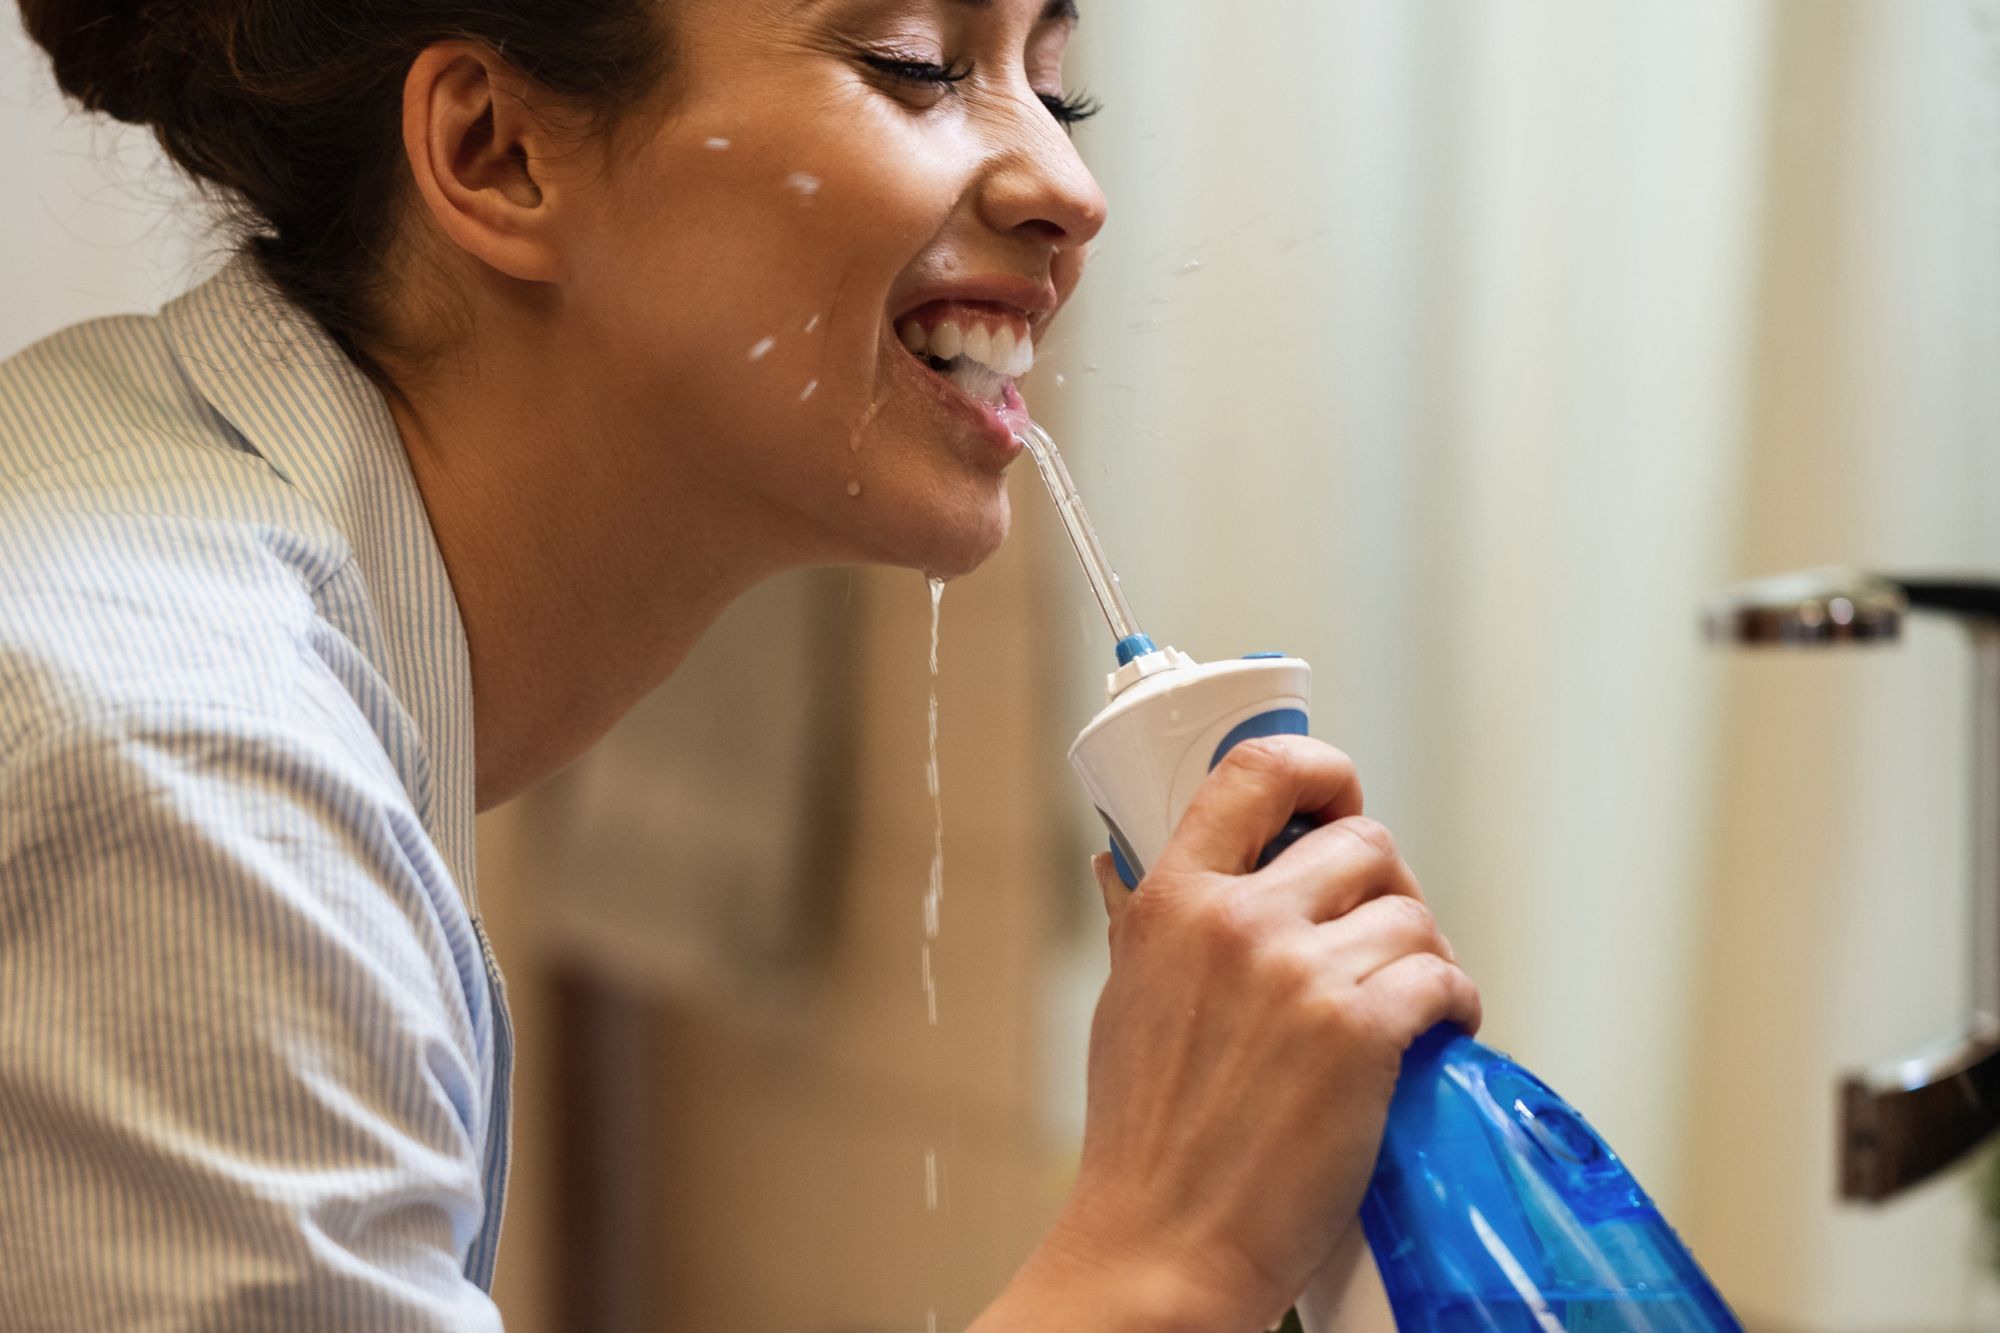
Step 5: Turn on the Water Flosser
After completing the essential preparatory steps, it's time to activate the water flosser and begin your flossing routine. Turning on the water flosser is a straightforward process, but it is crucial to approach this step with attentiveness to ensure a seamless and effective flossing experience.
Here's a detailed guide on how to turn on the water flosser and initiate the flossing process:
-
Power Source: Ensure that the water flosser is securely connected to a power source, whether it is a power outlet or a rechargeable battery. Verify that the device is adequately charged or plugged in to provide uninterrupted power during the flossing session.
-
Switch or Button: Locate the power switch or button on the water flosser. Depending on the model, this may be a simple on/off switch or a button that activates the water flow. Familiarize yourself with the location and functionality of the power control to prepare for activation.
-
Grip and Stability: Hold the water flosser securely, maintaining a stable grip to prevent accidental slippage during operation. Ensure that the device is positioned comfortably within your hand, allowing for precise control and maneuverability as you direct the flosser tip within your mouth.
-
Activate the Flosser: With the flosser tip positioned in your mouth and the device comfortably held, proceed to activate the water flosser by toggling the power switch or pressing the designated button. As the device powers on, you will hear the gentle hum of the motor and observe the steady flow of water emanating from the flosser tip.
-
Adjust Pressure (Optional): If your water flosser features adjustable pressure settings, you may choose to fine-tune the pressure level at this stage. Some models allow for real-time pressure adjustment, enabling you to customize the intensity of the water stream to suit your comfort and cleaning preferences.
-
Begin Flossing: Once the water flosser is activated and the pressure settings are adjusted to your liking, commence the flossing process by directing the flosser tip along the gumline and between the teeth. Maintain a steady and controlled motion, ensuring thorough coverage of all dental surfaces for comprehensive plaque removal and gum stimulation.
By following these steps, you can confidently turn on the water flosser and initiate your flossing routine with precision and ease. Activating the water flosser marks the transition from preparation to action, setting the stage for a refreshing and effective flossing experience that contributes to your overall oral health and hygiene.
Step 6: Floss Your Teeth
Flossing your teeth with a water flosser is a vital step in maintaining optimal oral hygiene and promoting gum health. This process effectively removes plaque, food particles, and bacteria from between the teeth and along the gumline, contributing to a clean and healthy mouth. By following a systematic approach to flossing, you can ensure thorough coverage of all dental surfaces and stimulate the gums for improved circulation and freshness.
Here's a detailed guide on how to floss your teeth using a water flosser:
-
Commence Flossing: With the water flosser activated and the flosser tip positioned comfortably in your mouth, begin the flossing process by directing the water stream along the gumline of your first tooth. Maintain a steady and controlled motion, allowing the water to dislodge plaque and debris from the interdental spaces.
-
Move Sequentially: Progress systematically from tooth to tooth, ensuring comprehensive coverage of both the front and back surfaces. As you navigate the flosser tip between each tooth, take the time to focus on the spaces where plaque and food particles tend to accumulate, promoting thorough cleaning and gum stimulation.
-
Target Problem Areas: Pay special attention to any areas of concern, such as areas with crowding, tight spaces, or dental restorations. The water flosser's targeted stream can effectively reach and cleanse these challenging areas, contributing to a more complete flossing experience.
-
Maintain Consistent Motion: As you move the flosser tip throughout your mouth, maintain a consistent and deliberate motion to ensure that all dental surfaces receive adequate attention. The gentle pulsating action of the water flosser helps dislodge debris and promote gum health without causing discomfort.
-
Adjust Angulation: If necessary, adjust the angulation of the flosser tip to effectively target specific areas. By angling the tip slightly towards the gumline, you can direct the water stream with precision, ensuring thorough plaque removal and gum stimulation along the contours of the teeth.
-
Complete Comprehensive Coverage: Once you have flossed between all teeth, take a moment to revisit any areas that may require additional attention. By ensuring comprehensive coverage, you can maximize the benefits of the water flosser and contribute to a clean, refreshed feeling throughout your mouth.
By following these steps, you can effectively floss your teeth using a water flosser, promoting optimal oral hygiene and gum health. This systematic approach ensures that all dental surfaces receive thorough cleaning and stimulation, contributing to a radiant smile and a healthy mouth.
Step 7: Clean and Store the Water Flosser
Properly cleaning and storing your water flosser is essential for maintaining its functionality and ensuring hygienic usage for future flossing sessions. By following a systematic approach to cleaning and storage, you can prolong the lifespan of your water flosser and promote a consistent level of oral cleanliness. Here's a detailed guide on how to clean and store your water flosser effectively:
-
Empty the Reservoir: After completing your flossing routine, empty any remaining water from the reservoir to prevent stagnation and bacterial growth. This simple step helps maintain the cleanliness of the water flosser and prepares it for thorough cleaning.
-
Remove and Clean the Flosser Tip: Carefully detach the flosser tip from the handle and rinse it under running water. Use a gentle brush or interdental cleaner to remove any residual debris or buildup. Thoroughly inspect the tip to ensure that it is free from obstructions and ready for future use.
-
Clean the Reservoir and Internal Components: Depending on the model of your water flosser, follow the manufacturer's instructions for cleaning the reservoir and internal components. Some models may be dishwasher-safe, while others require manual rinsing and gentle scrubbing to remove any accumulated residue.
-
Flush the Handle and Nozzle: Run a stream of clean water through the handle and nozzle to flush out any remaining particles or deposits. This helps maintain the integrity of the internal mechanisms and ensures that the water flosser functions optimally during subsequent uses.
-
Sanitize if Applicable: If your water flosser includes a sanitizing function or requires periodic disinfection, follow the recommended procedures to sanitize the device. This step is particularly important for promoting hygienic usage and preventing the buildup of harmful bacteria.
-
Dry Thoroughly: After cleaning, ensure that all components of the water flosser are thoroughly dried before storage. Use a clean, dry cloth to wipe the exterior surfaces and allow the internal components to air dry completely. This helps prevent mold or mildew growth and maintains the device in optimal condition.
-
Store in a Clean, Dry Location: Once the water flosser is cleaned and dried, store it in a clean, dry location that is easily accessible for future use. Avoid exposing the device to extreme temperatures or direct sunlight, and ensure that it is positioned securely to prevent accidental damage.
By following these steps, you can effectively clean and store your water flosser, maintaining its functionality and hygiene for continued use. This systematic approach to maintenance ensures that your water flosser remains a reliable tool for promoting optimal oral health and hygiene.
Frequently Asked Questions about How To Use A Water Flosser
Was this page helpful?
At Storables.com, we guarantee accurate and reliable information. Our content, validated by Expert Board Contributors, is crafted following stringent Editorial Policies. We're committed to providing you with well-researched, expert-backed insights for all your informational needs.


0 thoughts on “How To Use A Water Flosser”