Home>Home Appliances>Bathroom Appliances>How To Charge A Burst Water Flosser

Bathroom Appliances
How To Charge A Burst Water Flosser
Modified: February 18, 2024
Learn how to properly charge your burst water flosser for efficient use. Get expert tips and tricks for maintaining your bathroom appliances.
(Many of the links in this article redirect to a specific reviewed product. Your purchase of these products through affiliate links helps to generate commission for Storables.com, at no extra cost. Learn more)
Introduction
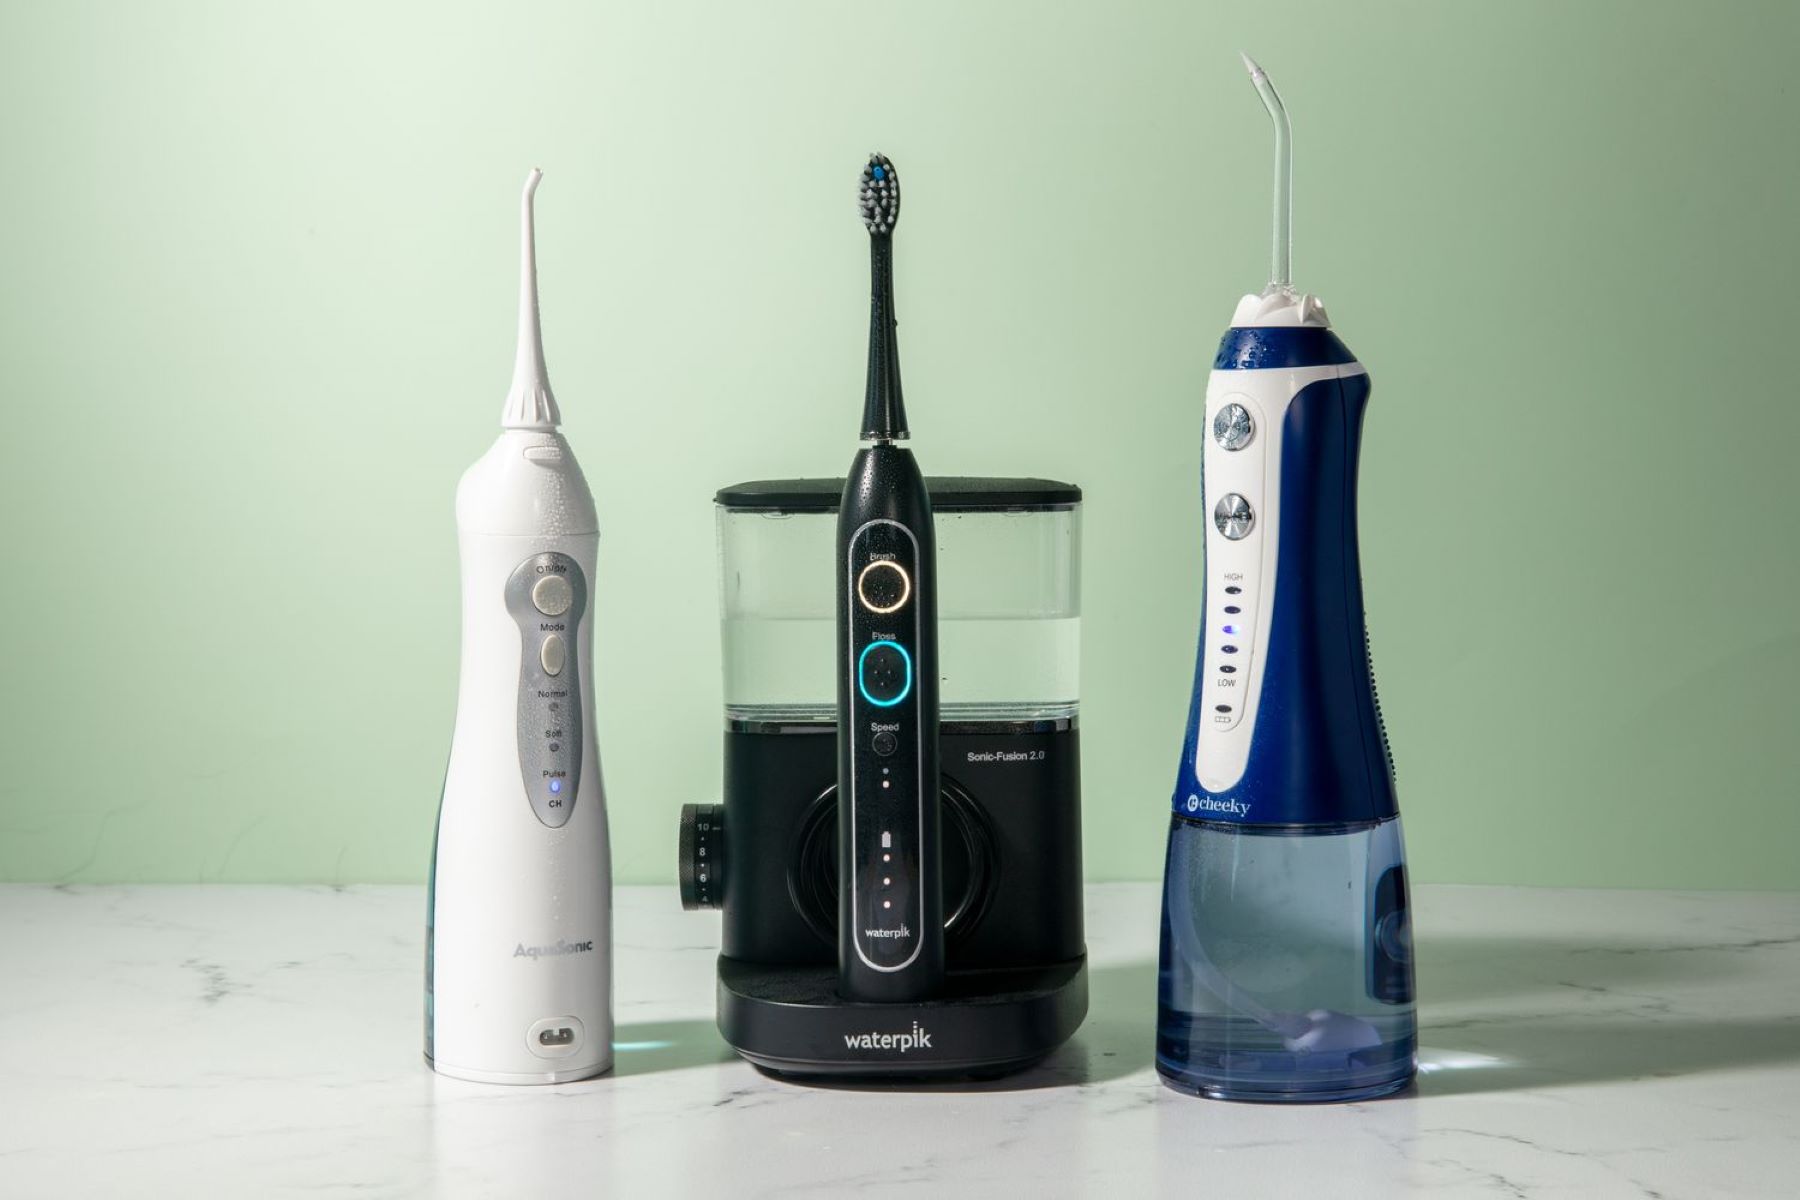
Charging a burst water flosser is a simple yet essential task to ensure that it's always ready for use. Whether you're a seasoned user or a newcomer to the world of water flossing, understanding the process of charging your device is crucial for maintaining optimal oral hygiene. A fully charged water flosser guarantees that you can effortlessly maintain your oral health without any interruptions.
In this comprehensive guide, we will walk you through the step-by-step process of charging a burst water flosser. By following these instructions, you'll be able to keep your device fully charged and ready to provide effective and efficient oral care. So, let's dive into the details and learn how to charge your burst water flosser properly.
Key Takeaways:
- Keep your burst water flosser clean and dry before charging to ensure a safe and efficient process. Use the correct charger and monitor the battery status for optimal oral care.
- Connecting the charger securely and creating an optimal charging environment are essential for efficient charging. Check the battery status to plan for future usage.
Read more: How To Clean A Burst Water Flosser
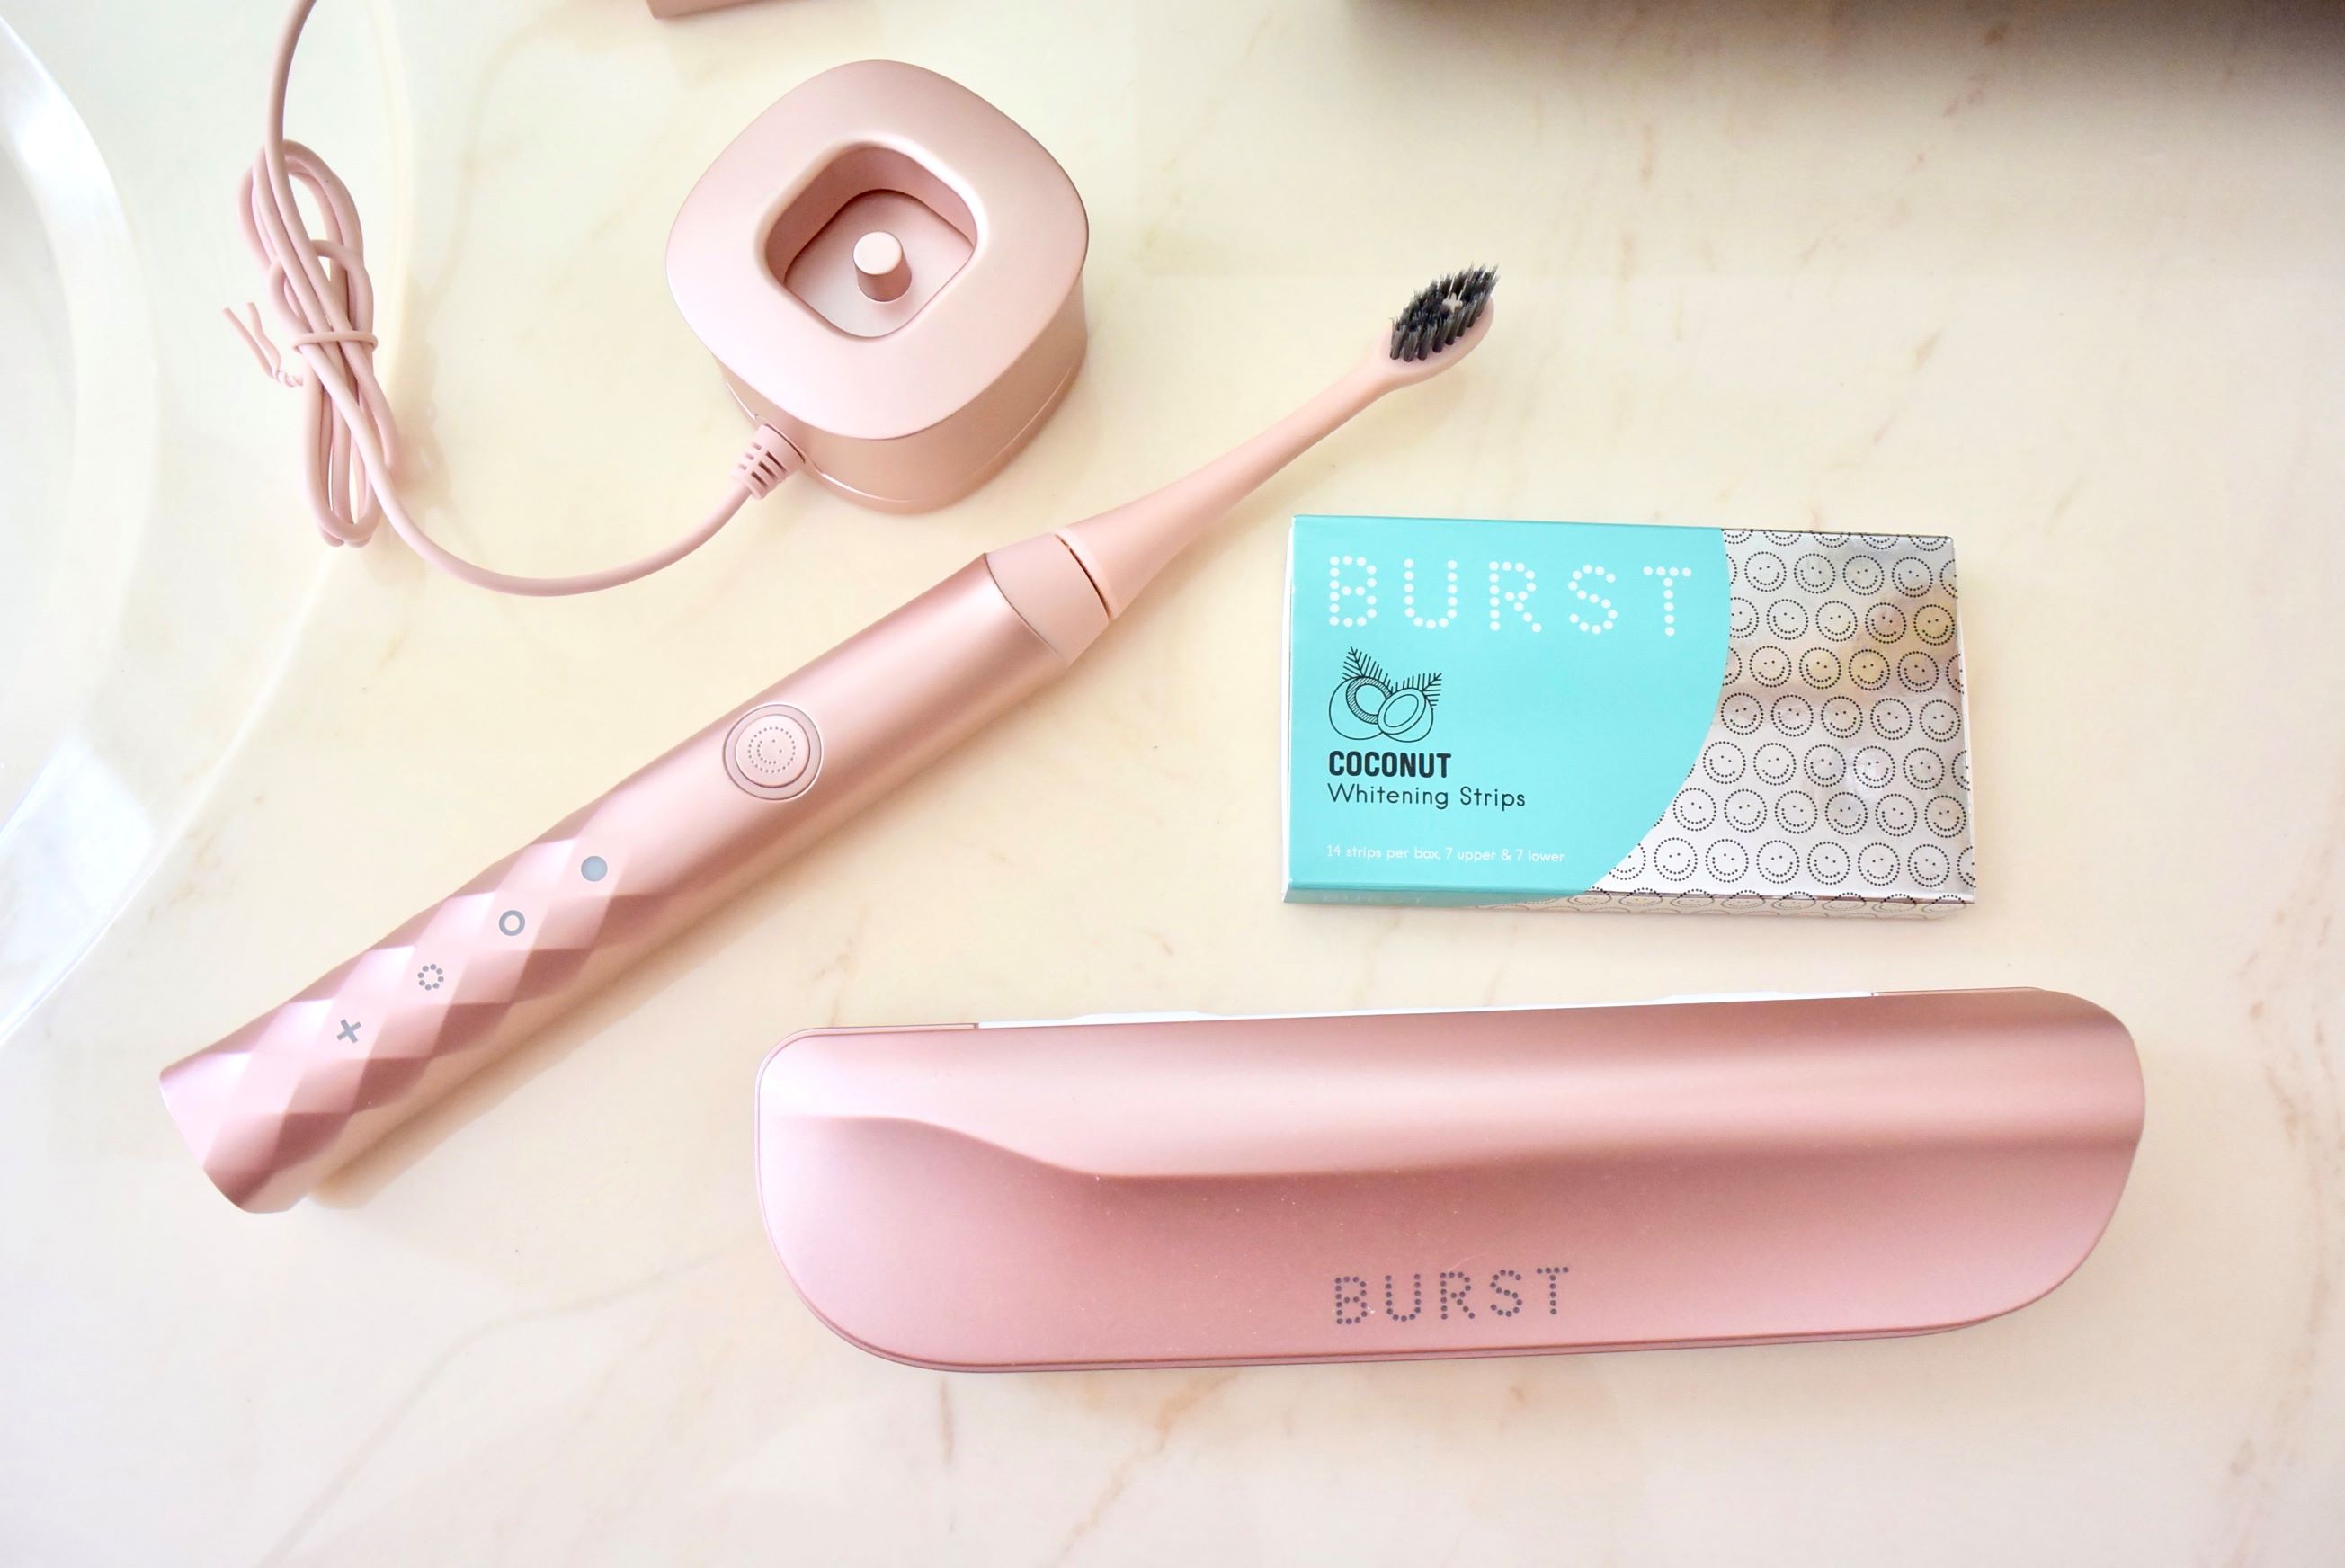
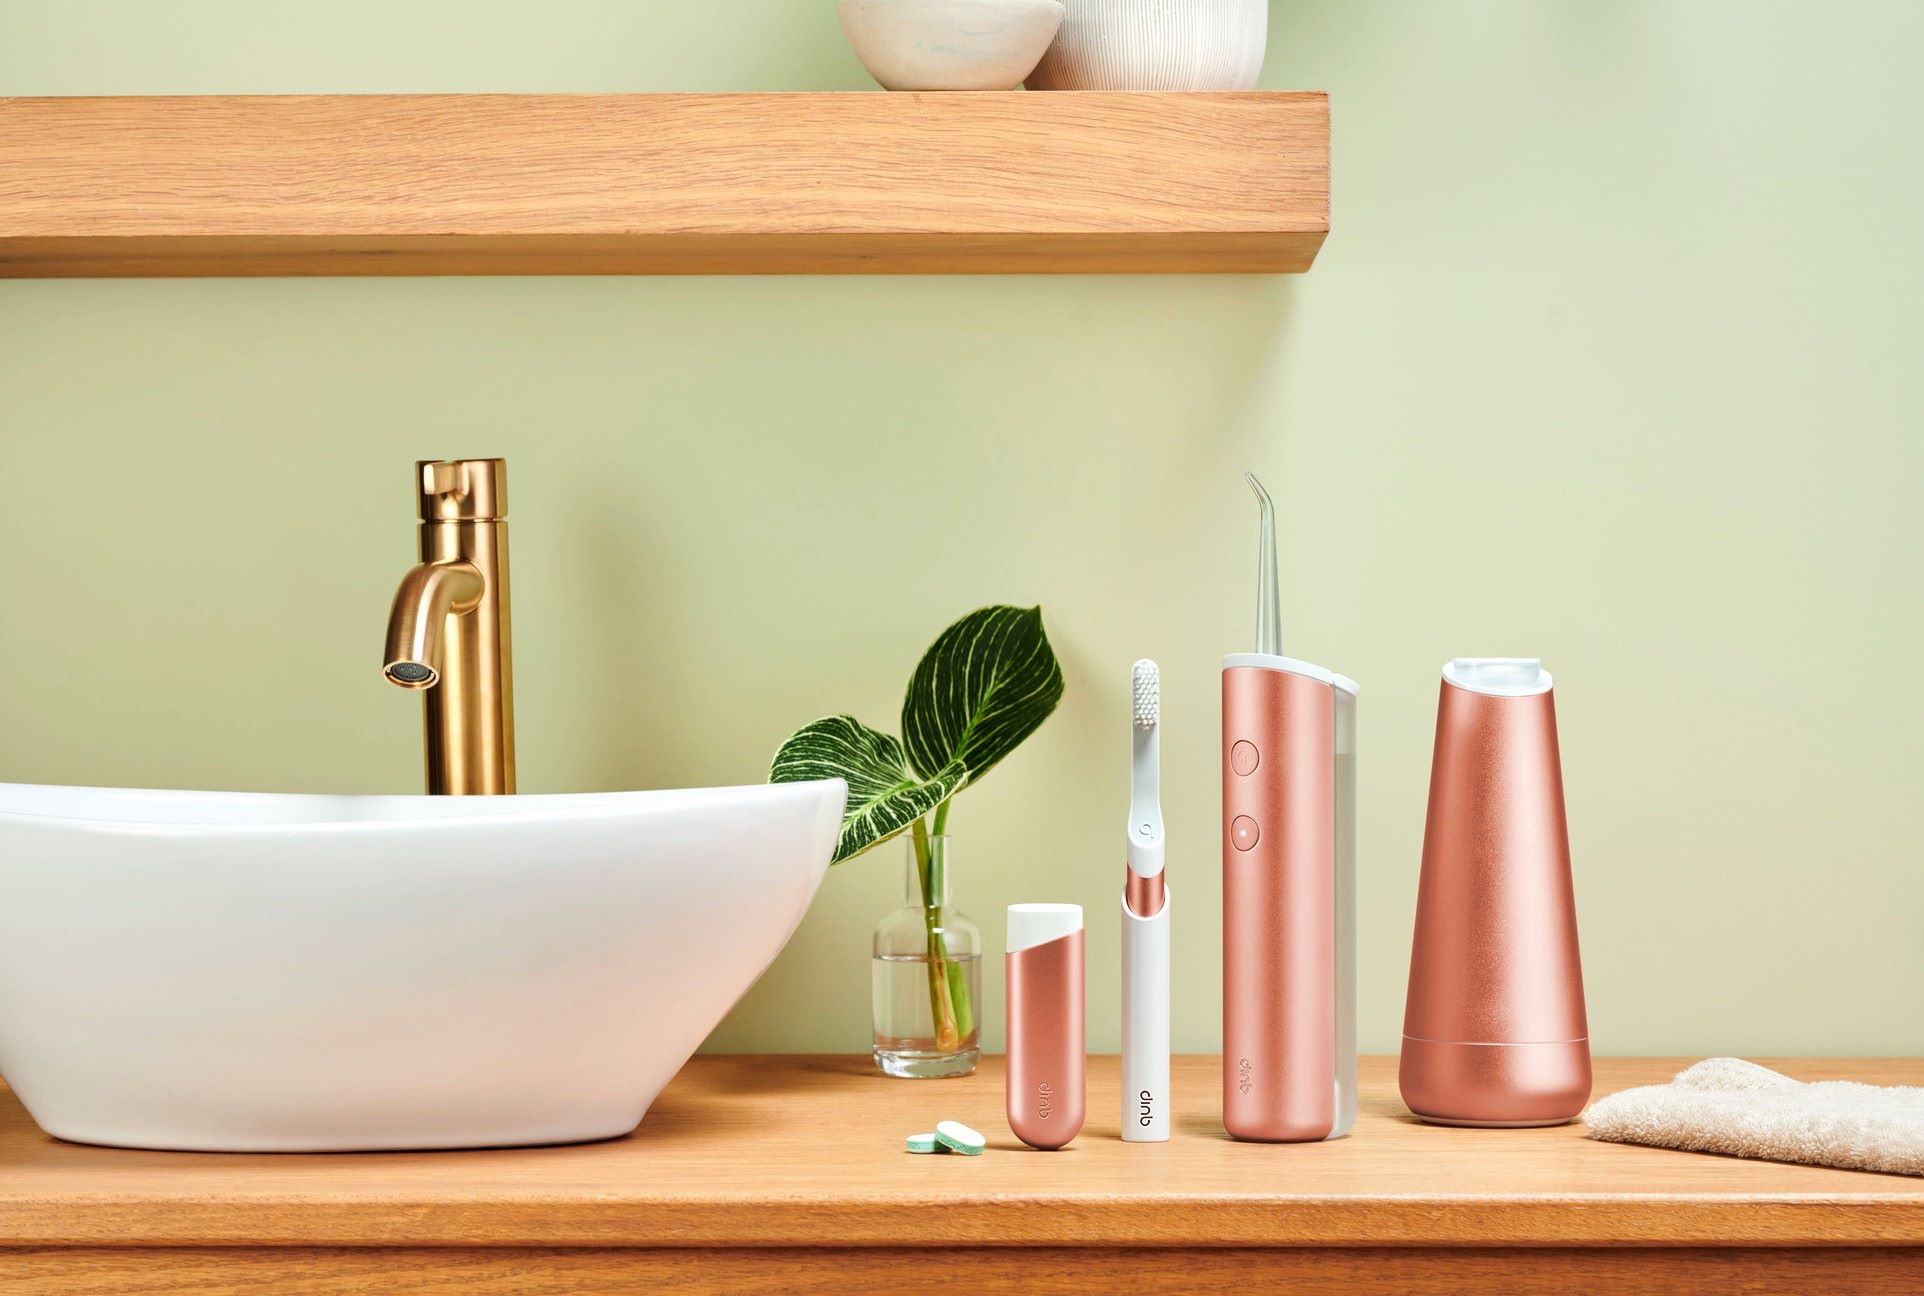
Step 1: Prepare the Water Flosser
Before charging your burst water flosser, it's crucial to ensure that the device is properly prepared for the charging process. Here's a detailed breakdown of the steps involved in preparing the water flosser for charging:
-
Check the Device: Begin by inspecting the water flosser to ensure that it's clean and free from any debris or residue. If you've recently used the flosser, it's advisable to rinse the nozzle and the reservoir to remove any leftover water or particles. This simple step helps maintain the hygiene of the device and ensures that it functions optimally.
-
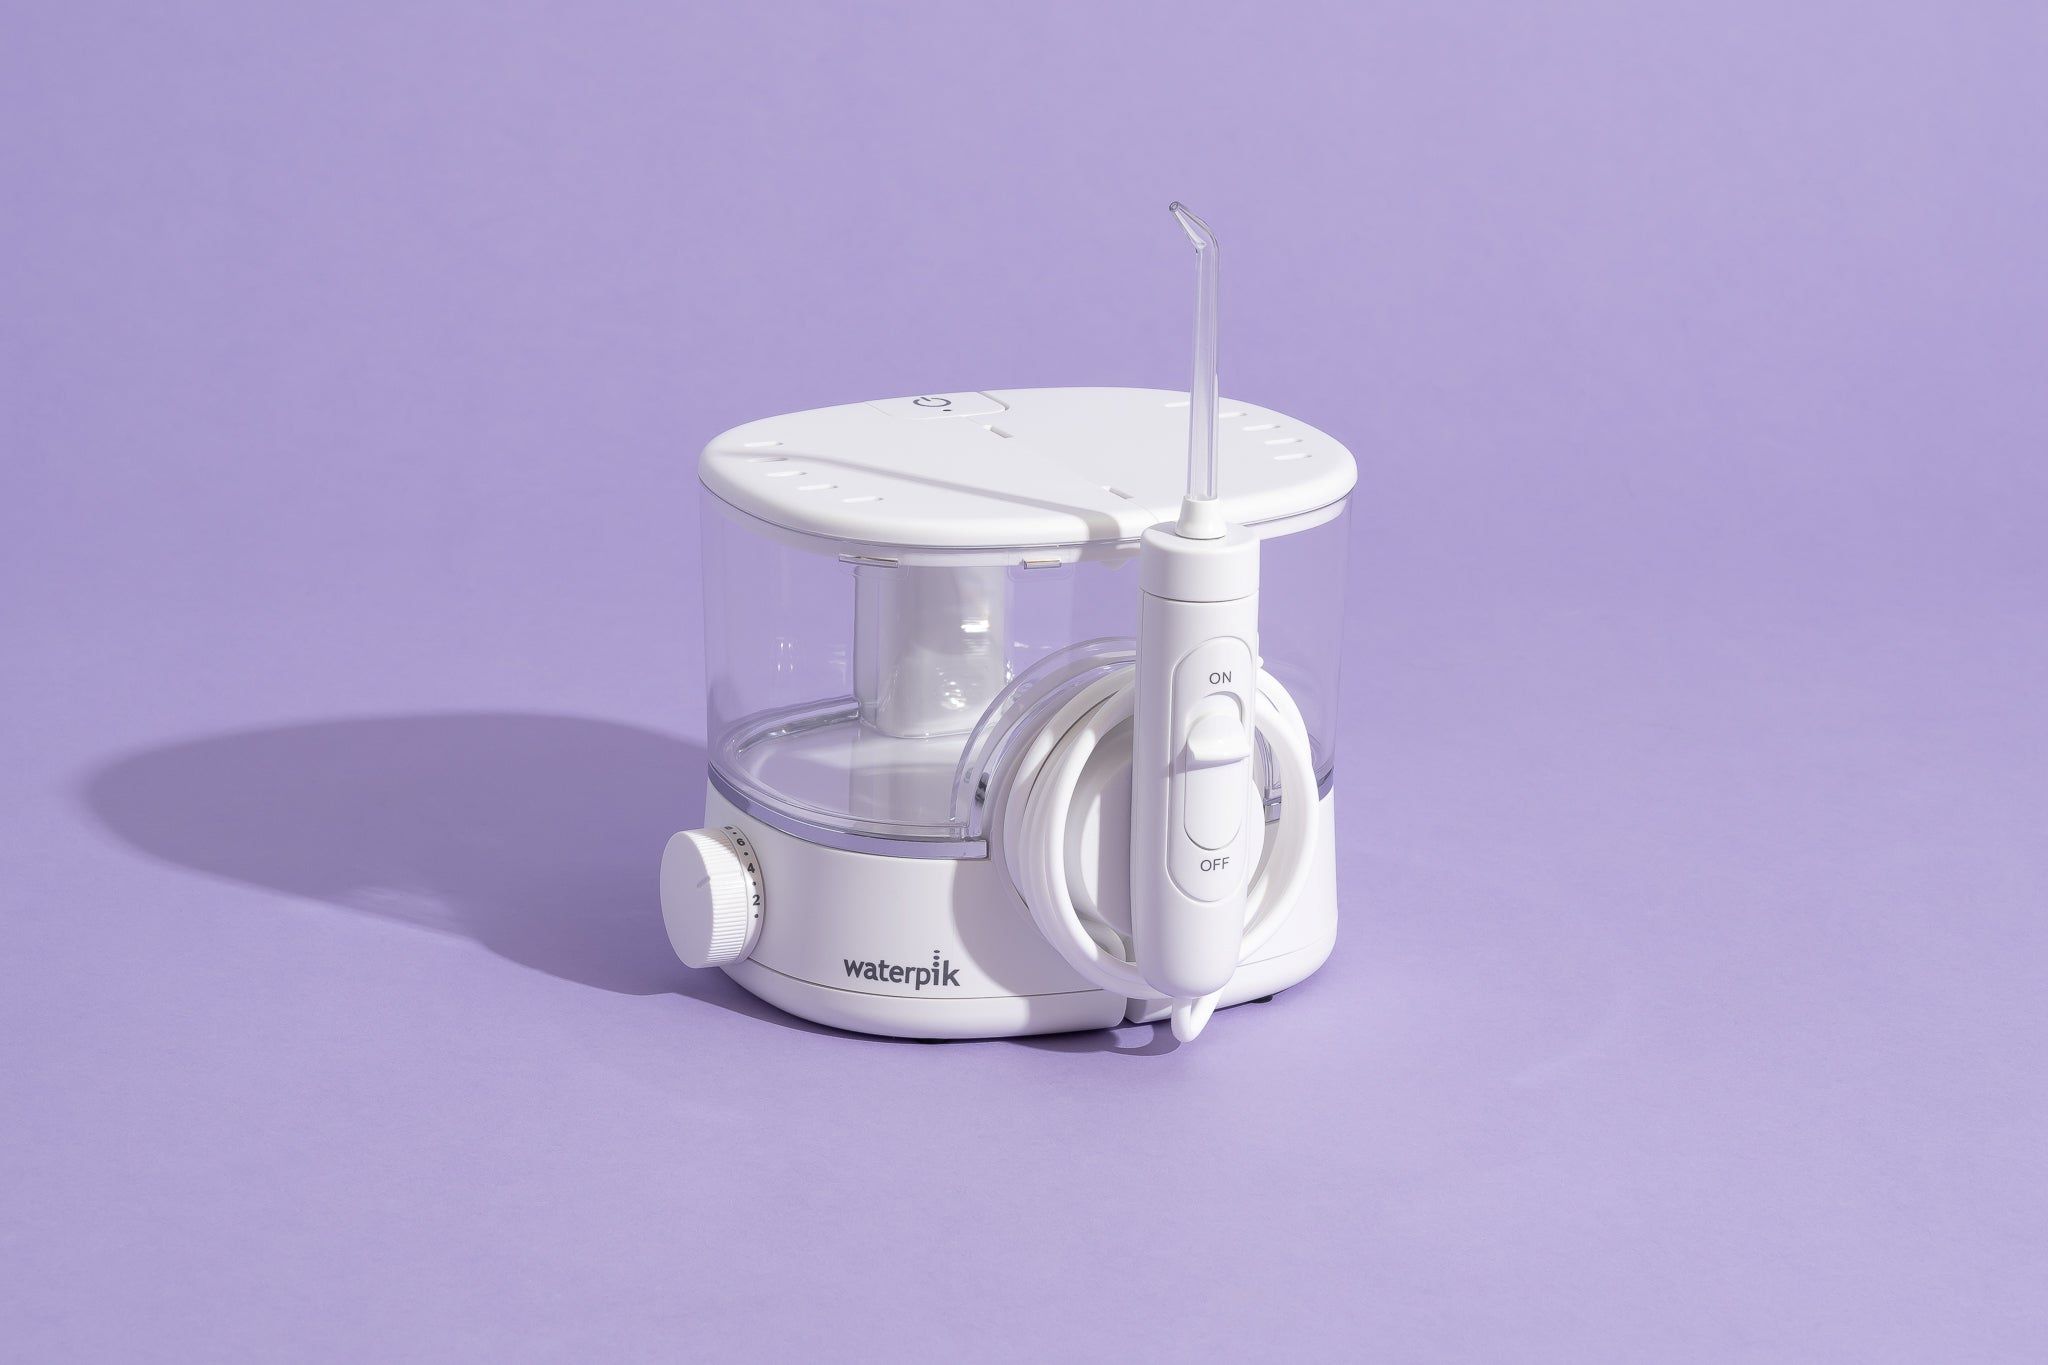
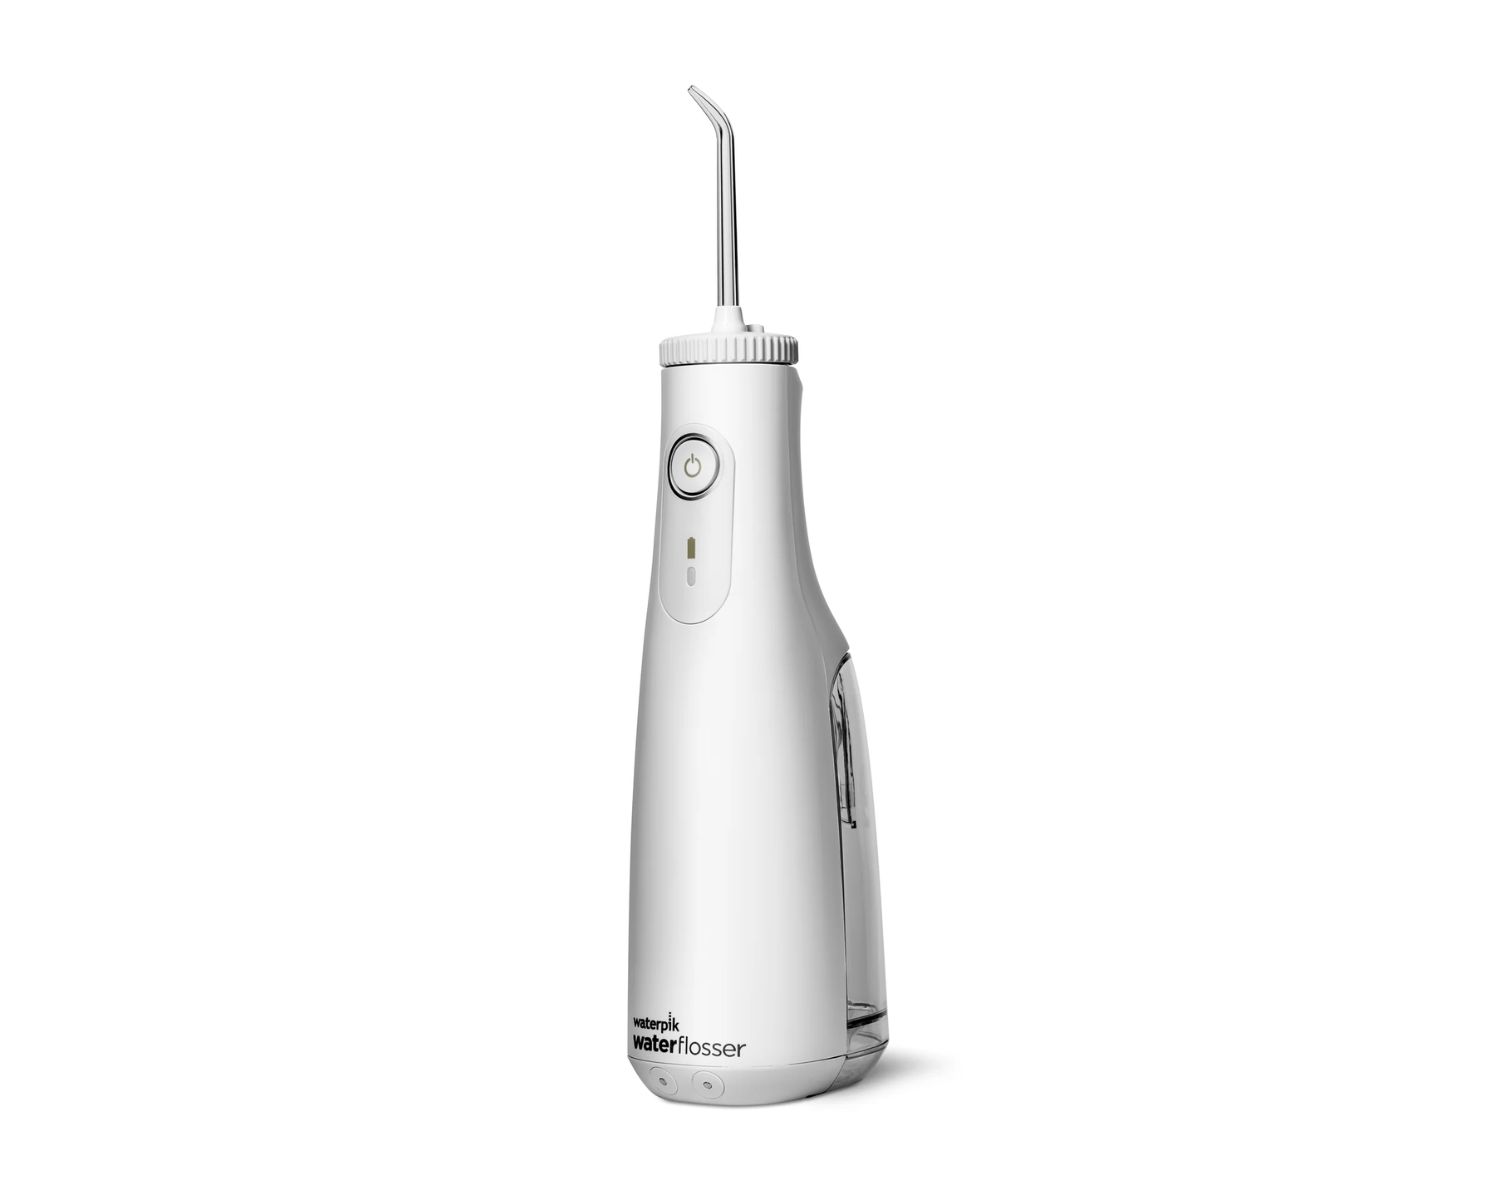
Locate the Charging Port: Next, identify the charging port on the water flosser. The location of the charging port may vary depending on the specific model of the burst water flosser. Typically, the charging port is located at the base or the bottom of the device. Refer to the user manual for precise instructions on locating the charging port for your particular model.
-
Ensure Dryness: It's essential to confirm that the charging port and the surrounding area are completely dry before proceeding with the charging process. Moisture or water in the charging port can potentially damage the device and pose safety hazards. Use a clean, dry cloth to wipe the charging port and the surrounding area to eliminate any moisture.
-
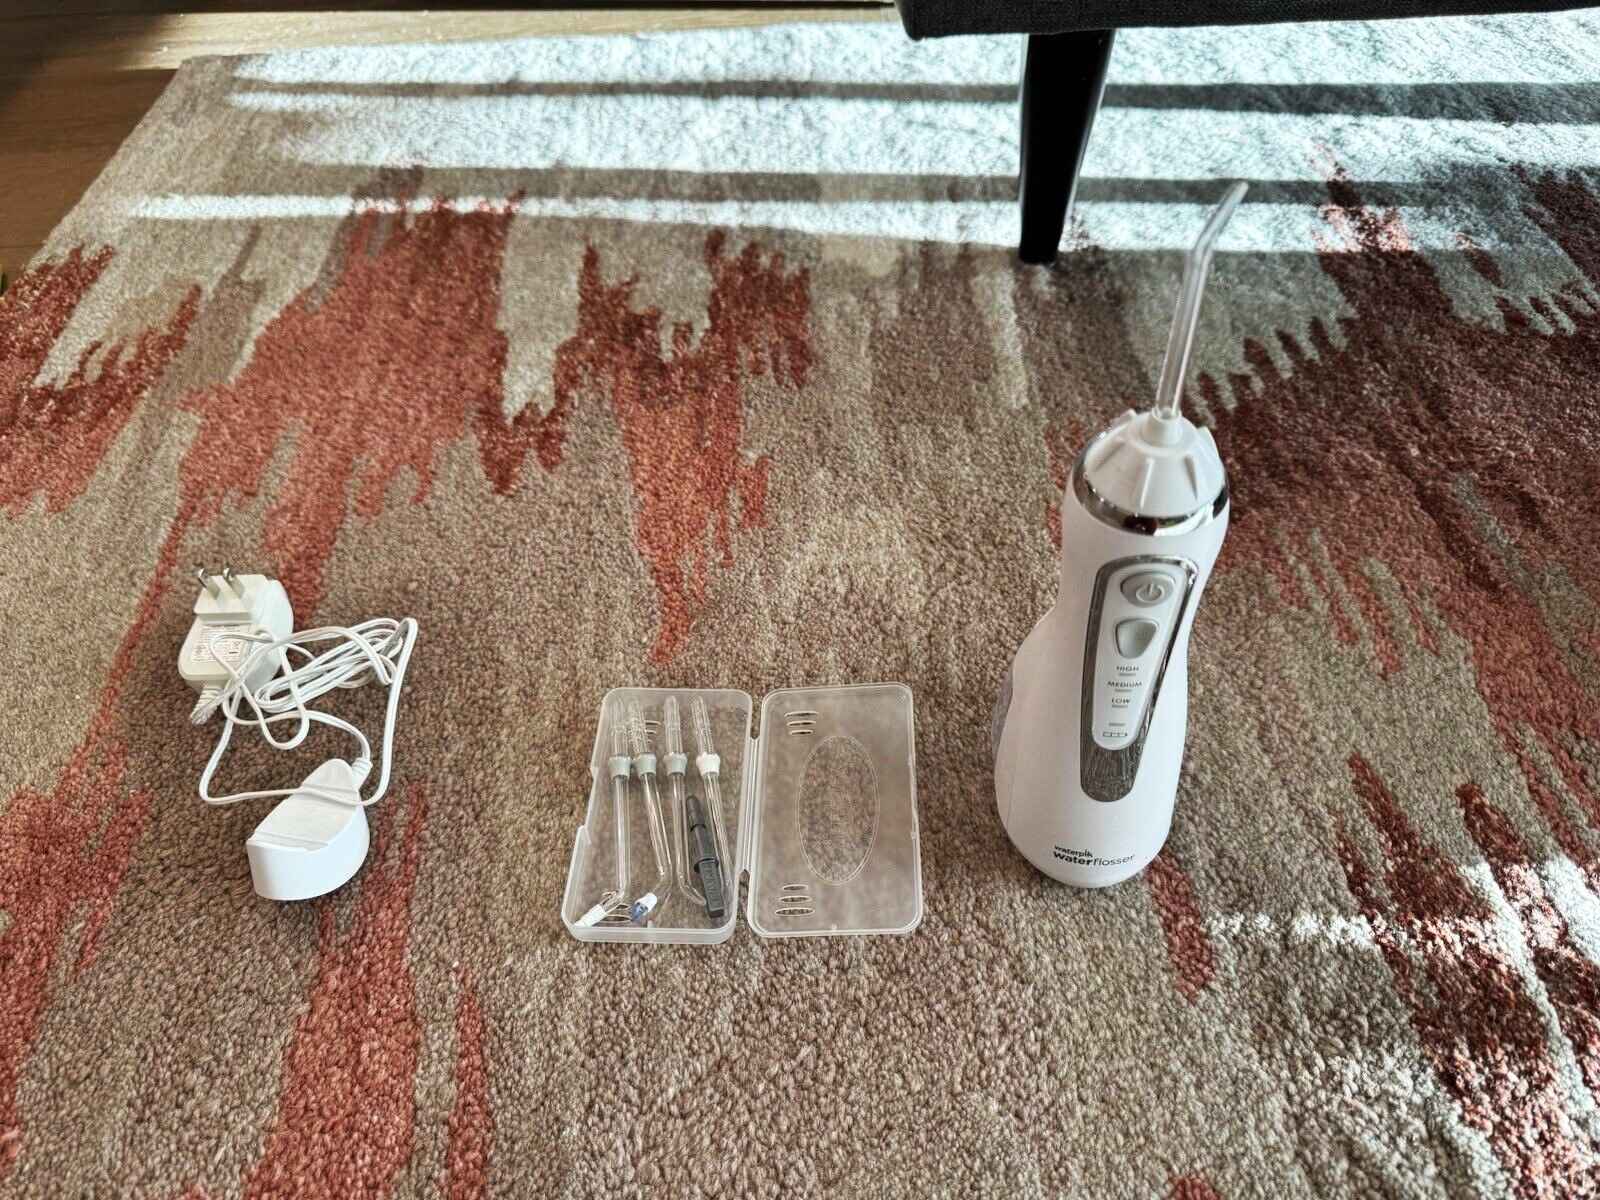
Prepare the Charger: If you're using a corded charger, ensure that the power outlet is easily accessible and that the charger is in good working condition. For cordless water flossers, make sure that the battery is inserted correctly and that the charger is ready for use.
By meticulously preparing the water flosser for the charging process, you set the stage for a seamless and efficient charging experience. These preparatory steps not only contribute to the longevity of the device but also ensure that the charging process is safe and hassle-free. Now that the water flosser is primed for charging, we can proceed to the next step in the process.
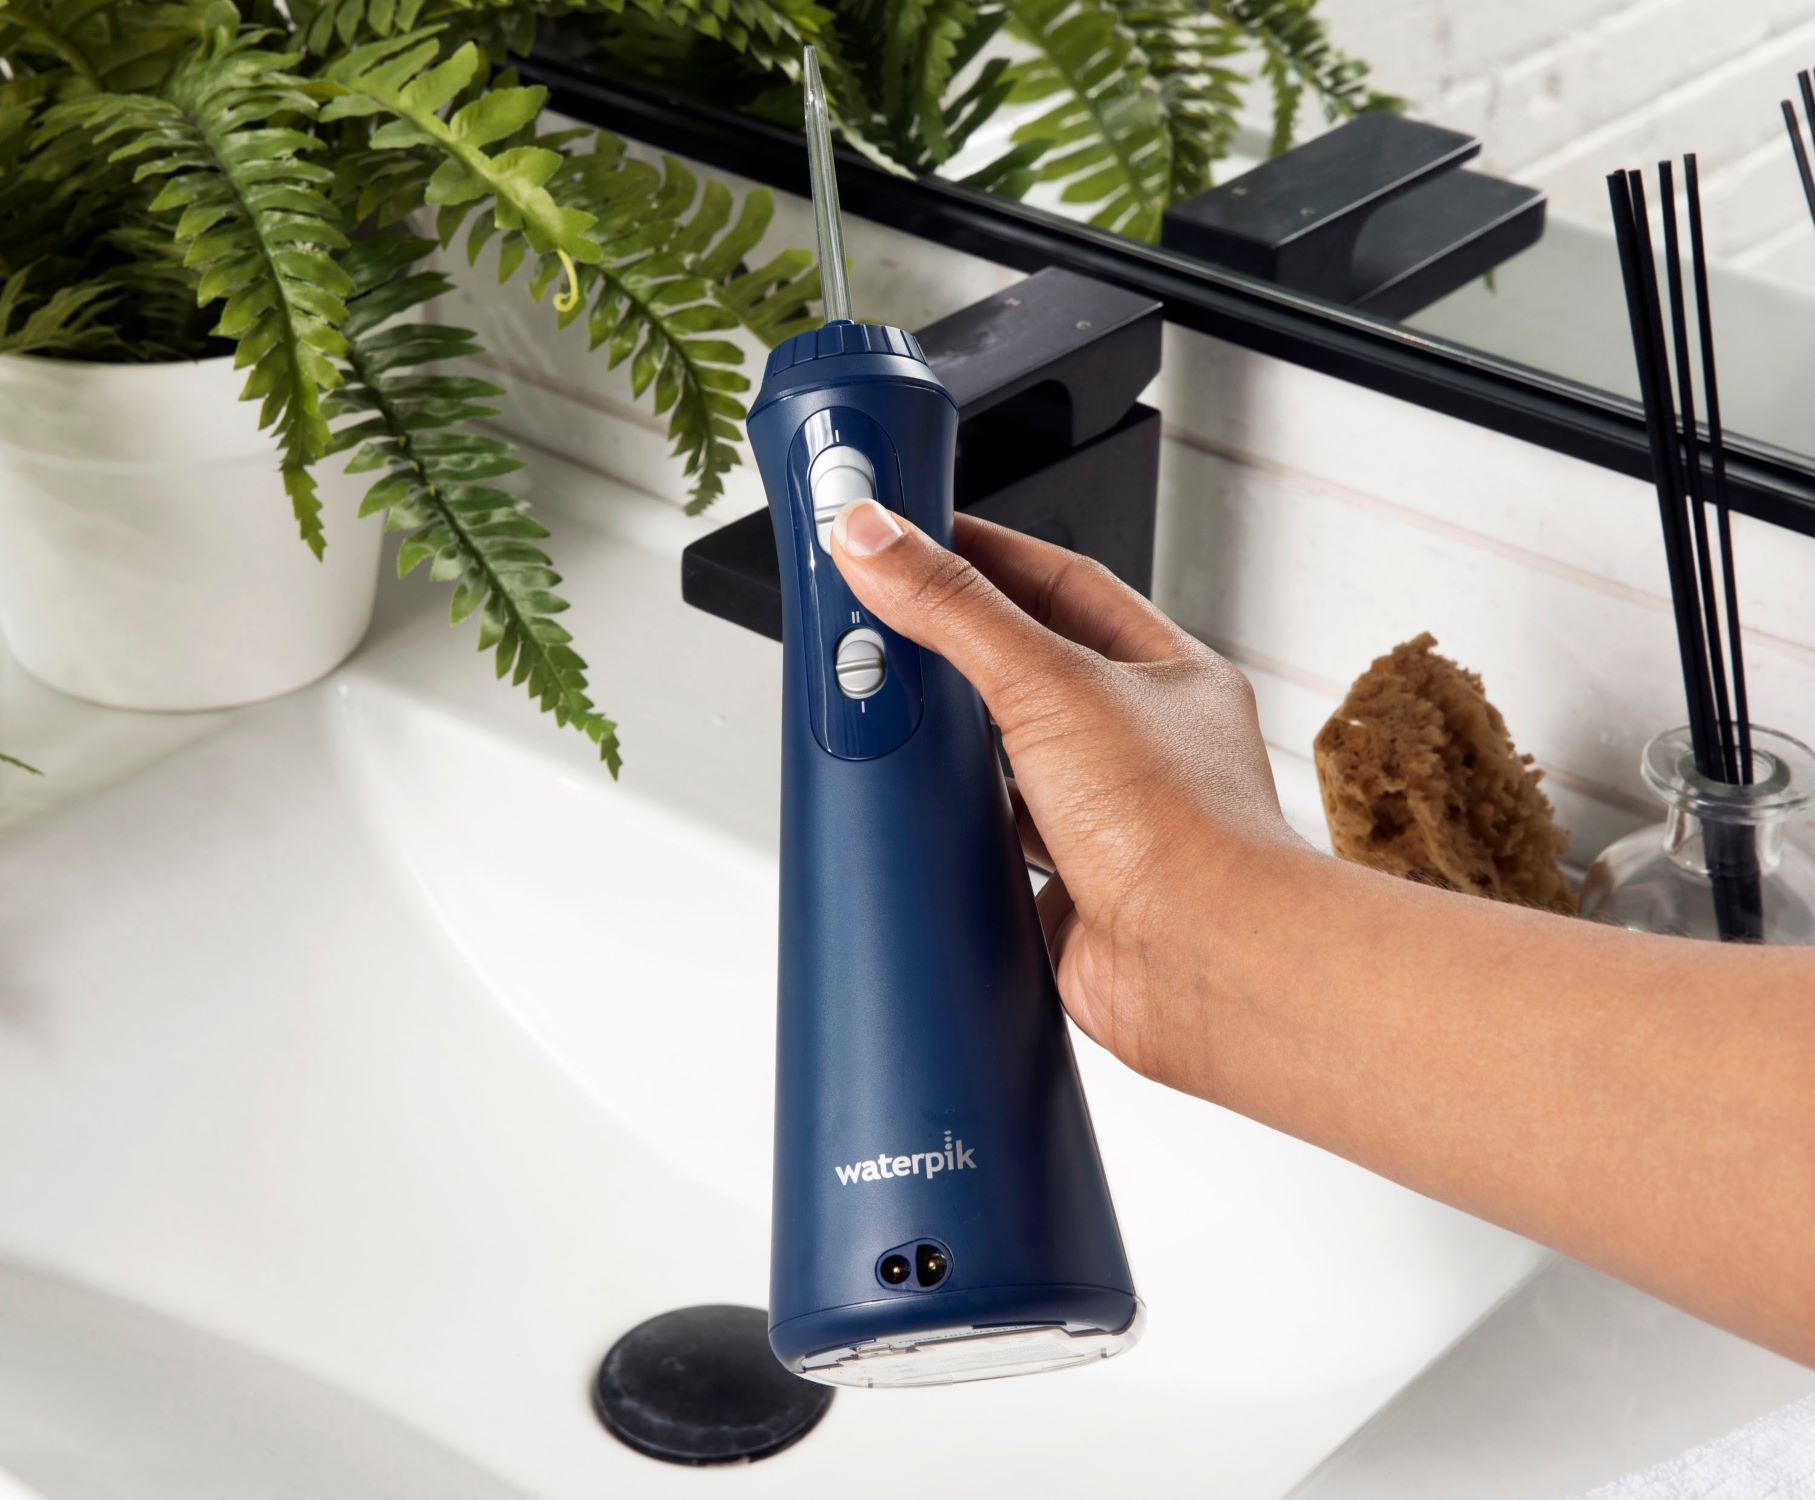
Step 2: Connect the Charger
Once the burst water flosser is prepared for charging, the next crucial step is to connect the charger to the device. This step is essential for initiating the charging process and ensuring that the water flosser's battery is replenished for optimal functionality. Here's a detailed guide on how to connect the charger to your burst water flosser:
-
Select the Correct Charger: Before proceeding, it's important to ensure that you are using the charger specifically designed for your burst water flosser model. Using an incompatible charger can lead to ineffective charging or potential damage to the device. Refer to the user manual or the manufacturer's guidelines to identify the correct charger for your water flosser.
-
Align the Charger: Position the charger in a way that allows for easy access to the charging port on the water flosser. Align the connector of the charger with the charging port on the device, ensuring a secure and snug fit. Proper alignment is crucial to establish a stable connection between the charger and the water flosser, facilitating efficient charging.
-
Secure the Connection: Gently insert the charger's connector into the charging port of the water flosser. Apply steady and even pressure to ensure that the connection is secure. A firm connection is vital for the uninterrupted flow of electricity from the charger to the water flosser's battery, enabling effective charging.
-
Verify the Connection: Once the charger is connected to the water flosser, take a moment to verify the stability of the connection. Check for any loose fittings or signs of disconnection to prevent interruptions in the charging process. A reliable and secure connection is fundamental to the successful charging of the water flosser.
-
Power On the Charger: If your water flosser features a corded charger, plug the charger into a power outlet to initiate the charging process. For cordless models, ensure that the charger is connected to a suitable power source. Once the charger is powered on, the charging indicator on the water flosser may illuminate, indicating that the device is receiving power.
By following these steps, you can effectively connect the charger to your burst water flosser, setting the stage for the subsequent charging process. A secure and proper connection between the charger and the water flosser is pivotal in ensuring that the device's battery is replenished efficiently, allowing you to maintain optimal oral hygiene with ease.
To charge a burst water flosser, simply plug the charging cord into the flosser and then into a power outlet. Allow it to charge for the recommended time before using.
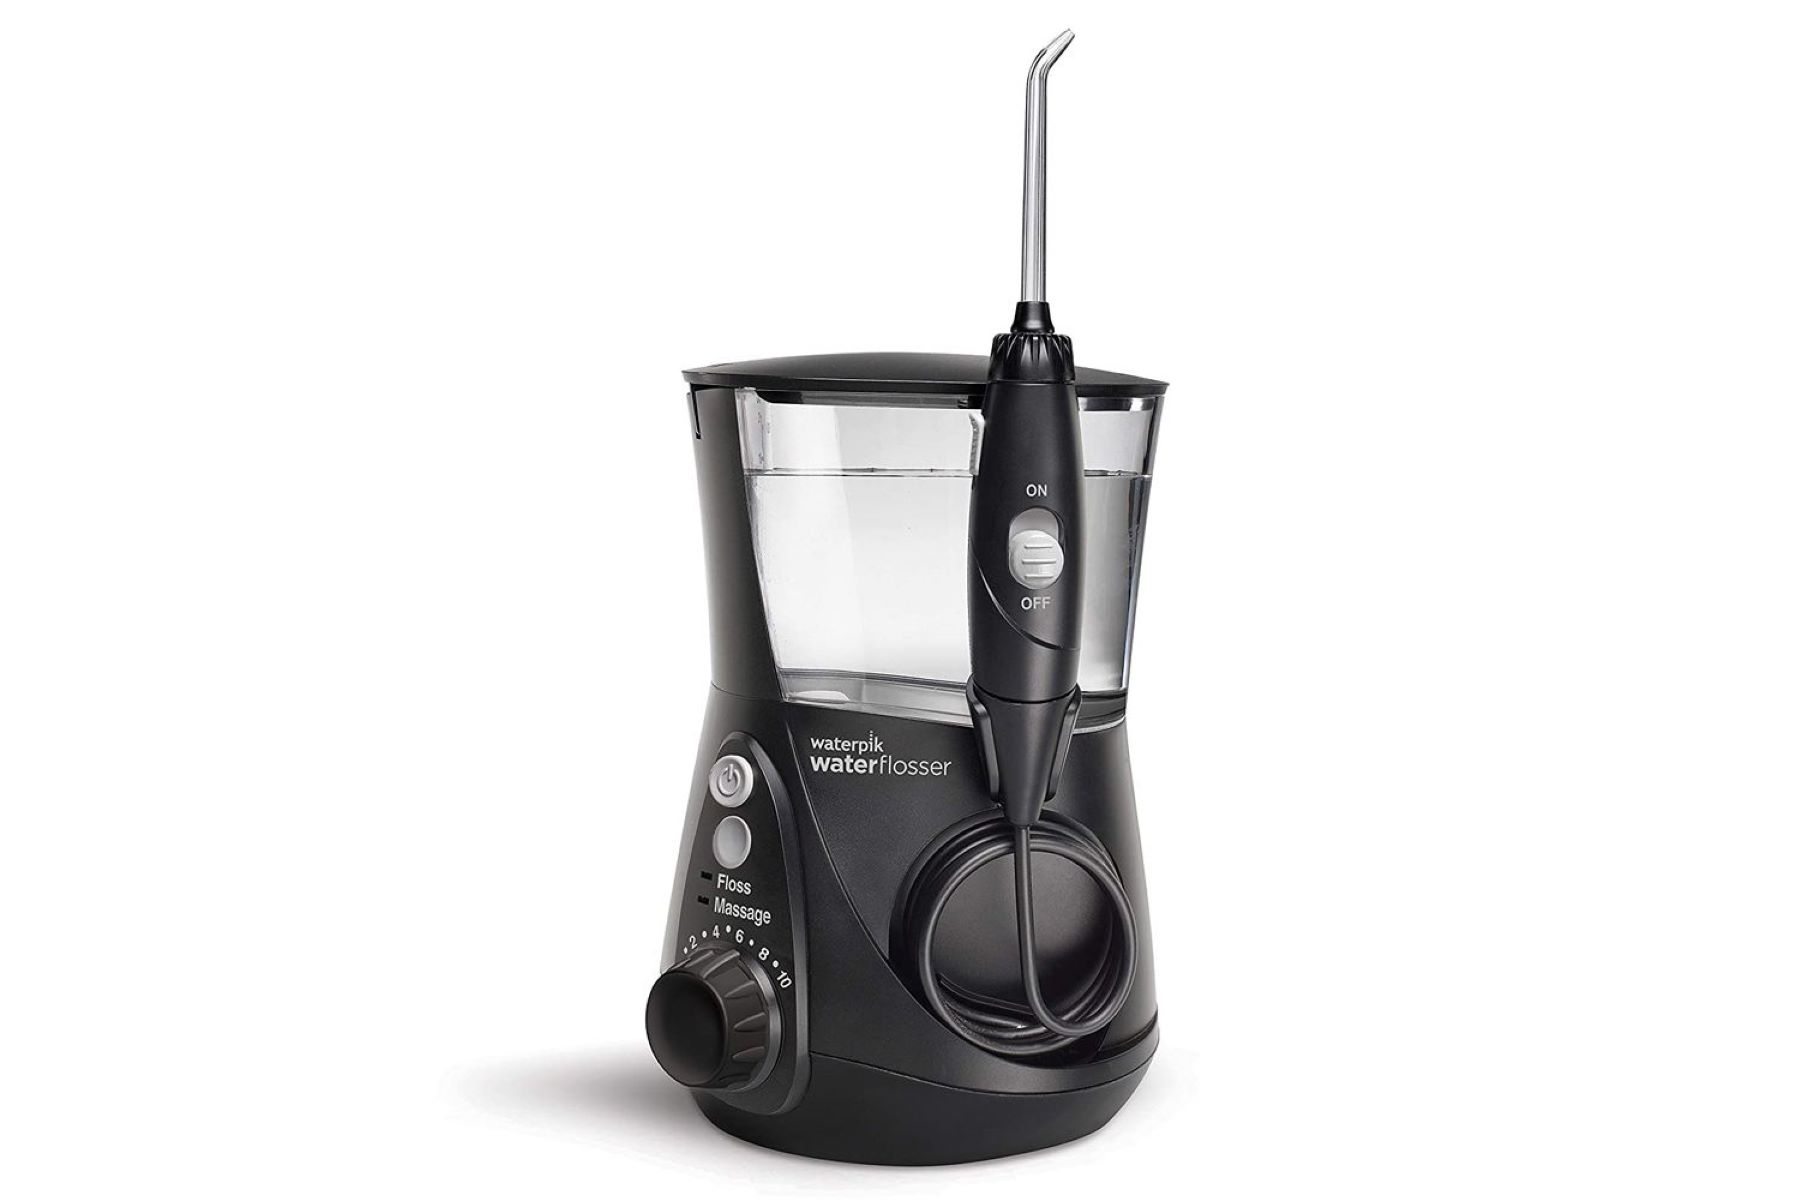
Step 3: Charge the Water Flosser
Charging the water flosser is a pivotal step in ensuring that the device's battery is replenished, allowing for uninterrupted usage and optimal oral care. Once the charger is securely connected to the water flosser, the charging process can commence. Here's a detailed breakdown of the steps involved in charging your burst water flosser:
-
Initiate the Charging Process: With the charger securely connected to the water flosser, the device is primed for charging. Depending on the specific model of the water flosser, the charging indicator may illuminate to signify that the device is receiving power. This visual cue indicates that the charging process has commenced, and the device's battery is being replenished.
-
Monitor the Charging Progress: As the water flosser charges, it's essential to monitor the progress to ensure that the device reaches its full battery capacity. The duration of the charging process may vary based on factors such as the initial battery level, the specific model of the water flosser, and the charging method. Refer to the user manual for insights into the typical charging duration for your particular water flosser model.
-
Avoid Interruptions: To facilitate efficient charging, it's advisable to avoid interrupting the charging process once it has begun. Disrupting the charging cycle can prolong the overall duration and may impact the effectiveness of the battery replenishment. By allowing the water flosser to charge uninterrupted, you can ensure that the device is fully powered and ready for use when needed.
-
Optimize Charging Conditions: Creating an optimal charging environment can contribute to the efficiency of the process. Ensure that the power source for the charger is stable and reliable, minimizing the risk of fluctuations that could affect the charging process. Additionally, placing the water flosser on a flat and stable surface during charging helps maintain a consistent connection with the charger.
-
Complete the Charging Cycle: Once the water flosser has been charging for the recommended duration, typically indicated in the user manual, it's essential to allow the device to complete the charging cycle. This ensures that the battery reaches its full capacity, maximizing the runtime of the water flosser during use.
By following these steps, you can effectively charge your burst water flosser, ensuring that the device's battery is replenished for optimal functionality. A fully charged water flosser empowers you to maintain your oral health with confidence, knowing that the device is ready to deliver effective and efficient flossing performance.
Step 4: Check the Battery Status
After completing the charging process, it's essential to verify the battery status of your burst water flosser to ensure that it's fully charged and ready for use. Checking the battery status provides valuable insights into the device's power level, allowing you to gauge its readiness for delivering optimal oral care. Here's a detailed guide on how to check the battery status of your water flosser:
-
Refer to the Charging Indicator: Many burst water flosser models are equipped with a charging indicator that provides a visual representation of the battery status. Once the charging process is complete, the indicator may display a specific color or pattern to indicate that the battery is fully charged. Refer to the user manual for insights into the charging indicator's behavior and the corresponding interpretations of the battery status.
-
Unplug the Charger: If your water flosser features a corded charger, unplug the device from the power outlet once the charging process is complete. For cordless models, disconnect the charger from the power source. This step ensures that the water flosser is no longer connected to the charger, allowing you to focus on assessing the battery status independently.
-
Power On the Device: To check the battery status, power on the water flosser using the designated control or power button. Once the device is activated, observe any battery status indicators or displays that provide information about the remaining battery capacity. Depending on the model, the water flosser may feature a dedicated battery status indicator that illuminates or displays specific symbols to convey the current power level.
-
Interpret the Battery Status: Take note of the battery status displayed on the water flosser. This status may be represented using visual cues such as LED lights, digital displays, or specific patterns of indicator illumination. A fully charged battery status typically indicates that the device is ready for use, while lower power levels may necessitate additional charging before optimal functionality can be achieved.
-
Plan for Future Use: Based on the battery status observed, plan for the future usage of your burst water flosser. If the device is fully charged, you can confidently incorporate it into your oral care routine, knowing that it's equipped to deliver effective flossing performance. In the event of a lower battery level, consider recharging the water flosser to ensure that it's readily available for your next oral hygiene session.
By following these steps, you can effectively check the battery status of your burst water flosser, empowering you to make informed decisions regarding its usage and charging needs. Understanding the battery status allows you to seamlessly integrate the water flosser into your oral care regimen, ensuring consistent and reliable performance for maintaining optimal oral hygiene.
Read more: How To Charge A Nicwell Water Flosser
Conclusion
In conclusion, mastering the art of charging a burst water flosser is a fundamental aspect of maintaining optimal oral hygiene. By following the step-by-step process outlined in this guide, you can ensure that your water flosser remains fully charged and ready to deliver effective and efficient flossing performance. From preparing the device for charging to checking the battery status, each step plays a crucial role in the overall charging experience.
A well-prepared water flosser sets the stage for a seamless charging process, minimizing the risk of potential issues and ensuring that the device remains in optimal condition. By inspecting the device, locating the charging port, and preparing the charger, you lay the groundwork for a successful charging session. These preparatory steps contribute to the longevity and reliability of the water flosser, allowing you to maintain your oral health with confidence.
Connecting the charger to the water flosser is a pivotal step that initiates the charging process. Ensuring the correct charger is used, aligning and securing the connection, and powering on the charger are essential actions that set the wheels in motion for replenishing the device's battery. A secure and stable connection between the charger and the water flosser is crucial for efficient charging, guaranteeing that the device is ready for use when needed.
As the water flosser charges, monitoring the progress and creating an optimal charging environment are key considerations for maximizing the effectiveness of the charging process. Avoiding interruptions and allowing the device to complete the charging cycle are essential practices that contribute to the overall efficiency of the charging experience. By adhering to these guidelines, you can ensure that your burst water flosser is consistently powered and prepared to support your oral care routine.
Finally, checking the battery status provides valuable insights into the readiness of the water flosser for use. By interpreting the charging indicator and assessing the battery level, you can make informed decisions regarding the device's usage and charging needs. Whether the water flosser is fully charged and ready for action or requires additional charging to reach optimal functionality, understanding the battery status empowers you to seamlessly integrate the device into your oral care regimen.
In essence, mastering the process of charging a burst water flosser ensures that your device remains a reliable ally in your quest for superior oral hygiene. By following the comprehensive steps outlined in this guide, you can confidently navigate the charging process, guaranteeing that your water flosser is always prepared to deliver exceptional flossing performance, contributing to your overall oral health and well-being.
Frequently Asked Questions about How To Charge A Burst Water Flosser
Was this page helpful?
At Storables.com, we guarantee accurate and reliable information. Our content, validated by Expert Board Contributors, is crafted following stringent Editorial Policies. We're committed to providing you with well-researched, expert-backed insights for all your informational needs.


0 thoughts on “How To Charge A Burst Water Flosser”